/


Latest Post

Lots to see in this month’s Control Freak’s Blog hop!


The theme for February's Blog Hop is projects for our friends! 

There's a lot of talent in the Control Freaks group; be sure to click on each icon at the end of each post to see it all.   
If you just stopped in from Bree's blog I'm sure you enjoyed her projects. She is uber creative!

My first card features the Floating Technique. It gives the illusion that your paper is floating on the card.  
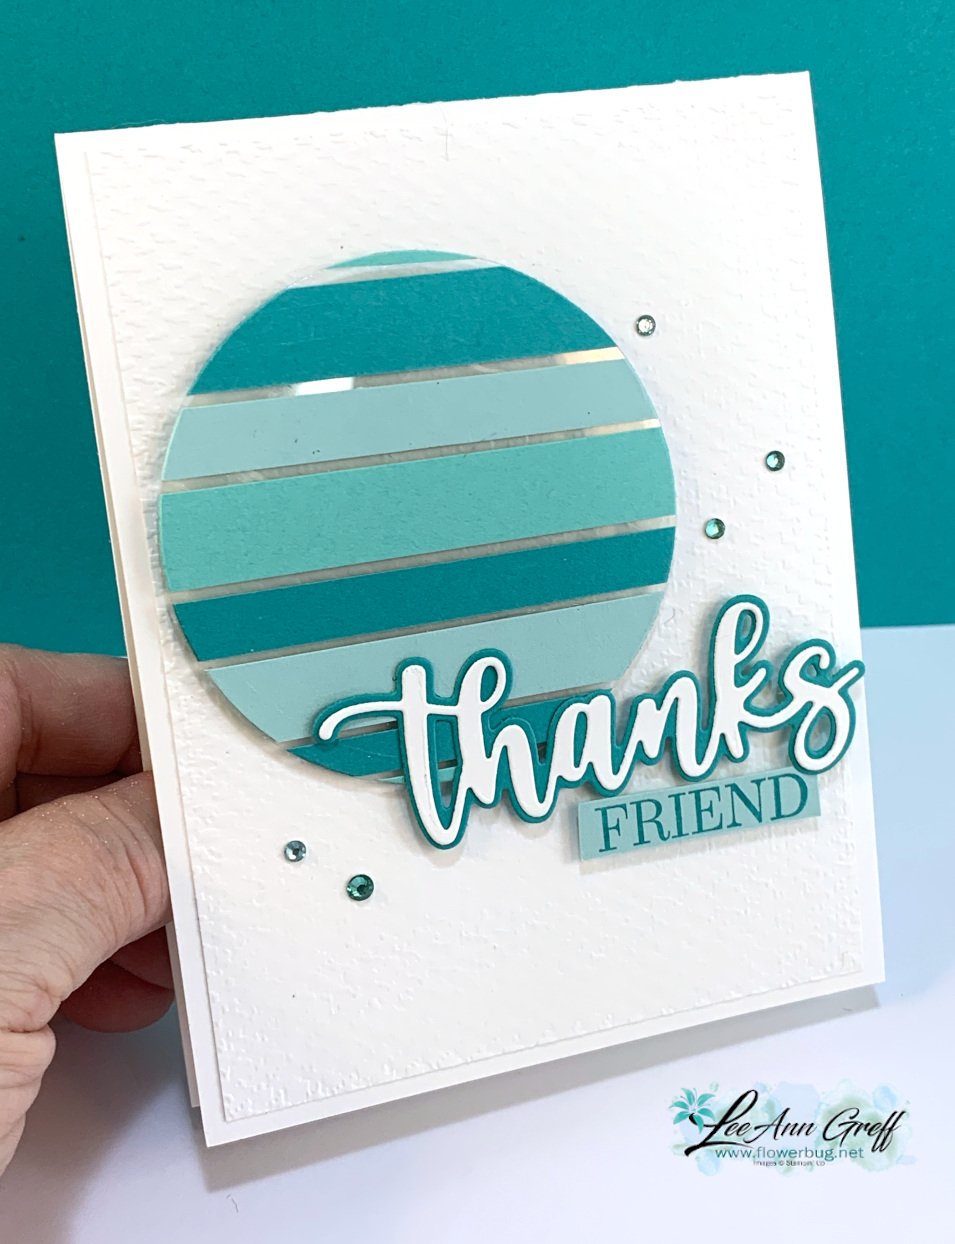
I adhered random sizes of card stock strips onto a piece of Window Sheet and used our largest circle in the Layering Circles dies  to die-cut it out.  I've been making monochromatic cards lately and chose my favorite blue/green hues of Bermuda Bay, Pool Party & Coastal Cabana.  

Details:

  • This circle is added with Stampin' Dimensionals onto White CS that's been embossed with the Tasteful Textile embossing folder. 
  • The 'Thanks' is made with our Amazing Thanks dies from the January-June catalog. 
  • The 'Friend' greeting was fussy cut from the Special Moments stamp set.
  • Those pretty rhinestones are from a new release coming out in March called the Wave Collection.  Rhinestones in blues & greens!! 

~~~

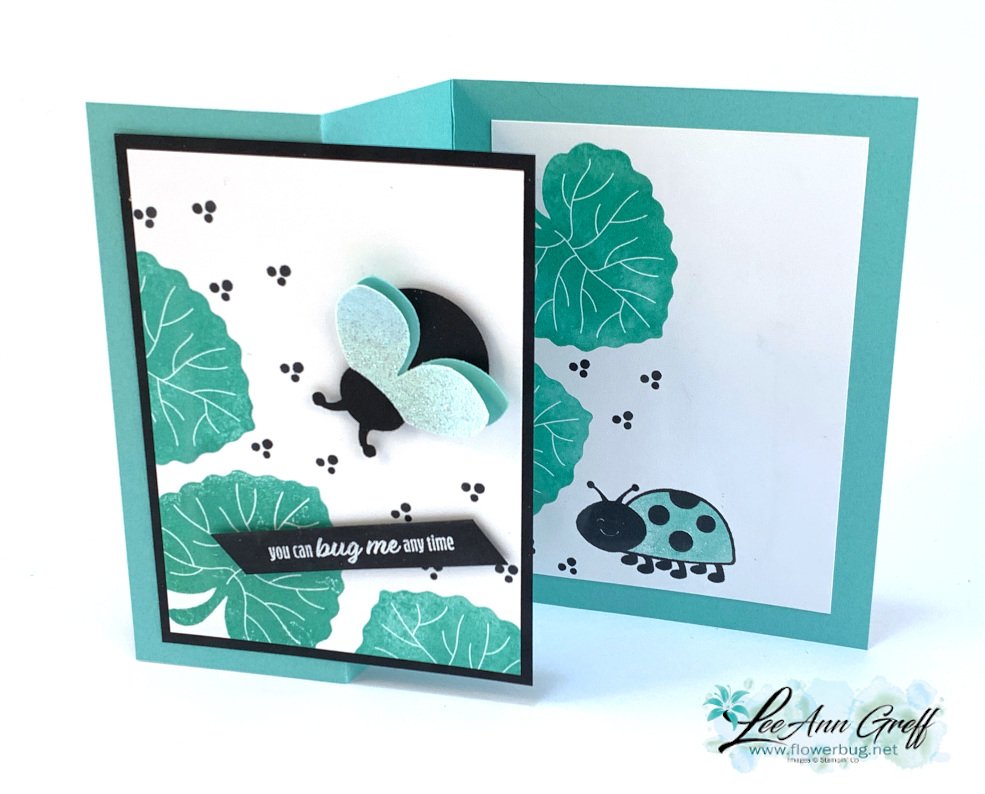
I recently made a card with the Hello Ladybug using Magenta Madness with Black and wanted to try it out with Coastal Cabana too. I found out that our new Supple Shimmer specialty paper works great for wings! It's pretty & iridescent.
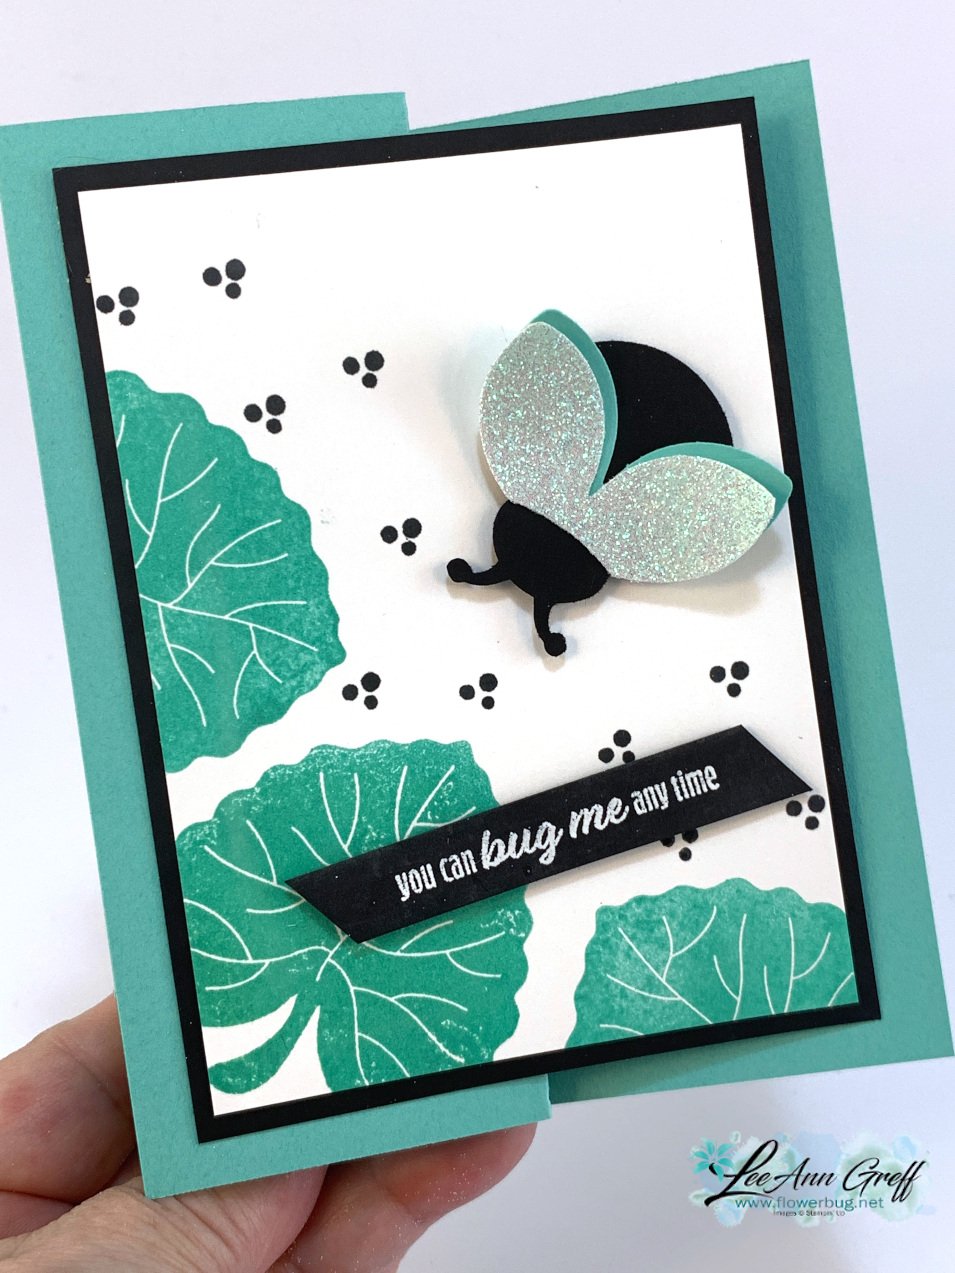

It's also what I like to call Black & White with a 'pop' of color.  A bit of black on a card makes other colors 'show up' and be noticed. 

This card is an easy fun fold.  Turn any basic card into a fun fold with these measurements: 

  • Card base 5 ½” X 8 ½”, score at 2 1/8” & 4 ¼”
  • White (X 2) 3 ½” X 4 ¾”
  • 3 ¾” X 5” Black


The stamped images are all from the Hello Ladybug stamp set.  It's in a bundle with the punch at 10% off when purchased together.  


Thanks so much for stopping in today. Click on the icon below to see what Cindy has created for you. You won't want to miss it! 

All Posts

  • Life is Beautiful Apple Tree; get the secret to easy apples!


    Here's one more card with my Life is Beautiful stamp set. We made this one at my August Card Clubs.  

    The colors are the new In Color Just Jade with Early Espresso & Real Red.  See the tiny 'apples' on the tree?  Well I wanted just a few apples from the large bokeh dots image. I have a surprising way of stamping just a few of the stamp image.  I dare you to try it!  Watch the video below to see what I did! 

    That pretty stitched shape is from the Celebration Label dies seen here.  There are 5 sizes of this shape in the set! 


    I'm so happy with all of the projects people are making with this stamp set!  It's been fun to see how much everyone seems to like it!  

    Measurements: 

    • Just Jade card base 5 1/2" X 8 1/2"
      Very Vanilla 4 3/8" X 3 1/8" die-cut
      Early Espresso 2" X 4 1/4"
      Real Red 1" X 5 1/2"


    ~~~

    Current Host code is 7VPEDARH

    Get a free package of All the Trimming embellishments in September with an

    online order over $55. 

    *Remember that if your order is over $150 do not use the host code above.  You'll get your own host benefits!  

    And if it is over $99 I recommend you choose the Starter kit instead!  It just makes sense! 

    Order online here

     Get my Beautiful Autumn pdf tutorial free with any online order in September!


    It includes directions, photos and measurements for 13 cards!


    Leave a Reply

    Your email address will not be published. Required fields are marked *

  • Cool technique with the Wink of Stella pen!


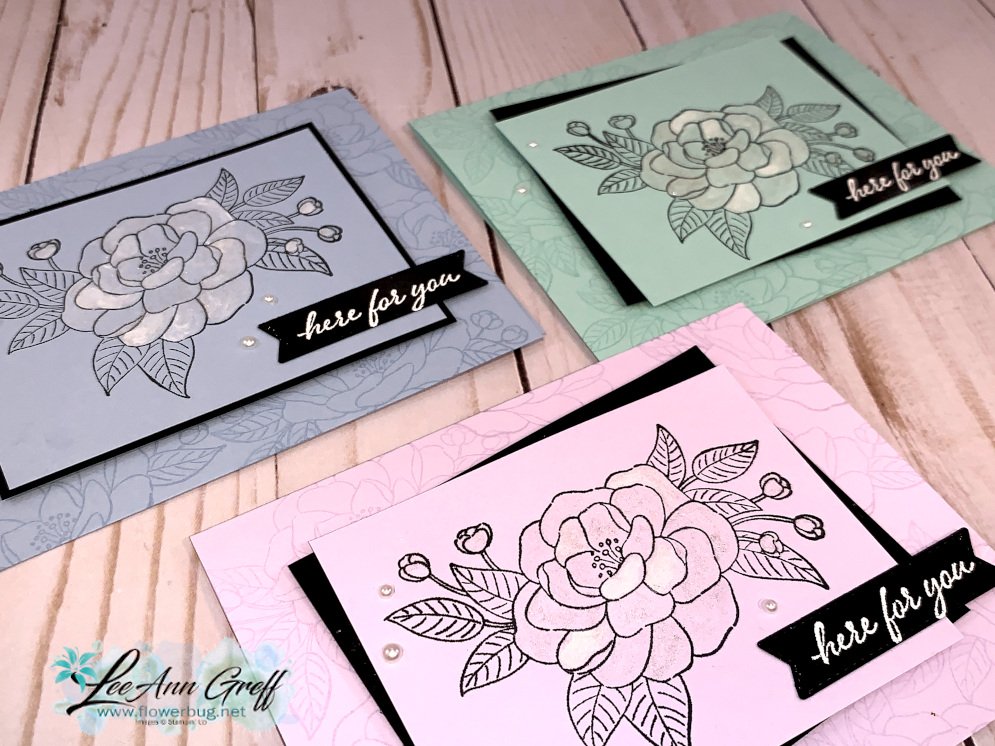
    There are times I like to color and others that I don't. I came up with this cool technique using the Wink of Stella pen and White Craft ink to highlight my main image. 

    I pressed a clear block directly onto my White Craft ink pad and used that to pick up the ink with my Wink of Stella pen. You sure don't have to use a clear block but I didn't want to get Wink of Stella in my ink pad. You could use a paper plate or any other non porous surface.   

    I used Purple Posy, Pool Party and Seaside Spray on the cards below. 

    Technique tips:

    • Light colored card stock works best here; the White ink can obscure the stamped image on dark card stock.
    • Squeeze out a bit of the Wink of Stella liquid to make a small puddle to mix with the White ink for easier painting. 
    • Paint the image once and go back and highlight parts of it if you want more 'lightness'. 
    • Black Memento ink works fine to stamp your image
    • This should work nicely on a heat embossed image! 
    • You can use the White Craft ink refill instead of an ink pad but a little drop goes a long way! 

    I also used Versamark to create a background effect on the card base, stamping the main image multiple times. I love how soft a Versamark background is and I don't use it near enough.  This repetitive stamping could be very busy if done in black or a darker color.  

    Here's the video with 3 different coloring techniques! 

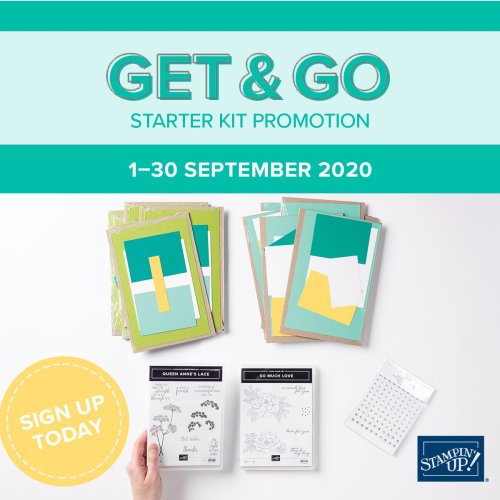
    Click on the photo below to get this stamp set and the Queen Anne's Lace set and an 8 cards pre-cut kit for each one; free! 

    ~~~

    Current Host code is 7VPEDARH

    Get a free package of All the Trimming embellishments in September with an

    online order over $55. 

    *Remember that if your order is over $150 do not use the host code above.  You'll get your own host benefits!  

    And if it is over $99 I recommend you choose the Starter kit instead!  It just makes sense! 

    Order online here

     Get my Beautiful Autumn pdf tutorial free with any online order in September!


    It includes directions, photos and measurements for 13 cards!

    Leave a Reply

    Your email address will not be published. Required fields are marked *

  • September Kits to Go – Gilded Autumn and Banner Year; each with 3 options!


    Who's ready for Fall?  It's coming faster than I want!  But it does give me the opportunity to play with Autumn themed cards.  

    I chose the Gilded Autumn specialty designer paper as my inspiration for this month's kit to go cards.  They DSP is so pretty!  I absolutely love the addition of Mint Macaron and Cajun Craze to this years colors.  

    The cards include a few fun fold designs, which I love to make.  There are 5 different cards and you'll receive 2 of each in the kit.  Change them up with either different choices of paper or greetings if you'd like.  

    This kit includes $20 in product and the pre-cut cards kit.  And it's just $28!!  That means you're paying about $4 for the 10 cards!  

    • 1/2" package Gilded Autumn Specialty DSP
    • The Basket Weave metallic ribbon combo pack
    • 1/2" pkg Champagne Rhinestones
    • 10 pre-cut cards including punches and die-cuts (Texturing is not done for you)
    • PDF tutorial includes photos, measurements, supplies and step by step directions. The Tutorial is emailed to you immediately upon payment.
    • The kit will be mailed to you at the end of September. 
    • *This kit will be sent to my monthly kit subscribers.  If you'd like to subscribe to receive a kit every month click here.  

    Everything is cut for you except the Designer Paper.  You'll use your own paper trimmer to do that. 

    You will need the following to finish your cards like mine:

    • Beautiful Autumn stamp set (can easily substitute other greetings)
    • ink pads – Cajun Craze, Early Espresso & Mint Macaron
    • Paper Trimmer
    • Embossing folders (not absolutely necessary)
    • Sponges, ruler
    • Adhesives

    You can choose from the following; the cards and product kit, adding on the Beautiful Autumn bundle (extra 10% discount) to the kit or just the pdf tutorial.  Click here to order

    I'm also offering a second cards kit this month.  If you'd like both I will combine shipping as I can fit them all in one package and still send via Priority mail.  Please use this link to purchase both kits.  

    This kit includes the Banner Year stamp set and features all Fun Fold cards with upcoming Holiday themes!  

    This kit is also just $28 and includes the Banner Year stamp set, the pdf tutorial and the 8 cards pre-cut kit.  You will need a few ink pads and adhesive to finish your cards.  With the tutorial you can make many more with your new stamp set! 

    You have the option of adding on the Banners Pick a Punch at an additional 10% off too!  Or choose the Tutorial only option.

    Go here to order any of the above kit options! 

    If you love receiving my card kits and don't want to miss any click here to see my newsletter.  There's a subscribe button half way down; click on that and you can subscribe to receive a kit every month. It's $36.50 with shipping and always includes $20 in Stampin' Up! product and a pre-cut 10 cards kit!  Subscribers will receive surprise product from me in your kit every 6 months or so. 

    ~~~

    Current Host code is 7VPEDARH

    Get a free package of All the Trimming embellishments in September with an

    online order over $55. 

    *Remember that if your order is over $150 do not use the host code above.  You'll get your own host benefits!  

    And if it is over $99 I recommend you choose the Starter kit instead!  It just makes sense! 

    Order online here

     Get my Beautiful Autumn pdf tutorial free with any online order in September!


    It includes directions, photos and measurements for 13 cards!

    Leave a Reply

    Your email address will not be published. Required fields are marked *


Notice: LeeAnn Greff, Independent Stampin’ Up! Demonstrator, Manager. The content of this website is my sole responsibility as an independent Stampin’ Up! demonstrator and the use of, and content of, the classes, services, or products offered on this website is not endorsed by Stampin’ Up! Copyright 2025