/


Latest Post

Coloring Techniques with the Pretty Flowers Embossing folder! With video!


Have you ever added color/ink directly onto your embossing folder?  It's actually fun and the results can be amazing!  I shared three different techniques on my weekly FB Live Tuesday.  Here's a link to it on my FB page or on YouTube here.  Or scroll below to see it here.  

This first card is done by coloring on your folder with markers.  These are regular water-based markers; not Blends.  I share tips for success on this technique in the video.  

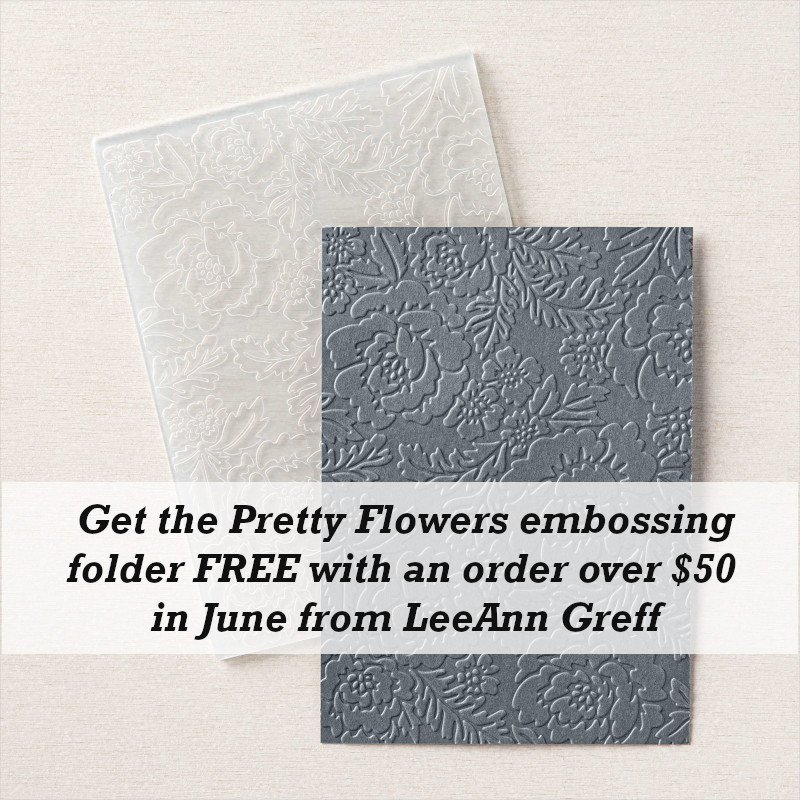
Each card features the stamp set Create with Friends seen here.  I love this set! The embossing folder is called Pretty Flowers; it's my free gift for online orders over $50 in June! *see it here

I chose to use Soft Succulent on both cards adding Pale Papaya on the left and Fresh Freesia on the right.  Love our newest In Colors!!!  The greeting layer is from the Tasteful Label dies. 

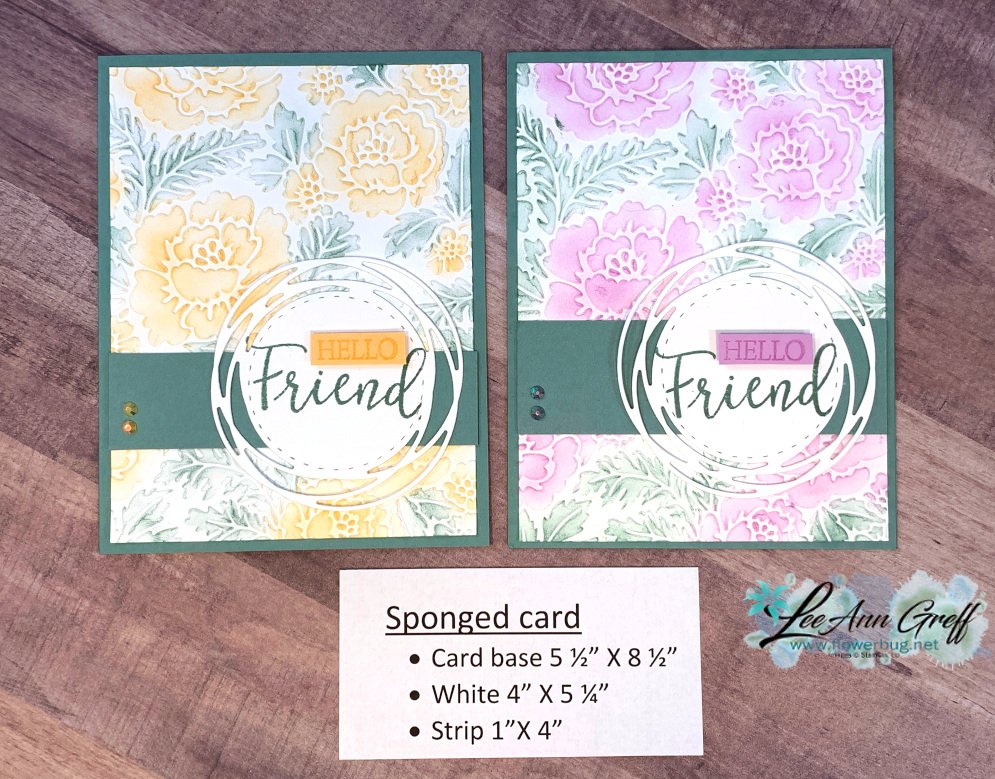
Next is a sponging technique.  I embossed the White CS with the folder in the die-cutting machine first.  Then used sponge daubers to color the White CS.  I highly recommend you use pastel colors for this for the best results. It's much more forgiving! 
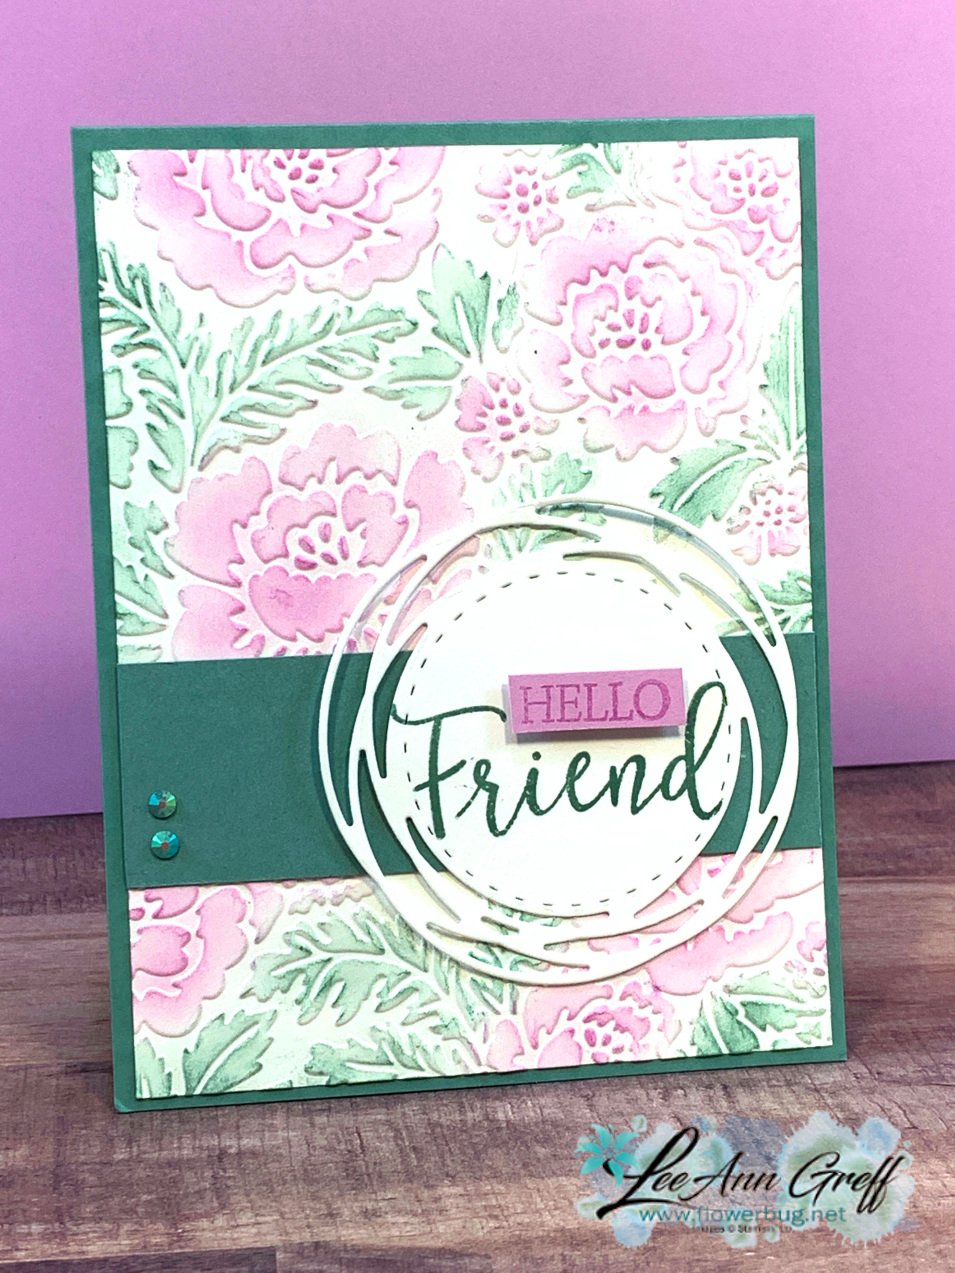
I used the Poppy dies for the greeting layer. 
And the last technique is to add ink directly onto the folder itself; before you run it through.  Press your ink pad lightly to the side of the folder you want inked.  Do this lightly to avoid getting ink in the recesses of the folder.  Again; watch my video for more tips! 

The pretty die-cut for the greeting is from the Potted Succulent dies seen here.  
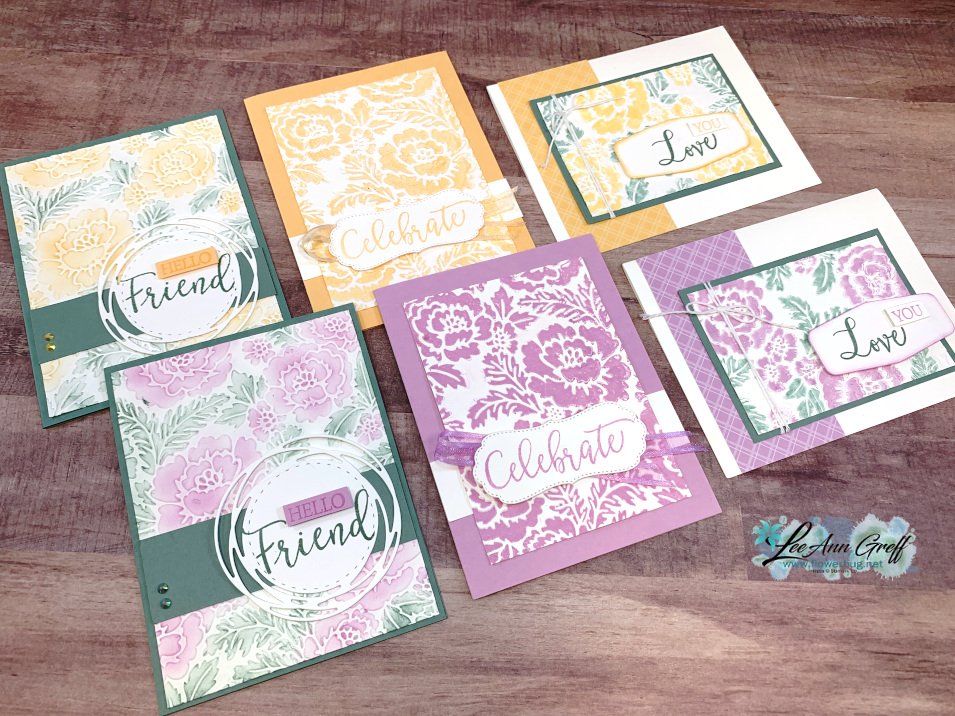
*Below is the video with lots of specific tips on being successful with these techniques. Click on it to watch.

June Specials:

The last chance list is out!  Check out the retiring and discounted products here. 


Host code: RB3VHBUK  Click here to order

Use this host code if your order is under $150. If it's over you'll still get the embossing folder but you'll also earn host benefits! Better yet, choose the Starter Kit and choose $125 in product and FREE Shipping as well!  Click here!

*All online orders in May receive a free PDF full of project ideas with 2 new catalog suites! 

All Posts

  • Festive Corners Triangle Christmas Tree Card


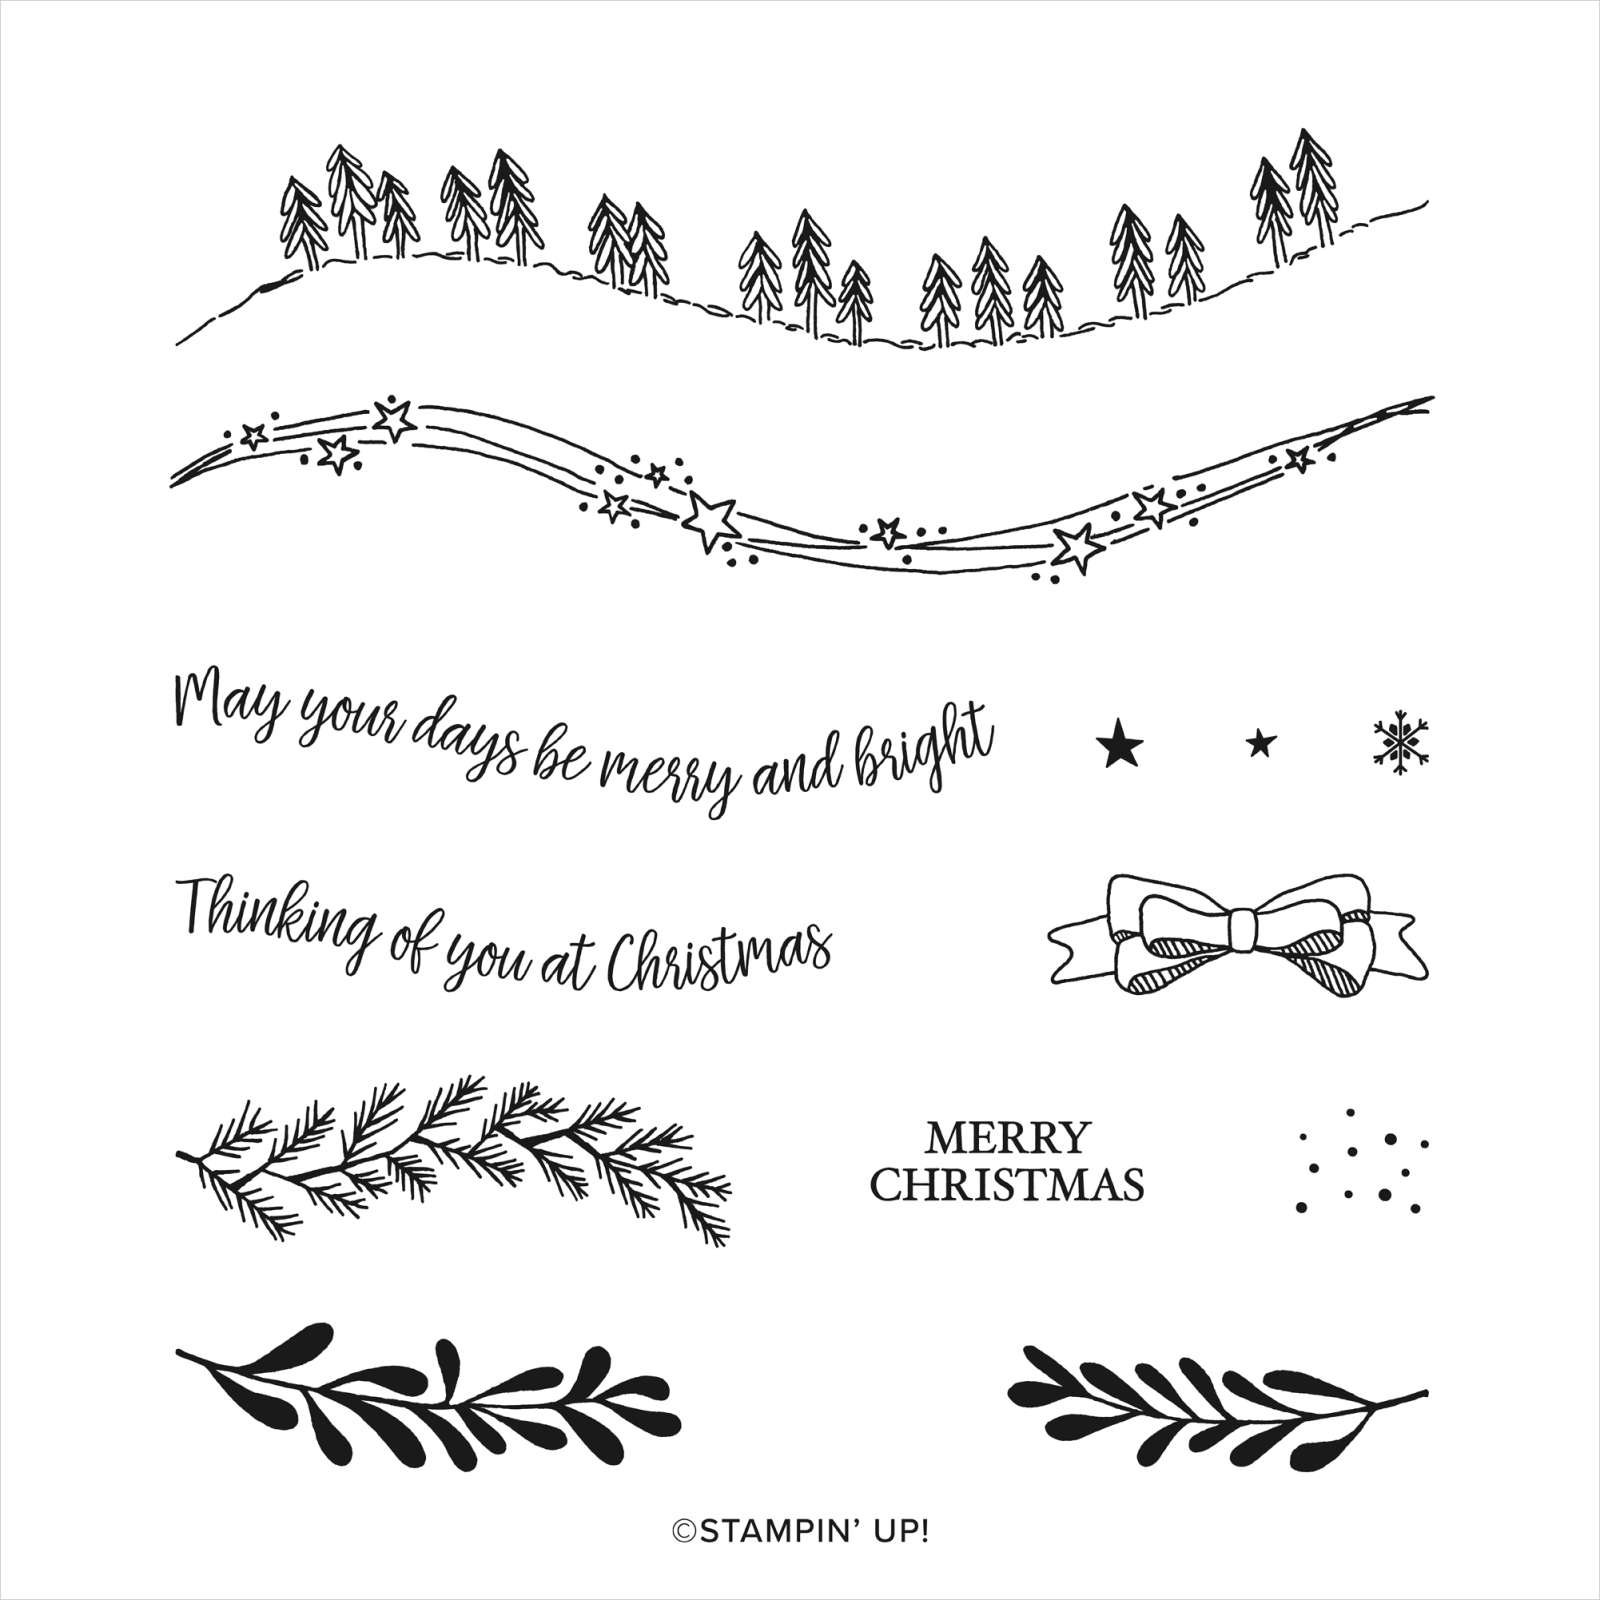
    Look at this cool swap card Paula made using the Festive Corners stamp set seen here and the Stitched Triangle dies! 

    She used Pear Pizzazz, Real Red & Mossy Meadow card stock and the classic Heartwarming Hugs Designer Paper.  And she saved paper by cutting out the DSP triangles from her large designer paper layer (behind the White CS).  I love that!!

    Check out the Triangle Dies here and the Heartwarming Hugs DSP here. 

    I'll be sharing lots of my Team swaps this week; stay tuned!

    ~~~

    November Specials!

    Current Host code is GRC9VVUU


    All online orders receive my FREE Curvy Celebrations 22 project PDF Tutorial! 

    Leave a Reply

    Your email address will not be published. Required fields are marked *

  • Another Stunning Fall Framed Sampler project!


    Here's the second Framed Sampler project from the swap my Flowerbug's Team held earlier this month.  they always impress me with their talent. Check out the first one here. 


    I love each and every one! 

    We chose to use colors in the Gilded Autumn specialty designer paper for our swap.  We could create any shape or design we wanted to within the Fall theme.  It seems to always work out that we have a nice variety of sizes etc.

    Thanks for stopping in!  Have a wonderful weekend!

    ~~~

    October Specials!

    Current Host code is GRC9VVUU

    ***Tomorrow is the last day for the Designer Paper Sale; click here!

    Get a free package of Adhesive Backed Snowflakes in October with an

    online order over $45. 


    All online orders will receive my Tutorial of the Month featuring the

    Poinsettia Petals suite!

    Leave a Reply

    Your email address will not be published. Required fields are marked *

  • Wow; look at this gorgeous Fall Sampler!!


    Earlier this month my Flowerbug's Team held a Fall Sampler swap.  We each created one element and made multiples of it for everyone in the swap.  These swaps are super fun to make!  The only rule we have is that everything is current Stampin' Up! product and the colors coordinate with the Gilded Autumn Specialty Designer Series Paper.  

    Look!!

    Isn't it amazing!?  We had enough people to make two!  I'll share the other one tomorrow.

    I adhered each piece on a 12" sheet of the In Good Taste designer series paper.  This texture style paper is on sale right now in October!  But there's just two days left to get it!  Go here to order yours. 

    ~~~

    October Specials!

    Current Host code is GRC9VVUU

    Designer Paper Sale; click here!

    Get a free package of Adhesive Backed Snowflakes in October with an

    online order over $45. 


    All online orders will receive my Tutorial of the Month featuring the Poinsettia Petals suite!

    Leave a Reply

    Your email address will not be published. Required fields are marked *


Notice: LeeAnn Greff, Independent Stampin’ Up! Demonstrator, Manager. The content of this website is my sole responsibility as an independent Stampin’ Up! demonstrator and the use of, and content of, the classes, services, or products offered on this website is not endorsed by Stampin’ Up! Copyright 2025