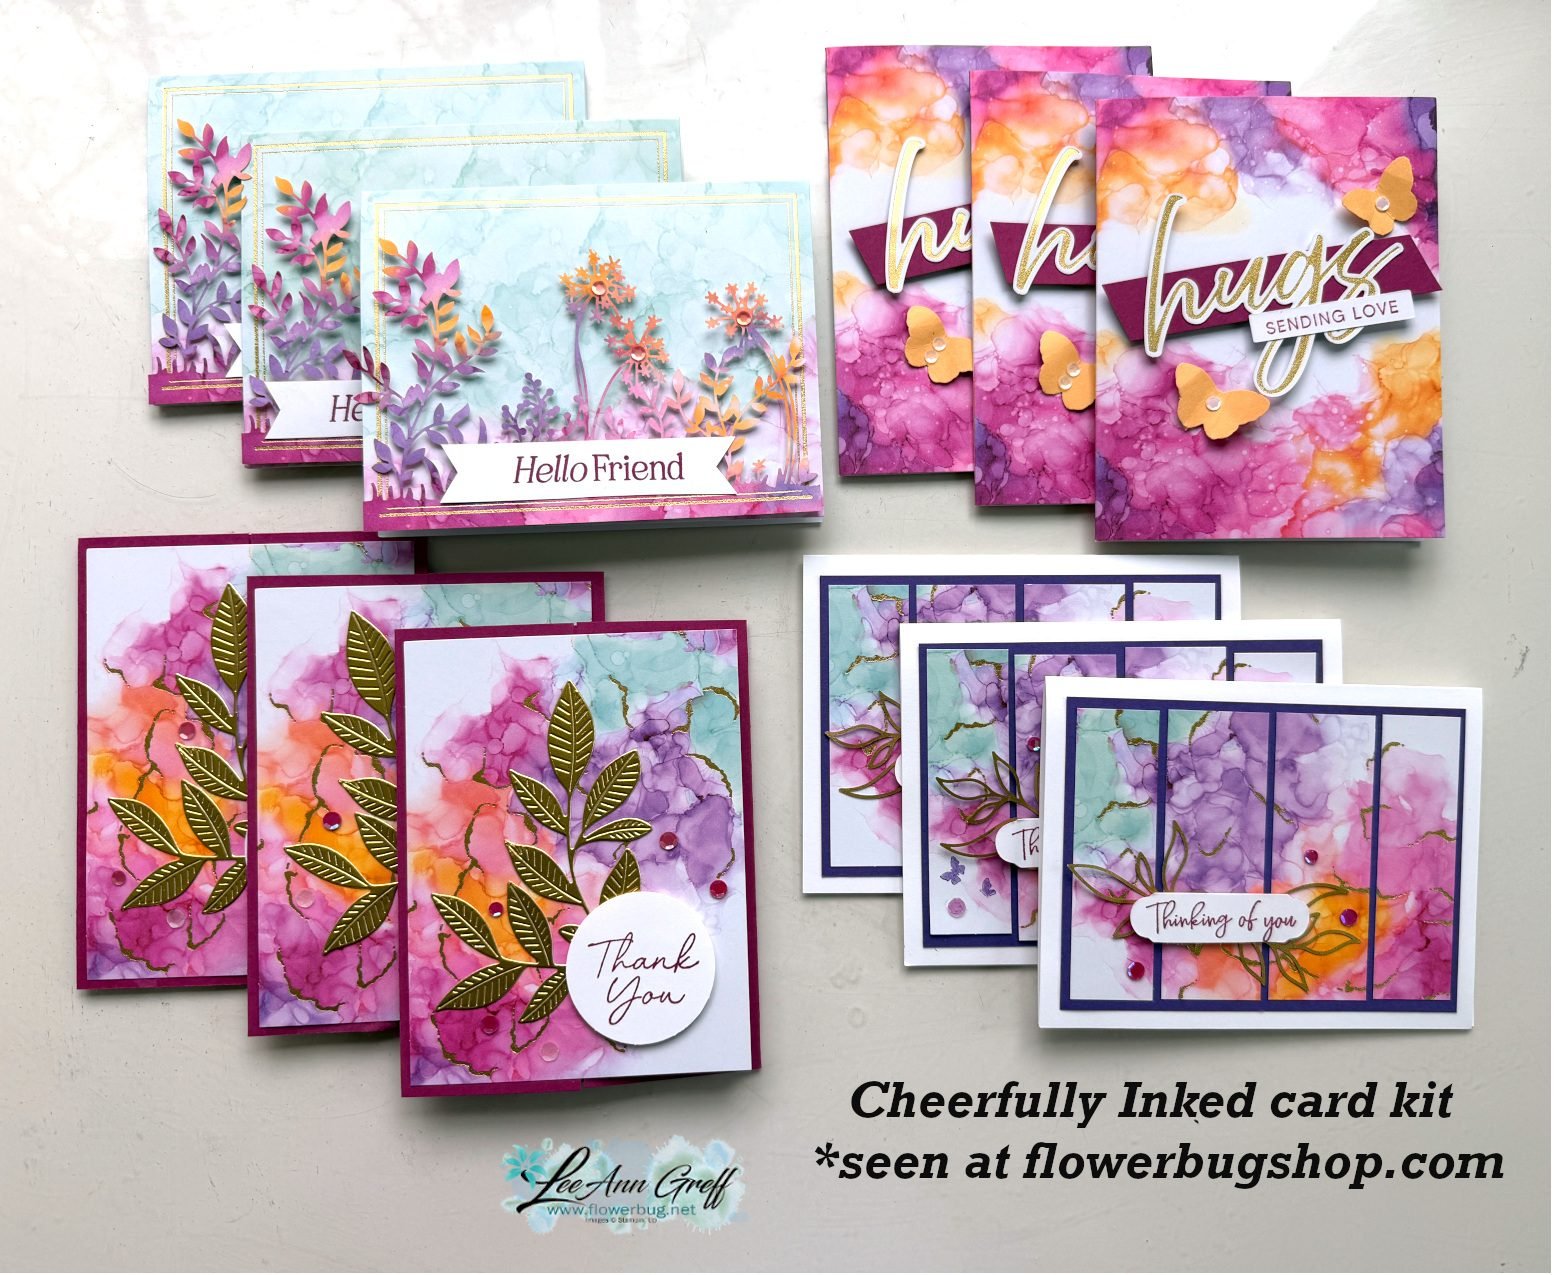
Cheerfully Inked card kit to go; reserve yours soon!
Because we’re moving to Bismarck in July I will have just one card kit to go in June. I will be busy packing and moving so I’m cutting back on blog posts, videos and creating for a few weeks.
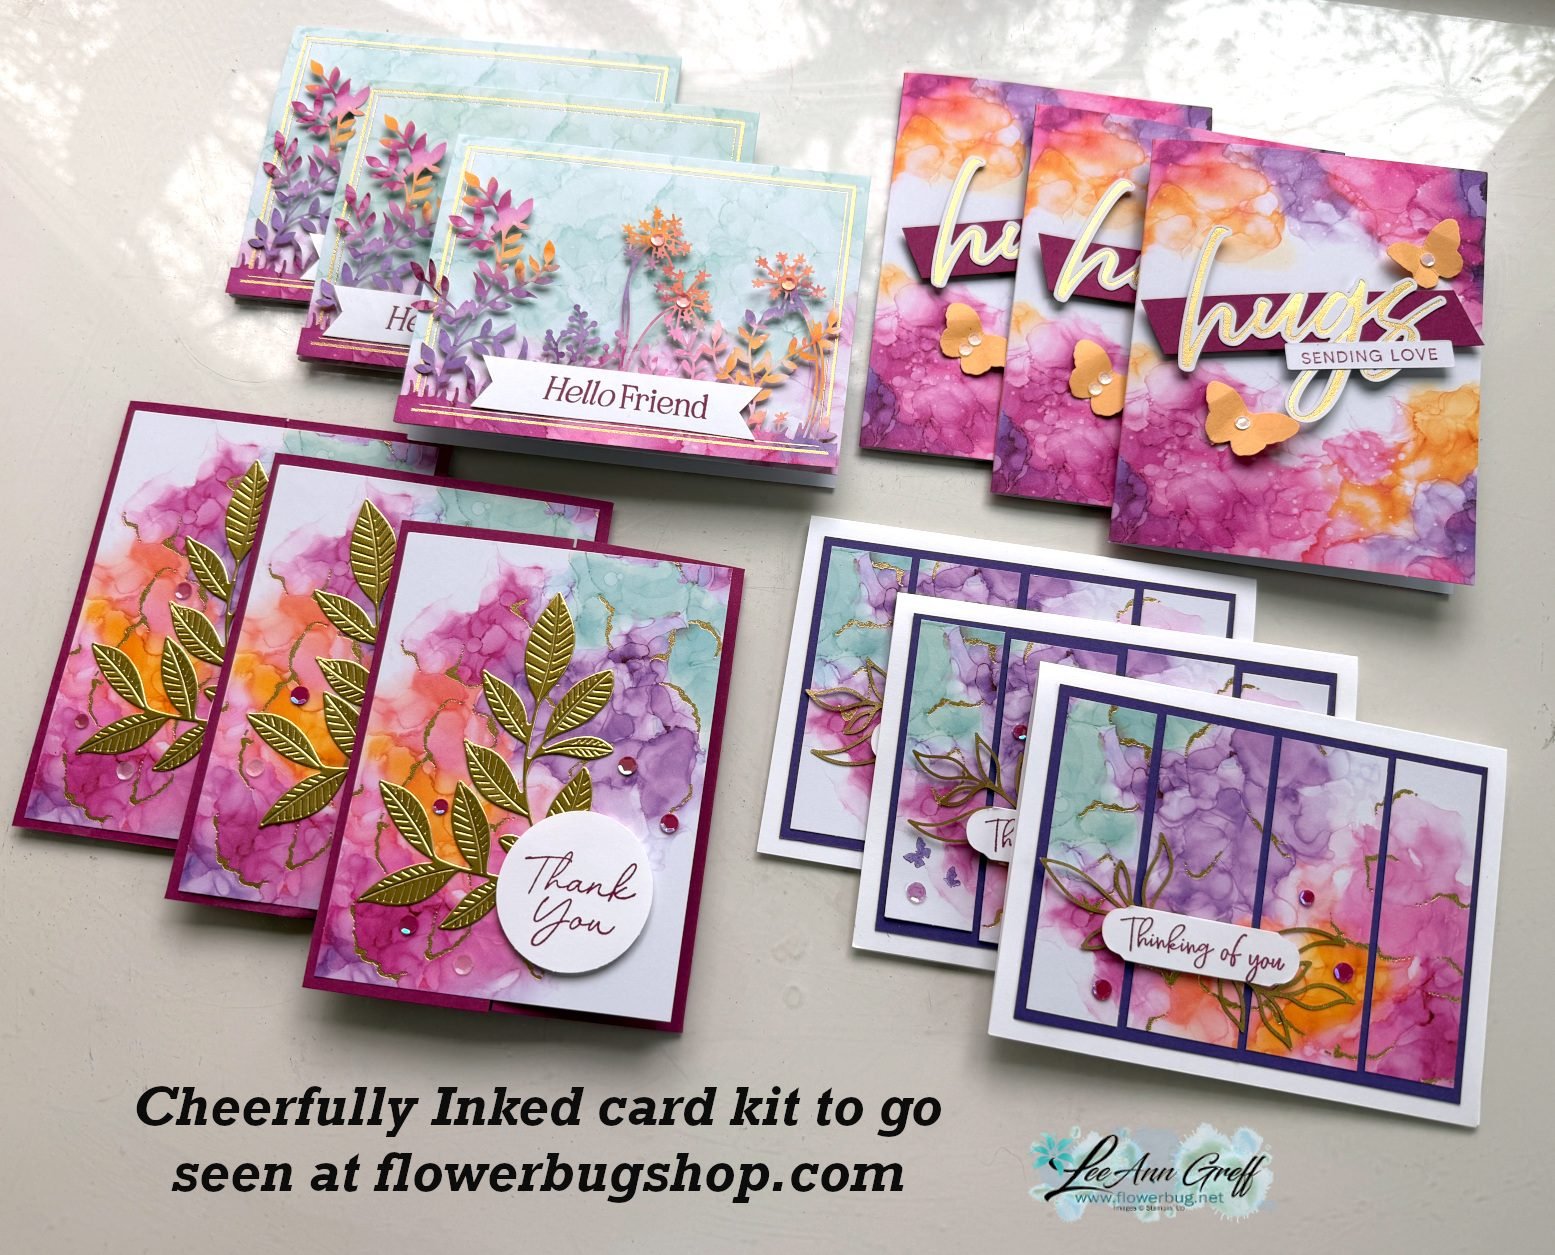
This kit to go features the Inked Occasions Paper Pumpkin kit. Look how colorful and beautiful they are?! Of course I changed up the original kit to create these:
You canreserve your kit here; they’re $31 for all 12 cards with envelopes. It includes all die-cuts and layers plus a share of pretty sequins. You’ll receive the PDF tutorial immediately after purchase; check your junk folder.
I also have a PDF tutorial option if you already own this Paper Pumpkin kit. It’s $16. See that here.
Fancy fold swap cards by my Flowerbug’s Team – with measurements!
We swapped Fun Fold cards with my team in February and they knocked it out of the park! I've already shared quite a few of their cards with you and today I have more yet!
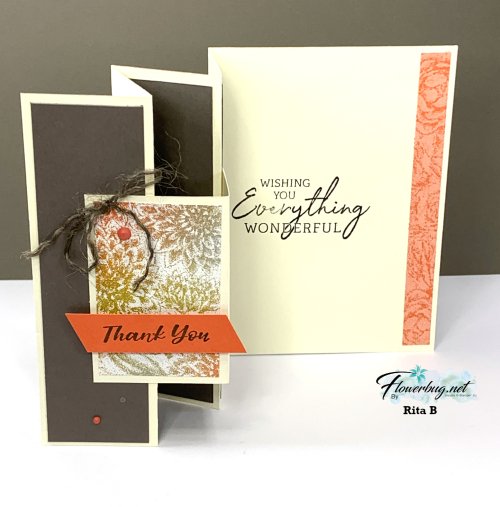
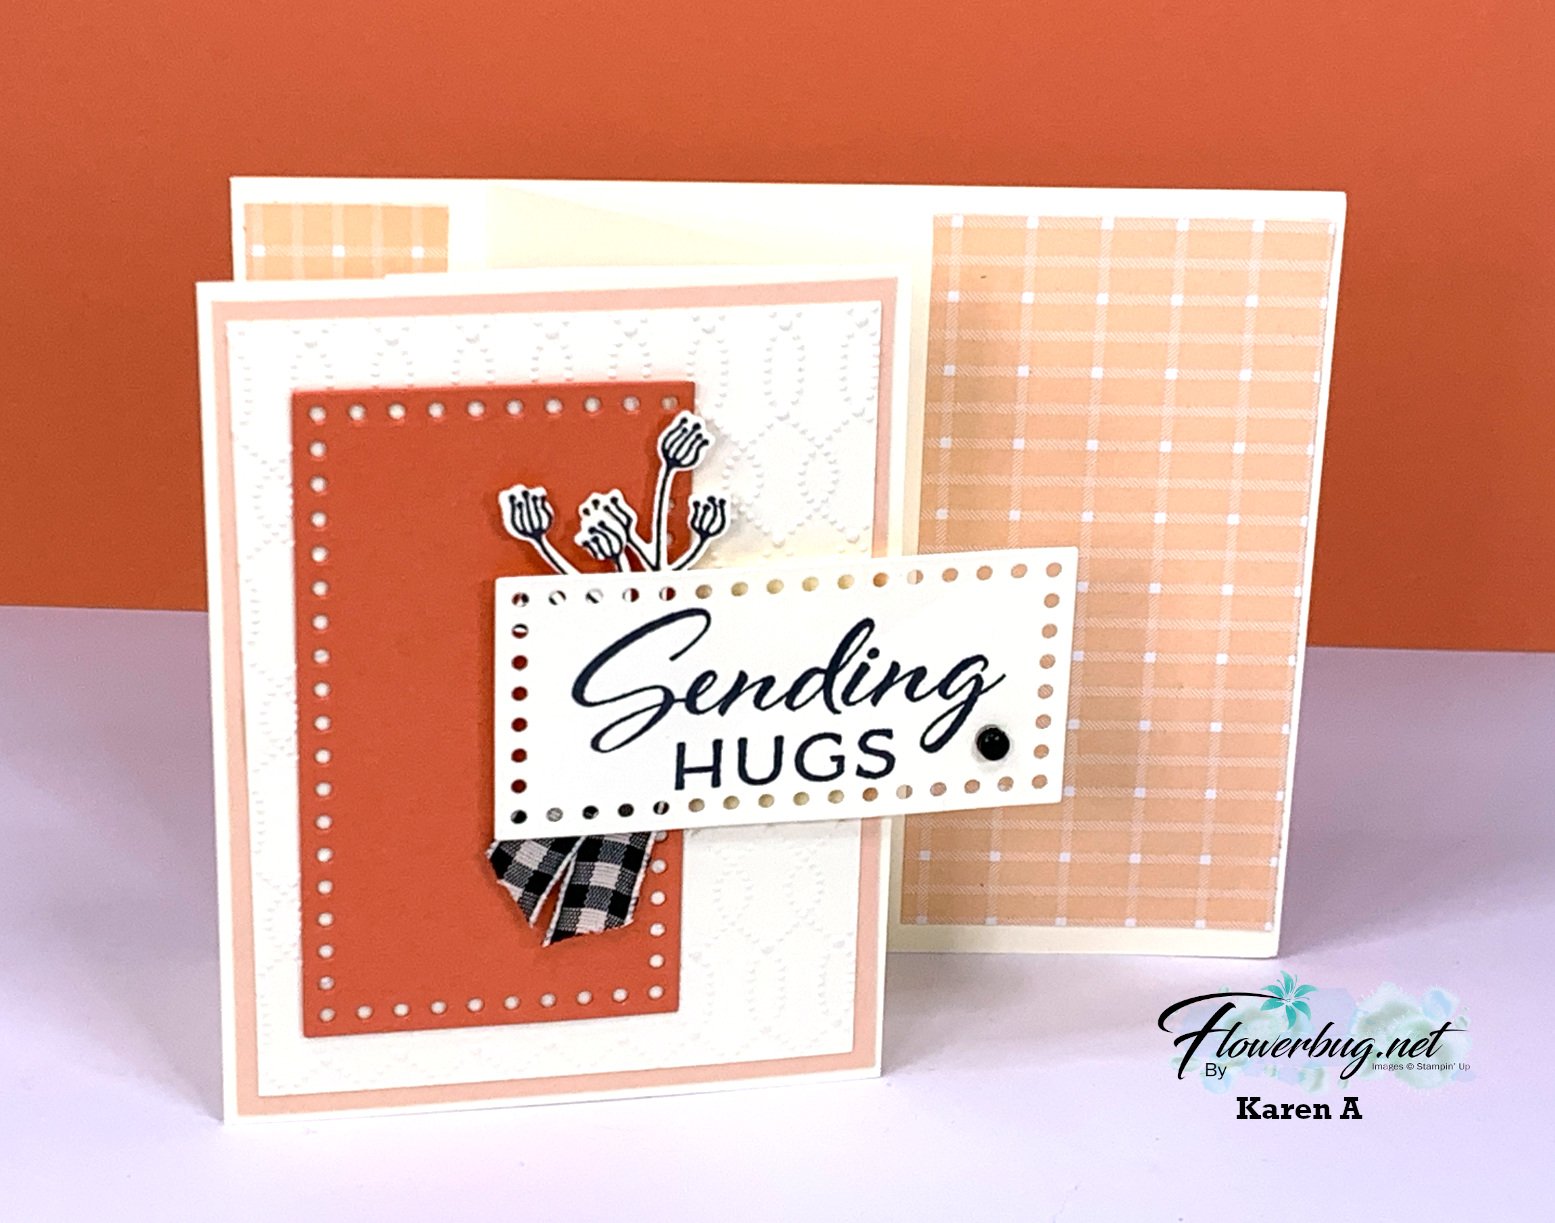
First up today is a pretty card made by Karen. She found a new fun fold that's a take on a 'book-binding' fold but now completely new with just one additional piece.
She used the Softly Stippled designer paper – a free choice during Sale-a-Bration with any $50 purchase. Her colors include Calypso Coral, Black, Petal Pink and Vanilla.
Measurements:
Vanilla card base 4 1/4" X 11" scored at 2 1/8", 4 1/4" & 5 1/2", 2nd Vanilla layer is 3 1/4" X 4 1/4", textured layer is 2 7/8" X 3 7/8", die-cut greeting (Everyday Detail dies) is 2 3/4" X 1 3/8"
Petal Pink is 3 1/8" X 4 1/8"
Calypso Coral die-cut (Everyday Detail dies) is 1 3/4" X 3 1/4"
Designer paper – 2 pieces – 1" X 4" for book binding fold, 2" X 4" on right side.
~~~
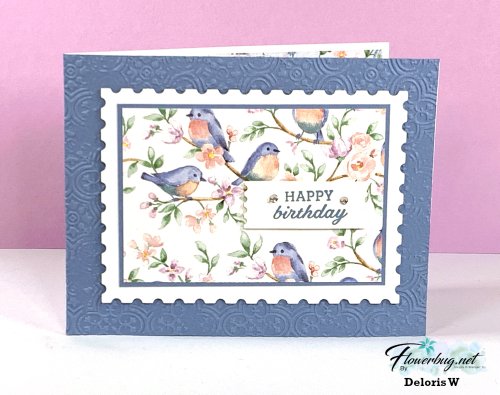
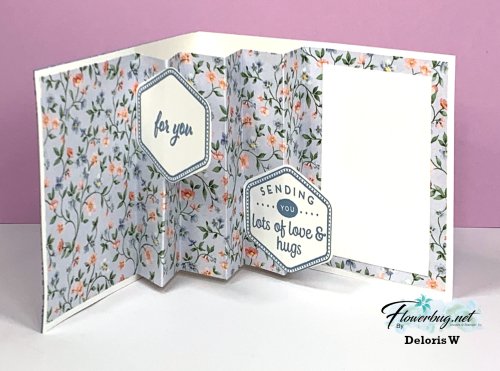
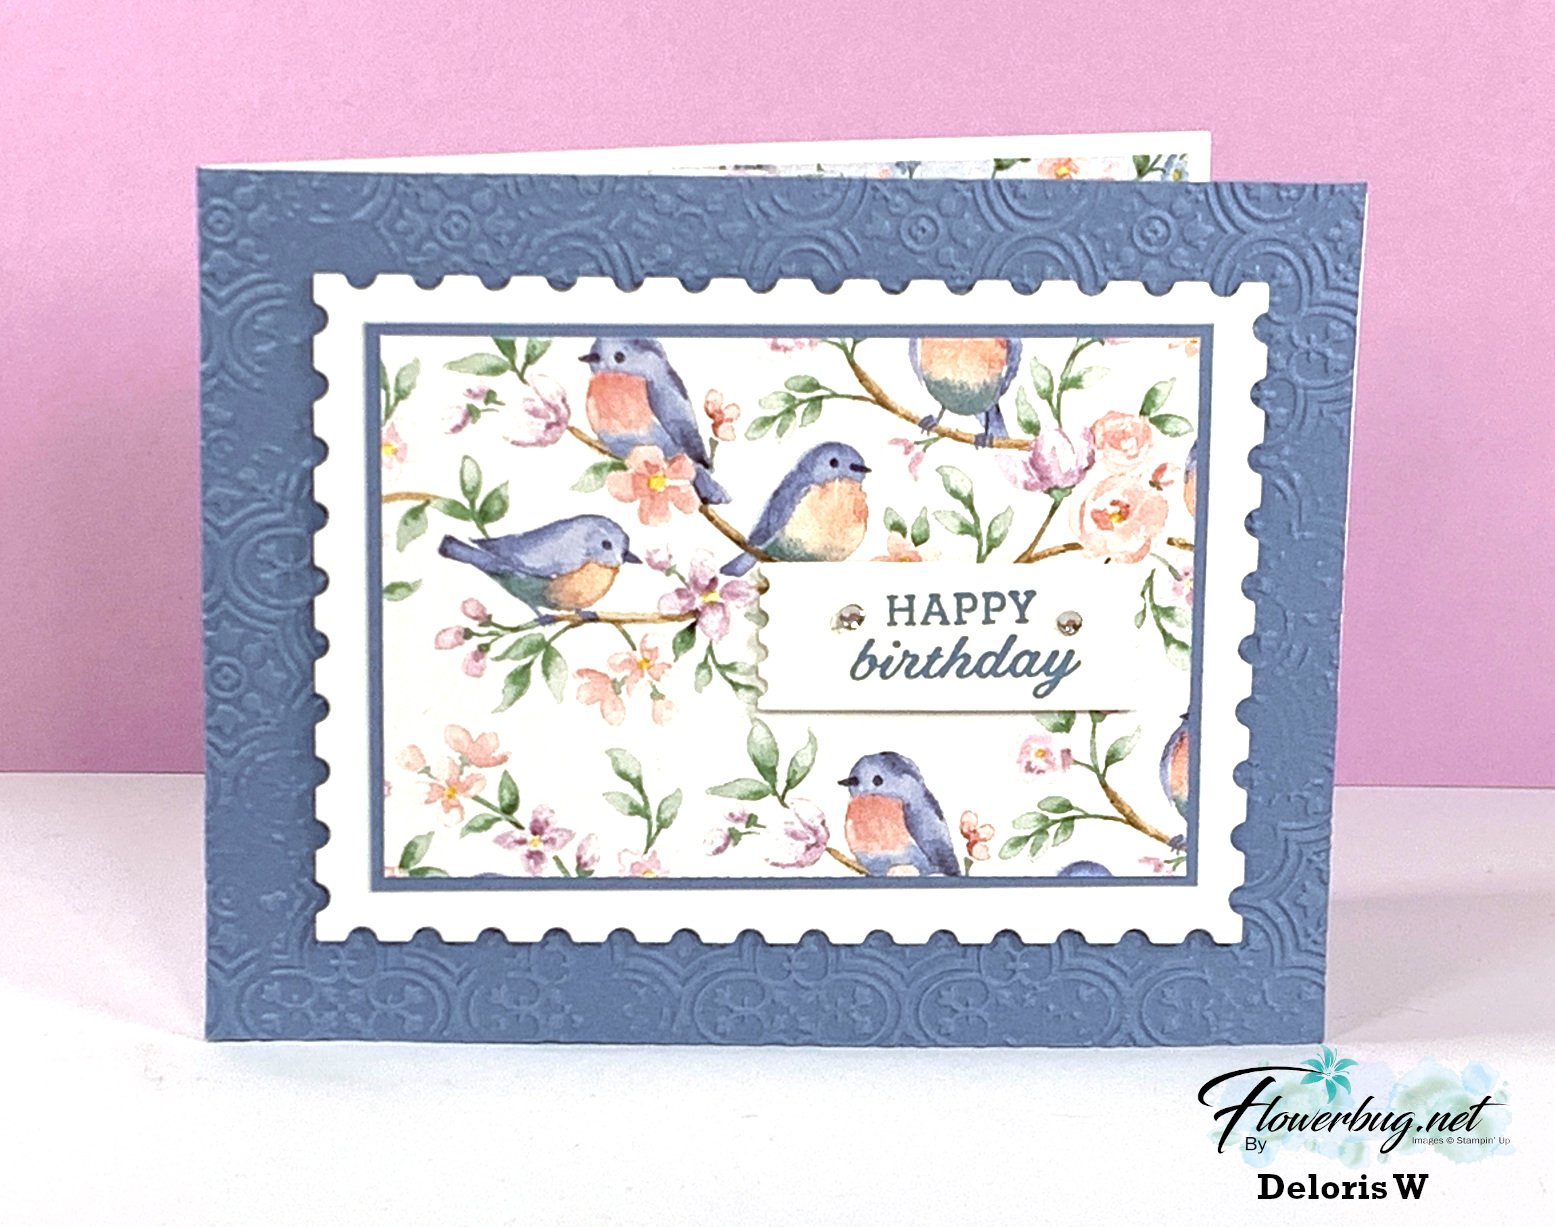
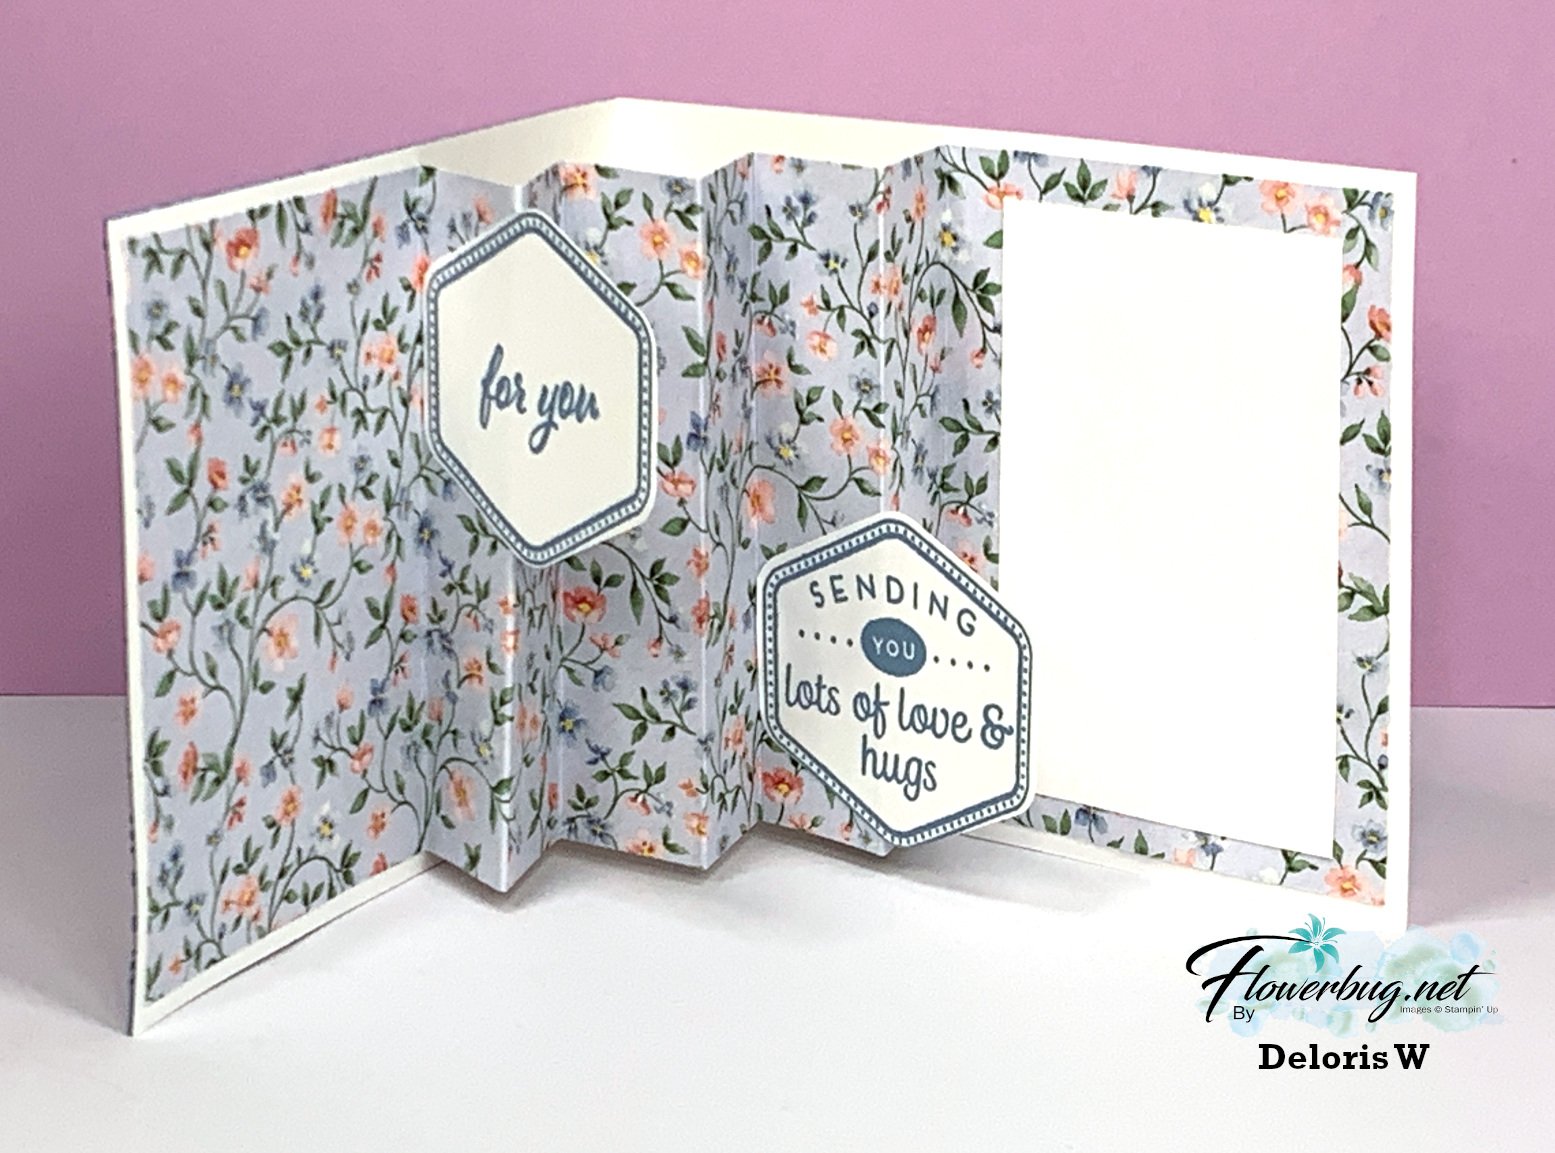
This next card was made by Deloris who chose the Flight & Airy designer paper, also in our Sale-a-Bration offering in February. It's also free with any $50 purchase from Stampin' Up!.
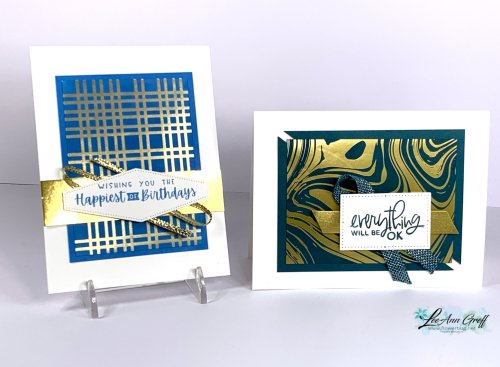
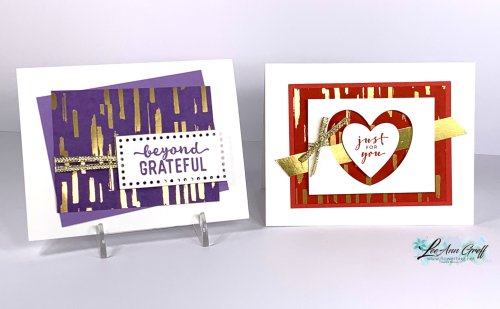
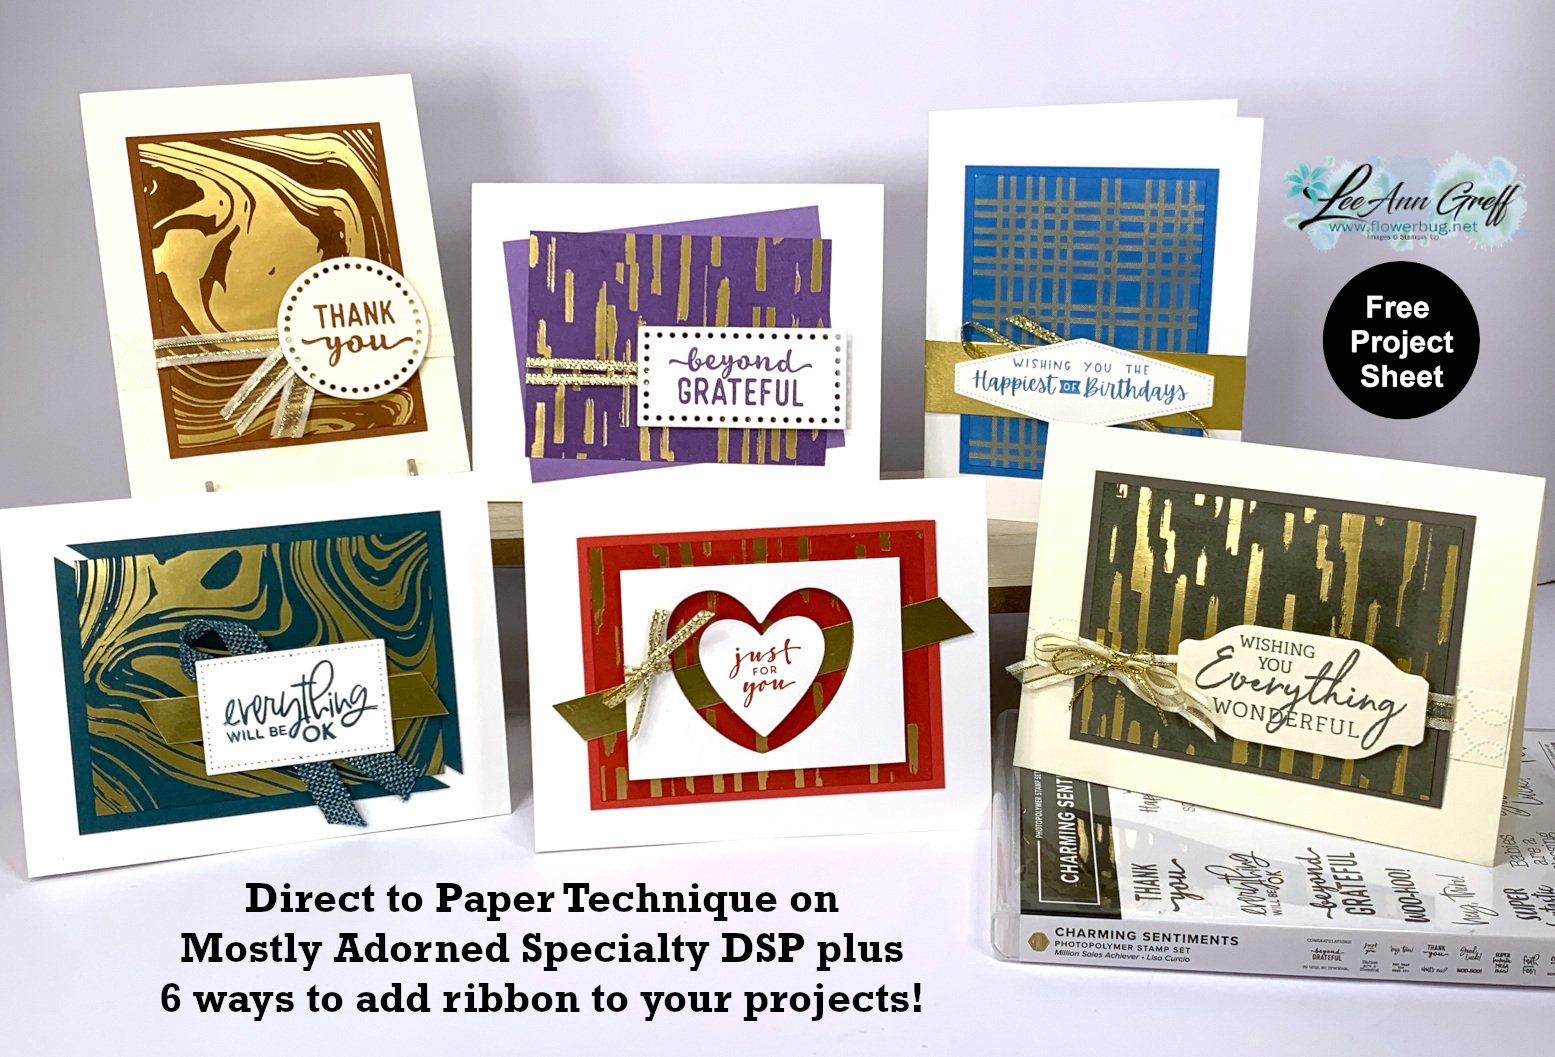
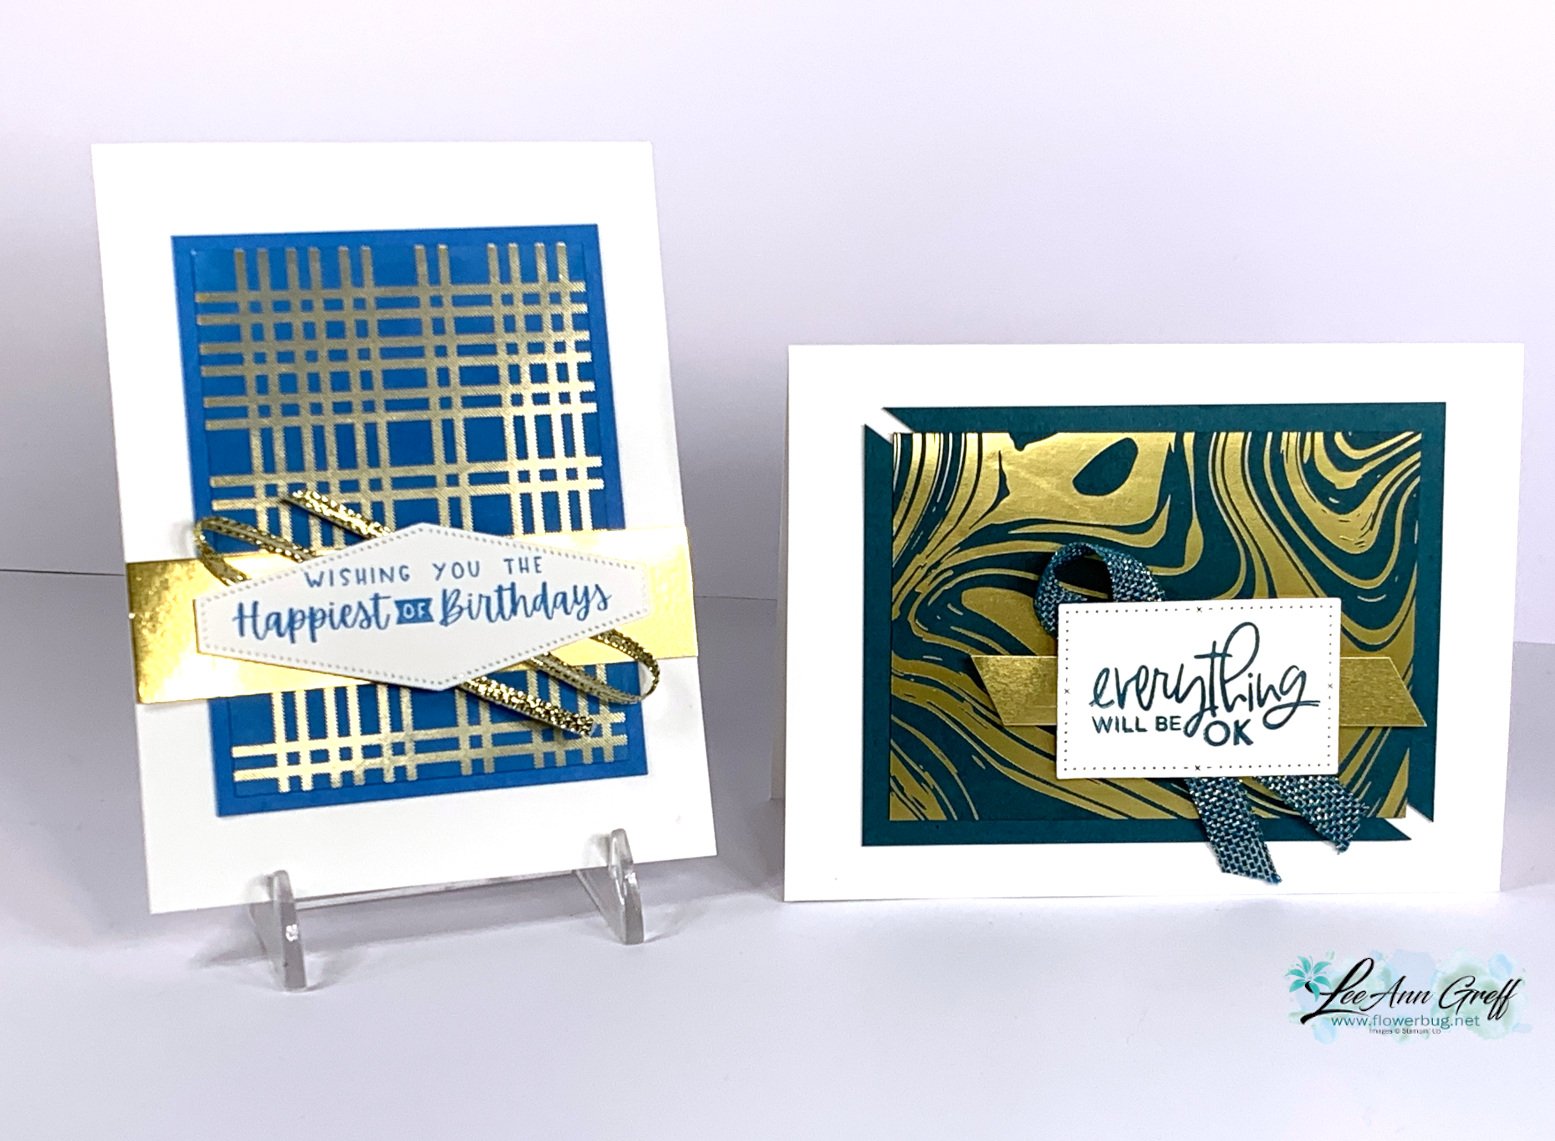
Anytime we have designer papers with foil designs I think of this fun technique! It's basically rubbing or tapping your water based ink pad onto the designer paper. The ink soaks into the background but resists the foil designs. Simply wipe the excess ink off the foil with a tissue – done!
The colors above are Azure Afternoon and Pretty Peacock. Notice the different ribbon techniques and layouts. The left card has loops of ribbon added to the greeting label; the right has a simple fold of ribbon.
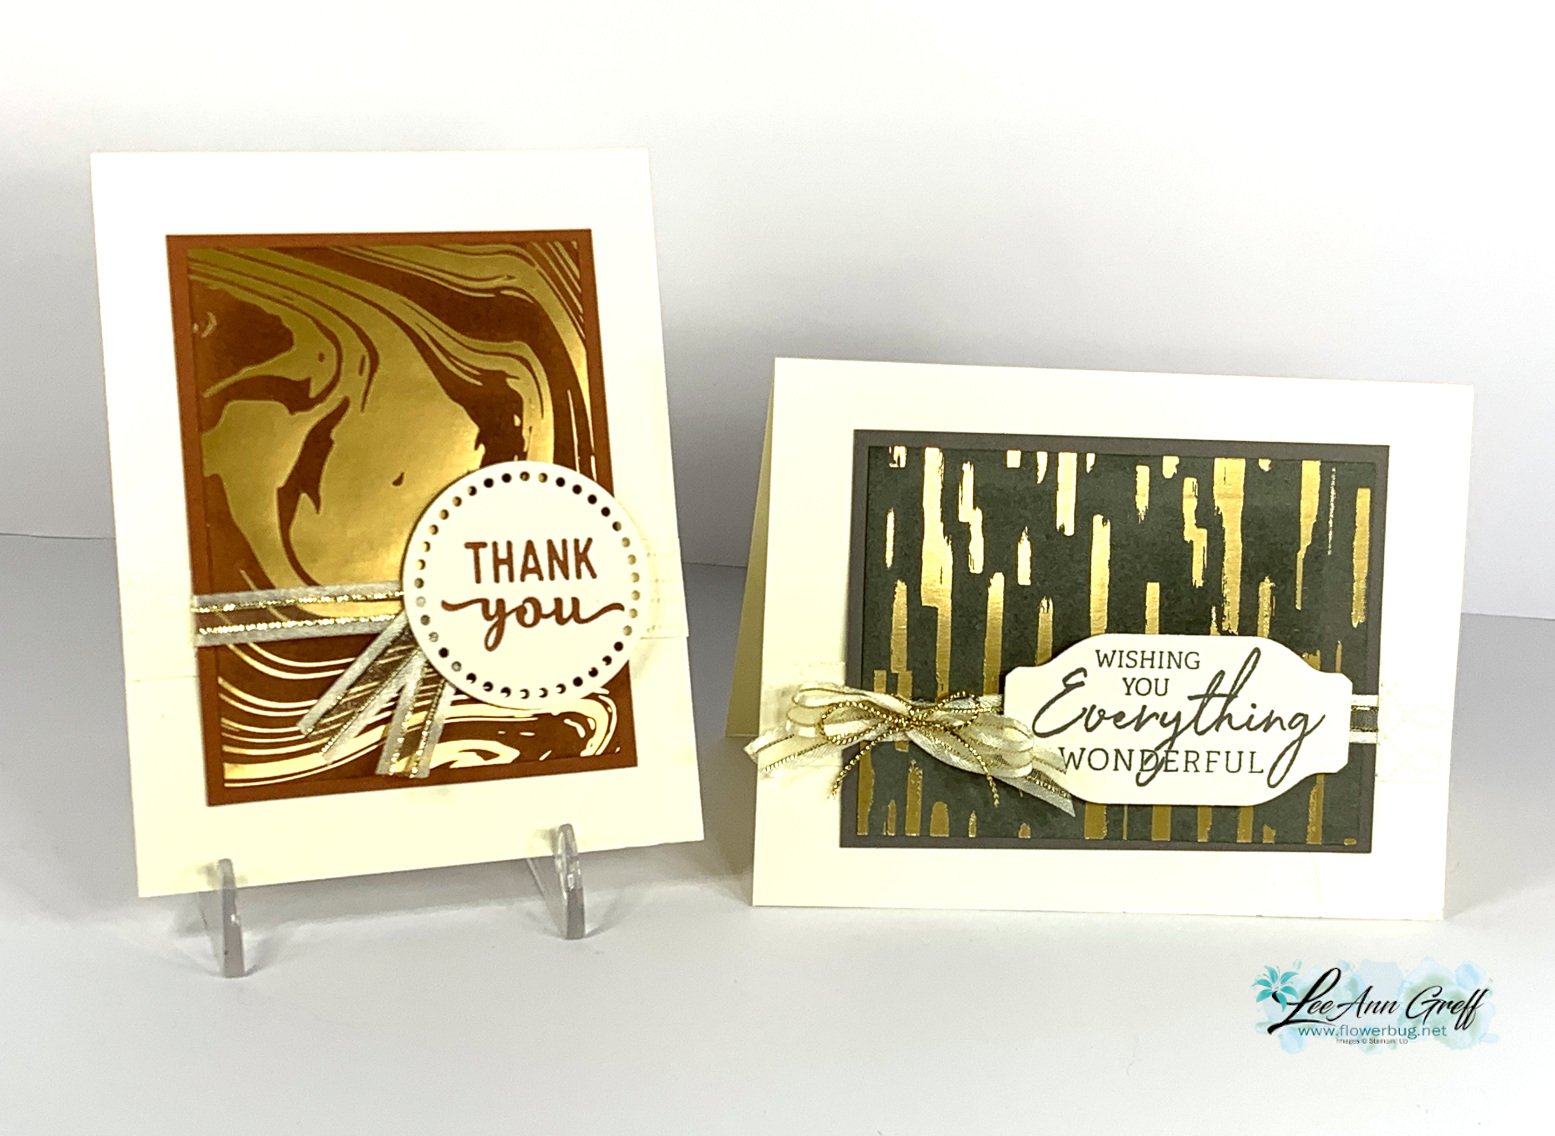
Each card has two main pieces – the designer paper is 3" X 4" and the layered, coordinating card stock is 3 1/4" X 4 1/4". Check out the different layouts with these basic pieces.
The left card above is Highland Heather and the right is Sweet Sorbet. A few more examples of ways to add ribbon and change up this simple layout. I added two thin strips of ribbon across the left card and tied a bow around the window frame on the right.
Remember this pretty specialty paper is available through February during Sale-a-Bration. It's free with any $50 Stampin' Up! purchase. See it here.
Keeping to a basic layout like this is a wonderful way to get a bunch of cards done quickly and use up your designer paper at the same time! I chose the Charming Sentiments stamp set for all of my greetings.
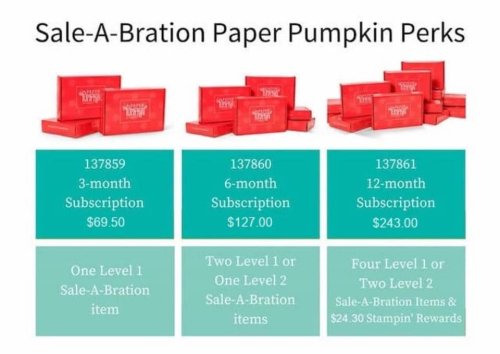
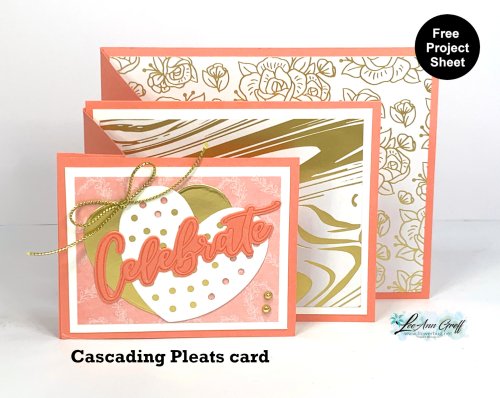
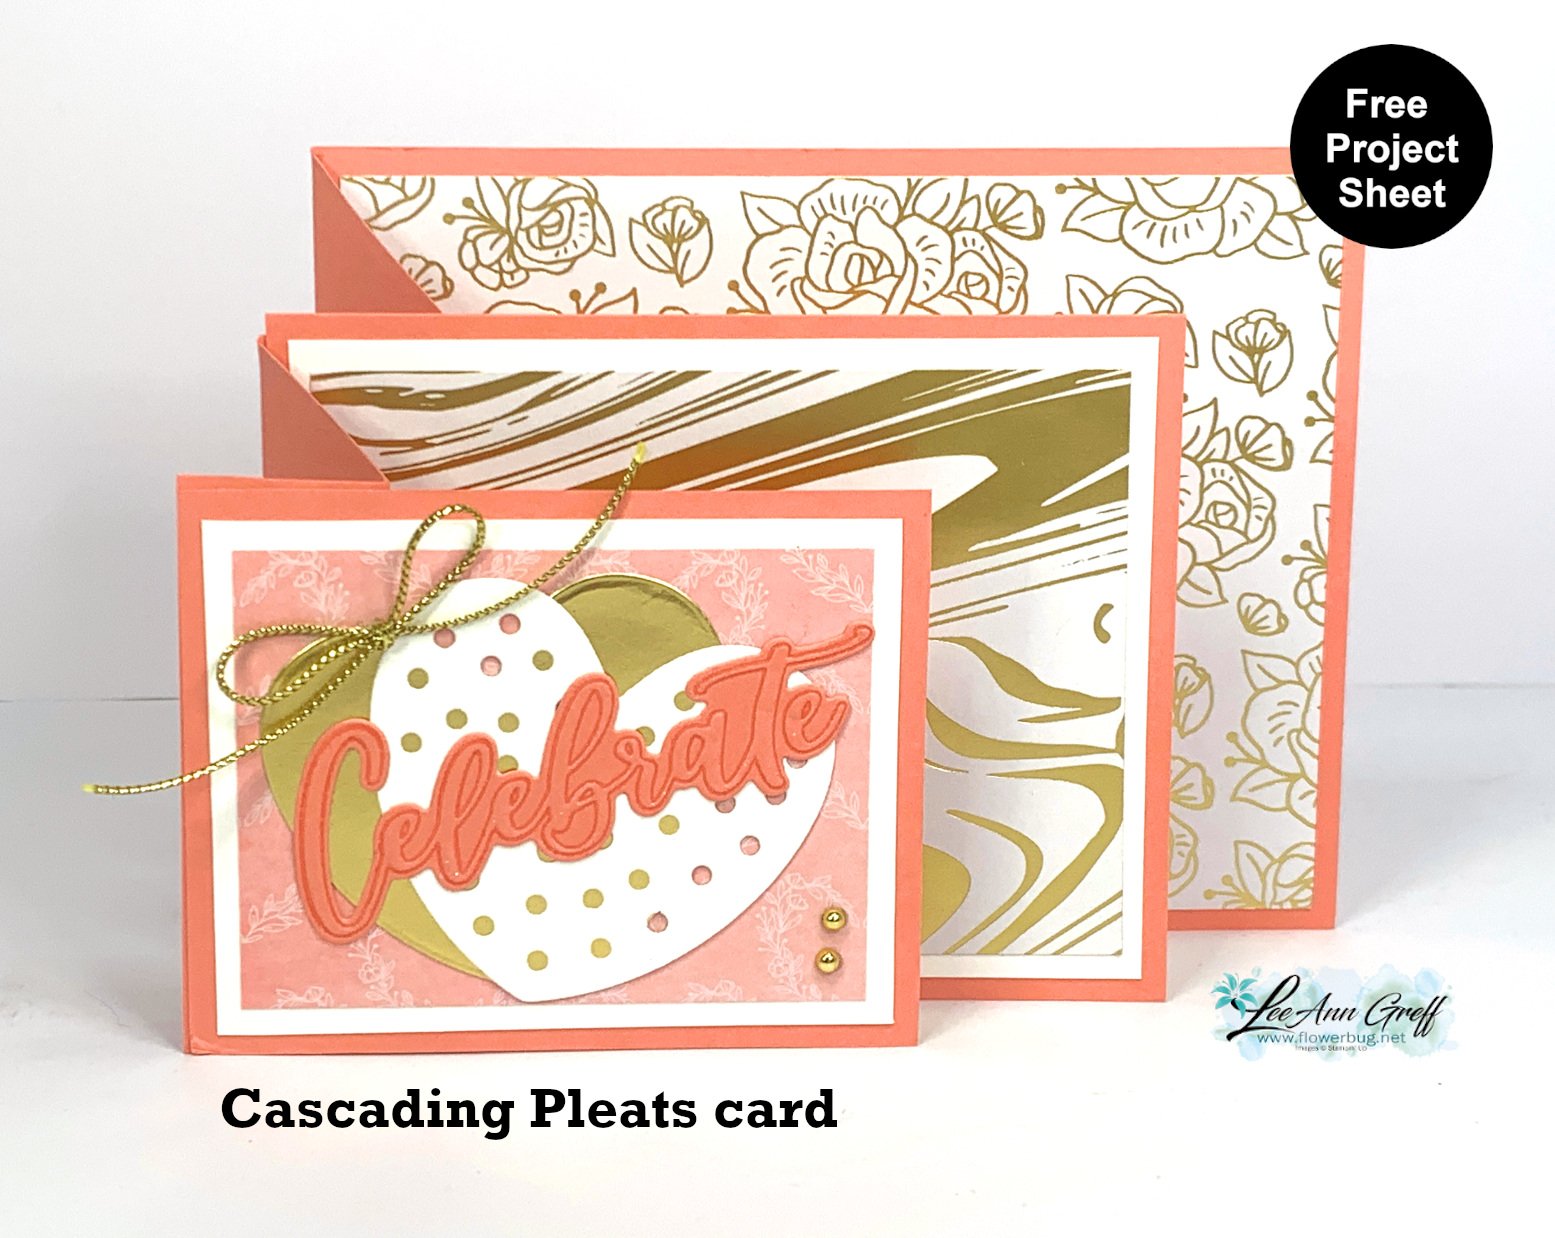
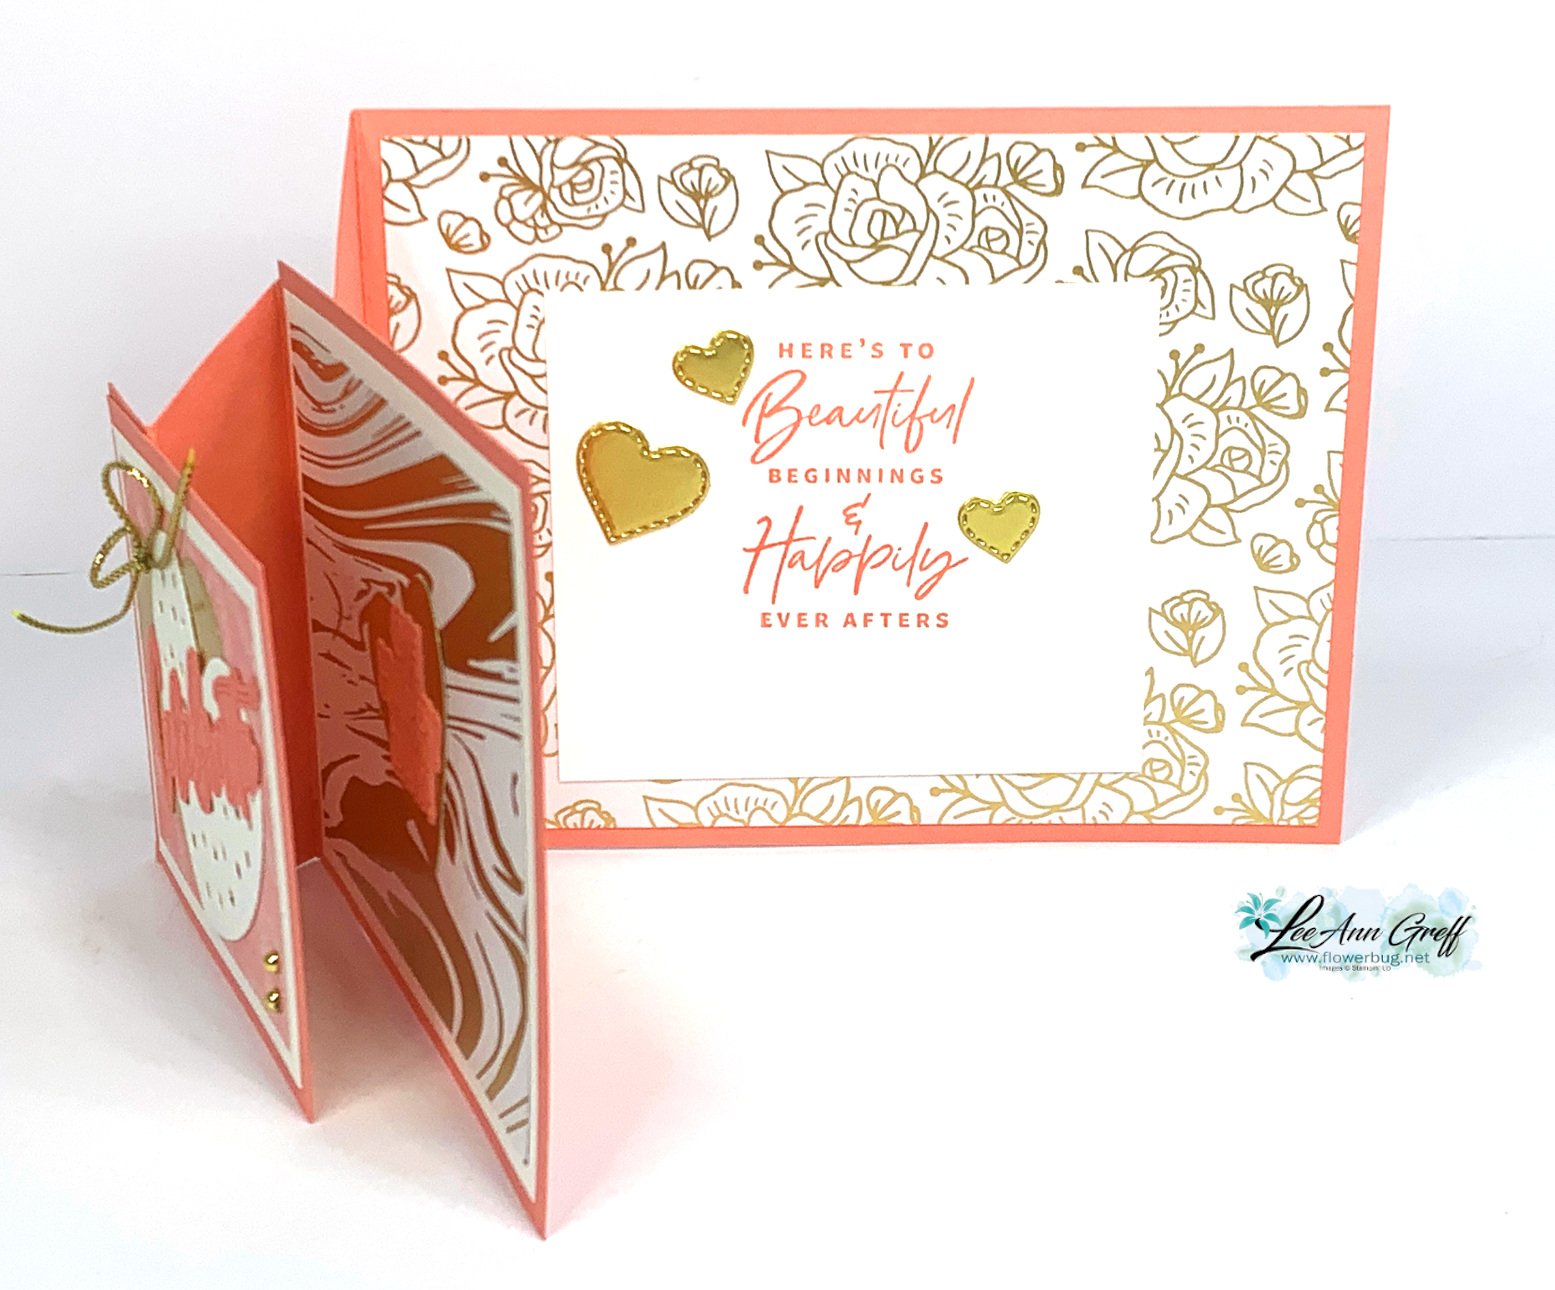
I chose to feature the Most Adored Specialty designer paper for my video projects. On this card I used both the Flirty Flamingo side and the Gold Foiled sides of this pretty paper. See it here. It's free with any $50 order through February during our Sale-a-Bration promotion – or while supplies last.
I have full measurements in my free project tutorial below but it will help you a lot to watch the video.
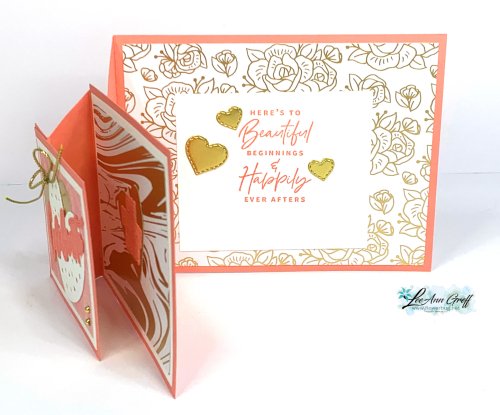
There are three layers and they 'cascade' in sizes from smallest in the front to largest in the back. Each has 2-3 layers.
Other products used include: Thoughtful Moments Hybrid 3D embossing folder, Hooray for Surprises bundle, Give it a Whirl dies, Something Fancy stamp set, Gold foil paper & Elegant Trim.
Notice: LeeAnn Greff, Independent Stampin’ Up! Demonstrator, Manager. The content of this website is my sole responsibility as an independent Stampin’ Up! demonstrator and the use of, and content of, the classes, services, or products offered on this website is not endorsed by Stampin’ Up! Copyright 2025

























Leave a Reply