/


Latest Post

Check out this ‘Tackle box’ with the Gone Fishing bundle! Amazing!!


Today I'm sharing the last projects Candace made with the Gone Fishing and Let's Go Fishing designer paper.  She was our Artist of the Month for June and created some incredible projects!  

I was blown away by this 'tackle box' full of candy.  She told me she made it up herself!  AMAZING!! 
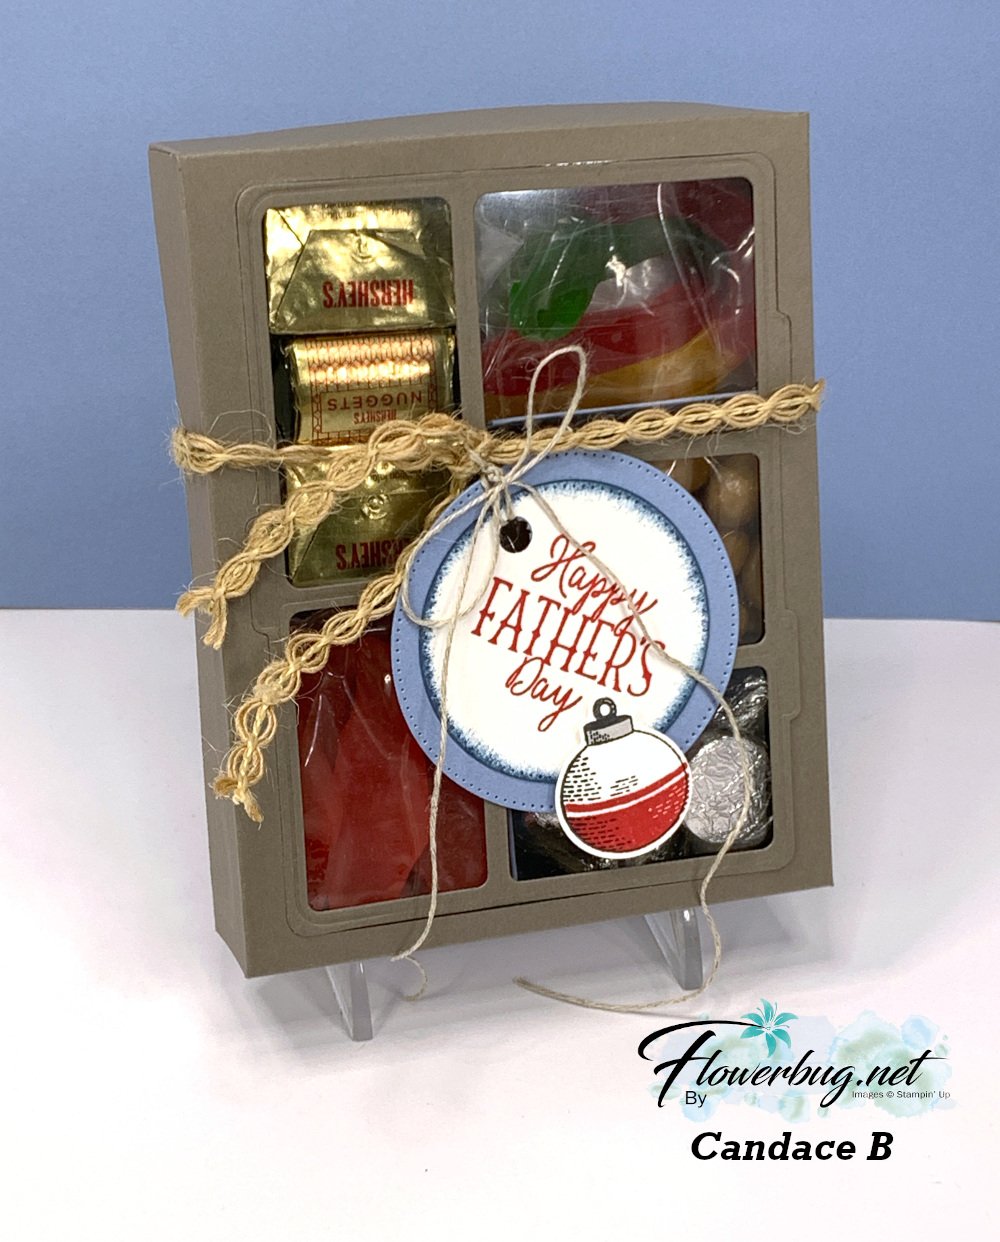
She added gummy fish & worms, kisses, candy 'rocks' and nuggets inside.  I believe she first scored her box front then used the Gone Fishing large die to cut the windows for the front panel. Scoring first would help you center the die. Then she added the window sheet to the underside.  The window sheet holds the die-cut frame and the box front in place. 

Measurements for the box: *corrected

  • top of box 6 1/4 X 7 1/2" score 1" on all sides
  • bottom of box 6 1/8" X 7 3/8" score at 1" on all sides
  • window sheet 4 1/8" X 5 1/4" 
  • left inside divider (two compartments) is 1 7/8" X 6 3/4" score at 2 3/4", 3 1/2" & 4 1/4" 
  • right inside divider (three compartments) is 2 1/8" X  8 1/4" scored at 2", 2 3/4", 3 1/2", 5 1/8", 5 7/8" & 6 5/8" 
  • inside bottom (under the two divided sections) 5 1/4" X 5 5/8" score at 1 7/8", 2 5/8" & 3 3/8"

To assemble this you'd add the long vertical divided piece first and then the two scored strips after that.  

I made a birthday version of this box. You can watch the video here.  

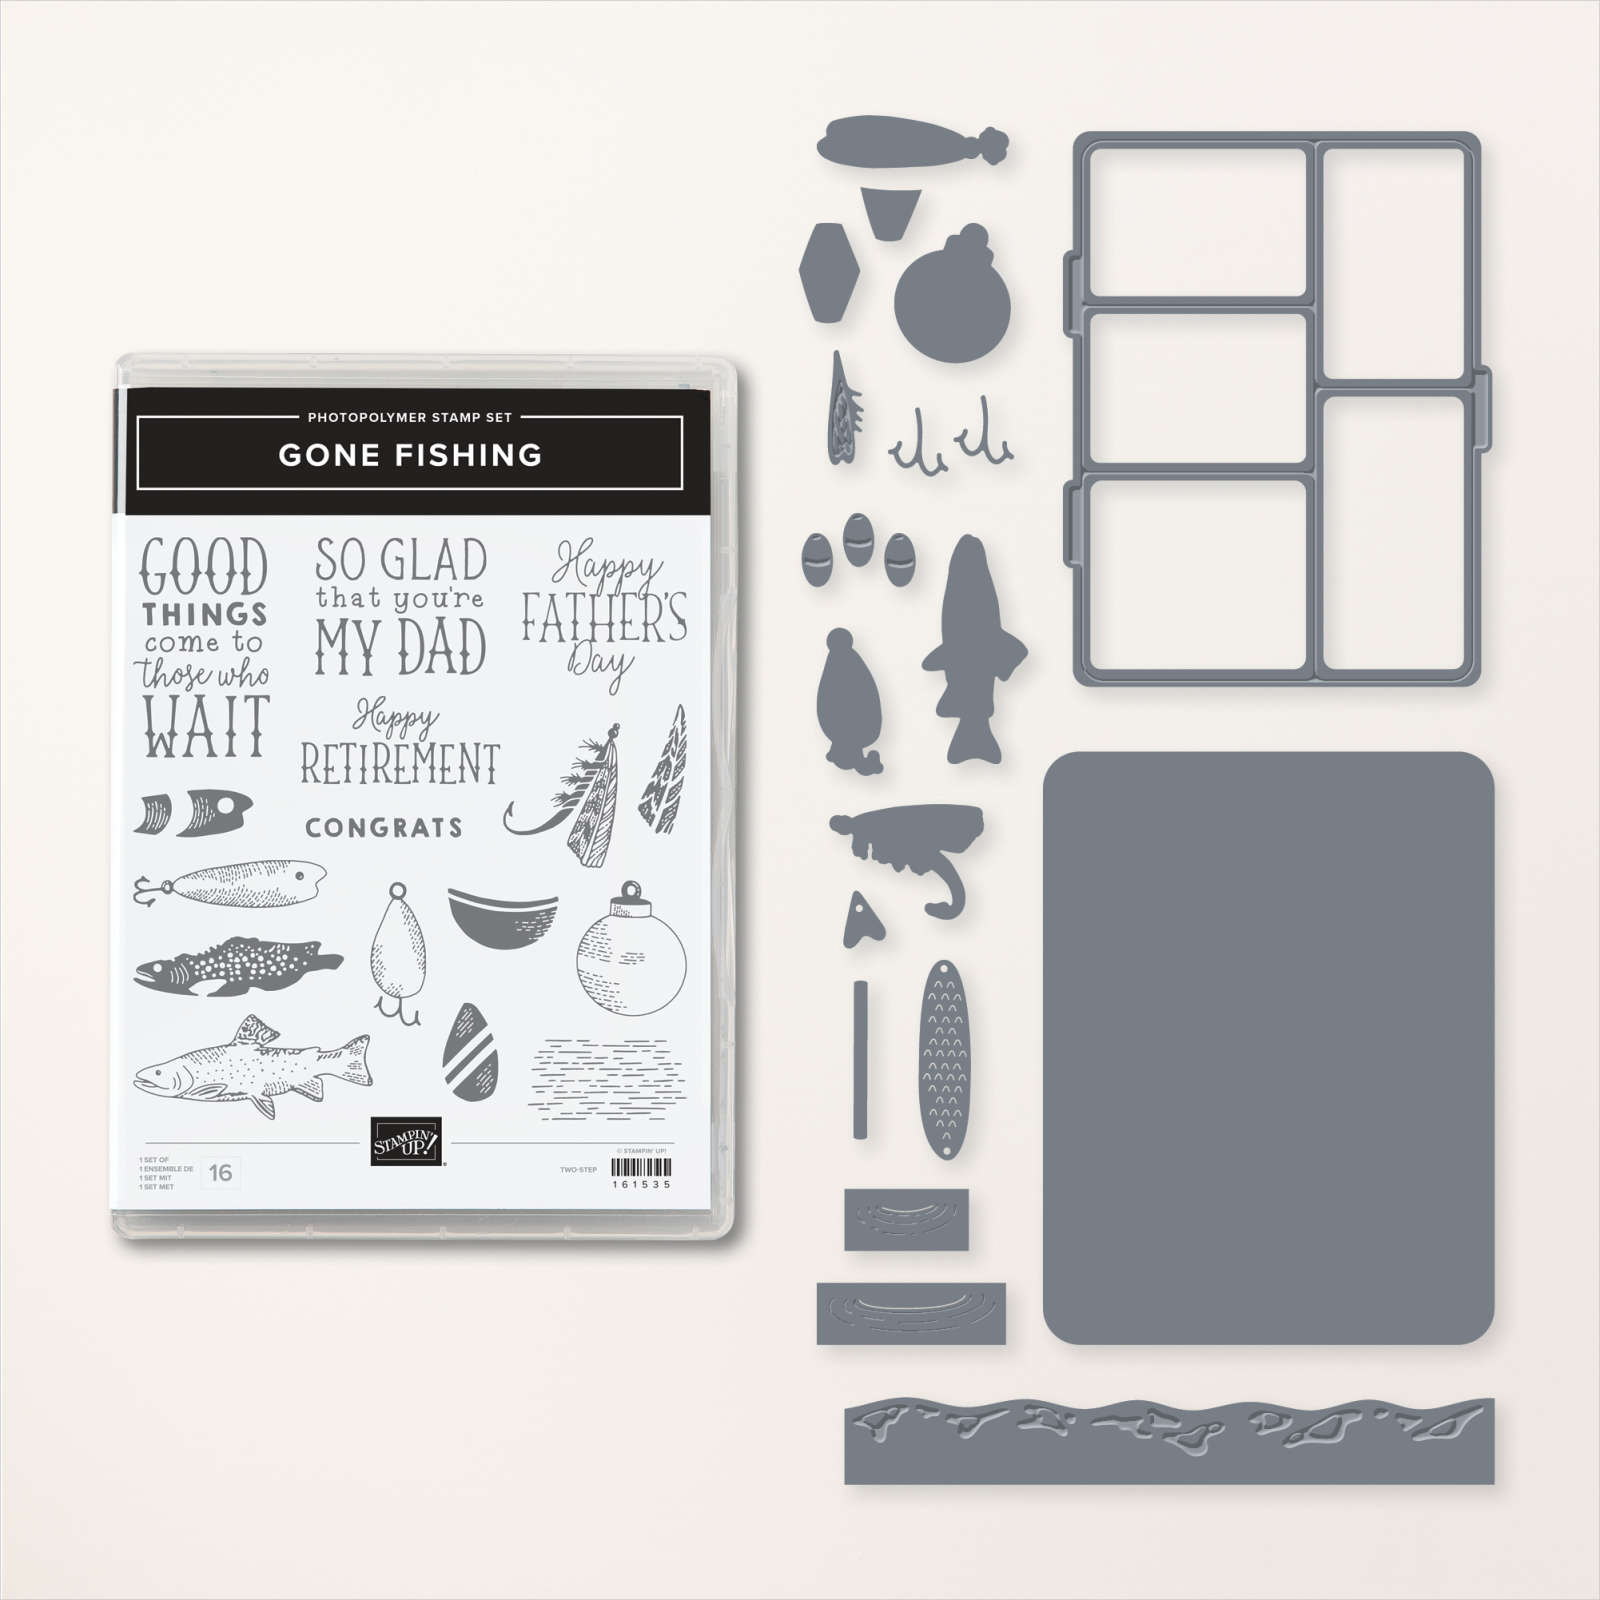
You can see the Gone Fishing bundle here. 
This last card is another fun fold; she made lots of them in her array of cards.  

It's a pocket card that could also include a gift card inside it. Be sure to note the rhinestone 'fish bubbles' on the sentiment.  


I love the wavy detail she added to the inside piece; it's from the Gone Fishing dies.

Measurements:

  • Misty Moonlight card base 5 1/2" X 8 1/2" scored at 2 3/4" & 6 3/4"
  • DSP 5 1/4" X 2 1/2" for front, bottom layer is 5 1/4" X 1"
  • Vanilla inside pull-out is 4 1/2" X 3 1/2"

And last but certainly not least is this fabulous shaker card:
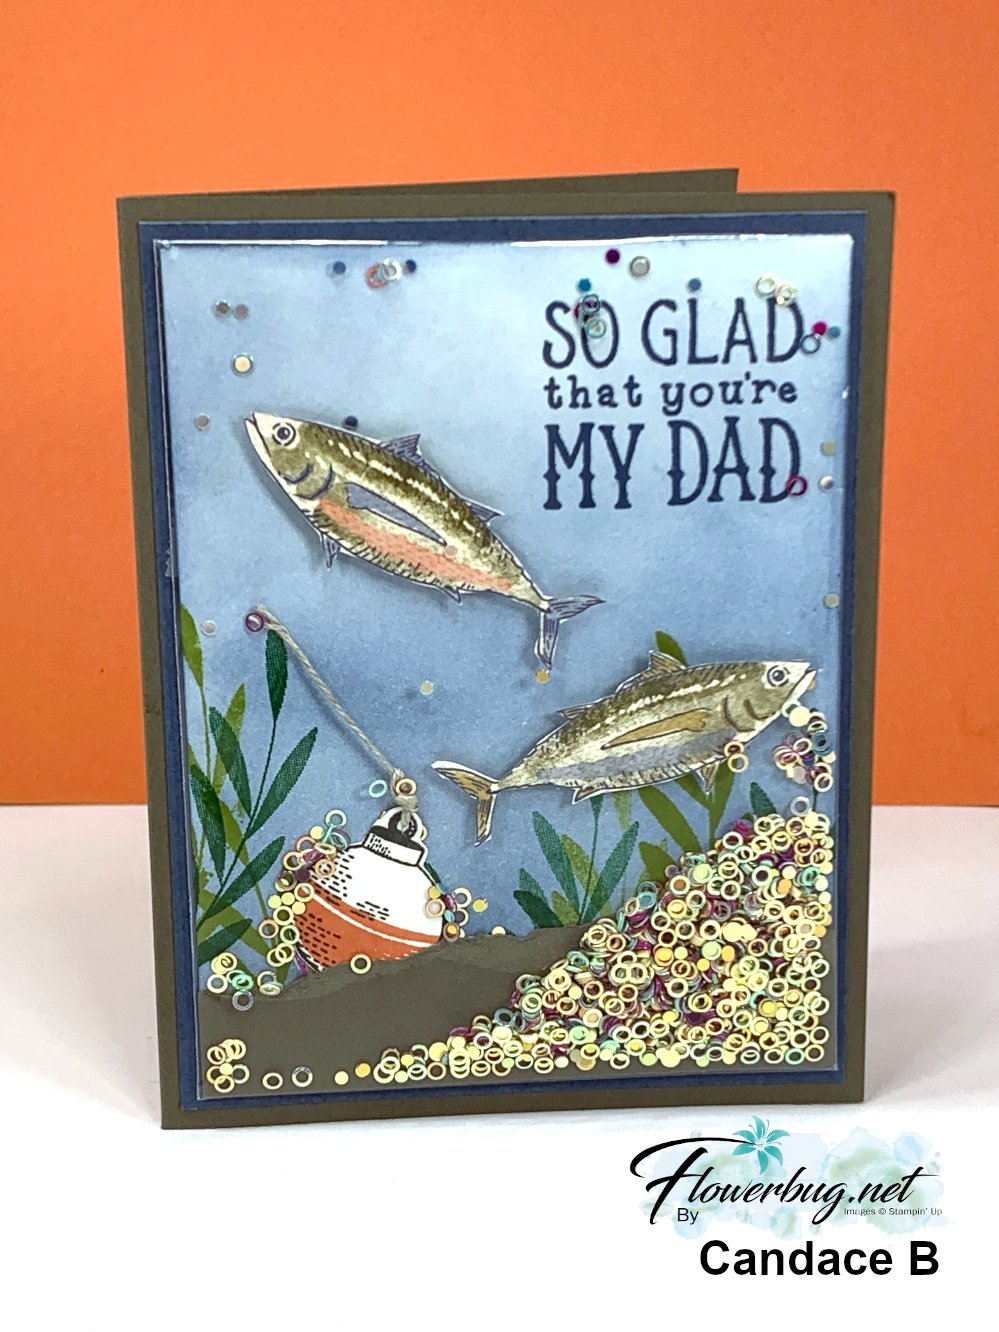

It's hard to tell but the colored and stamped panel is placed in one of our clear envelopes so she could add the new Iridescent shaker circles seen here. She added Boho Blue ink to the neutral card front using a Blending Brush, then stamped the greeting and leaves. She also fussy cut the fish from the Let's Go Fishing designer series paper and added them with Dimensionals. Then came the torn card stock layer and the bobbin and linen thread. 

Now she placed the entire piece inside a clear envelope, folded over the excess and secured it with adhesive. Now she added the shaker circles from the top open edge before closing it off to seal.  Add it to your card base layers and you're done! 

You can see these clear envelopes here.  I use them for card swaps, storing & protecting my finished cards and of course for easy shaker cards. They're $7 for 50 envelopes! 

This is such a fun card to make AND receive! It's hard to stop shaking it! 

~~~

July Specials: 

Bonus Days!

Get a $5 coupon for each $50 order you place in July.  Use the coupon in August!

2. PAPER PUMPKIN 48-HOUR SALE!

3. Next is a Clearance Rack update!

See all items available here

4. NEW Online Exclusives will be available

See them all here

~~~

Plus my monthly special for online orders:

Get a free card kit & a new Beautifully Happy stamp set 

with online orders over $65; must use a host code.

*current host codes: BKEARDMW or GGDRKFQR

All Posts

  • The Lovely Lavender Paper Pumpkin kit is stunning! *get a pre-paid subscription & earn free SAB choices!


    I received my January Paper Pumpkin kit yesterday and for the first time ever, I sat down and finished the entire kit!  Here are my cards.  


    The original kit makes 8 cards and 4 tags.  I added 4 card bases and a few extra coordinating cardstock strips and ended up with 12 cards!  They released the add on kit for the Lovely Lavender card kit today; it's just $11.50 and you can see it here.  It comes with everything but the stamp set & ink spot!  

    *I love these cards so much I'm featuring the add-on kit in a card kit to go in February!  

    Here's another alternative idea I made with the kit: 

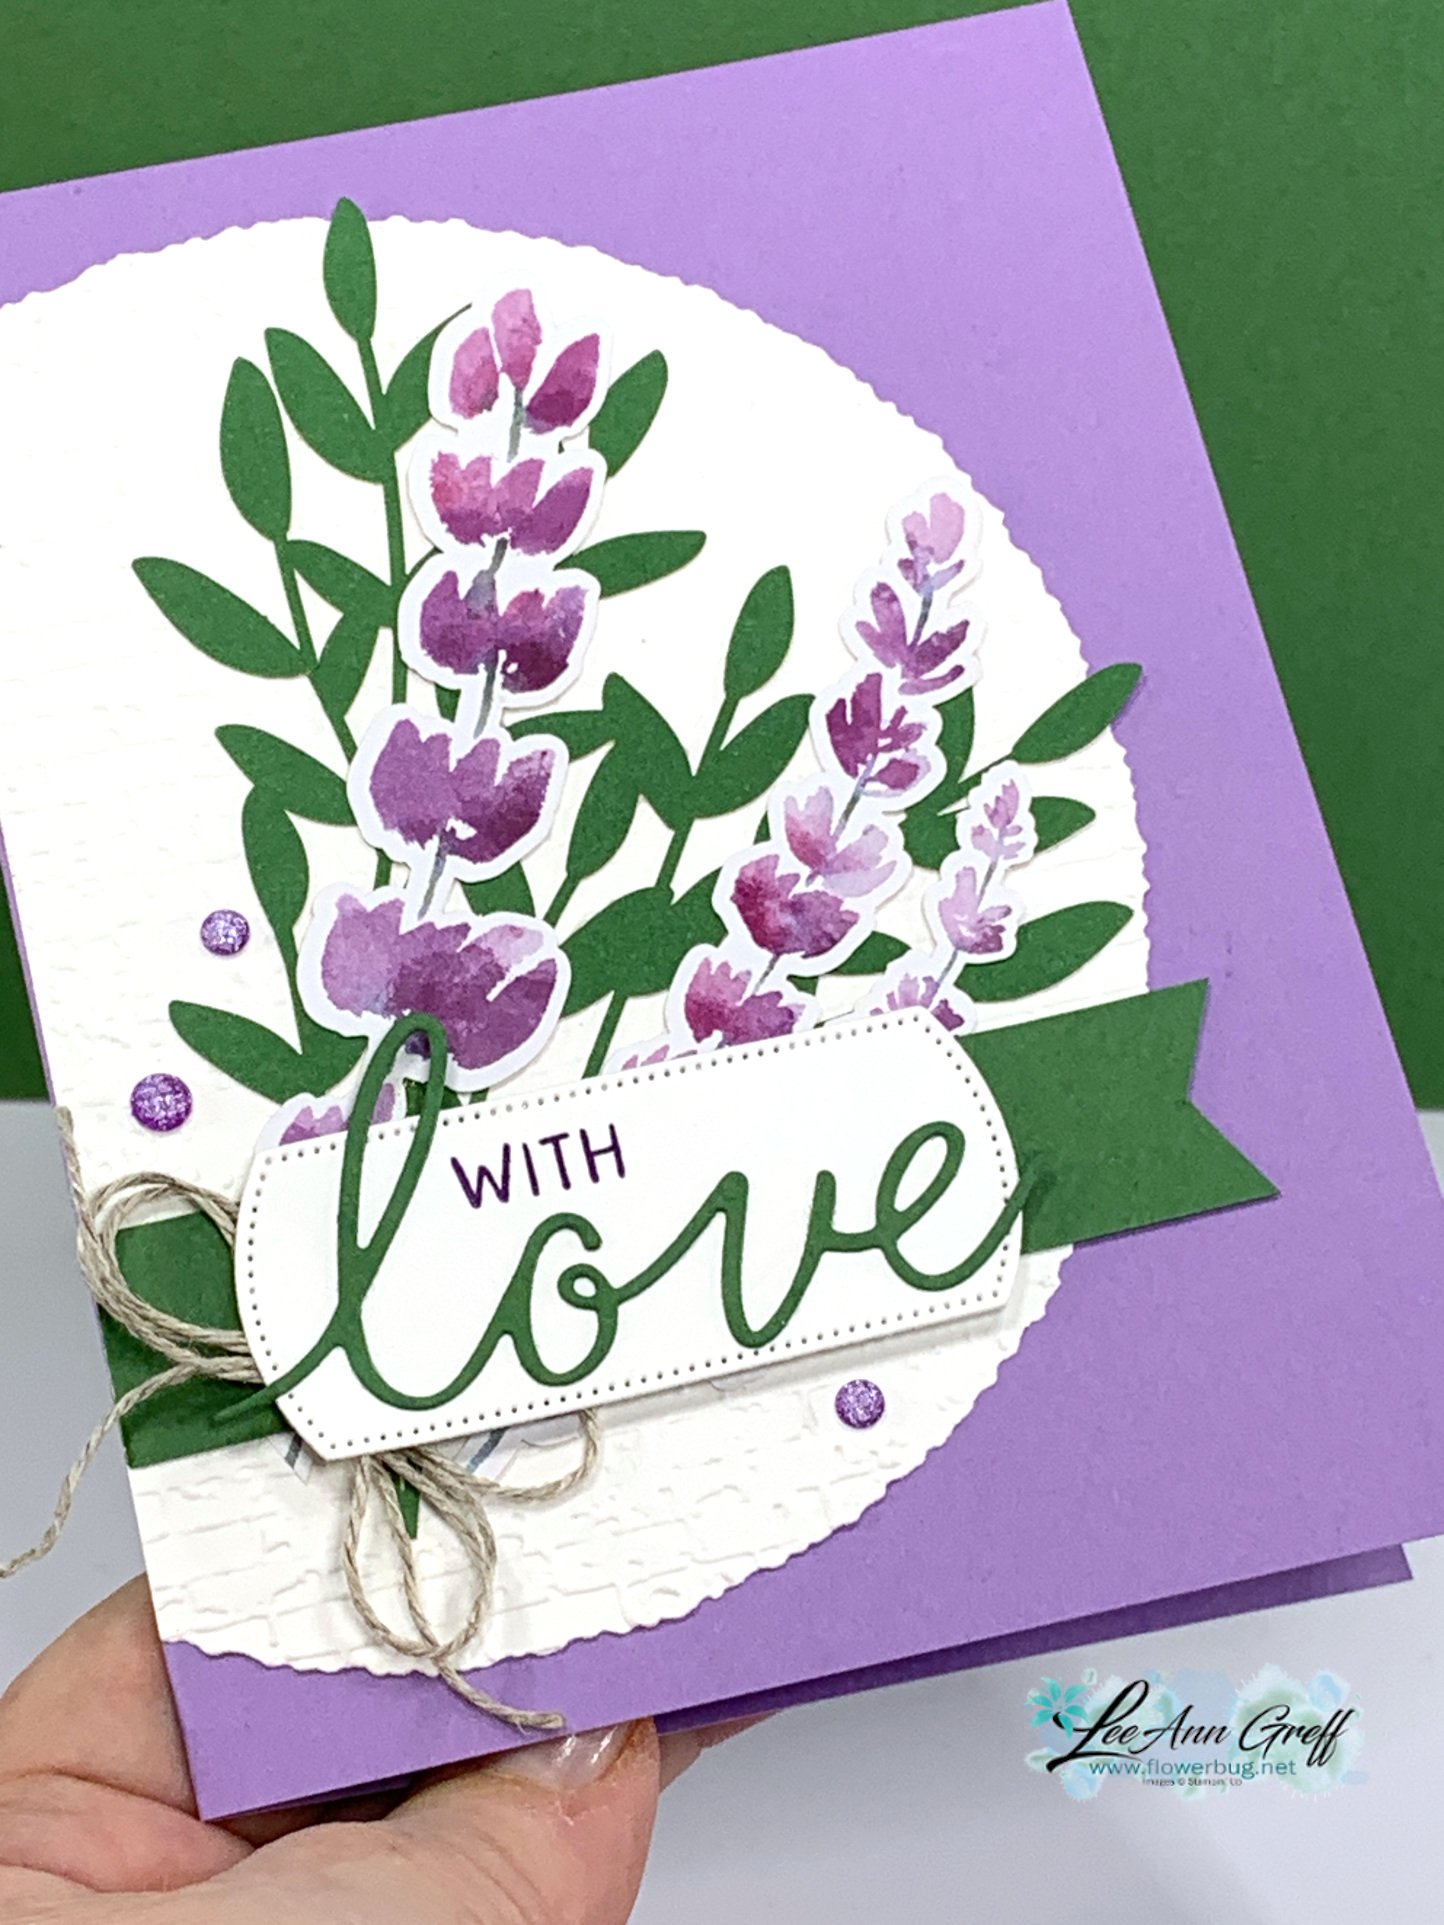
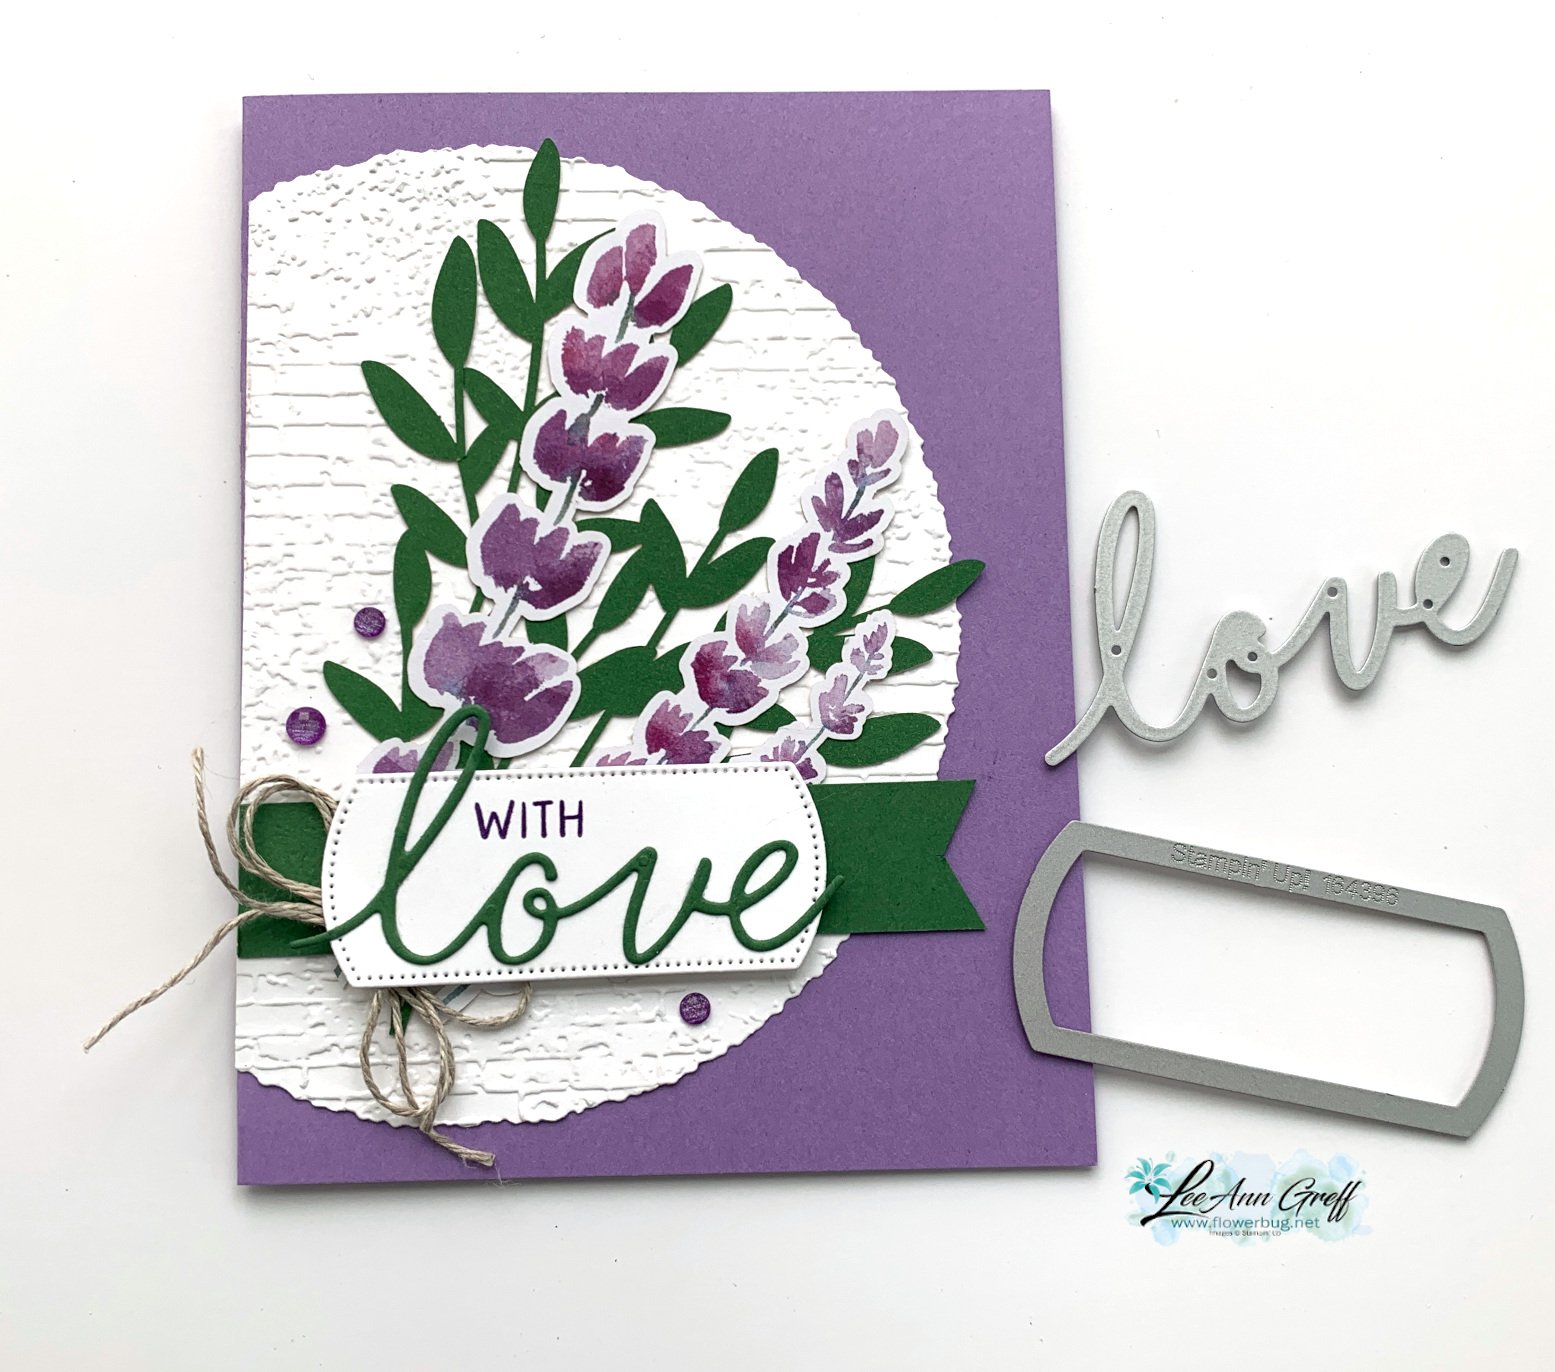
    I used our Deckled Circle dies and the new Love of Spring 'add-on' dies for Paper Pumpkin subscribers.  The 'love' and the label die-cut are from these dies!  These dies can be seen here and are just $12.

    I textured the white circle with the Exposed Brick embossing folder and added a 3/4" Garden Green strip to the Highland Heather card base. The twine is from the kit and the gems are our new Fine Shimmer Purple gems. 


    If you aren't a Paper Pumpkin subscriber I want to consider it. The kits are worlds better than they were in the past. I love receiving one every month and having easy creative projects I can do when I have free time.  No planning or prep; just creative fun! 

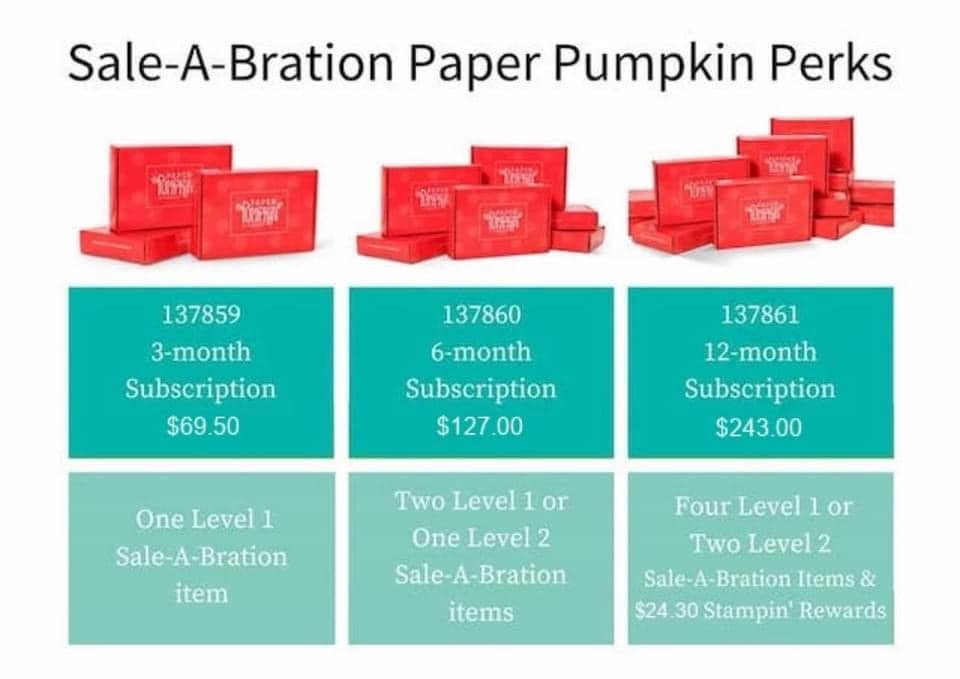
    Here are your choices when subscribing to Paper Pumpkin: 

    1. Purchase a 1, 3, 6 or 12 month subscription here.  *get free Sale-a-Bration choices through February!!
    2. Subscribe to receive a kit each month here.

    I highly recommend getting the 12 month pre-paid choice.  When you do, if you add just $57 more to the 12-month subscription, you'll get 2 more for a total of 6 ($50) SAB choices + $36 hostess rewards + extra $30 hostess rewards! It's a pretty good deal!

    Did you know that you are in charge of which kits you receive?  Once you purchase a pre-paid subscription or subscribe you can opt out of any kit you do not want. Stampin' Up! shares what's coming up each month so you can decide if you want it or not.  You have complete control!

    *Plus when you subscribe with me, LeeAnn Greff, you'll qualify for a FREE tutorial each month.

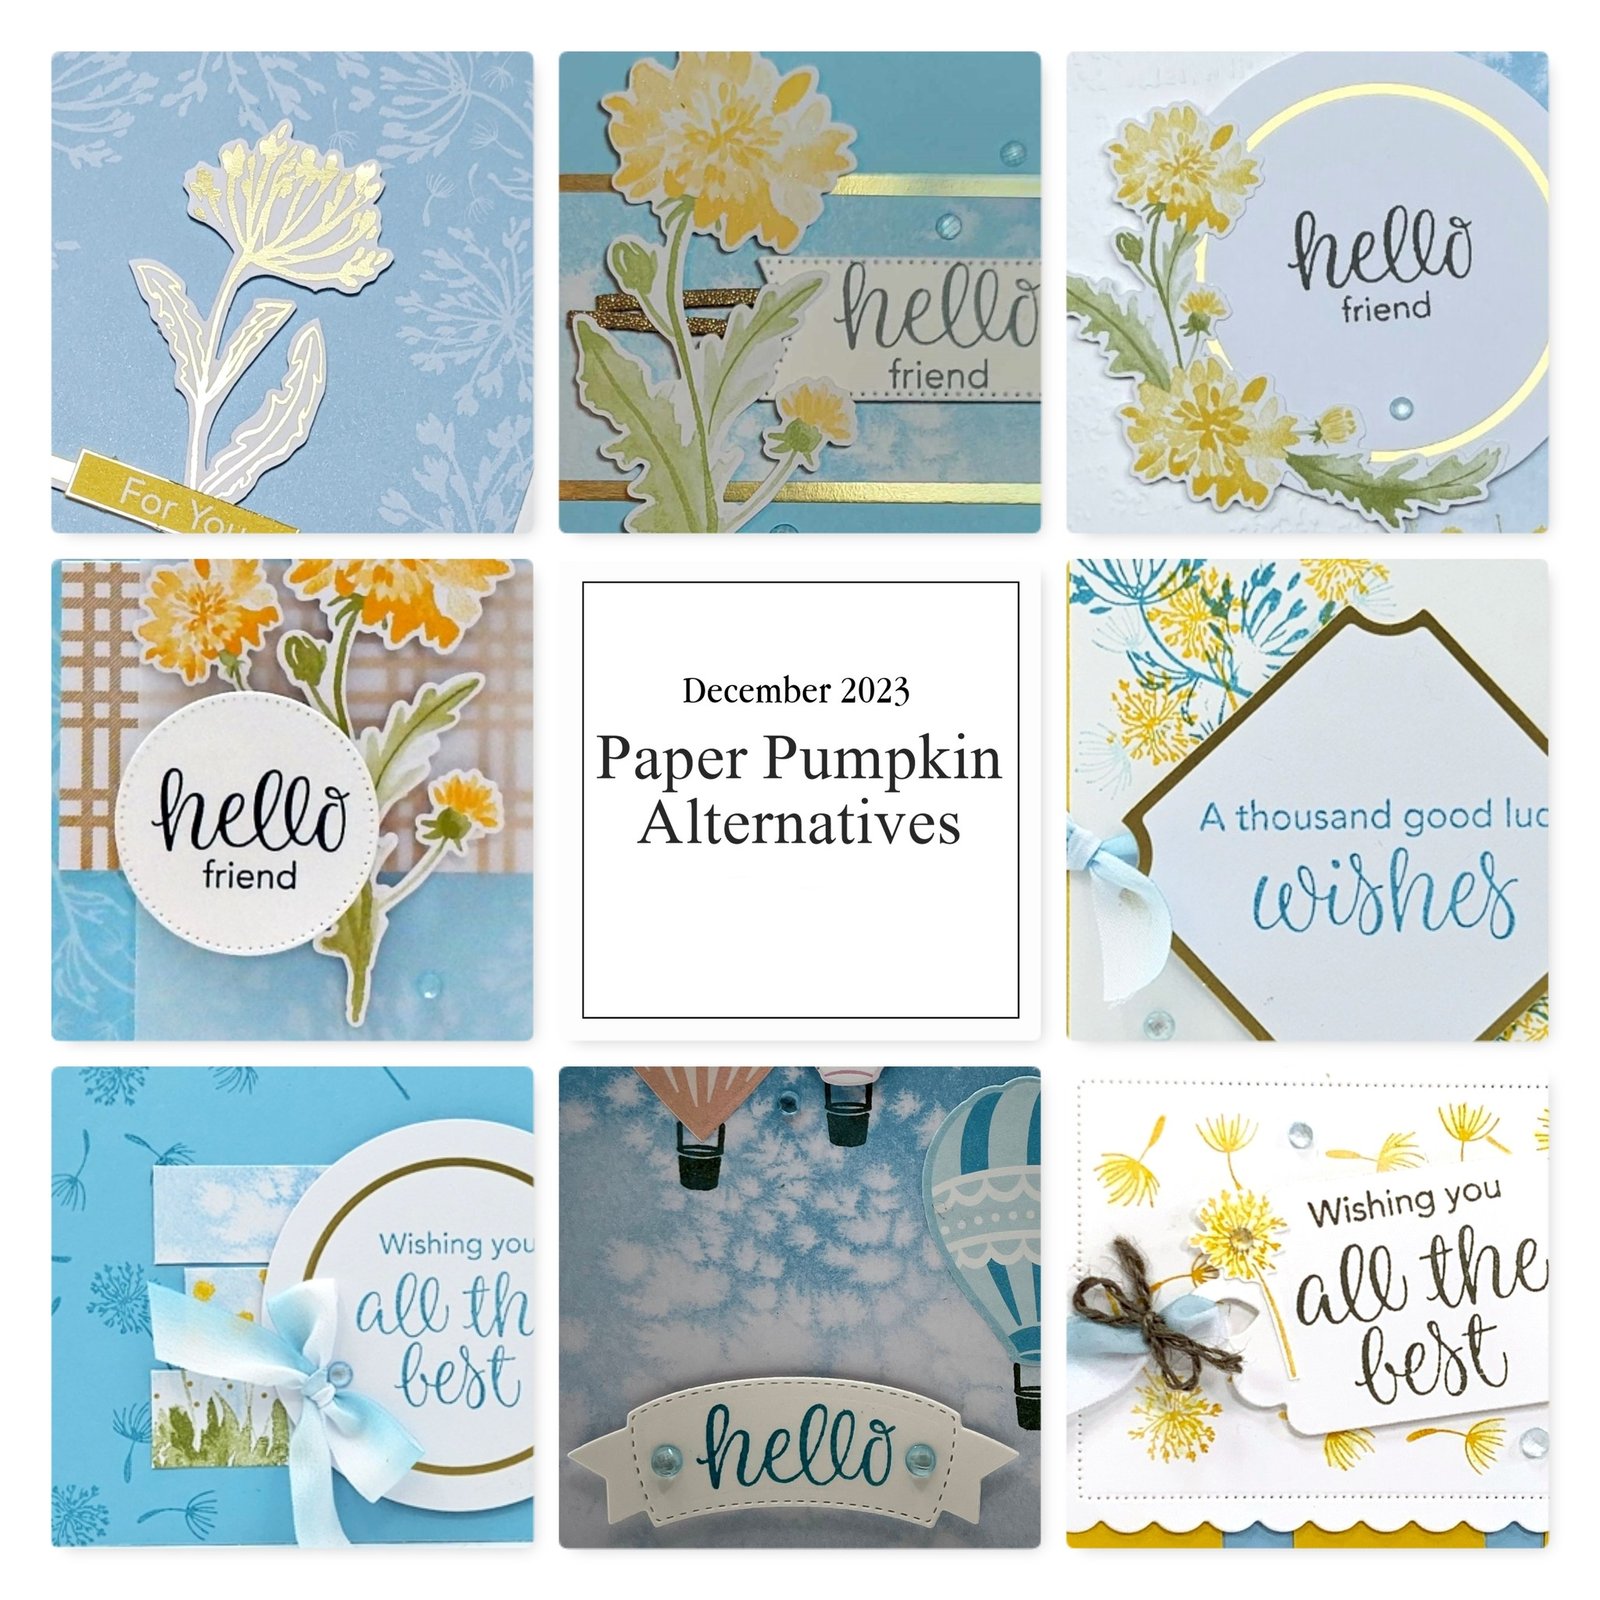
    • This tutorial PDF is filled with 10 or more alternate ideas for additional projects you can make with each month's kit (includes photos & instructions) – making your kit go a lot further!  *see example photo below

    ~~~

    January Specials: 

    Earn FREE products with your Stampin' Up! purchase during

    Sale-a-Bration! *click here


    It's the best time to get a pre-paid Sale-a-Bration subscription

    & earn free Sale-a-Bration products!  


    ~~~

    *current host code link: QS26PCUJ or M7NAN4HT

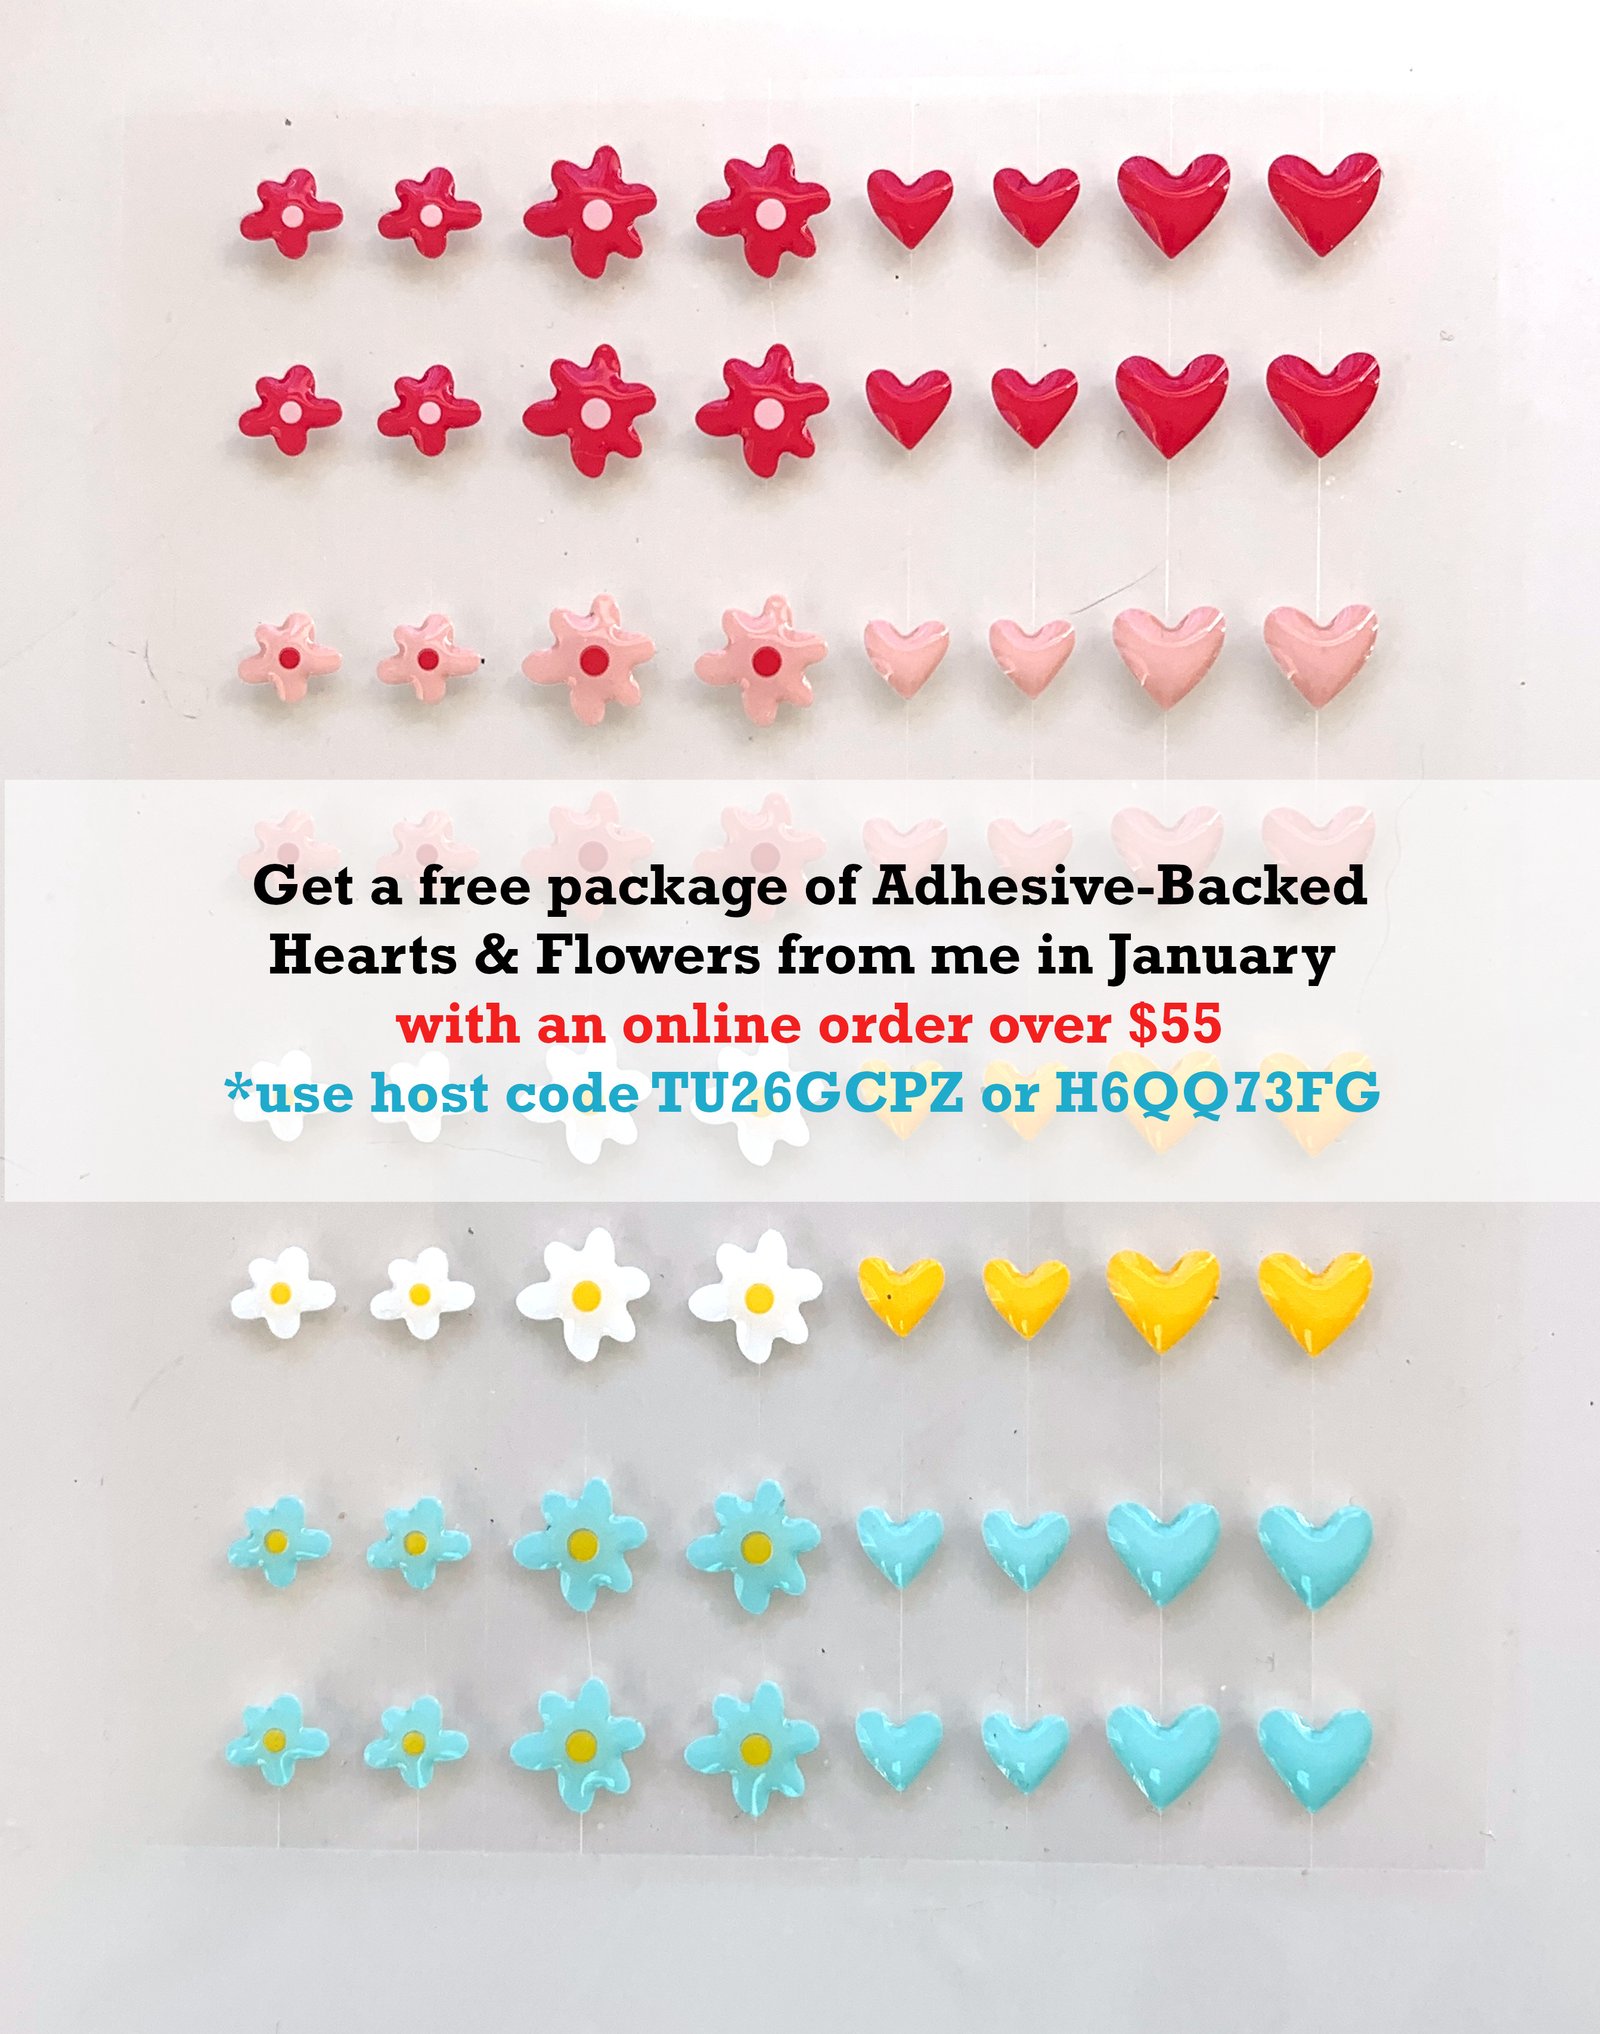
    Get a free embellishment from the 2024 Spring catalog

    with an online order over $55


    Leave a Reply

    Your email address will not be published. Required fields are marked *

  • Gorgeous Rocker cards with a video tutorial & free project sheet!


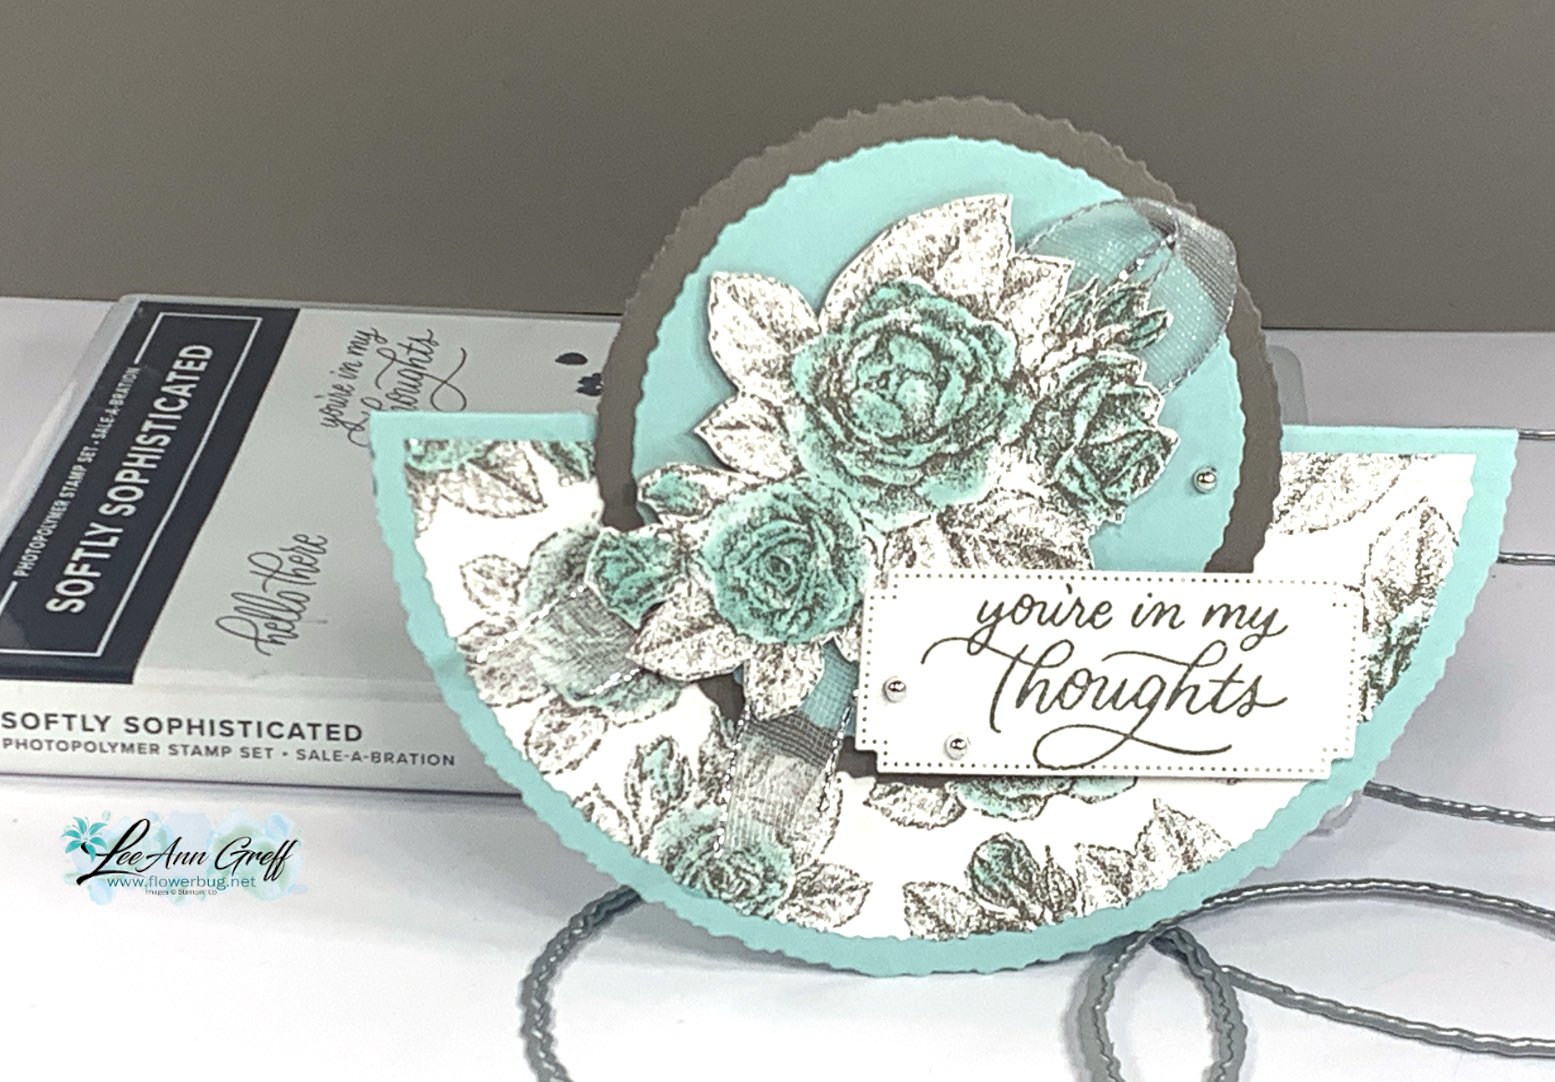
    Here's another special card I shared on last week's Live video. It's called a 'rocker card'. 

    The pretty roses are from the Softly Stippled designer series paper – seen here in our Sale-a-Bration catalog. I fussy cut the roses on the upper circles and colored them with Pool Party ink and a Wink of Stella. I love coloring with my Wink of Stella as it adds a beautiful shimmer. Watch the video below to see how. 

    It's made with our Deckled Circle dies seen here. There are a ton of them in the set – 14 sizes! They carried over from our Holiday catalog and can be seen online. 

    For the card base I used the second from the largest die; it's almost 5 1/2" wide. Once you cut it, score it in half at 2 3/4". 

    Of course you'll use the next size down for the front half layer and the inside. 

    Click on this link to download the free project sheet. Download Softly Stippled Rocker cards

    I post at least two of these free tutorials each week!  I hope you'll subscribe to my blog. Go to the right side and click on 'get email updates'.  Then you won't miss a thing! 

    The second sample was made with Calypso Coral & Pebbled Path. It seems like Pebbled Path is a perfectly beautiful color to pair most of our soft colors with. 

    My greetings are from the Softly Sophisticated bundle seen here. It's paired with a beautiful embossing folder and is free with any $100 purchase from Stampin' Up!. 


    Click here or on the photo below to watch my video tutorial on this card and TWO more pretty cards featuring this beautiful designer paper and stamp & embossing folder bundle.  These cards are the second cards shown.  

    ~~~

    January Specials: 

    Earn FREE products with your Stampin' Up! purchase during

    Sale-a-Bration! *click here

    ~~~

    Get a free embellishment from the 2024 Spring catalog

    with an online order over $55


    *current host codes QS26PCUJ

    ~~~

    I have several pre-cut card & scrapbook kits to go; ready to mail out!

    Click here to see them all.

    Leave a Reply

    Your email address will not be published. Required fields are marked *

  • Wow – Texturing Vellum is a fabulous effect! Check out this pretty Softly Sophisticated card


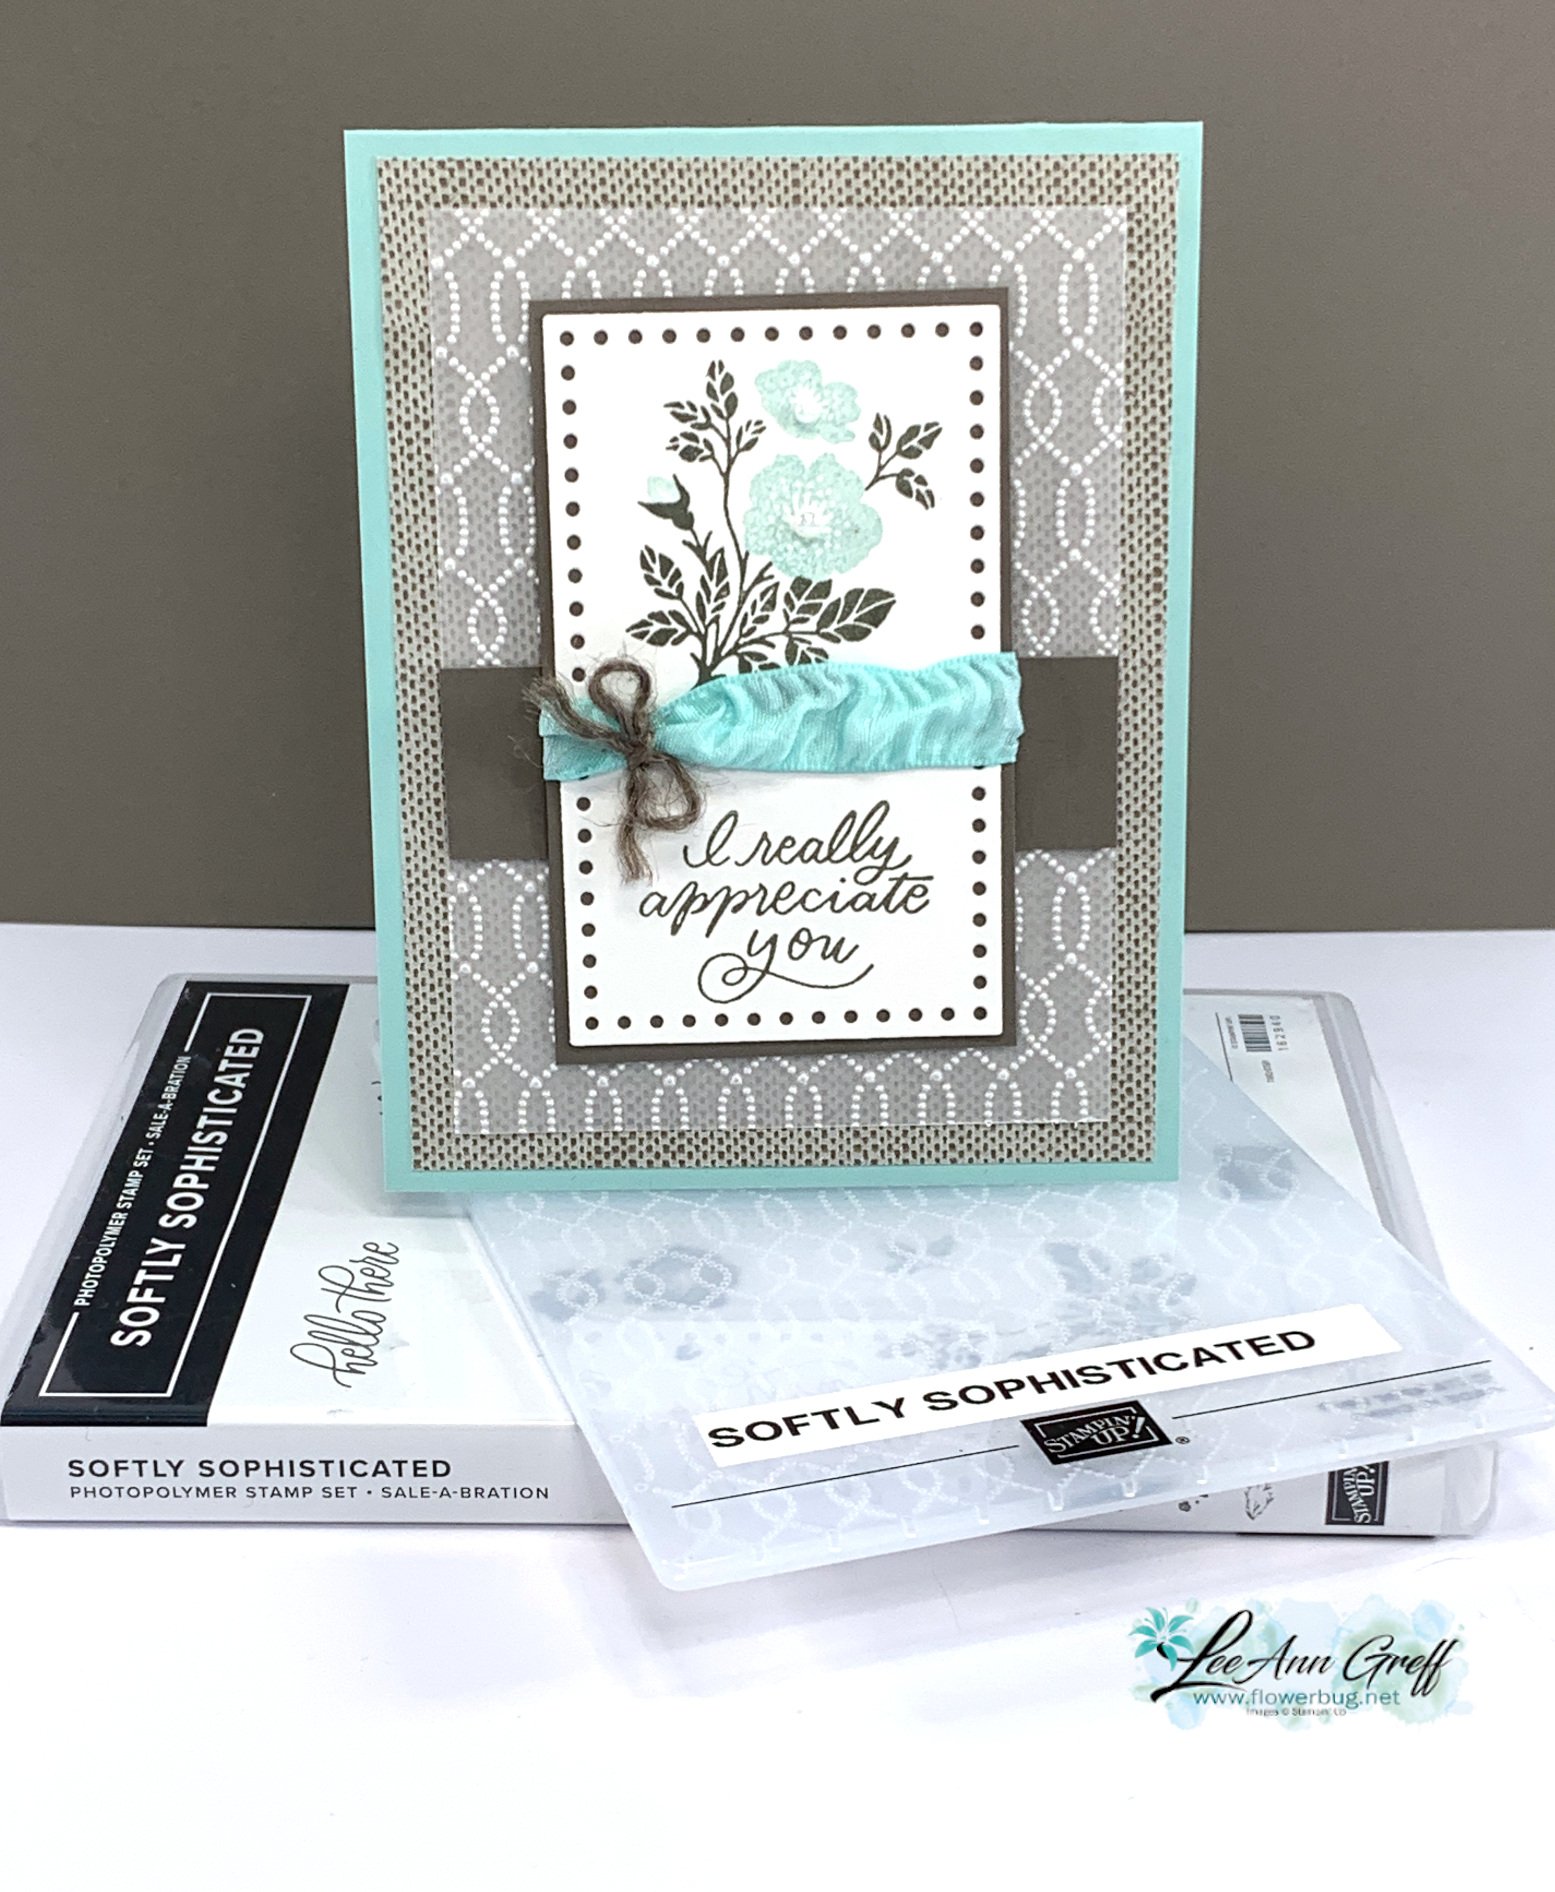
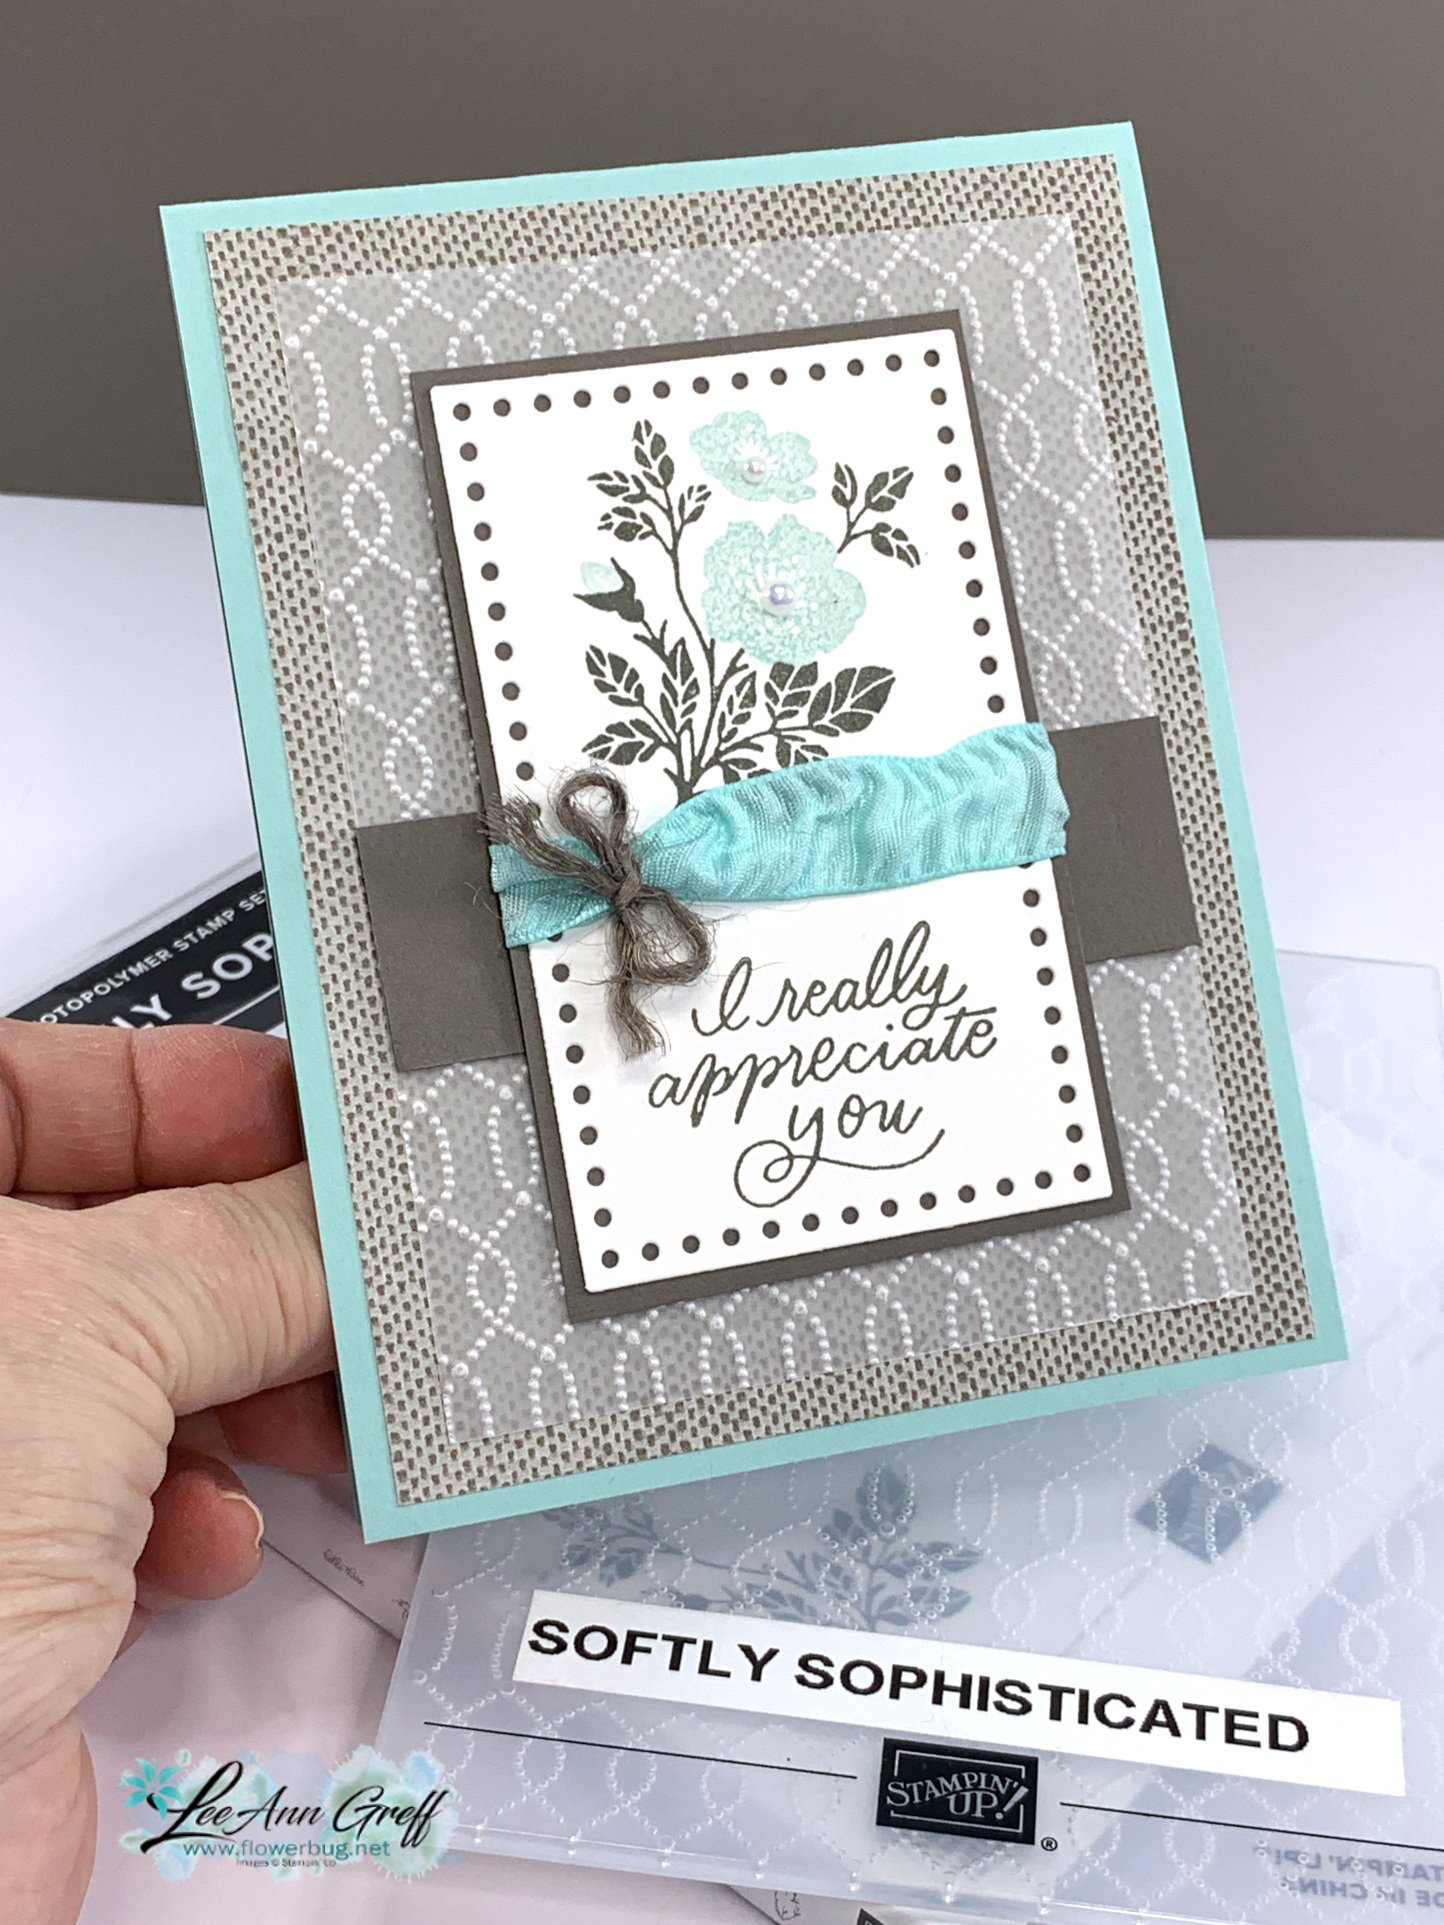
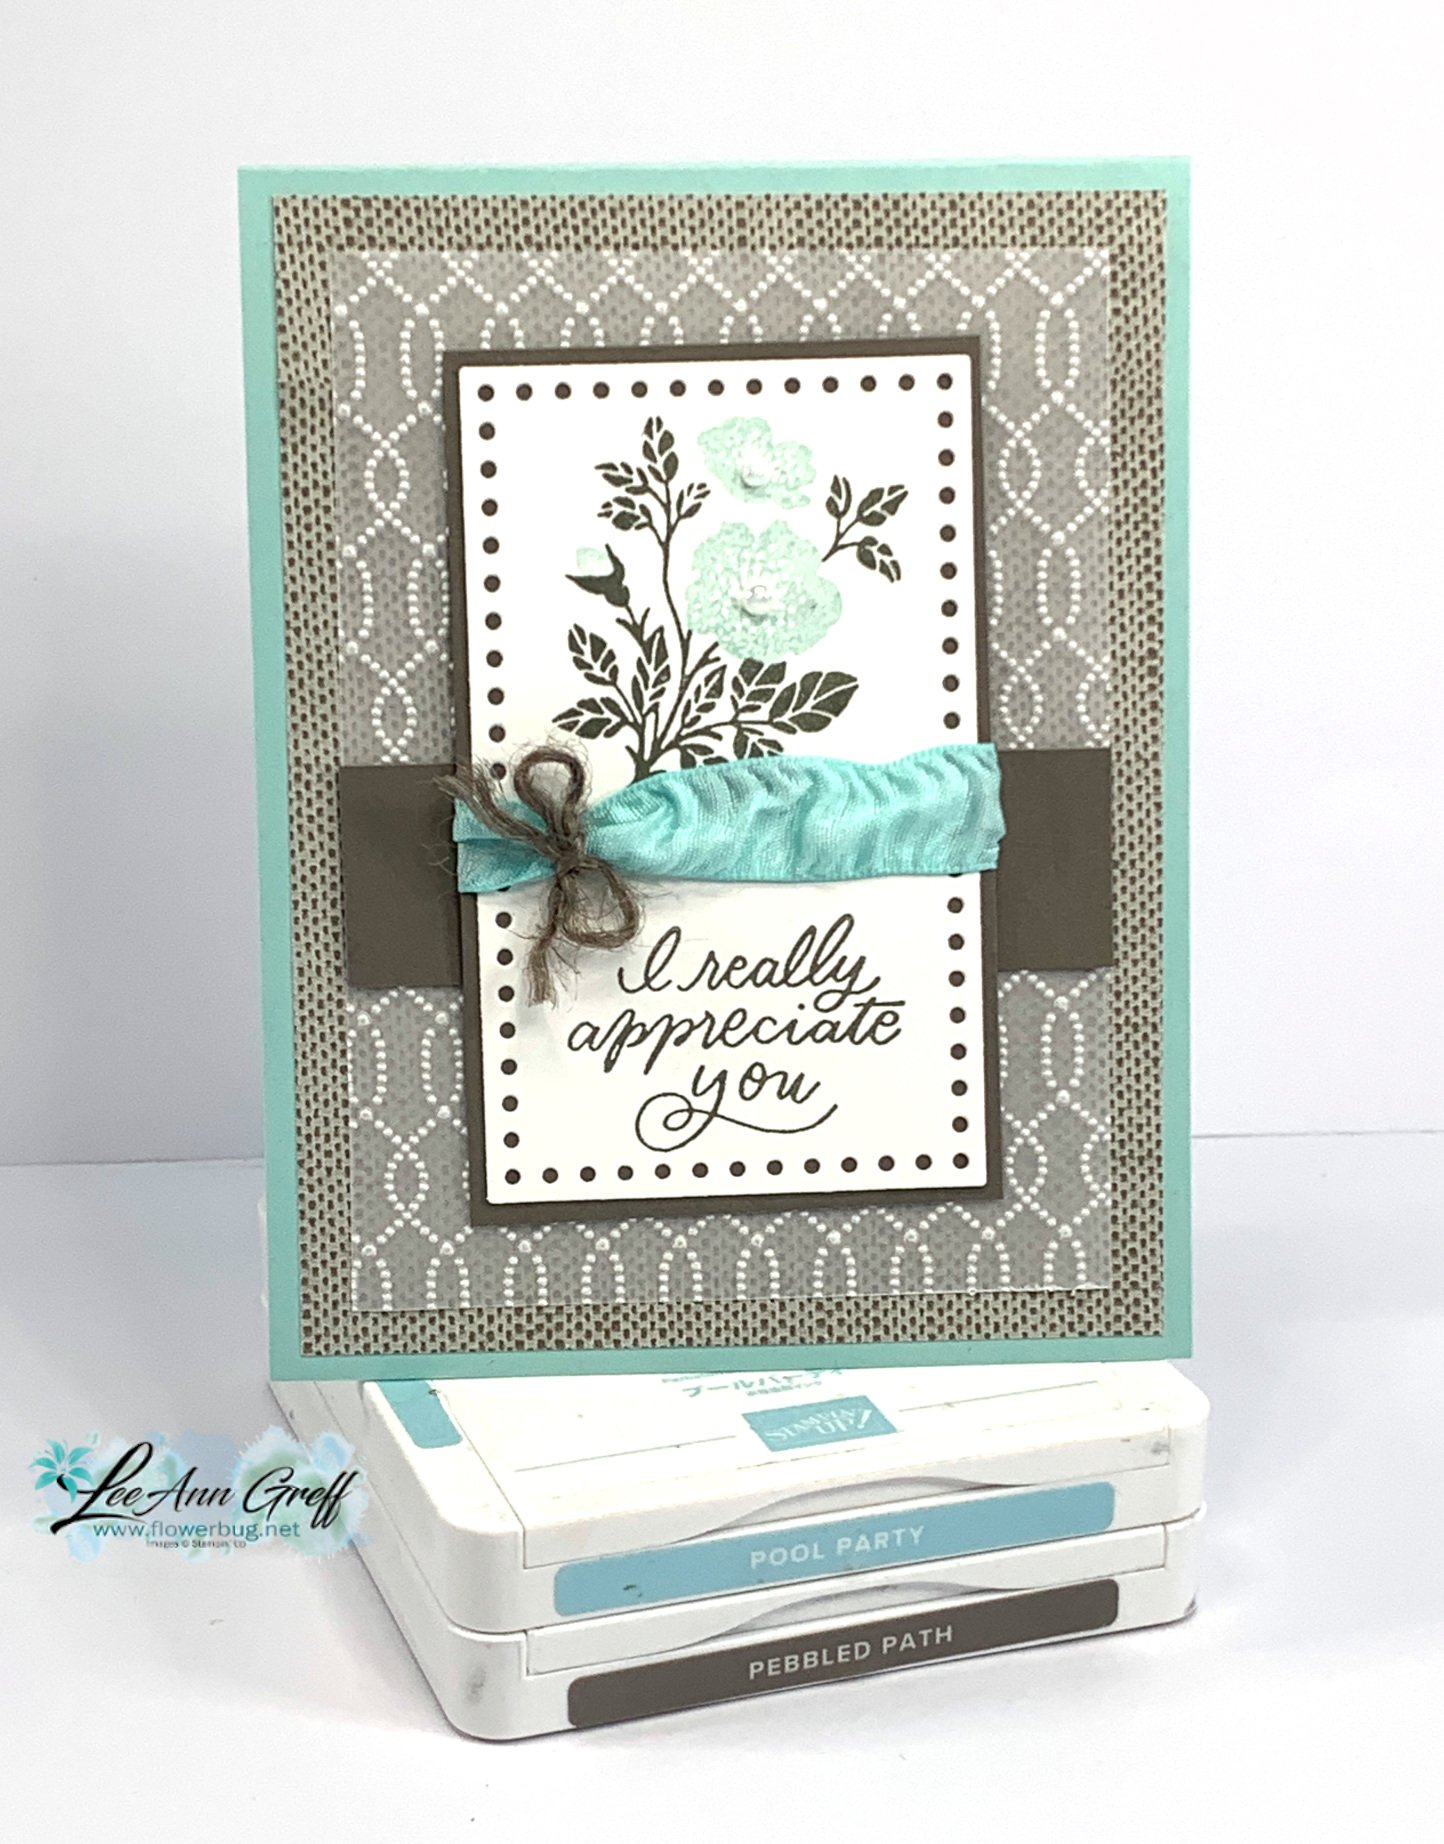
    I couldn't stop playing with the Softly Stippled designer paper and the Softly Sophisticated bundle!  This card came together by using a sketch layout I saw online. 

    There are so many neat details on this card; I'll list a few of them.  

    • Check out the textured vellum!  It's done with the Softly Sophisticated folder (sale-a-Bration choice). Our vellum cardstock doesn't crack!
    • The pretty Softly Stippled designer paper seen here in the background adds even more texture. 
    • The dotted rectangle die-cut is from the Everyday Details dies seen here. 
    • Check out the ribbon treatment. I tied a bow around the Pool Party ribbon (Sale-a-Bration choice) with the Pebbled Path jute twine – separated into one strand. 
    • The stamps are from the Softly Sophisticated bundle seen here – gorgeous greetings and 2-step florals. 

    I've mentioned it before but I'm finding our new Pebbled Path to be a wonderful neutral color with our soft subtle colors. It's brown but with a slight gray tone to it.  Lovely!

    Here's the free project sheet you can download:  Download Softly Sophisticated card with Vellum

    What's your favorite color to combine with Pebbled Path? 

    ~~~

    January Specials: 

    Earn FREE products with your Stampin' Up! purchase during

    Sale-a-Bration! *click here

    ~~~

    Get a free embellishment from the 2024 Spring catalog

    with an online order over $55


    *current host code link:  QS26PCUJ

    ~~~

    I have several pre-cut card & scrapbook kits to go; ready to mail out!

    Click here to see them all.

    Leave a Reply

    Your email address will not be published. Required fields are marked *


Notice: LeeAnn Greff, Independent Stampin’ Up! Demonstrator, Manager. The content of this website is my sole responsibility as an independent Stampin’ Up! demonstrator and the use of, and content of, the classes, services, or products offered on this website is not endorsed by Stampin’ Up! Copyright 2025