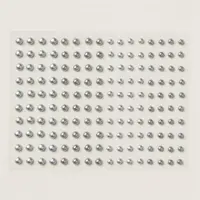
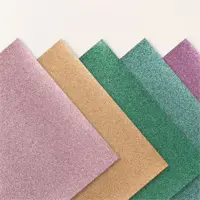
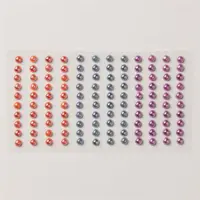
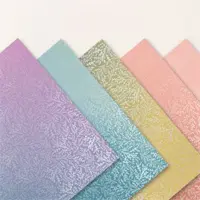
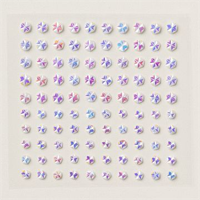
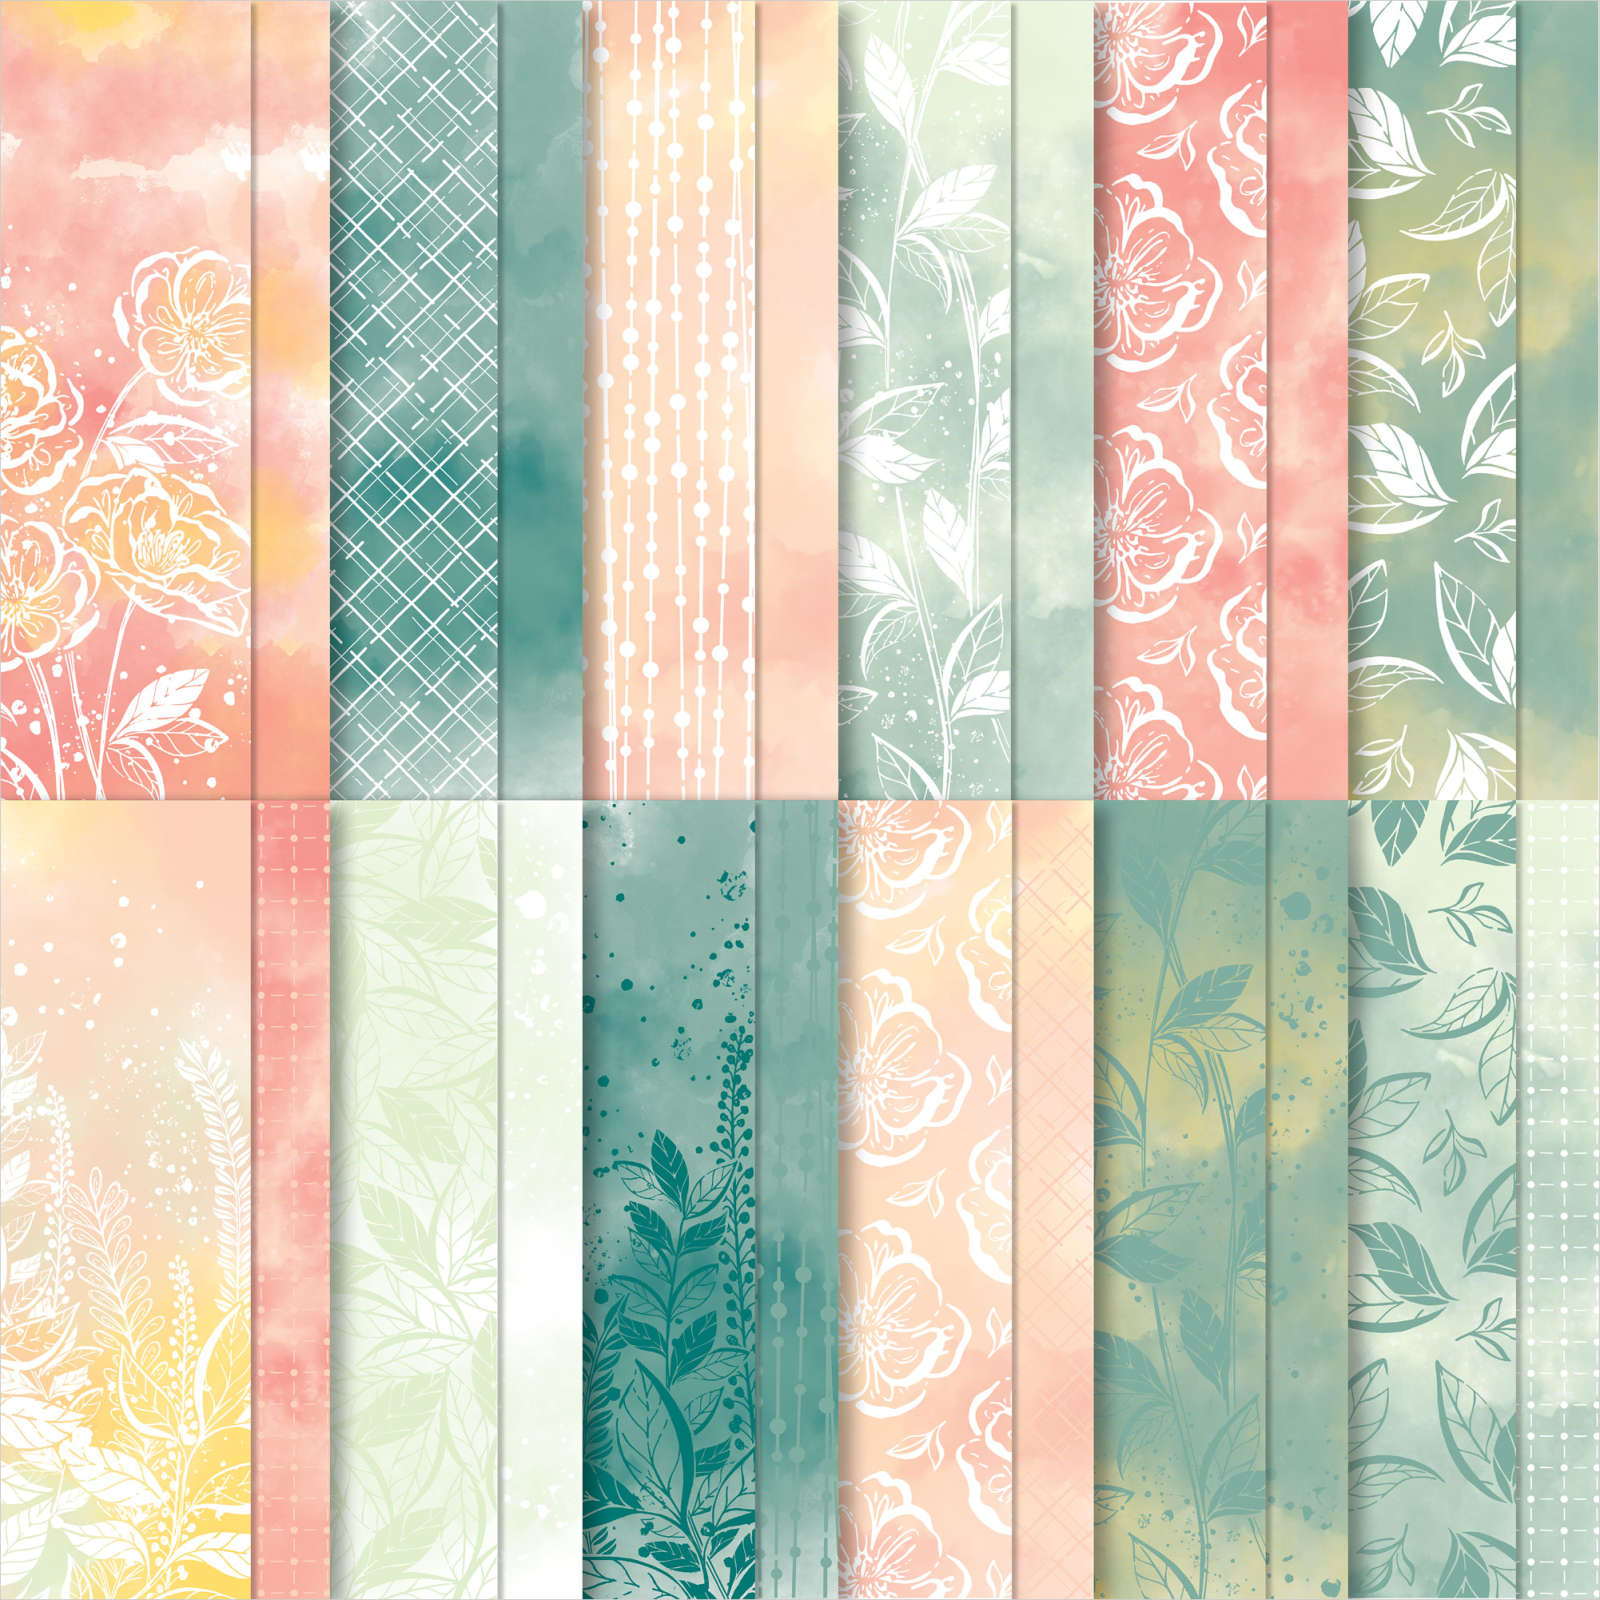
Check out the 148 products included in the Suite BOGO sale that starts today!
The exciting Suite BOGO sale starts today.
When you by any suite product, you get another suite product at 50% off. You pay full price for the higher price item and then you get 50% off the lower price item. There are over 140 items included!
Details:
You can mix and match suite and suite products from suites in the Annual catalog AND the online exclusives.
It is for available products only.
Once you add the second suite item, the discount will show.
You don’t have to buy a suite or suite products all from the same suite collection for the discount to apply. You can buy any suite products from any suite.
Click on any of these products below to start shopping. What an amazing promotion!!
The easy way to make a ‘Fractured’ card! Video tutorial & free project sheet!
You may have seen these cards online lately; they're quite popular. It looked s bit intimidating to me; I thought I'd have to do a lot of measuring to get the pieces to fit exactly.
Well my team member Karen shared how to make them at our August Team meeting and I was surprised to learn it's quite easy peasy! So I had to share the fractured card on a recent Live video so YOU could see how fun & quick it is.
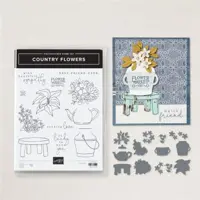
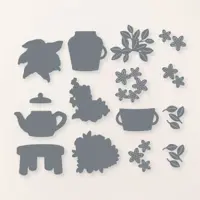
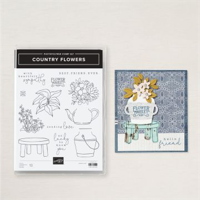
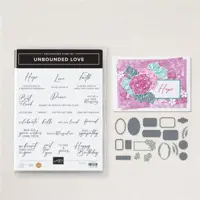
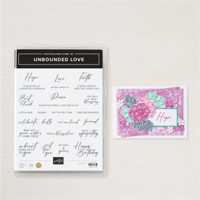
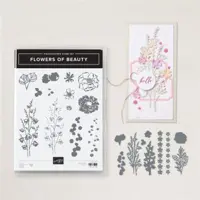
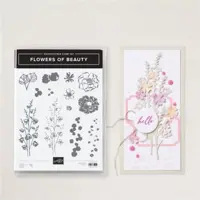
I chose to use the Hello, Irresistible designer paper and the Irresistible Blooms stamp set; both Online Exclusives. See all of our products available online here. There are so many they have their own category!
This card starts out with a full 4" X 5 1/4" layer of designer paper. The center squares and strips are added on directly over the designer paper! No measuring needed!!
My center squares are approximately 2" in size and are from the Stylish Shapes dies – the middle die of the 5 square dies. I chose to add a 2 1/4" layer under my square.
Tip: Once you adhere your square to the upper center (eyeballing, no measuring needed) you will start adding your 1/4" X 5" strips of card stock. You start at the upper center. Leave the excess strips hanging off the card until you're done; then just trim off. *watch the video below to see my helpful tips for success.
Here are both cards I shared in the video; one in Pretty Peacock and the other in Petal Pink.
Which do you prefer? One is soft and pretty and the other is vibrant. I like the 1/4" strips to match the card base; I feel it gives a greater sense of continuity.
I kept these cards quite simple but you could certainly add more to it.
I shared this super unique fun fold card on last week's Live video. If you're on Facebook please follow me herefor my weekly Tuesday morning videos. If not, you can always follow my YouTube channel here.
As you can see it looks a bit tricky… but with my step by step tutorial it's not! I do have a PDF project sheet for it but even with the written instructions I the video posted below will help a lot.
These are our Vanilla notecards & envelopes. They're in the annual catalog and you can see them here online. They're perfect for quick thank you cards or an addition to a gift.
Here are the steps to creating the sunflowers. I shared tips in the video below:
Notice: LeeAnn Greff, Independent Stampin’ Up! Demonstrator, Manager. The content of this website is my sole responsibility as an independent Stampin’ Up! demonstrator and the use of, and content of, the classes, services, or products offered on this website is not endorsed by Stampin’ Up! Copyright 2025


Leave a Reply