/


Latest Post

Changes are coming!


Stampin’ Up! announced a few upcoming changes last week.  I mentioned and explained them in this video.  

1. First up is the change in the type of stamps they’ll be offering.  Currently we have both red rubber/cling and clear photopolymer.  Starting in November all new stamps will be clear photopolymer.  
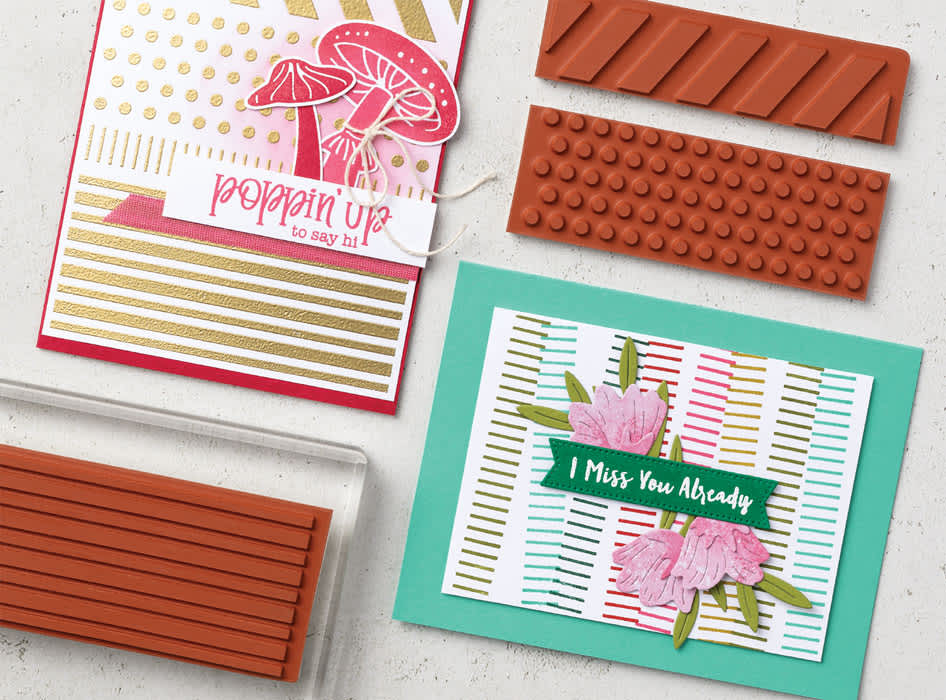
Why? They are having difficulty sourcing the product needed to produce cling or red rubber stamps.  In addition they are not selling as well as photopolymer do.  It seems most people like the clear stamps; my customers have mentioned this to me too. 

So for stamp sets from the current Annual and Holiday catalog here’s how it works going forward.  Once they run out of stock of the cling stamps they’ll switch over to clear photopolymer.  

2. Next is the packaging.  Because most stamps will be in photopolymer after November they will be in new packaging – clear sleeves.  These will be approximately 5″ X 9″ in size.  They are phasing out the DVD cases.  However they will continue to offer them in 4 packs like they currently do.  See them here.  They will also offer bulk packs of the new thin sleeves as well.  
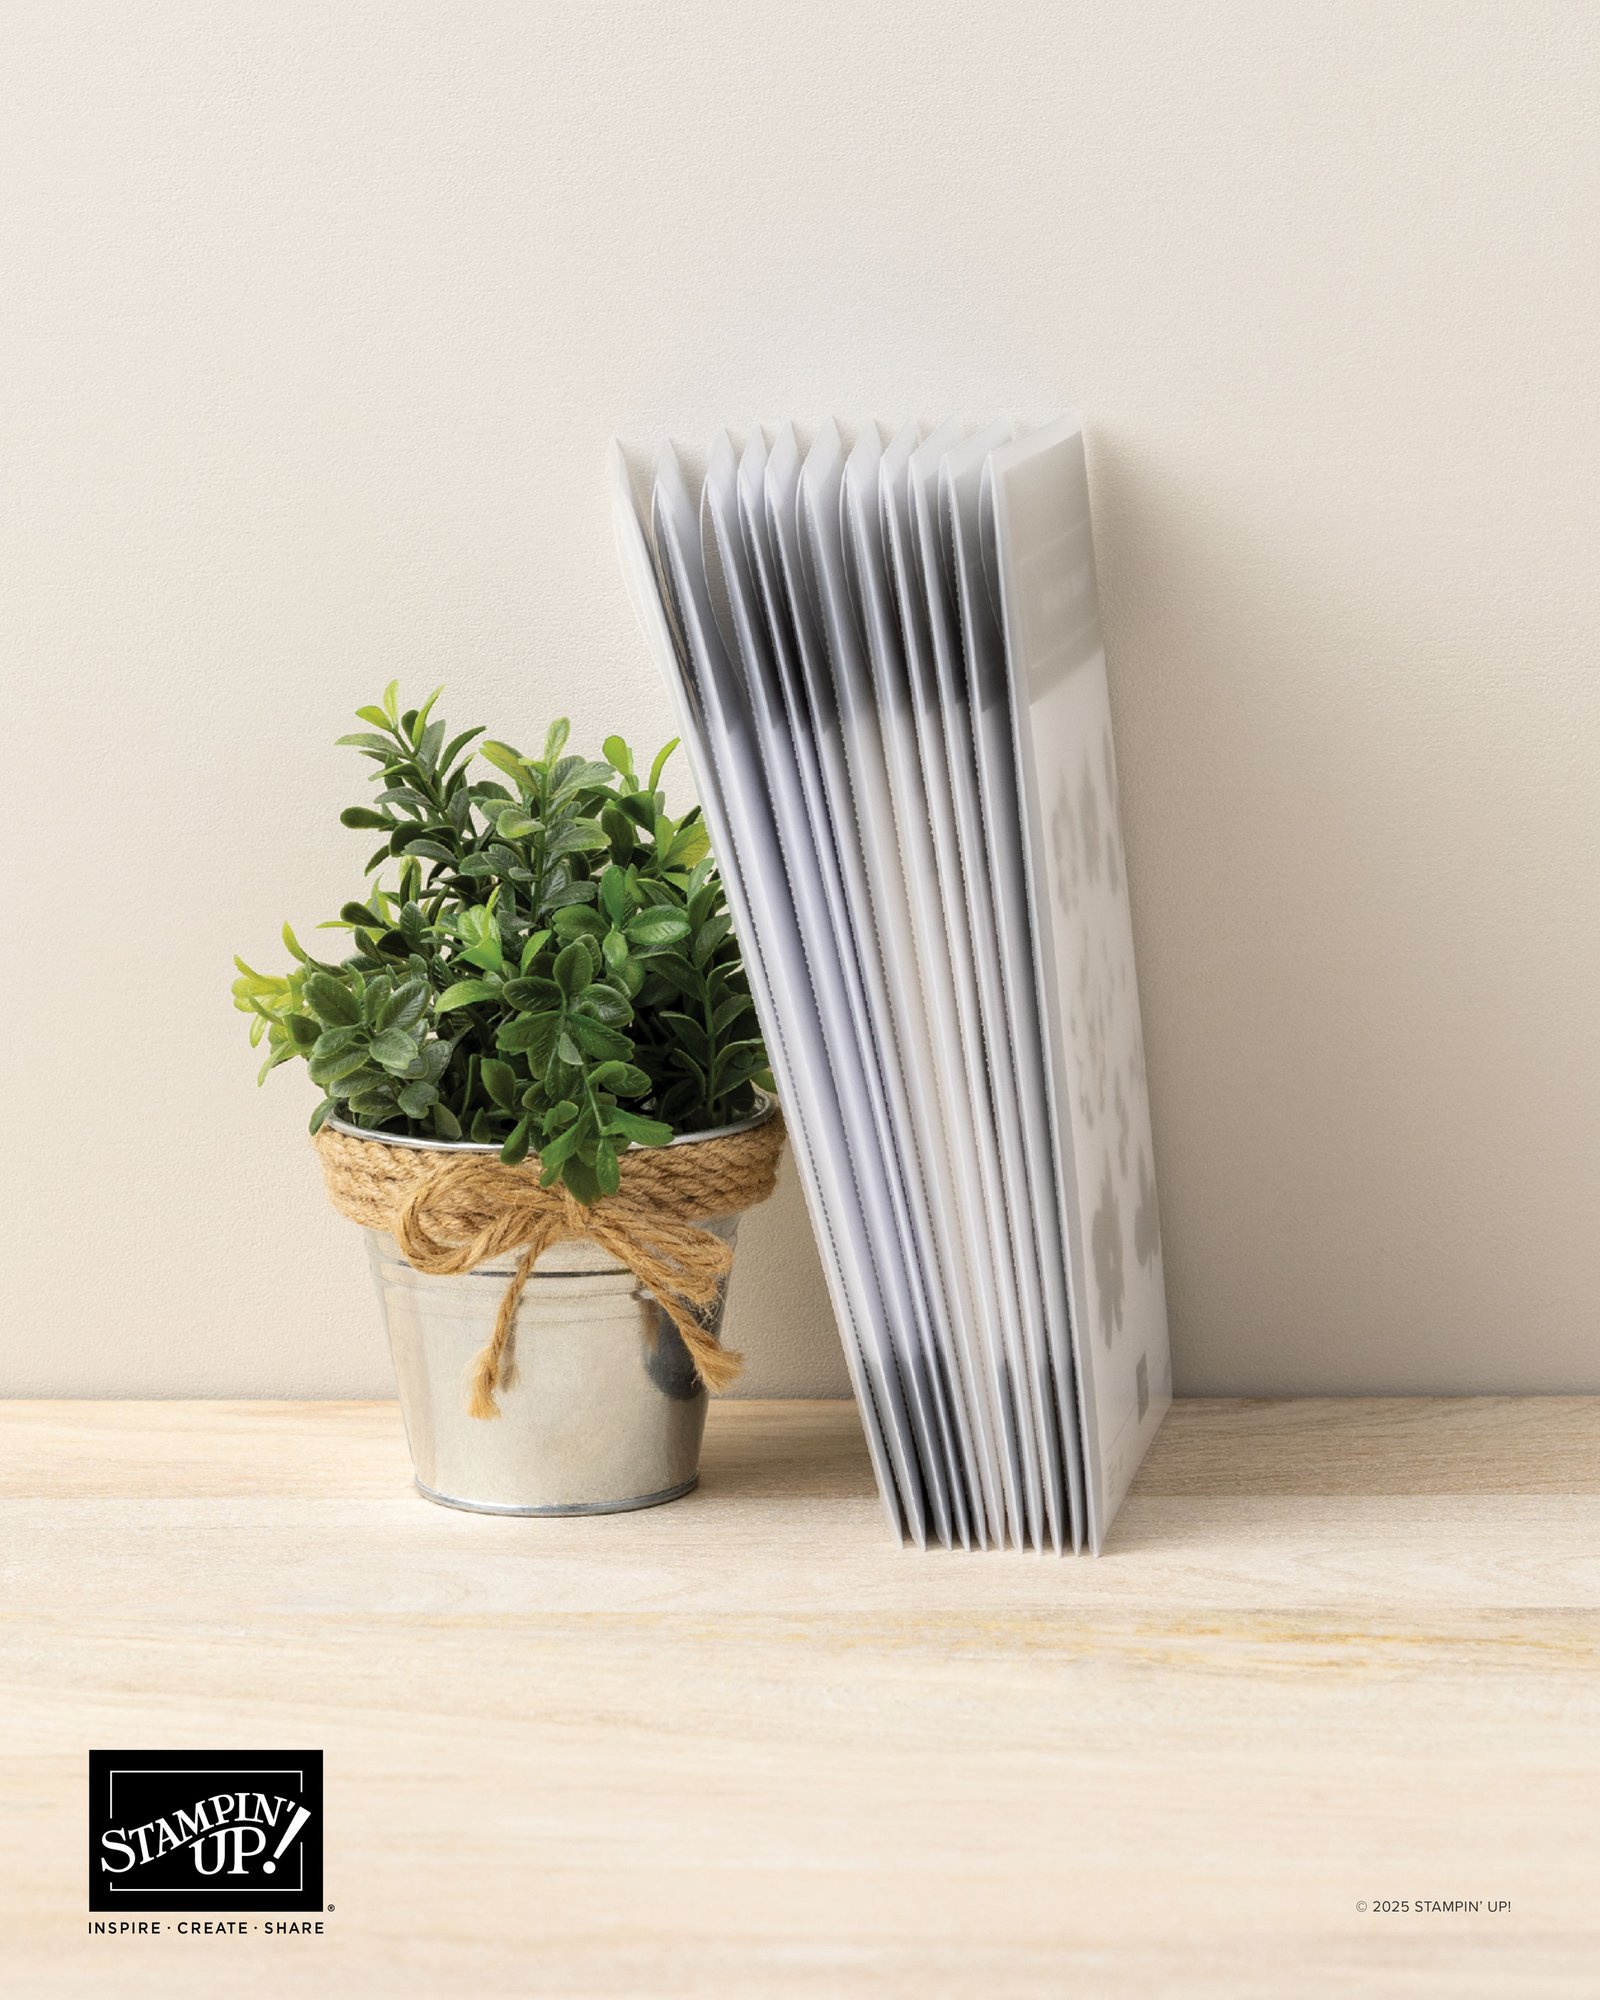
3. The die-cut sleeves will change too and will be the same as the stamp set sleeves. They’ll now have photos of the dies on the cover like you see below. 

4.  Lastly they are discontinuing our Stampin’ Write markers. The Blends markers are outselling these by far. And because they were originally intended to be used to color directly on red rubber stamps (as well as coloring) they won’t be needed for this.  

In my opinion I love coloring with the Blends so much I would never use these for coloring. They leave lines on larger images where the Blends do not.  They color so smoothly!  

All of our Stampin’ Write markers are now on the Last Chance list and will be available while supplies last.  If you love them I’d grab some while you can. See them here.  

~~~

August Specials

Lots of In Color products are discounted in August!!

Go here to see them all. 

Get a free card class with any online order over $55 during August!

Order online here

The last chance list has new products! See them here. 

All Posts

  • The next 3 months of gorgeous Paper Pumpkin kits – wow!


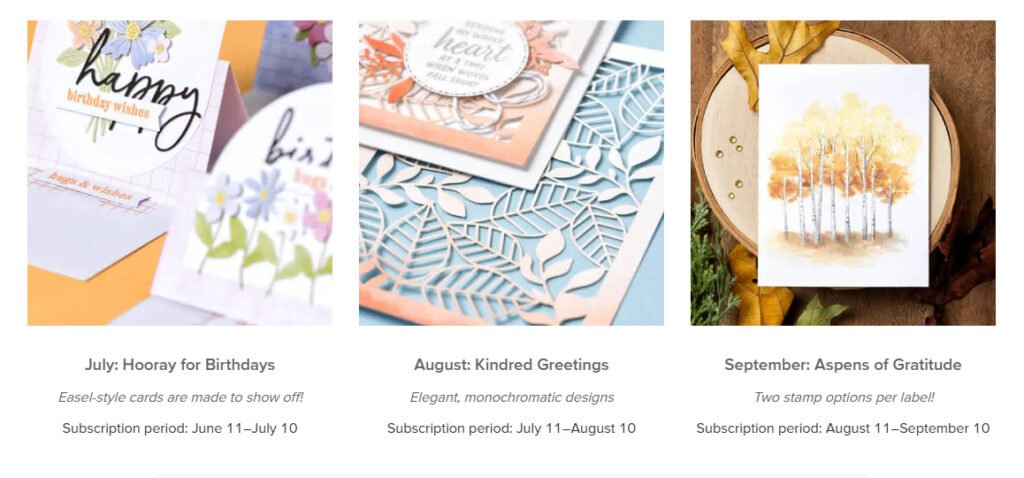
    If you love working with ready to create kits; you have to see the next 3 months of Paper Pumpkin card kits! I think they’ll be some of our favorites ever! Here’s a sneak peek:

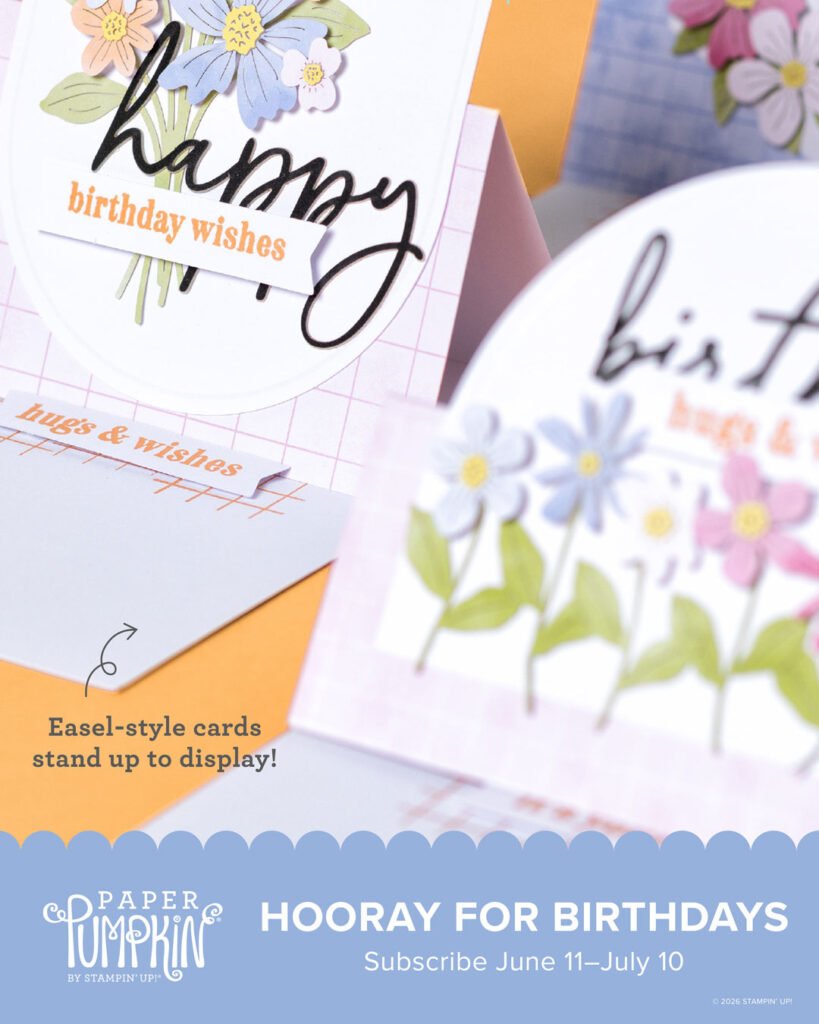
    If you subscribe before July 10th you’ll receive the Hooray for Birthdays kit. Go here to subscribe and get a fun kit in the mail each month.

    Remember you are in charge of which kits you receive. You can pause or skip any kit at any time. We always get a hint of what the upcoming kits will be.

    Or get a pre-paid subscription in either 3, 6 or 12 months increments. It’s so nice to get a fun surprise in the mail each month! And you save when purchasing a pre-paid subscription plus earn FREE product credits! Shop here for this option.

    And remember that once you’re a subscribe you have access to all of the past kits, refills and extras available. A great perk!

    Here’s the flyer for the next 3 months. It describes each kit in detail.

    Leave a Reply

    Your email address will not be published. Required fields are marked *

  • Striking and fun Black Magic technique with video!


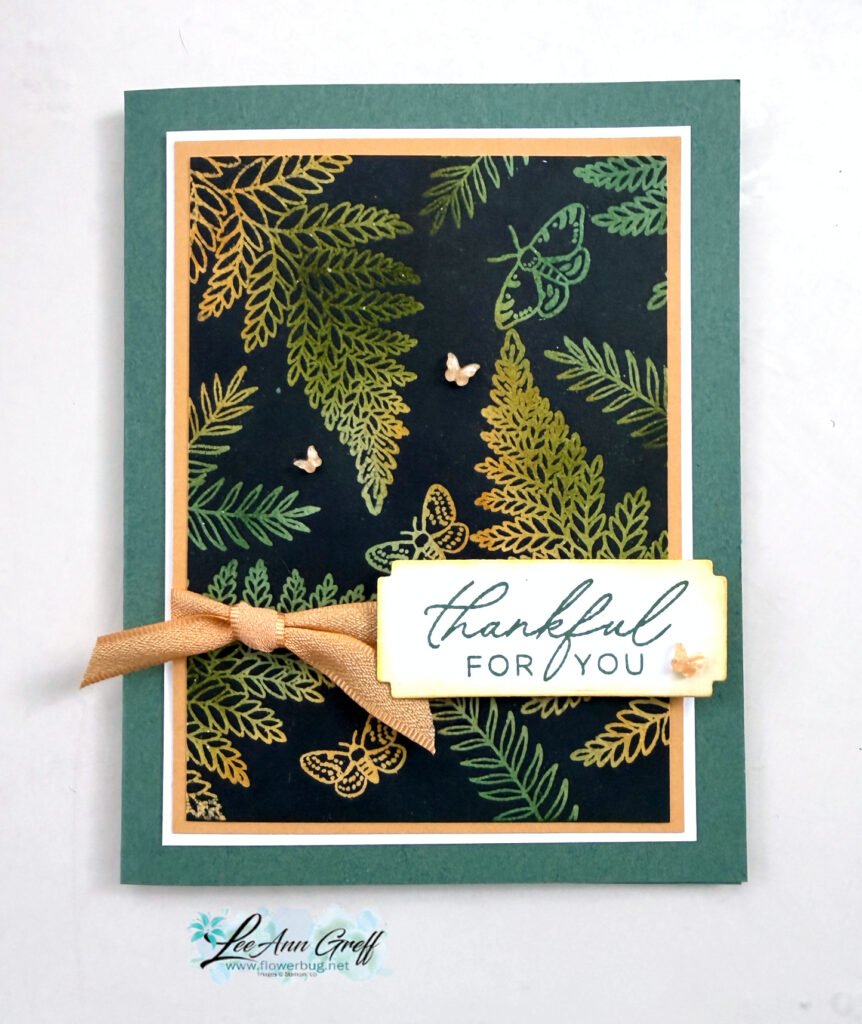
    I shared this pretty card on last week’s Live video. It’s the Black Magic technique!

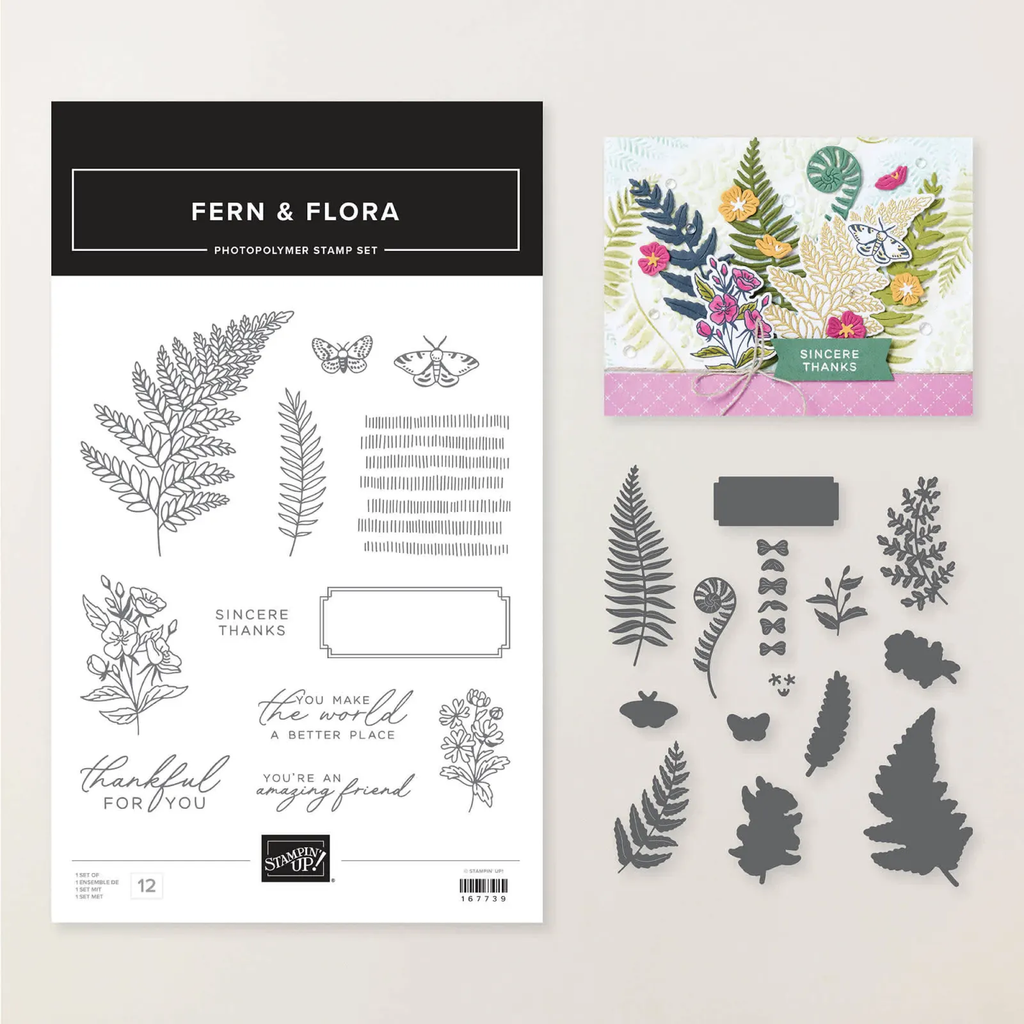
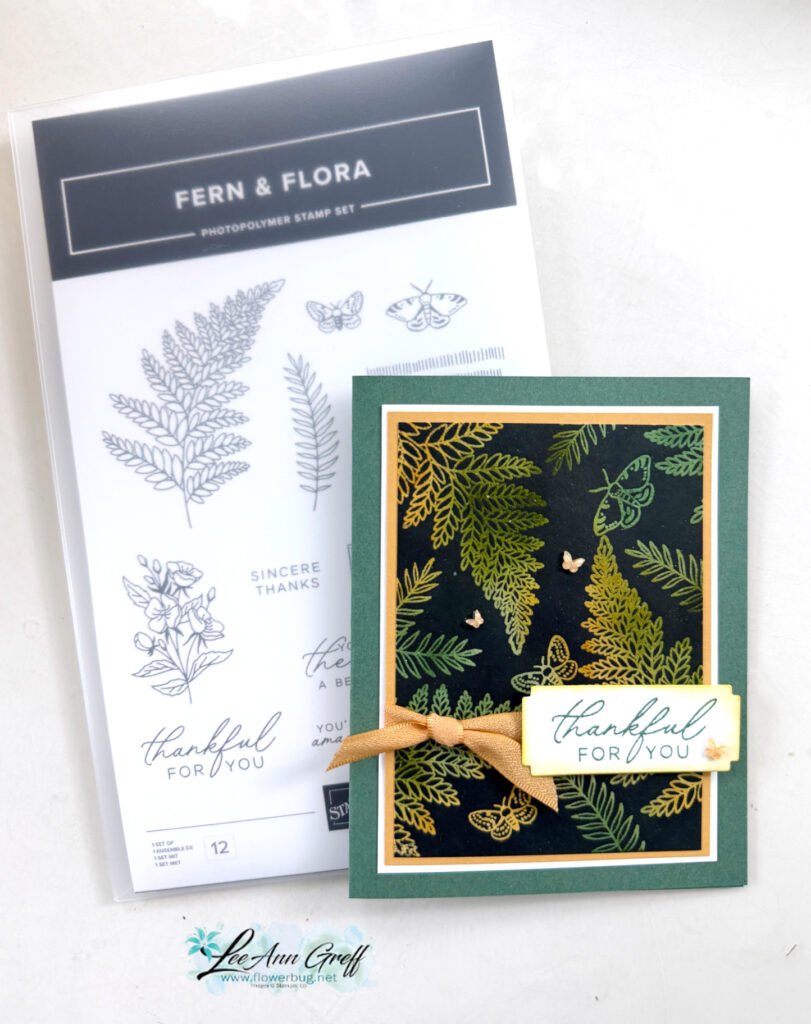
    My colors include Peaceful Pine, Old Olive (ink only), Golden Glow and White. It features the Fern & Flora bundle seen here.

    What is the Black Magic technique? It’s where you start with a light neutral piece of card stock and add color with sponges or markers. Then stamp images in Versamark and heat emboss with clear embossing powder. The magic happens when you cover it completely with a water based ink (here I used Secret Sea). Then wipe off the ink that does not ‘stick’ to the heat embossed areas. True magic!

    Watch my video tutorial further below to see this technique in action.

    On this card I used mostly the stamp images; only the greeting die-cut is from the dies. I added a few In Color butterfly gems and the pretty Golden Glow ribbon too.

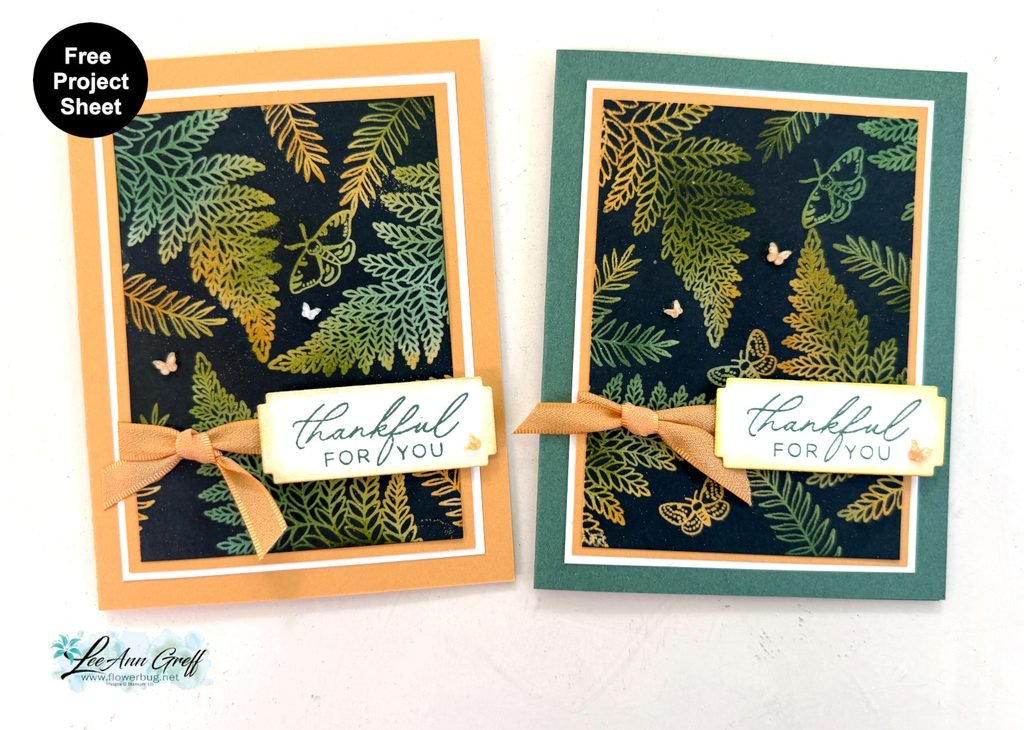
    I created a free project sheet for this card; click here to download it or to print it.

    I made one with Golden Glow as the card base and the other as Peaceful Pine as the card base.

    Below is the video tutorial for this card and another.

    Leave a Reply

    Your email address will not be published. Required fields are marked *

  • Pretty Fern & Flora card; with free project sheet & video tutorial


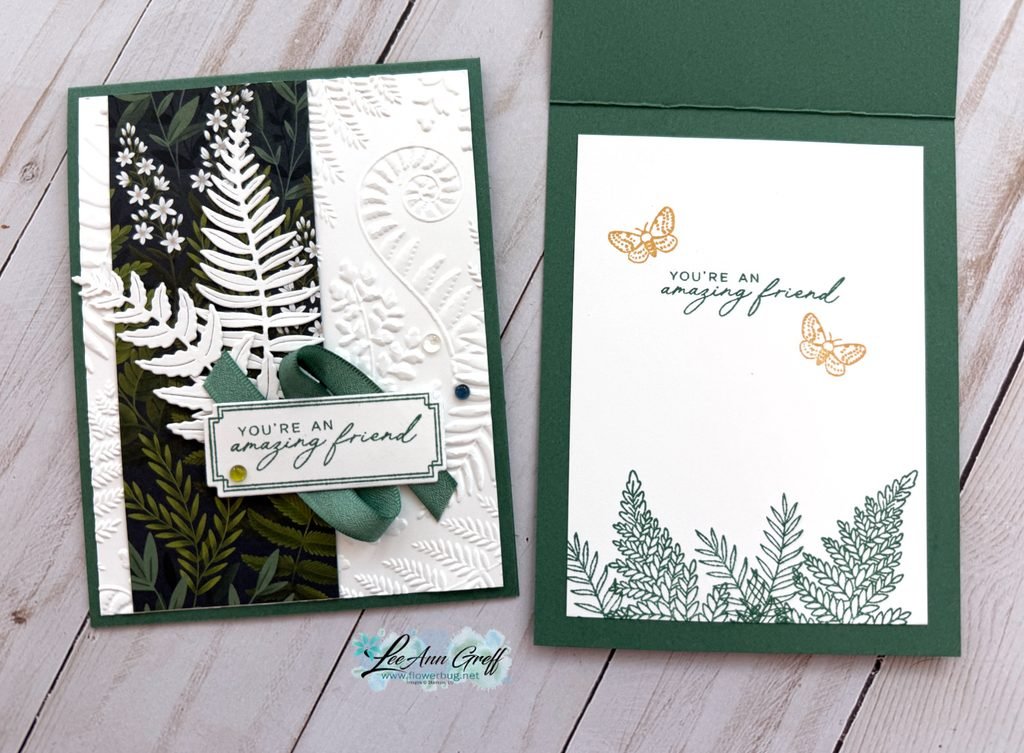
    There’s something about crisp white on a card. It gives a feeling of elegance to your projects.

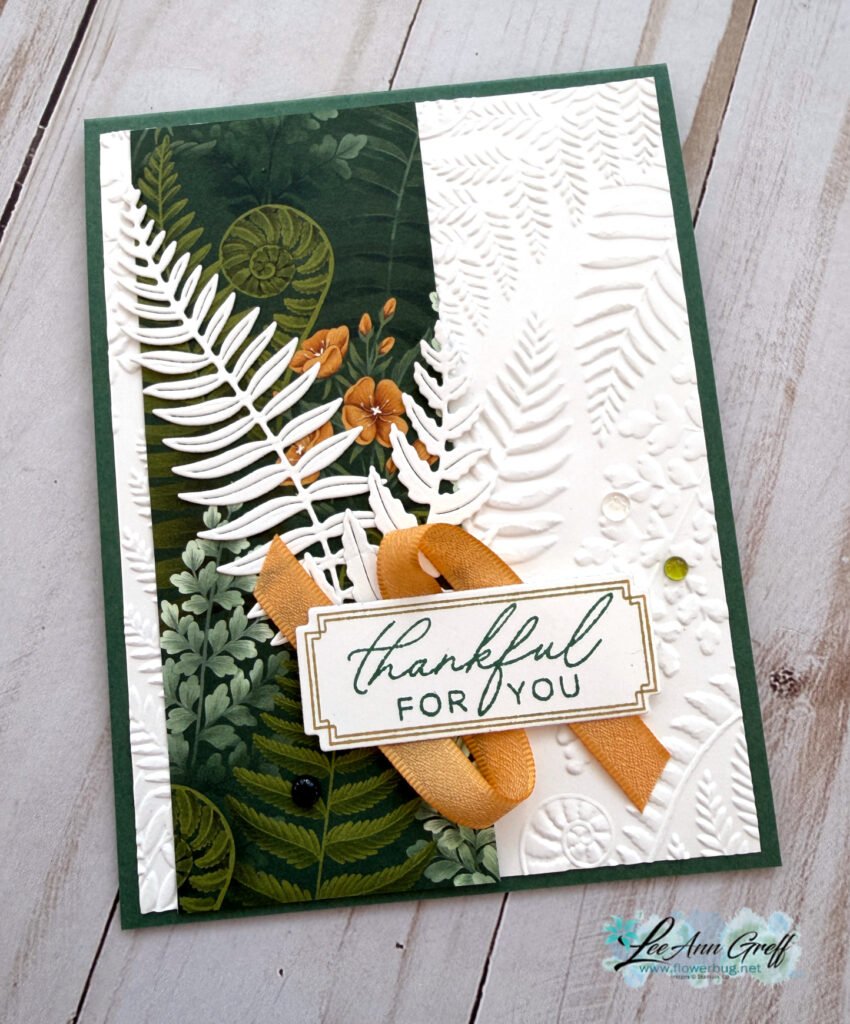
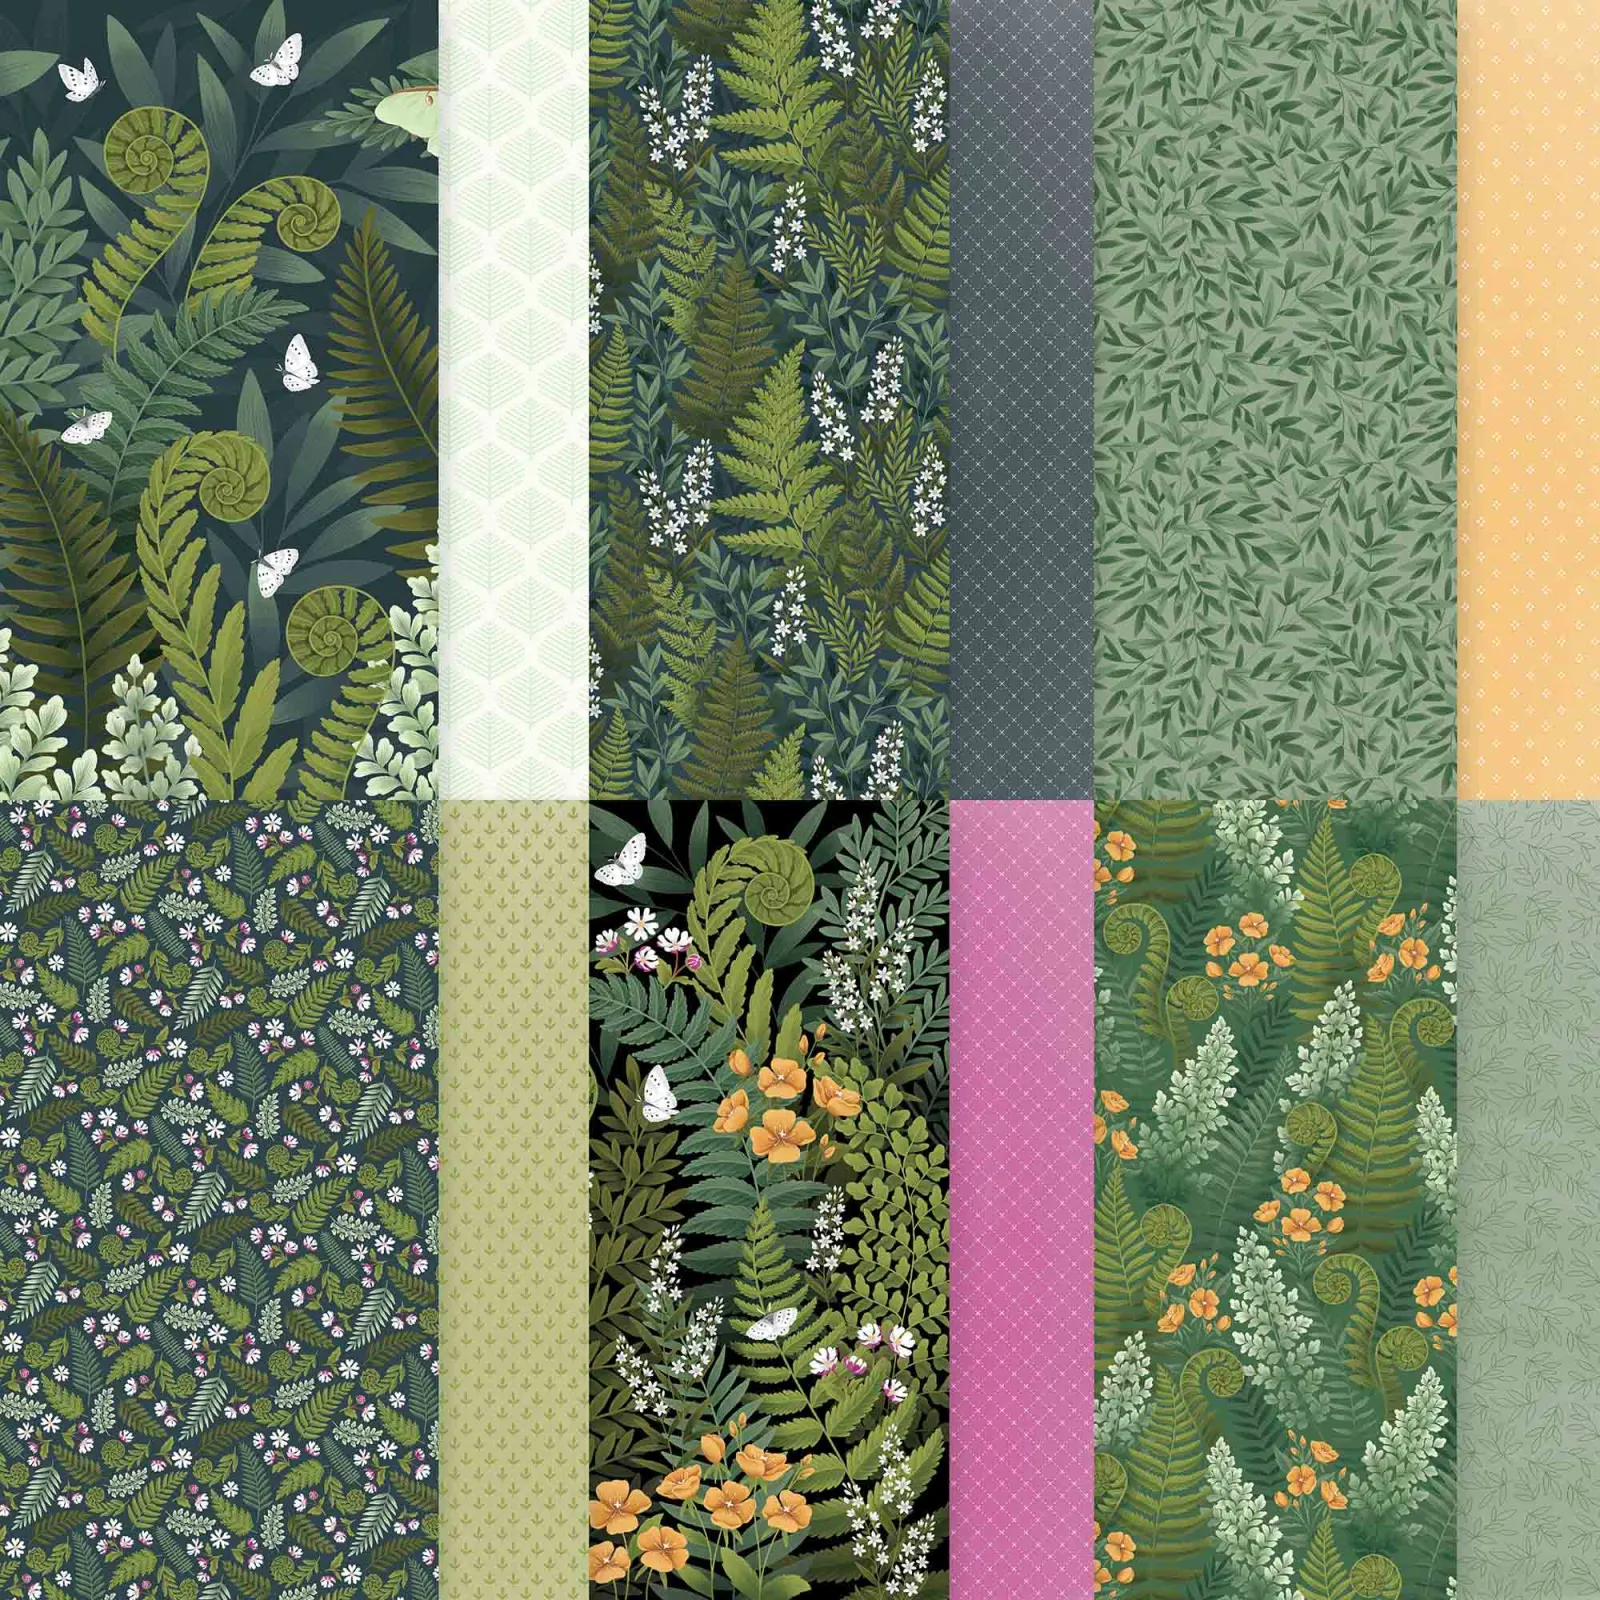
    This card features the Fern & Flora bundle seen here. The designer paper is called Moonlit Flora and the embossing folder is called Fern & Flora and can be seen here. Unfortunately the Designer paper AND the embossing folder are out of stock right now. Very popular products!

    I took a little creative license and added White fern die-cuts here. I love the way they show up against the Moonlit Flora designer paper strip.

    The colors include Peaceful Pine, with White and the new Golden Glow in color.

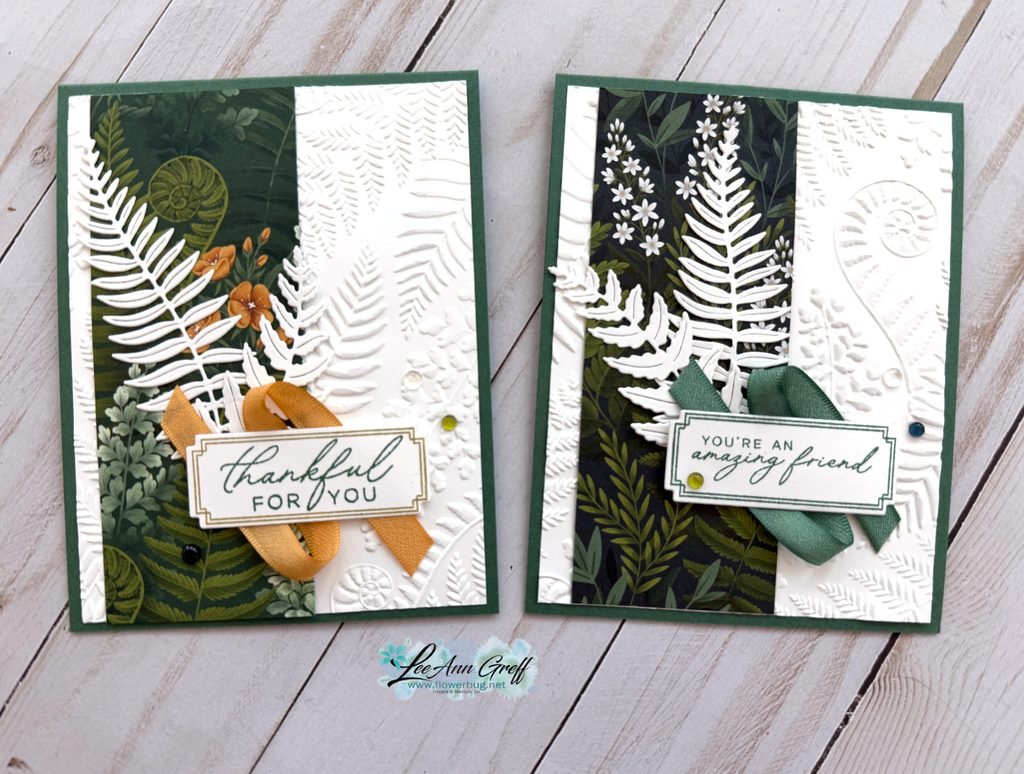
    Which do you like better? All green and White on the upper right, or the pop of the additional Golden Glow?

    The pretty Moonlit Flora designer paper offers multiple patterns: See it here. Be sure to add your name to the product so you get an email when it’s back in stock.

    I created a free project sheet for this card. Click here to download it or print it.

    I also shared a video tutorial for this card and one more using this pretty bundle. Click on it below.

    Leave a Reply

    Your email address will not be published. Required fields are marked *


Notice: LeeAnn Greff, Independent Stampin’ Up! Demonstrator, Manager. The content of this website is my sole responsibility as an independent Stampin’ Up! demonstrator and the use of, and content of, the classes, services, or products offered on this website is not endorsed by Stampin’ Up! Copyright 2025