/


Latest Post

Changes are coming!


Stampin’ Up! announced a few upcoming changes last week.  I mentioned and explained them in this video.  

1. First up is the change in the type of stamps they’ll be offering.  Currently we have both red rubber/cling and clear photopolymer.  Starting in November all new stamps will be clear photopolymer.  
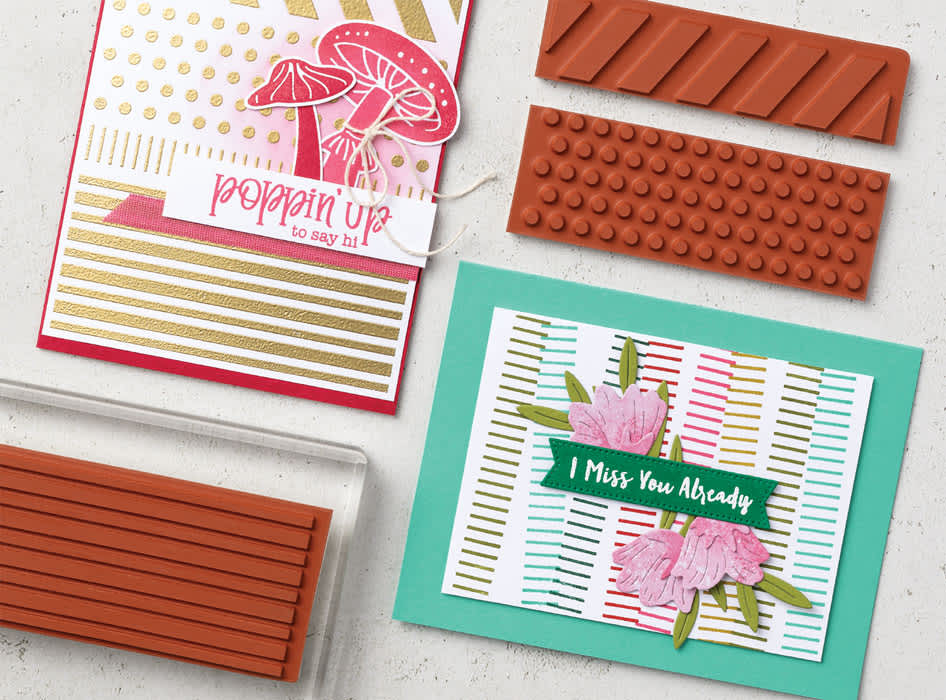
Why? They are having difficulty sourcing the product needed to produce cling or red rubber stamps.  In addition they are not selling as well as photopolymer do.  It seems most people like the clear stamps; my customers have mentioned this to me too. 

So for stamp sets from the current Annual and Holiday catalog here’s how it works going forward.  Once they run out of stock of the cling stamps they’ll switch over to clear photopolymer.  

2. Next is the packaging.  Because most stamps will be in photopolymer after November they will be in new packaging – clear sleeves.  These will be approximately 5″ X 9″ in size.  They are phasing out the DVD cases.  However they will continue to offer them in 4 packs like they currently do.  See them here.  They will also offer bulk packs of the new thin sleeves as well.  
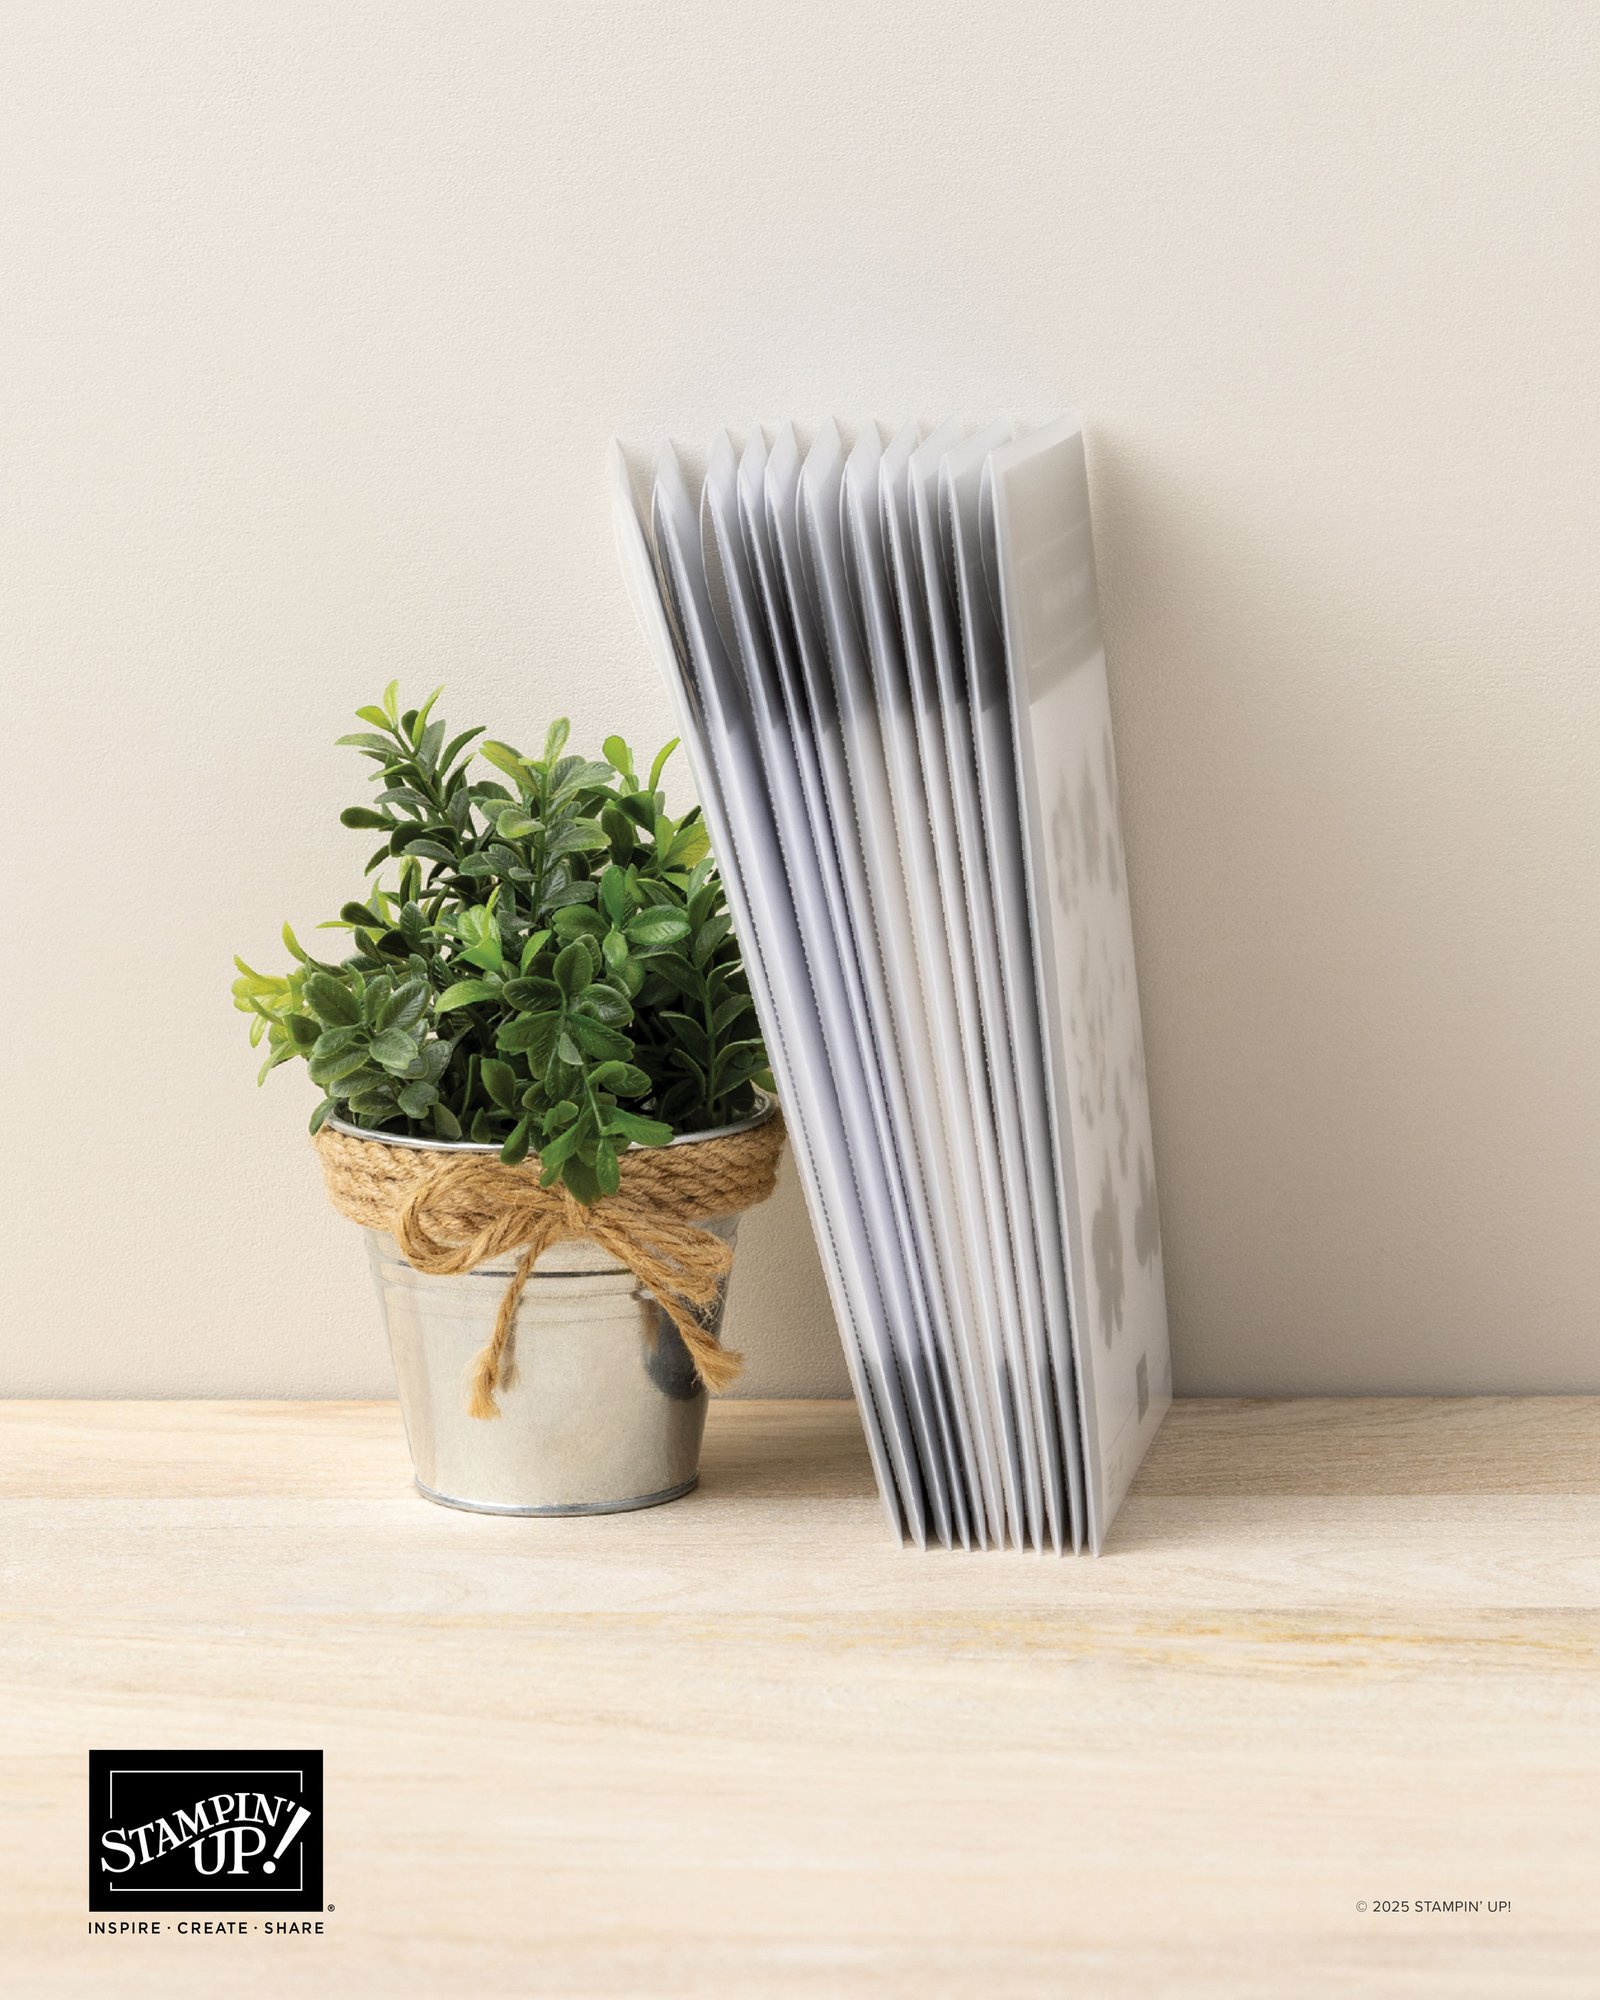
3. The die-cut sleeves will change too and will be the same as the stamp set sleeves. They’ll now have photos of the dies on the cover like you see below. 

4.  Lastly they are discontinuing our Stampin’ Write markers. The Blends markers are outselling these by far. And because they were originally intended to be used to color directly on red rubber stamps (as well as coloring) they won’t be needed for this.  

In my opinion I love coloring with the Blends so much I would never use these for coloring. They leave lines on larger images where the Blends do not.  They color so smoothly!  

All of our Stampin’ Write markers are now on the Last Chance list and will be available while supplies last.  If you love them I’d grab some while you can. See them here.  

~~~

August Specials

Lots of In Color products are discounted in August!!

Go here to see them all. 

Get a free card class with any online order over $55 during August!

Order online here

The last chance list has new products! See them here. 

All Posts

  • A unique fun fold card swap with Hugs for Love with Bloom Impressions


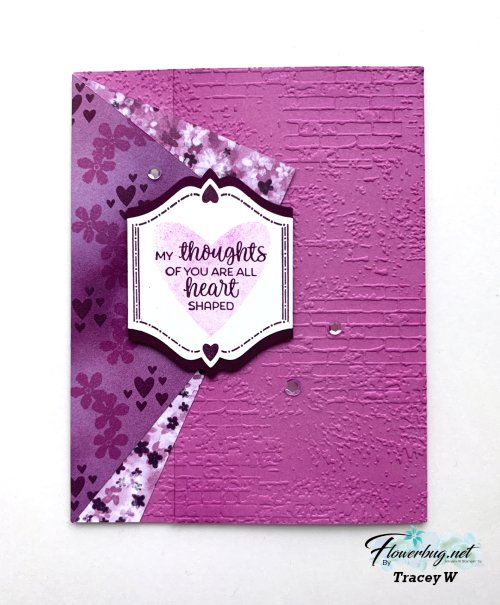
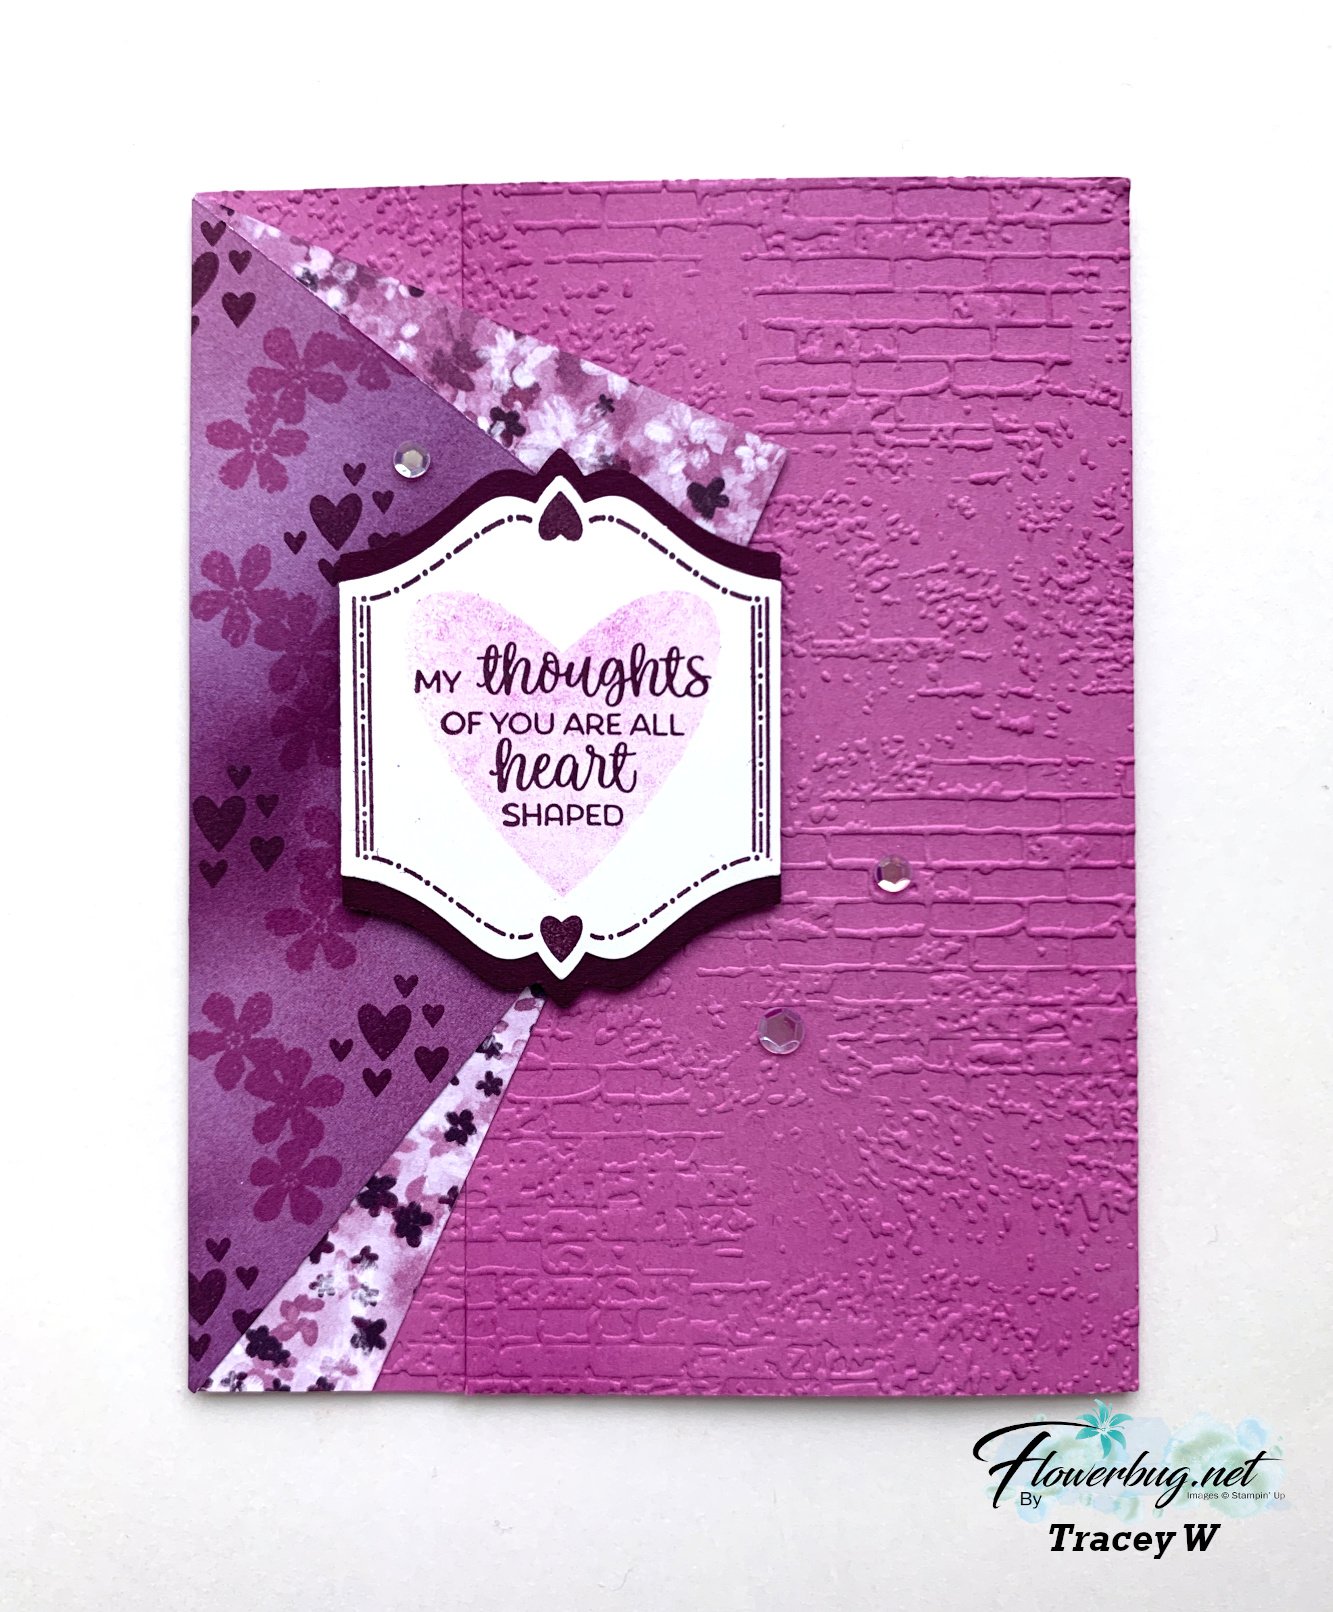
    Tracey made this stunning card for our January Team card swap.  I love her colors and layout so much! 

    Her card layout was inspired by Rachel Tessman and chose to use a Petunia Pop with Blackberry Bliss color combination. 

    She featured the Hugs for Love bundle and the Bloom Impressions designer series paper (free during Sale-a-Bration with a qualifying purchase from Stampin' Up!  See this gorgeous paper here. 
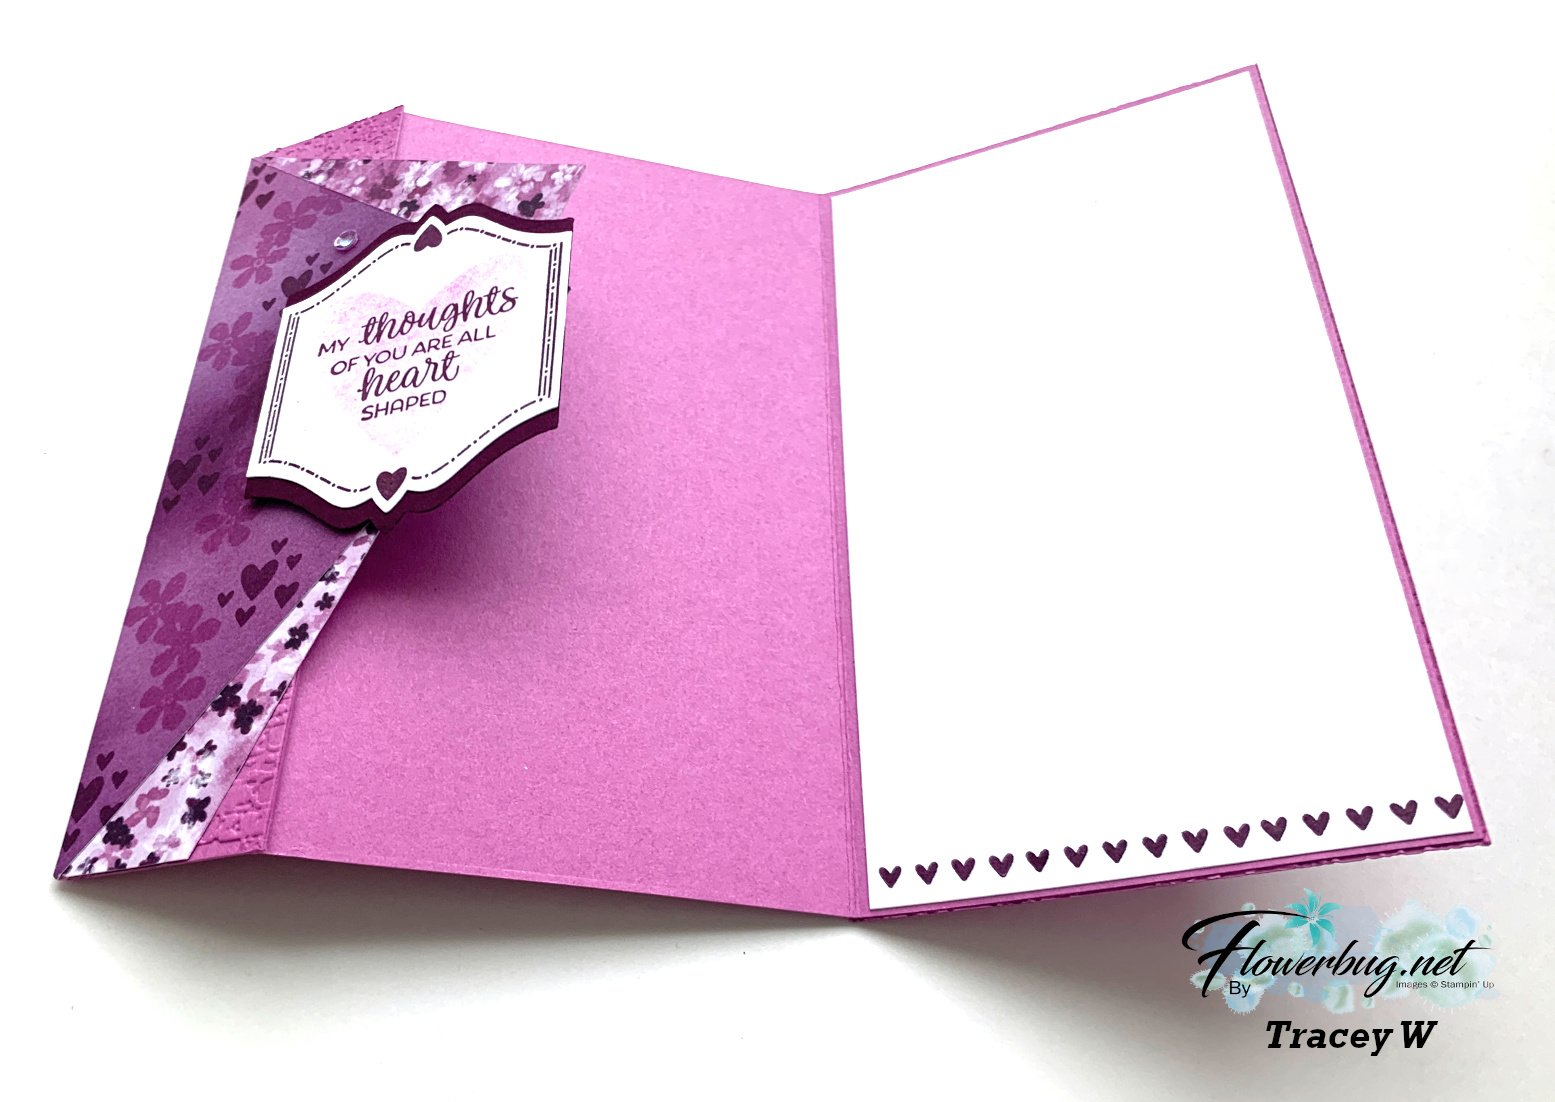
    It's hard to tell in the photo above that it's a fancy fold card isn't it?  

    The right flap tucks under the diagonal Designer Paper and To the Point greeting punches.  

    The measurements for the card base is 8 1/2" X 5 1/2" score at 1 1/4" (fold back) and 5 1/2".  Both front flaps are textured.  

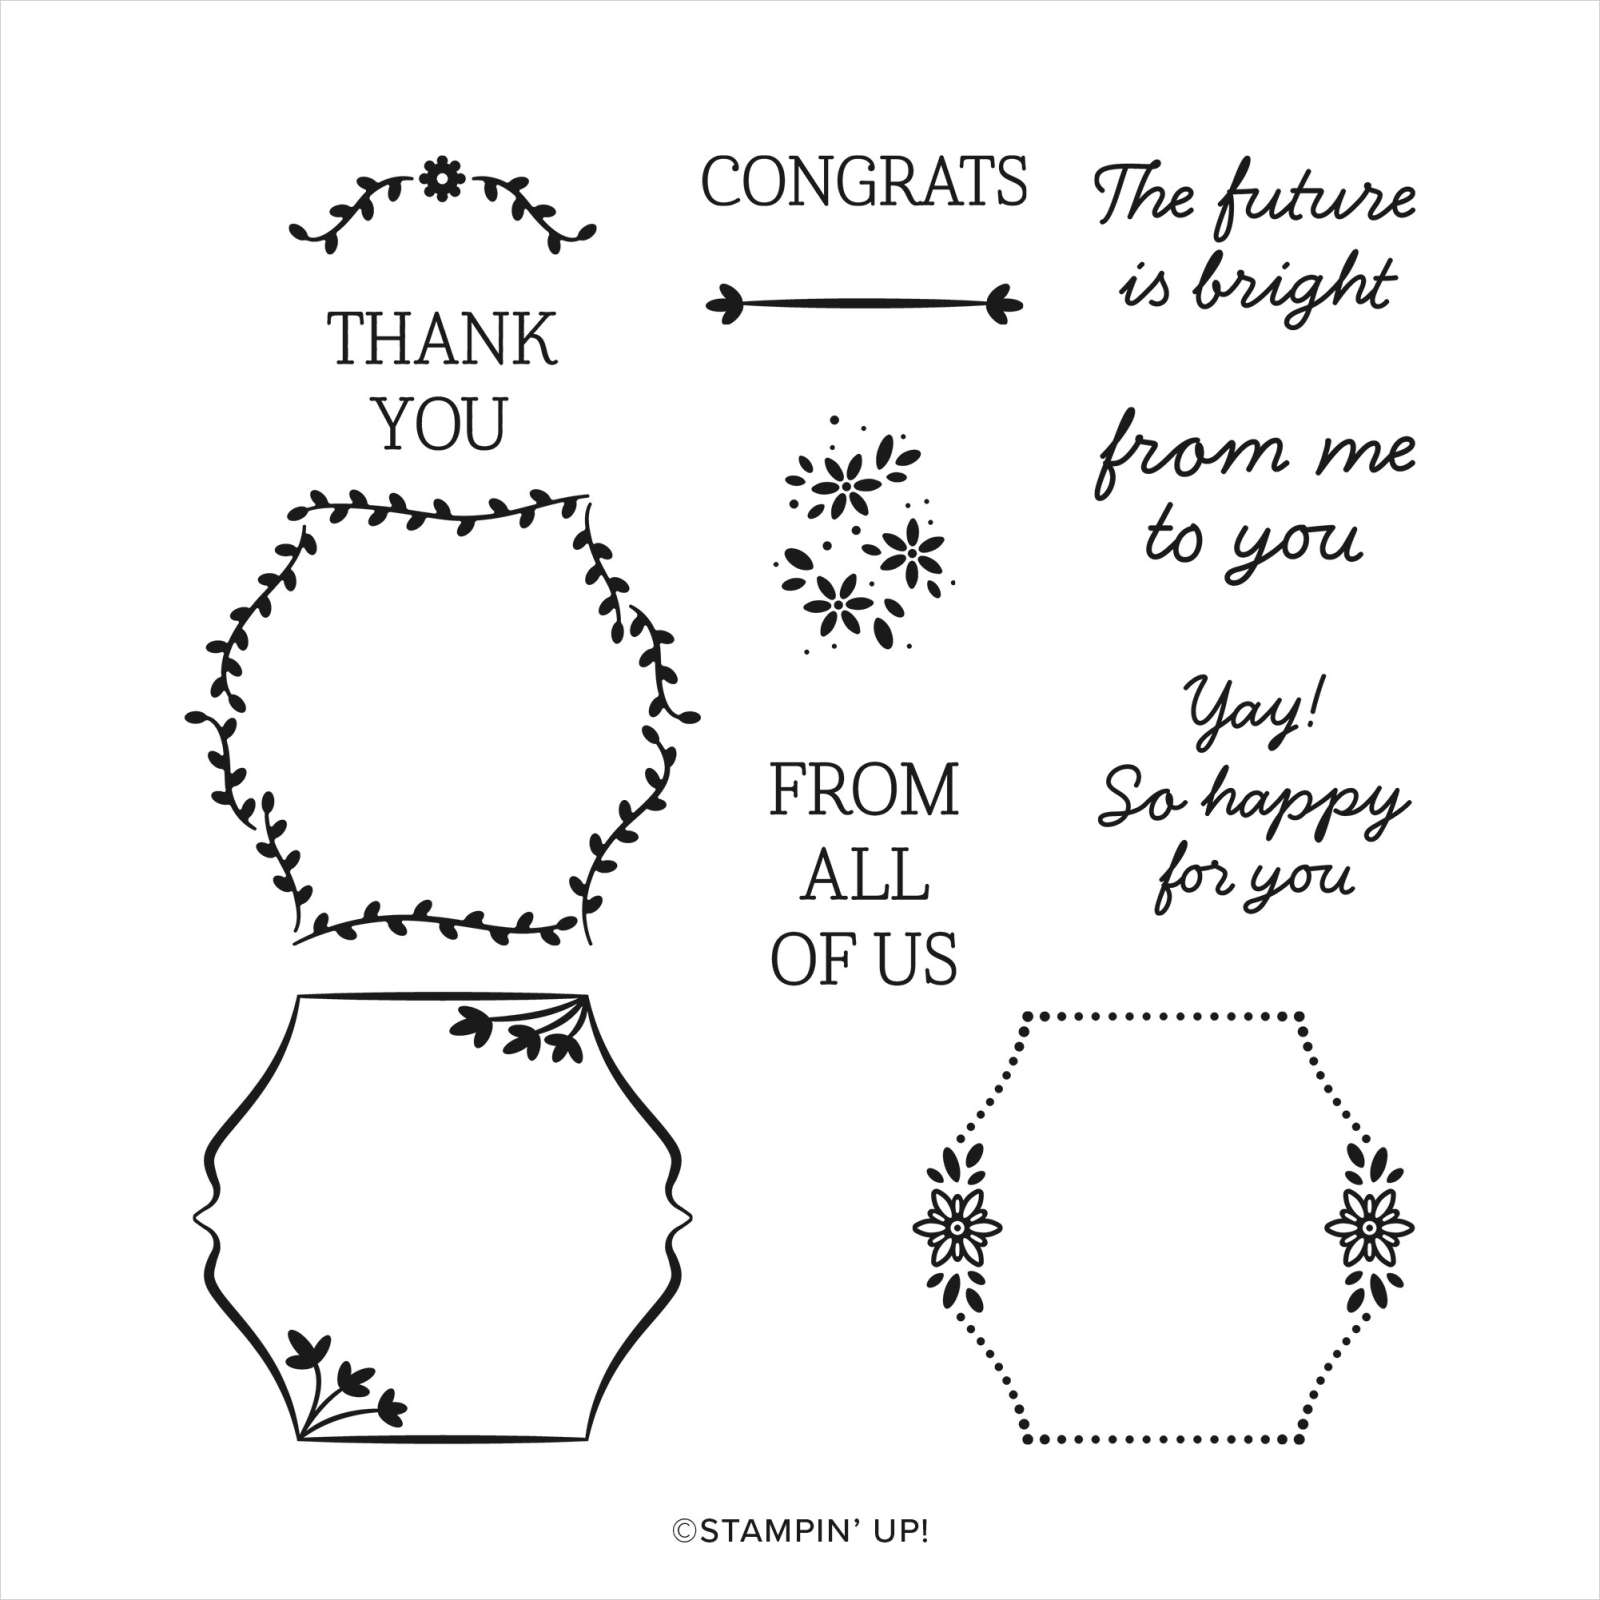
    Below is the Hugs for Love bundle that includes the To the Point punch.  I love, love this punch so much!  *heads up; this punch is now in low inventory; grab it while you can! 

    There's another stamp set that coordinates with this fabulous punch too.  It's called Bright Borders. 

    ~~~

    January Specials:

    *current host code link:  

     6ZYNKJ6E

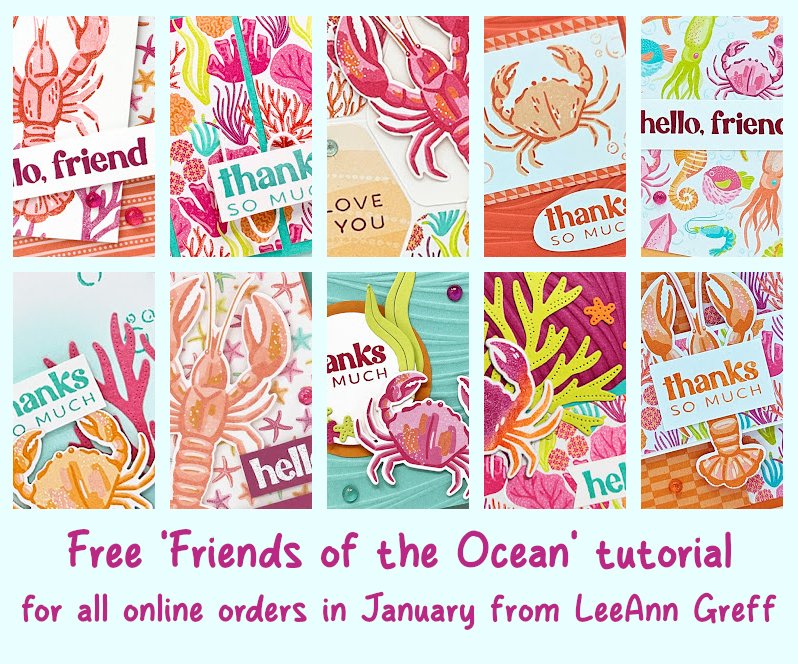
    Get this free tutorial with any online order in January!

     Sale-a-Bration is Live! For every $60 (or $120) you spend you can choose a free item from the SAB catalog!  

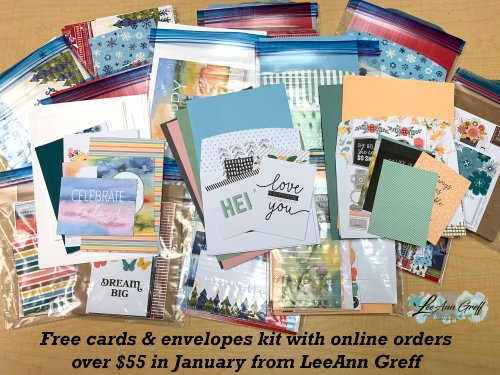
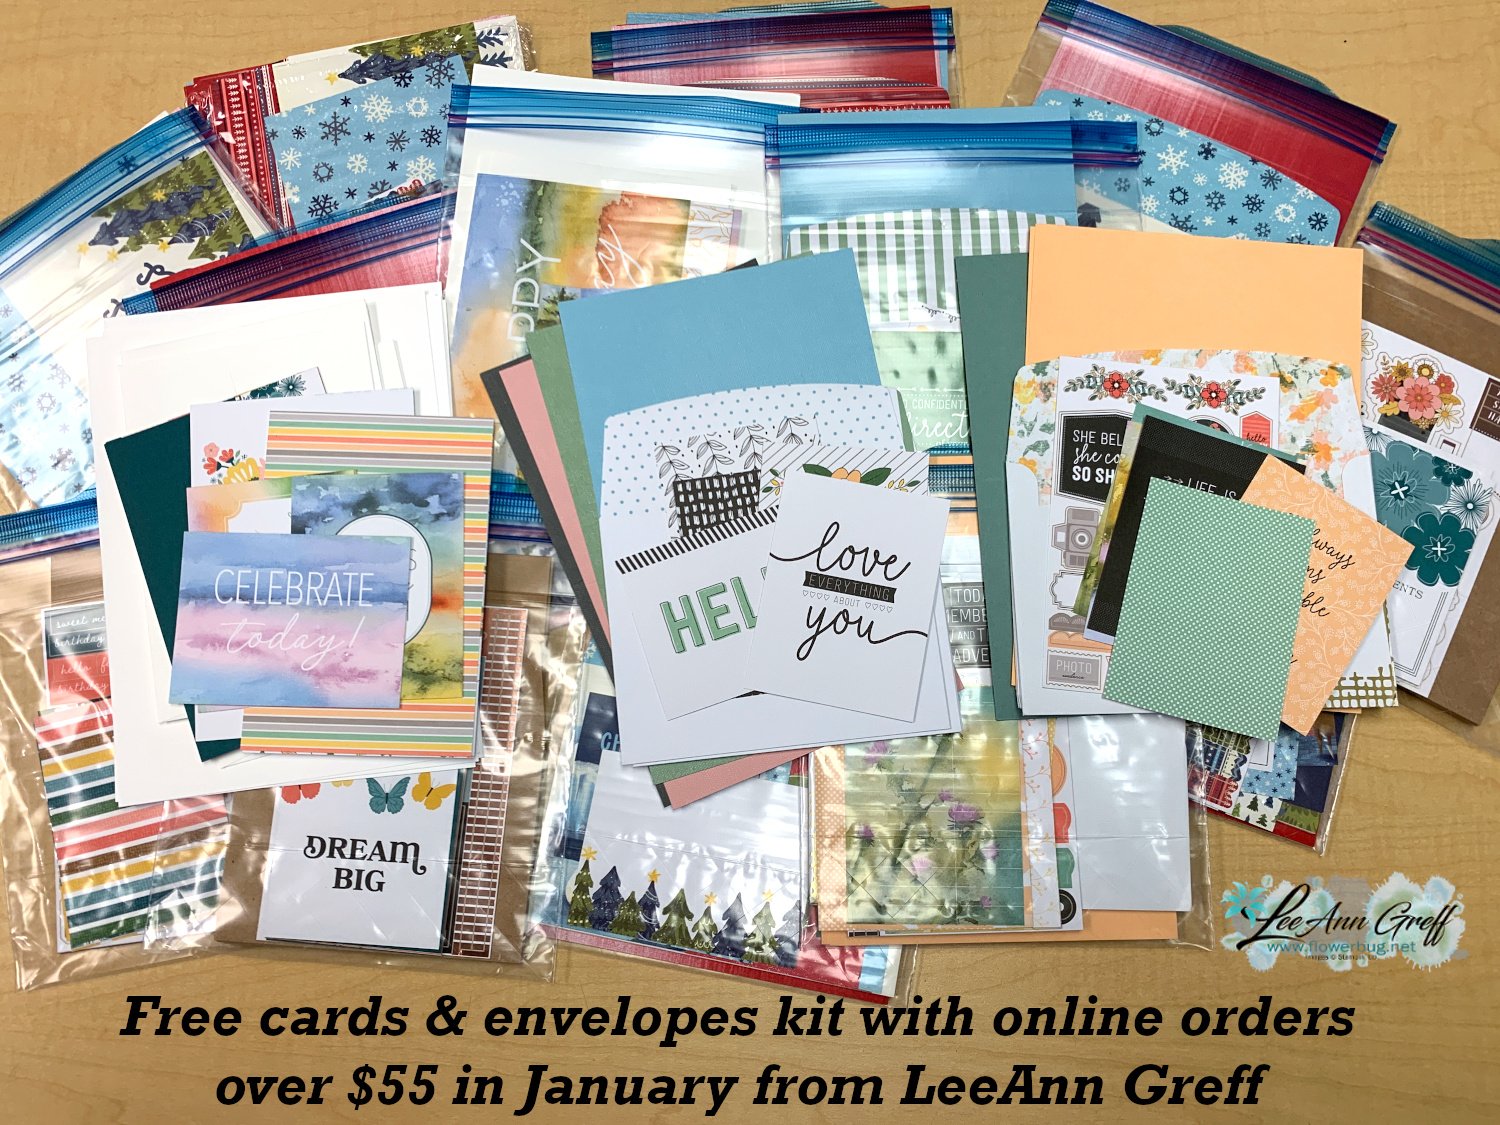
    Get a free card kit with any online order over $55 in January!


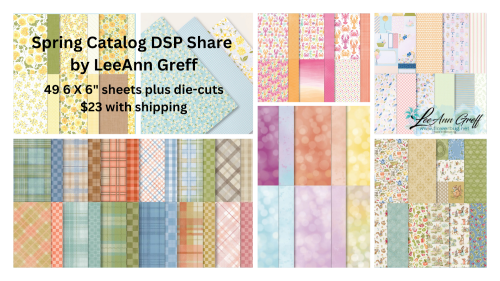
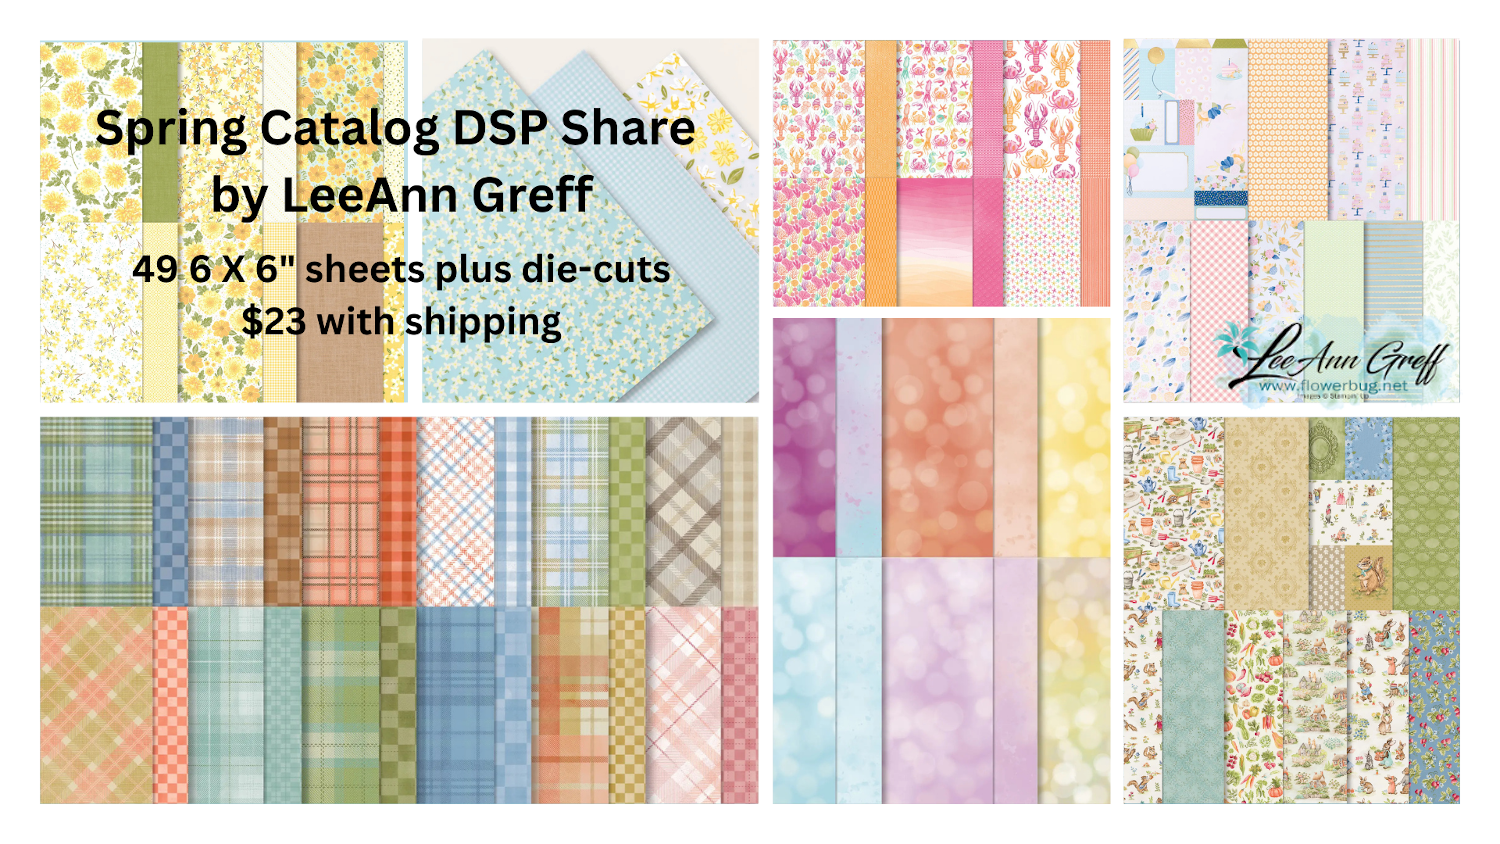
    Opt in for my Spring catalog Designer Paper share and/or the Spring catalog embellishment share seen below. 

    See the details here. 
    Contact me here

    Leave a Reply

    Your email address will not be published. Required fields are marked *

  • Make the most of your card stock & DSP with this Timeless Plaid fun fold card


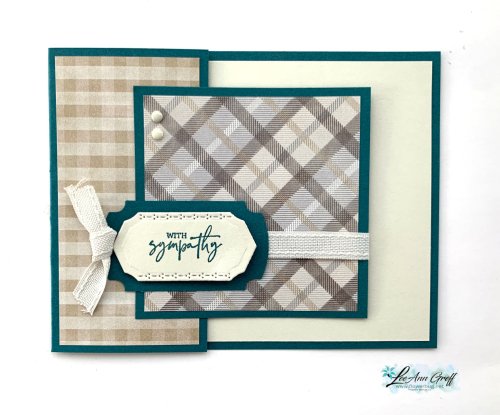
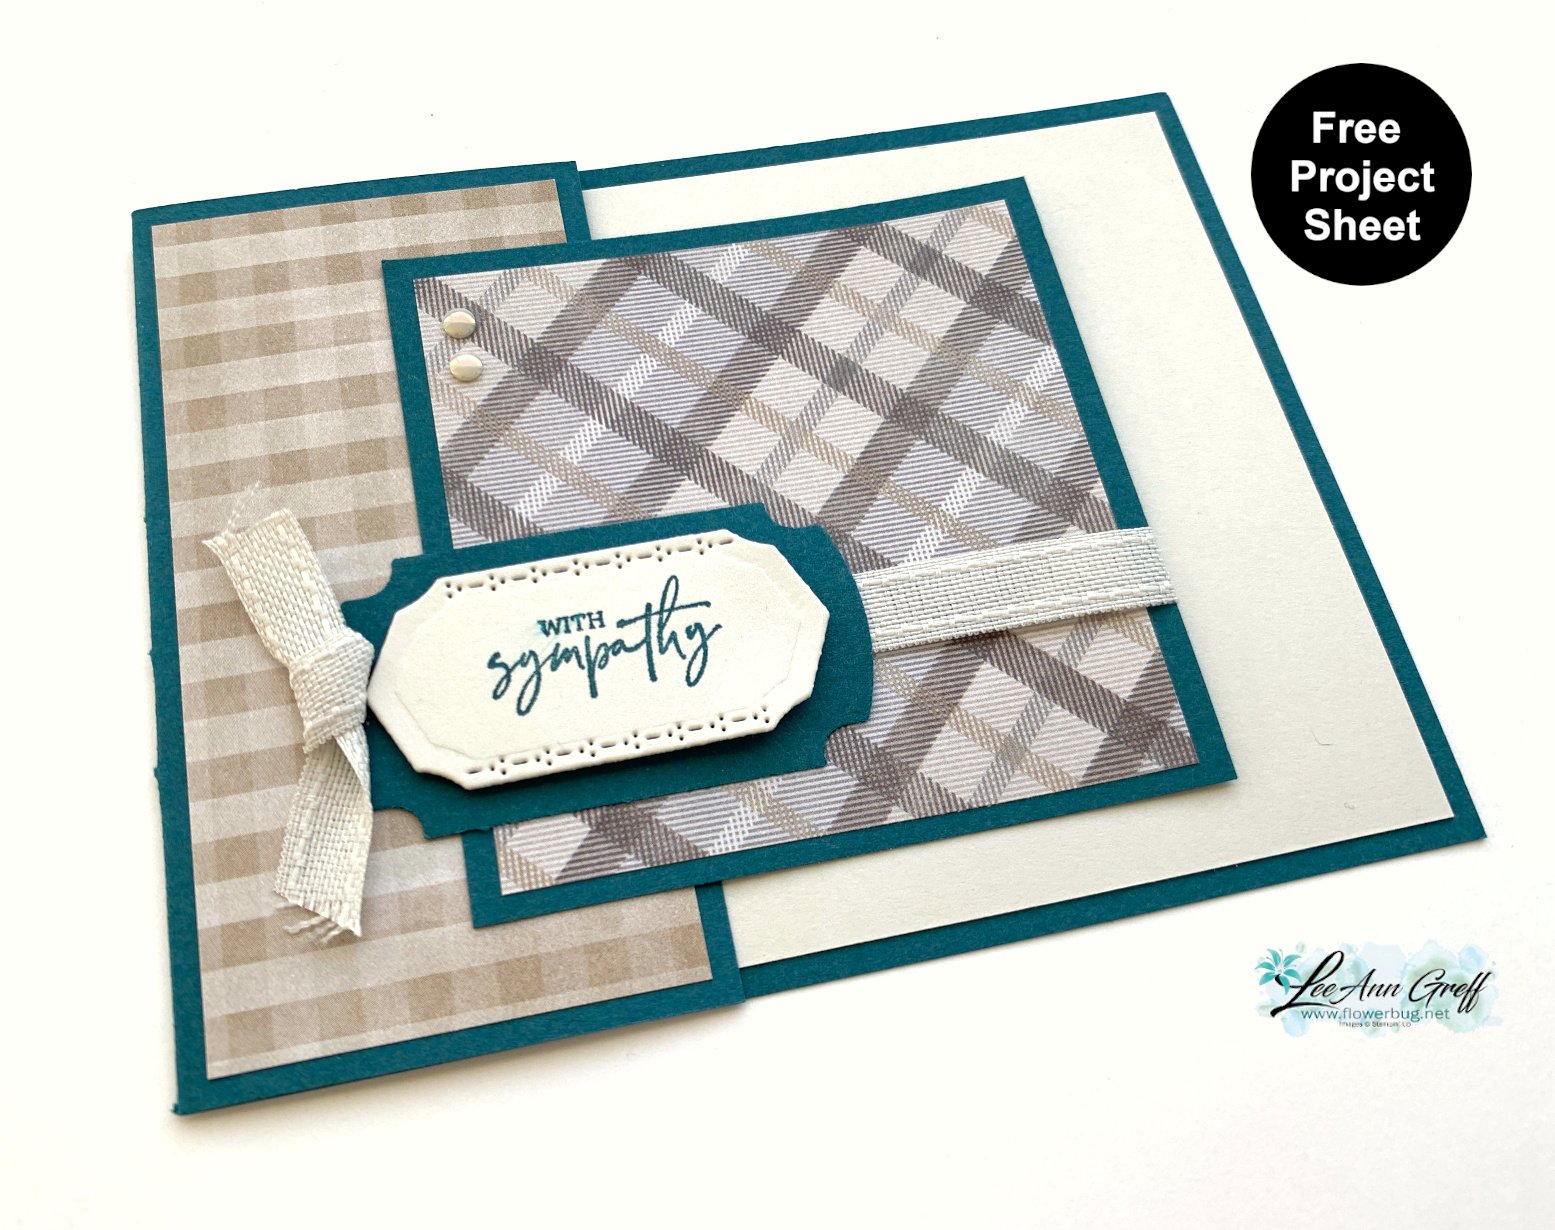
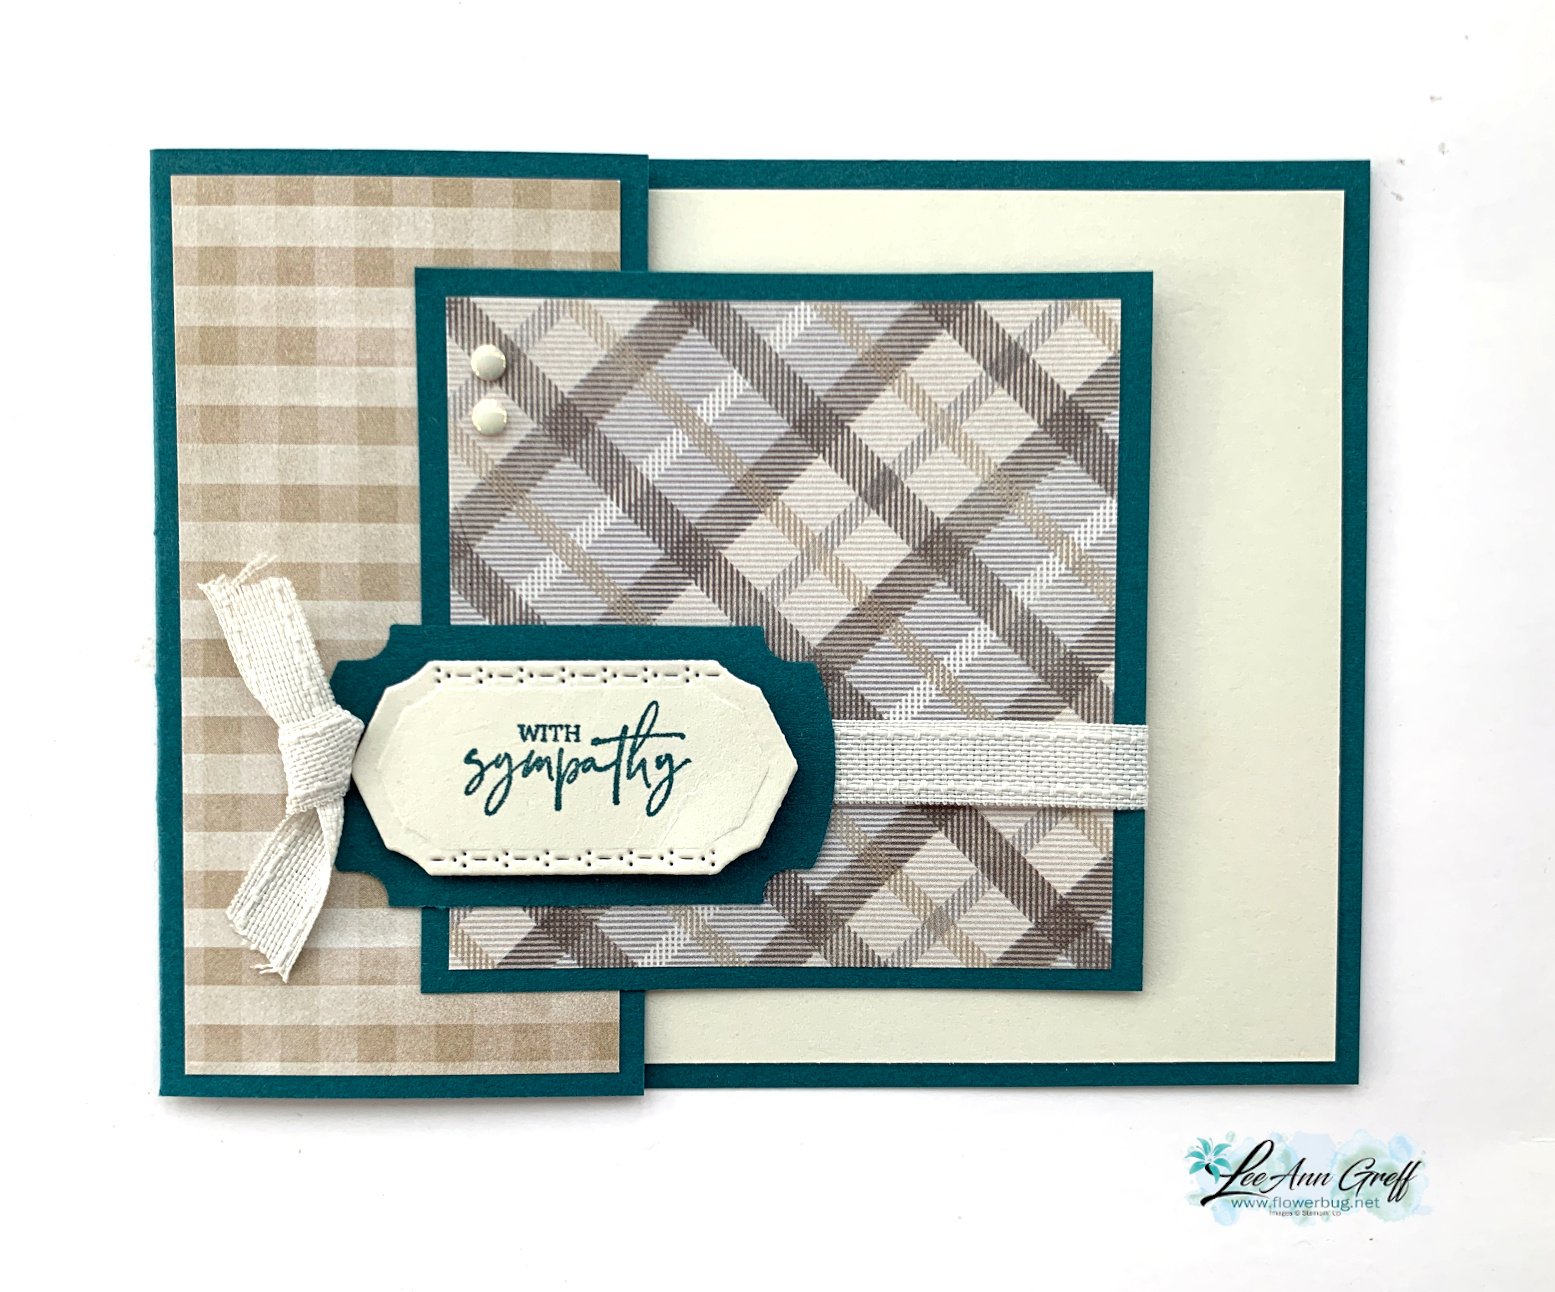
    Today I'm sharing one more easy fun fold card featuring the Timeless Plaid 6" Designer Series Paper.  

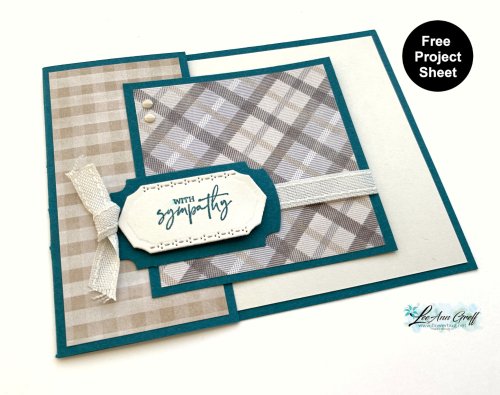
    I love this card layout because it makes great use of both your card stock and designer paper.  My colors include Basic Beige with Pretty Peacock.  The greeting and stitched edge die-cut are from the Mixed Labels bundle seen here. 
    The card base is 11" X 4 1/4"; scored at 5 1/2". Trim off one end at 3 1/4" and cut it into a square.  Next add a 3" square of DSP to that. You'll add that as the layer over the left side of the card (after adding a 2" X 4" piece of DSP).  So simple! 
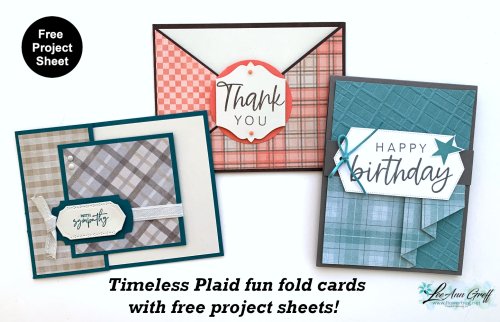
    I shared 3 fun fold cards on last week's video.  If you like fun fold cards I hope you'll access the free project sheets for them all here.  

    Click on the following link to get the free project sheet for this card.  Download Timeless Plaid Sympathy
    Below is the video for multiple fun fold cards.  And subscribe to my YouTube Channel too! 

    ~~~

    January Specials:

    *current host code link:  

     6ZYNKJ6E

    Get this free tutorial with any online order in January!

     Sale-a-Bration is Live! For every $60 (or $120) you spend you can choose a free item from the SAB catalog!  

    Get a free card kit with any online order over $55 in January!


    Opt in for my Spring catalog Designer Paper share and/or the Spring catalog embellishment share seen below. 

    See the details here. 

    Contact me here

    Leave a Reply

    Your email address will not be published. Required fields are marked *

  • Double Diagonal card fold with free project sheet & video tutorial


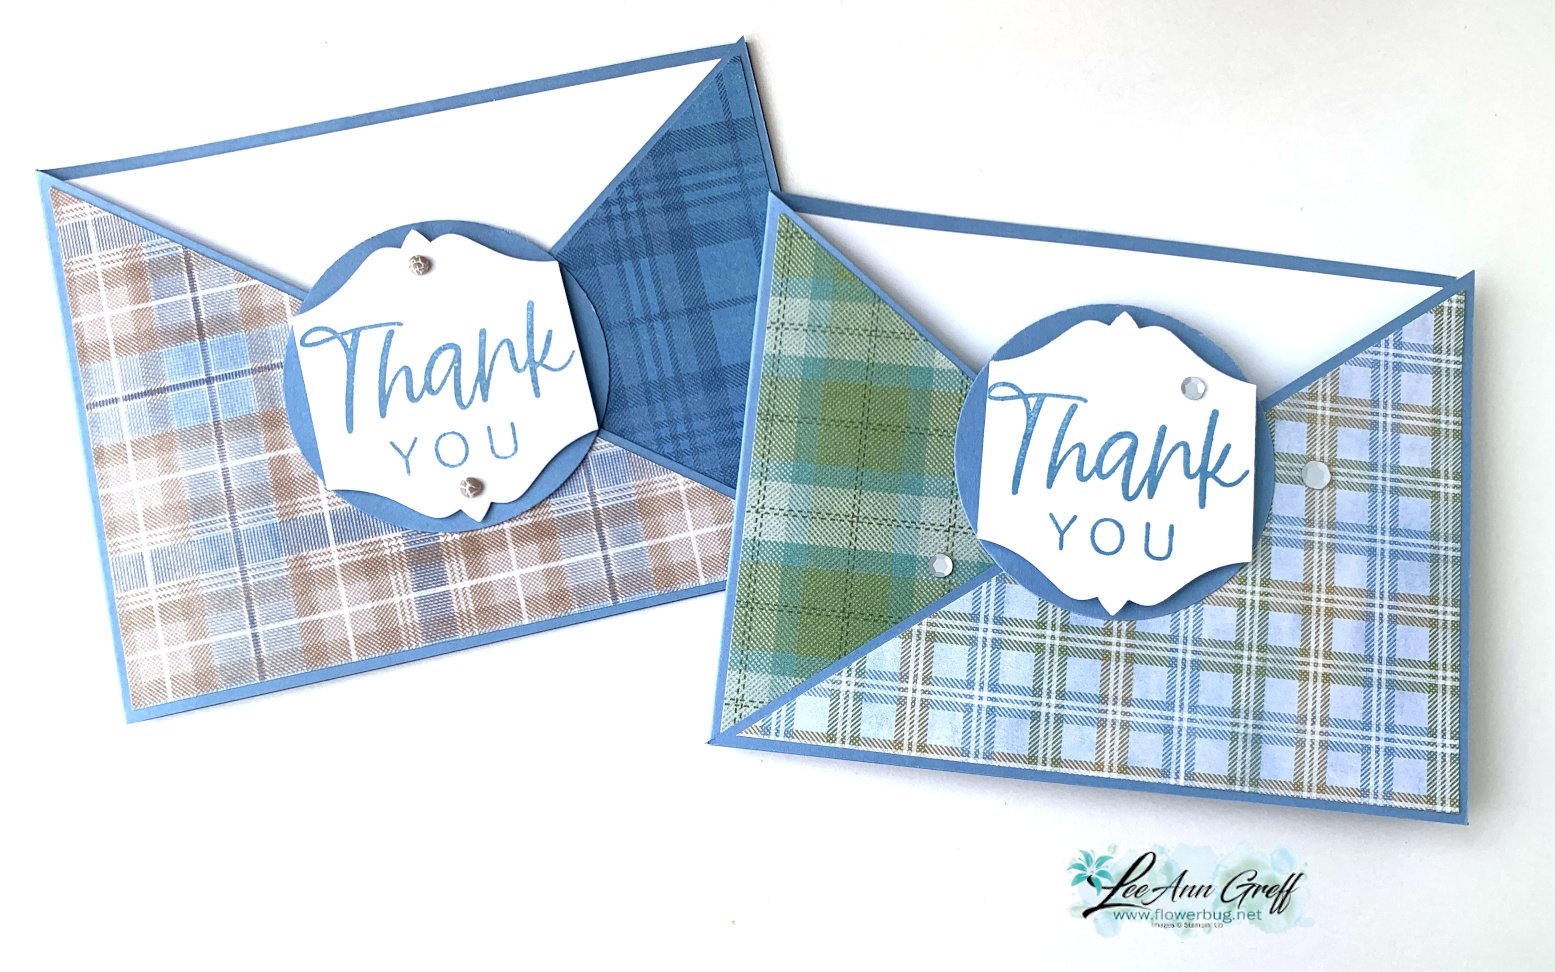
    Have you ever made a double diagonal card fold before?  They're a little bit addictive and so easy. This layout is also a great way to combine coordinating designer papers & use up your stash! 


    Here I used the new Timeless Plaid 6 X 6" DSP along with the With You in Mind stamp set.  I love the nice big greetings. 


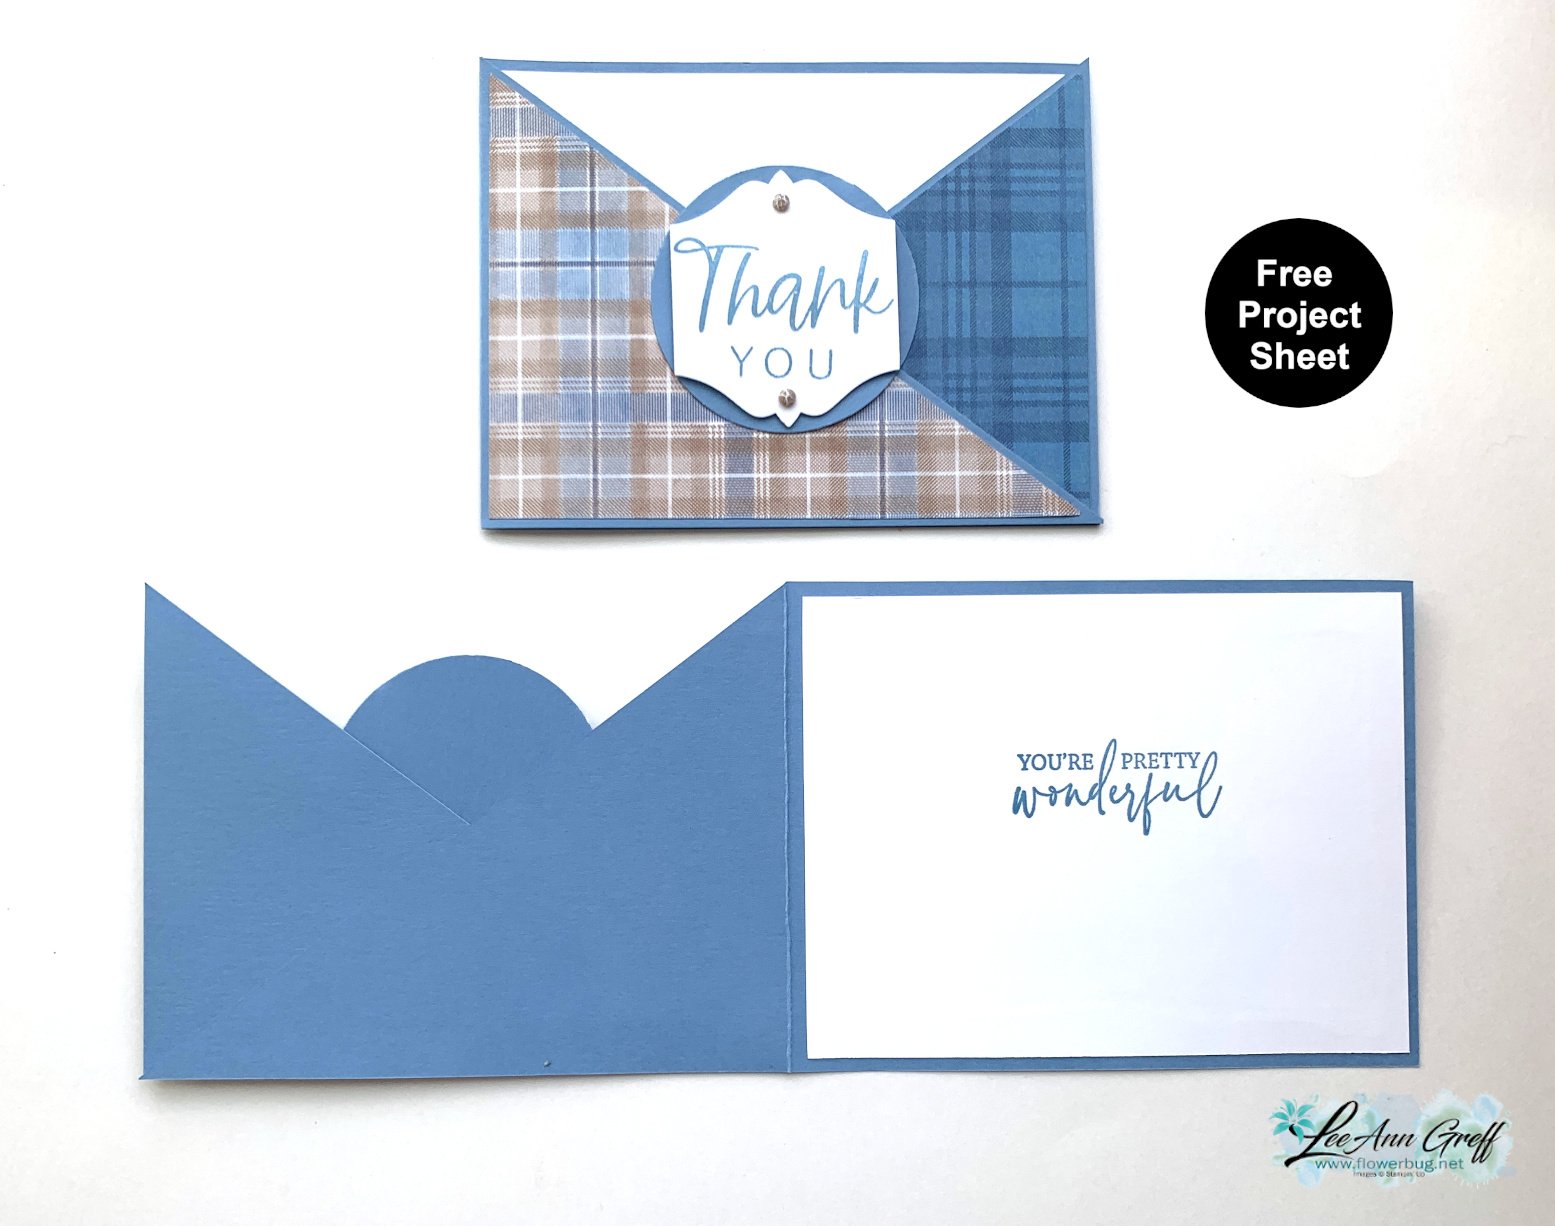
    When making this card you start out with a base 11" X 4 1/4" scored at 5 1/2". Then trim off the outer diagonal piece from the score line down to the corner.  This is then flipped and adhered to the attached card base.  Watch the video here or below to see how to do it.  

    I used the 'To the Point' punch along with the 2 3/8" circle punch here.  They work beautifully together.  

    Click on the following link to download or print this free project sheet: Download Diagonal Plaid card


    Below is the video for this card and another neat curtain fold.  I hope you watch it to see the tips on assembly.  And subscribe to my YouTube Channel too! 

    ~~~

    January Specials:

    *current host code link:  

     6ZYNKJ6E

    Get this free tutorial with any online order in January!

     Sale-a-Bration is Live! For every $60 (or $120) you spend you can choose a free item from the SAB catalog!  

    Get a free card kit with any online order over $55 in January!


    Opt in for my Spring catalog Designer Paper share and/or the Spring catalog embellishment share seen below. 

    See the details here. 

    Contact me here

    Leave a Reply

    Your email address will not be published. Required fields are marked *


Notice: LeeAnn Greff, Independent Stampin’ Up! Demonstrator, Manager. The content of this website is my sole responsibility as an independent Stampin’ Up! demonstrator and the use of, and content of, the classes, services, or products offered on this website is not endorsed by Stampin’ Up! Copyright 2025