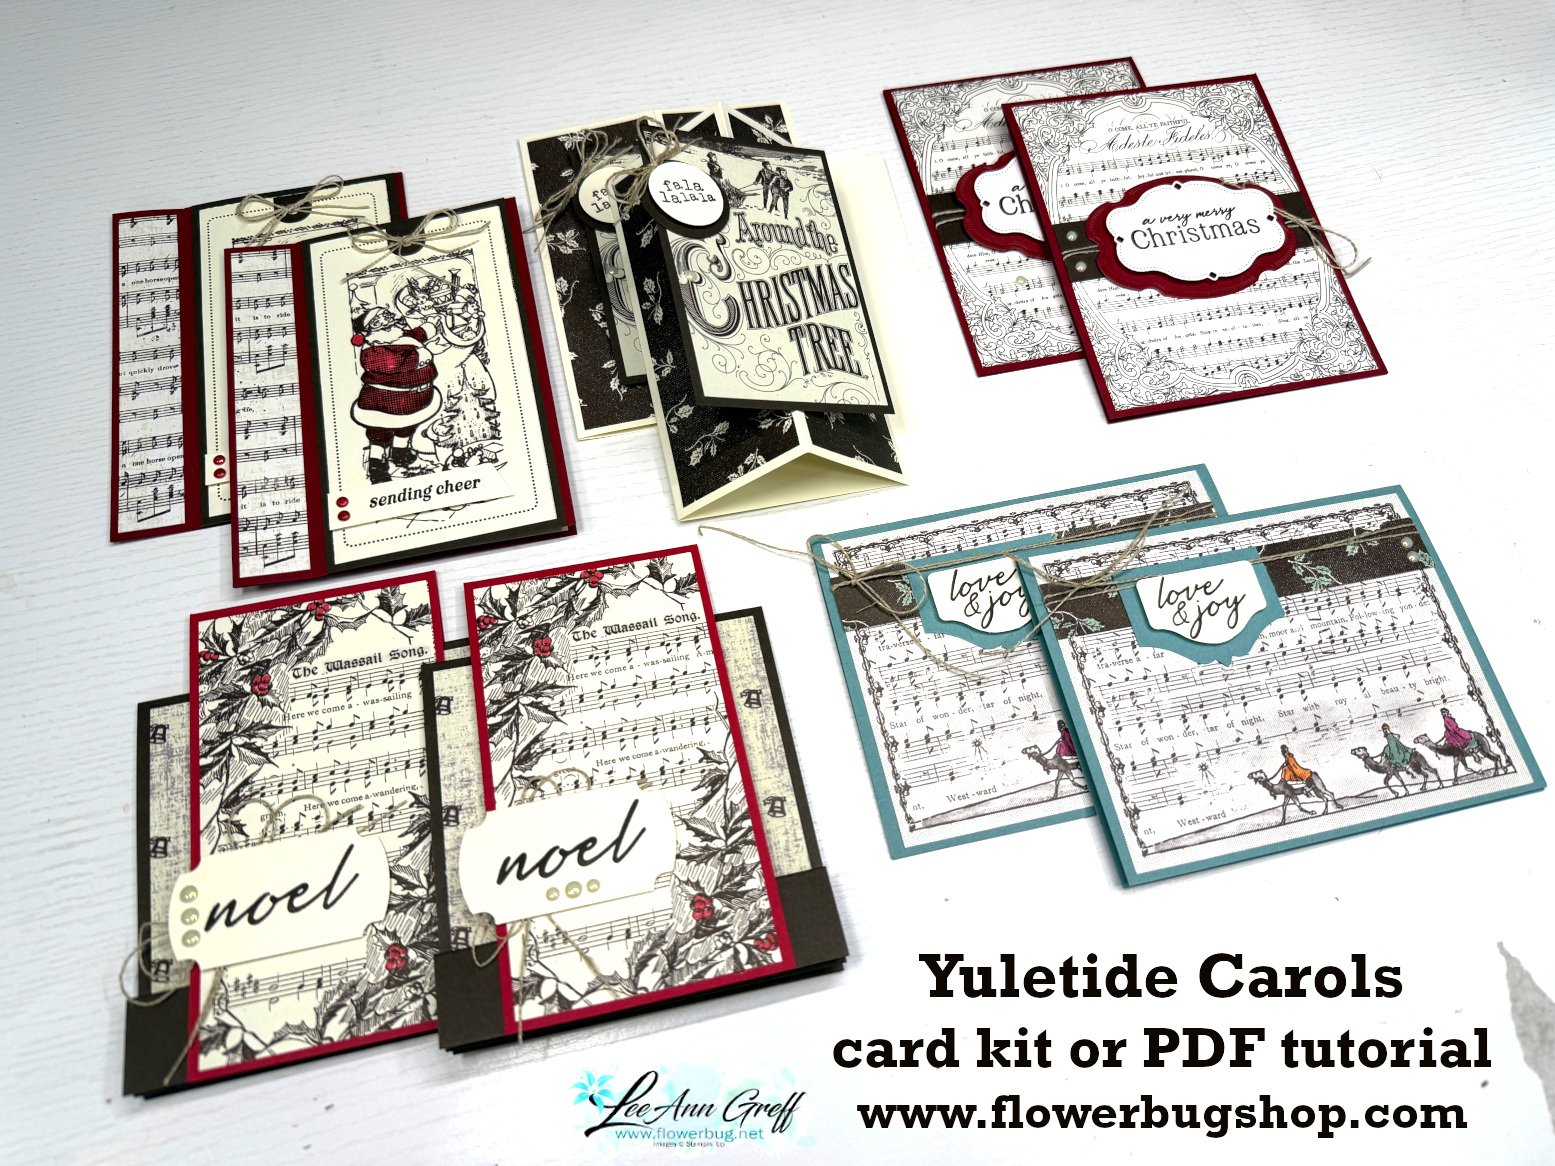
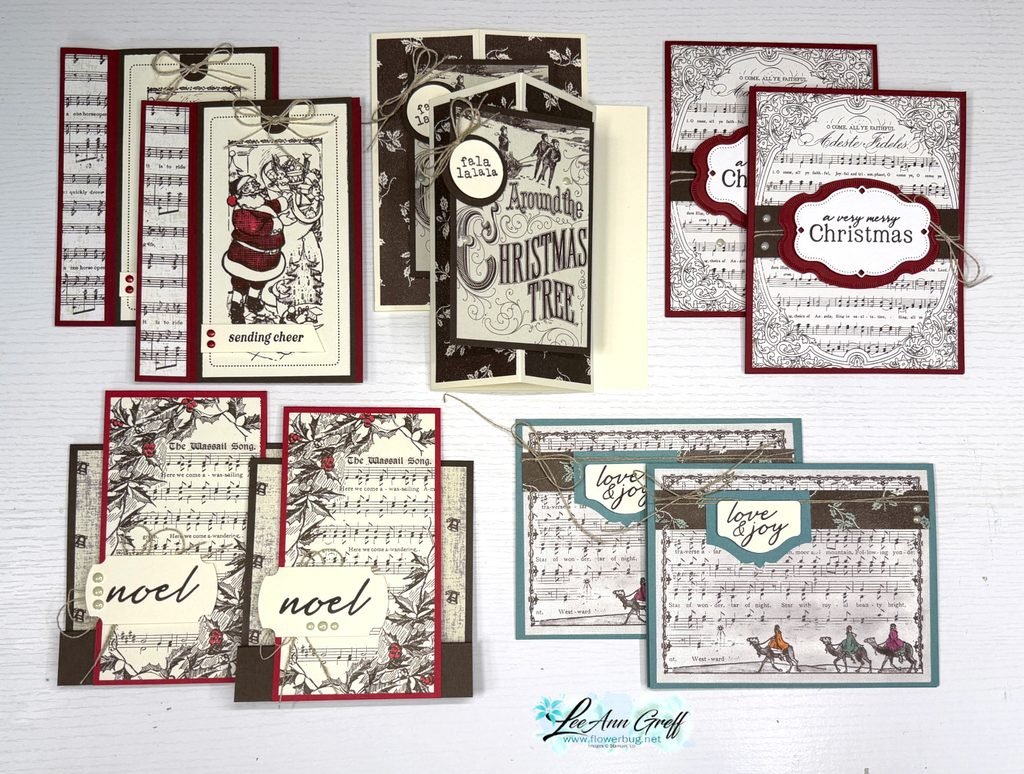
Beautiful, vintage themed Yuletide Carols card kit to go
I chose this pretty Yuletide Carols designer paper as the theme of this Christmas card kit. One of the sheets includes multiple printed panels that make creating with it super easy.
The pretty music score prints and antique looking paper are very on trend and special. Three of the five cards are fun fold layouts here.
In this pre-cut card kit to go you’ll receive 1/2 pkg of the Yuletide Carols DSP, a share of Antique Pearls and Linen Thread. The PDF tutorial is emailed to you immediately after payment. It’s $32 plus shipping. See this option here.
If you’d like the PDF tutorial only you can see that here. It’s $17.
This kit include all pre-cut pieces for the 10 cards (2 each of 5 layouts) except the DSP. You will cut your new designer paper using the instructions in the tutorial. You’ll need greeting images, dark brown ink, a few markers and adhesives. The kits are mailed out before Thanksgiving weekend.
Remember that I have multiple card kits available to choose from including 5 Christmas card kits! You save on shipping costs when you order more than one.
I’ll share my other new kit tomorrow!
All Posts
Baby Wipe technique and the easiest Shaker Card ever! Tips for success & Video Tutorial
This card was cased from my good friend Susie Wood; creating comes naturally to her. She's fast and super talented. See her cute card here.
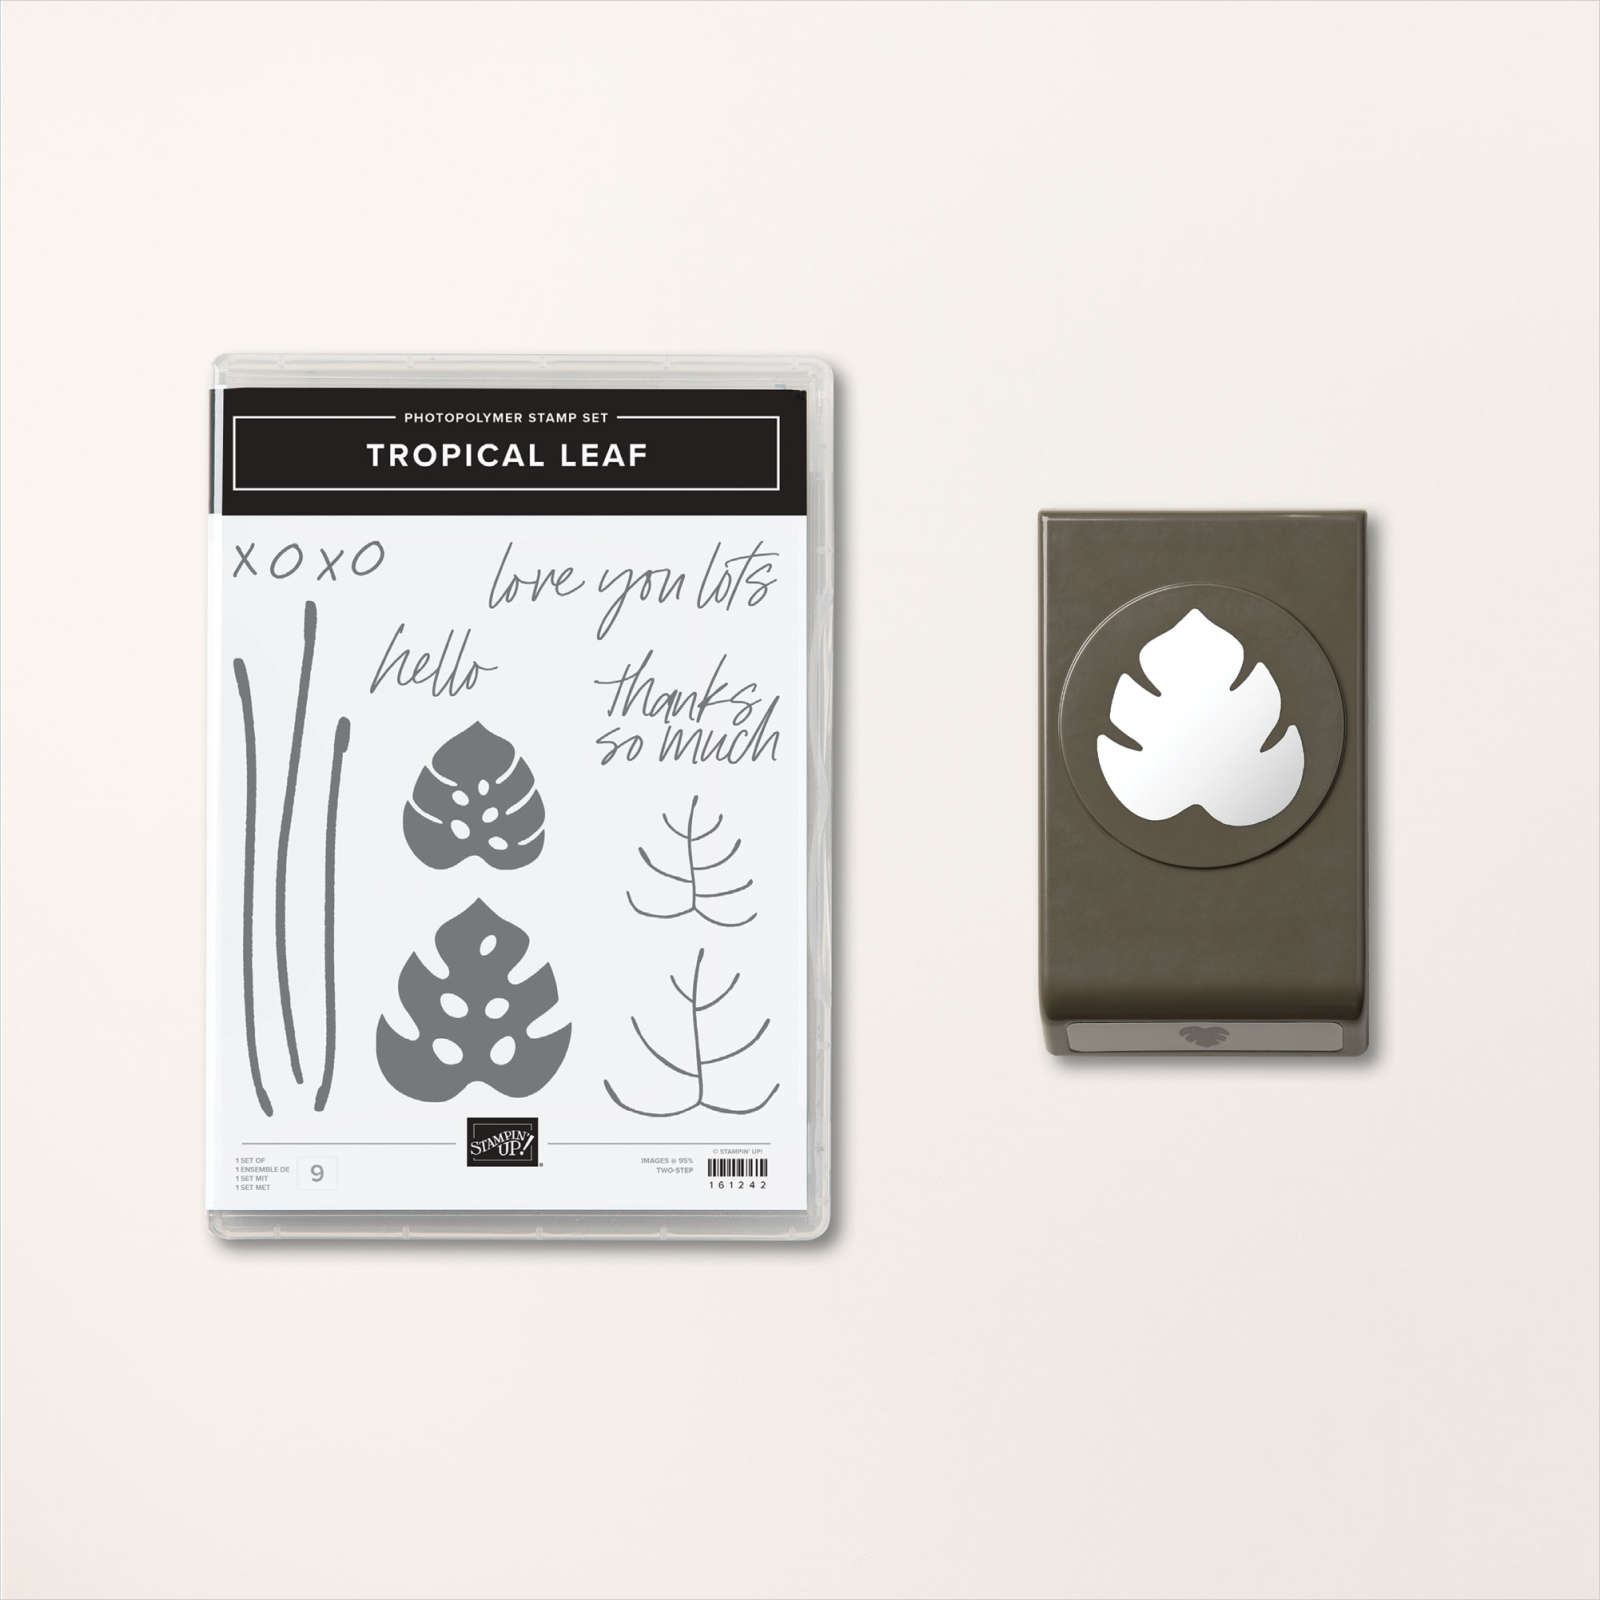
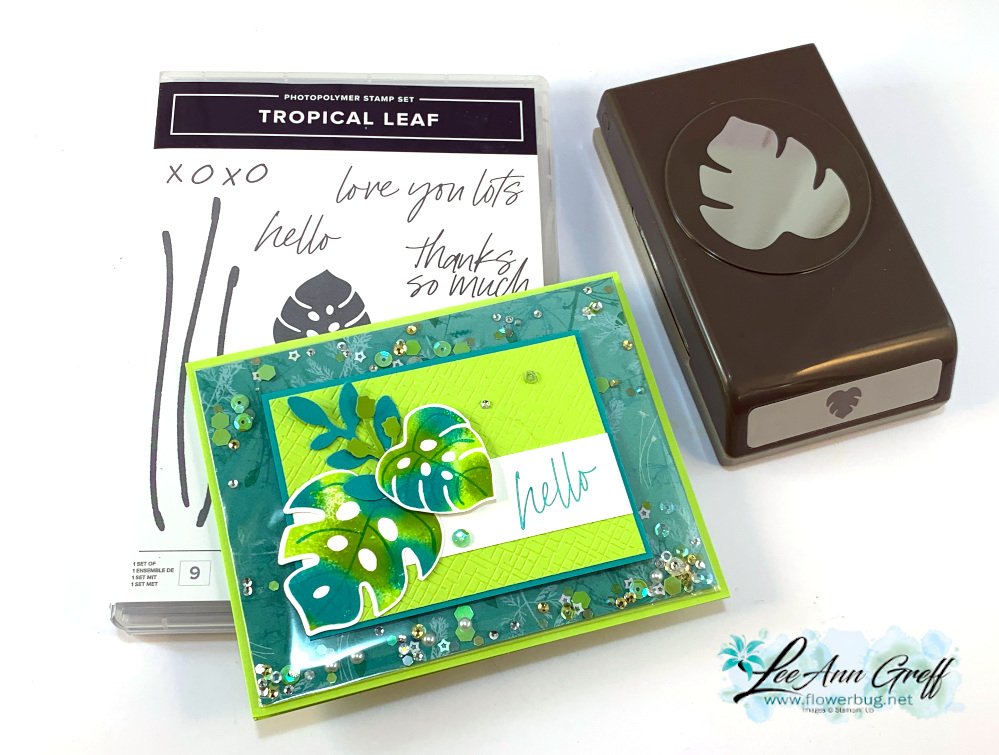
I used the Tropical Leaf bundle in the Online Exclusives section of our online store. I also wanted to feature the baby wipe technique.
The colors include Parakeet Party, Bermuda Bay and a tiny bit of Granny Apple Green. The designer paper inside the clear envelope is Pretty Prints. Here's how I created the clear envelope shaker:
My Pretty Prints designer paper layer is 5 1/4" X 4" and our clear envelopes are about 1/2" larger. For the shaker elements to stay on the front side of the envelope it has to be tight and smaller. So I added tear & tape to the back edge and folded the extra over tightly. Now, insert your shaker elements on the front pocket and fold down the end flap. Wallah! You have a shaker card front!
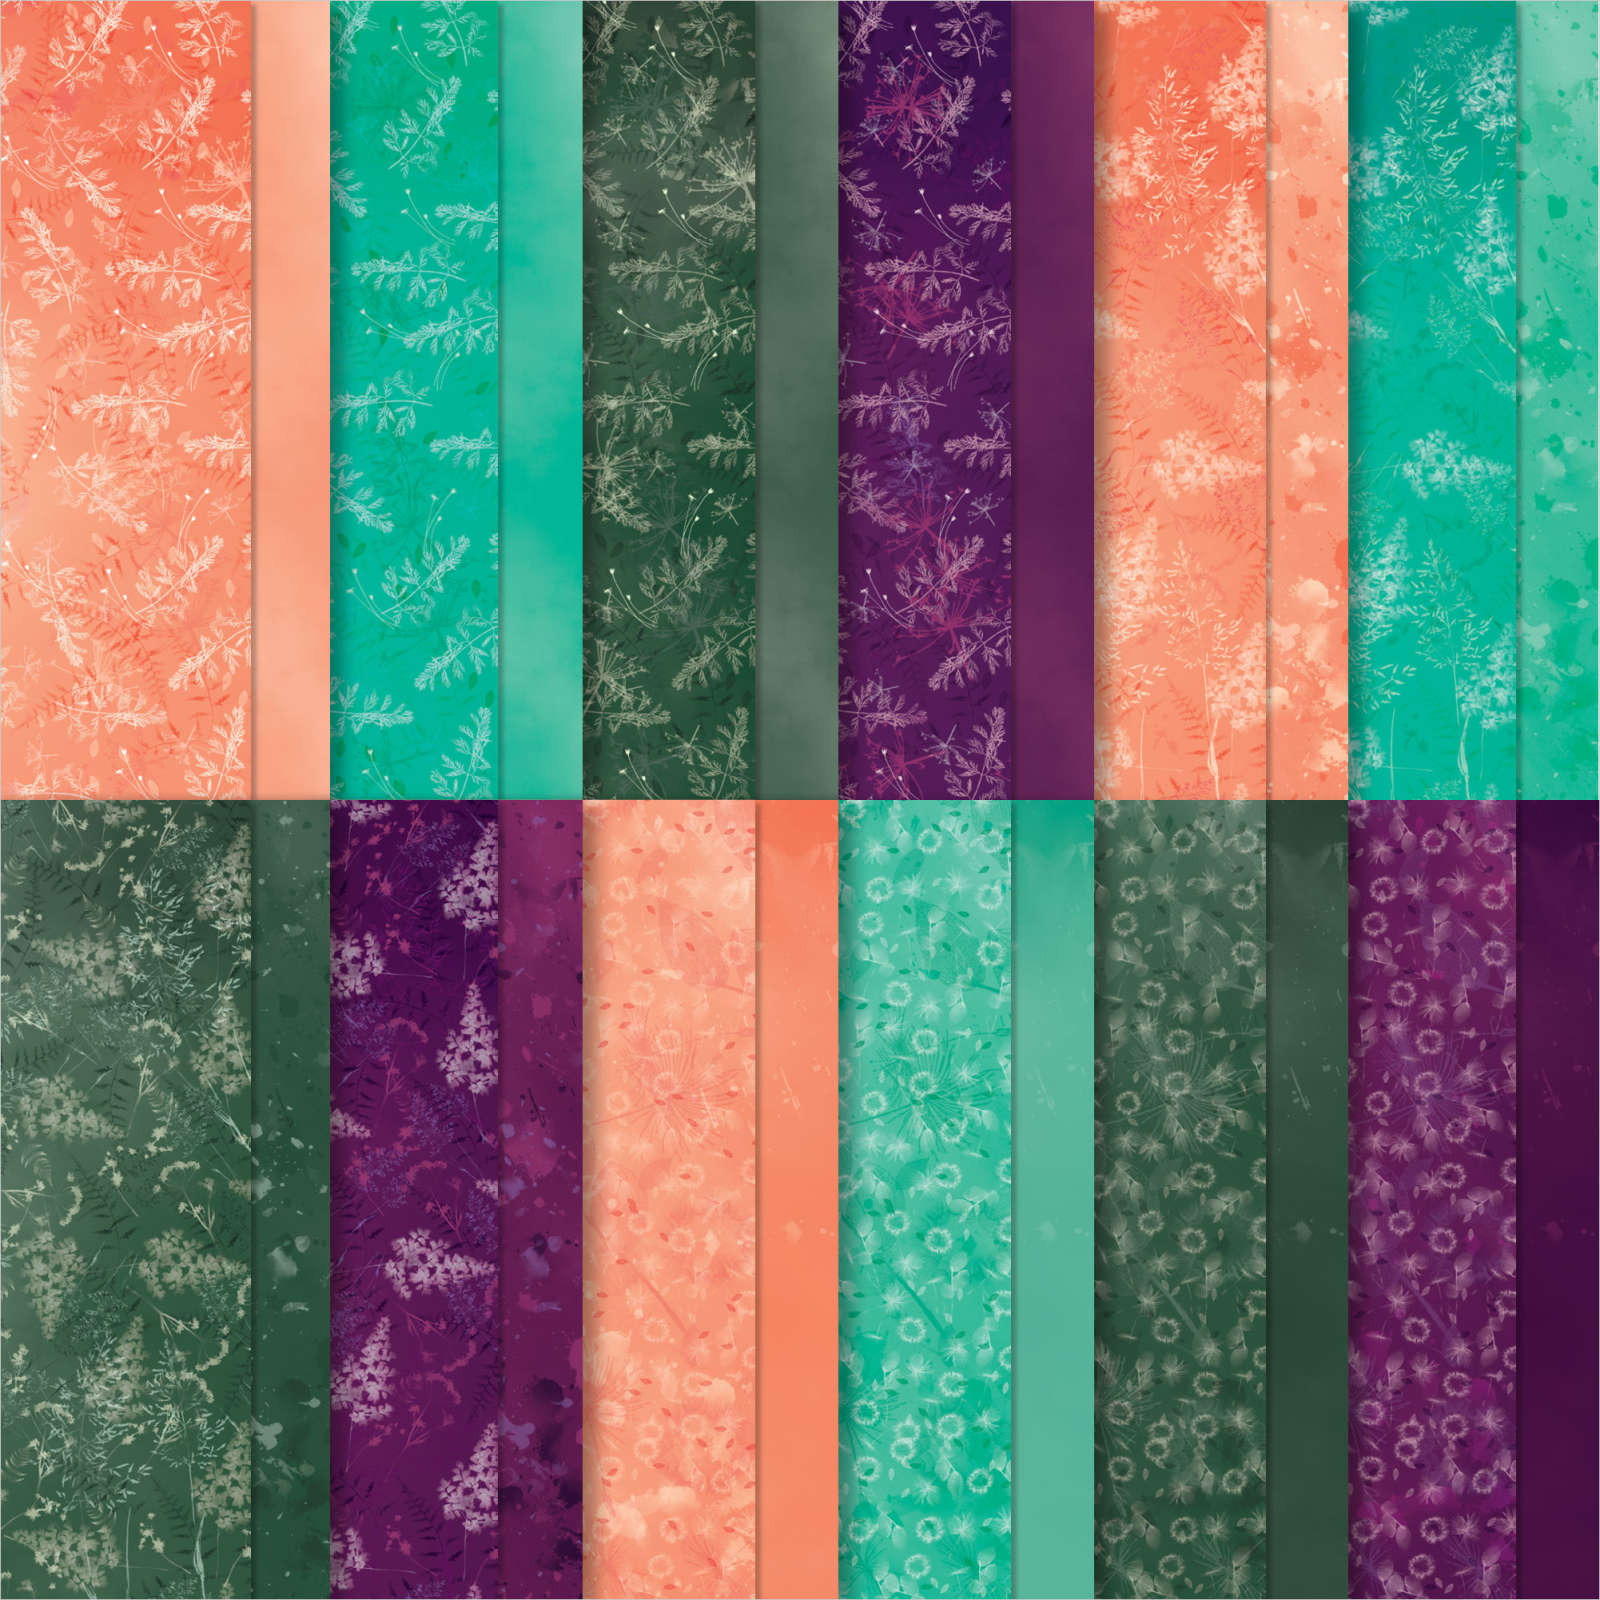
This DSP is from the Pretty Prints; soon to retire from the Annual catalog. See it here.
It includes some of my favorite colors – Bermuda Bay, Blackberry Bliss, Calypso Coral and Evening Evergreen.
The CS layers on the front are added on top of this shaker element so you still get the feel of a real card; not all slippery. Watch the video here or below to see how it's done. It's the 2nd project of 3.
You can see this unique Tropical Leaf bundle here: The font of the greetings in this Tropical Leaf stamp set are so unique; love it!
Now to create the baby wipe leaves I made my own ink pad with a folded baby wipe.
Tips for success of the baby wipe technique:
Fold a baby wipe into a thick layer; at least 4 layers thick. Make your 'pad' as large as your largest stamp image. Place it on a plate.
Drop multiple drops of each color of ink refill onto the baby wipe, leaving room between colors for another color.
I recommend at least 2 colors and up to 4 at the most.
Choosing colors? Find complimentary colors in similar shades – blues/greens, yellows/oranges, oranges/pinks etc.
Choosing stamps? Solid images work best; outline images will not show off your colors well.
Ink your stamp in the new colored pad by tapping up and down in the same approximate place. Traveling while inking may muddy your colors.
Huff on the image and stamp.
Depending on how much ink you added you can use your new 'ink pad' multiple times. Add more ink drops as needed.
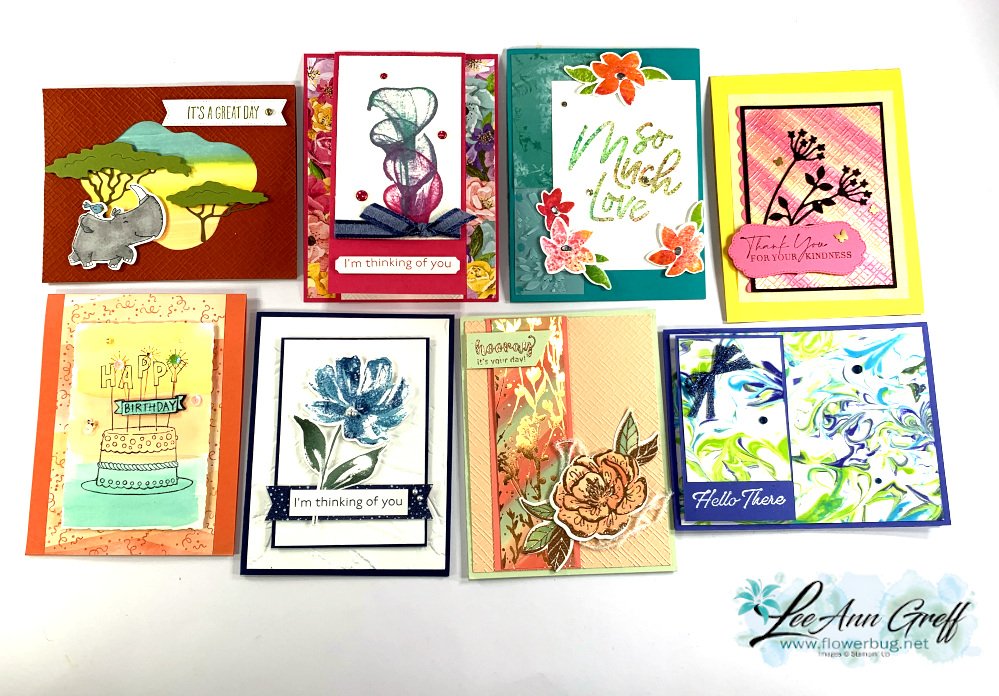
Our Flowerbug's March swap theme was to use a technique featuring an ink refill. The projects were incredible!
Today I'm featuring two cards using a technique called 'Baby Swipe'. What is it? It's where you roll up a baby wipe and drop ink refill liquid on the edge and use it to swipe across your paper. Super fun to try.
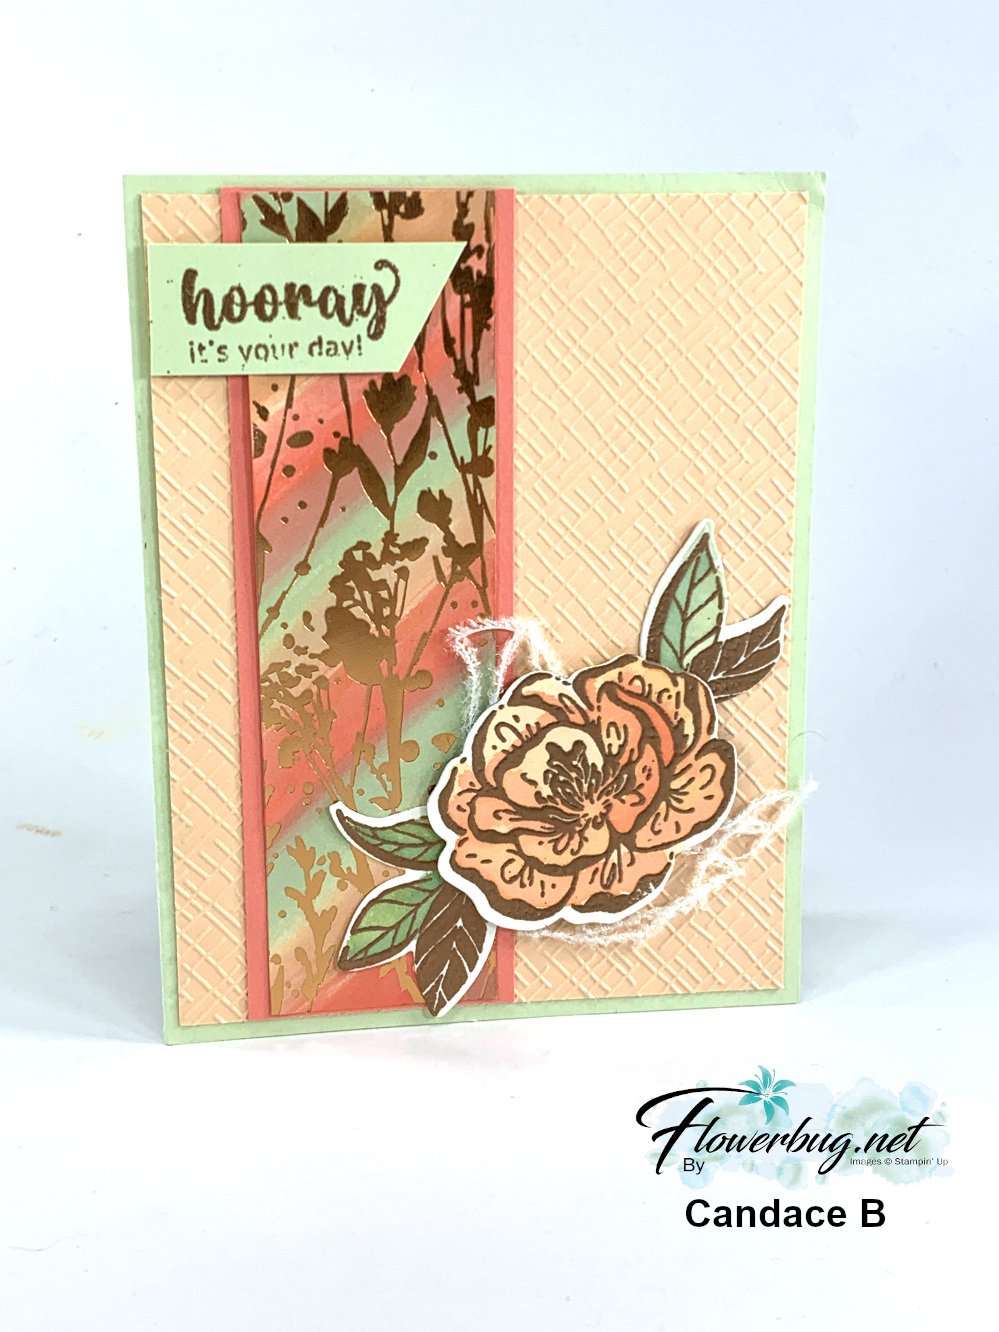
Candace chose to use the Irresistible Blooms bundle and the pretty Naturally Gilded specialty paper seen here. These items are on the Online Exclusives site and available for a limited time.
Her colors include Petal Pink, Soft Sea Foam and Flirty Flamingo. This specialty DSP works wonderfully for this because the surface is glossy. Once you're done adding ink use a tissue or soft cloth to wipe away the excess ink. It will not adhere to the foil areas.
She used Copper embossing powder on her flower, leaves and greeting. The texture is from the new Basics 3D embossing folder pack. These are currently out of stock but will be back in May or earlier.
~~~
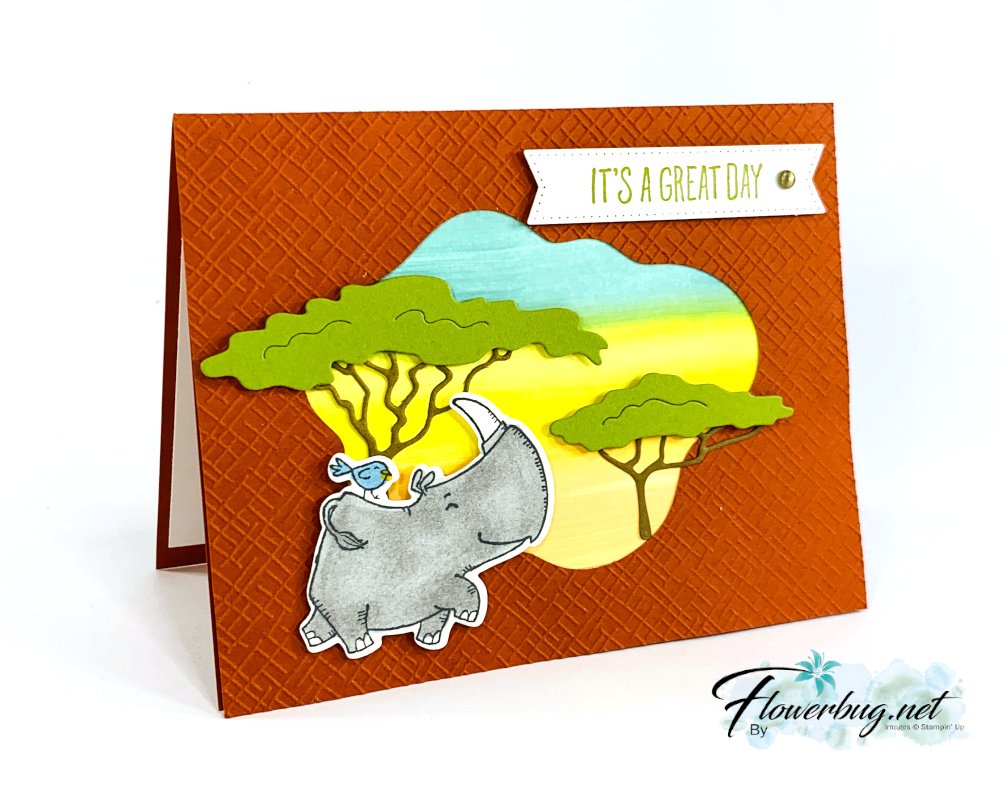
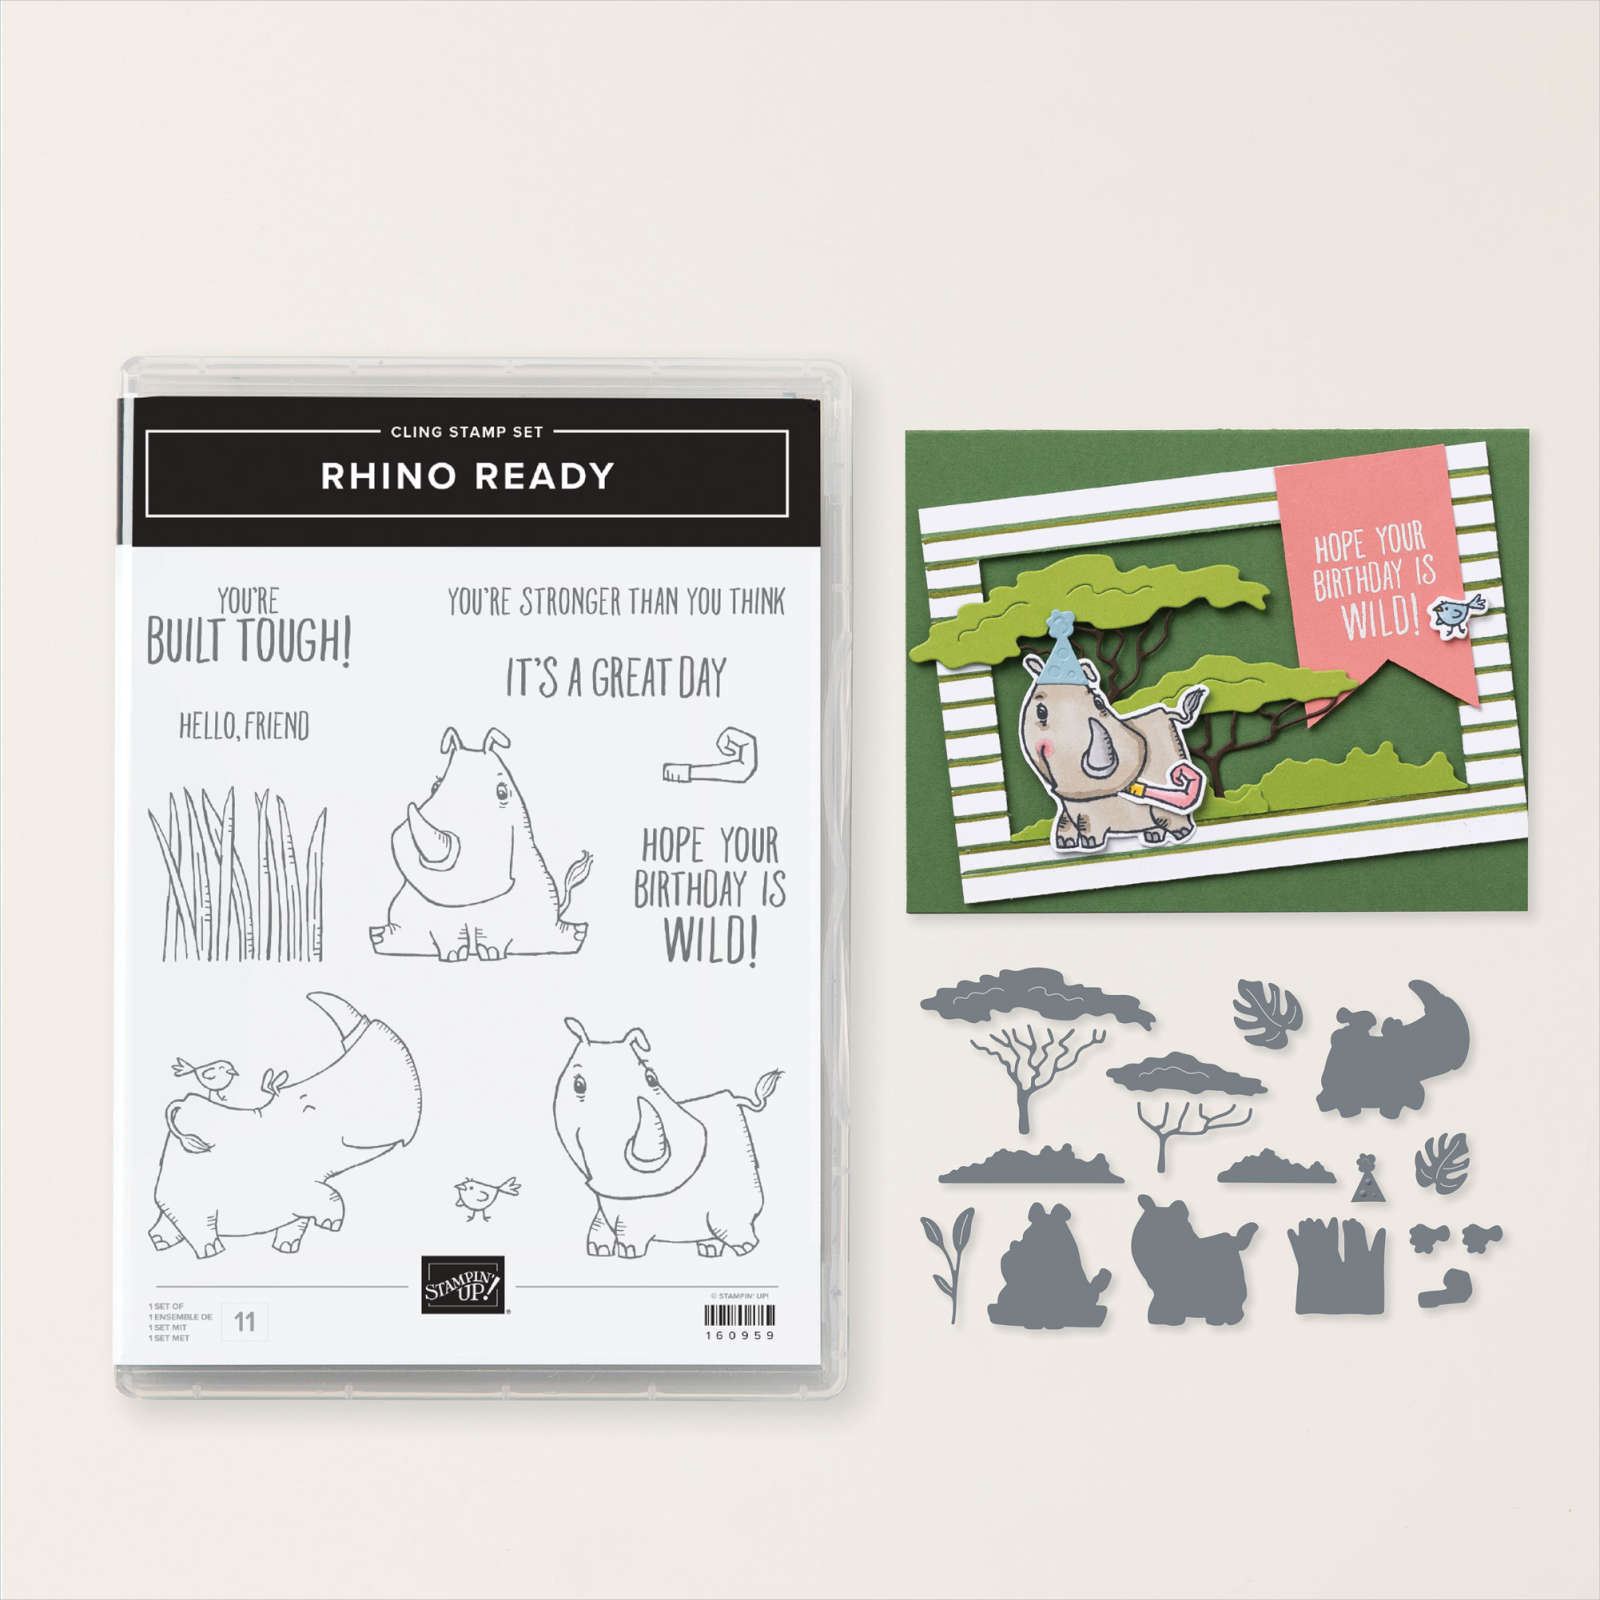
Next is a gorgeous scenic card made by Brenda. She also chose to use one of the new Online Exclusive products; the Rhino Ready bundle.
She used the same embossing folder on the Cajun Craze layer and die-cut a window using the Diorama dies seen here. I think her scene is stunning!
I believe her colors are Balmy Blue, Daffodil Delight and Petal Pink for her sunset/baby swipe technique.
Those trees and rhino dies are all from the Rhino Ready bundle seen here.
Below I demonstrate the baby 'wipe' technique. Click here or on the photo below to watch.
Baby Wipe technique – 2 great swaps by my Flowerbug’s
Our March card swap theme was to use a technique with a re-inker or an ink refill. There are lots of fun techniques out there that you need ink refills for.
These first two feature the Baby Wipe technique; one of my very favorites for getting multiple colors on solid images!
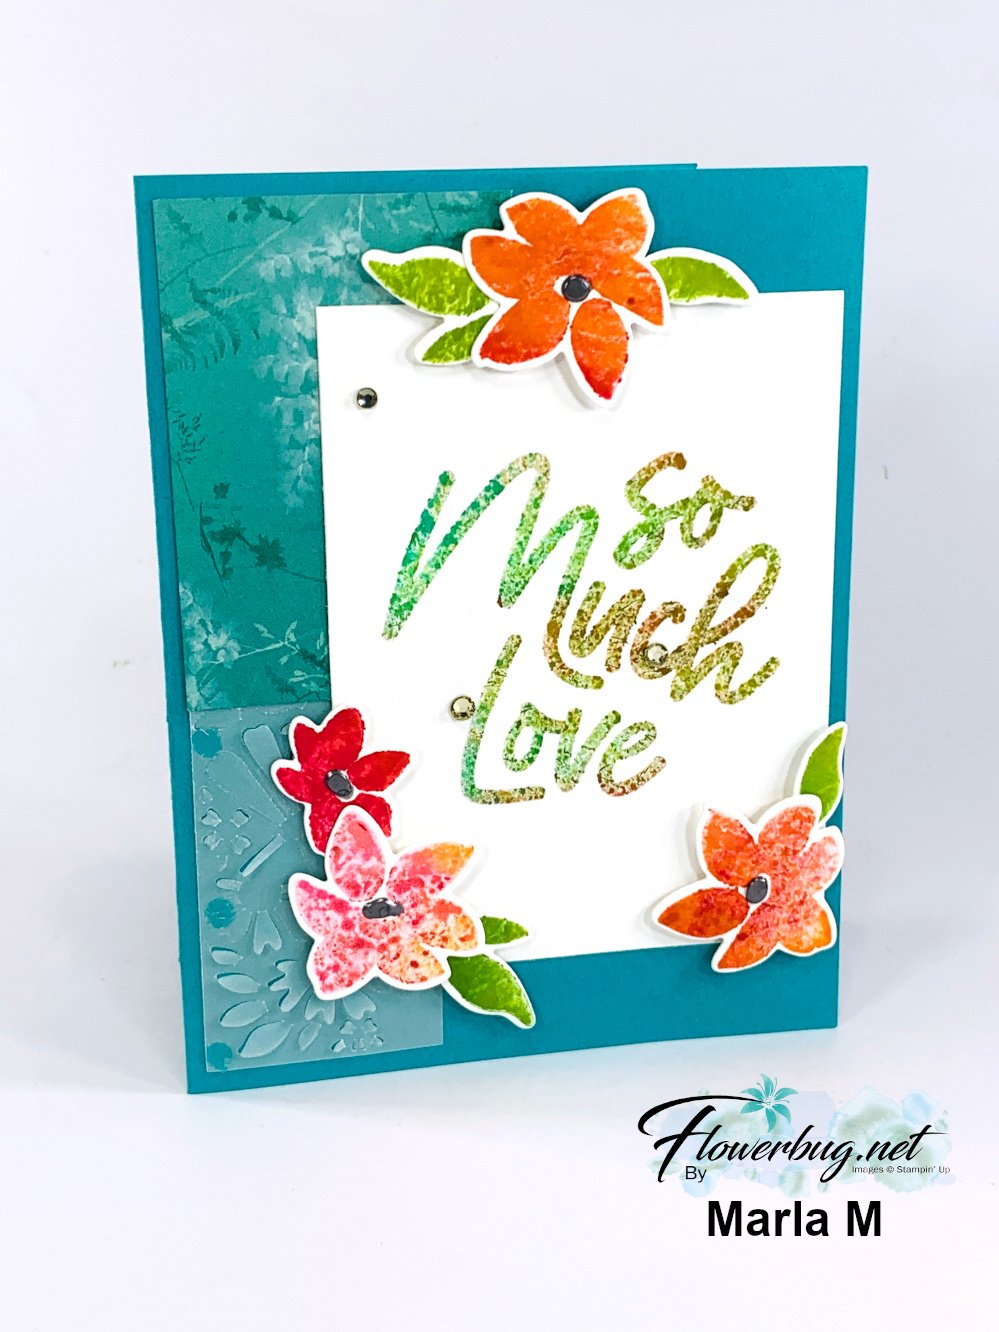
This first card was made by Marla where she featured the Love for You bundle seen here.
I believe her colors include Bermuda Bay, Granny Apple Green, Melon Mambo and Calypso Coral. She even stamped her greeting in the baby wipe technique. Watch my video today here (or later on my YouTube channel here) to see how it's done. It's absolutely fun!!
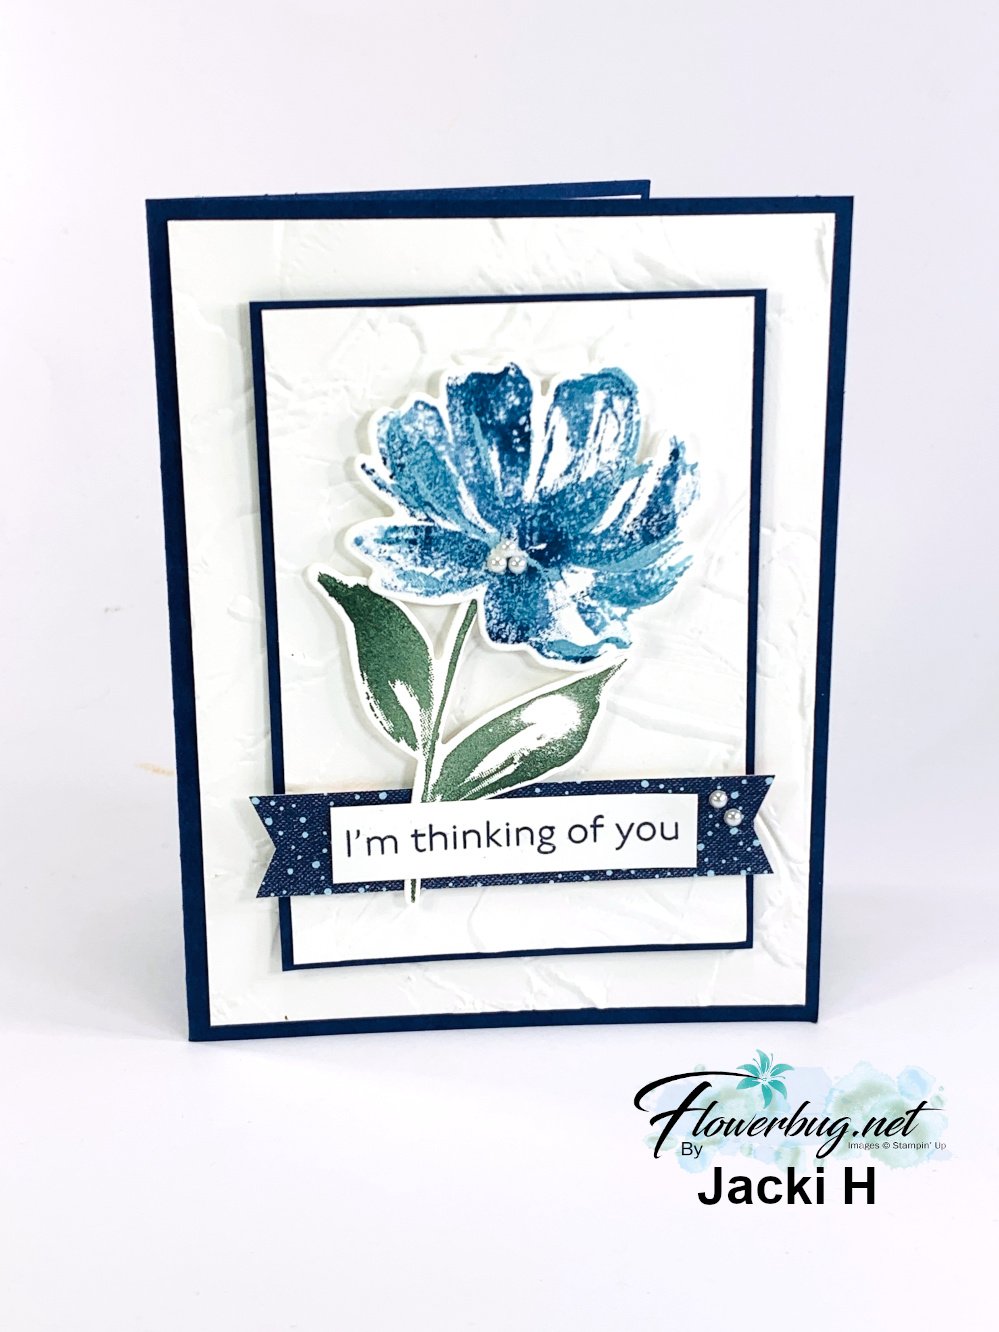
I believe her colors include Navy, Garden Green and Tahitian Tide. Her White layers are textured with the Painted Texture 3D embossing folder seen here.
Come back for more tomorrow! Click here or on the photo below to watch the video.
Notice: LeeAnn Greff, Independent Stampin’ Up! Demonstrator, Manager. The content of this website is my sole responsibility as an independent Stampin’ Up! demonstrator and the use of, and content of, the classes, services, or products offered on this website is not endorsed by Stampin’ Up! Copyright 2025




















Leave a Reply