/


Latest Post

Get multiple cards from one sheet of Designer Paper! Video & free project sheet too.


I shared these beautiful cards on a Live video a few weeks ago. I wanted to make the most of one of my favorite sheets of the Valley in Bloom designer series paper. It’s discounted through August!
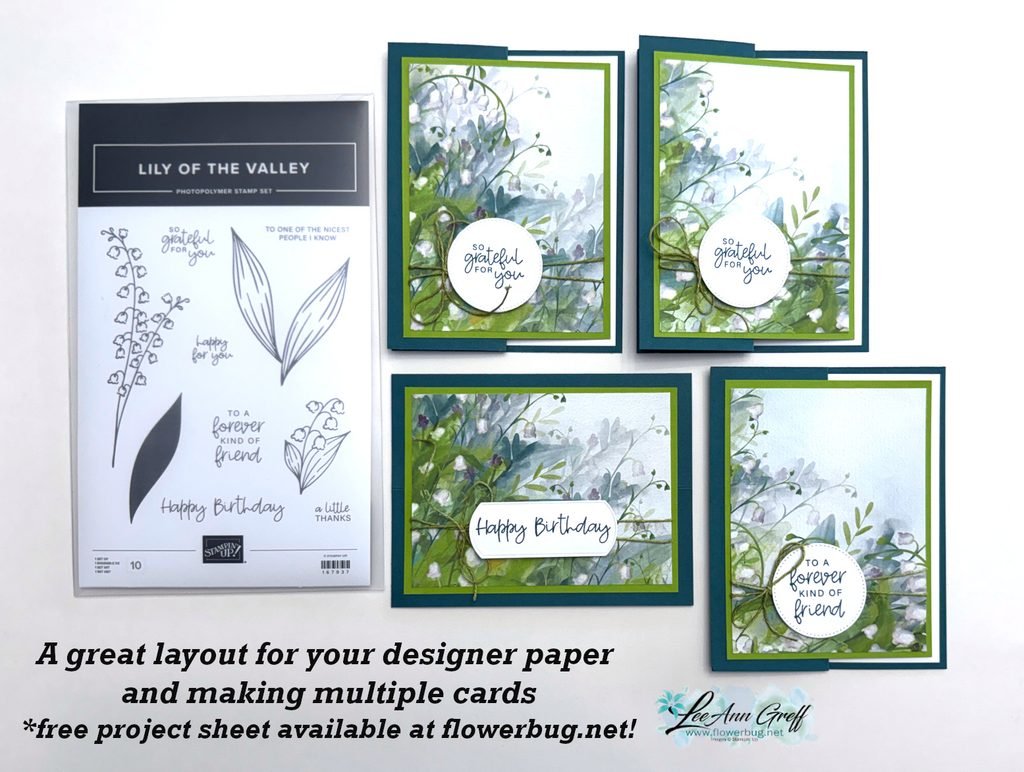
You can get more cards than I show above but I mistakenly cut in the wrong place and missed out on more. This pack of Valley in Bloom DSP has many beautiful sheets in it. Get some while it’s on sale.
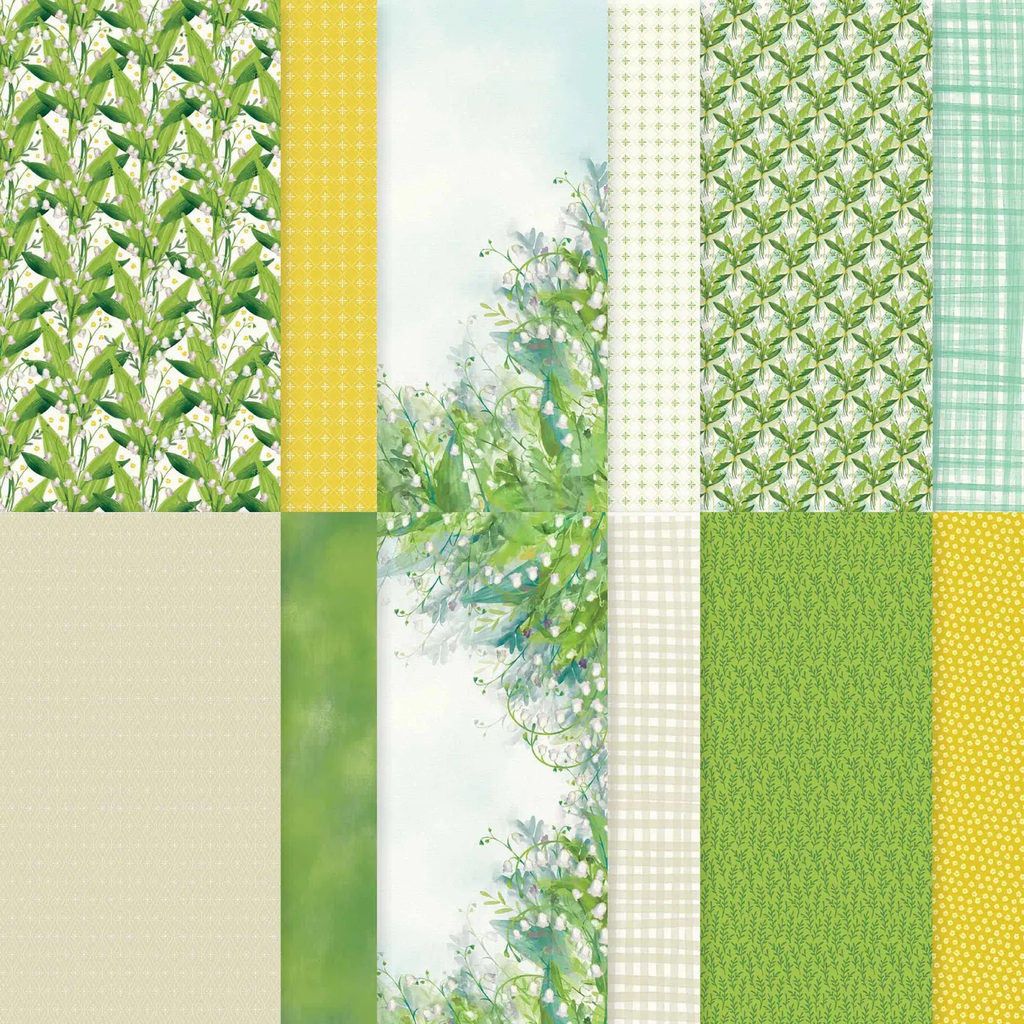
I recommend cutting the 12 X 12″ sheet into 6 pieces at 3 1/2″ X 4 3/4″. The two center pieces won’t have as much greenery on them but you could change the layout up a bit to reflect that.

My colors include Pretty Peacock with Old Olive & White. I used a variety of punches for my greetings; mostly from my stash of White elements.
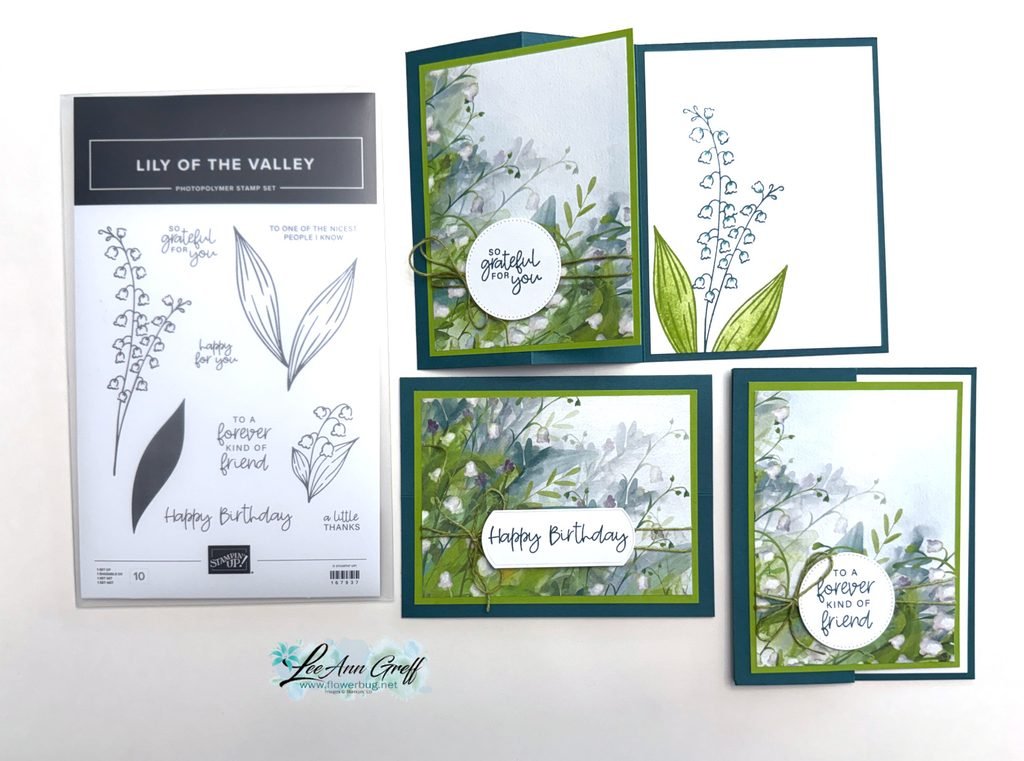
The card bases are 8 1/2″ X 5 1/2″ scored at 2 1/8″ & 4 1/4″. I made sure the Olive layer was small enough that the White inside piece shows as an inside layer. You can see the free project sheet with measurements, photos and supplies when you click here.

I stamped the inside of the cards with the Lily of the Valley stamp set and colored the flowers in with a Blender pen. I love this bundle so much. You can see it here.

You can see the video for this card and one more below. Don’t forget to subscribe to my YouTube channel!

August Specials

Don’t miss out on the Designer Paper & Cardstock sale! Click here to shop and save.

All Posts

  • Gorgeous Prairie Grass Joy Fold card with video & free project sheet


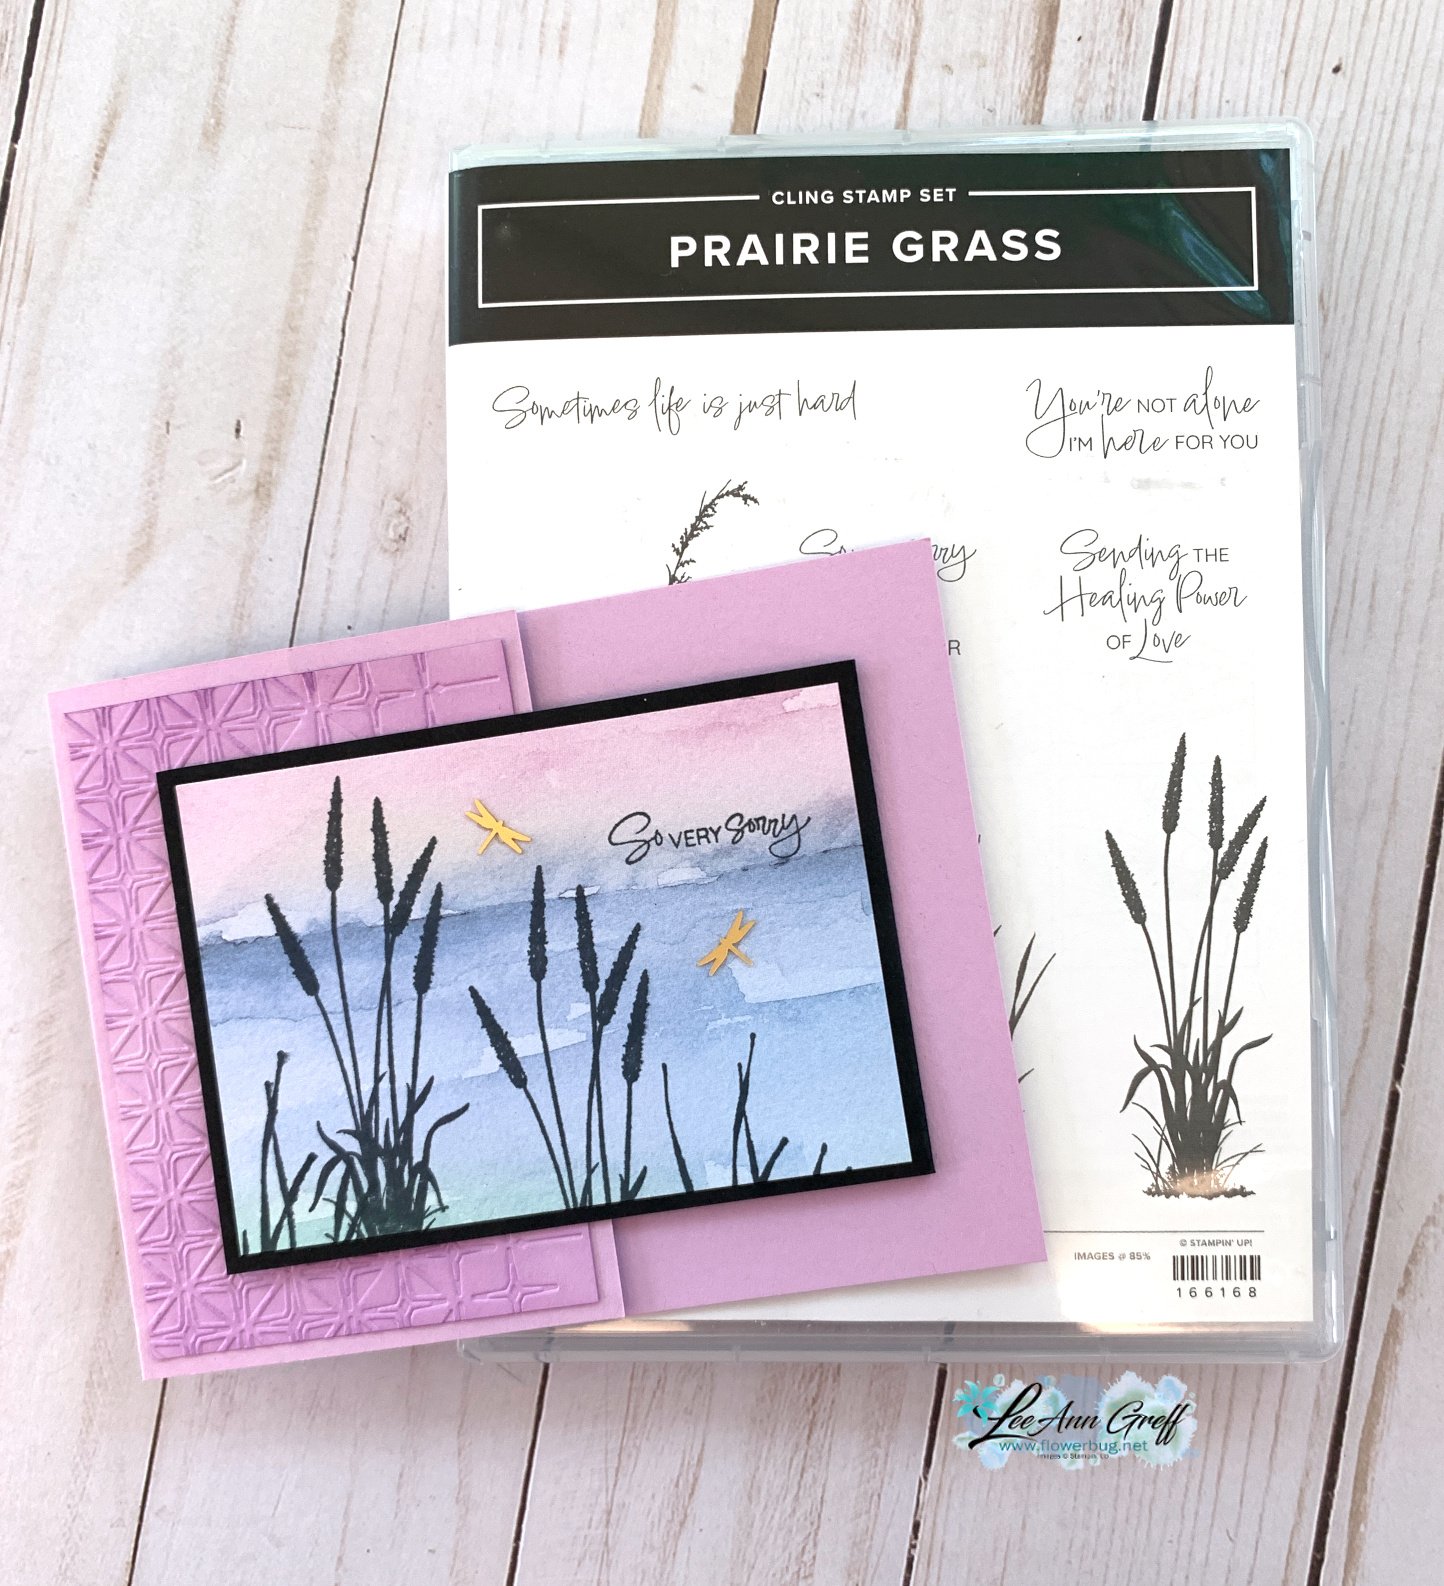
    I shared this pretty card on last week's Live video.  

    Prairie Grass joy fold .

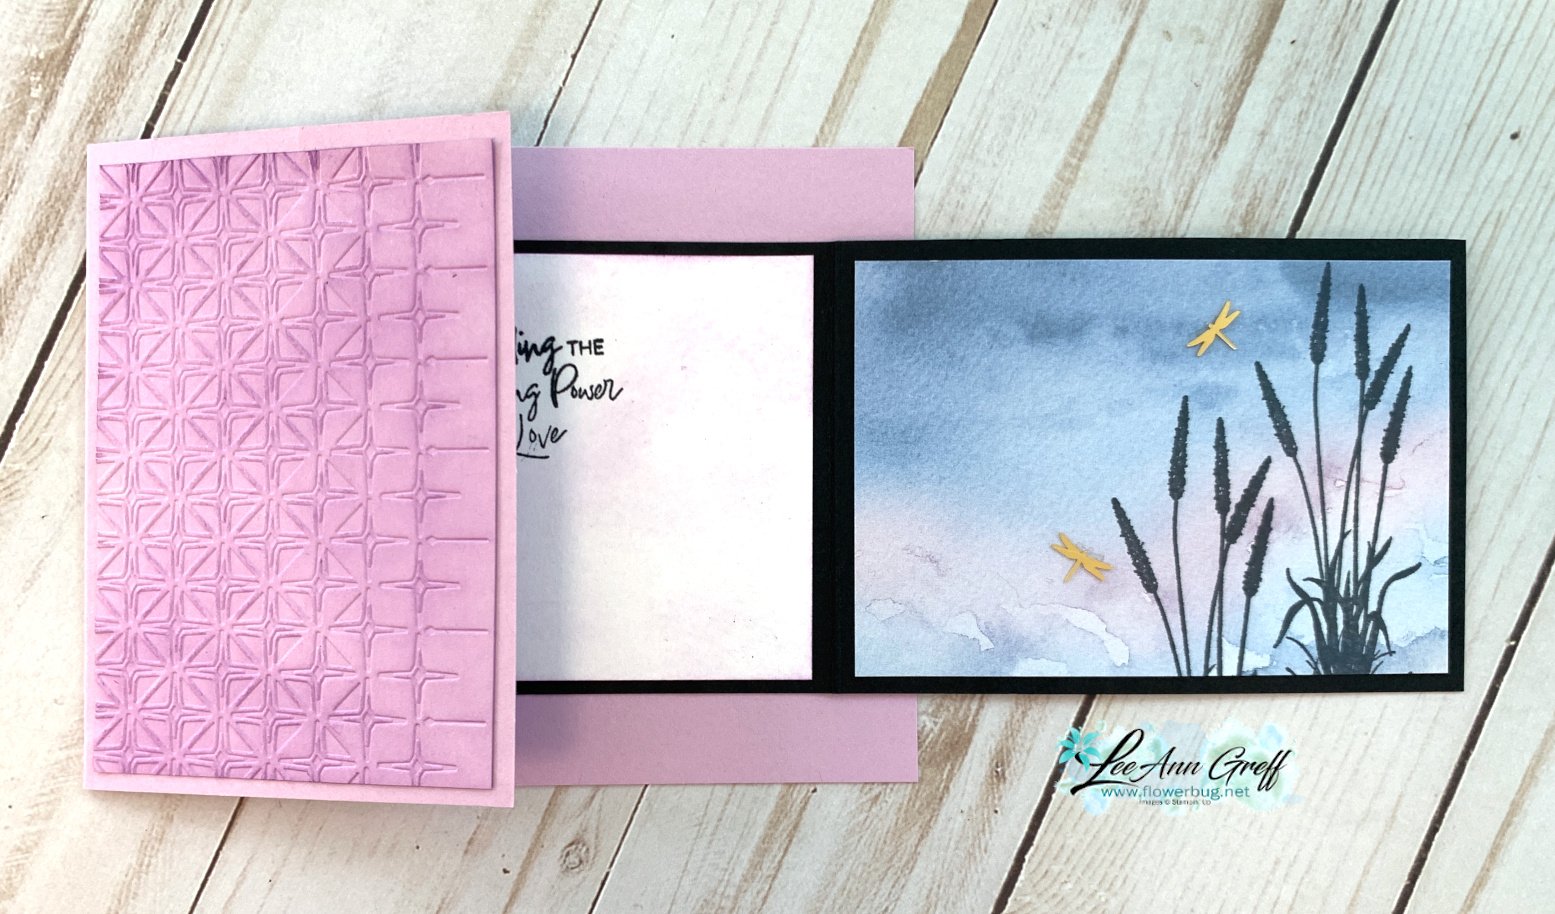
    Isn't it pretty?  The colors include Fresh Freesia with Black accents. All of my projects featured the brand new Prairie Grass stamp set seen here.  

    I also used the amazing Thoughtful Journey DSP seen here.  It's absolutely perfect for scene builder stamps like this one and has some of the best and easiest backgrounds to start with.  

    Prairie Grass joy fold .

    This card is called a 'Joy Fold' – who knows why but it's actually one fold name I haven't forgotten. Basically it has two flaps that overlap each other. It gives you multiple opportunities to use your Designer Papers or textured layers.  

    The embossing folder here is called Glass & Gardens seen here.  It's unavailable right now but you can add yourself to the list to be notified when it's back in stock.  

    Prairie Grass joy fold

    Here's the free project sheet for this card with measurements, directions and supplies.  Click on the following link to print or download it.  Download Prairie Grass JoyFold card

    Prairie Grass joyfold

    And here's the video below where I share two other cards featuring this amazing Prairie Grass stamp set. 

    ~~~

    July Specials:

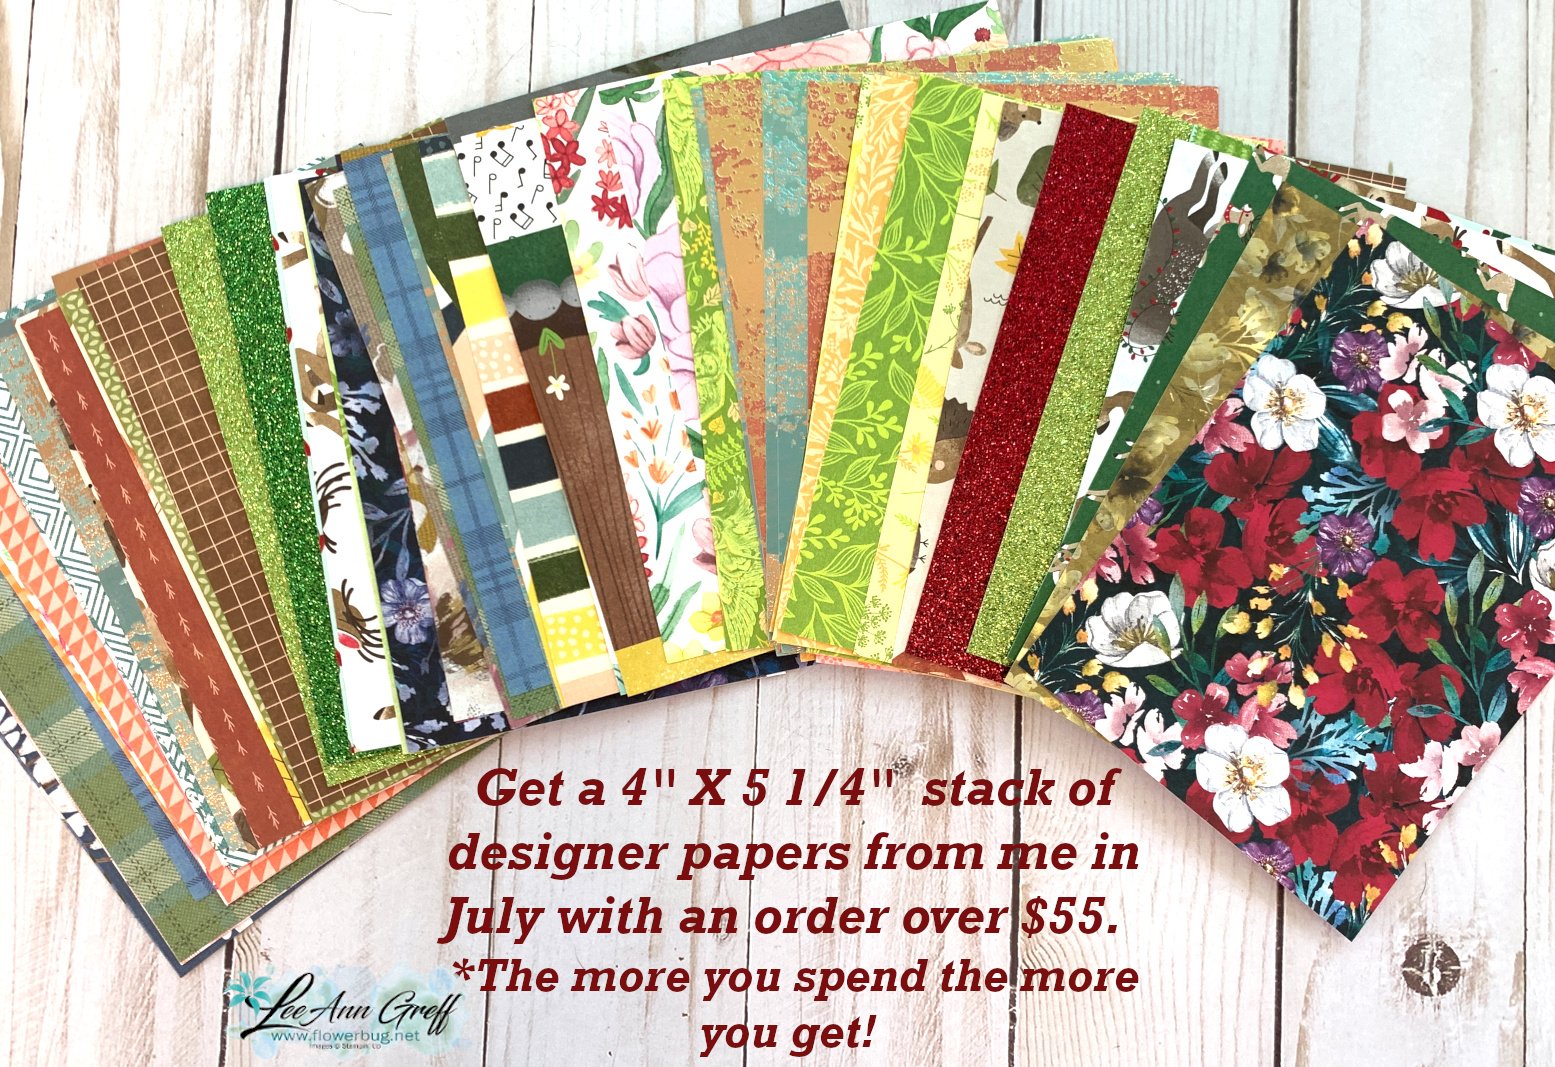
    July DSP stack

    New Online Exclusives are here!  Click here

    July new online exclusives

    ~~~

    Get my Turtle-y Cute PDF tutorial free with any online order in July!

    Turtley Cute DSP graphic

    Leave a Reply

    Your email address will not be published. Required fields are marked *

  • WOW! Check out this Beautiful Butterflies stained glass technique


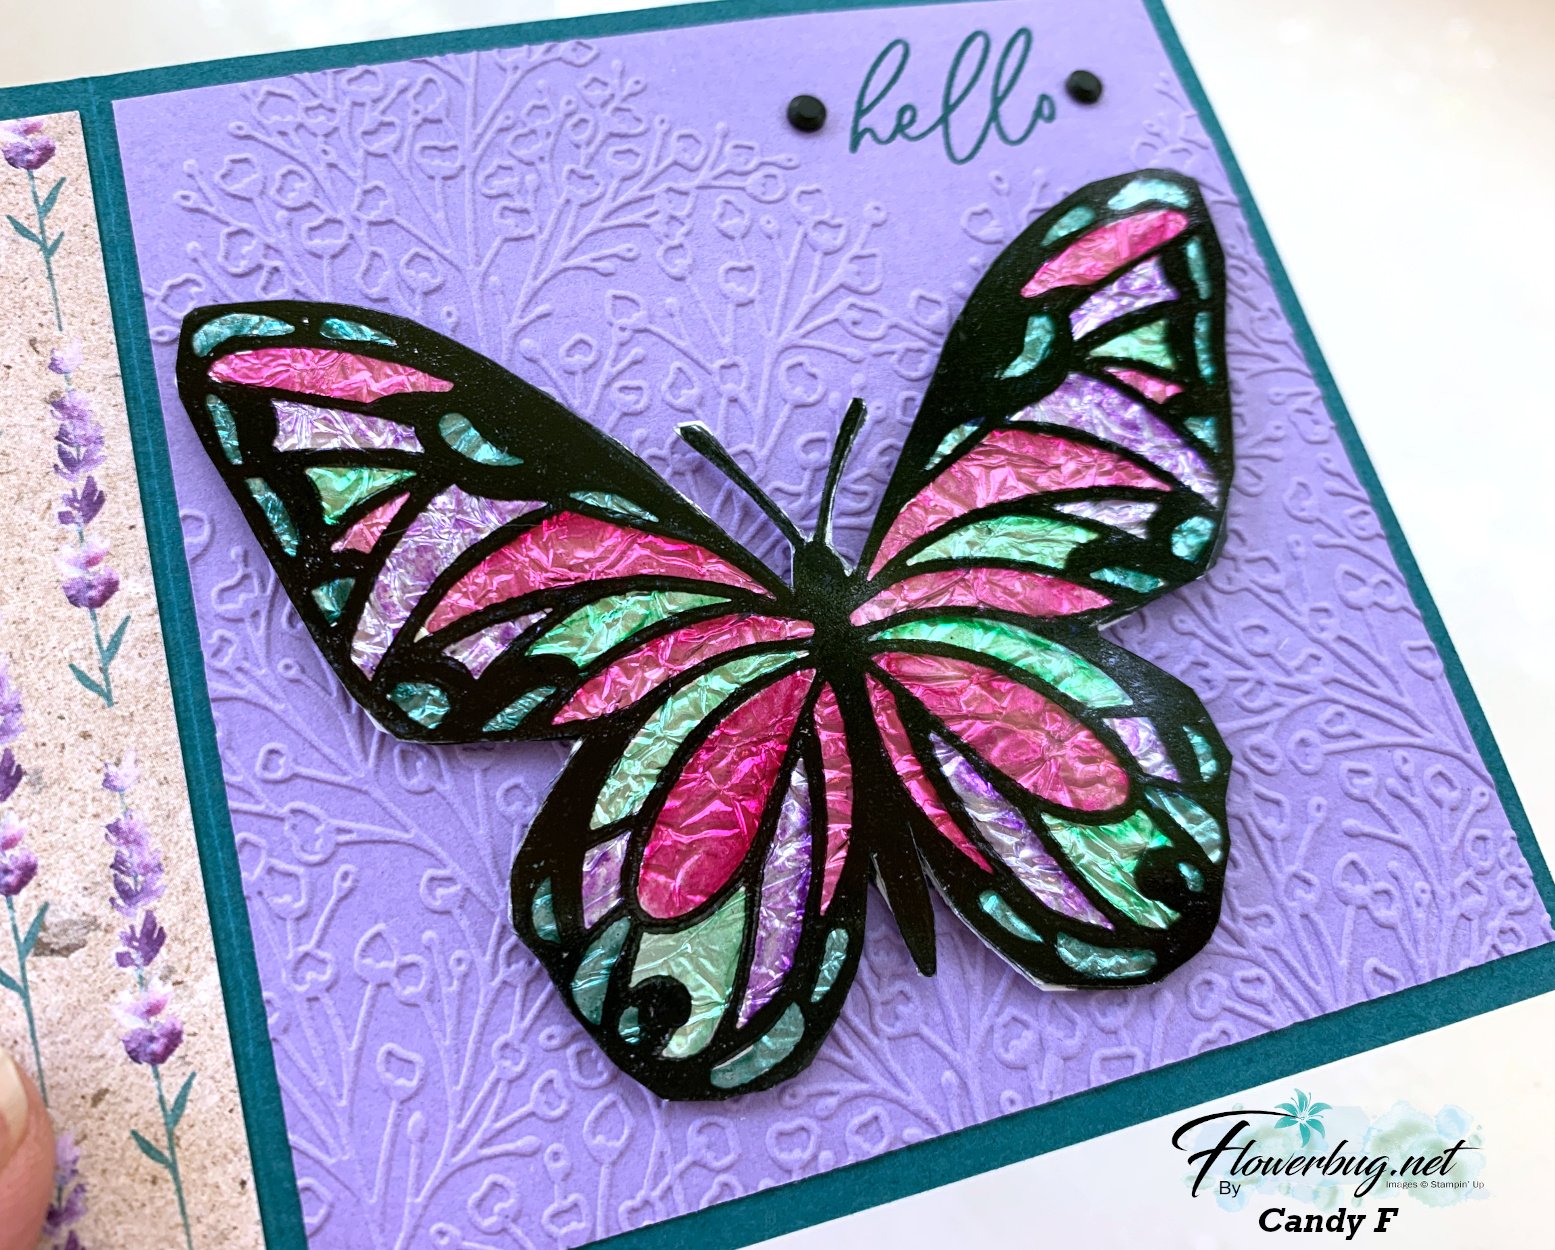
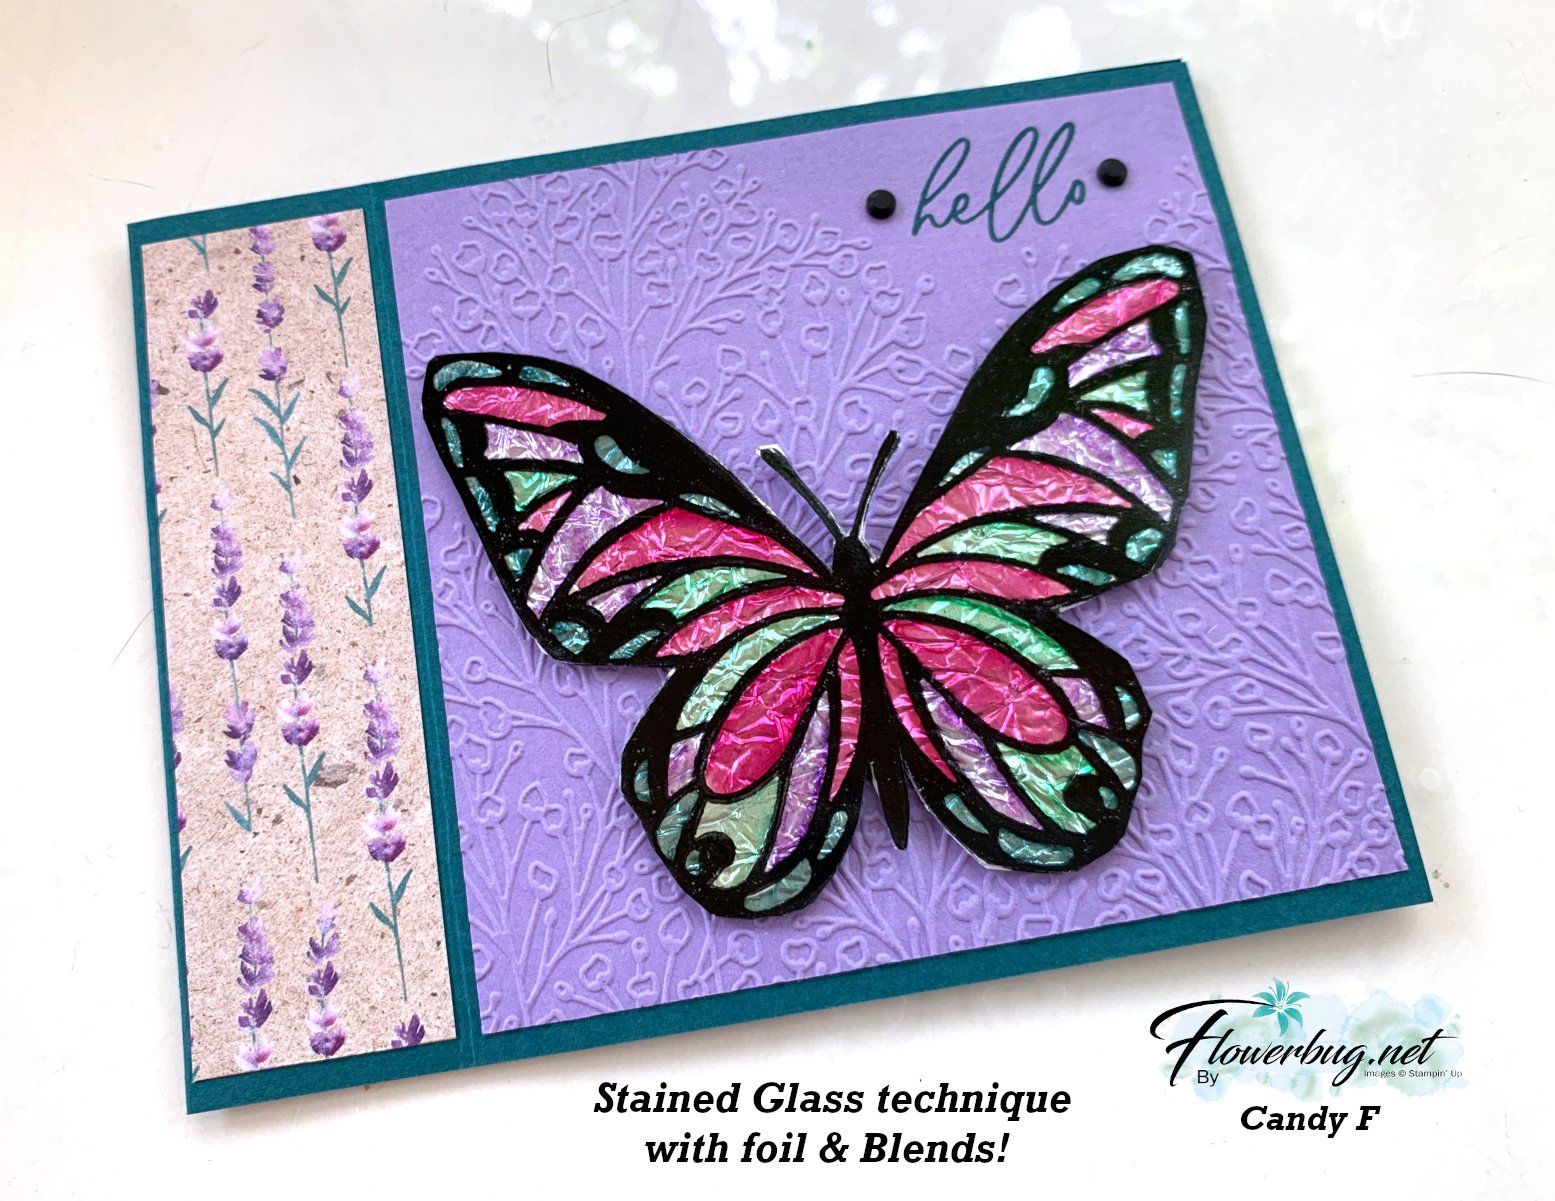
    I was amazed by Candy's card swap this month!  Look at this beauty!!


    July Candy Beautiful Butterflies stained glass

    It's called the Stained Glass technique and she made it for our July Team swap featuring Window Sheets.  

    Her colors include Pretty Peacock with Highland Heather. The bundle is called Beautiful Butterflies and can be seen here. 

    July Candy Butterfly stained glass

    Steps:

    • She stamped the butterfly image on a window sheet using Black Stazon ink. 
    • Turn it over and color with Blends markers. 
    • Add adhesive sheet to the Blends side. Press onto slightly crinkled aluminum foil. 
    • Adhere to a second butterfly stamped on White CS for support and to cover the foil. 
    • Fussy cut; add to card. 

    Other products used here:

    Measurements:

    • Card base 11" X 4 1/4" score at 4 1/4" & 5 1/2"
    • Highland Heather 4" square
    • DSP strip 1 1/8" X 4"
    • inside 4" square

    July Candy Butterfly inside

    Thank you for creating your incredible swap card Candy!  Great job!!

    ~~~

    July Specials:

    July DSP stack

    New Online Exclusives are here!  Click here

    July new online exclusives

    ~~~

    Get my Turtle-y Cute PDF tutorial free with any online order in July!

    Turtley Cute DSP graphic

    Leave a Reply

    Your email address will not be published. Required fields are marked *

  • Wow; Mixed Florals Reverse Image Technique with window sheets!


    I'm continuing to share our July team swaps featuring window sheets. 

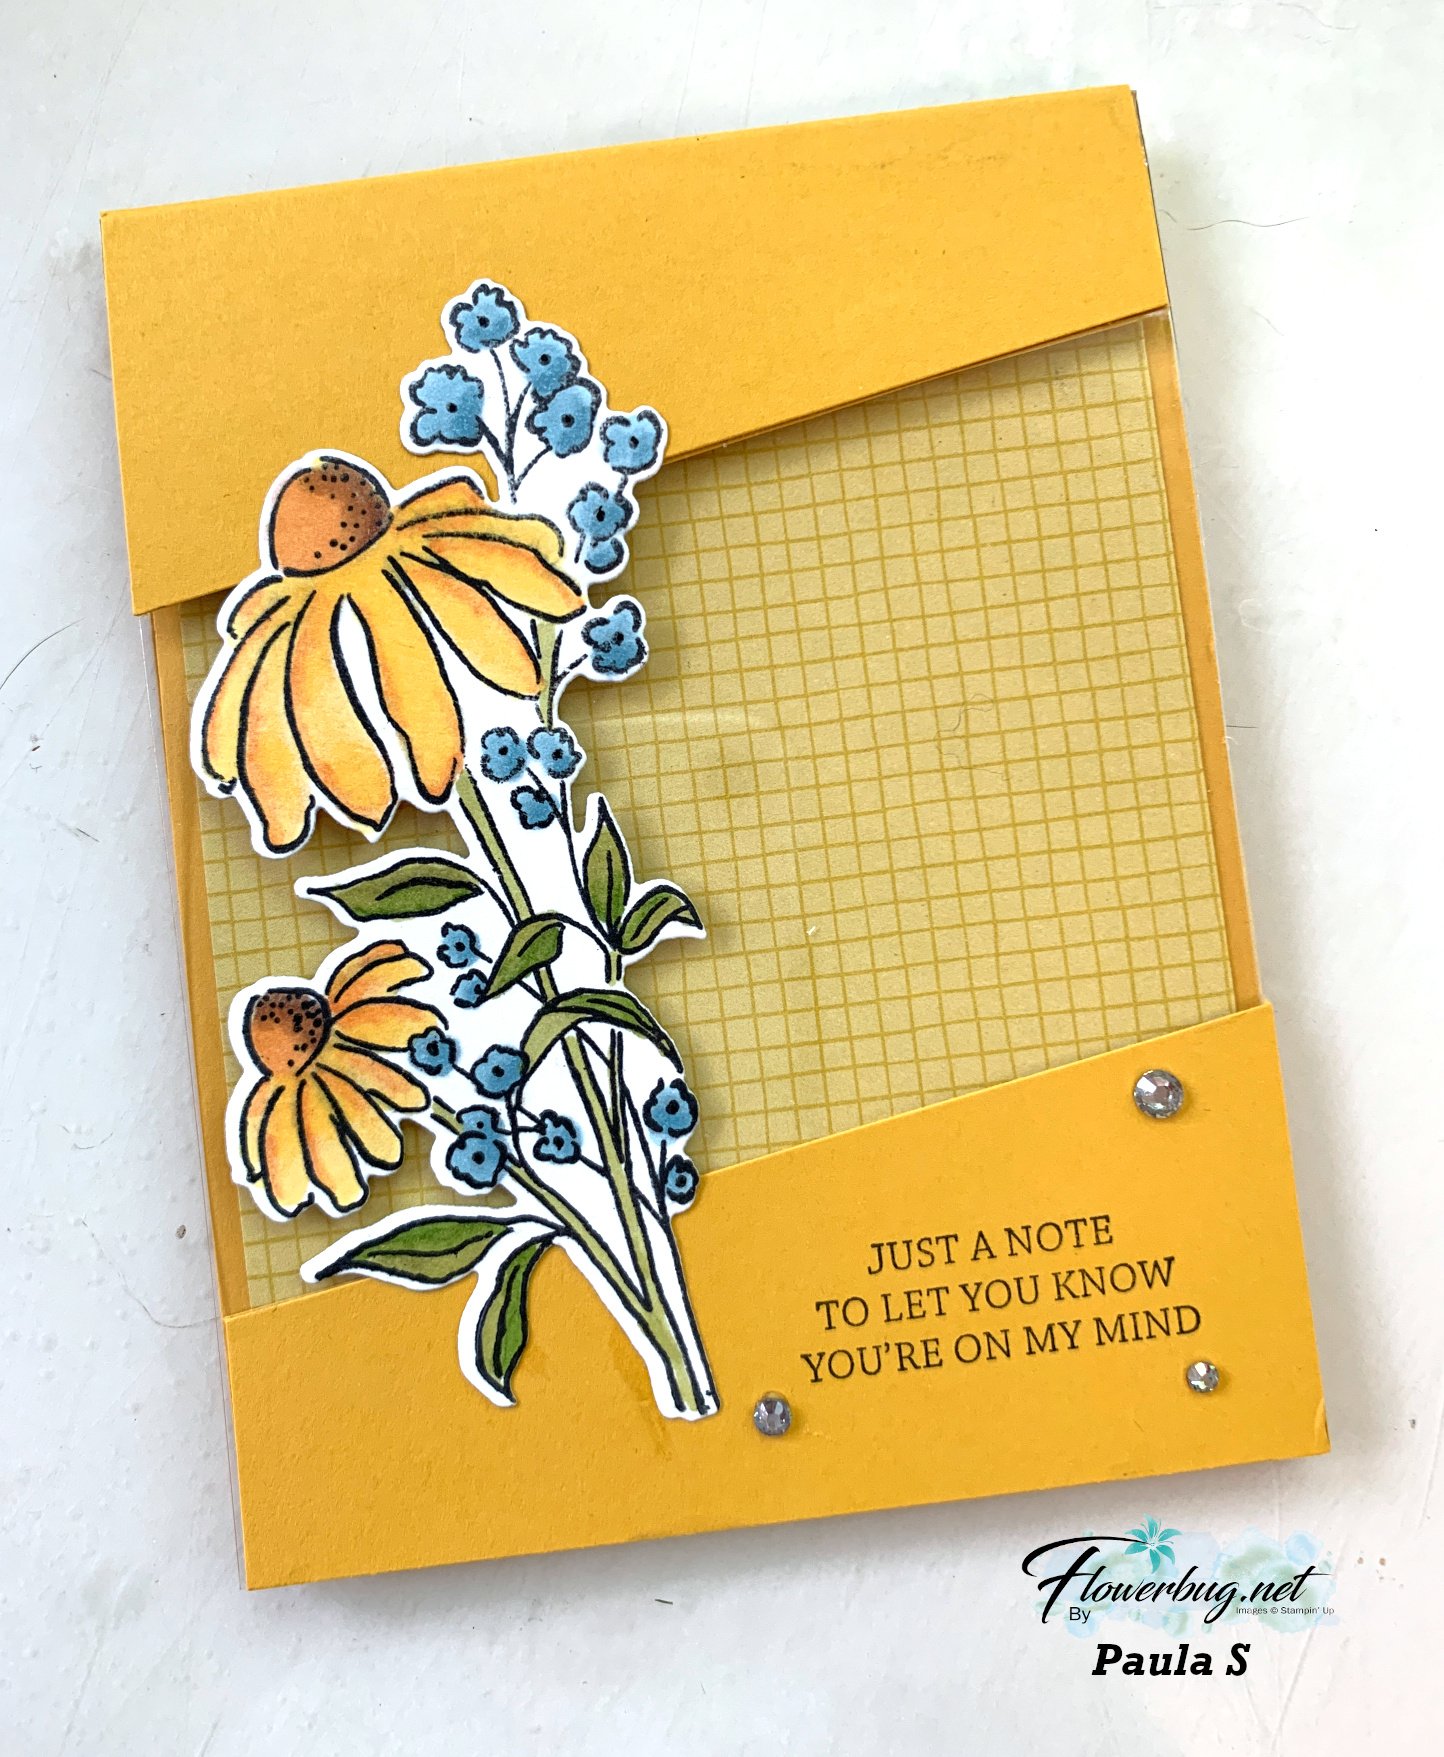
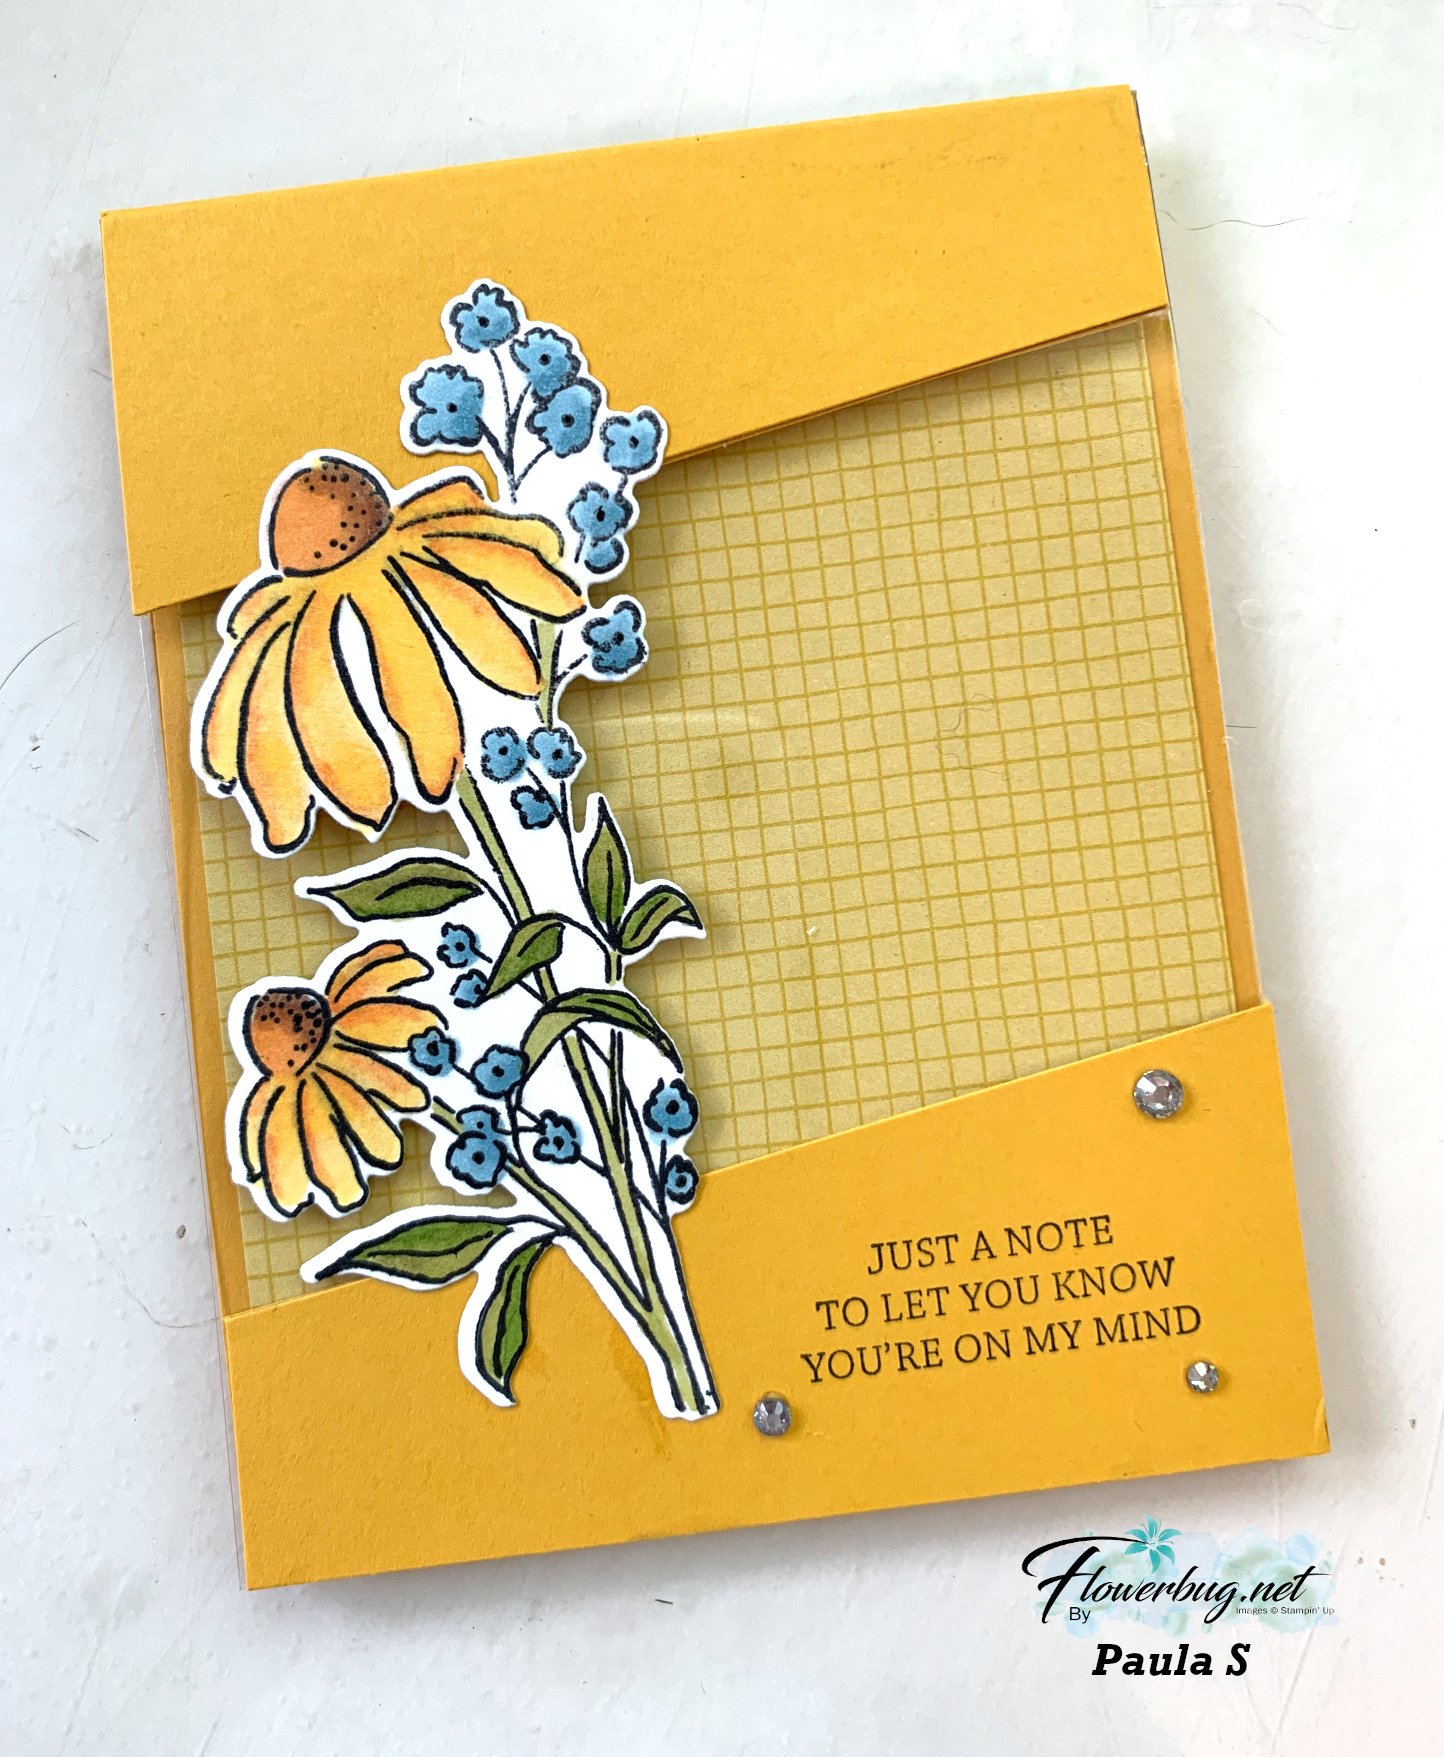
    Look at the stunning card made by Paula. For her card swap she made a Reverse Image technique cased from Kylie Bertucci.  

    July Paula Reverse Image tech

    The stamp & die bundle is called Mixed Florals and can be seen here.

    MIXED FLORALS BUNDLE

    She used Crushed Curry for her card base and Floral Impressions designer paper.  I'm so impressed by her gorgeous coloring with the Blends markers!  What pretty shading she achieved! 

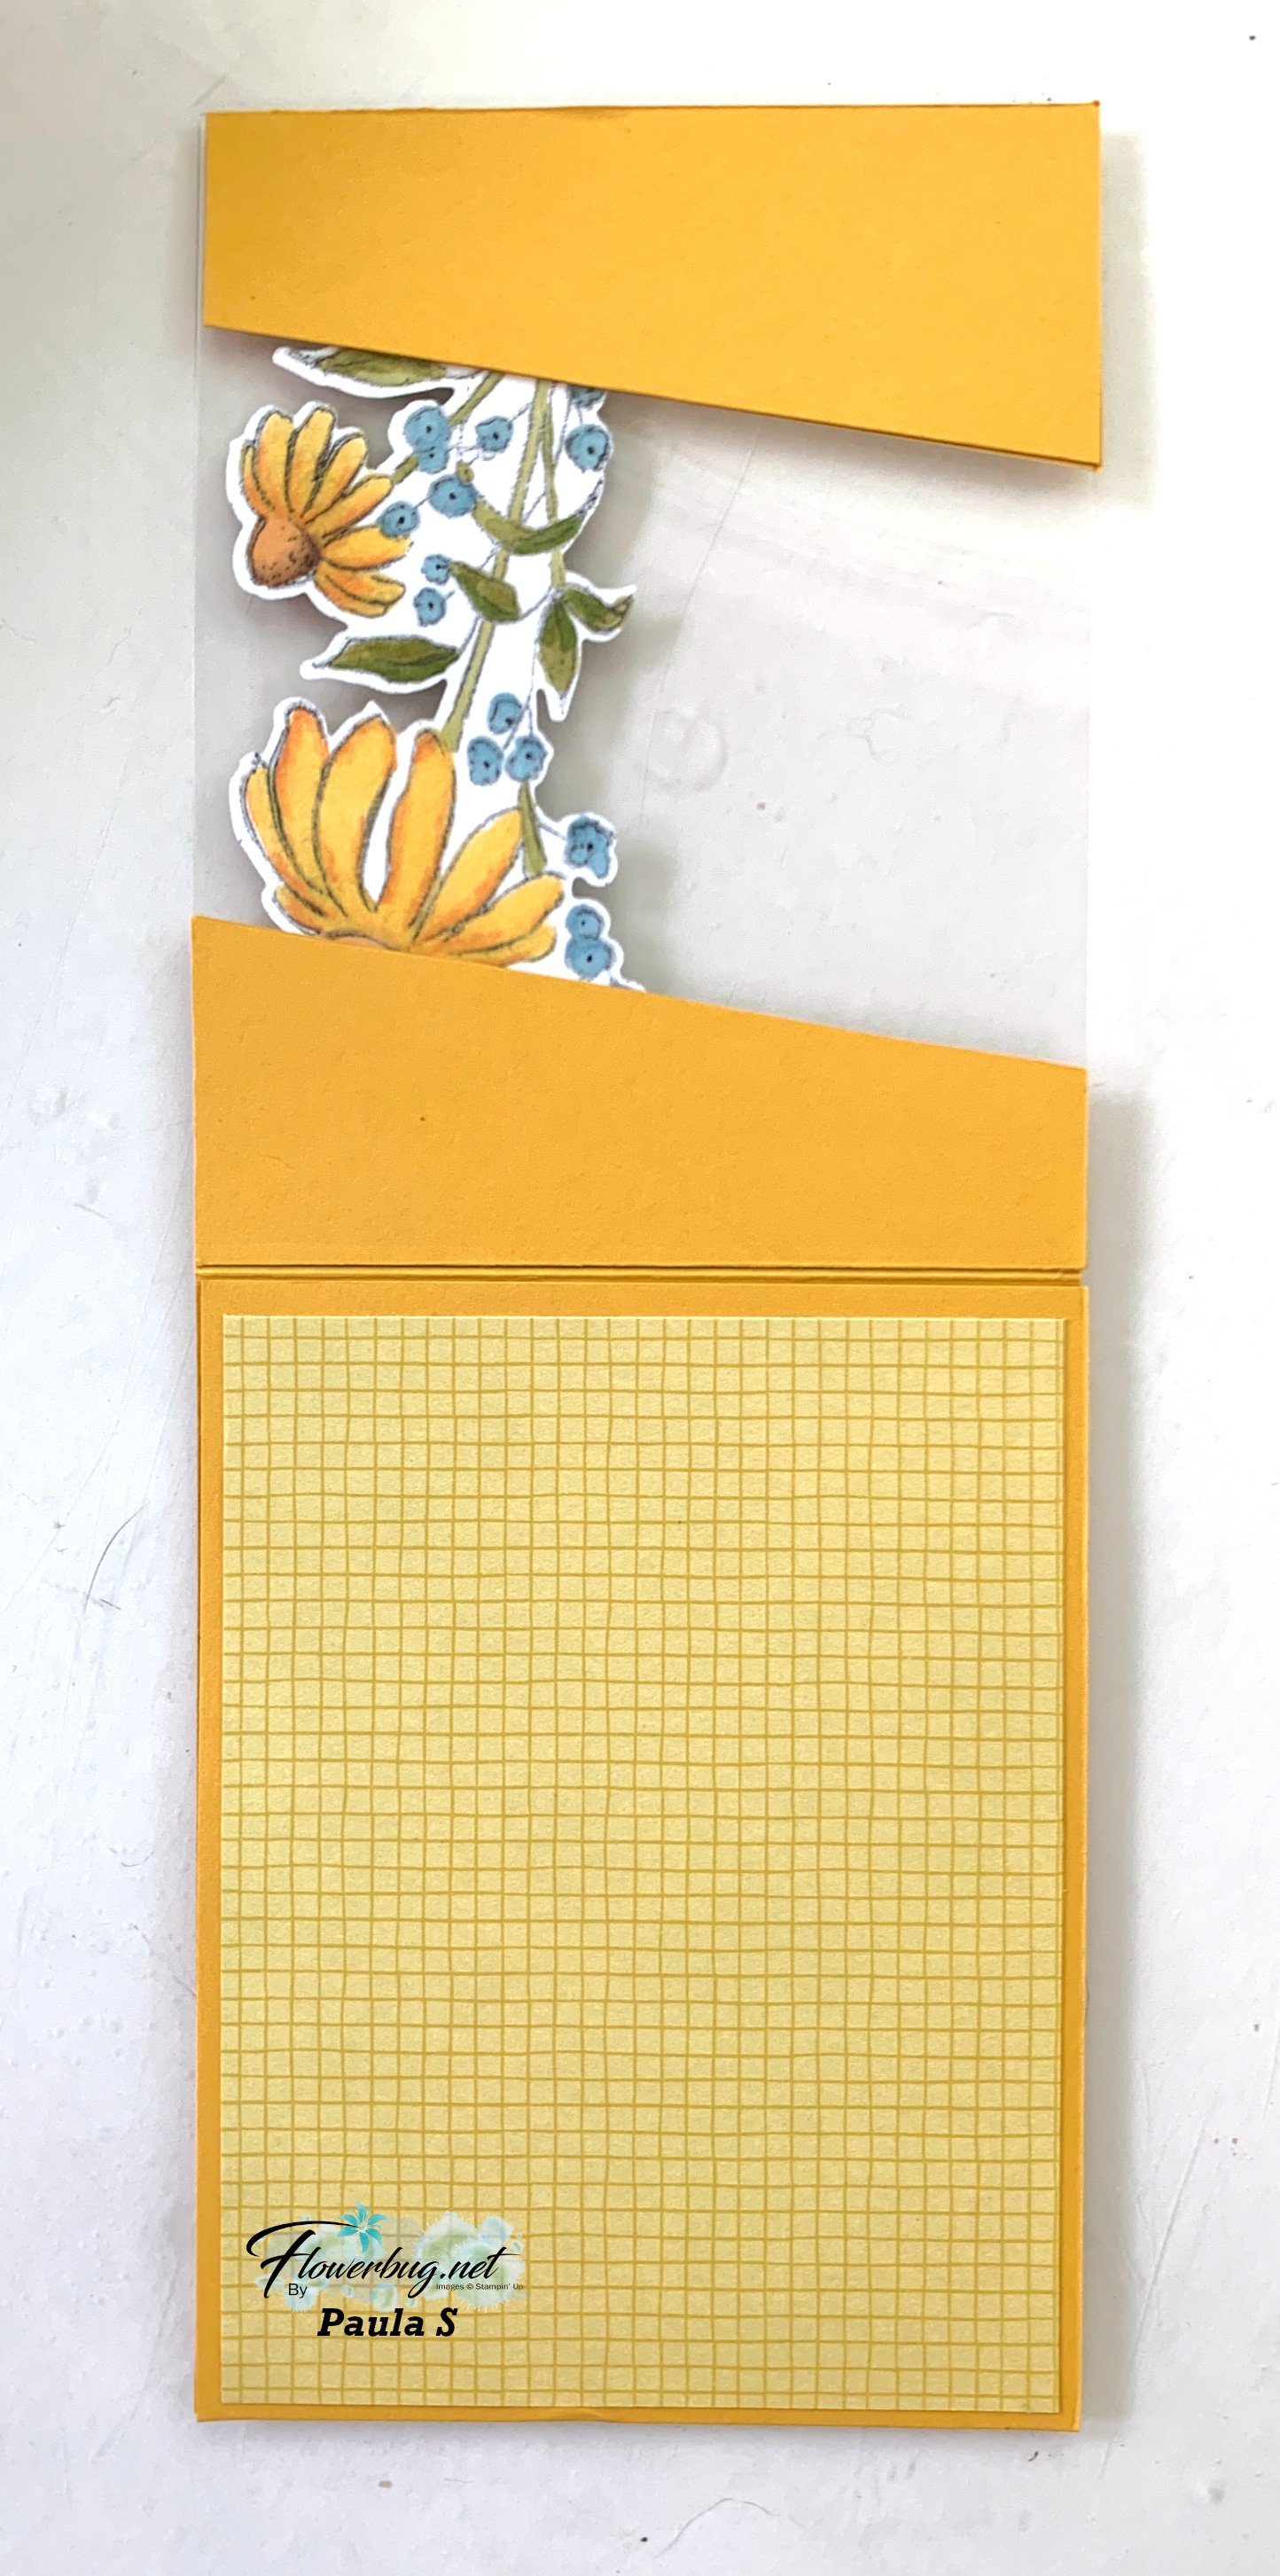
    Below you can see how she also colored the reverse side so when you flipped up the card front it's just as pretty on the inside!  So neat.  I also love the diagonal slant on the front. 

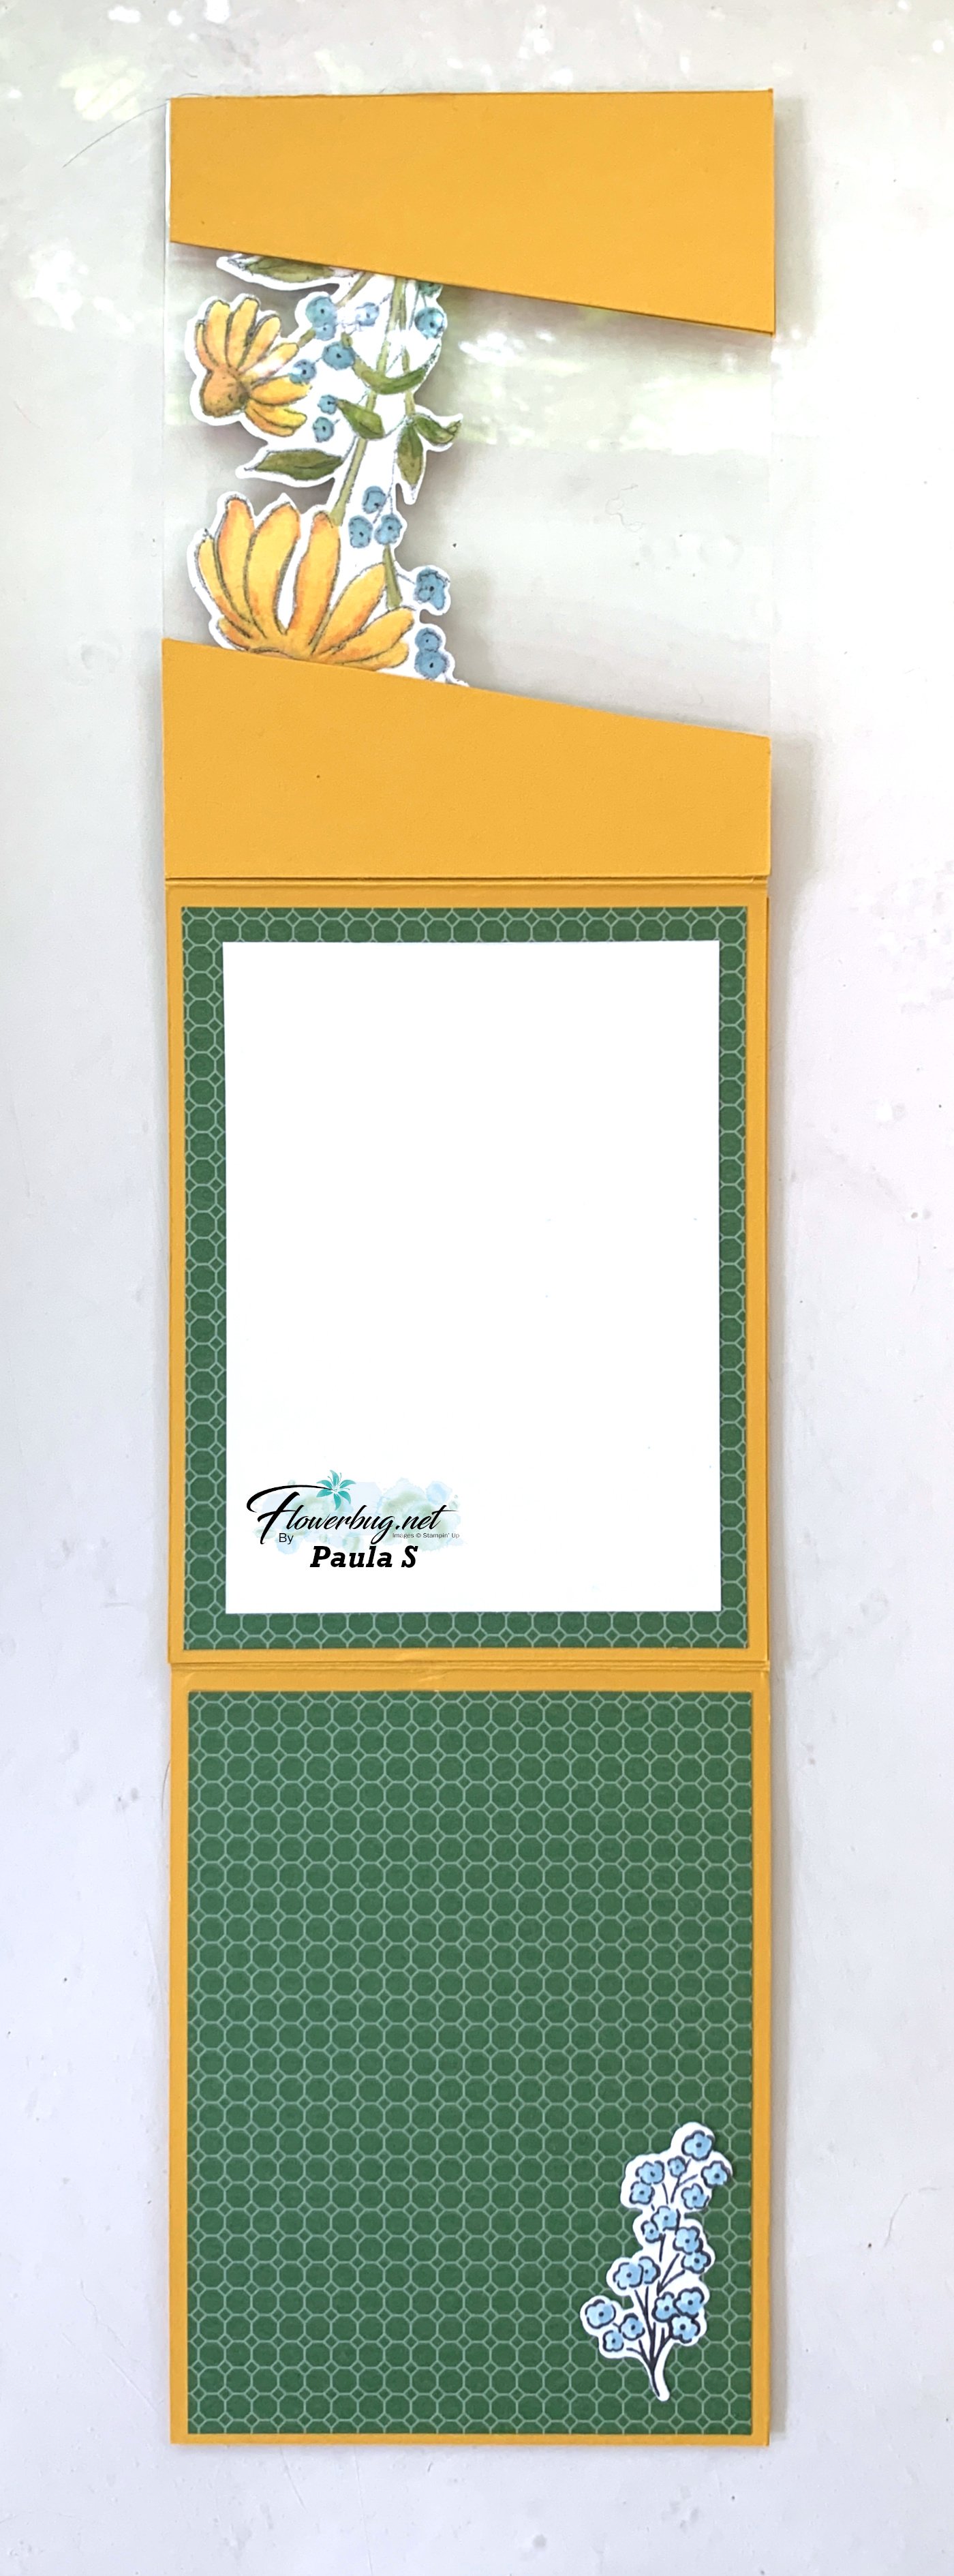
    The card opens to reveal 3 layers!  

    July Paula Mixed FloralsJuly Paula Mixed Florals open

    Measurements:

    • Crushed Curry card base- 1 at 4 1/4" X 11" scored at 5 1/2", another at 7 1/4" X 4 1/4" scored at 5 1/2" (cut on the diagonal) and two extra slat pieces to cover both front & inside of the card. 
    • DSP – 4" X 5 1/4" X 3 pieces
    • White inside 3 1/2" X 4 3/4"; plus die-cuts 

    July Paula Reverse Image tech

    Thanks so much for your creative & beautiful card Paula! 

    ~~~

    July Specials:

    July DSP stack

    New Online Exclusives are here!  Click here

    July new online exclusives

    ~~~

    Get my Turtle-y Cute PDF tutorial free with any online order in July!

    Turtley Cute DSP graphic

    Leave a Reply

    Your email address will not be published. Required fields are marked *


Notice: LeeAnn Greff, Independent Stampin’ Up! Demonstrator, Manager. The content of this website is my sole responsibility as an independent Stampin’ Up! demonstrator and the use of, and content of, the classes, services, or products offered on this website is not endorsed by Stampin’ Up! Copyright 2025