/


Latest Post

Get multiple cards from one sheet of Designer Paper! Video & free project sheet too.


I shared these beautiful cards on a Live video a few weeks ago. I wanted to make the most of one of my favorite sheets of the Valley in Bloom designer series paper. It’s discounted through August!
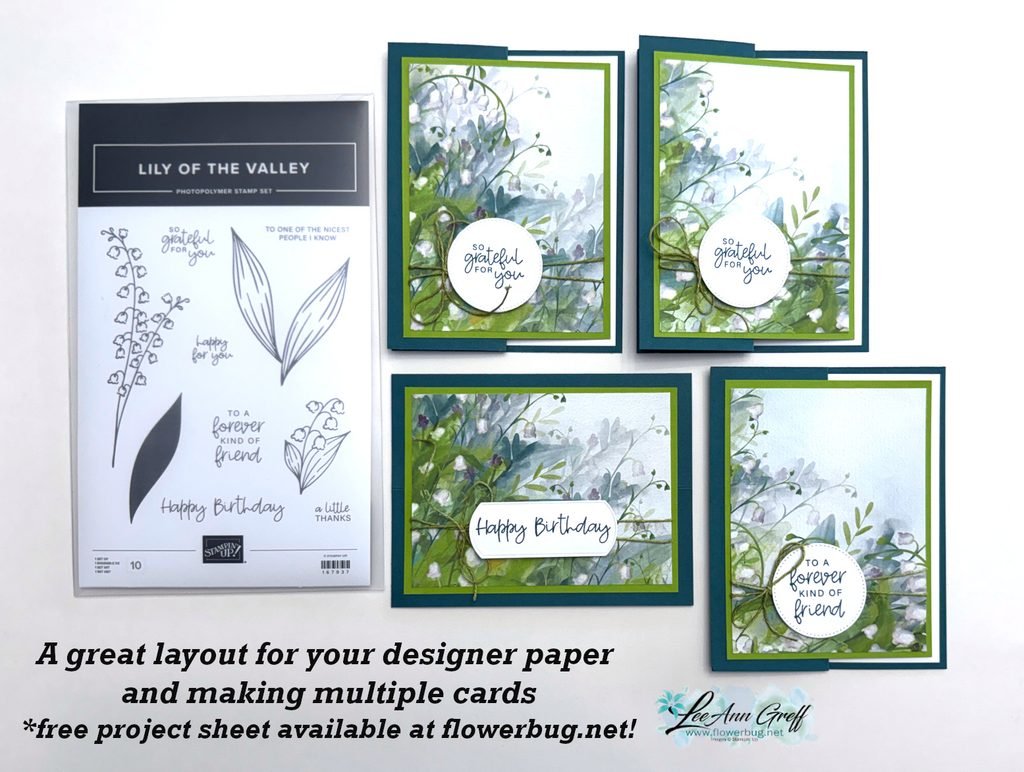
You can get more cards than I show above but I mistakenly cut in the wrong place and missed out on more. This pack of Valley in Bloom DSP has many beautiful sheets in it. Get some while it’s on sale.
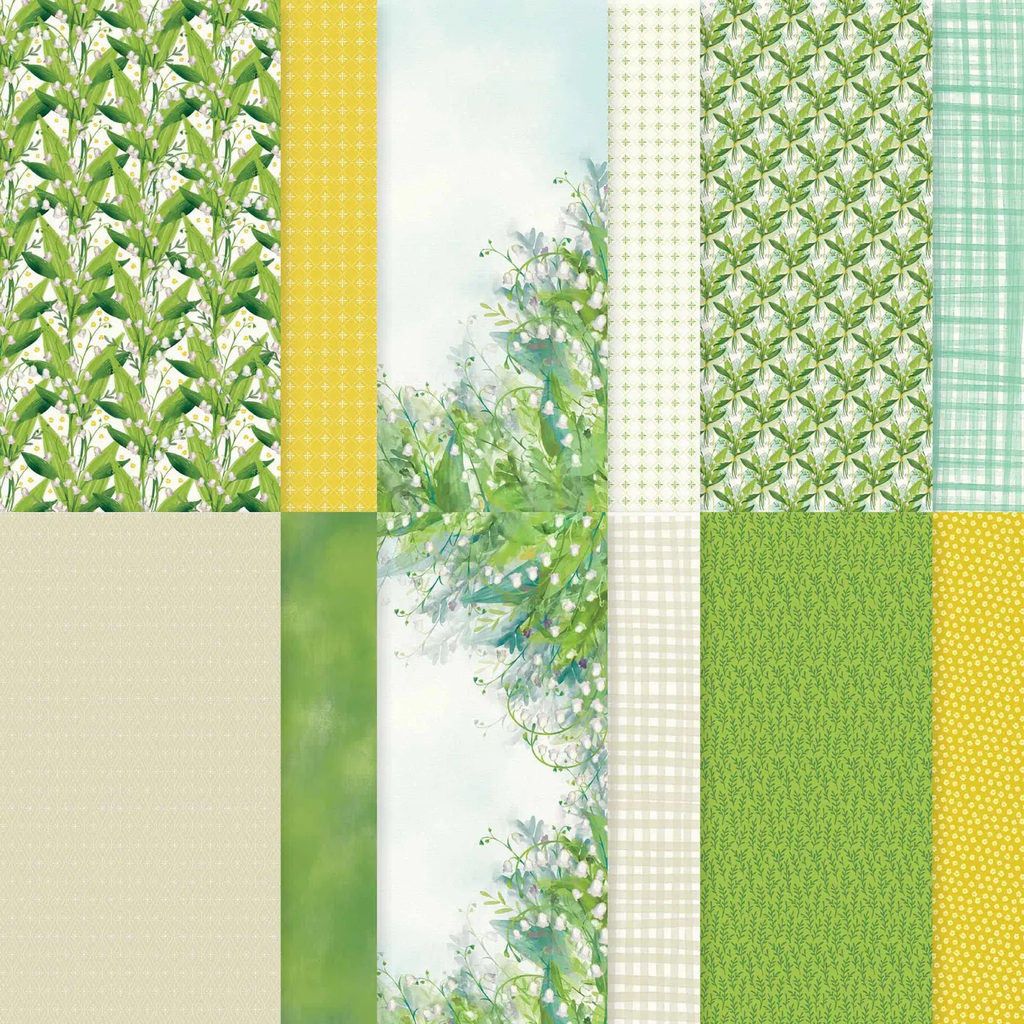
I recommend cutting the 12 X 12″ sheet into 6 pieces at 3 1/2″ X 4 3/4″. The two center pieces won’t have as much greenery on them but you could change the layout up a bit to reflect that.

My colors include Pretty Peacock with Old Olive & White. I used a variety of punches for my greetings; mostly from my stash of White elements.
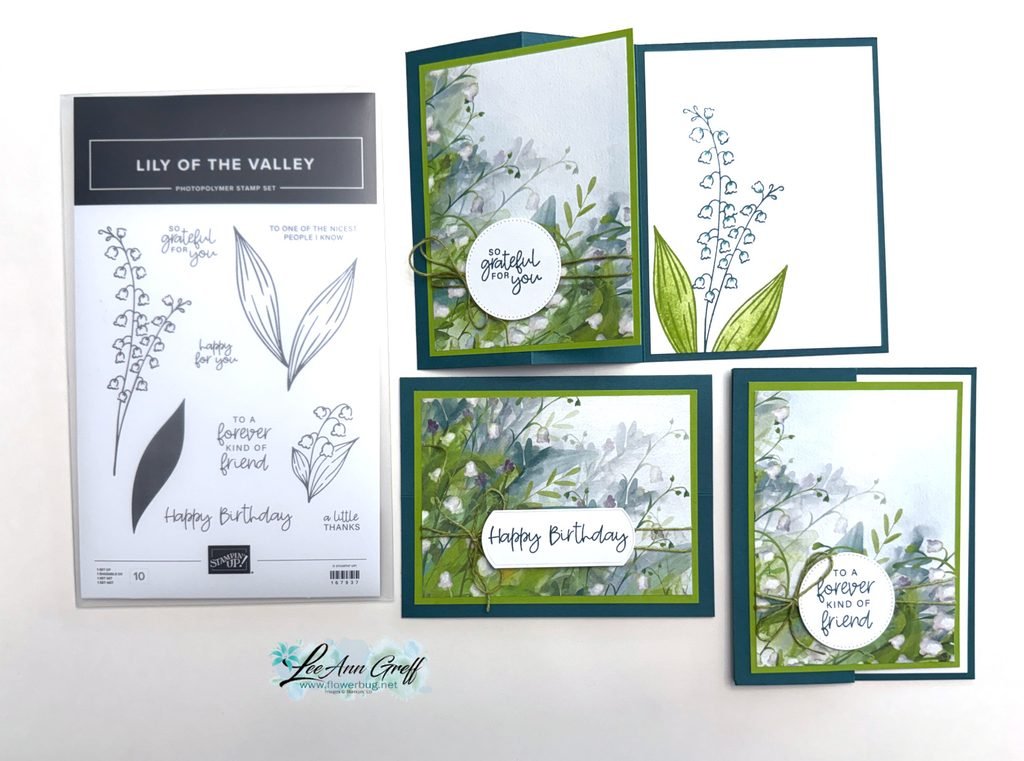
The card bases are 8 1/2″ X 5 1/2″ scored at 2 1/8″ & 4 1/4″. I made sure the Olive layer was small enough that the White inside piece shows as an inside layer. You can see the free project sheet with measurements, photos and supplies when you click here.

I stamped the inside of the cards with the Lily of the Valley stamp set and colored the flowers in with a Blender pen. I love this bundle so much. You can see it here.

You can see the video for this card and one more below. Don’t forget to subscribe to my YouTube channel!

August Specials

Don’t miss out on the Designer Paper & Cardstock sale! Click here to shop and save.

All Posts

  • Wow Team swaps for a fun Coaster Calendar!


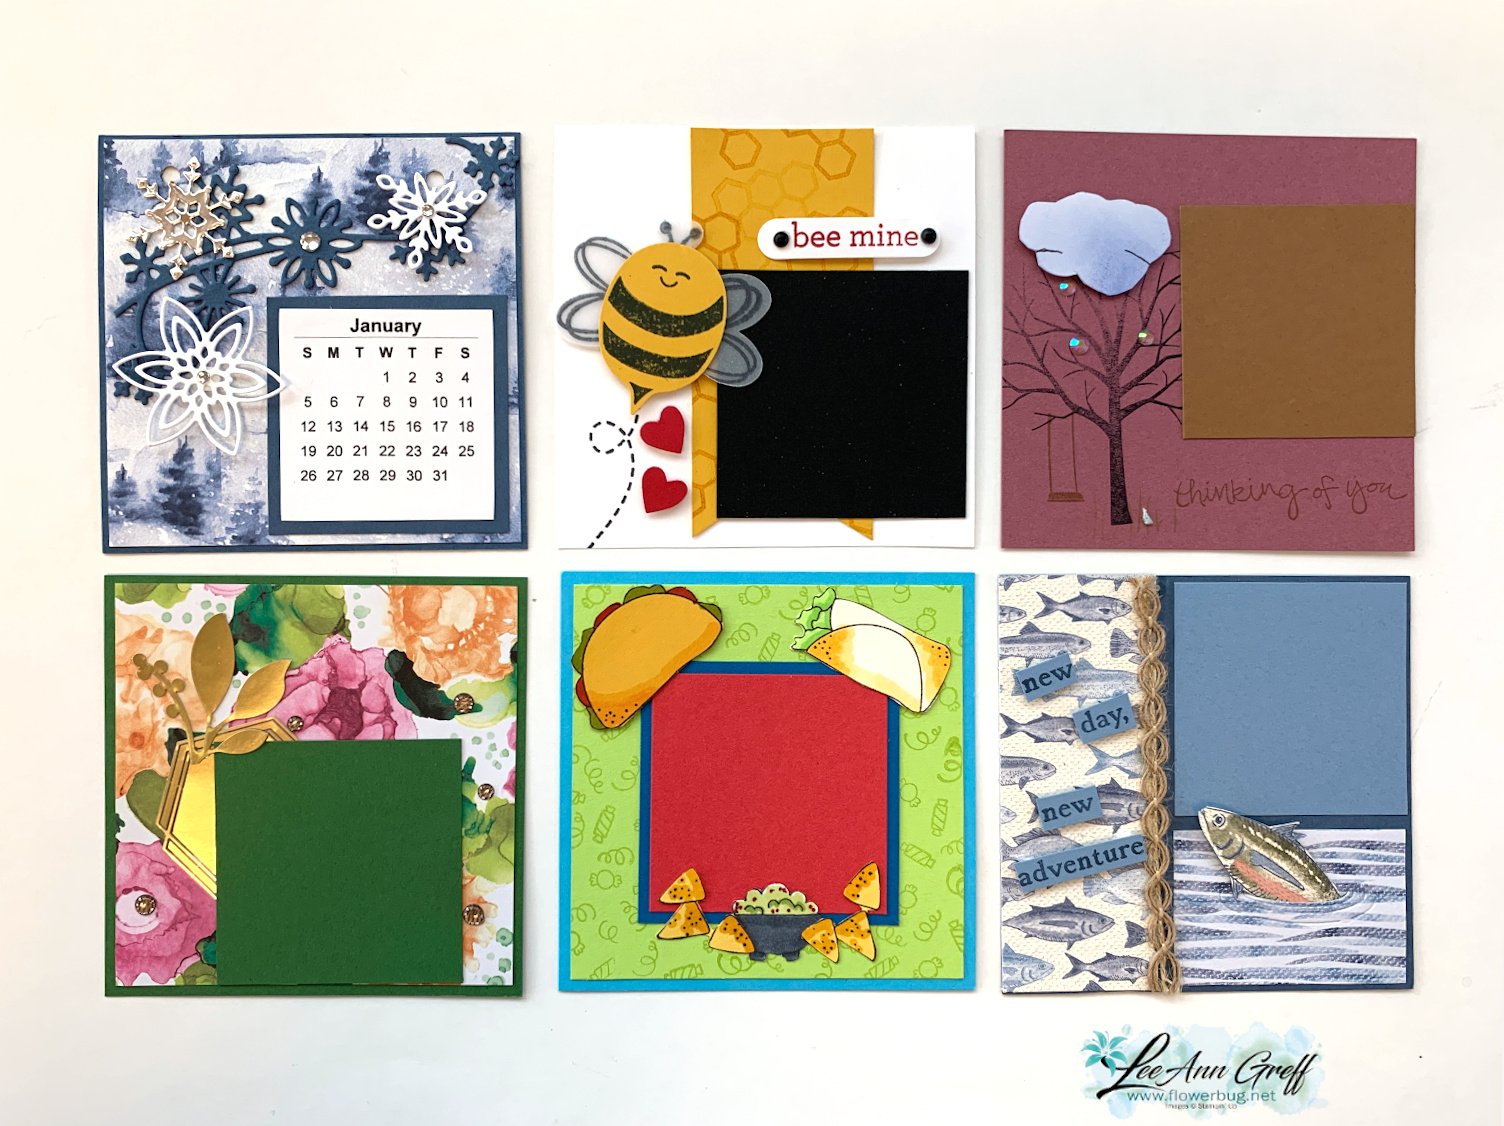
    This month my Flowerbug's Team decided to do a Coaster Calendar swap.  This was super fun and quite easy when you could make multiples of the month you chose.  I do love swapping! 

    We could use retired or current products on these swaps which opened up a lot of possibilities for creativity! 

    The first group are January through June:

    Coaster Calendar 1

    This next group is July through December:

    Coaster Calendar 1

    They're all 4" square and the layer for the printed calendars (which haven't been added yet here) are 2 1/4" square. We punch holes in the top of each and add two 4" card board coasters to the front and the back for stability. *these were purchased online years ago. The printed calendar was created by my husband and I cut it up into 2" squares. 

    Here's how I decorated the front of mine:  I kept it quite simple; a 4" square piece of Winter Meadow DSP along with a die-cut and the year cut out with number dies.  I trimmed the corners to match the coaster. 

    Coaster Calendar front

    Here's the next group of swaps; some are the same as those above since a few people did multiple groups of the same month. 

    These are January through June: 

    Coaster Calendars 3

    And these are July through December:

    Coaster Calendars 3

    Each one is fabulous!  I love seeing everyone's personal style. 

    ~~~

    Lots of November Specials:

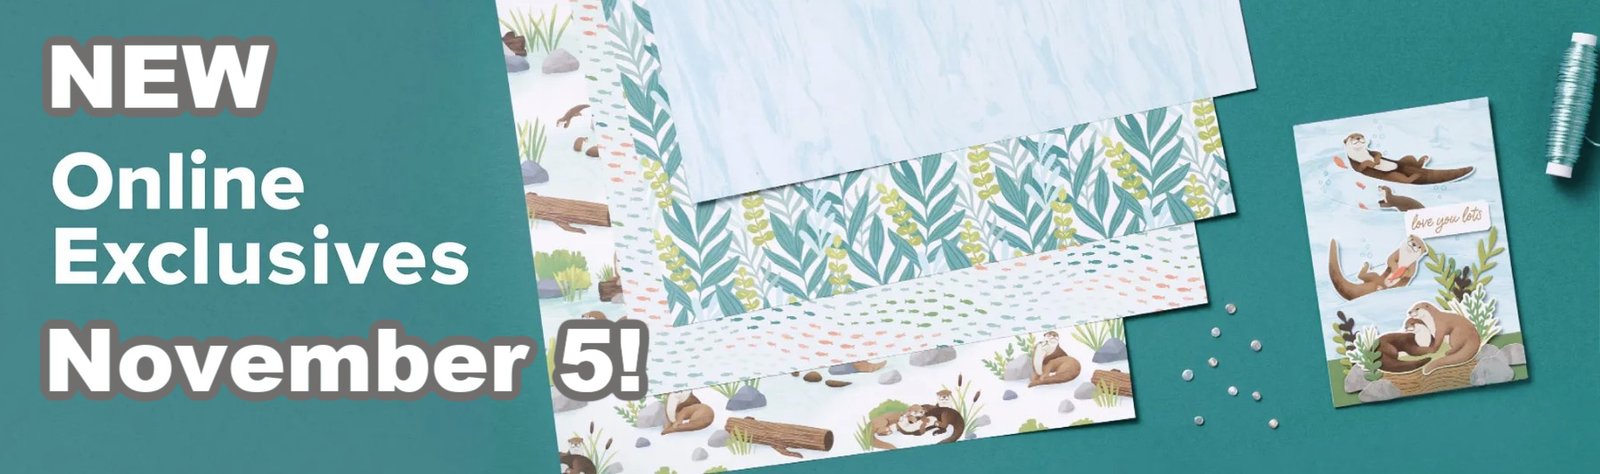
    Nov Online Exclusives 24See the new Online Exclusives here

    *current host code link:  

    JVXWJ4U6 or M7S96HPT

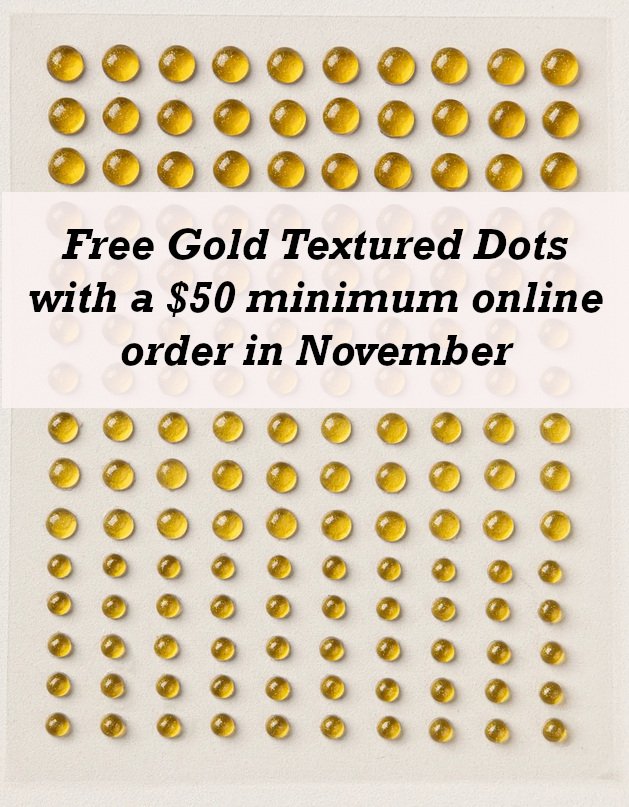
    Get a package of Gold Textured dots with your online order 

    November free gold dots

    Online orders over $75 get an extra special gift; while supplies last!

    *must use a host code 

    November special free bundle & card kit
     
    ~~~

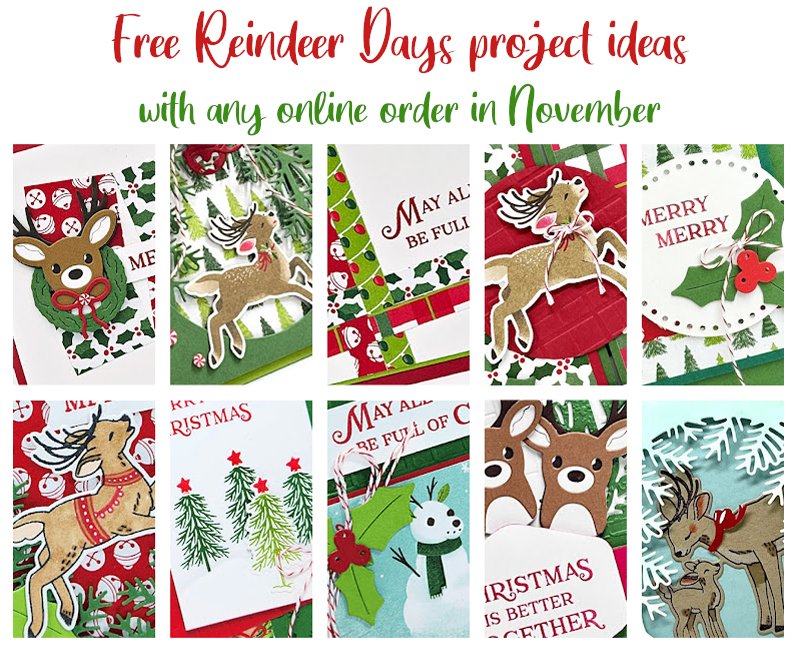
           All online orders in November will receive a free PDF tutorial featuring the Reindeer Days suite

    Nov Reindeer Days graphic

    Leave a Reply

    Your email address will not be published. Required fields are marked *

  • More swaps from my talented Demo friends


    I have a few more swaps to share with you today.  These are all from our newest Online Exclusive products. 

    First up is a pretty floral card from Susan Campfield. She used the Happy Hibiscus bundle

    Happy Hibiscus Susan

    This bundle includes a Hybrid embossing folder that includes dies that coordinate with the folder!  It's so cool. You can see it here in my store. 

    In the photo below you can see the die-cut images that are textured. This is done when the die is inserted into the embossing folder with the card stock.  Yes; it is incredible! 

    HAPPY HIBISCUS BUNDLE (ENGLISH)

    The next few cards feature the Marbled Elegance suite: 

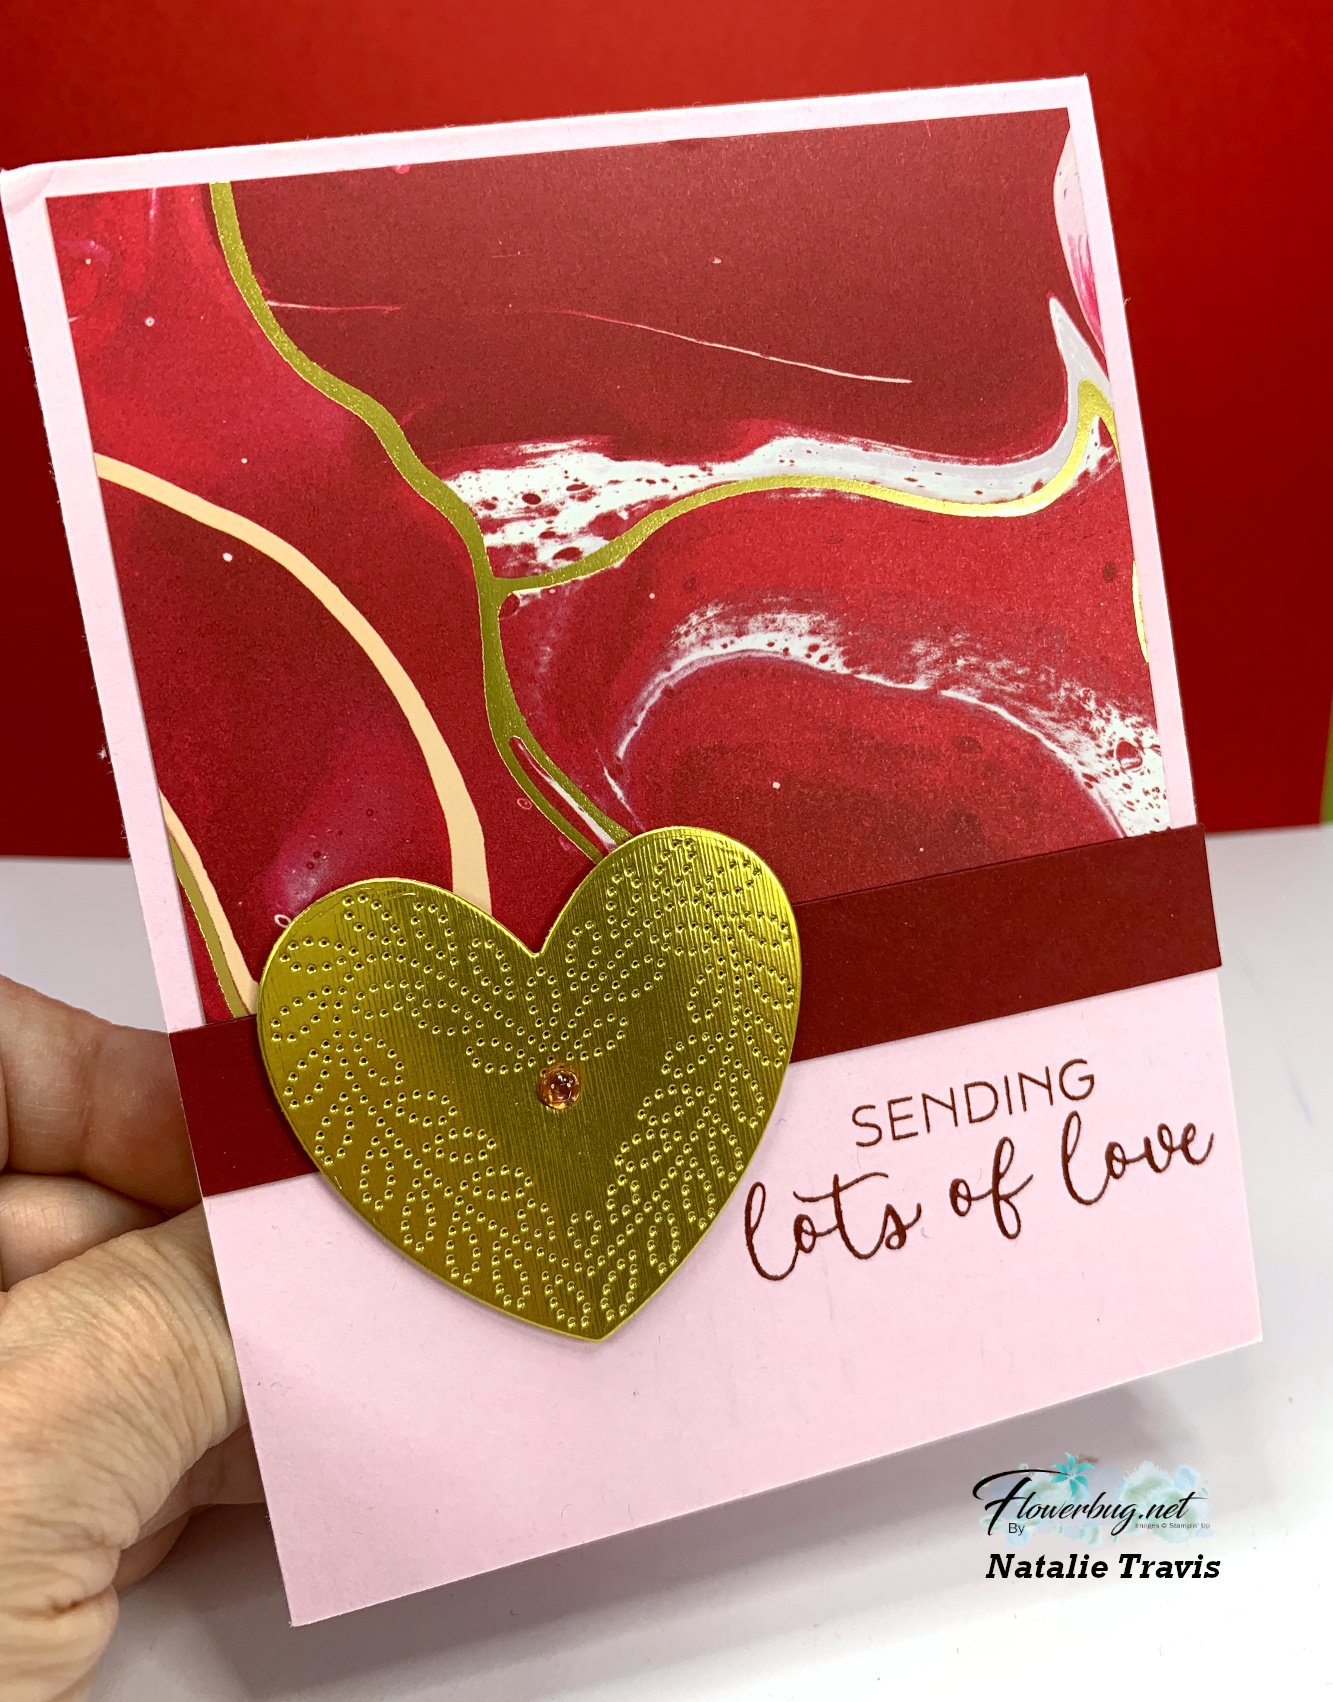
    This first pretty card is made by Natalie Travis who made the focus of her card that gorgeous golden stitched heart. 

    Marbled Elegance Natalie

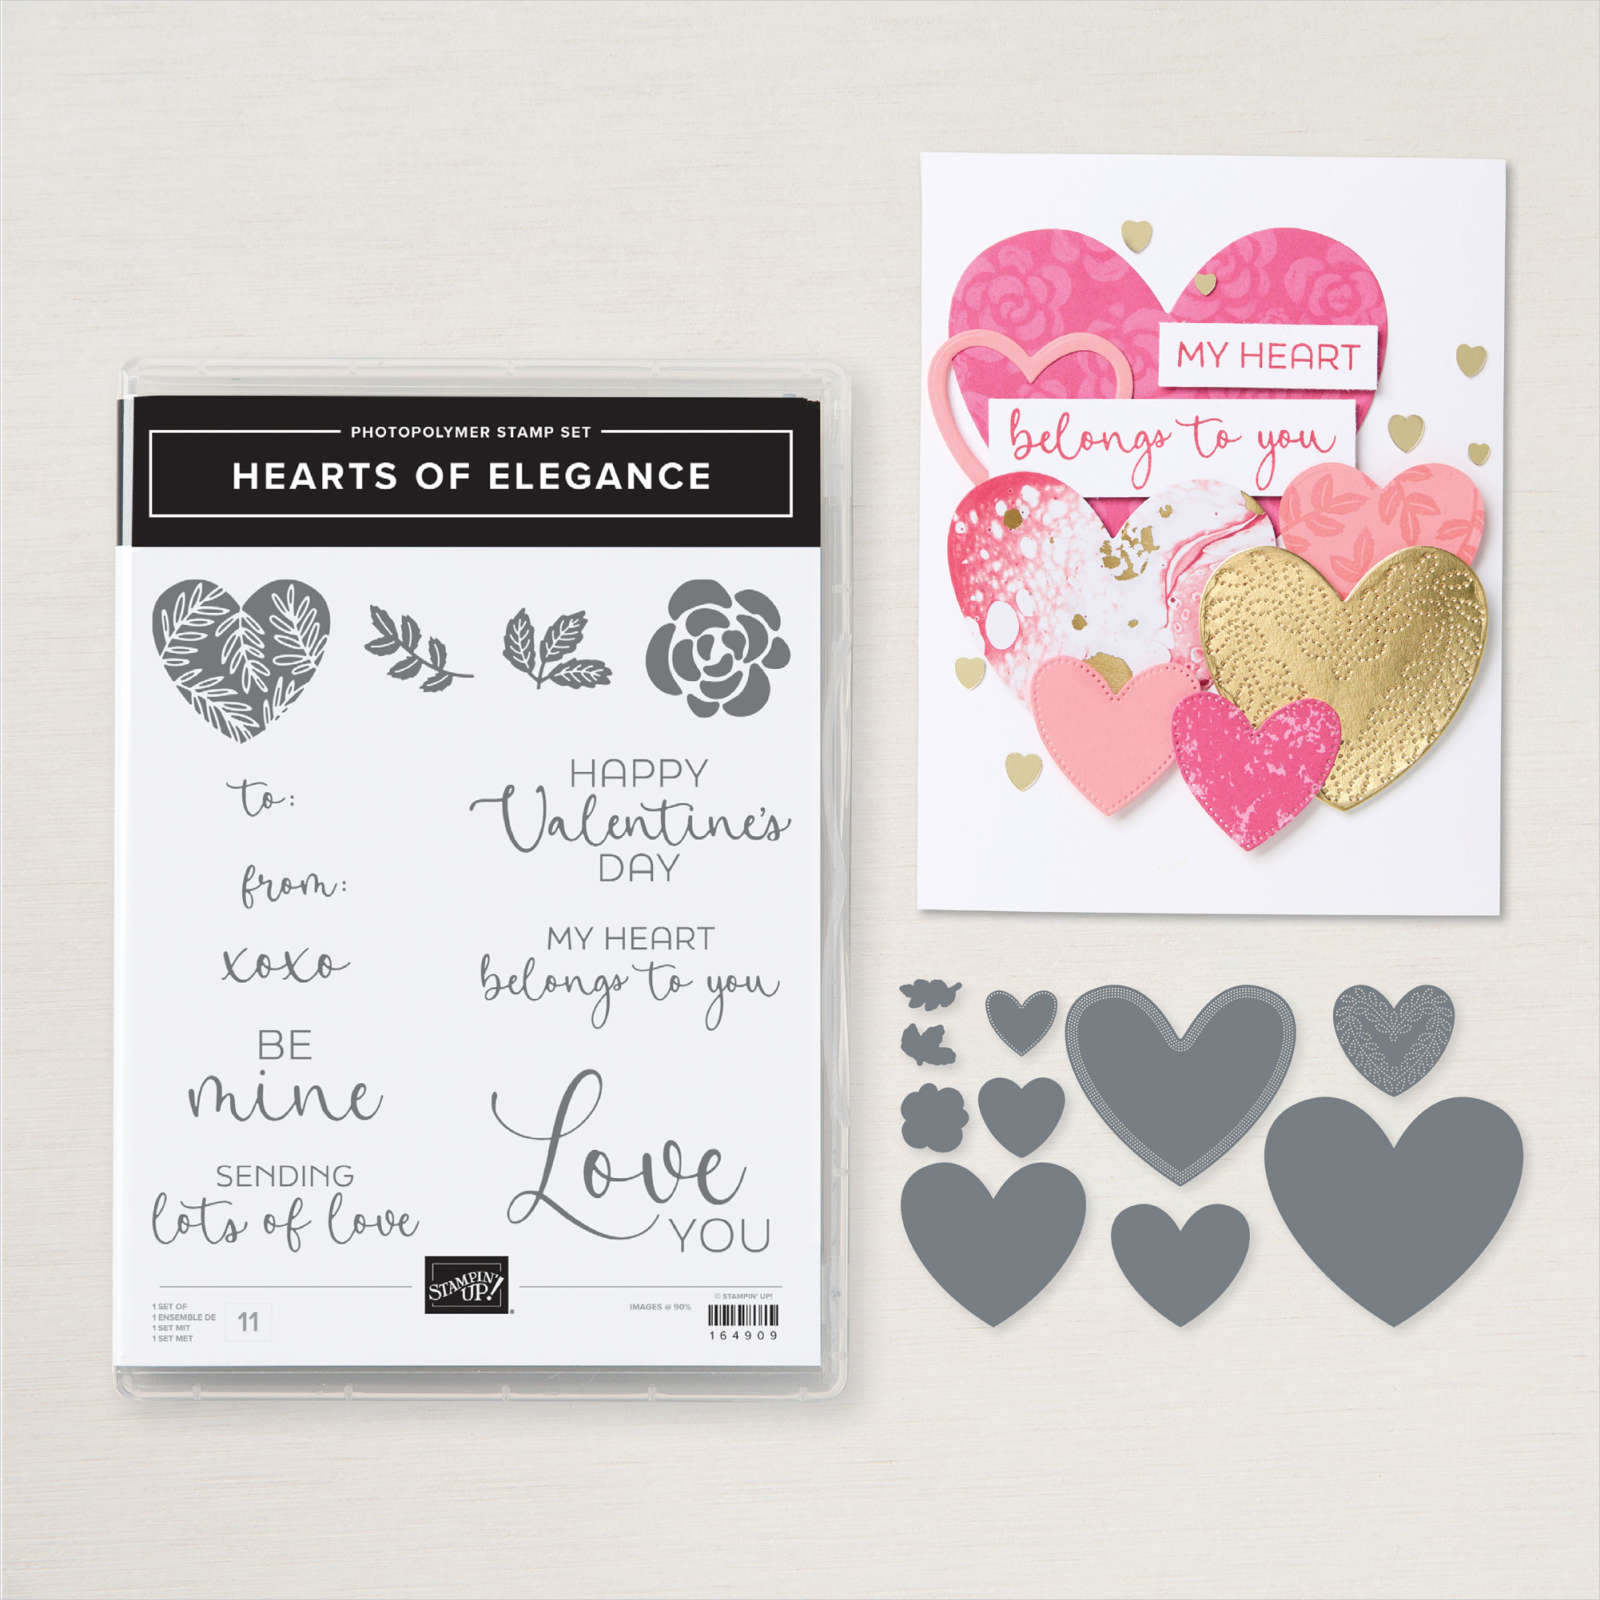
    That pretty heart is die-cut with the Hearts of Elegance dies from our new Brushed Metallic paper in both Gold & Silver. See that here. 

    Her measurements are simple – the DSP is 4" X 3", a strip of Cherry Cobbler is 4 1/4" X 5/8" on a Pretty in Pink card base. 

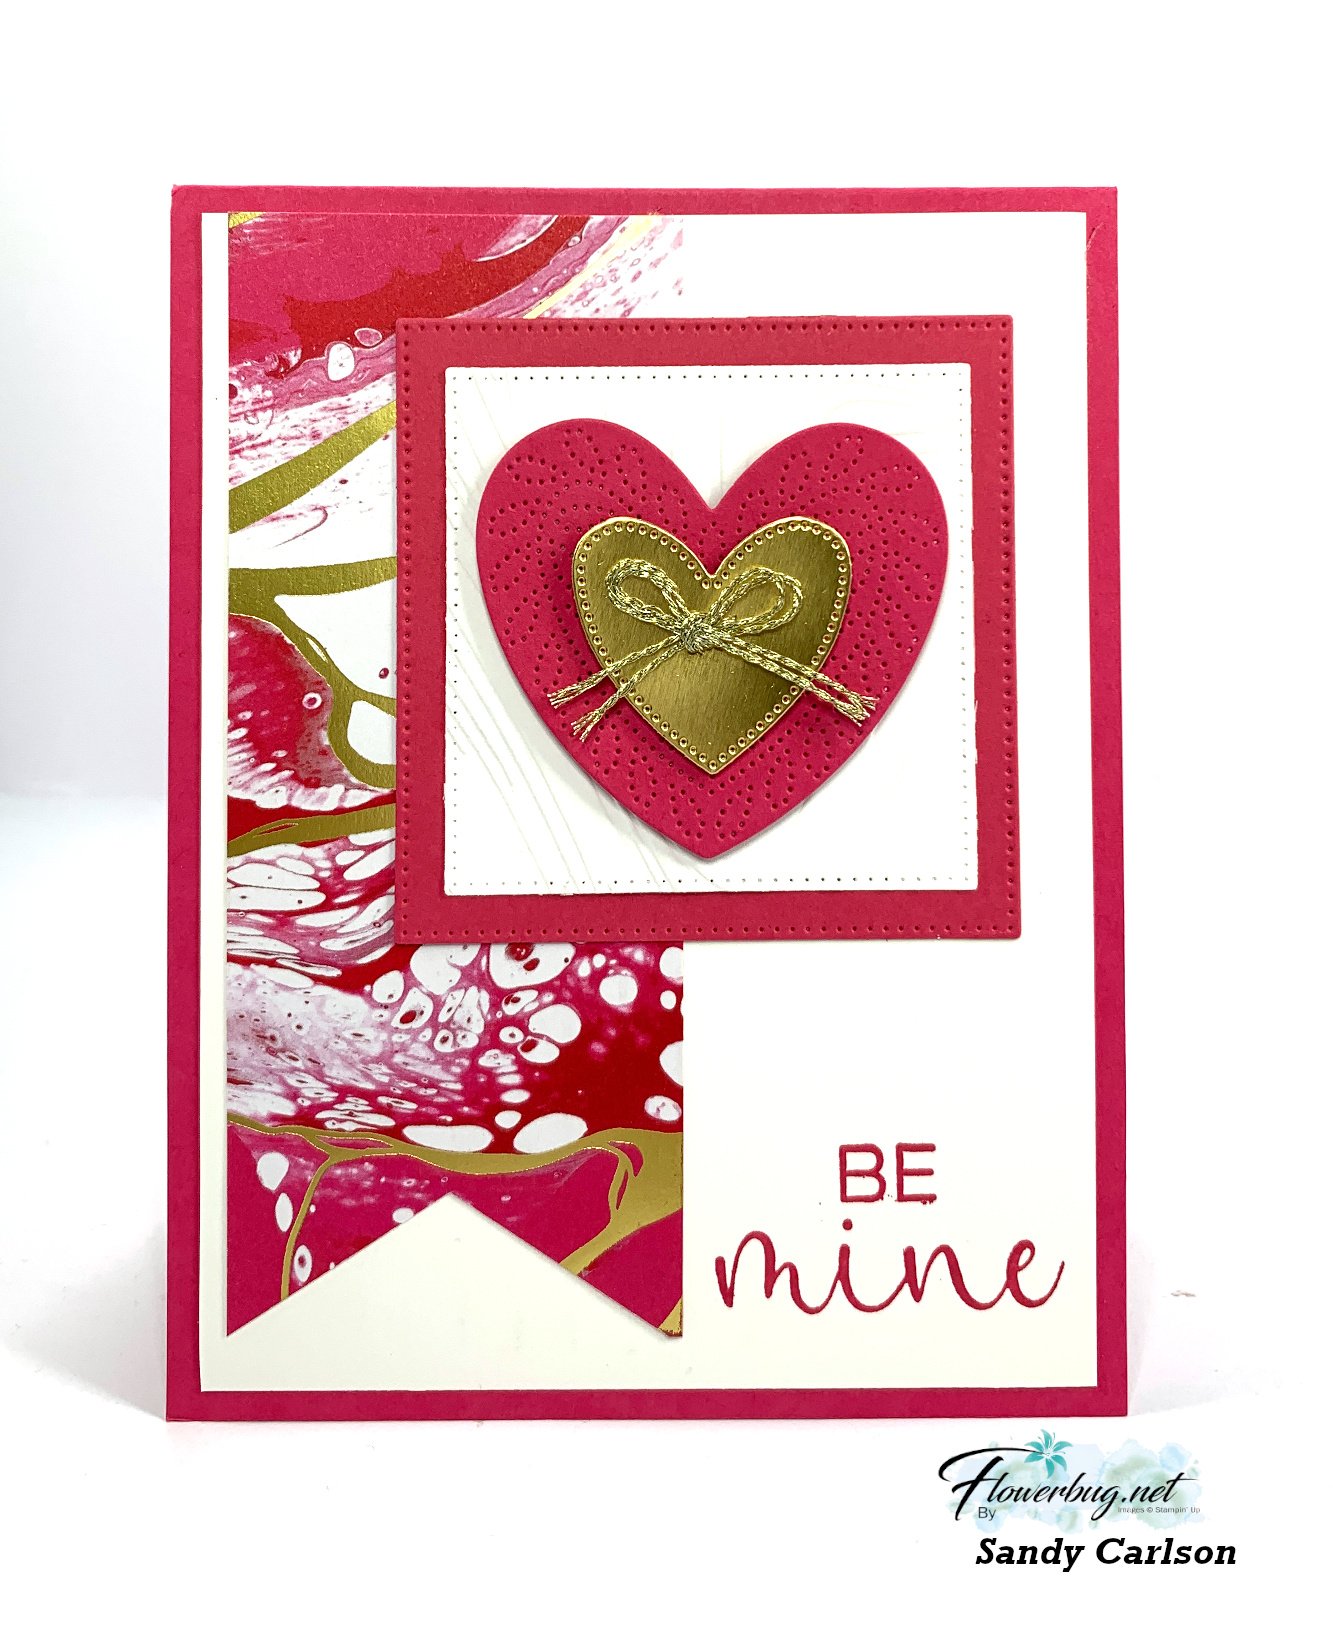
    Next is a gorgeous card made by Sandy Carlson:

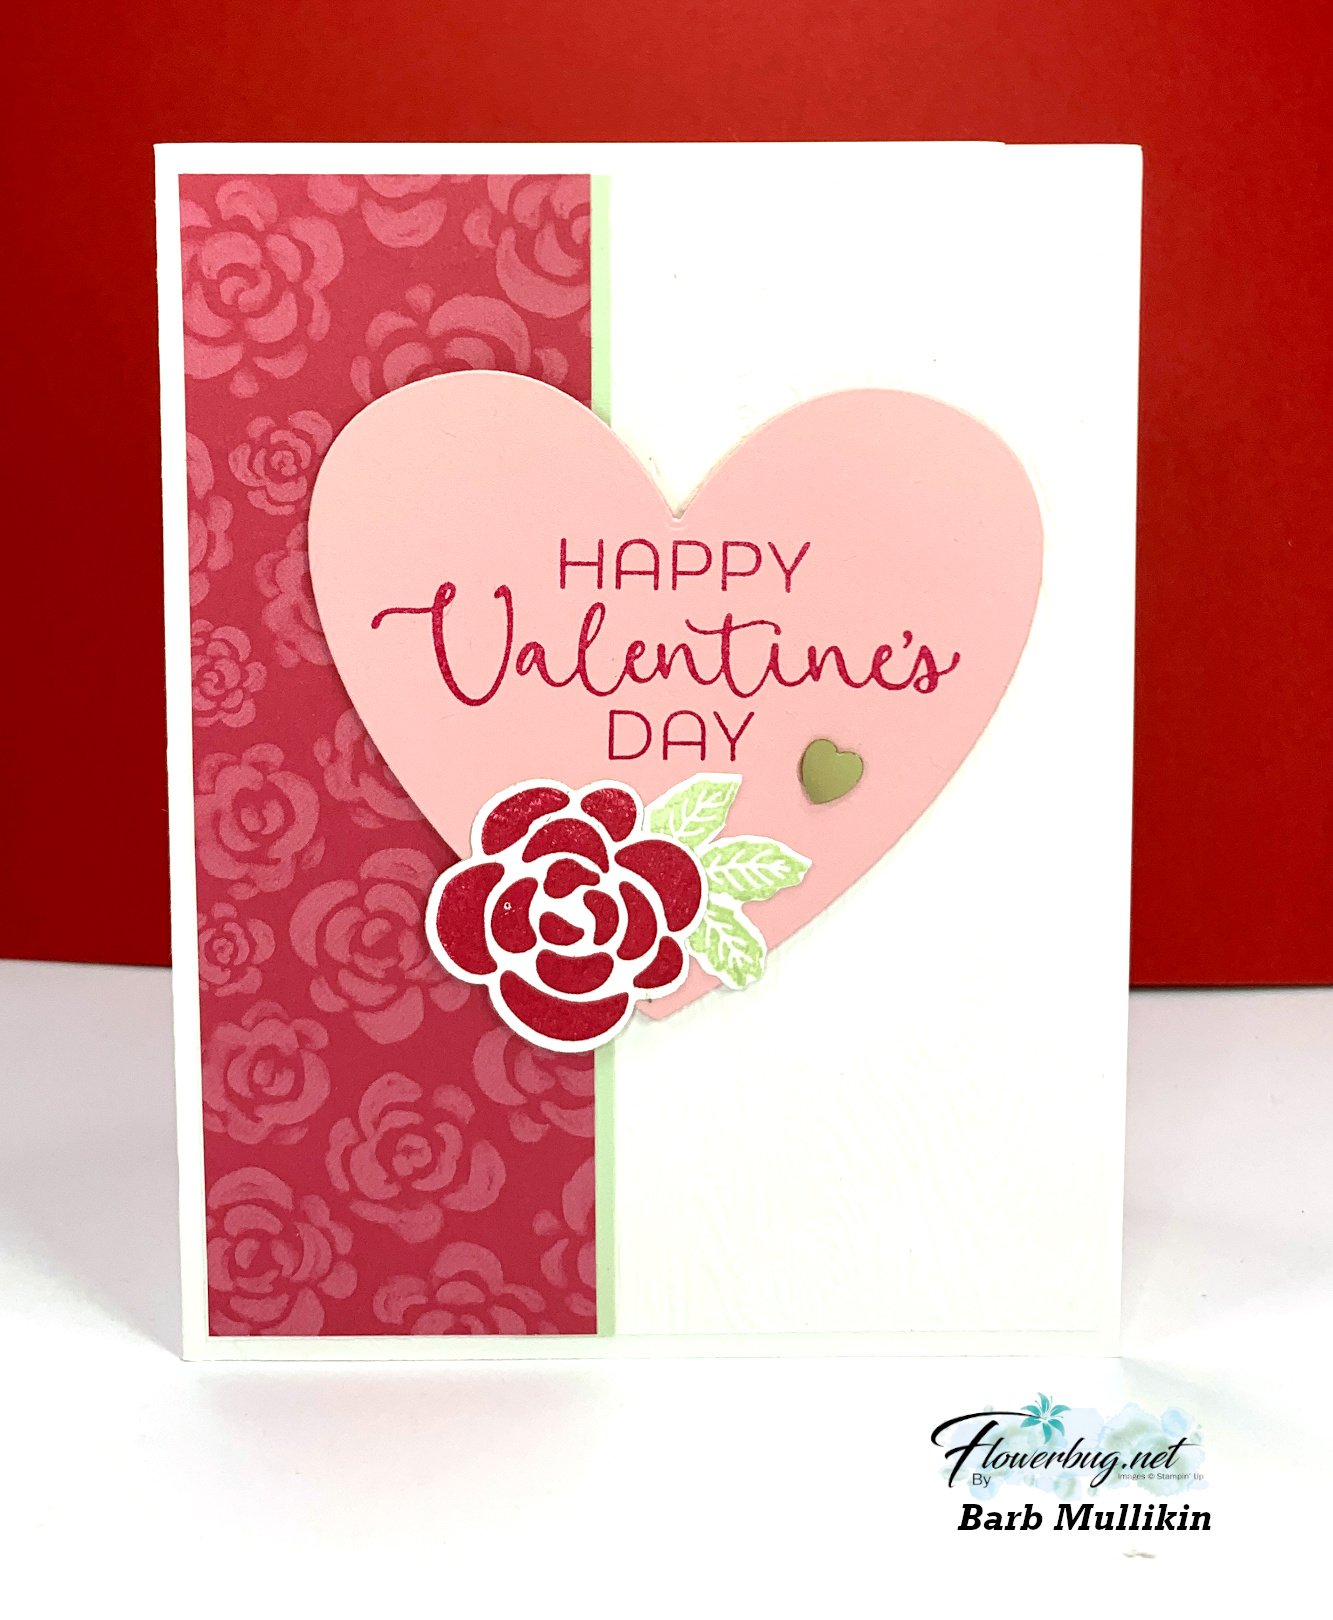
    Marlbed Elegance Barb M

    Her colors are Melon Mambo with White and the same beautiful Marbled Elegance specialty DSP. She also used the new Hearts of Elegance bundle seen here. 

    HEARTS OF ELEGANCE BUNDLE (ENGLISH)

    Thanks for stopping in.  I hope you're been enjoying the swaps I've shared. 

    ~~~

    Lots of November Specials:

    Nov Online Exclusives 24See the new Online Exclusives here

    *current host code link:  

    JVXWJ4U6 or M7S96HPT

    Get a package of Gold Textured dots with your online order 

    November free gold dots

    Online orders over $75 get an extra special gift; while supplies last!

    *must use a host code 

    November special free bundle & card kit
     
    ~~~

           All online orders in November will receive a free PDF tutorial featuring the Reindeer Days suite

    Nov Reindeer Days graphic

    Leave a Reply

    Your email address will not be published. Required fields are marked *

  • Check out these swap cards from the Otterly Amazing Suite!


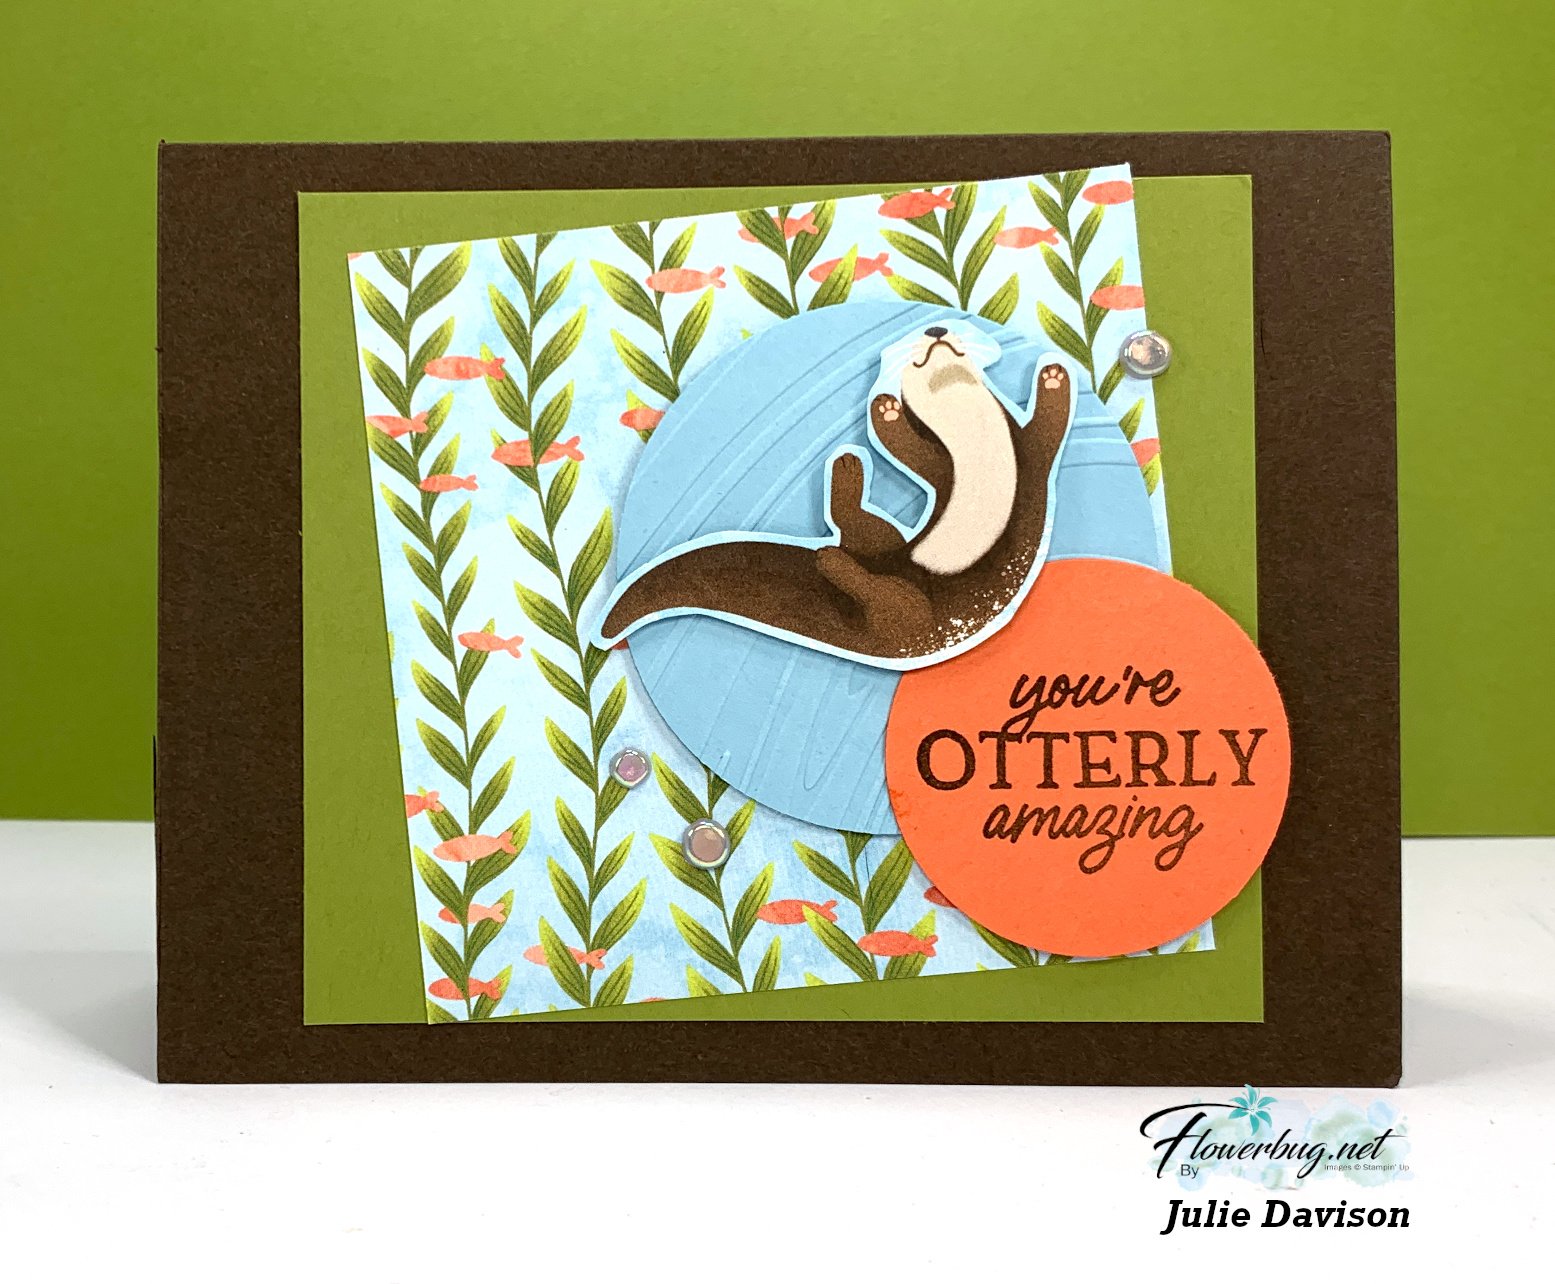
    Otterly Amazing Julie

    Two punched circles and a 3 1/2" square of DSP show off the elements in this Otter suite. The colors include Balmy blue, Calypso Coral, Old Olive and Early Espresso.  

    ~~~

    This second swap with the Otterly Amazing suite is made by Tracy Jacobs. 

    Otterly Amazing Tracy

    She created a fun fold by cutting up to the 5 1/2" score line at 1". That layer is adhered to the back of the card base so only the left card front opens. Simple but 'amazing' too!  It really shows off the playful scenes in the Otterly Adorable DSP.  See the DSP here. 

    Below is the bundle with the stamps & dies: 

    OTTERLY AMAZING BUNDLE (ENGLISH)

    See this Otterly Amazing bundle here.  Many of the images in the DSP can be cut out with the Otterly Amazing dies.

    You can see the entire suite here.  

    OTTERLY ADORABLE SUITE COLLECTION (ENGLISH)

    We have so many new items! See all of our Online Exclusives here.  

    This playful otter swap was made by Kelly Acheson:

    Otterly Amazing swap KellyI love the little fish at the bottom!  Her colors include Crumb Cake, Early Espresso & White. 

    I'll share more swaps tomorrow! 

    ~~~

    Lots of November Specials:

    Nov Online Exclusives 24See the new Online Exclusives here

    *current host code link:  

    JVXWJ4U6 or M7S96HPT

    Get a package of Gold Textured dots with your online order 

    November free gold dots

    Online orders over $75 get an extra special gift; while supplies last!

    *must use a host code 

    November special free bundle & card kit
     
    ~~~

           All online orders in November will receive a free PDF tutorial featuring the Reindeer Days suite


    Nov Reindeer Days graphic

    Leave a Reply

    Your email address will not be published. Required fields are marked *


Notice: LeeAnn Greff, Independent Stampin’ Up! Demonstrator, Manager. The content of this website is my sole responsibility as an independent Stampin’ Up! demonstrator and the use of, and content of, the classes, services, or products offered on this website is not endorsed by Stampin’ Up! Copyright 2025