/


Latest Post

Get multiple cards from one sheet of Designer Paper! Video & free project sheet too.


I shared these beautiful cards on a Live video a few weeks ago. I wanted to make the most of one of my favorite sheets of the Valley in Bloom designer series paper. It’s discounted through August!
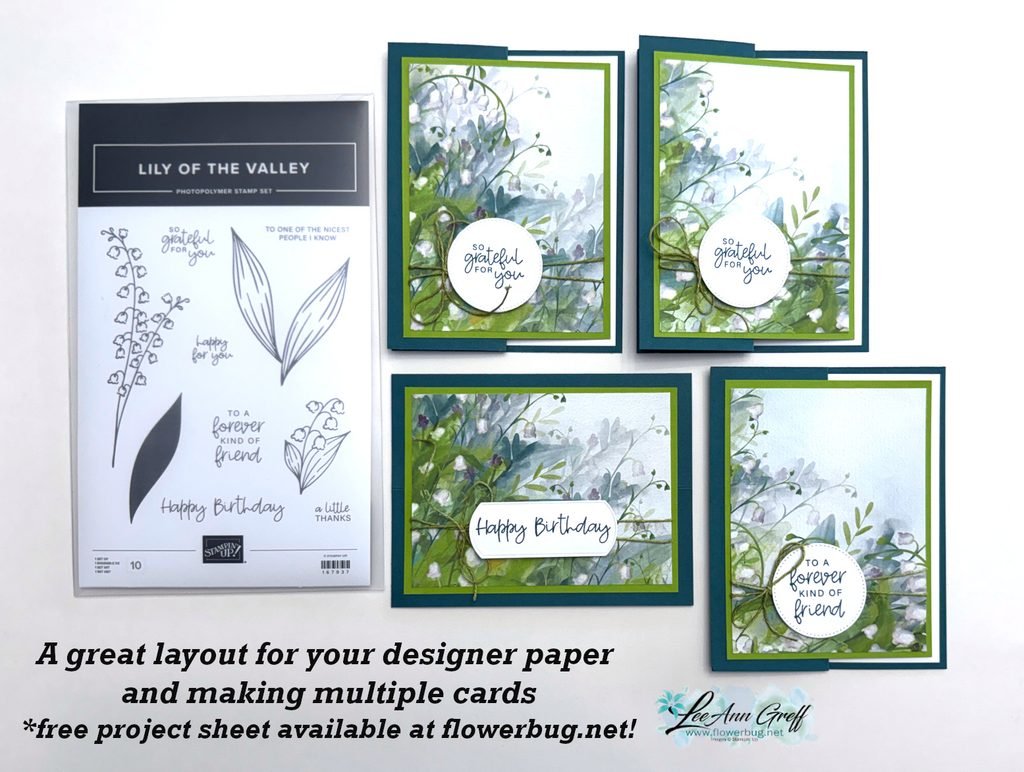
You can get more cards than I show above but I mistakenly cut in the wrong place and missed out on more. This pack of Valley in Bloom DSP has many beautiful sheets in it. Get some while it’s on sale.
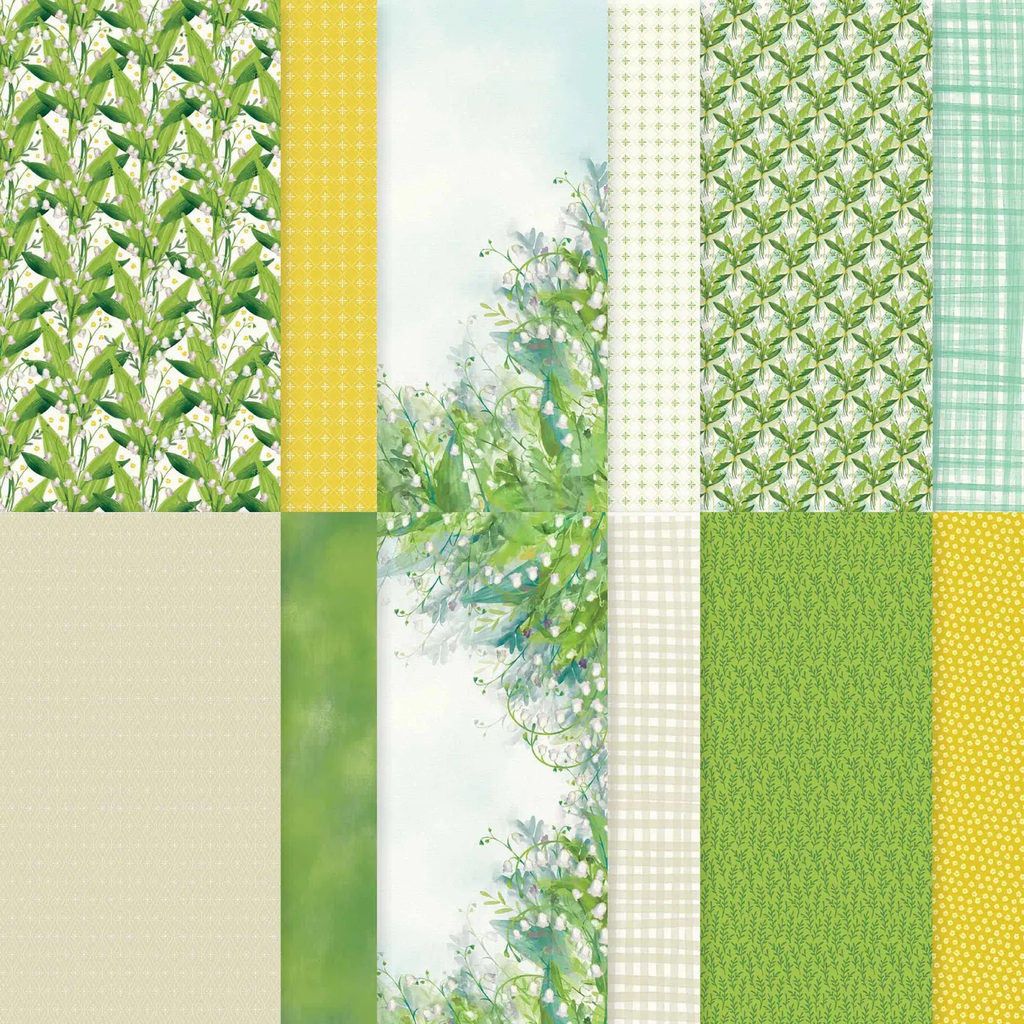
I recommend cutting the 12 X 12″ sheet into 6 pieces at 3 1/2″ X 4 3/4″. The two center pieces won’t have as much greenery on them but you could change the layout up a bit to reflect that.

My colors include Pretty Peacock with Old Olive & White. I used a variety of punches for my greetings; mostly from my stash of White elements.
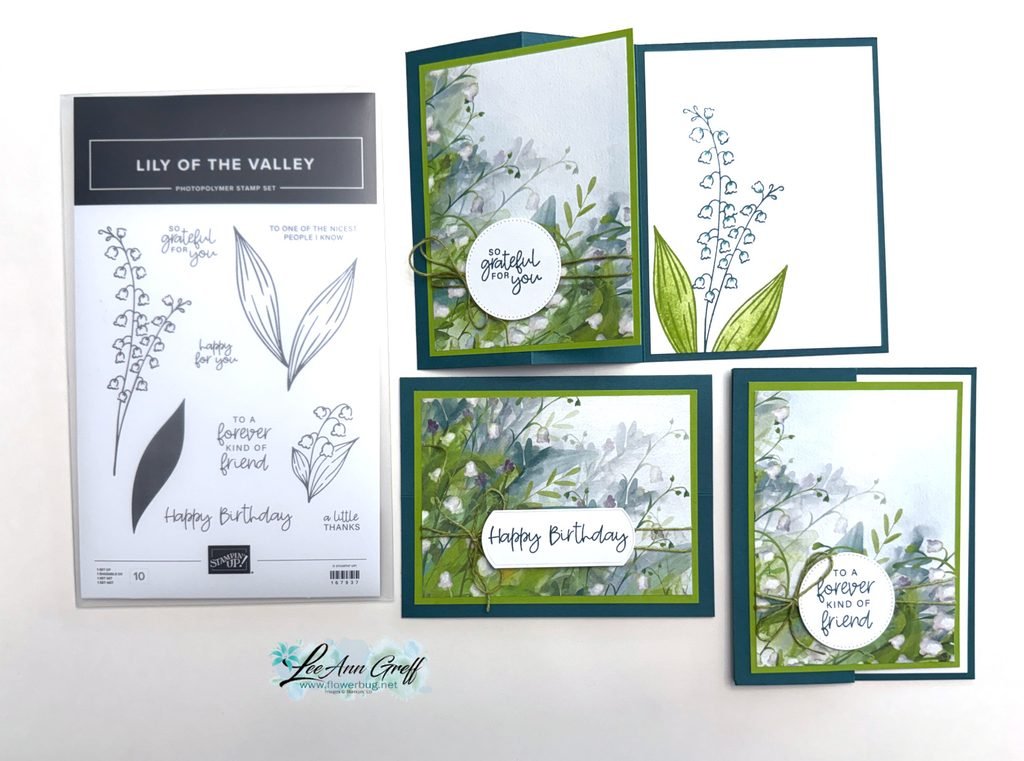
The card bases are 8 1/2″ X 5 1/2″ scored at 2 1/8″ & 4 1/4″. I made sure the Olive layer was small enough that the White inside piece shows as an inside layer. You can see the free project sheet with measurements, photos and supplies when you click here.

I stamped the inside of the cards with the Lily of the Valley stamp set and colored the flowers in with a Blender pen. I love this bundle so much. You can see it here.

You can see the video for this card and one more below. Don’t forget to subscribe to my YouTube channel!

August Specials

Don’t miss out on the Designer Paper & Cardstock sale! Click here to shop and save.

All Posts

  • Another ‘WOW’ card swap with the Beautiful Butterflies stained glass technique


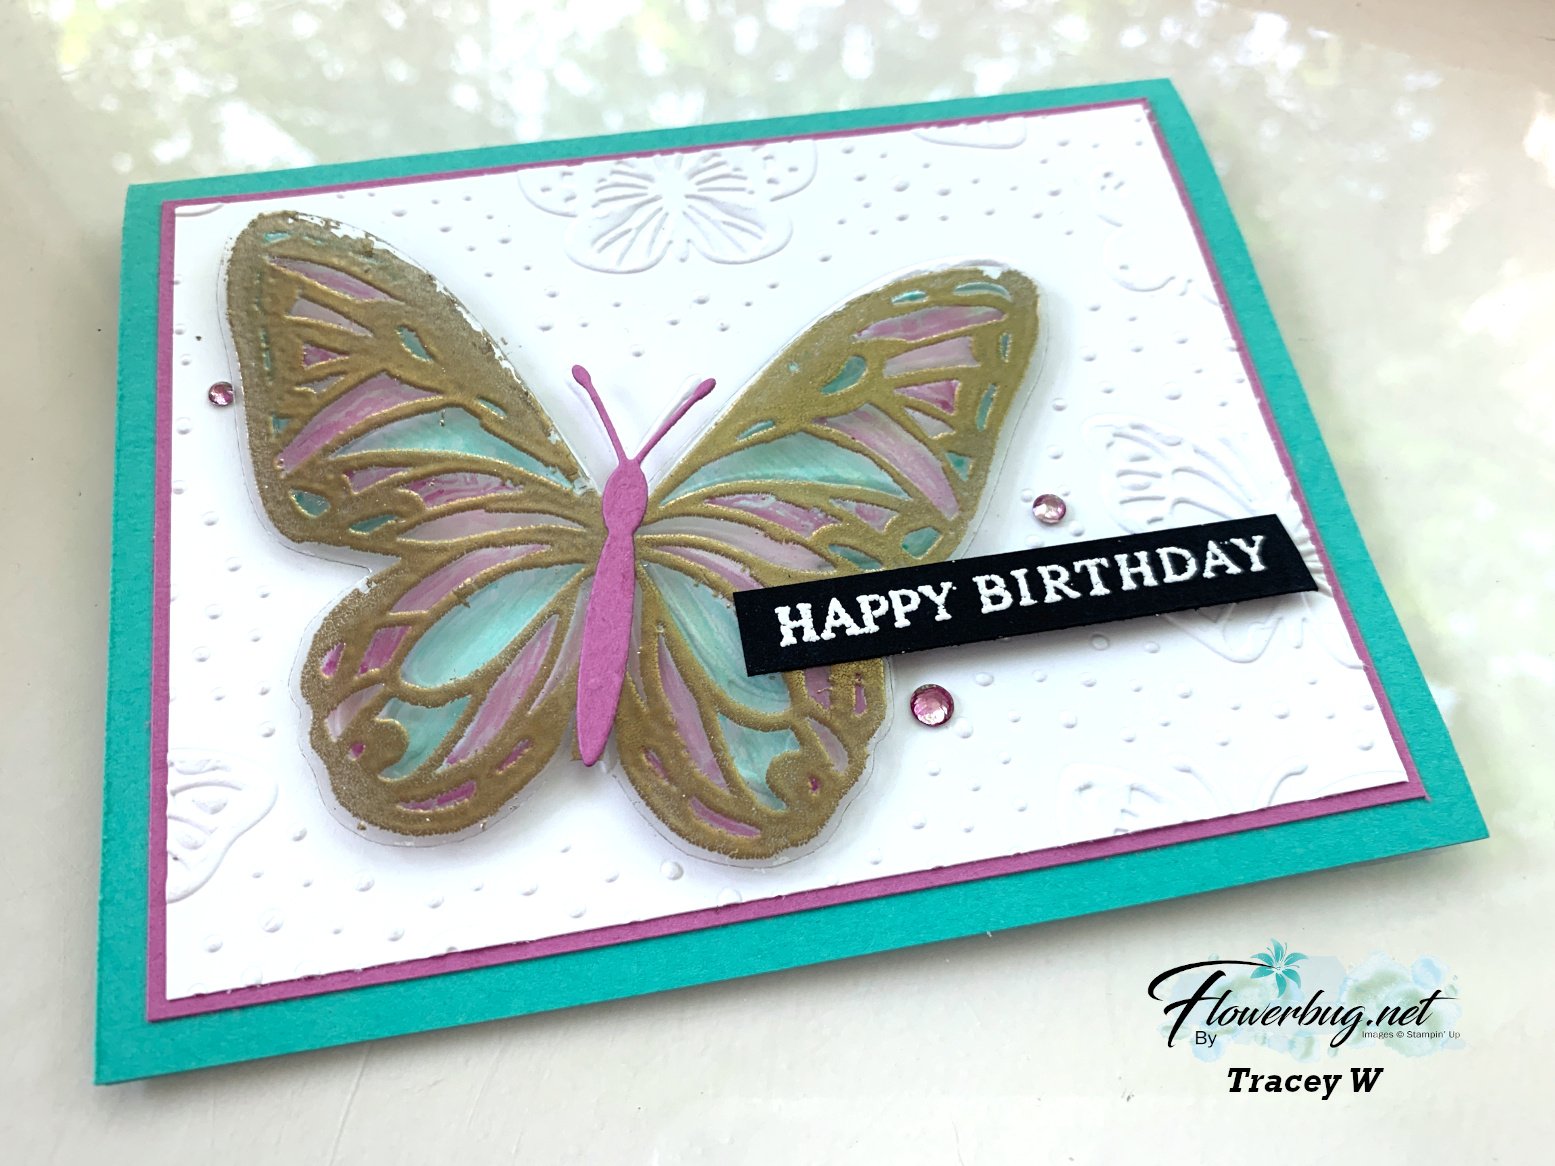
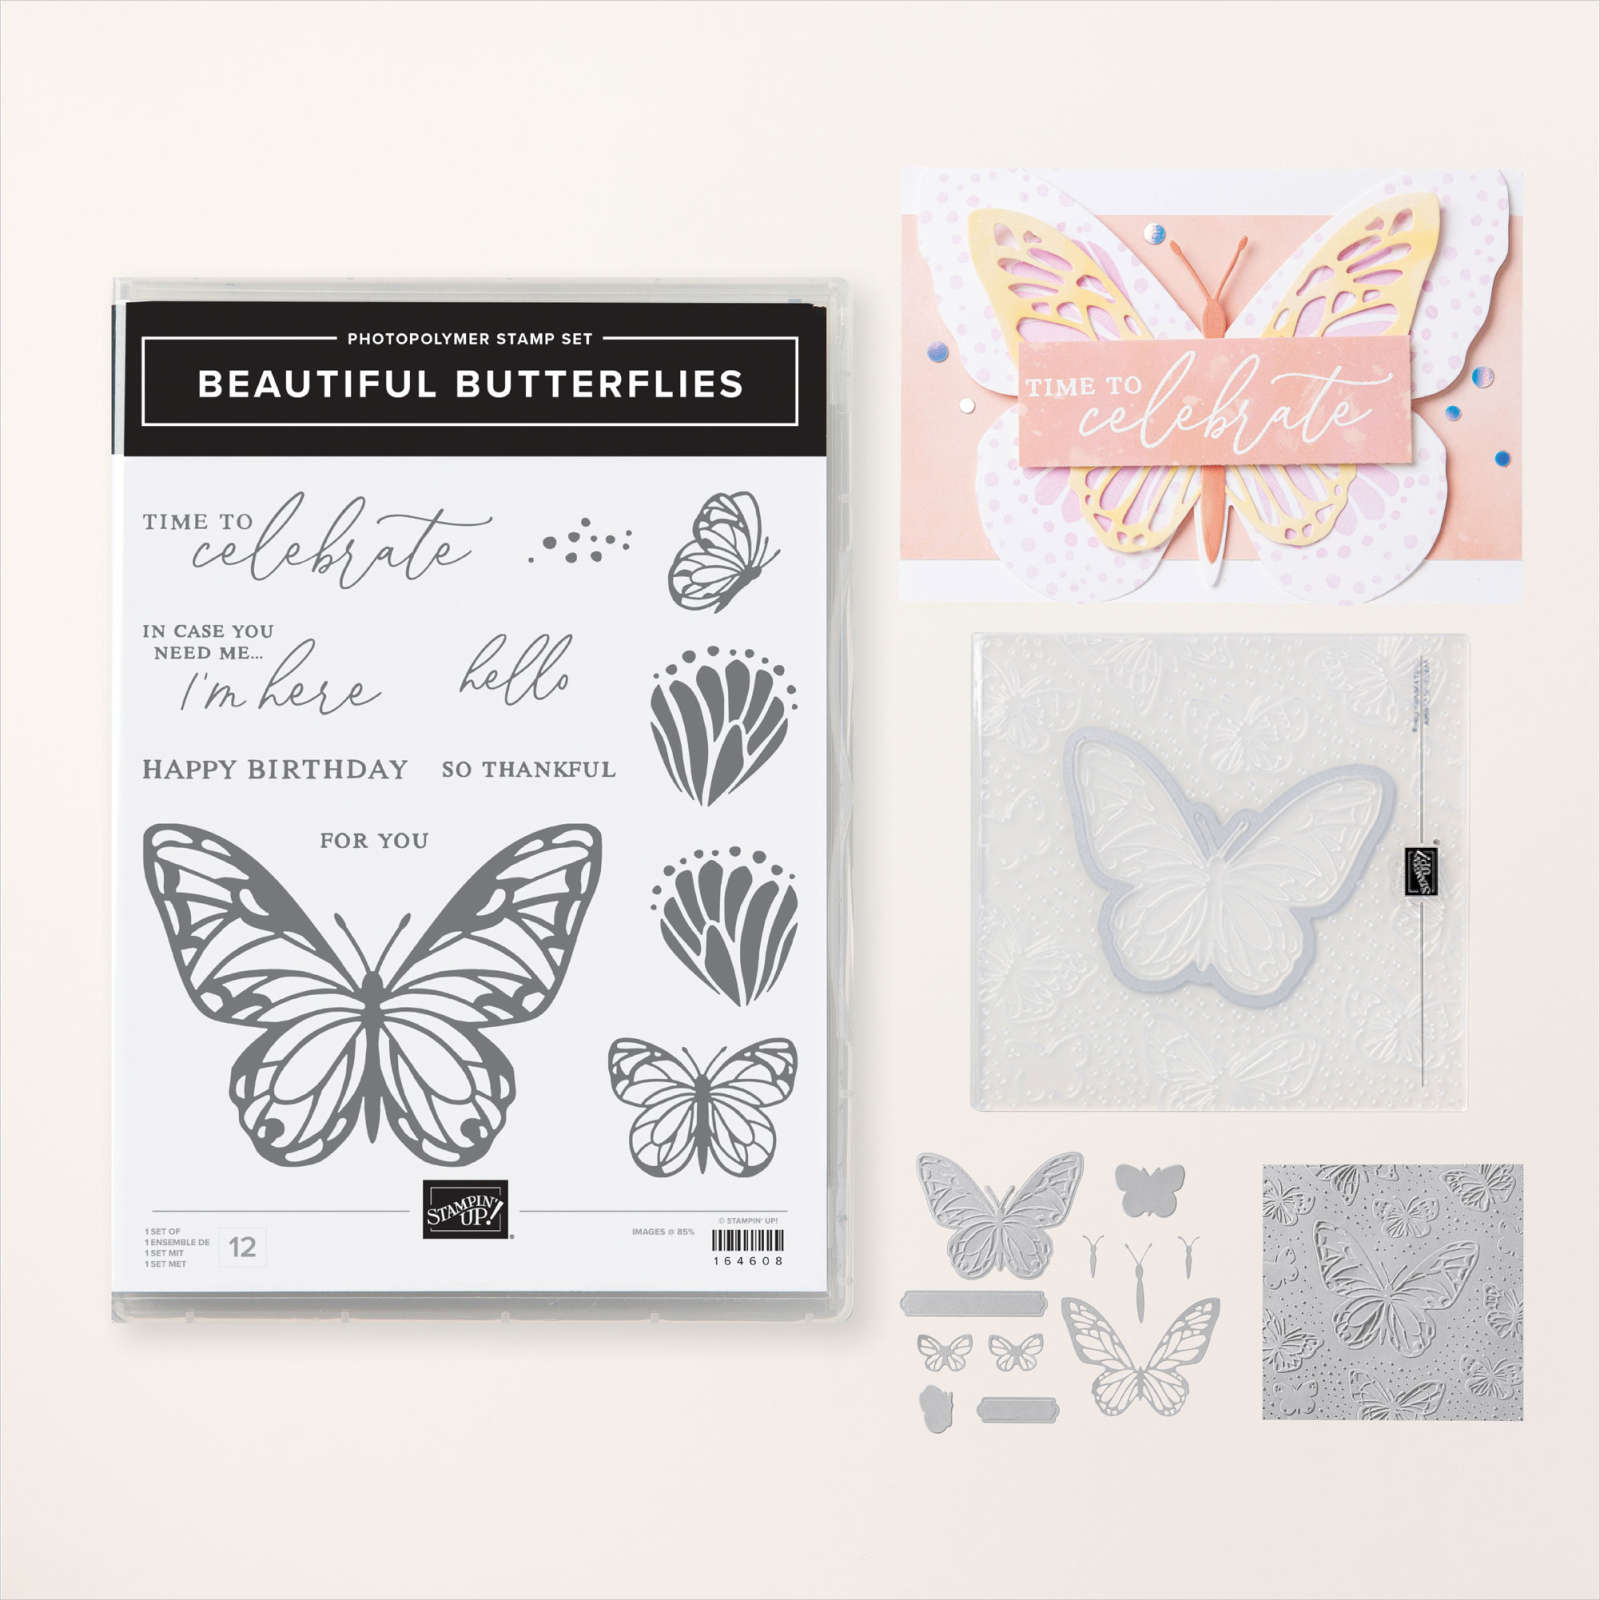
    Today I have another stunning Team card swap made by Tracey featuring Window Sheets. She featured the Beautiful Butterflies bundle seen here:

    July Tracey Beautiful Butterflies

    Her colors include Shy Shamrock with Petunia Pop, Black, White & Gold embossing. 

    Here's how she made this card:

    1. Texture the White layer with the Hybrid embossing folder; add to the Petunia layer and the card base. 
    2. Ink the butterfly image in Versamark and stamp on the Window sheet. Heat emboss with Gold embossing powder. Die-cut with the coordinating die.  *she did say some of the embossing powder on the edge frayed off when it went through the die-cut.  
    3. Color the back of the butterfly with Blends markers.  Adhere to the White cardstock layer with Foam Strip adhesive in the center only. Add the center 'body' die-cut.
    4. Heat emboss the greeting onto the Black strip with White embossing powder.  Finish with gems. 

    Here's the full bundle that includes stamps, dies and a Hybrid embossing folder. What is a 'Hybrid Embossing folder?  It's where you can cut AND emboss/texture at the same time!

    BEAUTIFUL BUTTERFLIES BUNDLE (ENGLISH)

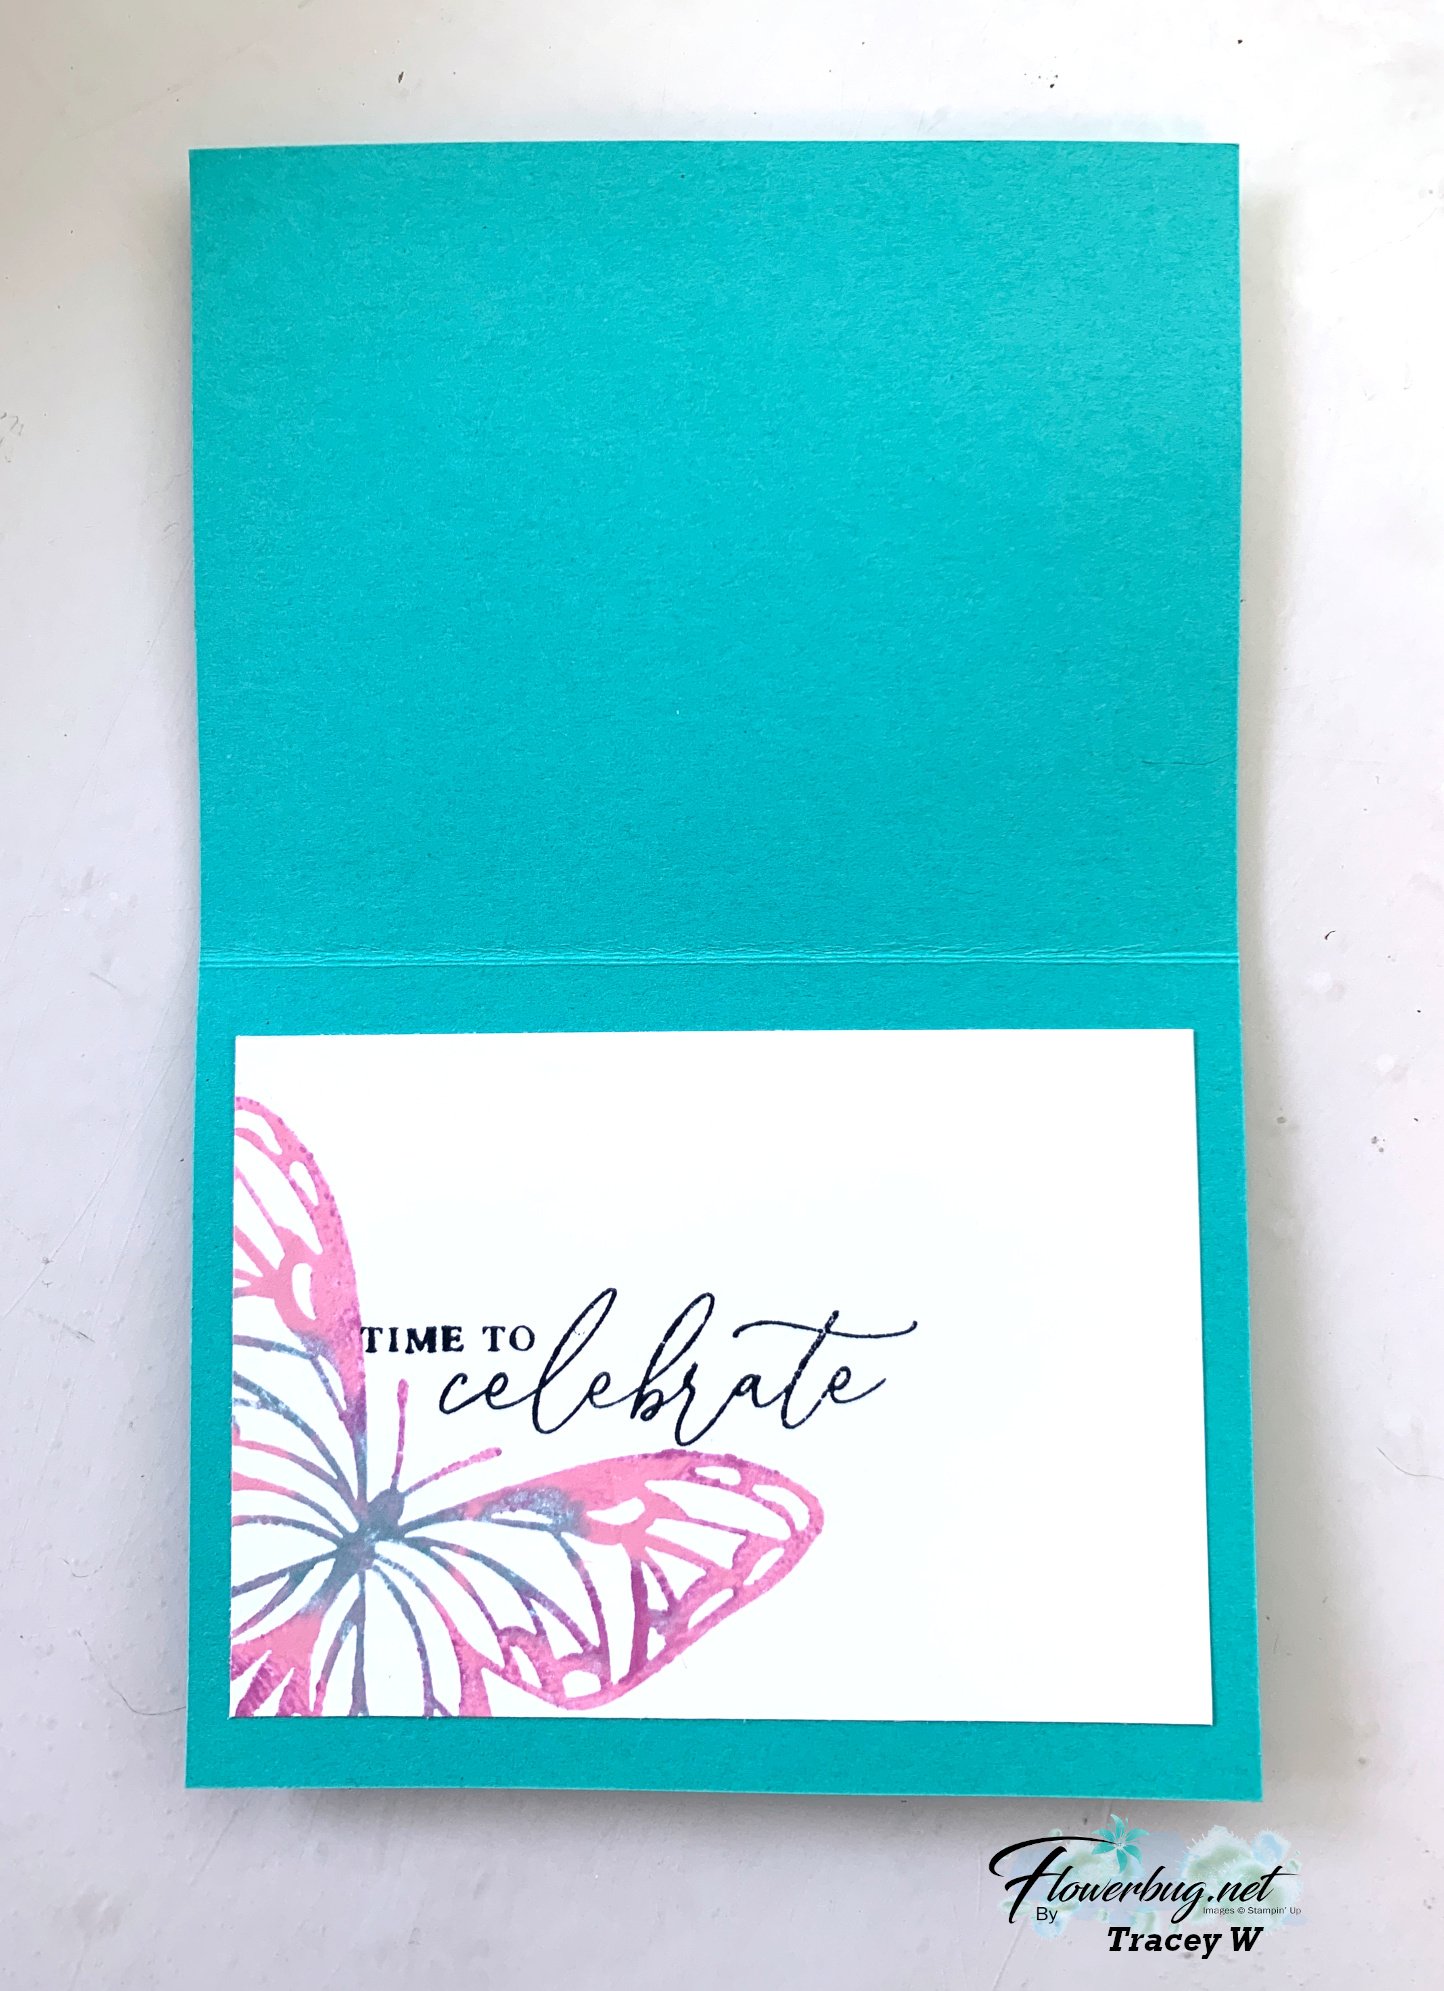
    And look how she finished the inside!  She used the Baby Wipe technique to achieve a multi-colored butterfly. 

    July Tracey Beautiful Butterflies open

    Thanks so much for your gorgeous card Tracey! 

    ~~~

    July Specials:

    New Online Exclusives are here!  

    July new online exclusives

    ~~~

    Last Chance List has been updated!  see it all here. Don't miss out on the deals!

    Last Chance graphic

    ~~~

    Get my Turtle-y Cute PDF tutorial free with any online order in July!

    Turtley Cute DSP graphic

    Leave a Reply

    Your email address will not be published. Required fields are marked *

  • Amazing Trusty Tools bridge card swap with window sheet technique; so cool!!


    Look at this incredible card Jacki made for our Team swap in July.  This month's theme was to feature window sheets.

    July Jacki bridge card

    She used the Timeless Plaid and the Notes & Totes stamp set here.  Her colors include Black, Misty Moonlight, Silver Foil and Pecan Pie. 

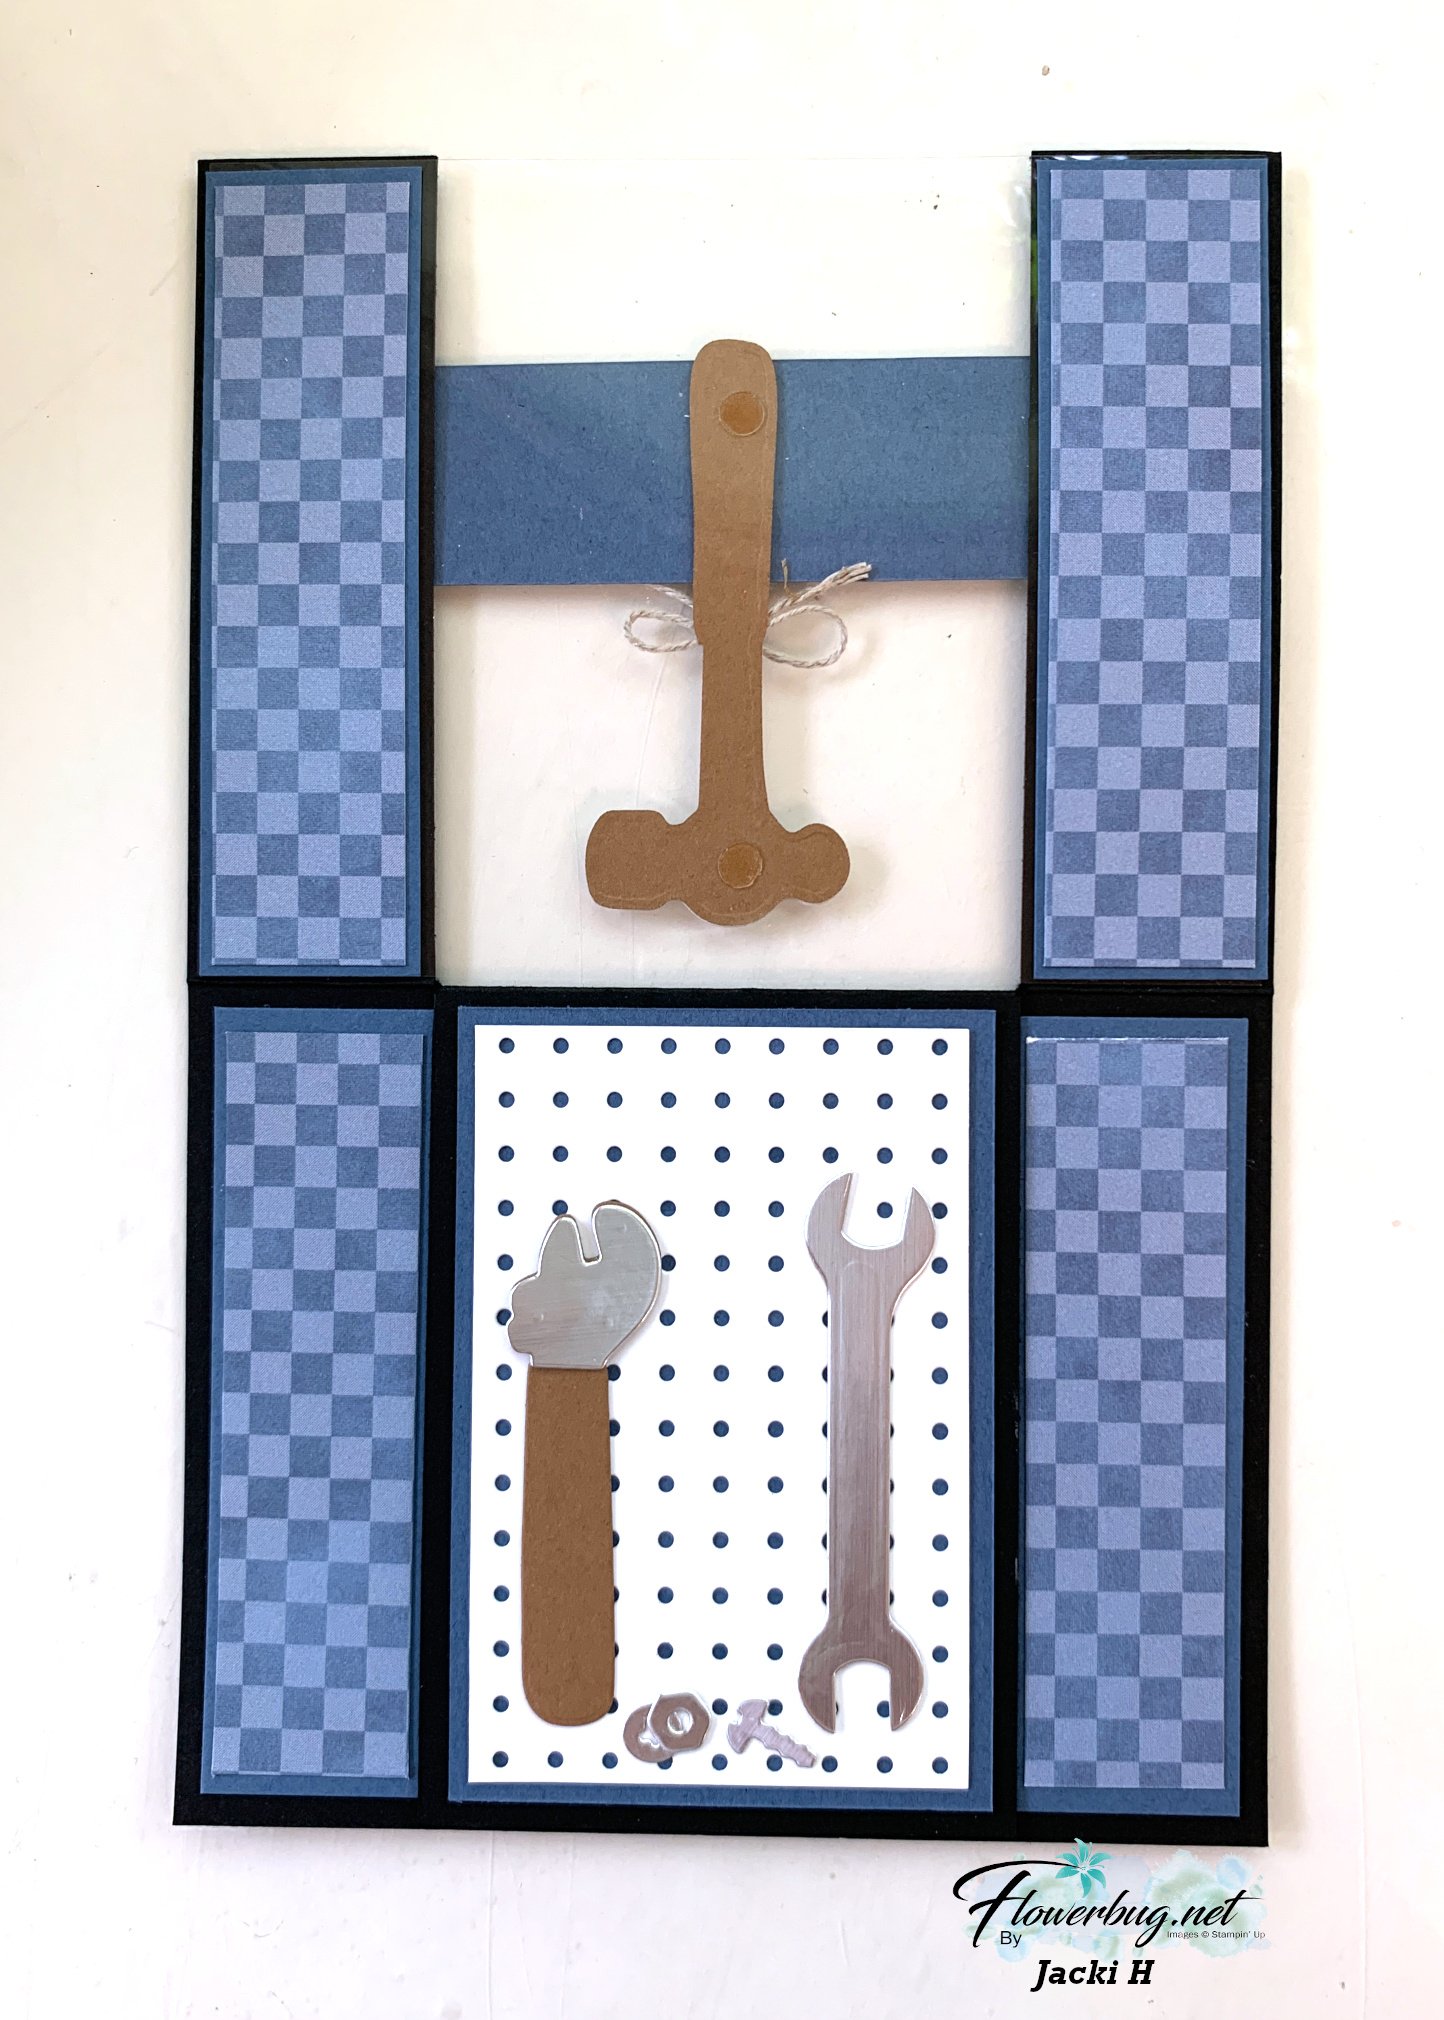
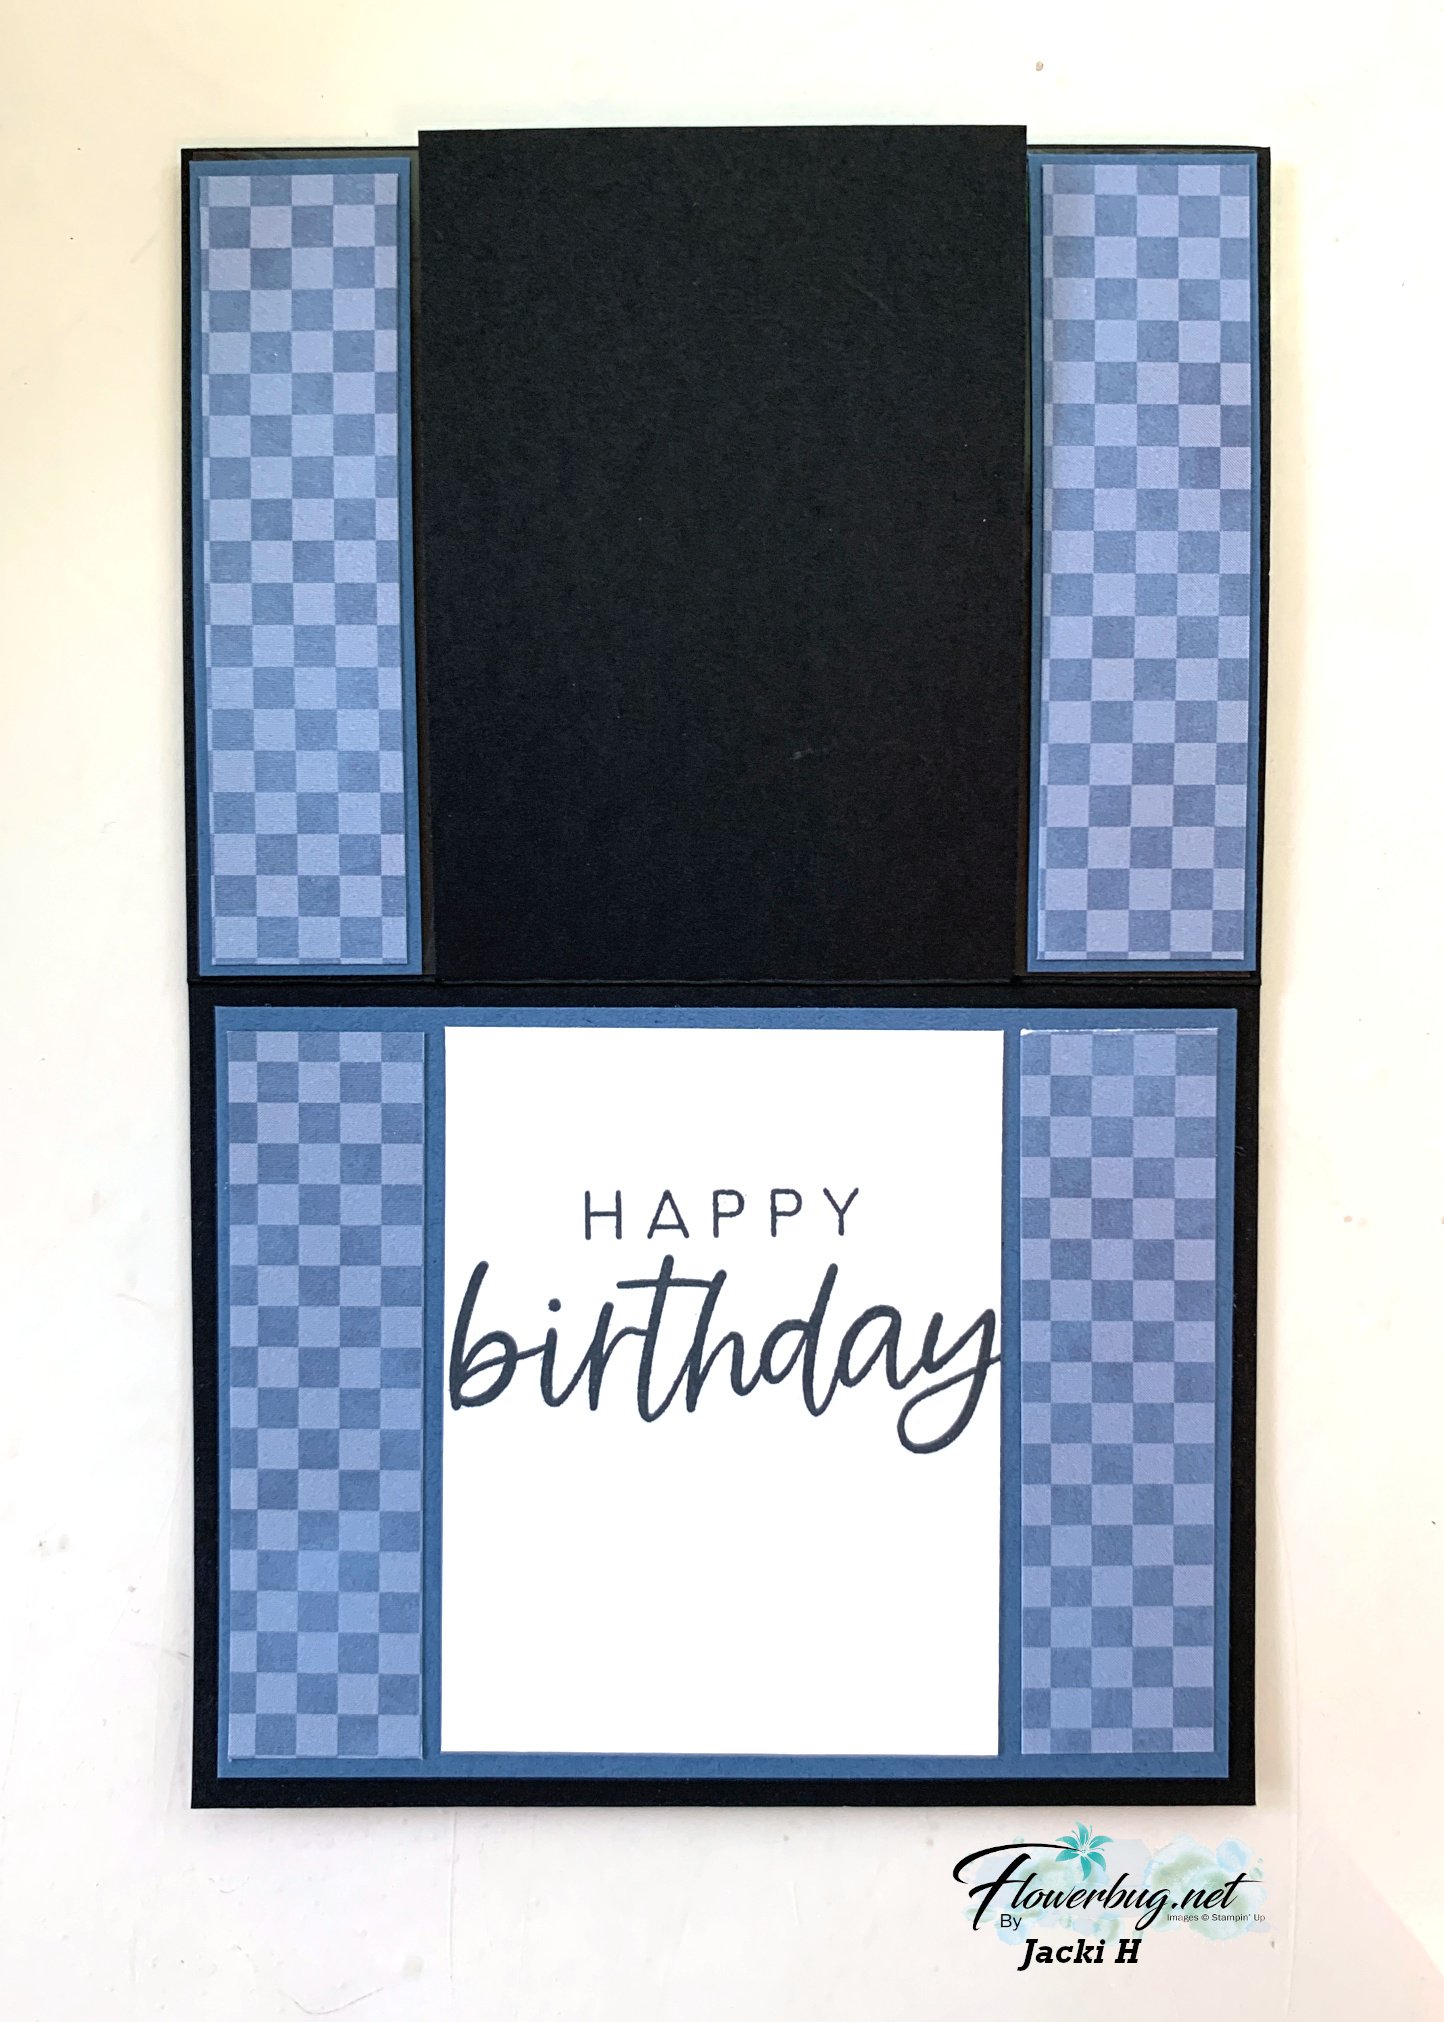
    Here's the view when you flip the top layer up:

    July Jacki bridge card

    She paid special attention to both sides of her bridge, adding the card stock & DSP layers to both the inside and the front!

    That dotted die-cut background is part of this bundle!  She really made the most of the dies here!  See the dies here and the coordinating stamp set here. 

    TRUSTY TOOLS DIES

    This is what it looks like fully opened. The inside greeting is from the With You in Mind stamp set. 

    July Jacki Trust Tools openMeasurements:

    • Black card base 5 1/2" X 8 1/2" score at 4 1/4" – from the top, cut to the score line on both sides at 1 1/4"
    • Window sheet – 5 1/2" X 4 1/4"
    • Misty Moonlight – greeting strip 2 3/8" X 1 1/8", center is 2 3/4" X 4", 4 sides are 1 1/8" X 4", center is 2 3/4" X 4", inside back is 5 1/4" X 4"
    • White inside 2 7/8" X 3 3/4", dotted die-cut 2 1/2" X 3 3/4", greeting strip 3 1/4" X 1"
    • DSP strips 6 pieces at 1" X 3 3/4"

    July Jackie Trusty Tools bridge

    I'm so impressed; this is definitely a 'WOW' card!  Thanks so much Jacki! 

    ~~~

    July Specials:

    New Online Exclusives are here!  

    July new online exclusives

    ~~~

    Last Chance List has been updated!  see it all here. Don't miss out on the deals!

    Last Chance graphic

    ~~~

    Get my Turtle-y Cute PDF tutorial free with any online order in July!

    Turtley Cute DSP graphic

    Leave a Reply

    Your email address will not be published. Required fields are marked *

  • Blending tips with this cute Cheers & Sips card; video & free project sheet too!


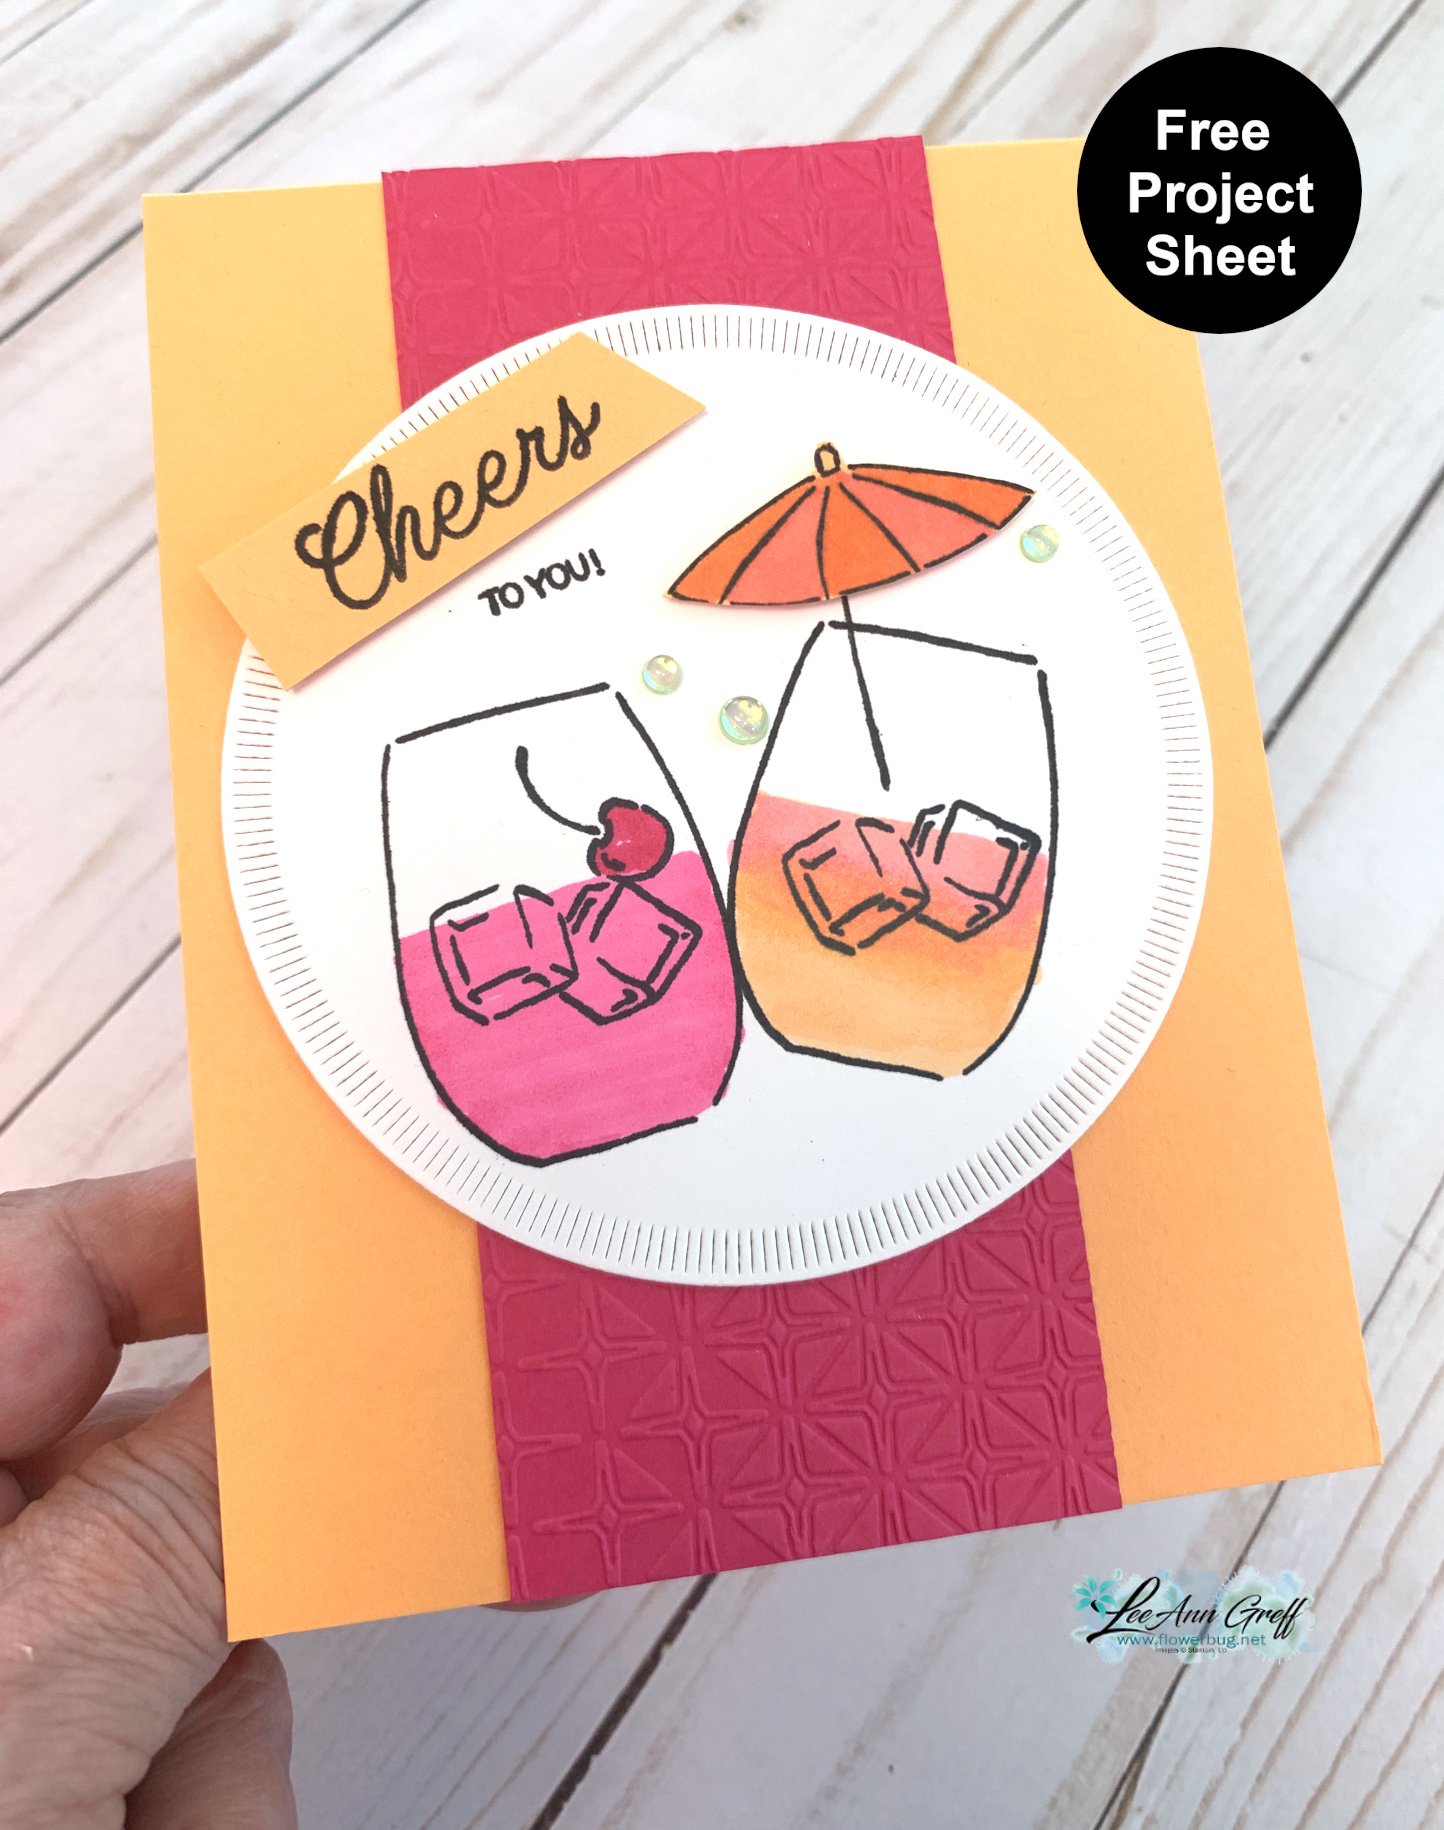
    Today I'm sharing a pretty & bright color combo for this cheery card using the Cheers & Sips stamp & die bundle. I made it on last week's Live video. 

    Cheers to you

    The colors include Peach Pie with Melon Mambo. It's a simple layout but the stamped images sure make it special.  

    The circle die-cut is from the Spotlight on Nature dies.  I stamped the images in Black Memento ink and colored them in with our Blends markers.  I love them because you rarely get any lines when coloring.  If you like to color you NEED the Blends markers!  Watch the video to see how to blend easily.  

    I created a free project sheet with measurements & a supplies list. Click on the following link to print or download it.  Download Cheers to You card

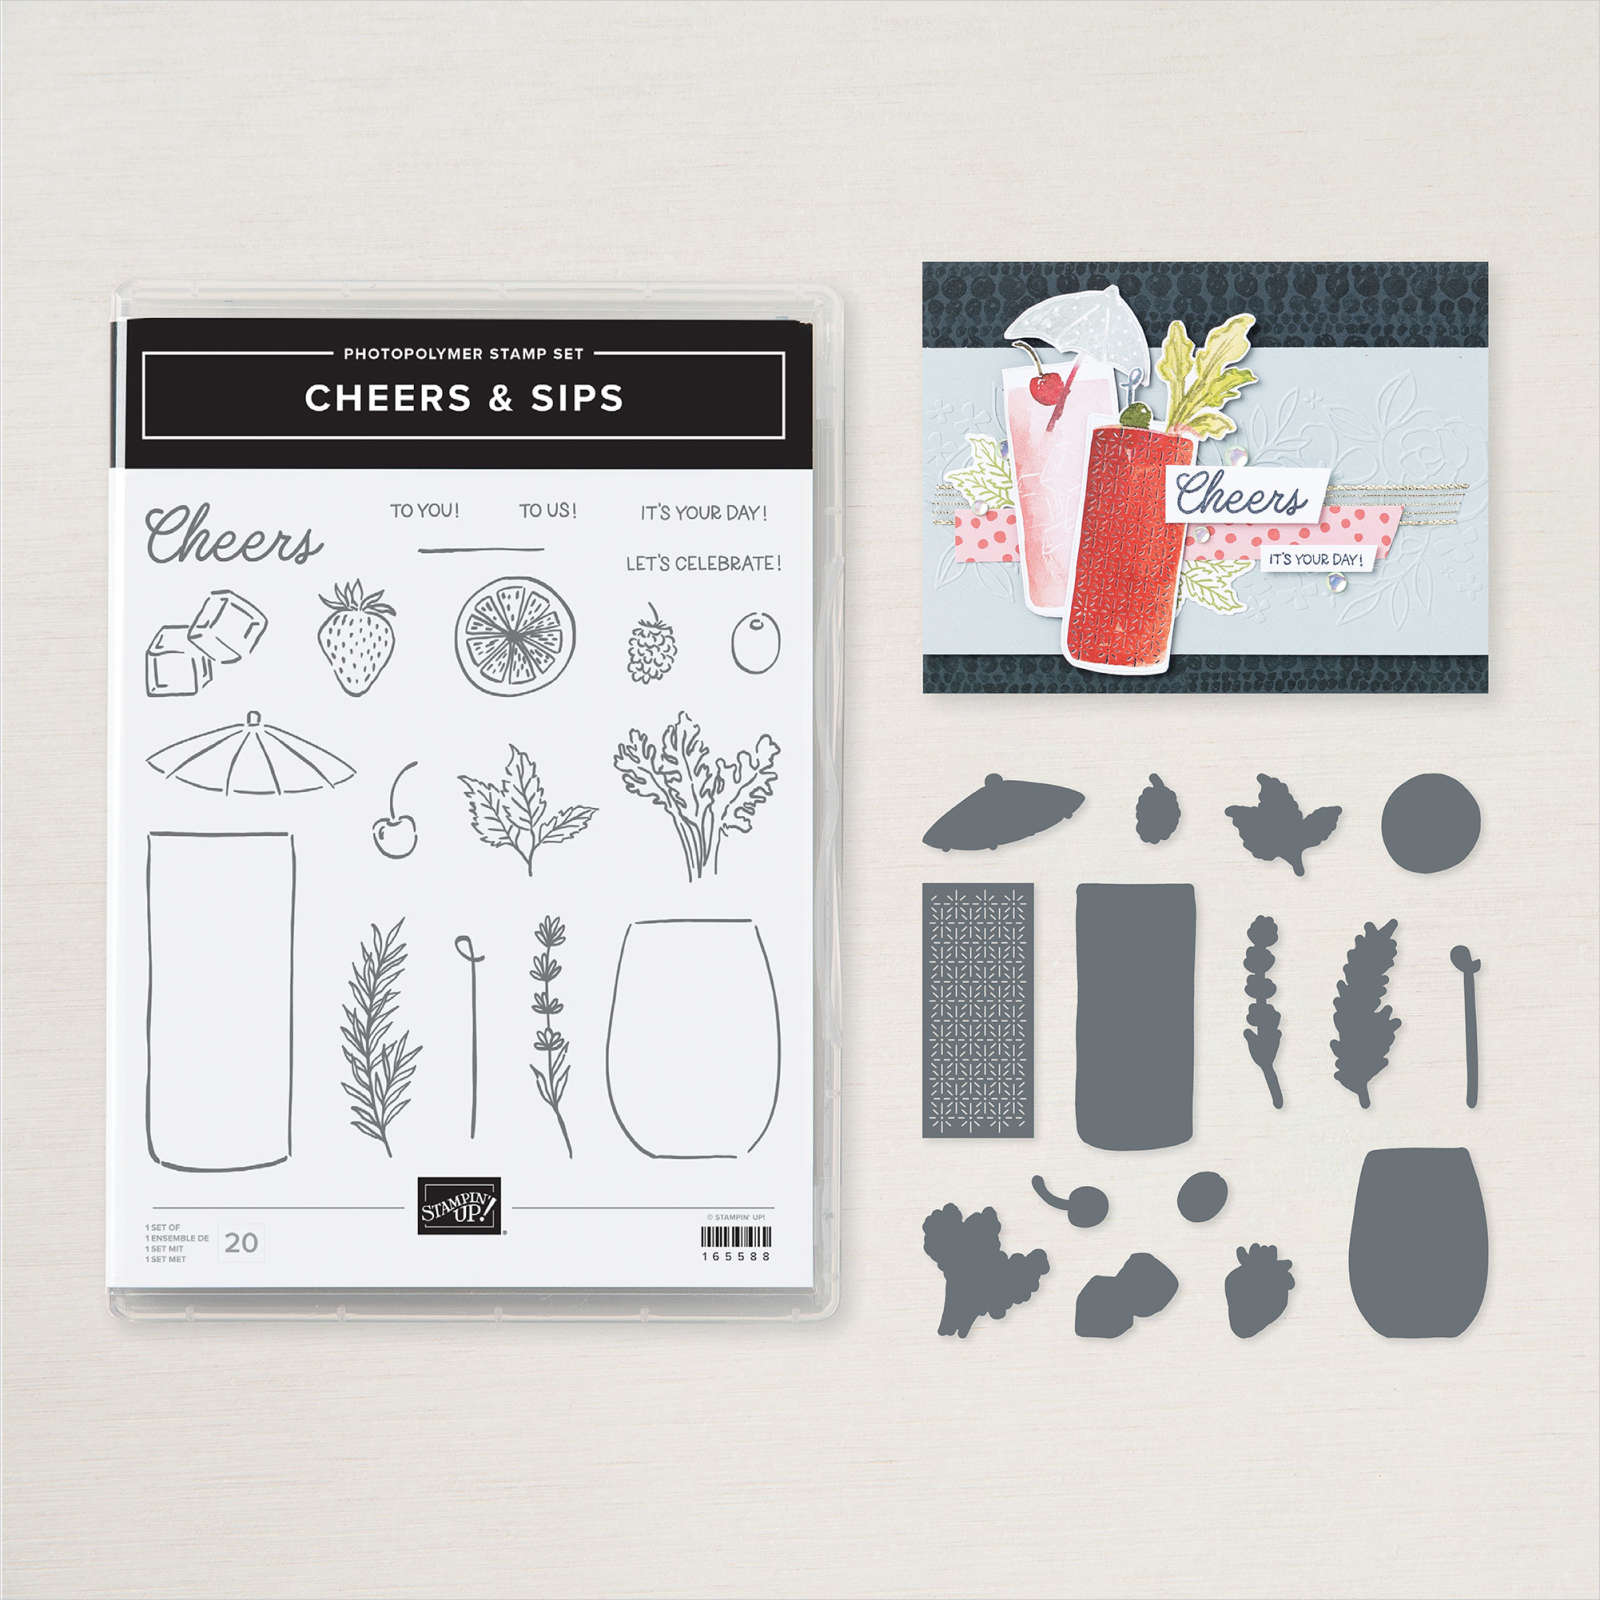
    Cheers & Sips drinks

    The Cheers & Sips dies are currently out of stock but they'll likely be back around July 14th. See the bundle here

    CHEERS & SIPS BUNDLE (ENGLISH)

    Below is the video for this card and TWO more with this neat bundle and the coordinating Celebratory Sips DSP seen here.   I love this colorful & unique paper; it's something completely different! 

    CELEBRATORY SIPS 12" X 12" (30.5 X 30.5 CM) DESIGNER SERIES PAPER

    Click below to watch the video for this and two other cards! 

    ~~~

    July Specials:

    New Online Exclusives are here!  

    July new online exclusives

    ~~~

    Last Chance List has been updated!  see it all here. Don't miss out on the deals!

    Last Chance graphic

    ~~~

    Get my Turtle-y Cute PDF tutorial free with any online order in July!

    Turtley Cute DSP graphic

    Leave a Reply

    Your email address will not be published. Required fields are marked *


Notice: LeeAnn Greff, Independent Stampin’ Up! Demonstrator, Manager. The content of this website is my sole responsibility as an independent Stampin’ Up! demonstrator and the use of, and content of, the classes, services, or products offered on this website is not endorsed by Stampin’ Up! Copyright 2025