/


Latest Post

Bunny Punch Art; a Pillow Box treat


I made this project on this week's Facebook Live.  Join me at 11 am each Tuesday here. 

I have seen a few of these cute punch art bunnies and wanted to make some!  

I'll be sending one of these to my 6 year old granddaughter; who loves animals and chocolate. 

It's just two punches to create one; the Medium Daisy and Balloon Bouquet punches.  I used Crumb Cake and Blushing Bride card stock.  The pom pom 'tail' totally makes it a bunny!  These pom poms are from the Birthday Bonanza suite but sadly they are currently unavailable; they're out of stock.  I hope they get more in soon. 

That fun swirled die-cut circle is from the Painted Label dies on page 26 of the mini catalog.  They are also currently unavailable but hopefully they'll be back soon.  The Poppies products have been very popular! 

These pillow boxes are in our annual catalog on page 172.  See them here.

Inside the pillow box I added 6 chocolate nugget candies that are wrapped with our cute gingham designer paper.  I've been featuring this paper a lot lately.  We have it in every color; that's 50 colors!  It's part of a 6 X 6" Designer Series Paper on page 168 of the annual catalog.  Or see it here. 

The greeting is from the A Wish for Everything.  It has 38 stamps!  It's one of my picks for your free stamp set that you can choose in your Starter Kit.  Why not get a nice big valued stamp set free?  Details below; or click here. 

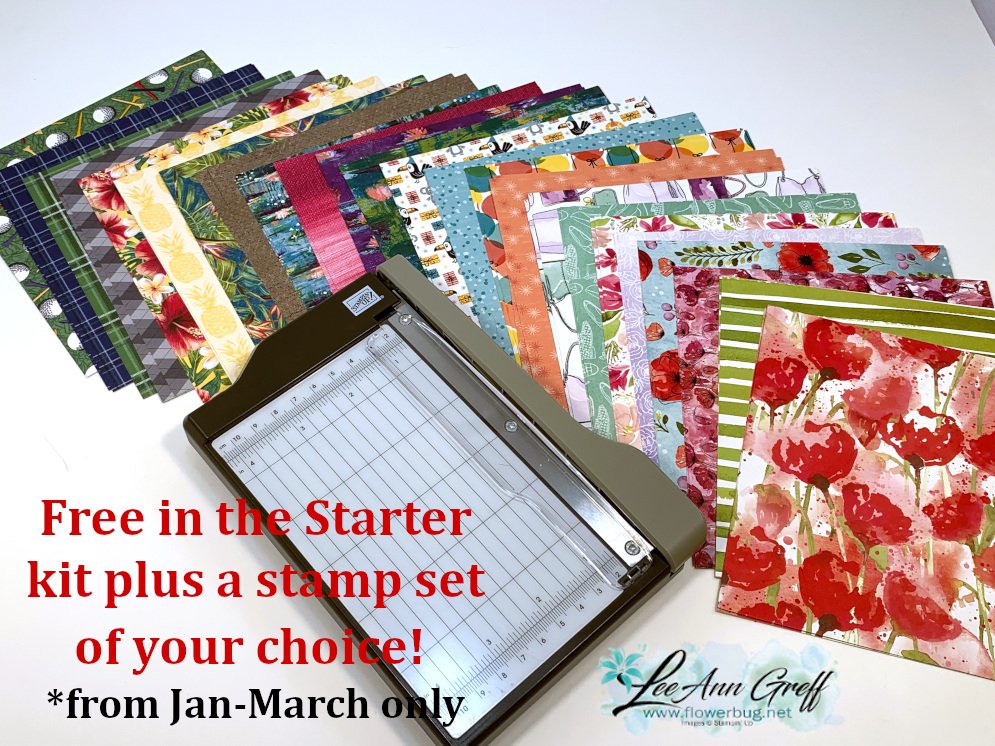
Remember that if you want to purchase some of these items to order this month.  Why not get something extra free with your order!  And if you have a big wish list, I suggest you purchase the starter kit and get Free shipping, a bonus free stamp set, a free paper trimmer, a free designer paper sampler and $125 in product of your choice.  All for $99! 

From then on you'll get 20% off all of your Stampin' Up! product.  Email me at lagreff60@gmail.com to ask any questions. 

~~~

 Sale-a-Braton is almost over!  There's just days left! 

and the Product Coordination Release seen here ends too!

March host code is 4J7C9GFY 

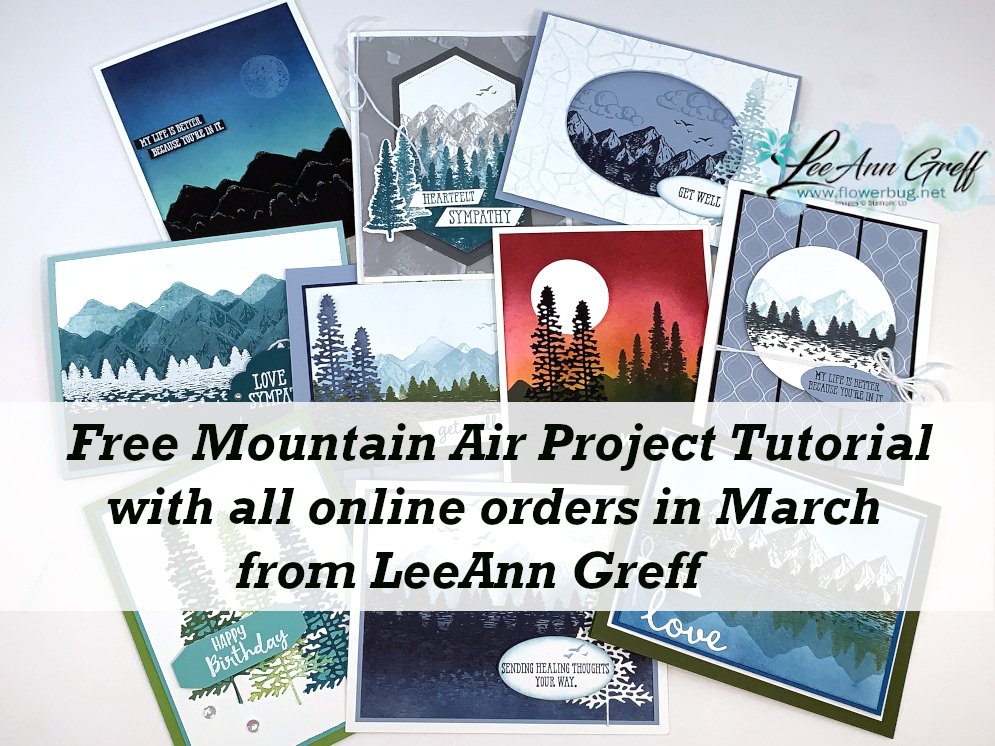
All online orders will receive a free Mountain View pdf cards tutorial in an email.
March host code is 4J7C9GFY

Order online here

THE Best deal! Choose any FREE stamp set when you purchase the Starter kit during Sale-a-Bration; of any value! Plus you'll get a free paper trimmer and a 6 X 6 sampler of new Designer Paper!  It's just $99 plus tax and you can pick out $125 in products with free shipping! Did you know you then get a 20% discount on all of your Stampin' Up! purchases?  There's no need to 'sell'; you can just enjoy the deals! 

Click here to join my awesome Flowerbug's Team! 
 Earn a ticket in the drawing for each $25 you order online in March for a free Little Ladybug stamp set!

Order online here

All Posts

  • Beautiful One Horse Open Sleigh Fancy Fold in a card kit to go or tutorial; you choose!


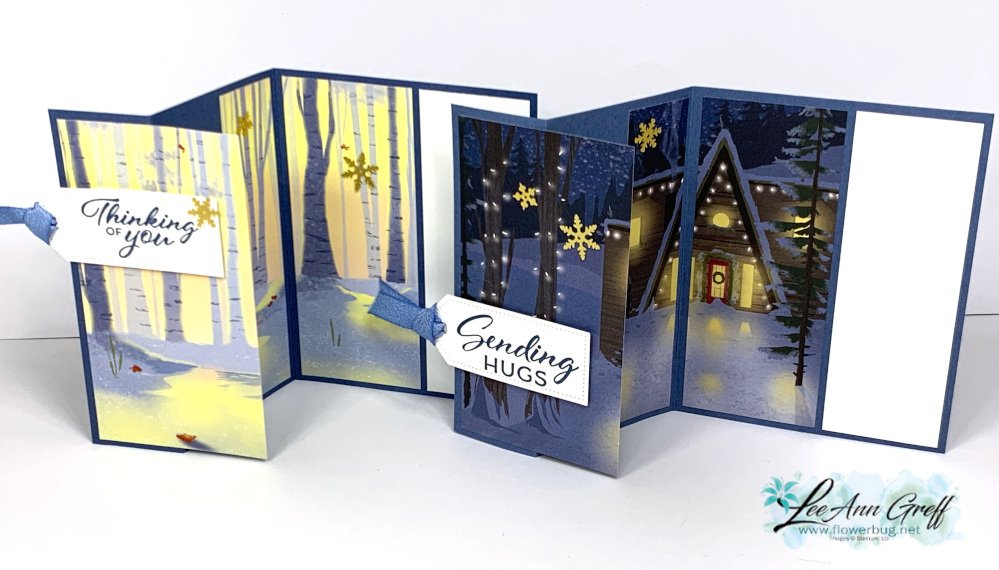
    My second card kit option in July features the new One Horse Open Sleigh 6 X 6" designer paper by Stampin' Up!  This new scenic paper is featured in our Online Exclusives here.  There are 5 designs and each is a fancy fold card.


    *this kit is not included in my July special of purchasing 2 past kits and getting a free stamp set (see below).

    You'll receive the following in the kit, which is sent out at the end of July::  

    •  A share of the 6 X 6" One Horse Open Sleigh Designer Paper
    • A share of Boho Blue ribbon
    • A share of the Adhesive-backed snowflake assortment
    • the pre-cut pieces to make the 10 cards including punched & die-cut pieces
    • the PDF tutorial

    The tutorial includes photos, step by step directions, a supplies list and measurements.  You'll receive the PDF tutorial in an email immediately after payment.  Please check your spam or junk folder. 

    Click here to order this pre-cut kit to go.  Or click here to get the PDF tutorial.  See all of my kit & tutorials here.

    You will need the following to make the kit to go cards as I did:  

    • greeting images
    • Early Espresso, Mossy Meadow & Misty Moonlight inks
    • a paper trimmer and adhesives.  

    Here's one of my favorite cards in this kit/tutorial. I love how it shows off the gorgeous scene in this beautiful designer paper.  


    *I used the Layering Leaves & Lasting Joy stamp sets for my greetings & other images. If you'd like to add on either set at a 10% discount, please message me here.  

    *add on one or more kits and save on shipping. 

    *If you're interested in my July special of purchasing two 'past kits' and getting a free stamp set see them here. This deal runs through Saturday, July 15th. The July kits (Masterfully Made & One Horse Open Sleigh) are not included in this offer. 

    ~~~

    July Specials: 

    Bonus Days!

    Get a $5 coupon for each $50 order you place in July.  Use the coupon in August!

    There's a Clearance Rack update!

    See all items available here

    NEW Online Exclusives 

    See them all here

    ~~~

    My monthly special for online orders:

    Get a free card kit & a new Beautifully Happy stamp set 

    with online orders over $65; must use a host code.

    *current host code: MY4YDGEM

    Leave a Reply

    Your email address will not be published. Required fields are marked *

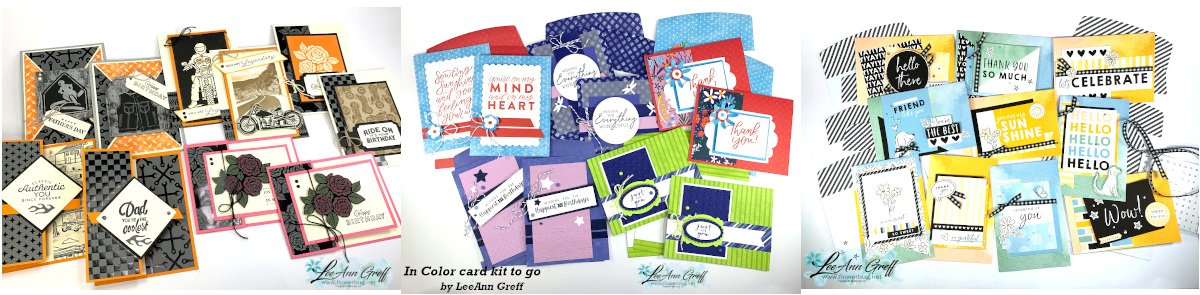
  • Striking Masterfully Made pre-cut card kit to go; or choose the PDF tutorial option


    I chose to feature the Masterfully Made designer paper as the focus on this July card kit.  There are 5 designs and you'll make 2 of each. Two are fancy folds. 

    *this kit is not included in my July special of buy 2 past kits and get a free stamp set.

    You'll receive the following in this pre-cut kit, which is sent out at the end of July:

    • 1/2 pkg. Masterfully Made DSP (6" X 12")
    • two colors of baker's twine
    • a share of Adhesive-backed sequins trio
    • All pre-cut pieces for the 10 cards including punched & die-cut pieces
    • the free PDF tutorial 

    *This kit is what my monthly subscribers will receive. If you're interested in receiving a kit each month  Click here. My subscribers get a surprise product in their package every few months. 

    The tutorial includes photos, step by step directions, a supplies list and measurements.  You'll receive the PDF tutorial in an email immediately after payment.  Please check your spam or junk folder. 

    The pre-cut kit with tutorial is $28 plus shipping.  See it here. 

    The PDF tutorial is $15; see it here. 

    To complete the cards you will need the following: greeting images, Berry Burst, Pretty Peacock & Navy inks, a paper trimmer for your new DSP and adhesives.  

    I used the Layering Leaves & Gorgeously Made stamp sets for my greetings & other images. You can substitute other stamps.

    *If you'd like to add either one to the kit (or the Gorgeously Made bundle) at an extra 10% off, please message me here and I'll send you an invoice.

    *add on one or more kits and save on shipping. 

    *If you're interested in my July special of purchasing two 'past kits' and getting a free stamp set see them here. The July kits (Masterfully Made & One Horse Open Sleigh) are not included in this offer. 


    ~~~

    July Specials: 

    Bonus Days!

    Get a $5 coupon for each $50 order you place in July.  Use the coupon in August!

    There's a Clearance Rack update!

    See all items available here

    NEW Online Exclusives 

    See them all here

    ~~~

    My monthly special for online orders:

    Get a free card kit & a new Beautifully Happy stamp set 

    with online orders over $65; must use a host code.

    *current host code: MY4YDGEM

    Leave a Reply

    Your email address will not be published. Required fields are marked *

  • Two background techniques on this pretty Kindest Expressions card


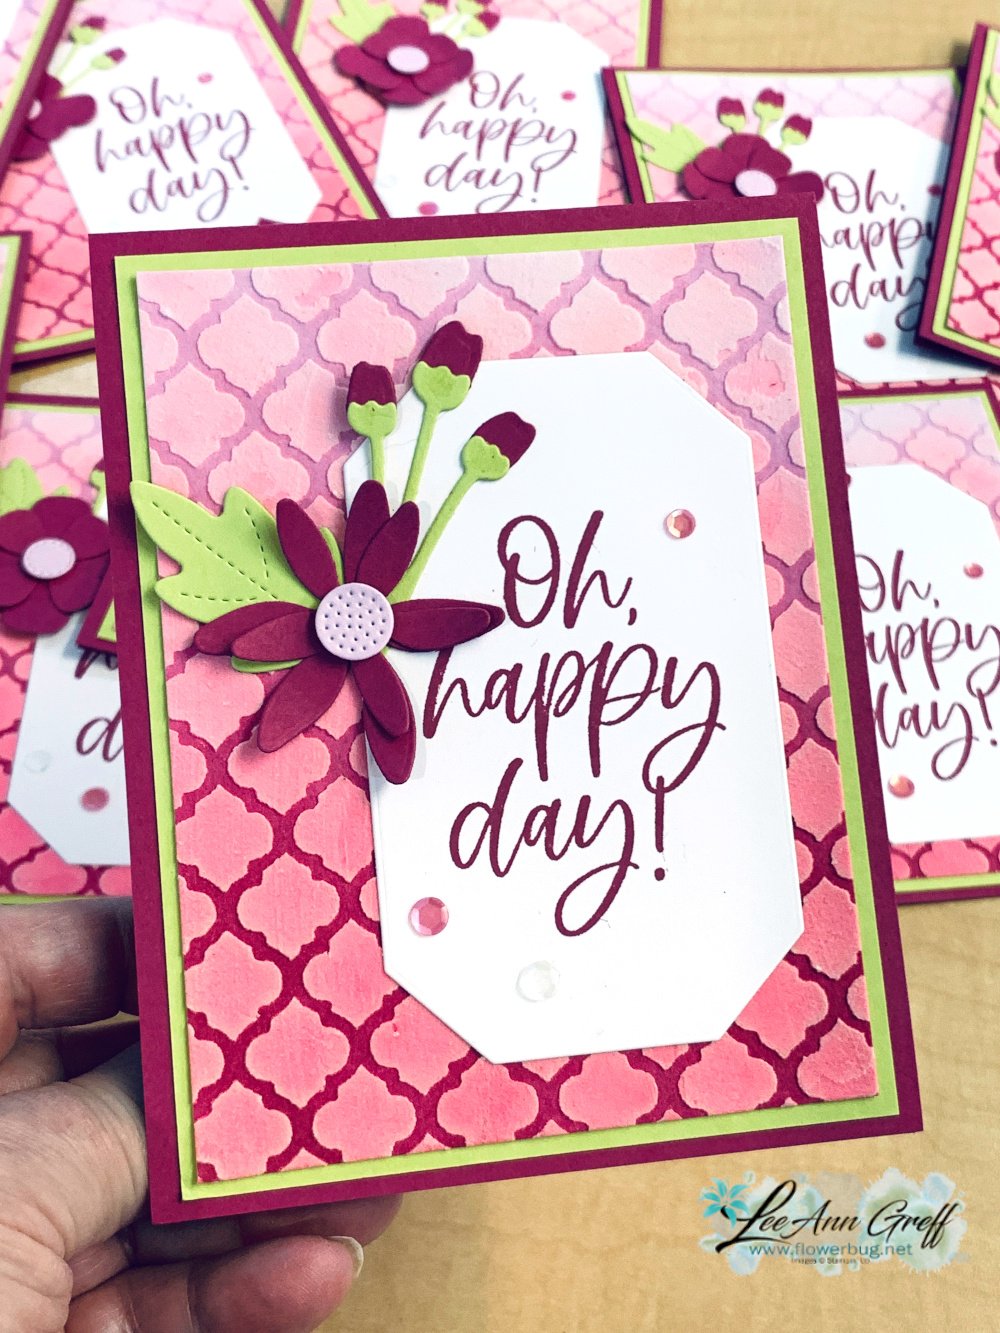
    I made this card for our June Team swap; our theme was to create our own background.  I went a bit overboard but had a ton of fun making these!

    It features these products from our Annual Stampin' Up! catalog:

    1. Kindest Expressions stamp set
    2. Paper Florist dies
    3. Countryside Corners dies
    4. Blending Brushes
    5. Artistic Mix Decorative Masks
    6. Embossing paste Matte finish
    7. Adhesive-Backed sequins trio

    Whew!  And I didn't even list the ink and paper!  My colors include Berry Burst, Bubble Bath, Lemon Lime Twist and Basic White.

    • I used Berry Burst ink and a Blending Brush to create an ombre background on my Bubble Bath card stock. I let that dry overnight. 
    • I then used a mask over this to spread White Embossing Paste with a Palette knife.  Even though my ink was dry it picked up the color and created an ombre look on the paste too.  I let that dry for a few hours.
    • Add the greeting and the Paper Florist dies seen here.  I can tell that I'll be using these dies a lot.  They're wonderful and make a huge variety of flowers. 

    I LOVE how they turned out.  

    I'll be sharing my Flowerbug's Team swaps later this week.  Stay tuned! 

    ~~~

    July Specials: 

    Bonus Days!

    Get a $5 coupon for each $50 order you place in July.  Use the coupon in August!

    There's a Clearance Rack update!

    See all items available here

    NEW Online Exclusives 

    See them all here

    ~~~

    My monthly special for online orders:

    Get a free card kit & a new Beautifully Happy stamp set 

    with online orders over $65; must use a host code.

    *current host code: MY4YDGEM

    Leave a Reply

    Your email address will not be published. Required fields are marked *


Notice: LeeAnn Greff, Independent Stampin’ Up! Demonstrator, Manager. The content of this website is my sole responsibility as an independent Stampin’ Up! demonstrator and the use of, and content of, the classes, services, or products offered on this website is not endorsed by Stampin’ Up! Copyright 2025