/


Latest Post

Bunny Punch Art; a Pillow Box treat


I made this project on this week's Facebook Live.  Join me at 11 am each Tuesday here. 

I have seen a few of these cute punch art bunnies and wanted to make some!  

I'll be sending one of these to my 6 year old granddaughter; who loves animals and chocolate. 

It's just two punches to create one; the Medium Daisy and Balloon Bouquet punches.  I used Crumb Cake and Blushing Bride card stock.  The pom pom 'tail' totally makes it a bunny!  These pom poms are from the Birthday Bonanza suite but sadly they are currently unavailable; they're out of stock.  I hope they get more in soon. 

That fun swirled die-cut circle is from the Painted Label dies on page 26 of the mini catalog.  They are also currently unavailable but hopefully they'll be back soon.  The Poppies products have been very popular! 

These pillow boxes are in our annual catalog on page 172.  See them here.

Inside the pillow box I added 6 chocolate nugget candies that are wrapped with our cute gingham designer paper.  I've been featuring this paper a lot lately.  We have it in every color; that's 50 colors!  It's part of a 6 X 6" Designer Series Paper on page 168 of the annual catalog.  Or see it here. 

The greeting is from the A Wish for Everything.  It has 38 stamps!  It's one of my picks for your free stamp set that you can choose in your Starter Kit.  Why not get a nice big valued stamp set free?  Details below; or click here. 

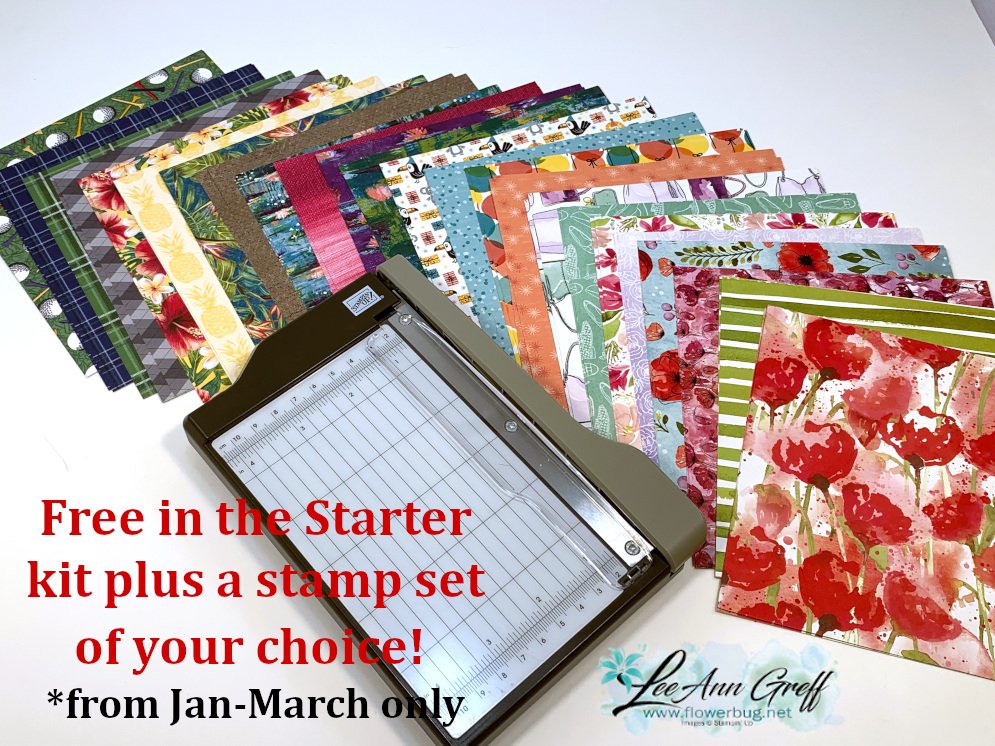
Remember that if you want to purchase some of these items to order this month.  Why not get something extra free with your order!  And if you have a big wish list, I suggest you purchase the starter kit and get Free shipping, a bonus free stamp set, a free paper trimmer, a free designer paper sampler and $125 in product of your choice.  All for $99! 

From then on you'll get 20% off all of your Stampin' Up! product.  Email me at lagreff60@gmail.com to ask any questions. 

~~~

 Sale-a-Braton is almost over!  There's just days left! 

and the Product Coordination Release seen here ends too!

March host code is 4J7C9GFY 

All online orders will receive a free Mountain View pdf cards tutorial in an email.
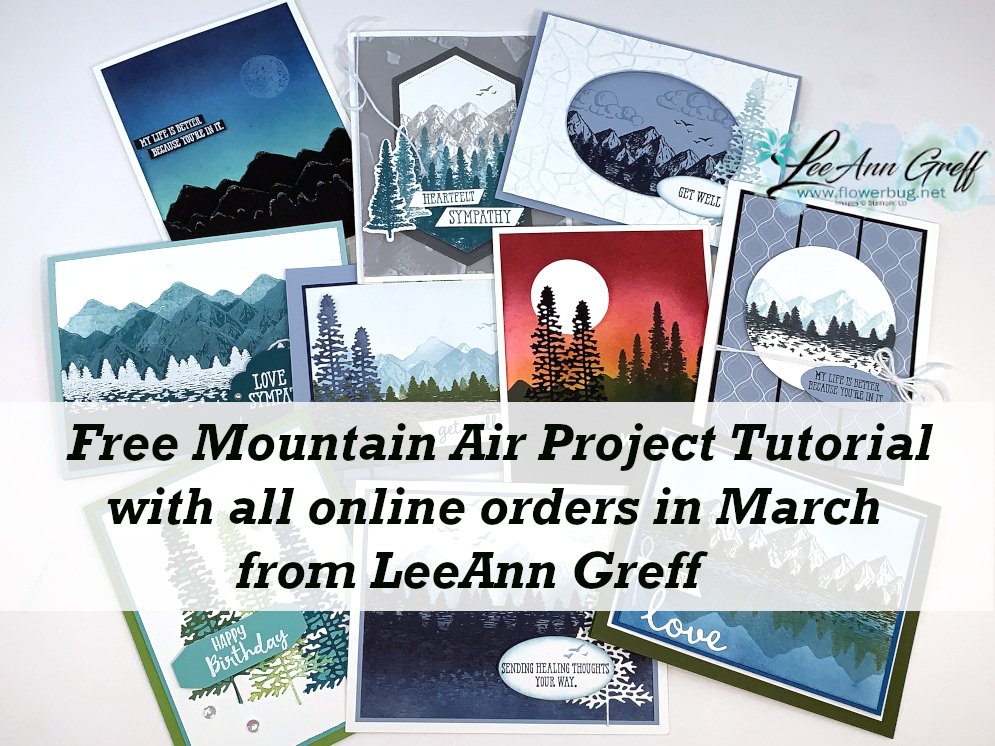
March host code is 4J7C9GFY

Order online here

THE Best deal! Choose any FREE stamp set when you purchase the Starter kit during Sale-a-Bration; of any value! Plus you'll get a free paper trimmer and a 6 X 6 sampler of new Designer Paper!  It's just $99 plus tax and you can pick out $125 in products with free shipping! Did you know you then get a 20% discount on all of your Stampin' Up! purchases?  There's no need to 'sell'; you can just enjoy the deals! 

Click here to join my awesome Flowerbug's Team! 
 Earn a ticket in the drawing for each $25 you order online in March for a free Little Ladybug stamp set!

Order online here

All Posts

  • How to make the embossing folder the star of your card; with video!


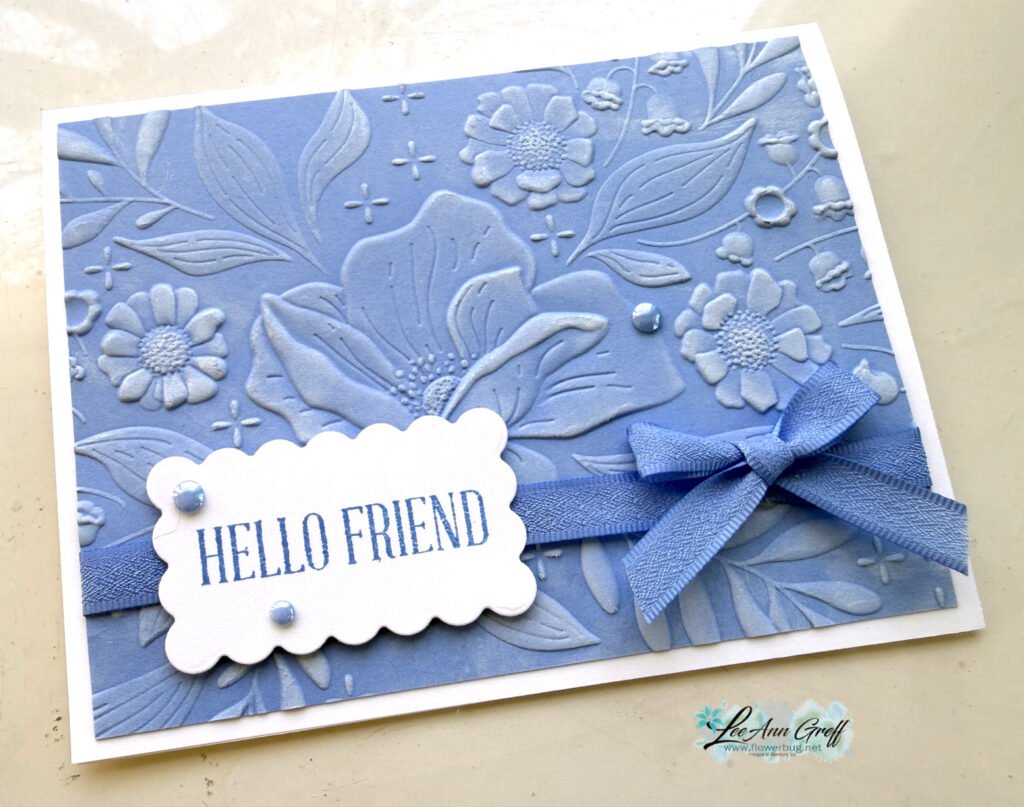
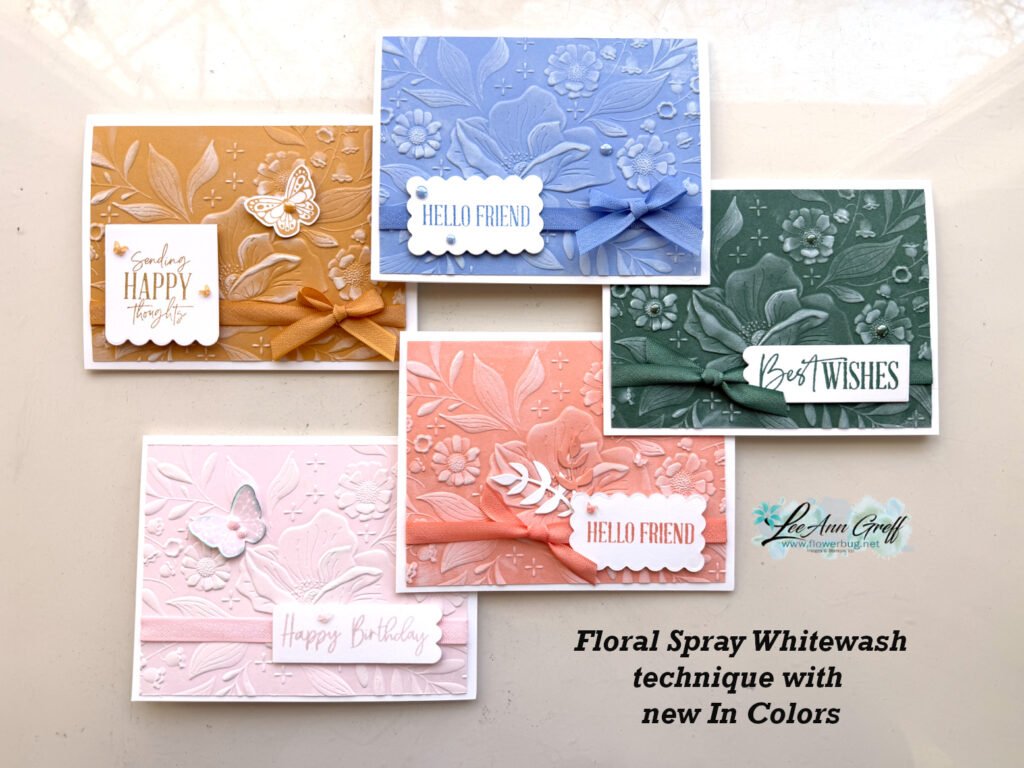
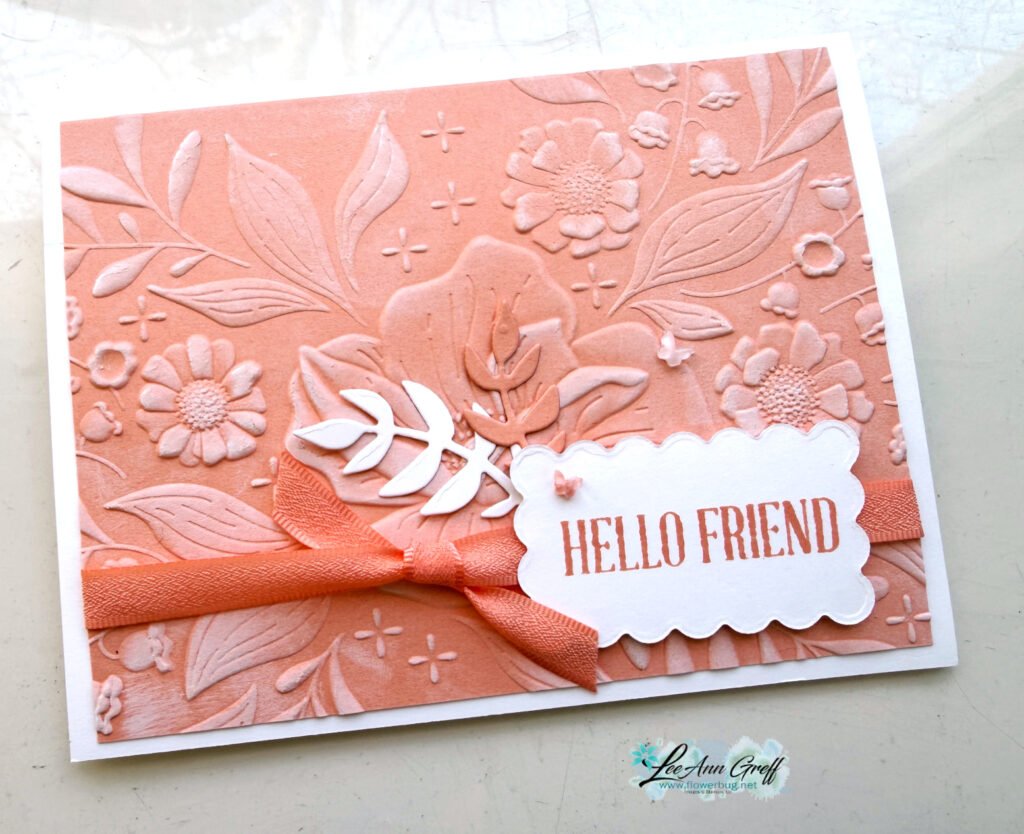
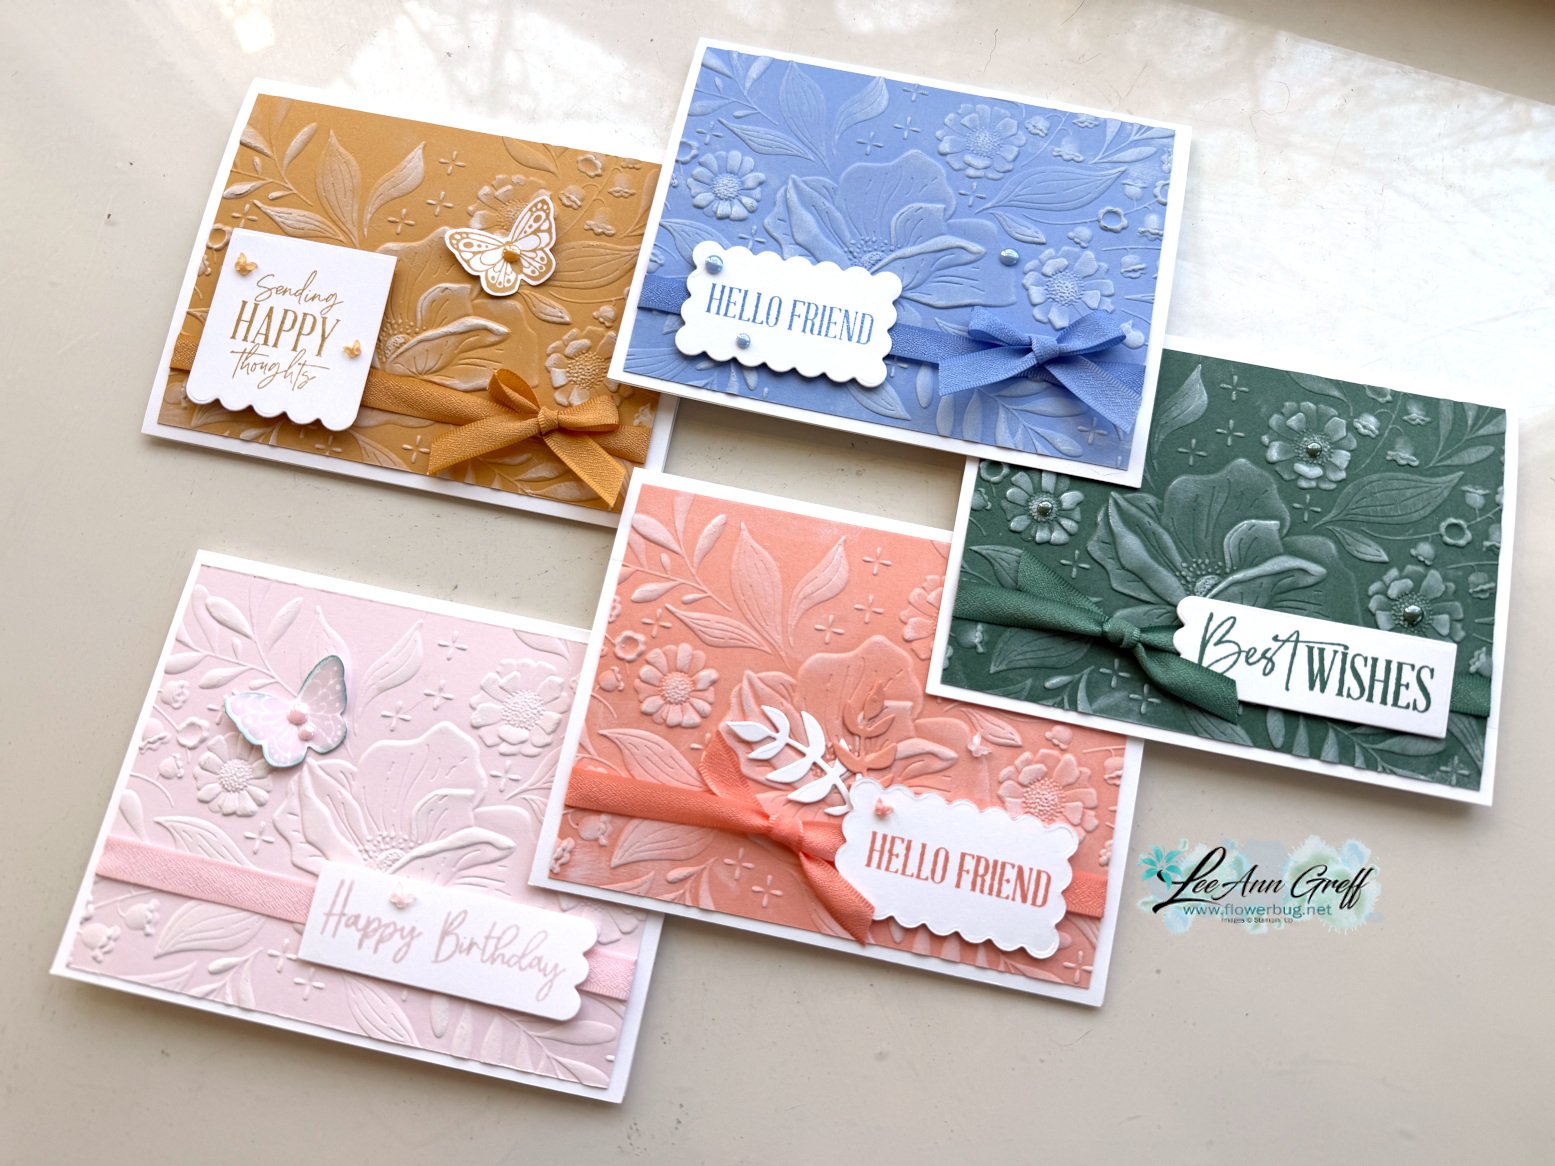
    I shared a few ways to highlight the texture on your 3D embossing folders on last week’s video. I shared the cards I created with the 5 new In Colors and how it’s done.

    This is the Floral Spray 3D embossing folder seen here. It’s currently out of stock unfortunately. Please put your name on the list to be notified when it’s back.

    Steps: I textured the CS first. Then rubbed my Craft White ink pad over it lightly. It catches on all the pretty raised areas, highlighting them beautifully. This can take some practice and I recommend you ink pad not be fully inked.

    I wrapped matching In Color ribbons across the cards and added a greeting. So simple but stunning in person.

    The greeting die-cuts are from the Scalloped Blooms dies seen here. The greetings are from the Opulent Oasis & Balloon Festoon stamp sets.

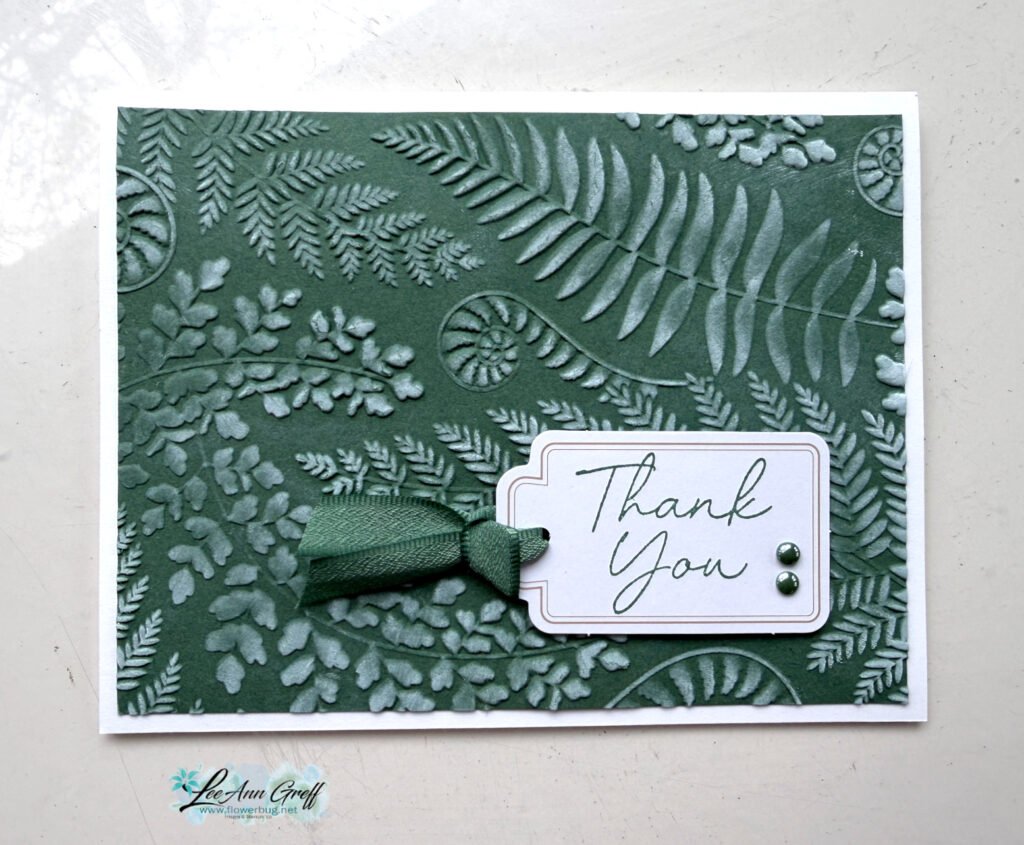
    Of course this technique; I’m calling it ‘white-washing’ shows up best on darker card stock. Here’s one I did with the Fern & Flora embossing folder seen here:

    This is our new Peaceful Pine in color. The greeting tag is from the new Classic Labels Mix & Match ephemera seen here. Love these pretty White labels!

    Below is the video tutorial with tips for success on this technique.

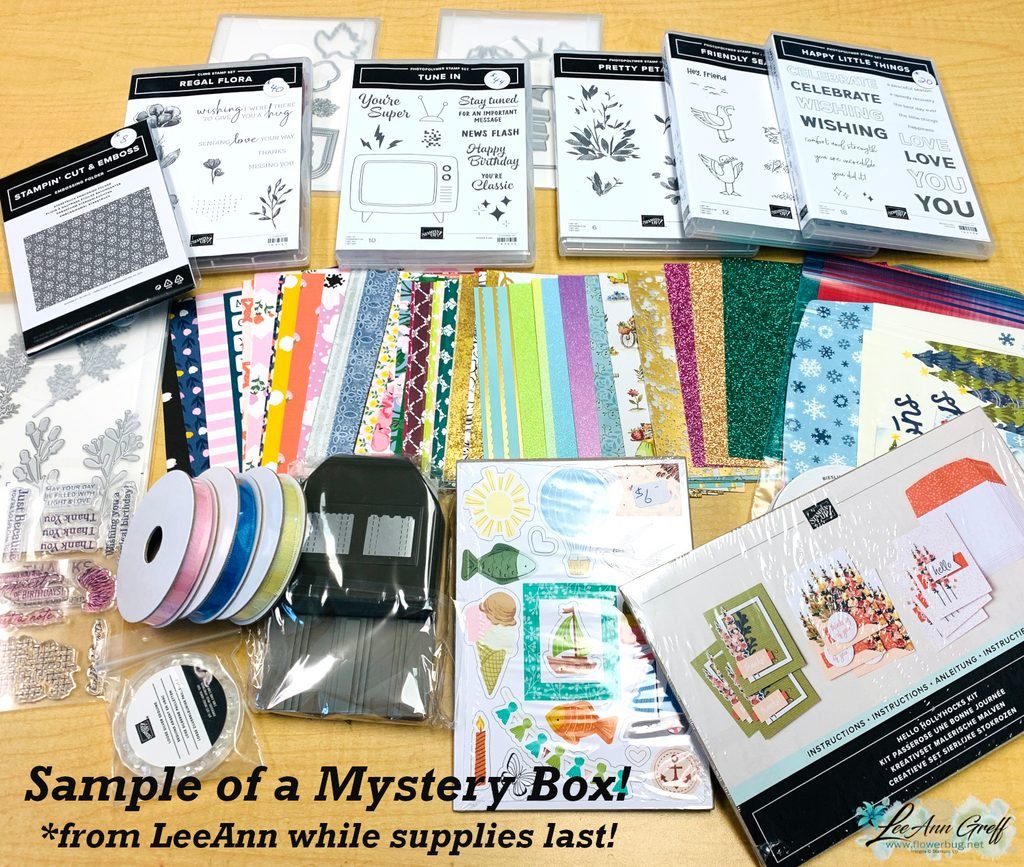
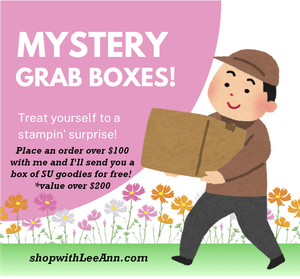
    I still have a few Mystery Boxes left! It’s a buy one get two free deal! Each box is valued at over $200 and is shipped to you FREE when you place a $100 order from me (before tax & shipping).

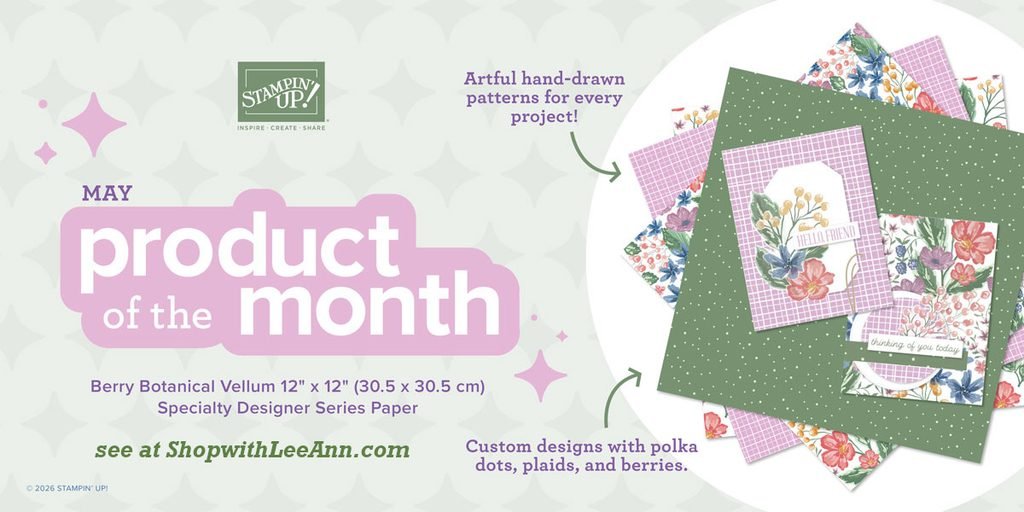
    Be sure to grab a Product of the Month once your order is over $75.

    Leave a Reply

    Your email address will not be published. Required fields are marked *

  • Beautiful Scenic Coast swap card


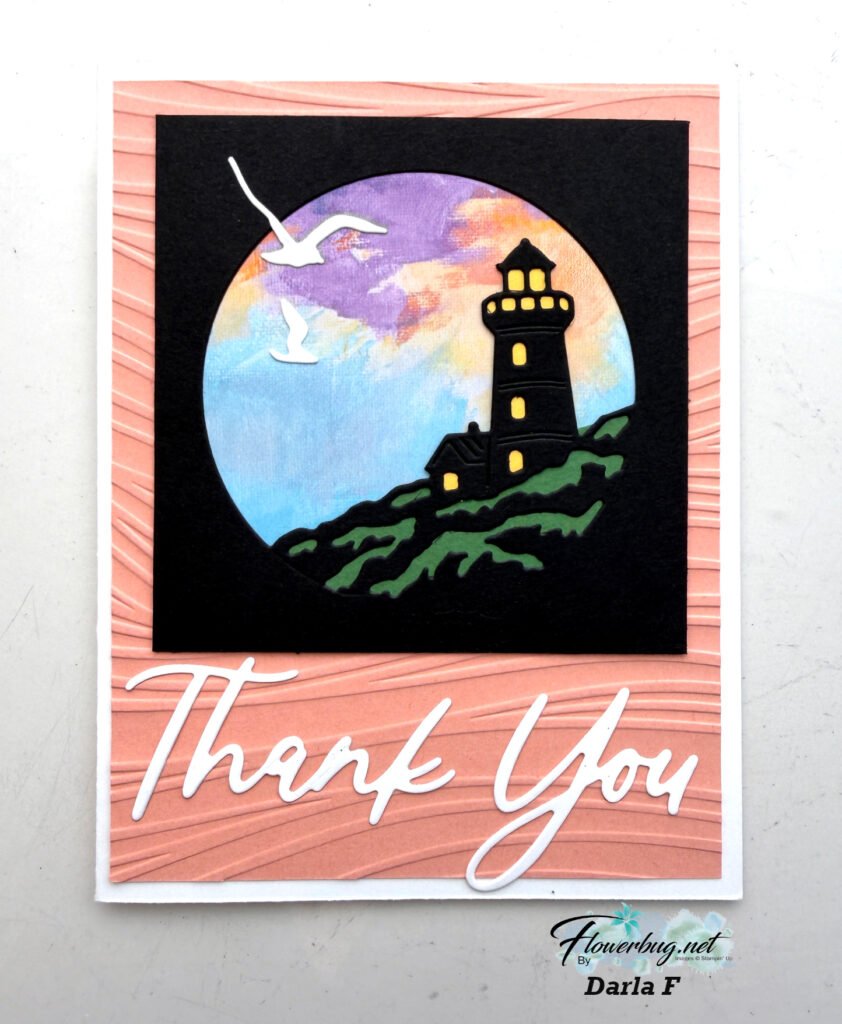
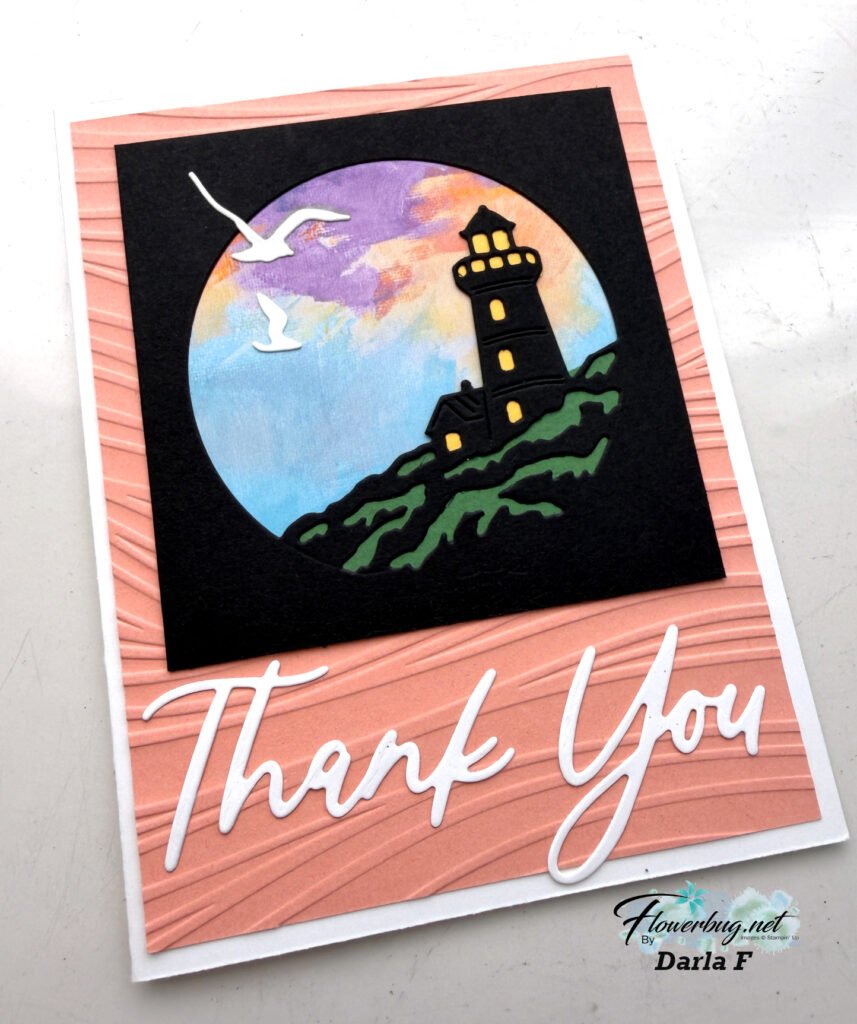
    Look at this beautiful Scenic Coast swap card made by Darla. Our Team swap theme was to use new product from the 2026 May-August catalog.

    She used multiple new products here. First is the Scenic Coast DSP seen here and the Sunset Coast bundle here for the main image. I love how she added yellow to the lighthouse and green to the hills. They are small itty pieces inserted in the die-cut windows. Wow!

    The background is Crisp Cantaloupe textured with the So Swirly embossing folder. The White ‘Thank You’ die-cuts are from the Words & Wishes dies seen here.

    Just plain stunning! And she is a very new swapper on my Team too! You did a wonderful job Darla!

    Thanks for stopping in today!

    I still have 4 Mystery Boxes left! Place an order today to redeem yours! Don’t wait!
    Go to ShopwithLeeAnn.com

    Leave a Reply

    Your email address will not be published. Required fields are marked *

  • Cutest Crew Club card; quick & cute! Free project sheet too


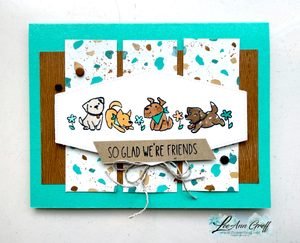
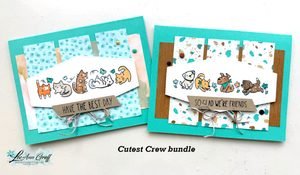
    This is one of the cards we made at my April card clubs; it features the Cutest Crew bundle.

    The Cutest Crew bundle (seen here) has been so popular they cannot keep it in stock! The dies were available last week but now they’re gone again. They should be back the week of May 18th though. Be sure to add your email to the product page so you get a notification as to when they’re available.

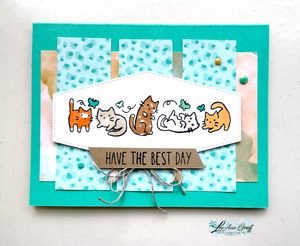
    My colors are Coastal Cabana with White, Pecan Pie & Crumb Cake. I used the Hobby Haven and Wood Grain Wonders designer papers on my card. Here’s the cat version:

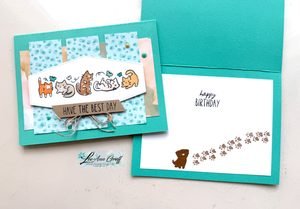
    I colored the critters in with Blends markers; stamping the images with Black Memento ink. The stitched die is from the Nested Essential dies seen here; one of my favorites.

    I stamped the paw prints image repeatedly in the inside and added one of the pet die-cuts.

    Which is your favorite?

    I shared a video last week on Facebook and it’s now uploaded to my YouTube Channel. Plus you can access the free project sheet here.

    May Specials:

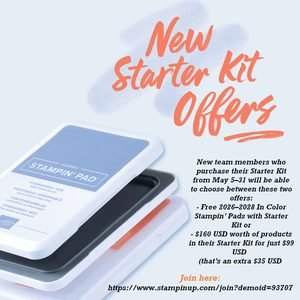
    Get all 5 NEW ink pads FREE when you choose the Starter Kit promo in May

    Click here to get yours

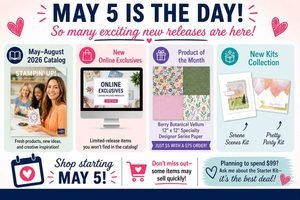
    Order from the new Summer catalog now; get new in colors, new stamps, dies, DSP and gems! So exciting to shop NEW stuff! Click here to shop.

    And while you’re shopping be sure to order over $100 and grab one of my Mystery boxes! I have just 4 left.

    They’re FREE and includes over $200 in SU product.

    Leave a Reply

    Your email address will not be published. Required fields are marked *


Notice: LeeAnn Greff, Independent Stampin’ Up! Demonstrator, Manager. The content of this website is my sole responsibility as an independent Stampin’ Up! demonstrator and the use of, and content of, the classes, services, or products offered on this website is not endorsed by Stampin’ Up! Copyright 2025