/


Latest Post

Fun shaker card with the Bottled Happiness bundle!


We made this fun shaker card at my June card clubs.  It features the Bottle of Happiness bundle and the Vintage Bottle Shaker Domes seen here. 

I shared how to make it in last week's FB Live video.  You can see it here on my YouTube channel too. 

Heads up!  Soon I will be posting my weekly videos on YouTube each Tuesday morning instead of Facebook. So be sure you're following me on YouTube.  Click on the red bell so you're notified when I go live.  
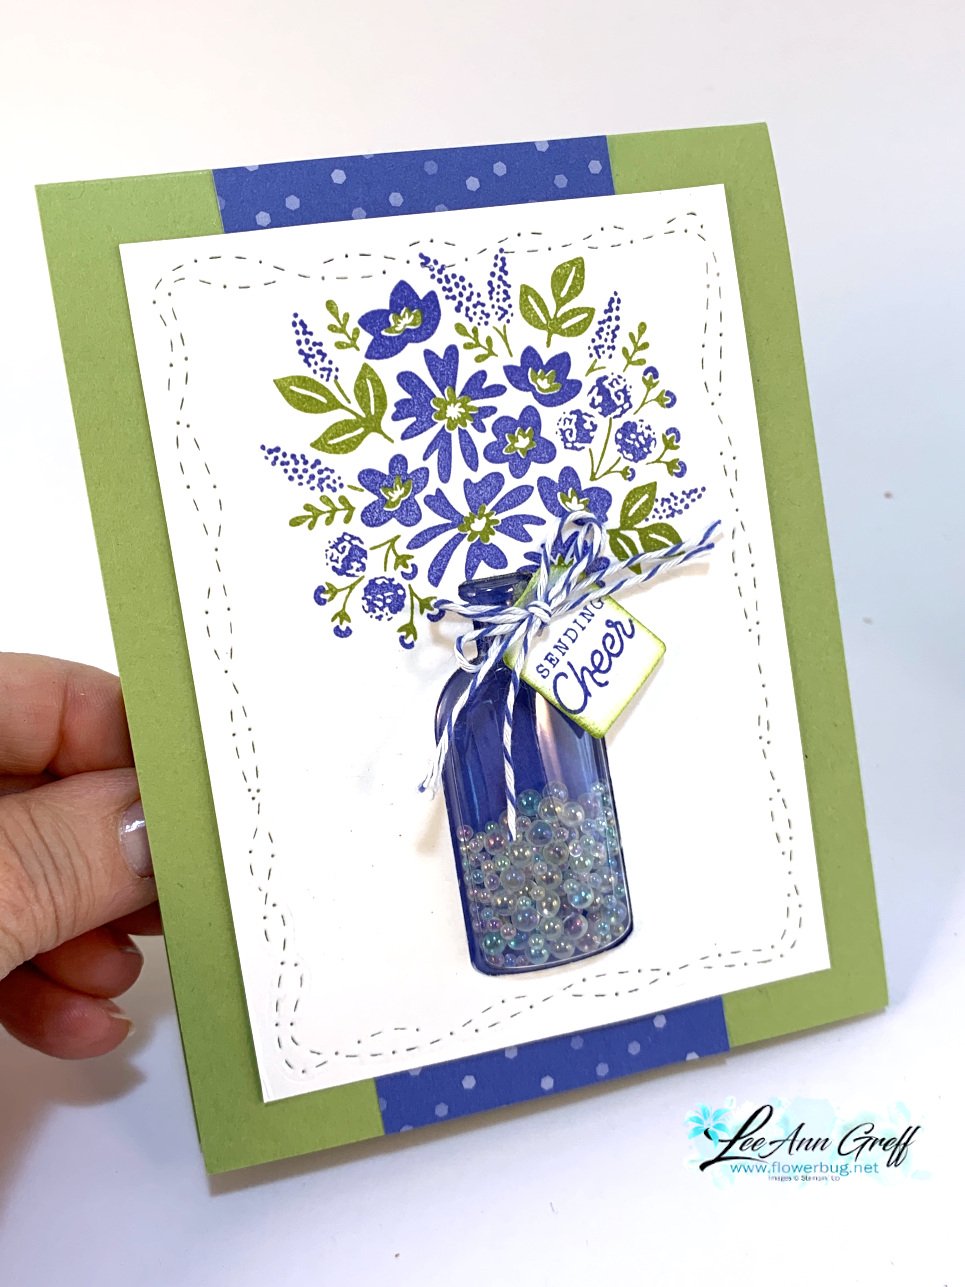
I wish you could shake it yourself!  There's just something extra special about an interactive card and the Bottled Happiness bundle makes it so easy. 
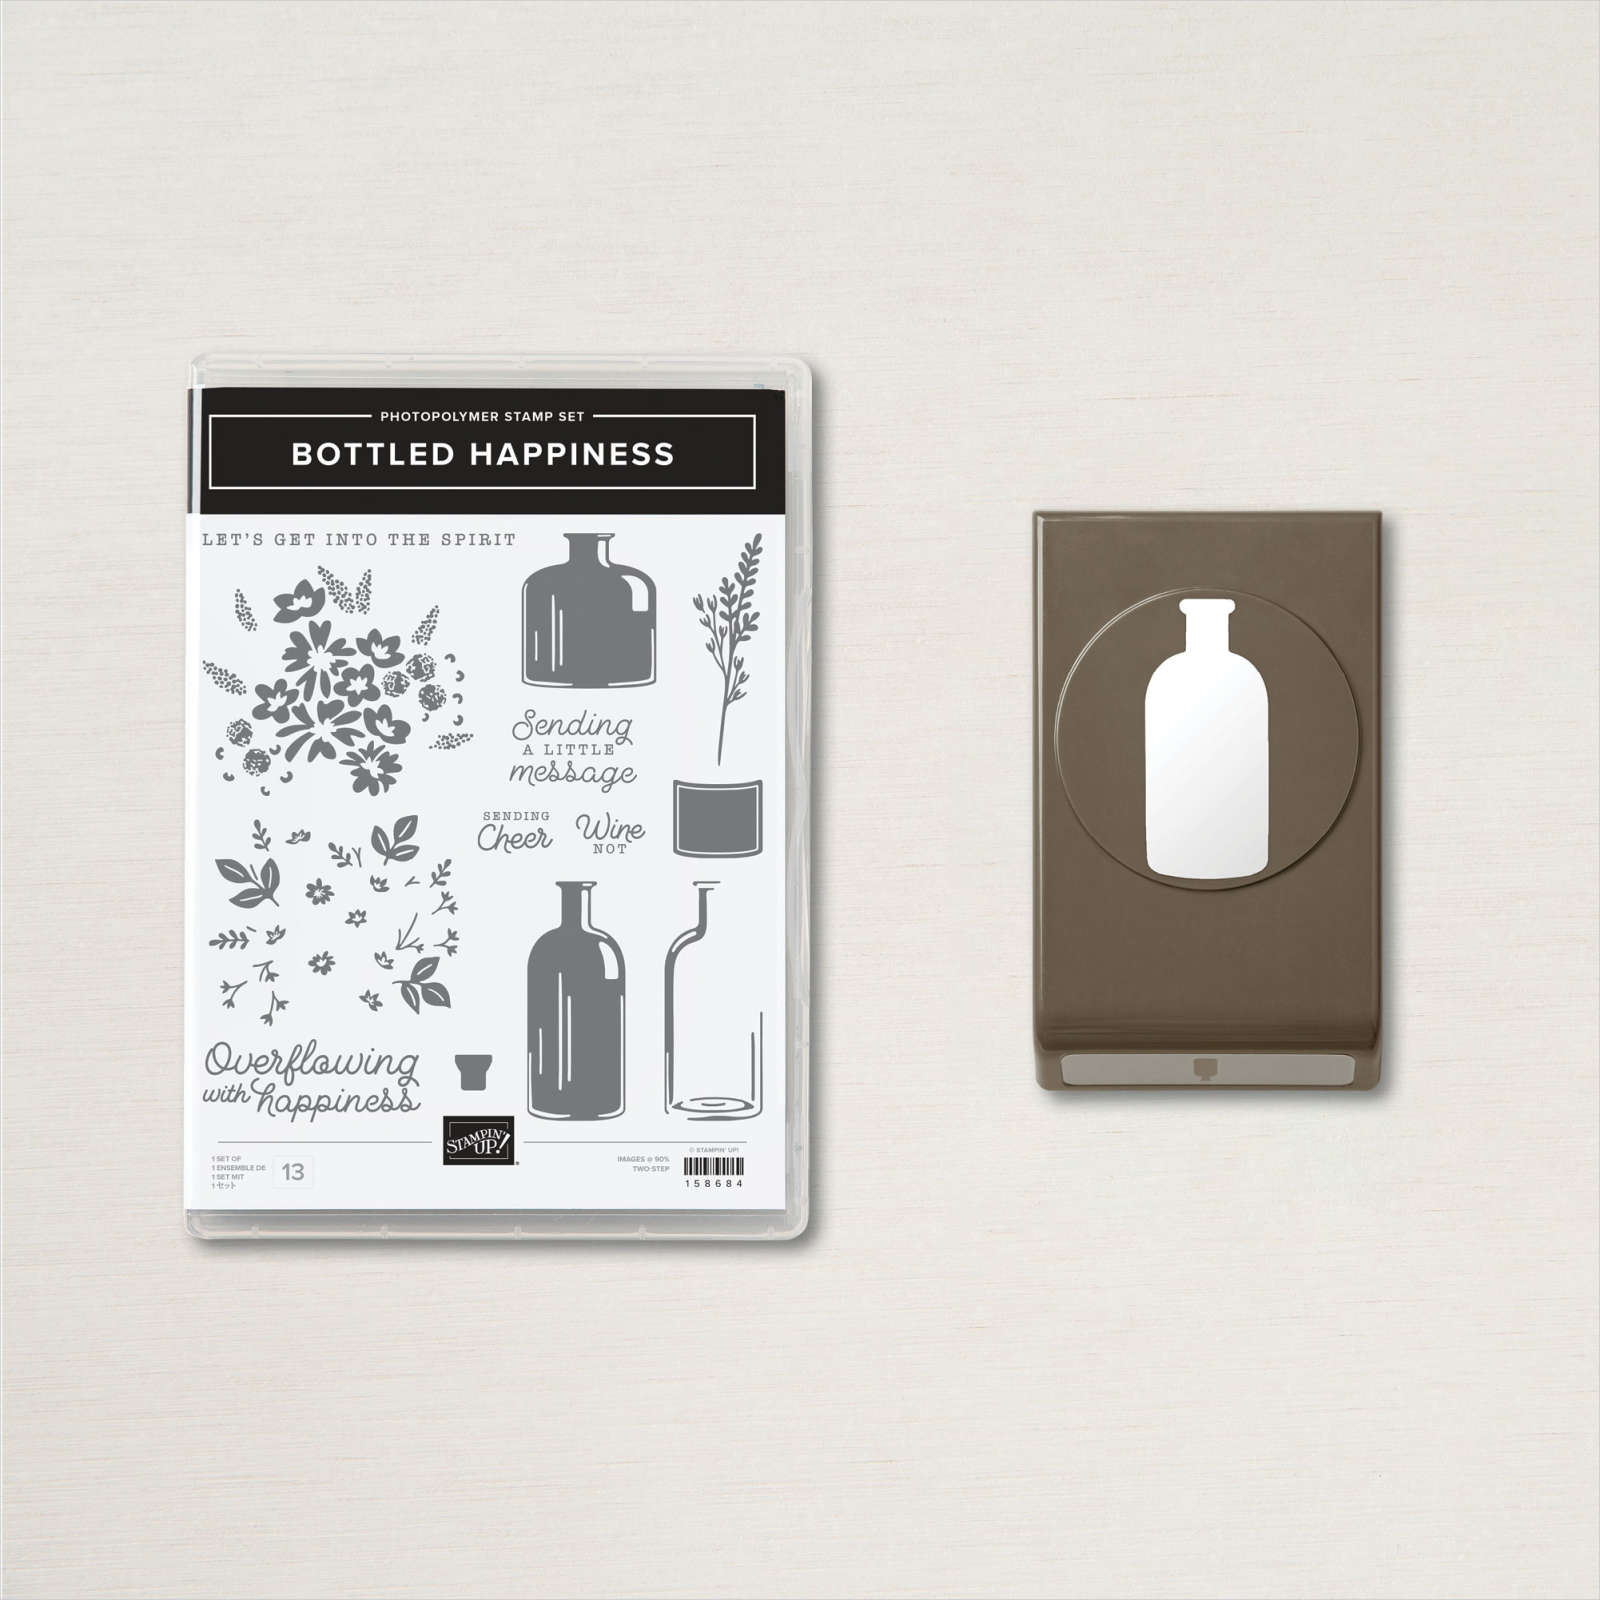
The colors are Pear Pizzazz with the new Orchid Oasis.  The products I used are:

  • Bottled Happiness bundle (stamp set & Vintage Bottle punch)
  • White CS, Pear Pizzazz & Orchid Oasis inks and card stock
  • Stitched with Whimsy dies
  • Vintage Bottle Shaker Domes 
  • Effervescent Elements (pretty beads inside the dome)
  • Charming Sentiments greetings (inside) 
  • In Color twine combo pack

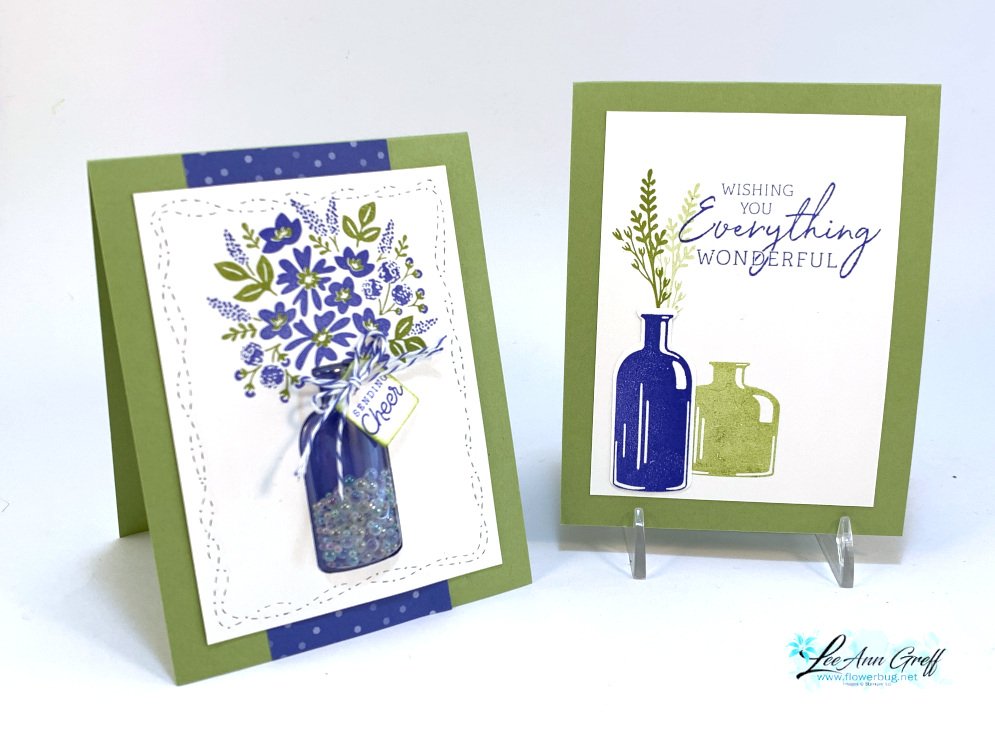
Below you can see the card front on the left and the inside of the card on the right.  

I hope you'll watch the video to see my tips on making a super easy shaker card!  Click on the photo below to watch. 
~~~

Last Chance List is out!  


Kits Collection BOGO – buy 1 get 1 50% off!  

Host codes: 9F9AJHYG

If your order is over $50 you'll receive a free embellishment from me. *click here to order 


Earn free products with my loyalty rewards! 

Click here to download yours and earn a $50 shopping spree!

~~~

Due to popular demand I have one more Annual Catalog paper share going.

Contact me here if you'd like one. It's $26 for 82 6 X 6" sheets!

All Posts

  • Striking and fun Black Magic technique with video!


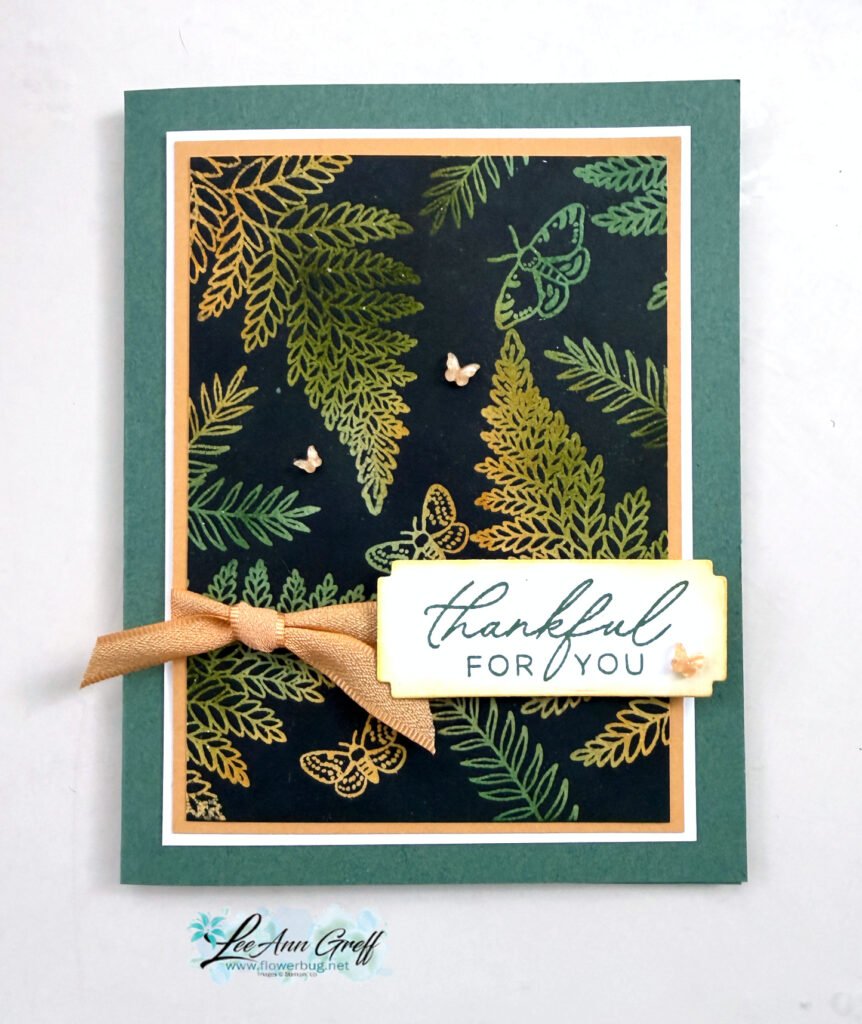
    I shared this pretty card on last week’s Live video. It’s the Black Magic technique!

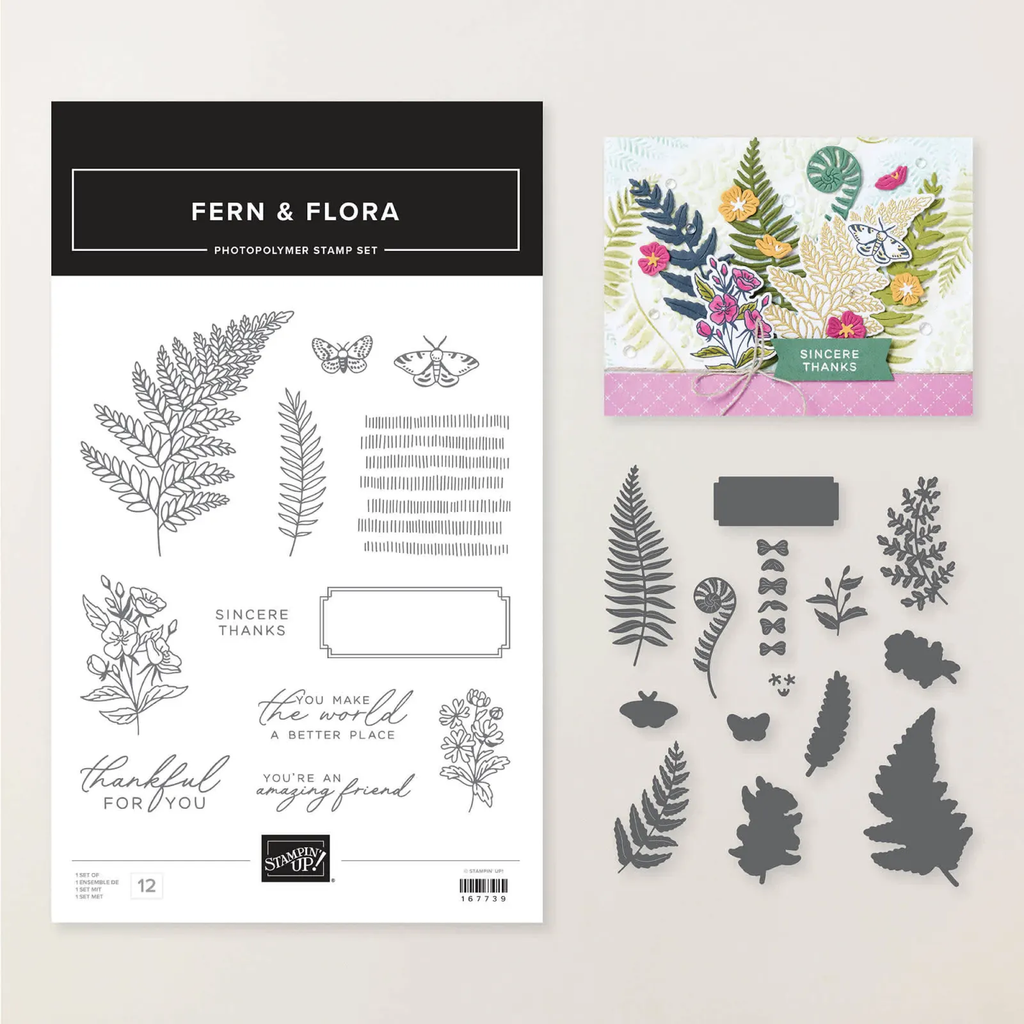
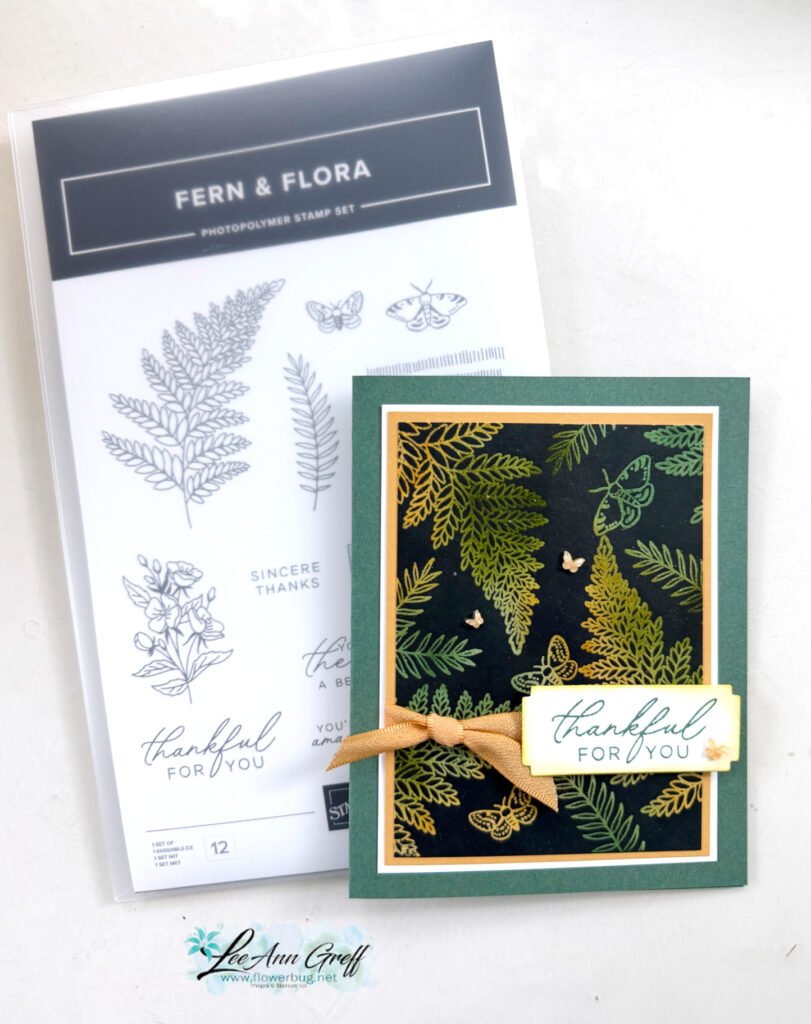
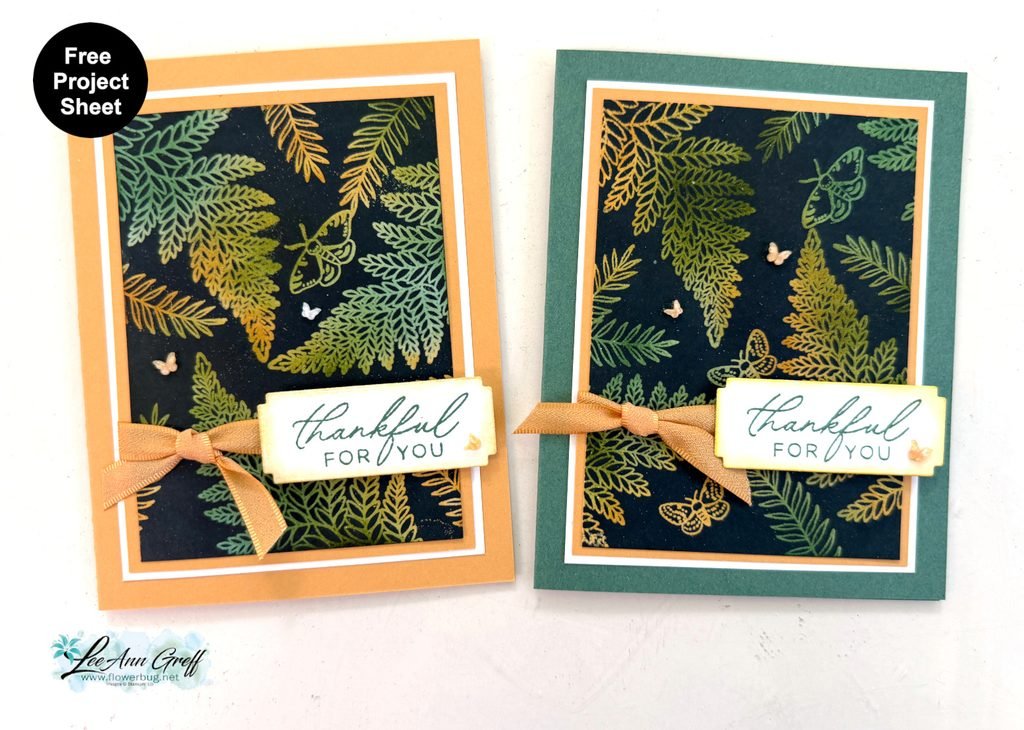
    My colors include Peaceful Pine, Old Olive (ink only), Golden Glow and White. It features the Fern & Flora bundle seen here.

    What is the Black Magic technique? It’s where you start with a light neutral piece of card stock and add color with sponges or markers. Then stamp images in Versamark and heat emboss with clear embossing powder. The magic happens when you cover it completely with a water based ink (here I used Secret Sea). Then wipe off the ink that does not ‘stick’ to the heat embossed areas. True magic!

    Watch my video tutorial further below to see this technique in action.

    On this card I used mostly the stamp images; only the greeting die-cut is from the dies. I added a few In Color butterfly gems and the pretty Golden Glow ribbon too.

    I created a free project sheet for this card; click here to download it or to print it.

    I made one with Golden Glow as the card base and the other as Peaceful Pine as the card base.

    Below is the video tutorial for this card and another.

    Leave a Reply

    Your email address will not be published. Required fields are marked *

  • Pretty Fern & Flora card; with free project sheet & video tutorial


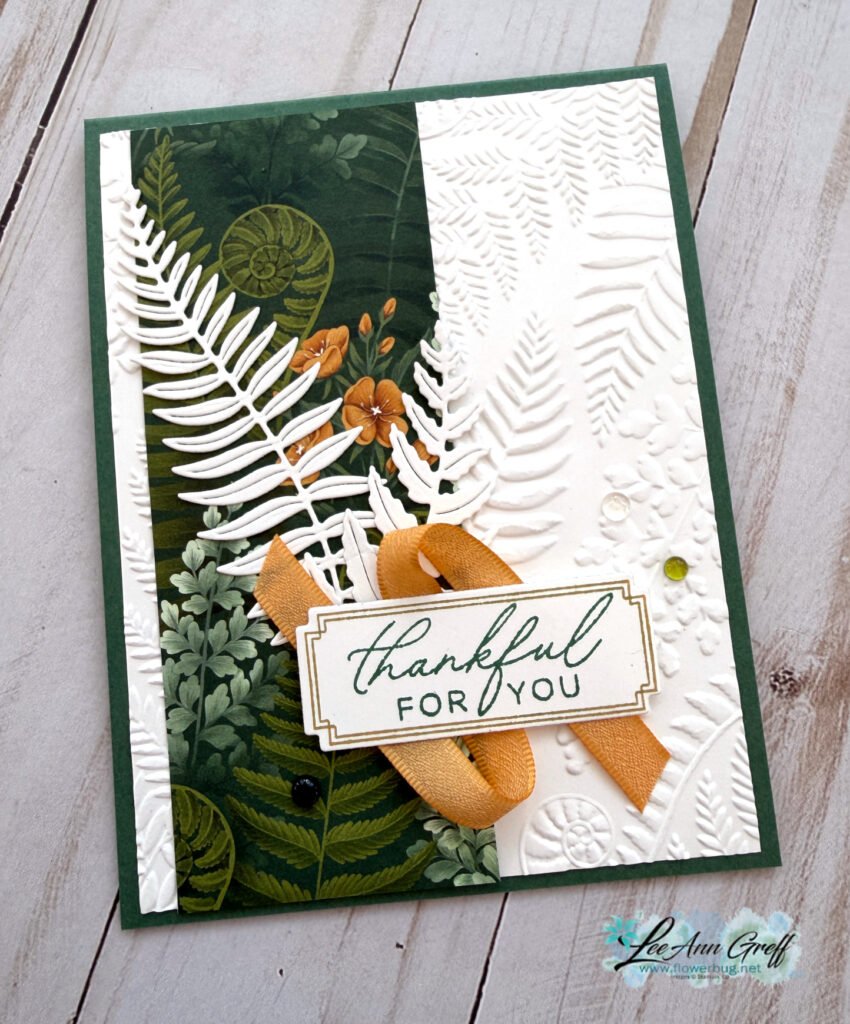
    There’s something about crisp white on a card. It gives a feeling of elegance to your projects.

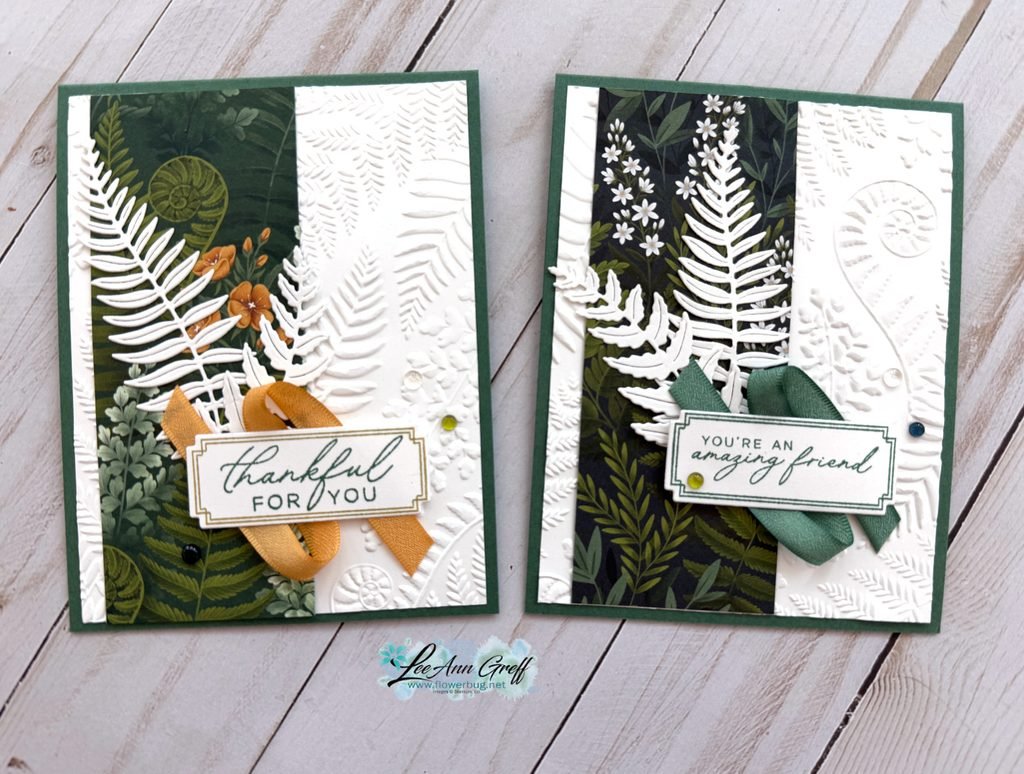
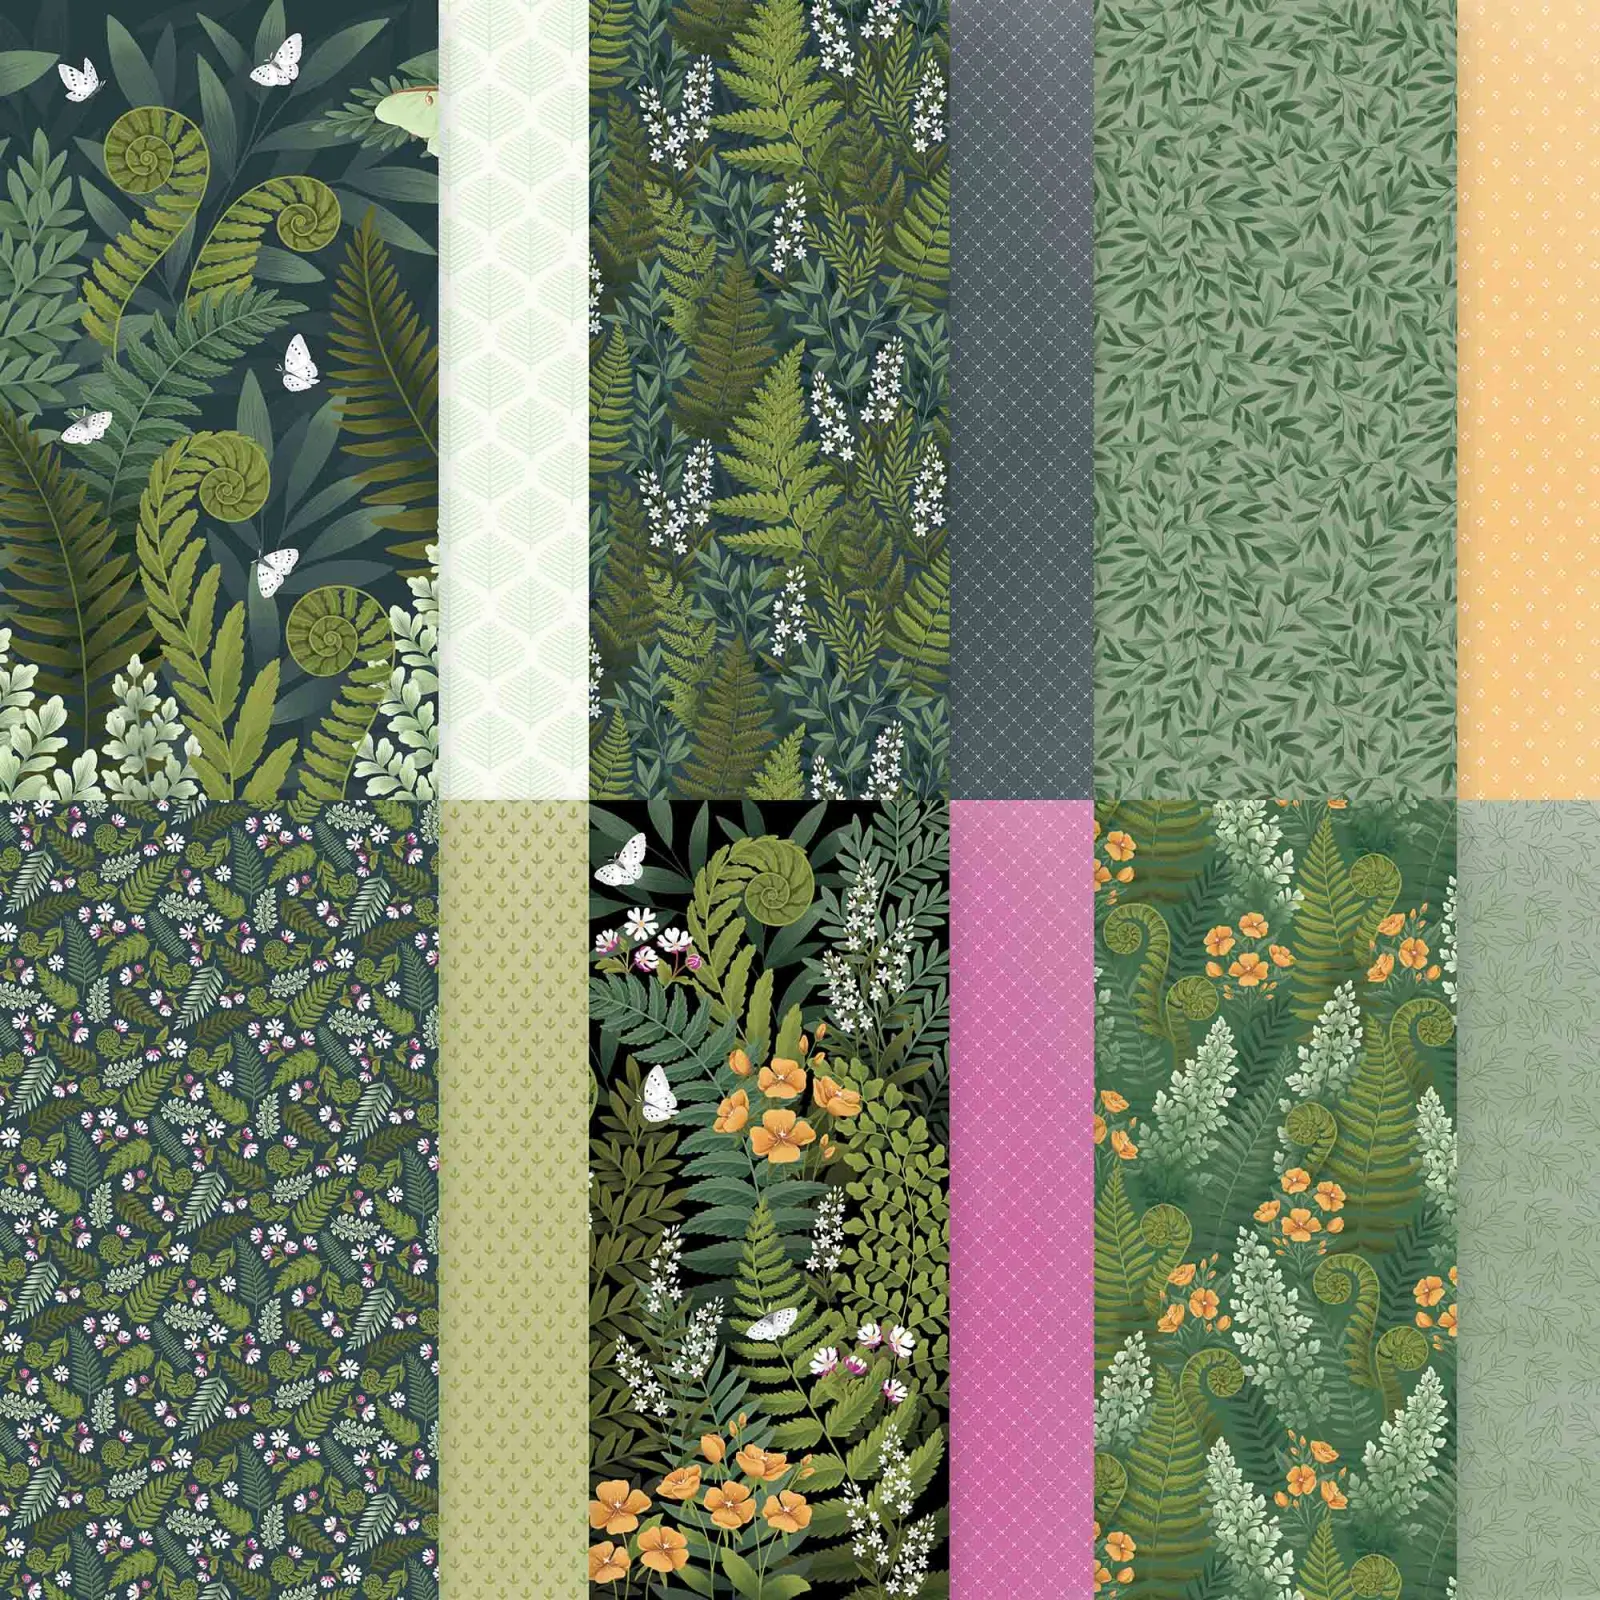
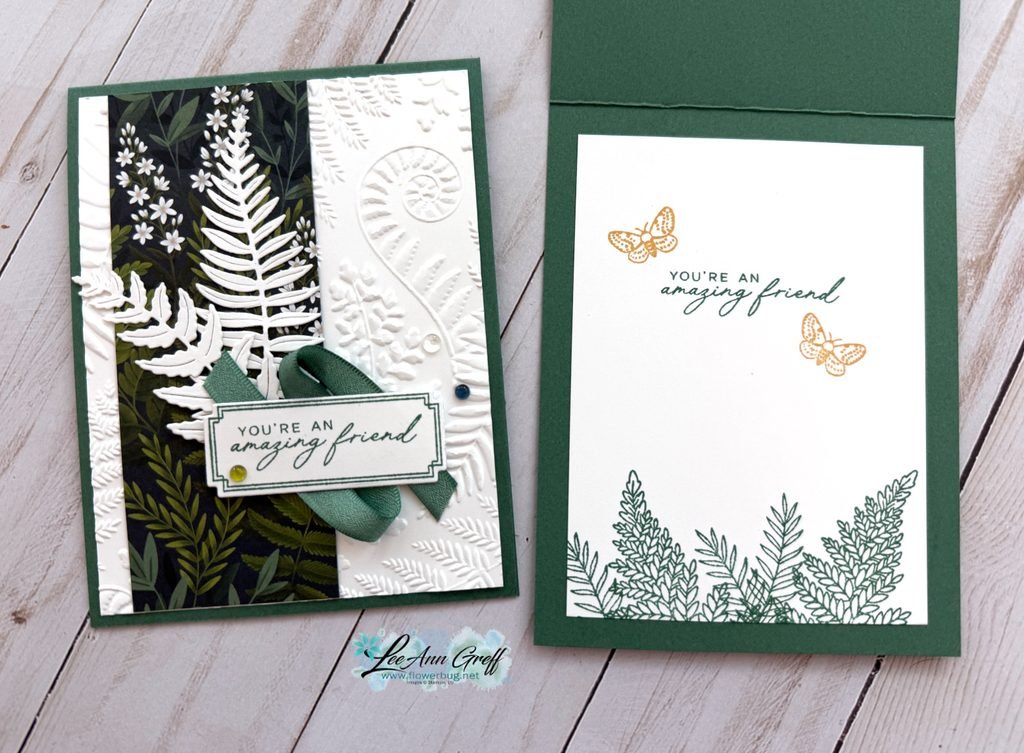
    This card features the Fern & Flora bundle seen here. The designer paper is called Moonlit Flora and the embossing folder is called Fern & Flora and can be seen here. Unfortunately the Designer paper AND the embossing folder are out of stock right now. Very popular products!

    I took a little creative license and added White fern die-cuts here. I love the way they show up against the Moonlit Flora designer paper strip.

    The colors include Peaceful Pine, with White and the new Golden Glow in color.

    Which do you like better? All green and White on the upper right, or the pop of the additional Golden Glow?

    The pretty Moonlit Flora designer paper offers multiple patterns: See it here. Be sure to add your name to the product so you get an email when it’s back in stock.

    I created a free project sheet for this card. Click here to download it or print it.

    I also shared a video tutorial for this card and one more using this pretty bundle. Click on it below.

    Leave a Reply

    Your email address will not be published. Required fields are marked *

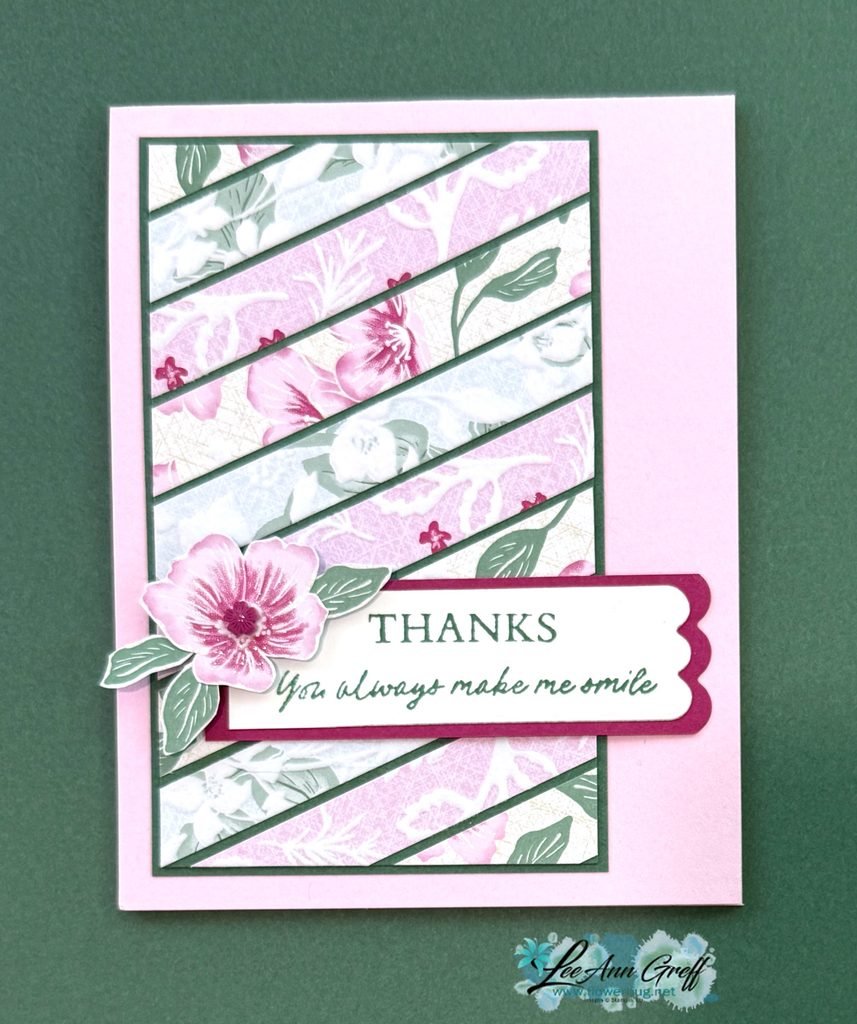
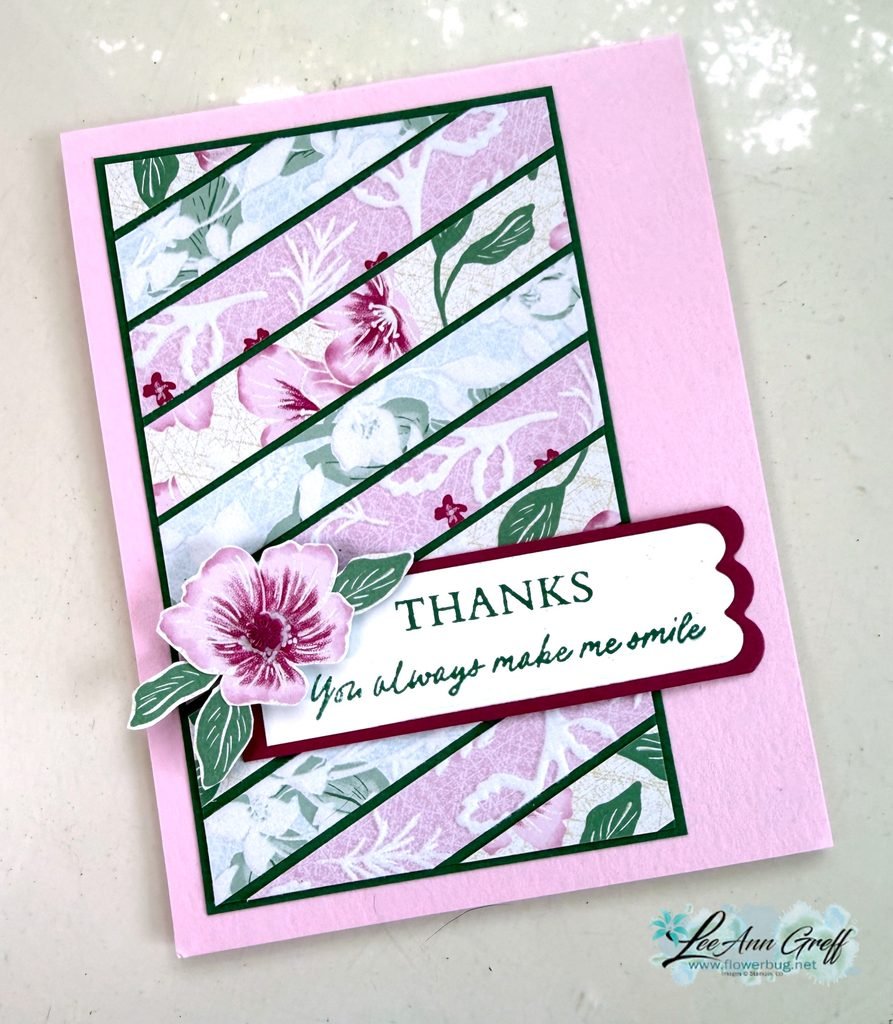
  • A fun way to use your Designer Paper scraps!


    Is it hard for you to toss those small pieces of designer paper pieces? Well, if you’re a ‘saver’ I have a quick card idea for you.

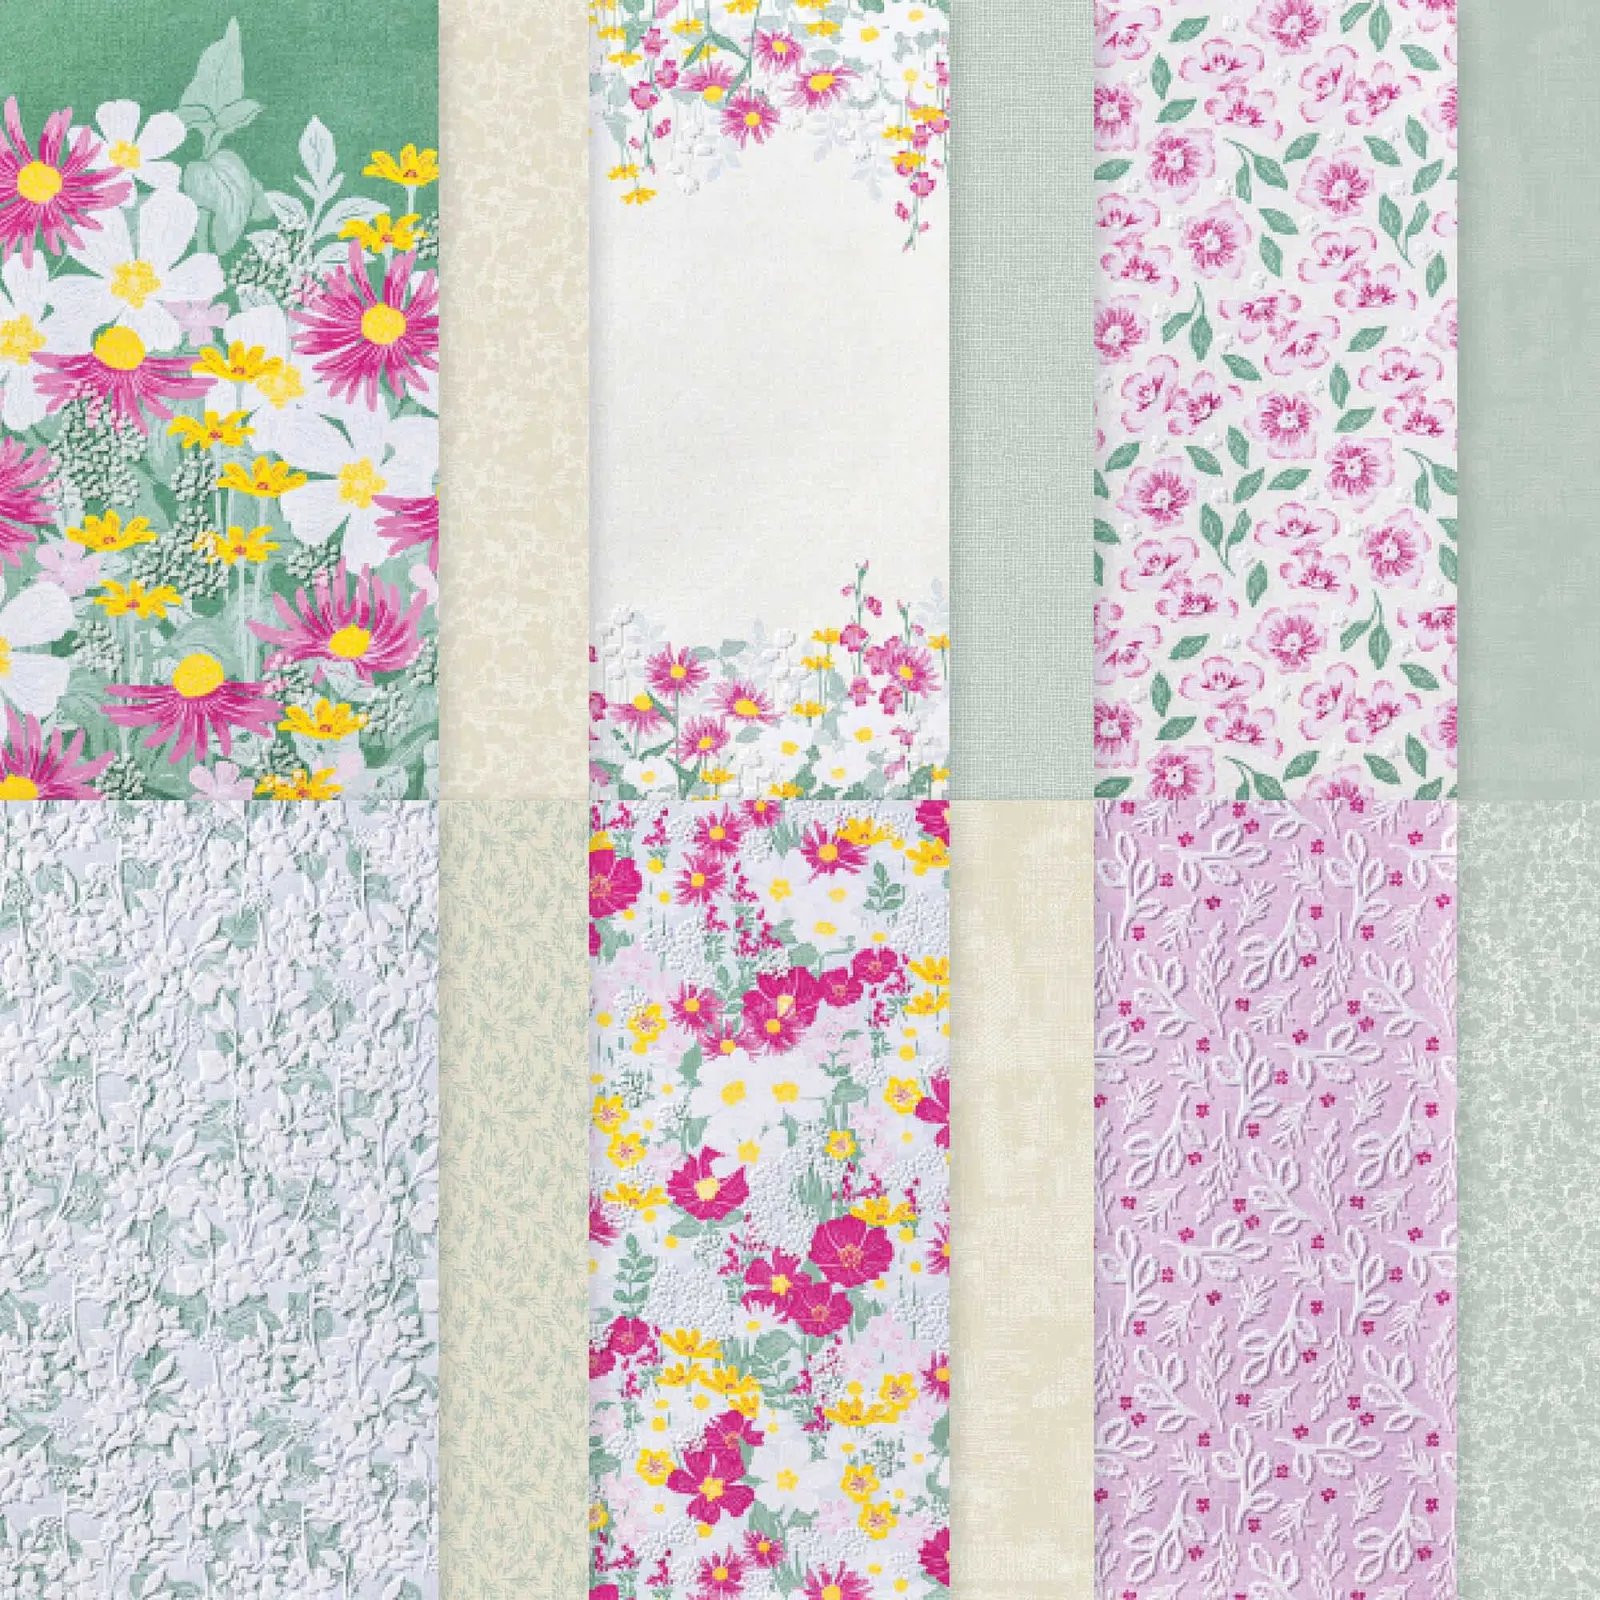
    Here I used the pretty Velvet Meadow specialty designer paper from our Online store. It has velvet/flocked accents that feel soft and fuzzy. See it here.

    Unfortunately it’s currently out of stock but it will be back! Add your email to the product page so you’re notified when it’s available.

    I cut three different patterns of DSP in 1/2″ wide strips. I added them to a piece of Peaceful Pine card stock (3″ X 4 3/4″) at an angle. I left a narrow space between them all and trimmed off the ends afterwards. Then I layered it on another Peaceful Pine piece slightly larger before adding it to my Bubble Bath card base.

    Tip: Adding the designer paper layer on the left and adding the greeting strip hanging off on the right adds balance to the card.

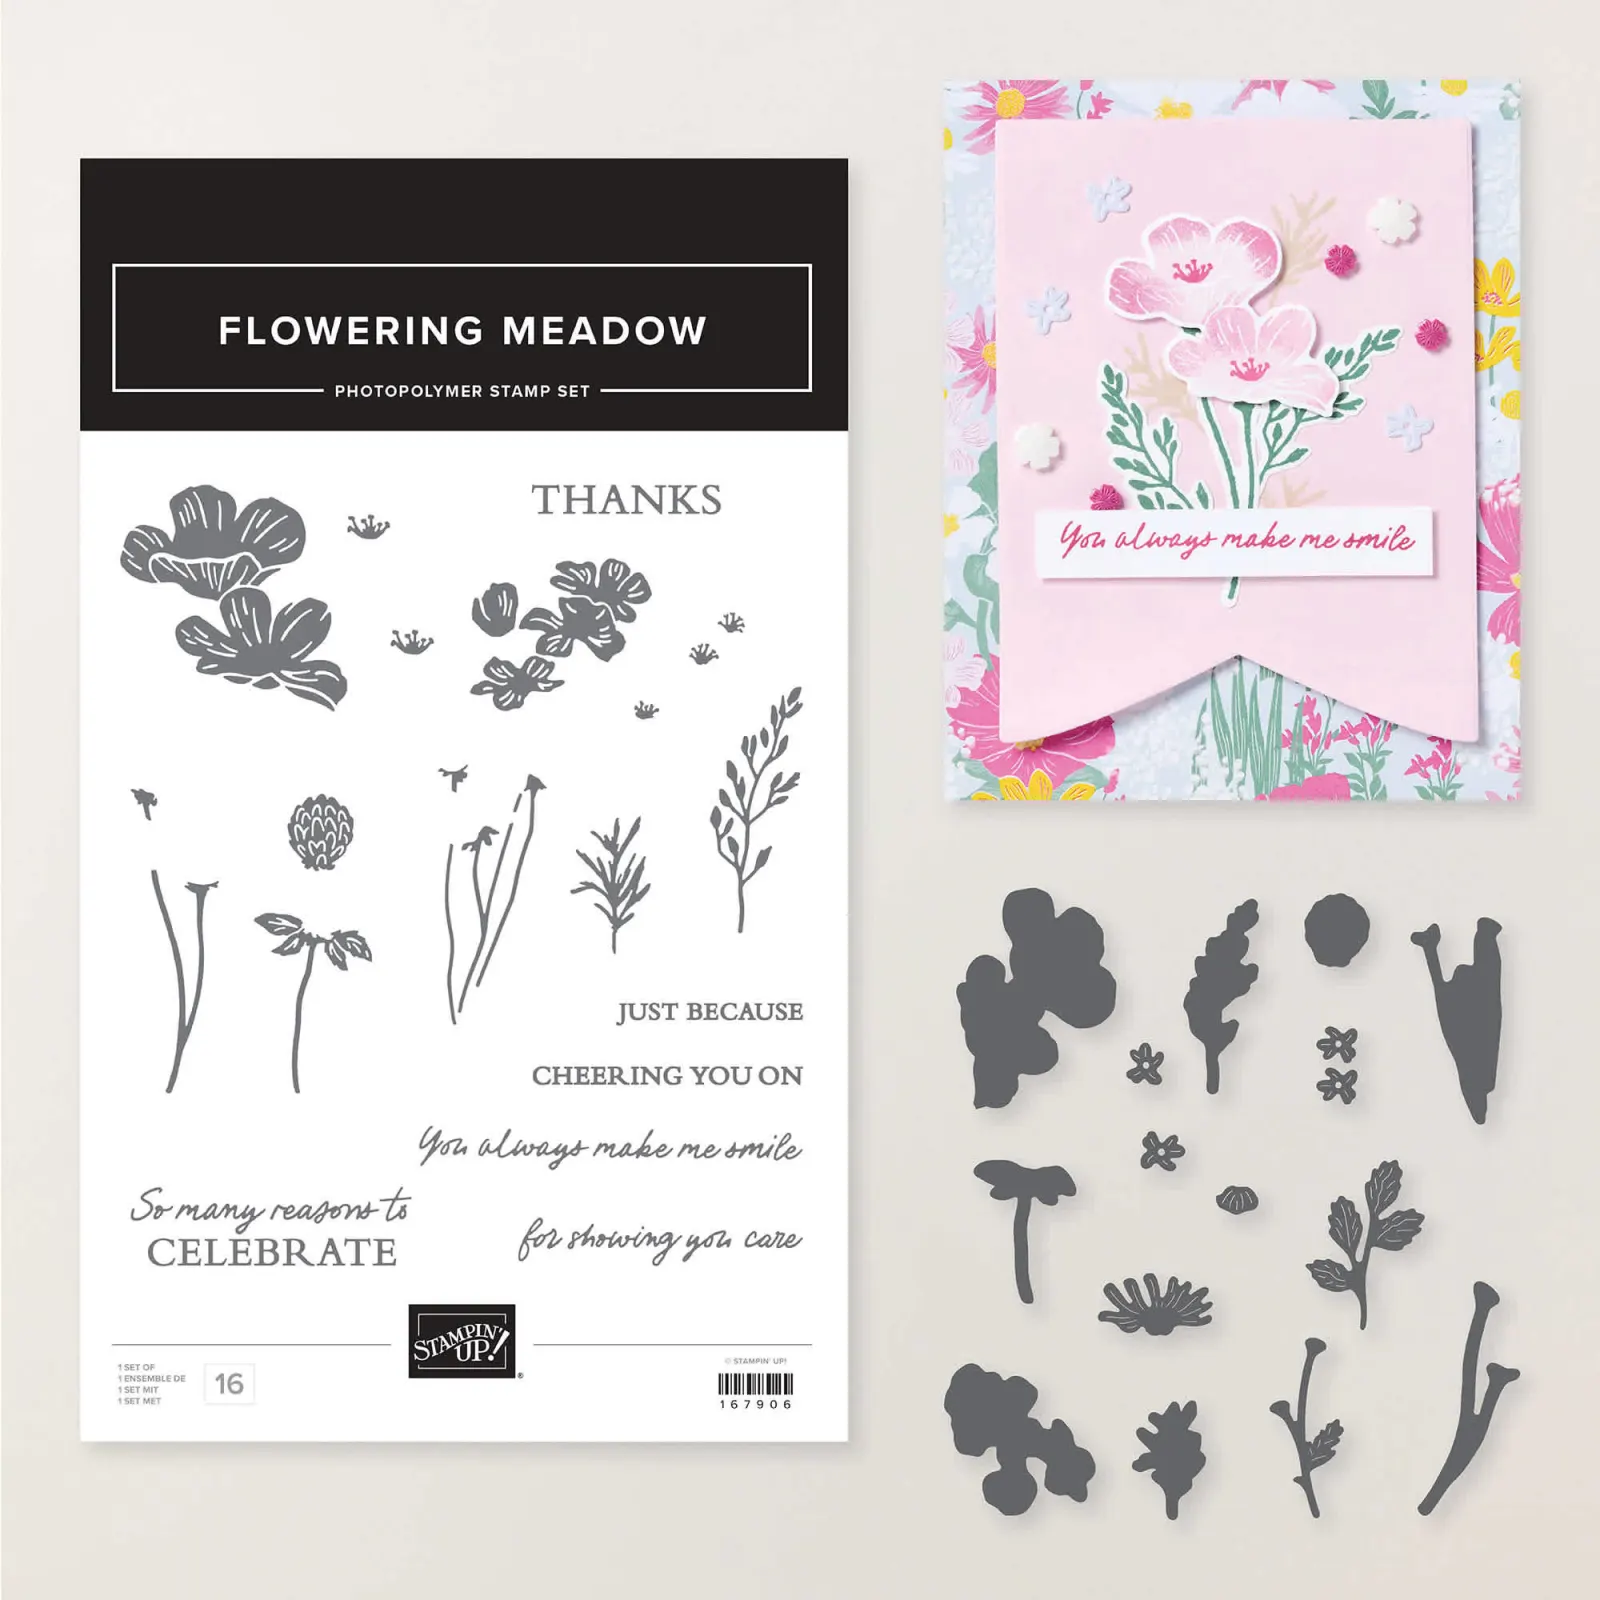
    Here’s the coordinating Flowering Meadow bundle; see it here.

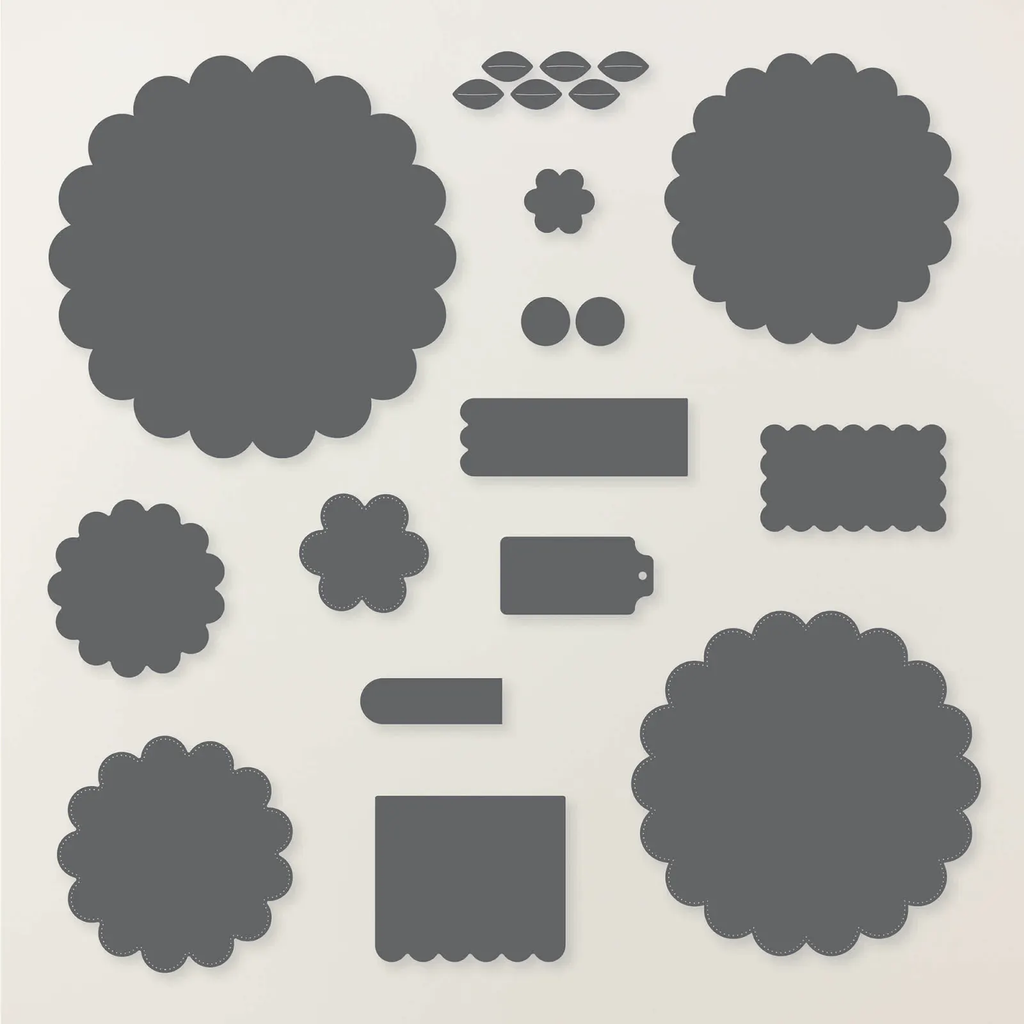
    The greeting is made with the Scalloped Blooms dies. The flower and leaves are fussy cut from the designer paper. A quick and pretty card!

    Leave a Reply

    Your email address will not be published. Required fields are marked *


Notice: LeeAnn Greff, Independent Stampin’ Up! Demonstrator, Manager. The content of this website is my sole responsibility as an independent Stampin’ Up! demonstrator and the use of, and content of, the classes, services, or products offered on this website is not endorsed by Stampin’ Up! Copyright 2025