/


Latest Post

Bonus Days are here! Plus lots of exciting new products seen online!!


First, I want to wish you a wonderful & happy 4th of July!  I hope you get to spend it with family or friends.

~~~

Bonus Days start today!  That means that for each $50 you spend (before tax and shipping) you earn a free $5 coupon to redeem in August. 

Tips on earning & using these coupons:

  • Spend in July & redeem in August – if you tend to order monthly or every other month it makes sense to assure your order is over $50 in July so you can redeem it in August
  • Need some of the new colors – In Colors or the new Basic Beige? Grab them in July!
  • Wanting to try Paper Pumpkin kits? Or if you already love Paper Pumpkin grab a 3 or 6 month pre-paid subscription here and earn free coupons!

Below is a sneak peak of the upcoming 3 months of Paper Pumpkin kits. There is an optional add on that coordinates with each of these kits! See that here. 

Remember that Paper Pumpkin subscribers get perks!  They are eligible to purchase any of the available past kits, refills or add ons.  I love the refill options; they're a fabulous deal!  See those here. 

Subscribe here to receive a kit sent to you each month. *Remember you are in charge of the kits you receive.  You can opt out or skip a month.  If you want to receive the Painted Petals kit be sure to opt in or subscribe by July 10th!

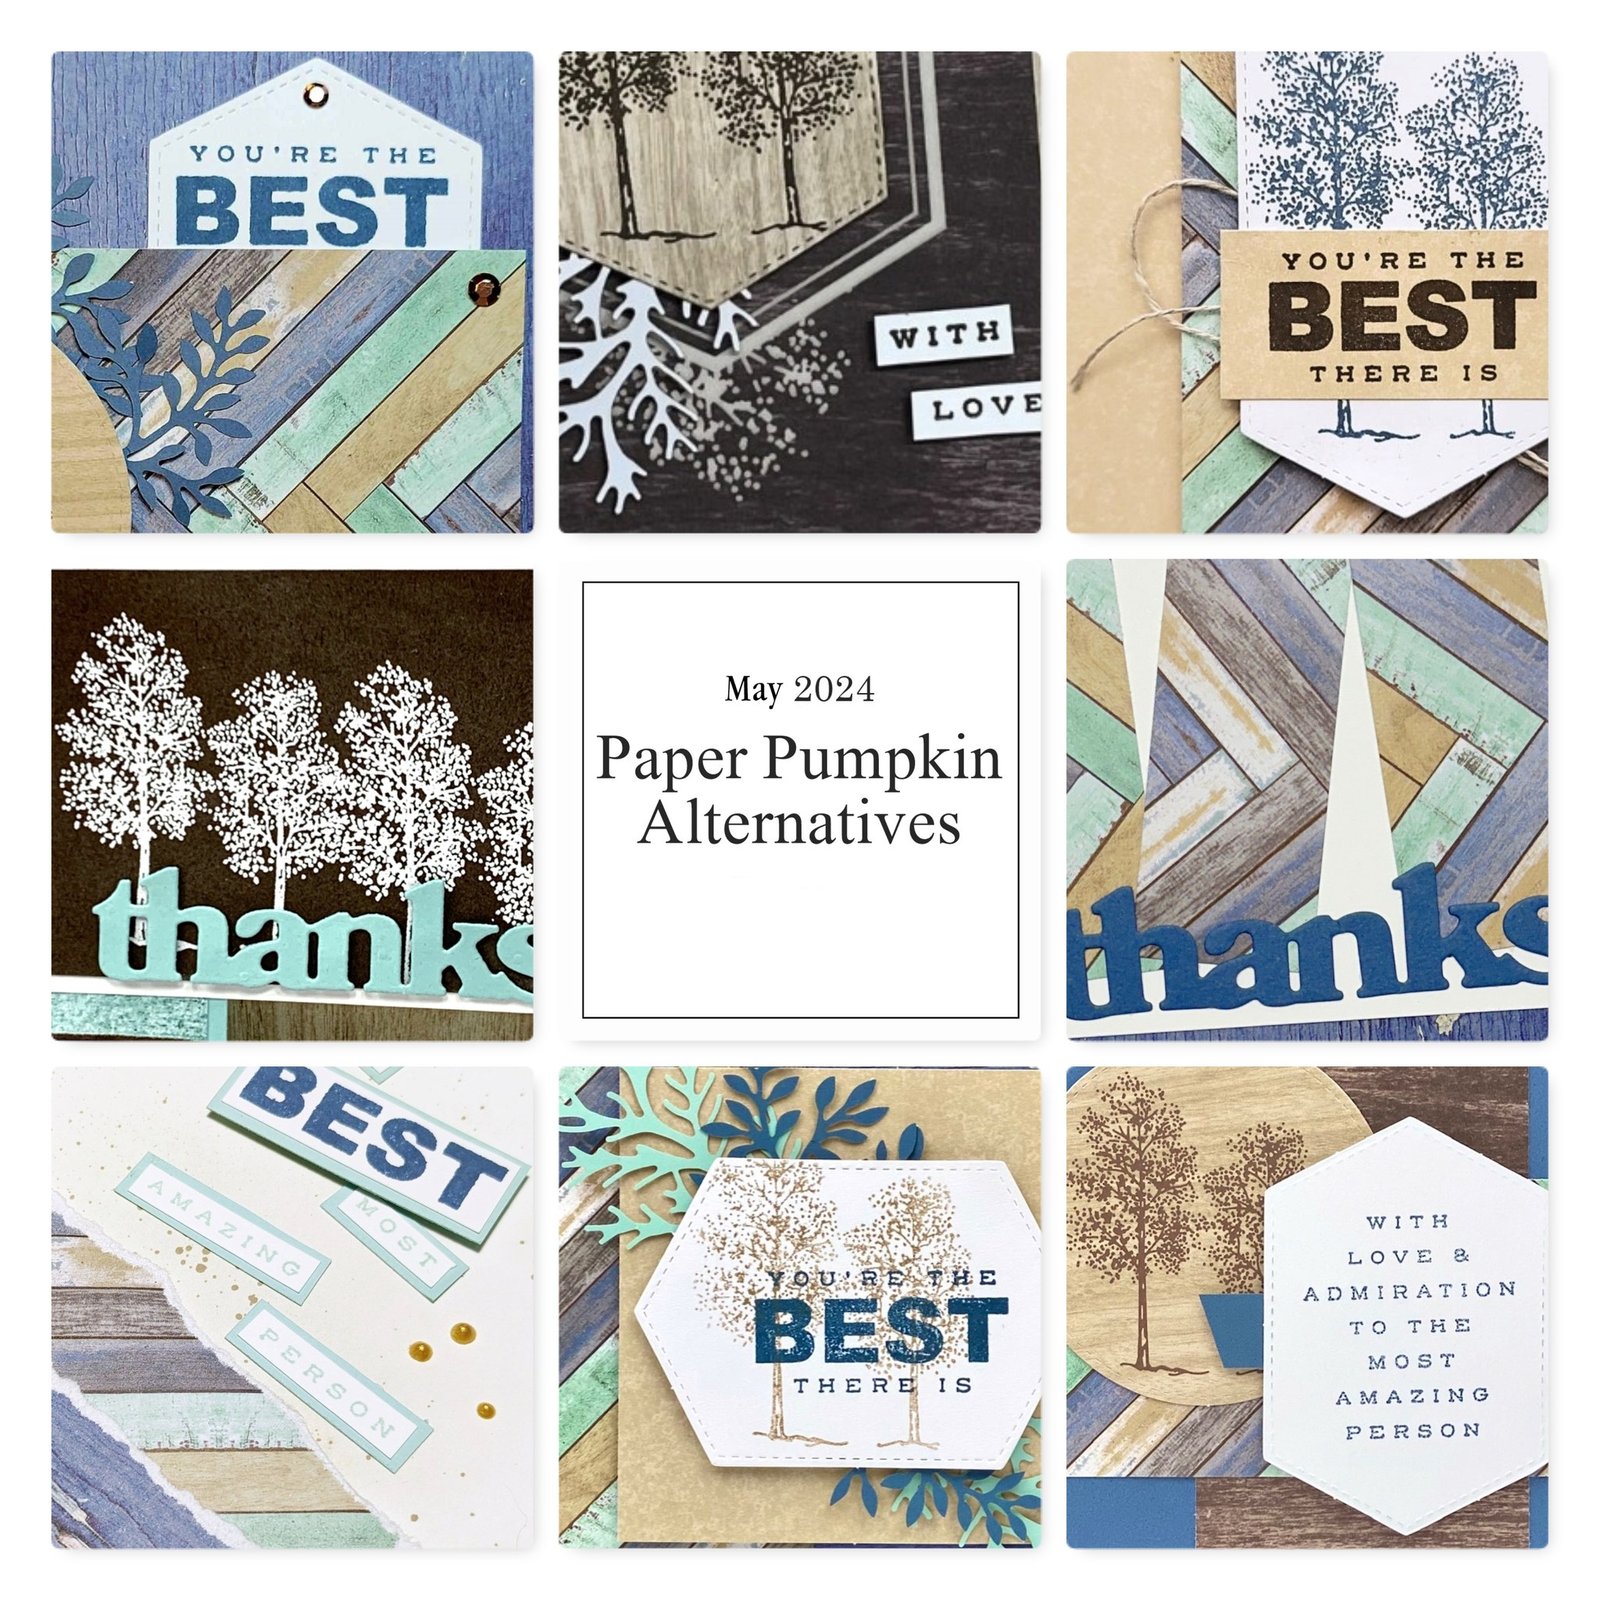
My subscribers get a free project tutorial that includes multiple bonus projects each and every month!  Here is a peak at May's tutorial projects: 
~~~

Click here to see the many new Online Exclusive products released yesterday; you can print it out too.  Fall, Halloween and Christmas as well as everyday greetings.  Here's a flyer made by Terri Gaines that you can print so see them all. Download July 24-OnlineExclusivesRelease

~~~

*current host code links: GF24T6XG or 3A73HXYB


Starting July 3rd, earn $5 coupon for every $50 you spend in July; redeem in August. 

~~~

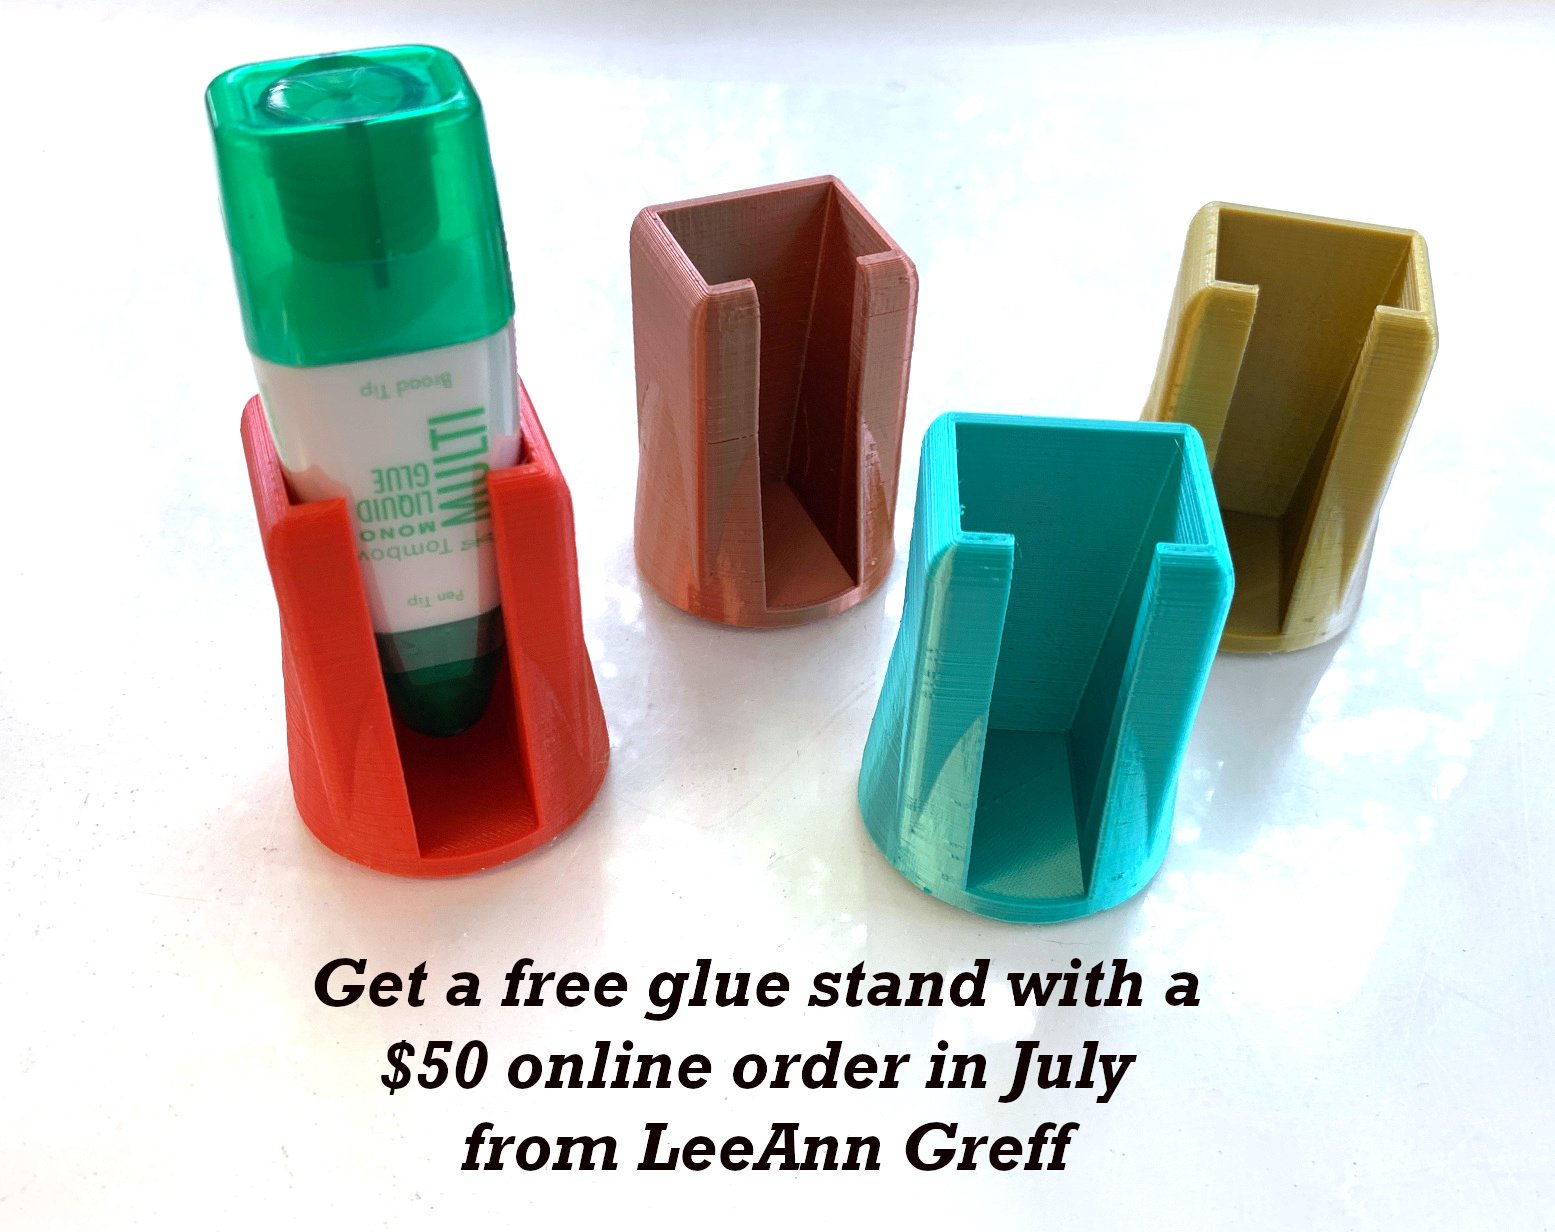
Get a free glue stand from me in July with your online order!
All online orders will receive my PDF tutorial featuring the Full of Life suite

All Posts

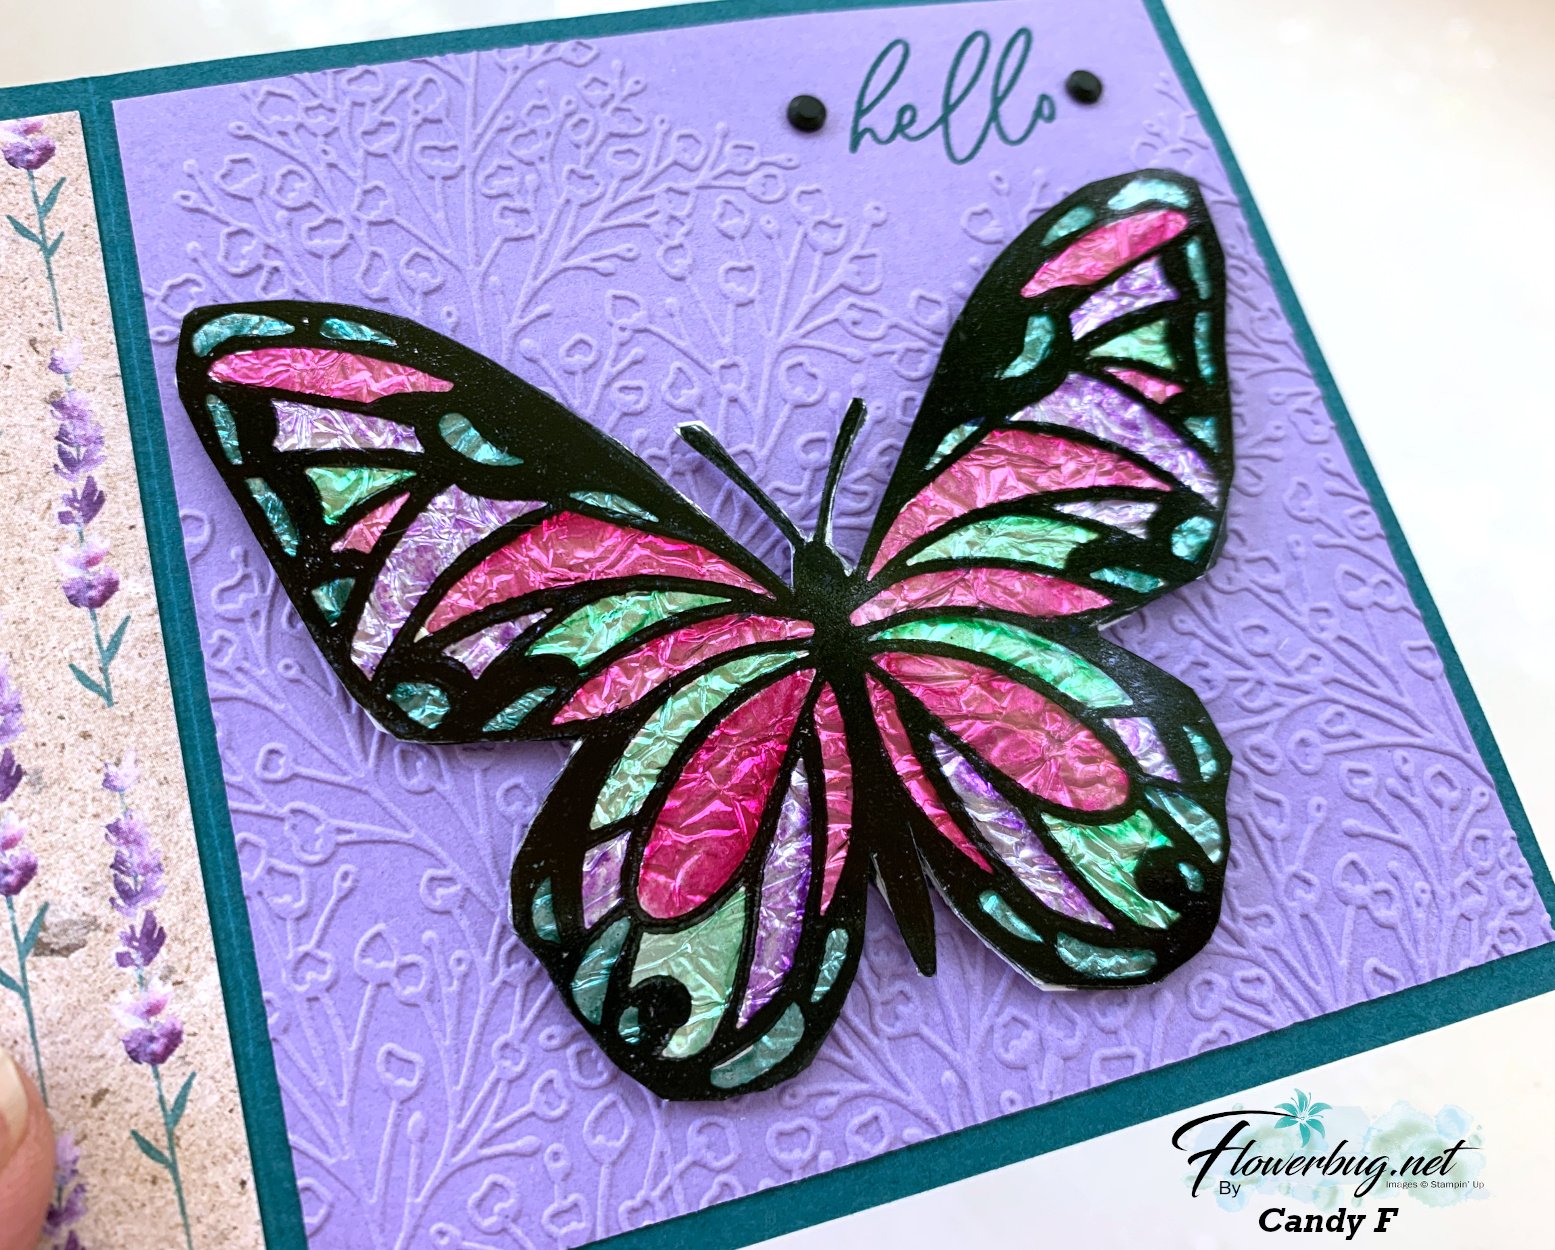
  • WOW! Check out this Beautiful Butterflies stained glass technique


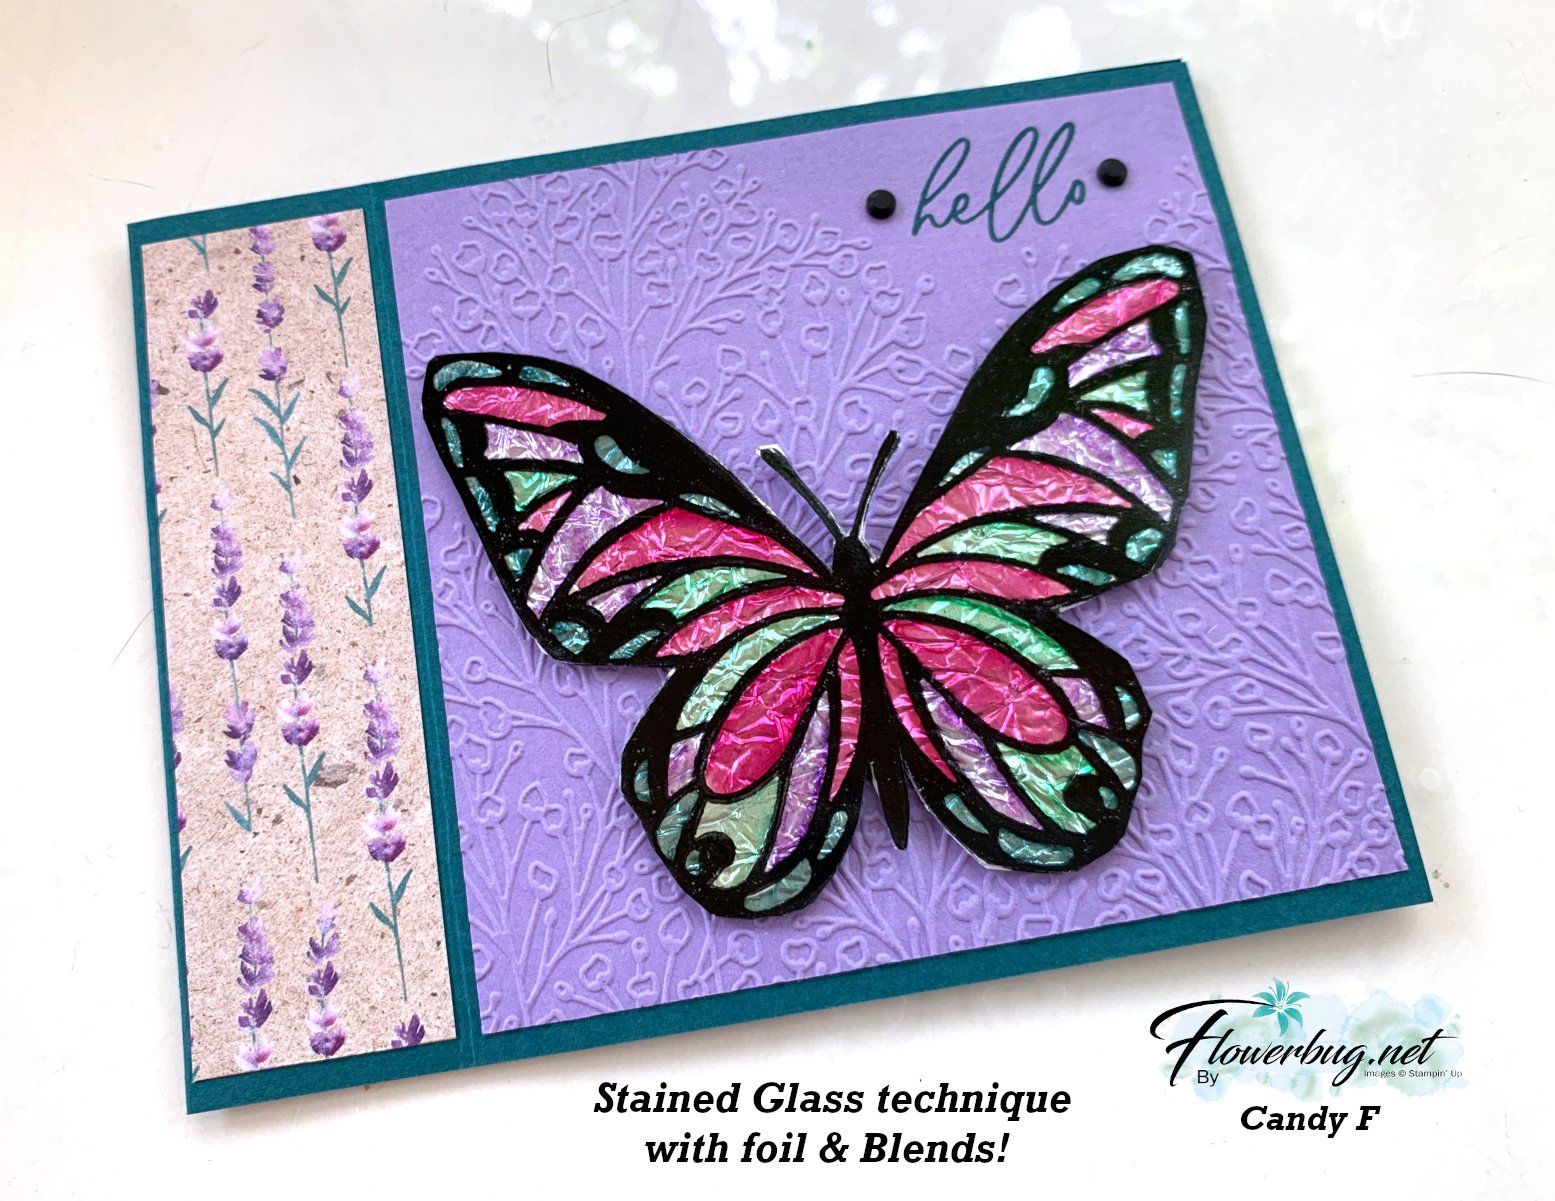
    I was amazed by Candy's card swap this month!  Look at this beauty!!


    It's called the Stained Glass technique and she made it for our July Team swap featuring Window Sheets.  

    Her colors include Pretty Peacock with Highland Heather. The bundle is called Beautiful Butterflies and can be seen here. 

    Steps:

    • She stamped the butterfly image on a window sheet using Black Stazon ink. 
    • Turn it over and color with Blends markers. 
    • Add adhesive sheet to the Blends side. Press onto slightly crinkled aluminum foil. 
    • Adhere to a second butterfly stamped on White CS for support and to cover the foil. 
    • Fussy cut; add to card. 

    Other products used here:

    Measurements:

    • Card base 11" X 4 1/4" score at 4 1/4" & 5 1/2"
    • Highland Heather 4" square
    • DSP strip 1 1/8" X 4"
    • inside 4" square

    Thank you for creating your incredible swap card Candy!  Great job!!

    ~~~

    July Specials:


    New Online Exclusives are here!  Click here

    ~~~

    Get my Turtle-y Cute PDF tutorial free with any online order in July!

    Leave a Reply

    Your email address will not be published. Required fields are marked *

  • Wow; Mixed Florals Reverse Image Technique with window sheets!


    I'm continuing to share our July team swaps featuring window sheets. 

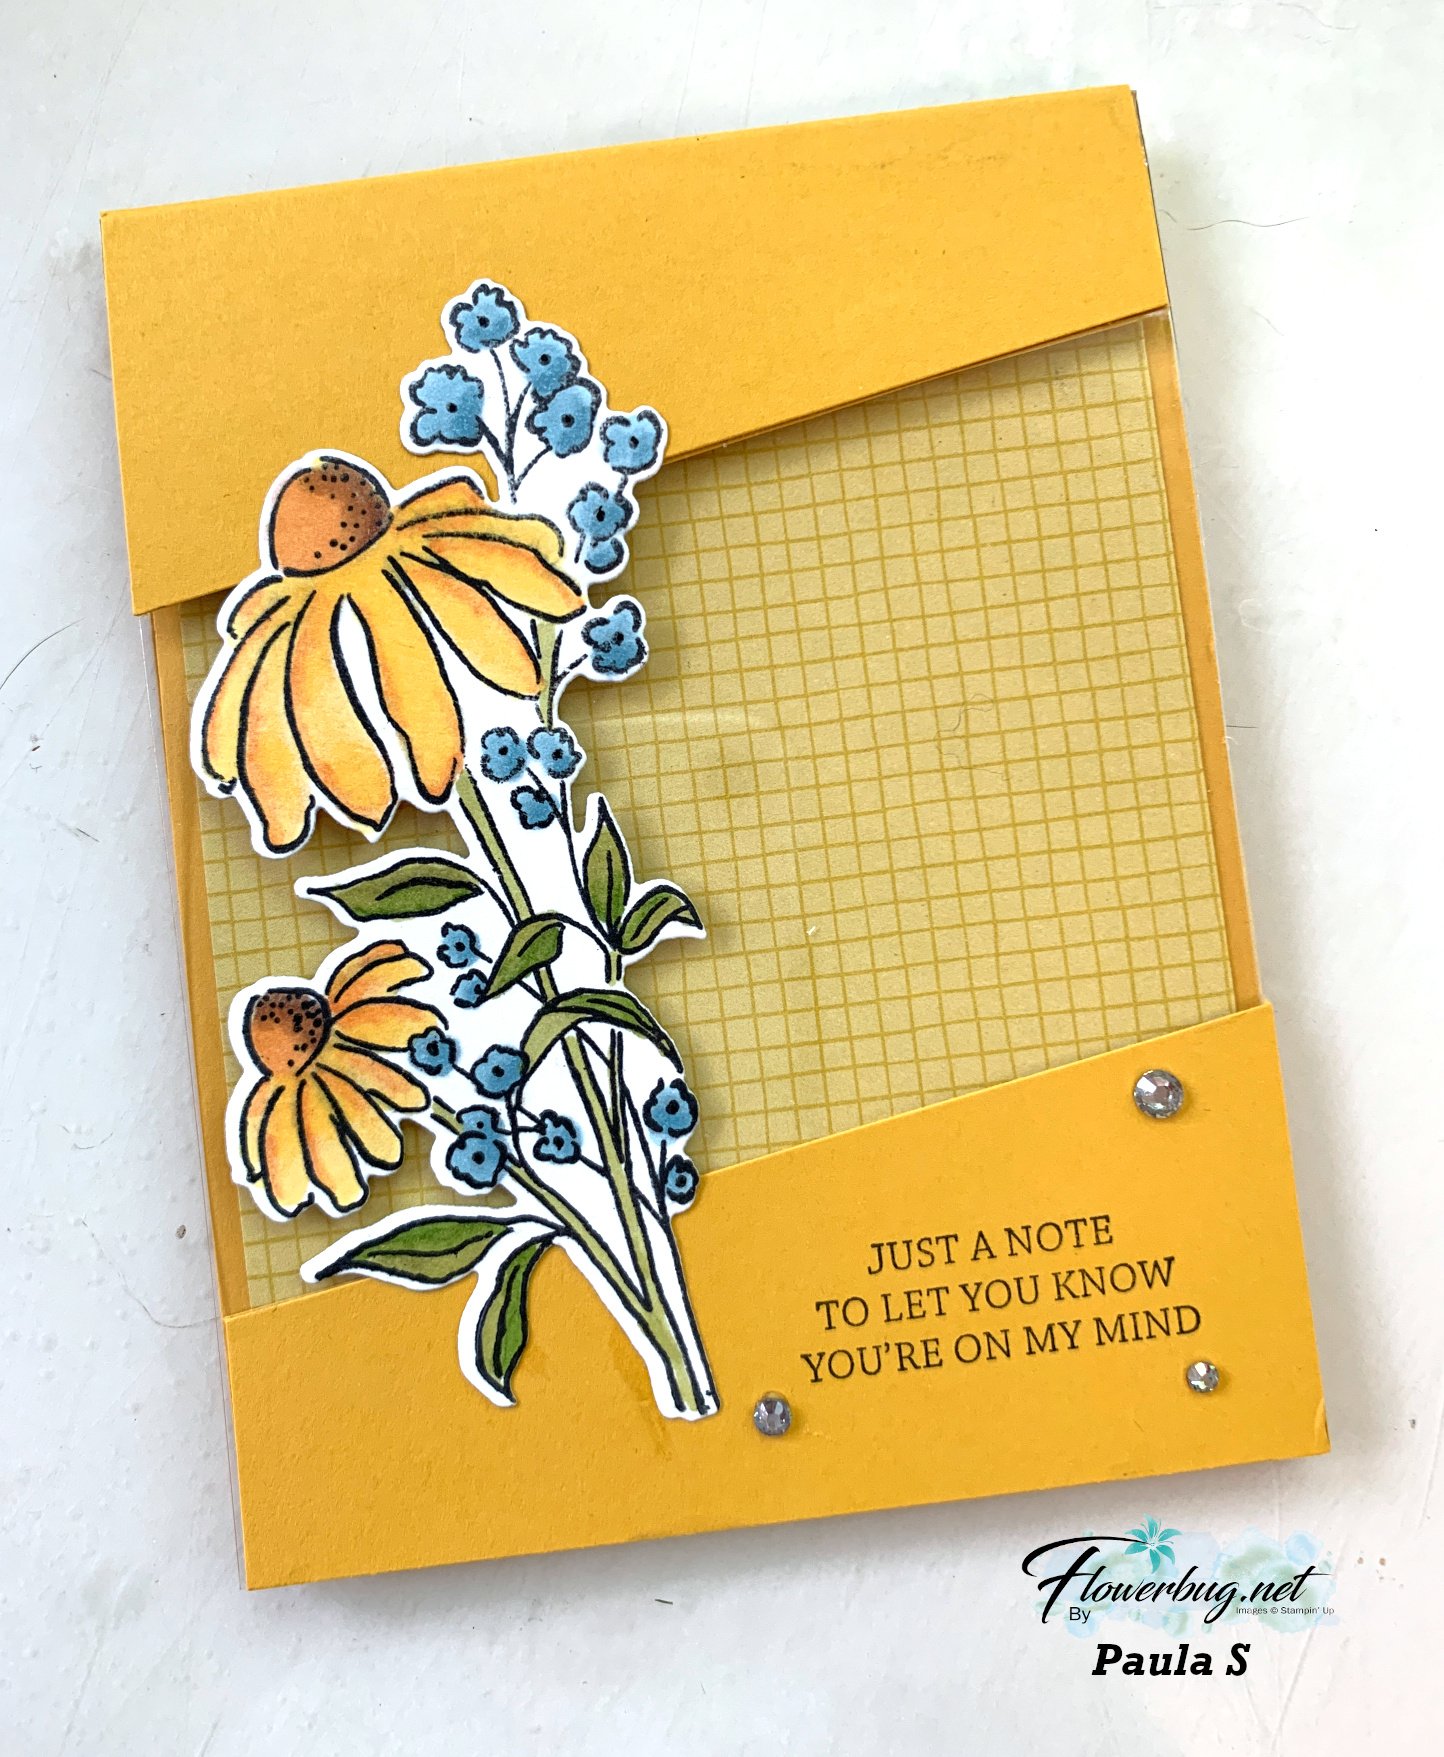
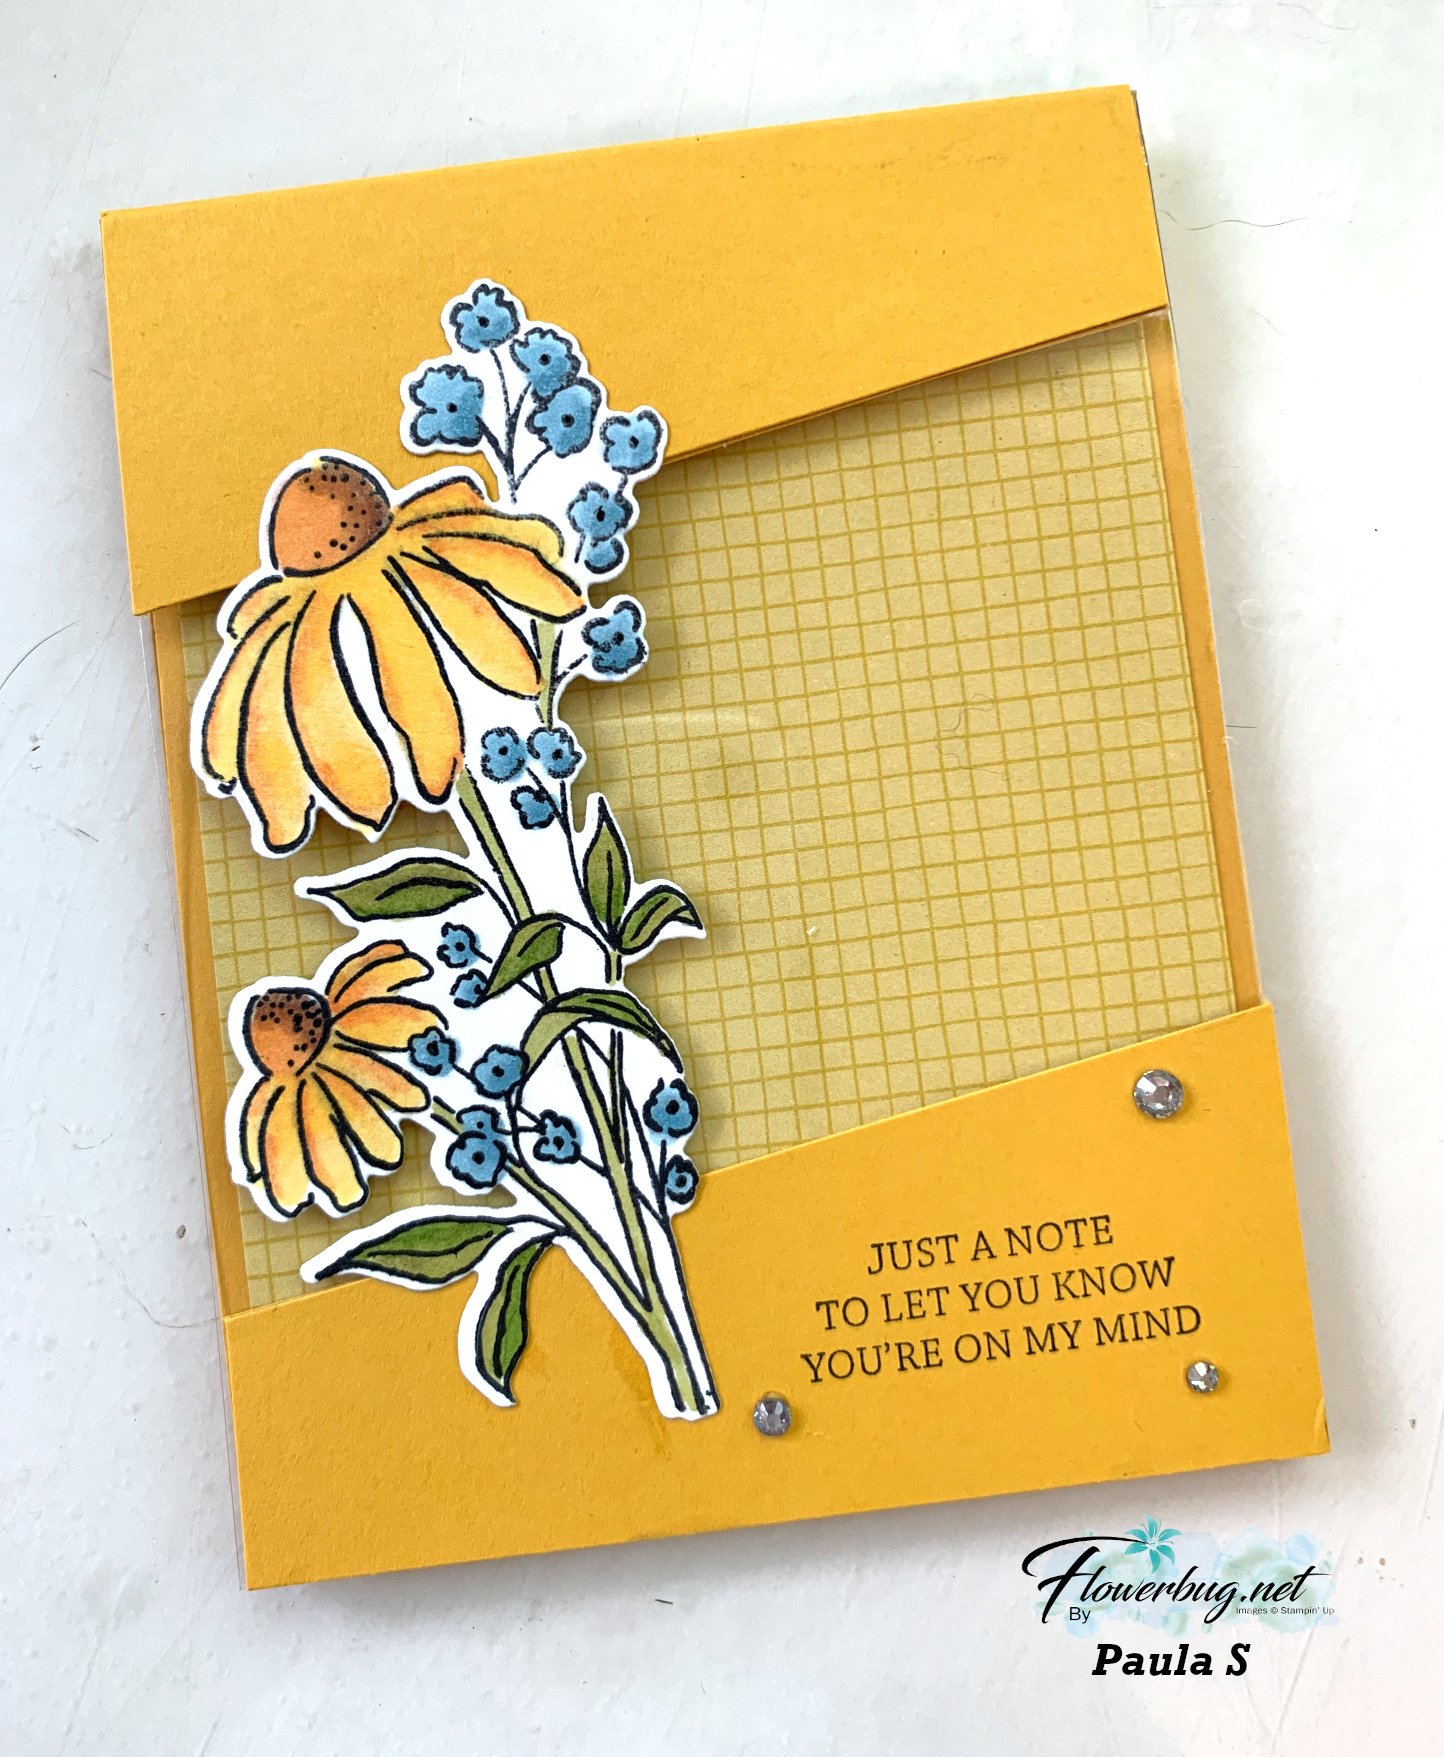
    Look at the stunning card made by Paula. For her card swap she made a Reverse Image technique cased from Kylie Bertucci.  

    The stamp & die bundle is called Mixed Florals and can be seen here.

    She used Crushed Curry for her card base and Floral Impressions designer paper.  I'm so impressed by her gorgeous coloring with the Blends markers!  What pretty shading she achieved! 

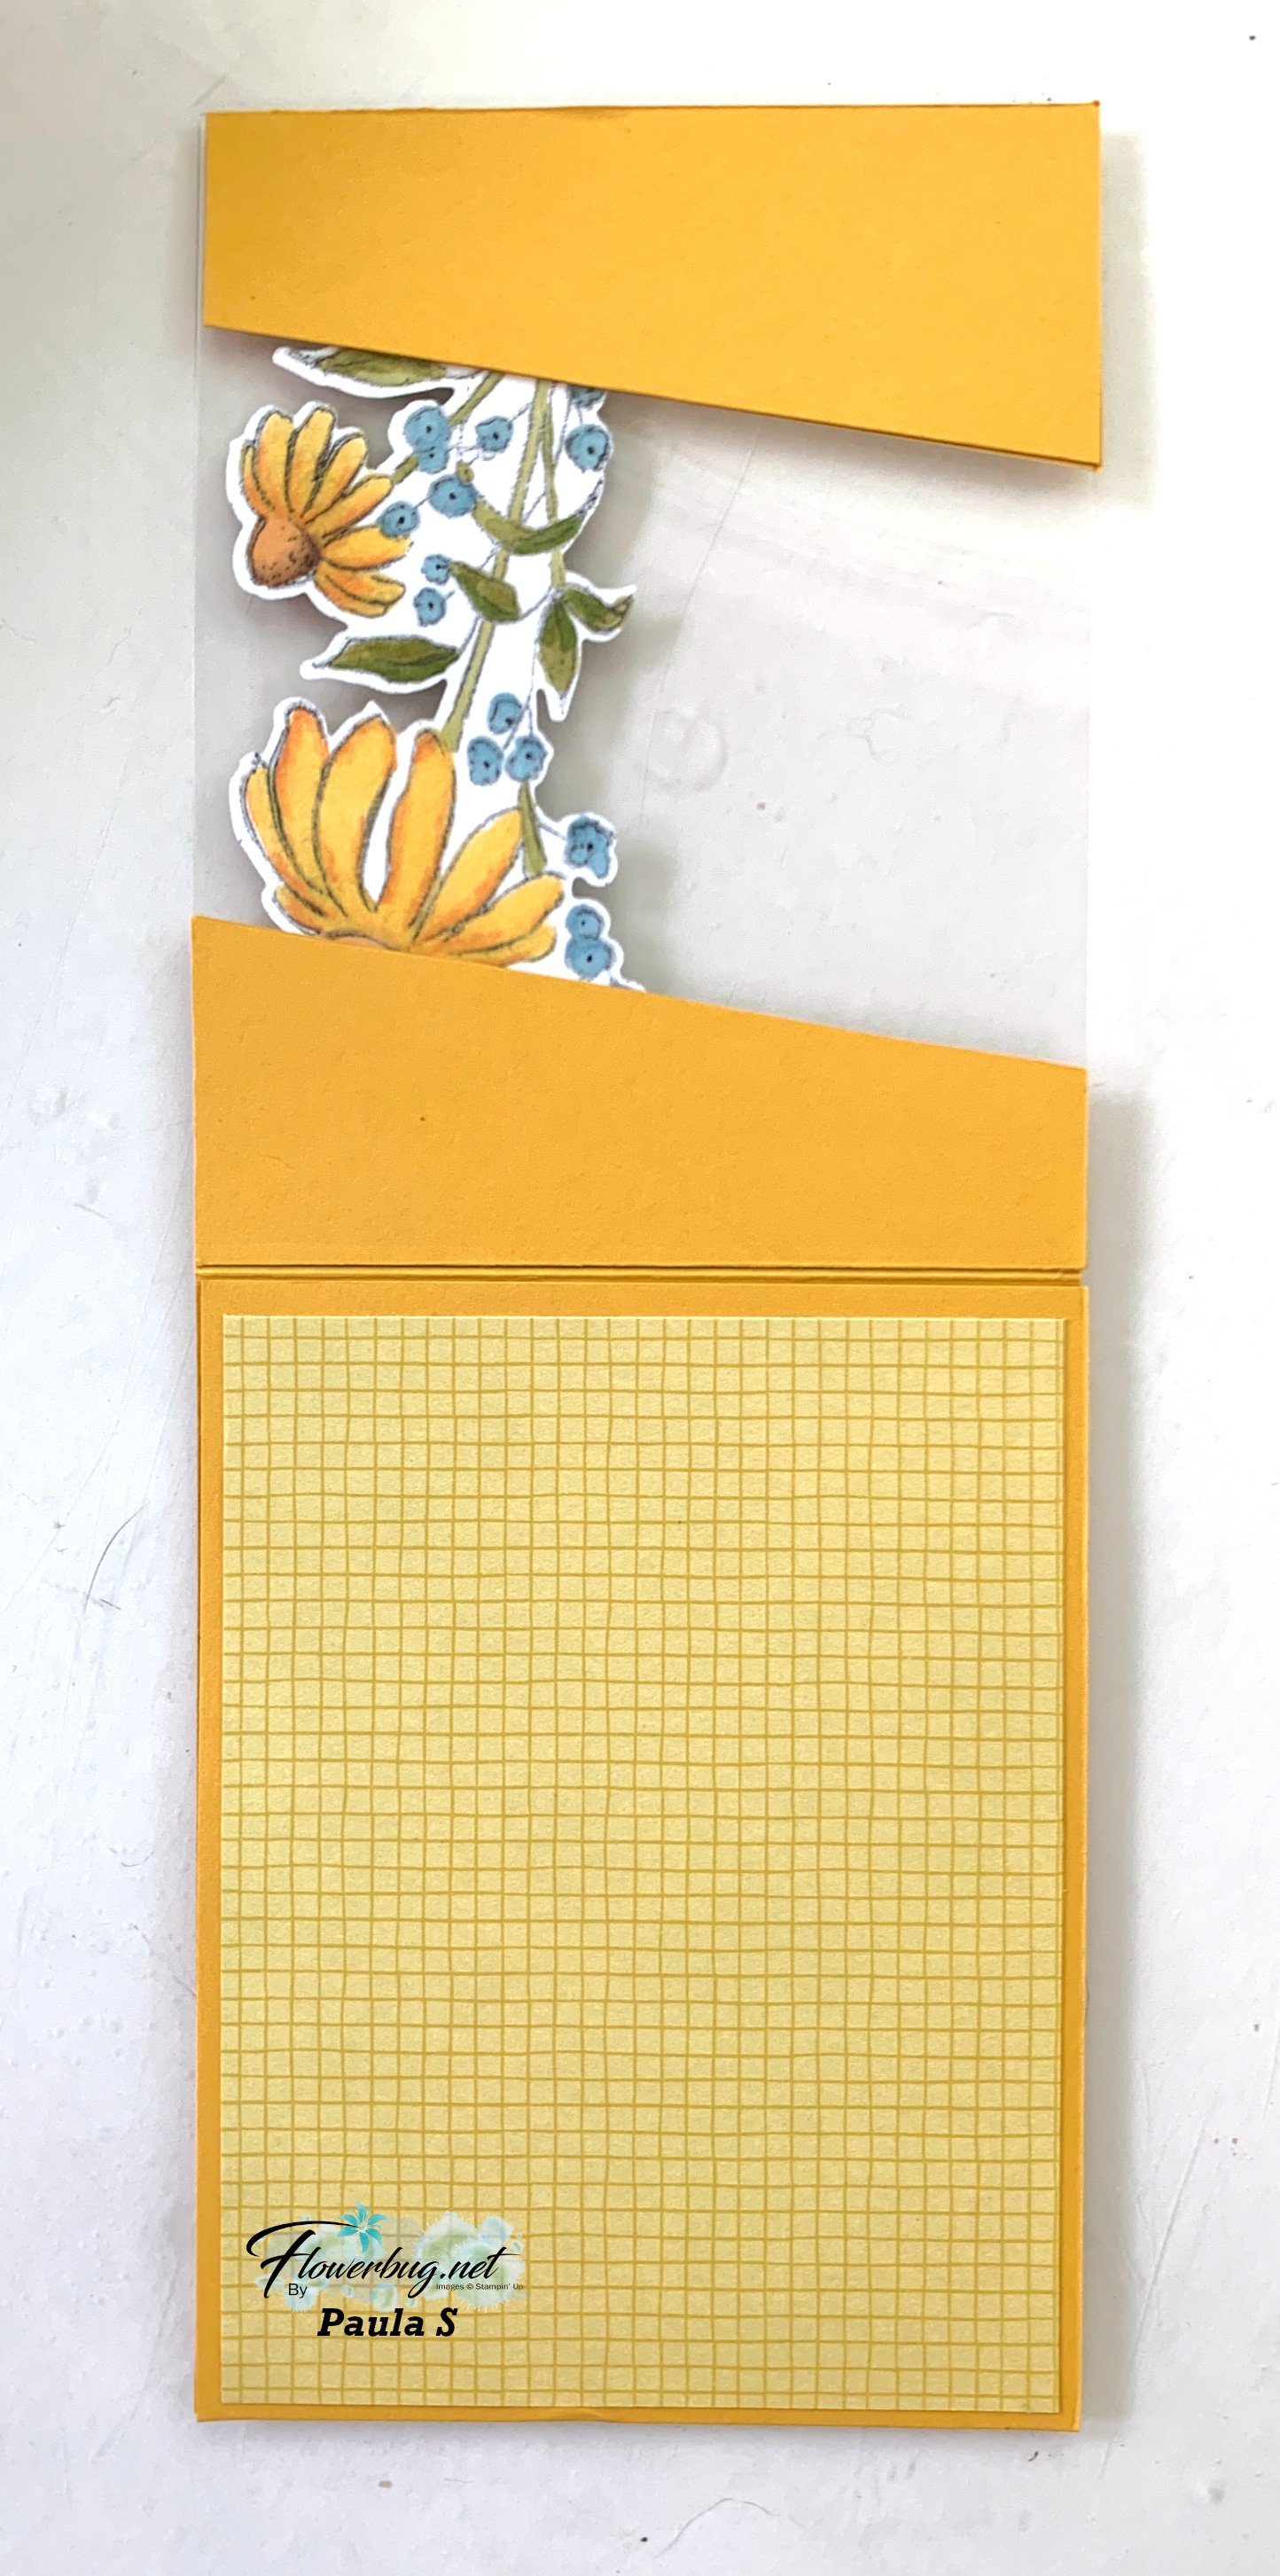
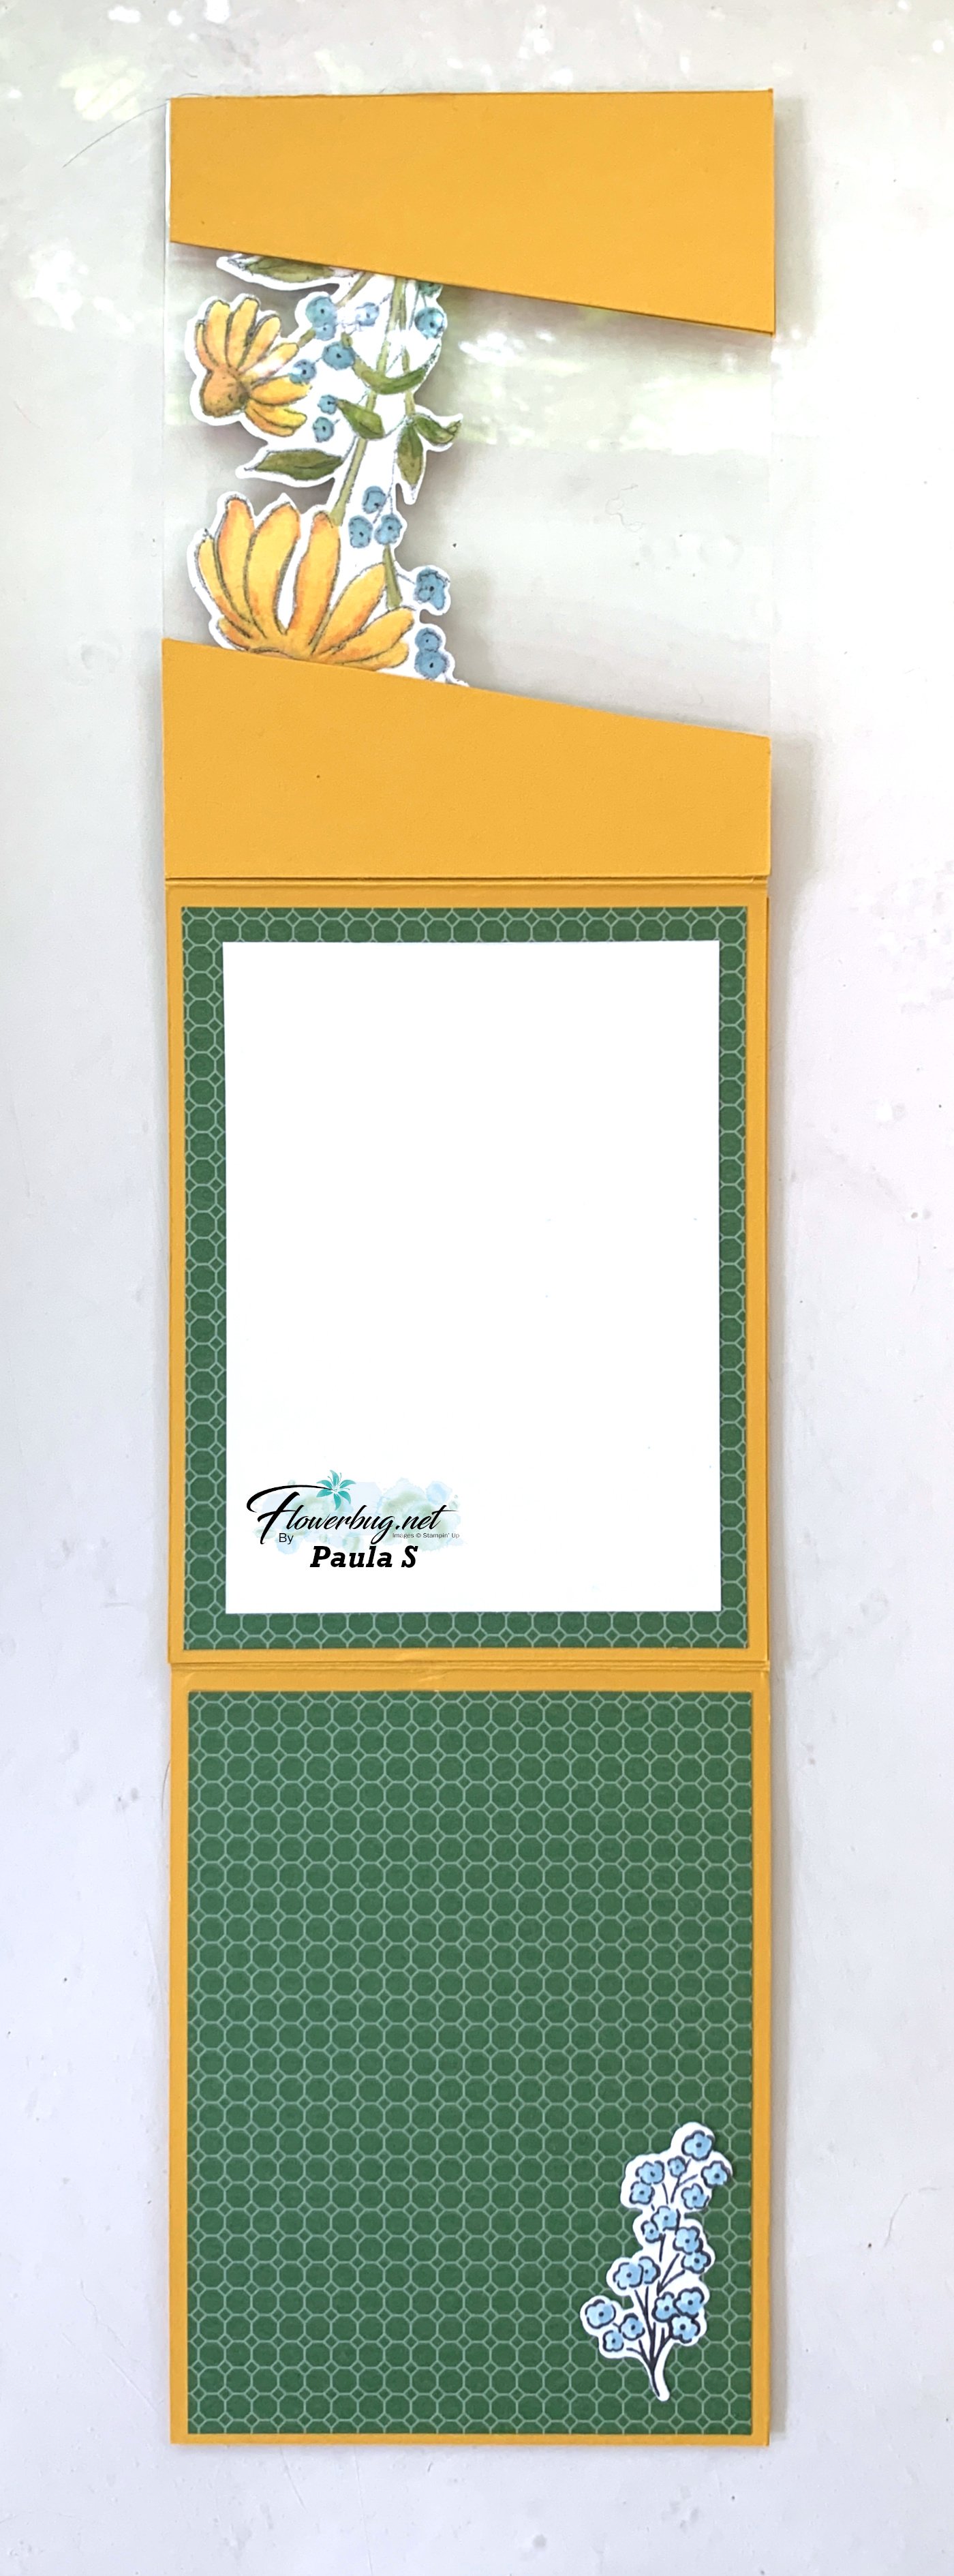
    Below you can see how she also colored the reverse side so when you flipped up the card front it's just as pretty on the inside!  So neat.  I also love the diagonal slant on the front. 

    The card opens to reveal 3 layers!  

    Measurements:

    • Crushed Curry card base- 1 at 4 1/4" X 11" scored at 5 1/2", another at 7 1/4" X 4 1/4" scored at 5 1/2" (cut on the diagonal) and two extra slat pieces to cover both front & inside of the card. 
    • DSP – 4" X 5 1/4" X 3 pieces
    • White inside 3 1/2" X 4 3/4"; plus die-cuts 


    Thanks so much for your creative & beautiful card Paula! 

    ~~~

    July Specials:


    New Online Exclusives are here!  Click here

    ~~~

    Get my Turtle-y Cute PDF tutorial free with any online order in July!

    Leave a Reply

    Your email address will not be published. Required fields are marked *

  • Free Shipping starts today! Get an extra $10 in rewards with me. Adorable Tractor & Co card


    Today starts the Free Shipping promotion that lasts for 3 days! And I'm adding on to your rewards too!

    When you order $75 in product from me you'll receive an extra bonus of $10 in product rewards. Here's how it works:

    • Once your order reaches the $75 mark (before tax) the free shipping will kick in. 
    • You'll automatically receive 10% product rewards from Stampin' Up! 
    • I'll gift you an extra $10 in rewards to your online account.  *you must opt in for both contact and gift rewards though.  
    • You'll have up to a year to redeem these rewards. 
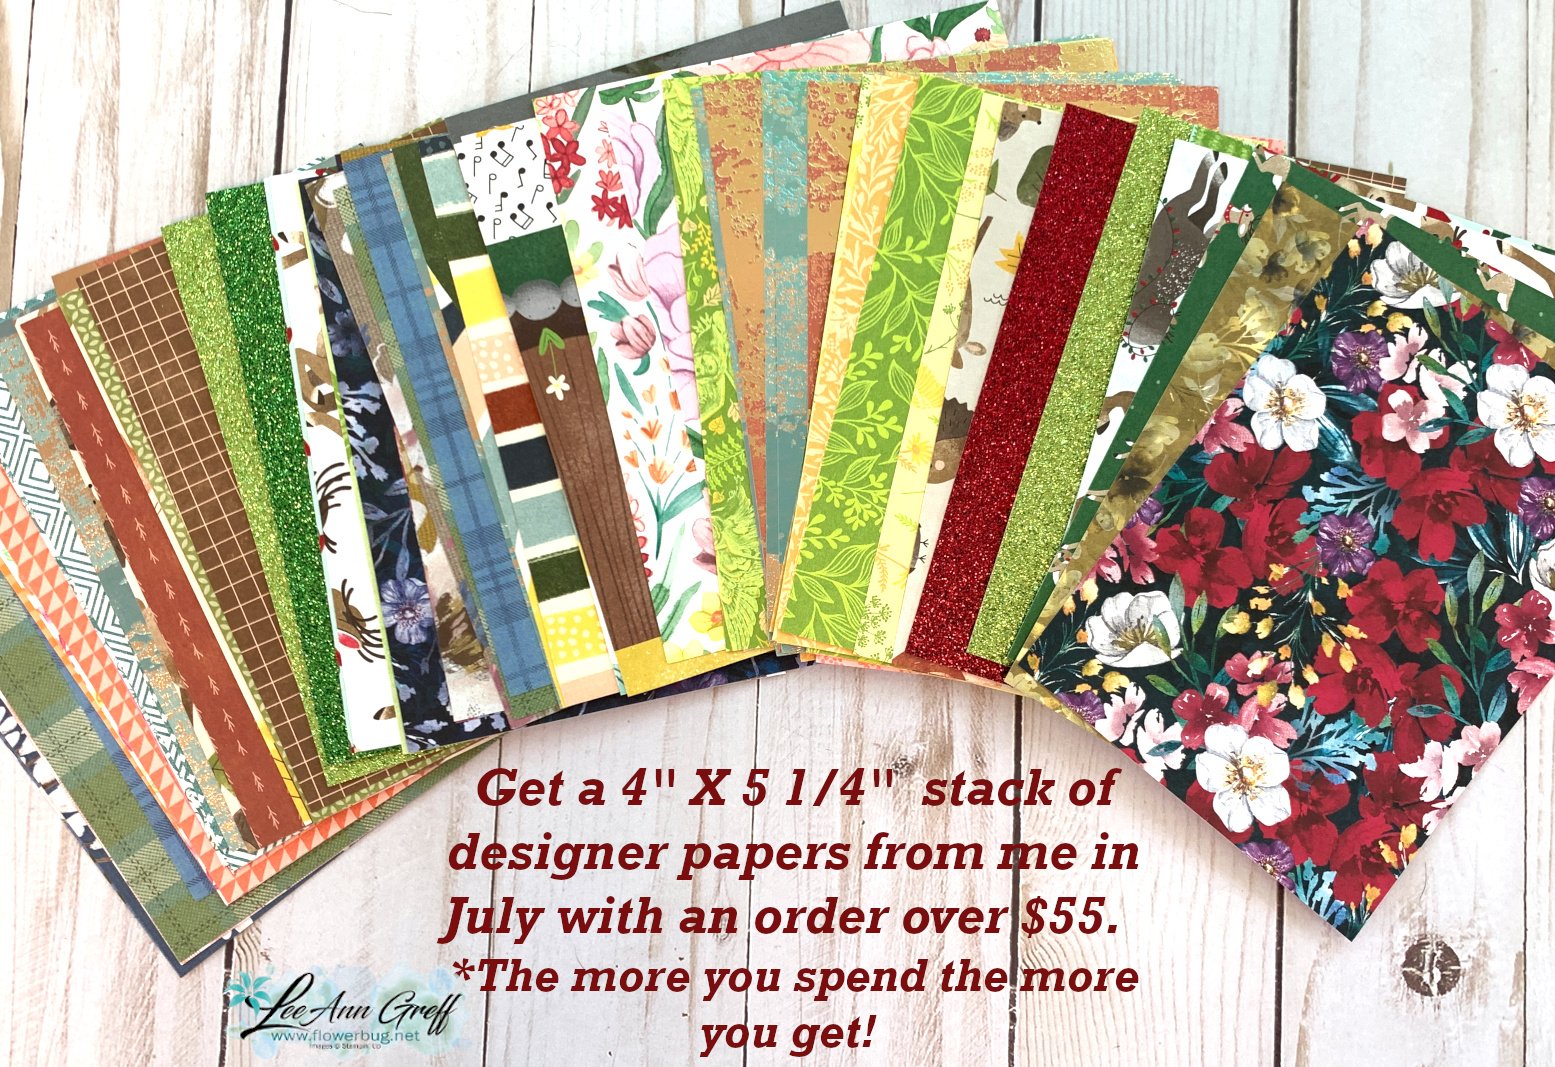
    • You'll also receive a gift of a DSP sampler from me as well (see details below). 

    Shop online here. 

    ~~~

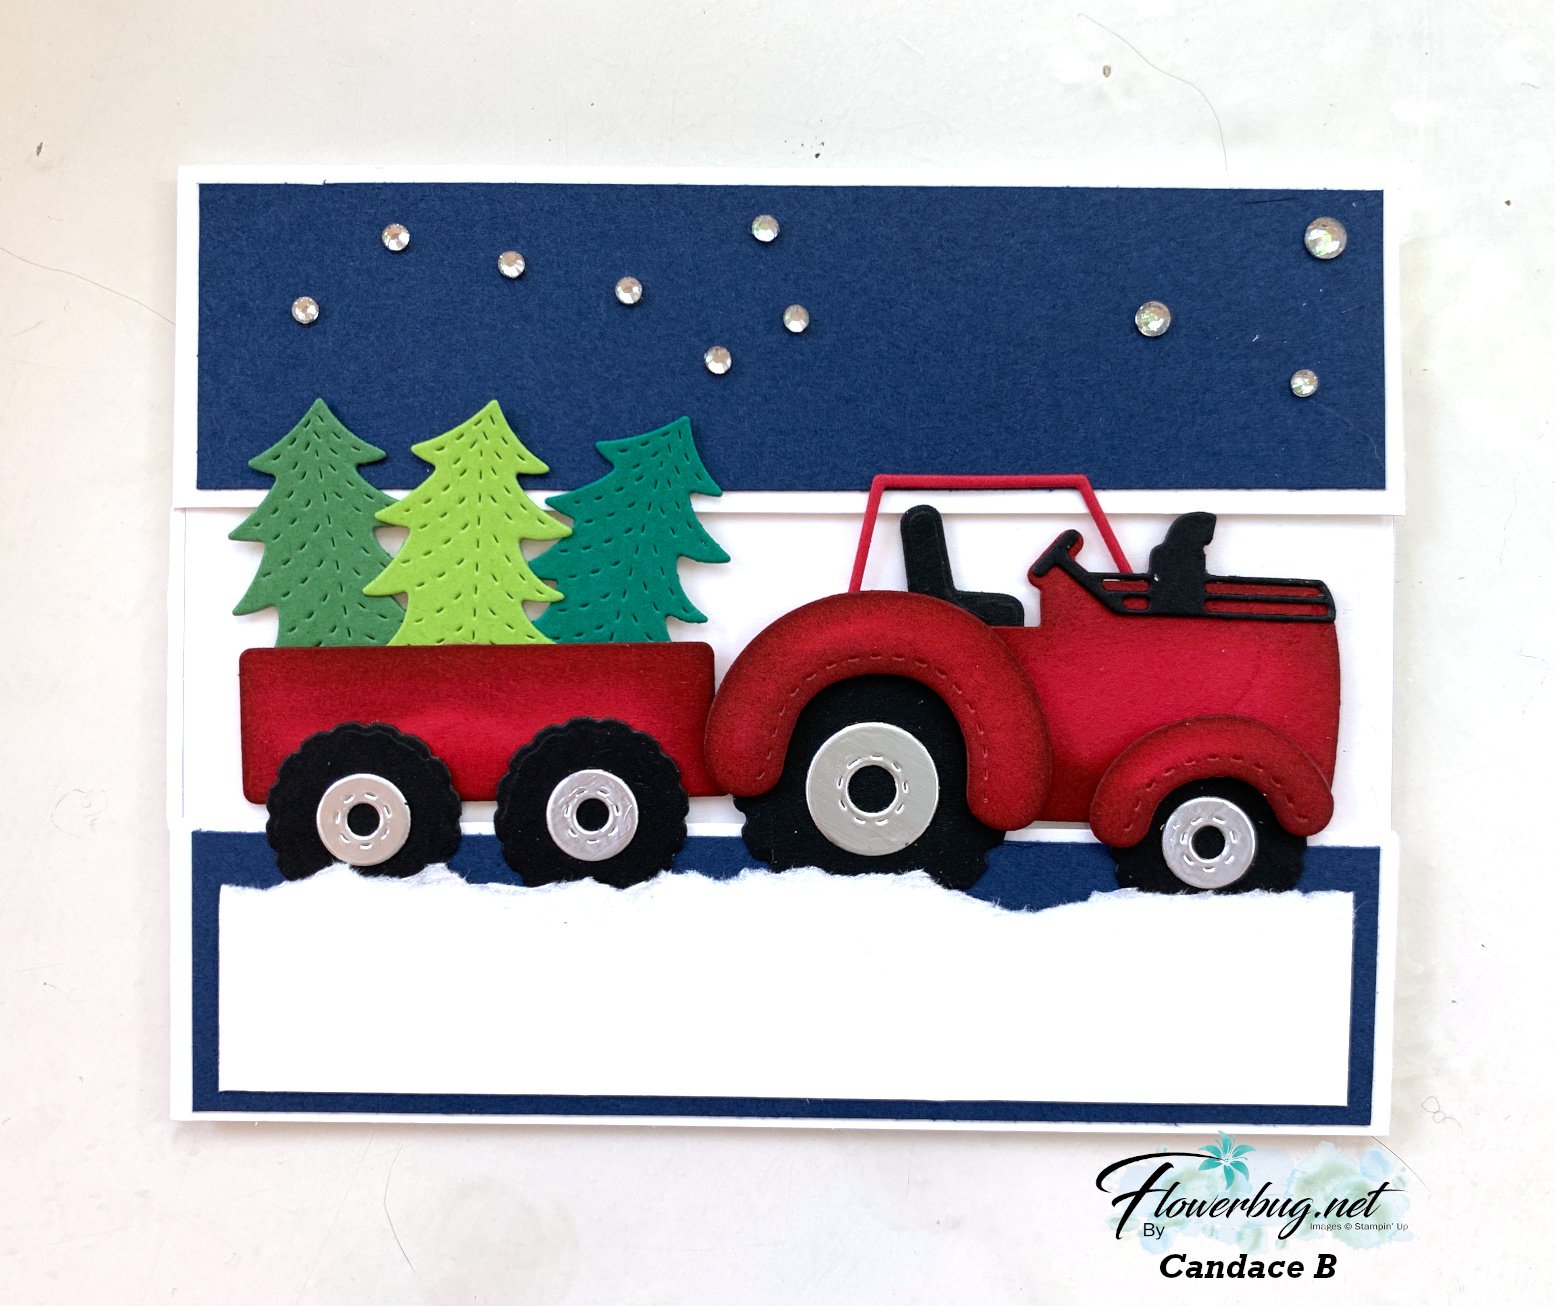
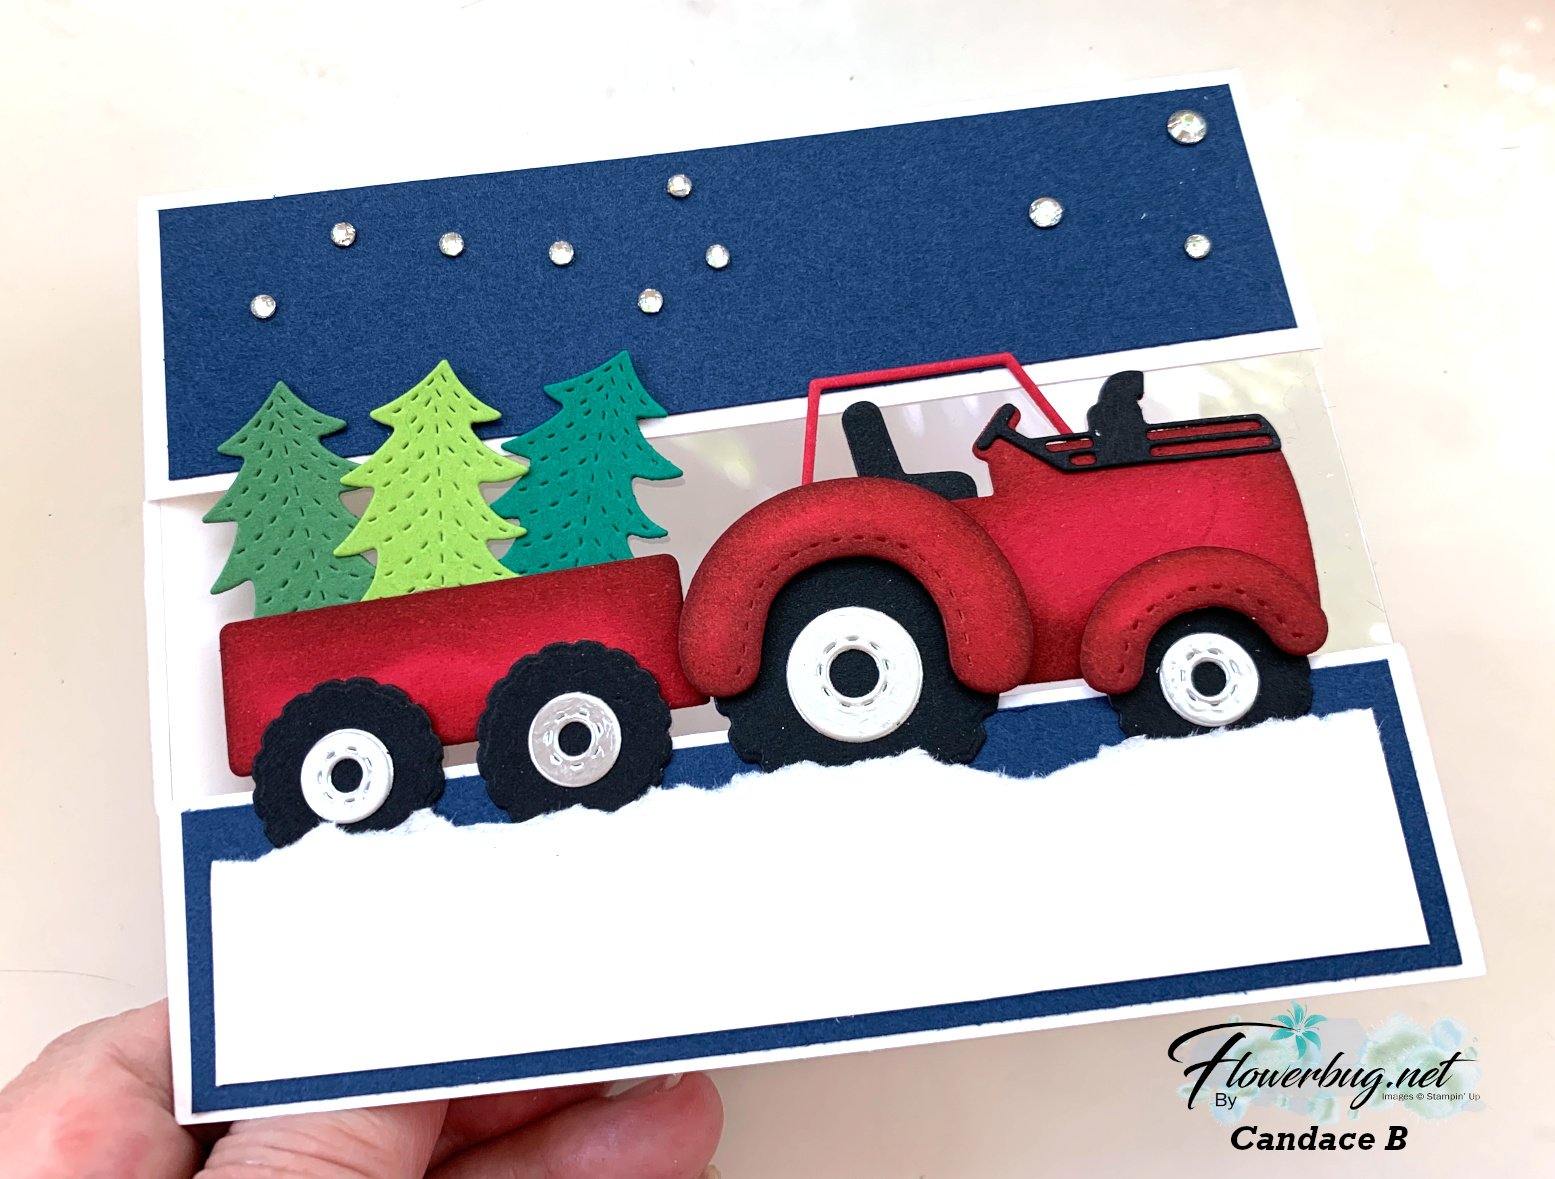
    Look at this super cute tractor card Candace made!  This bundle has some amazing pieces in it.  

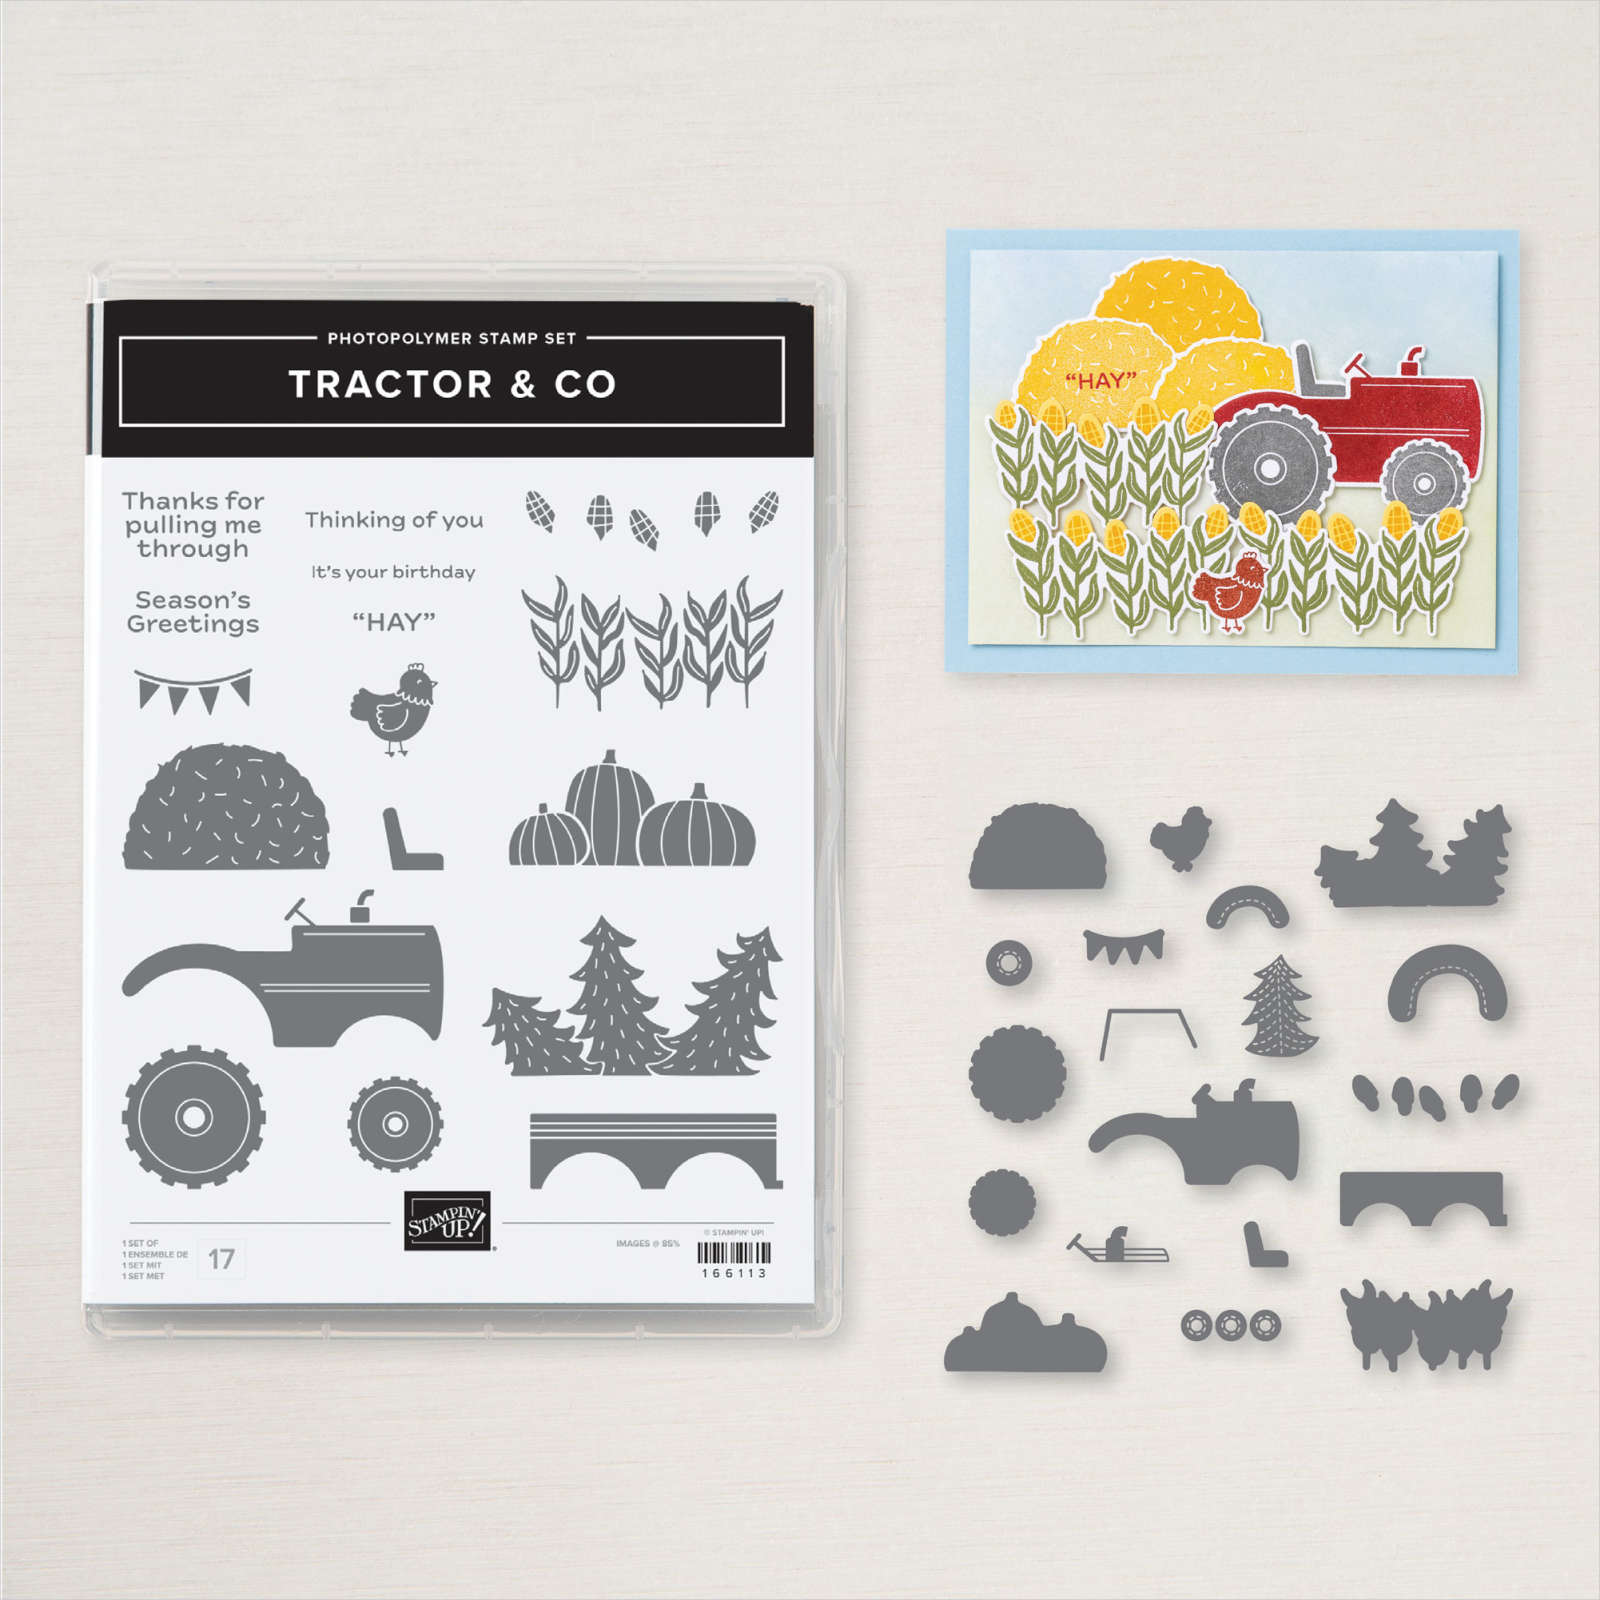
    This new Tractor & Co bundle is from our Online store and can be found here.  

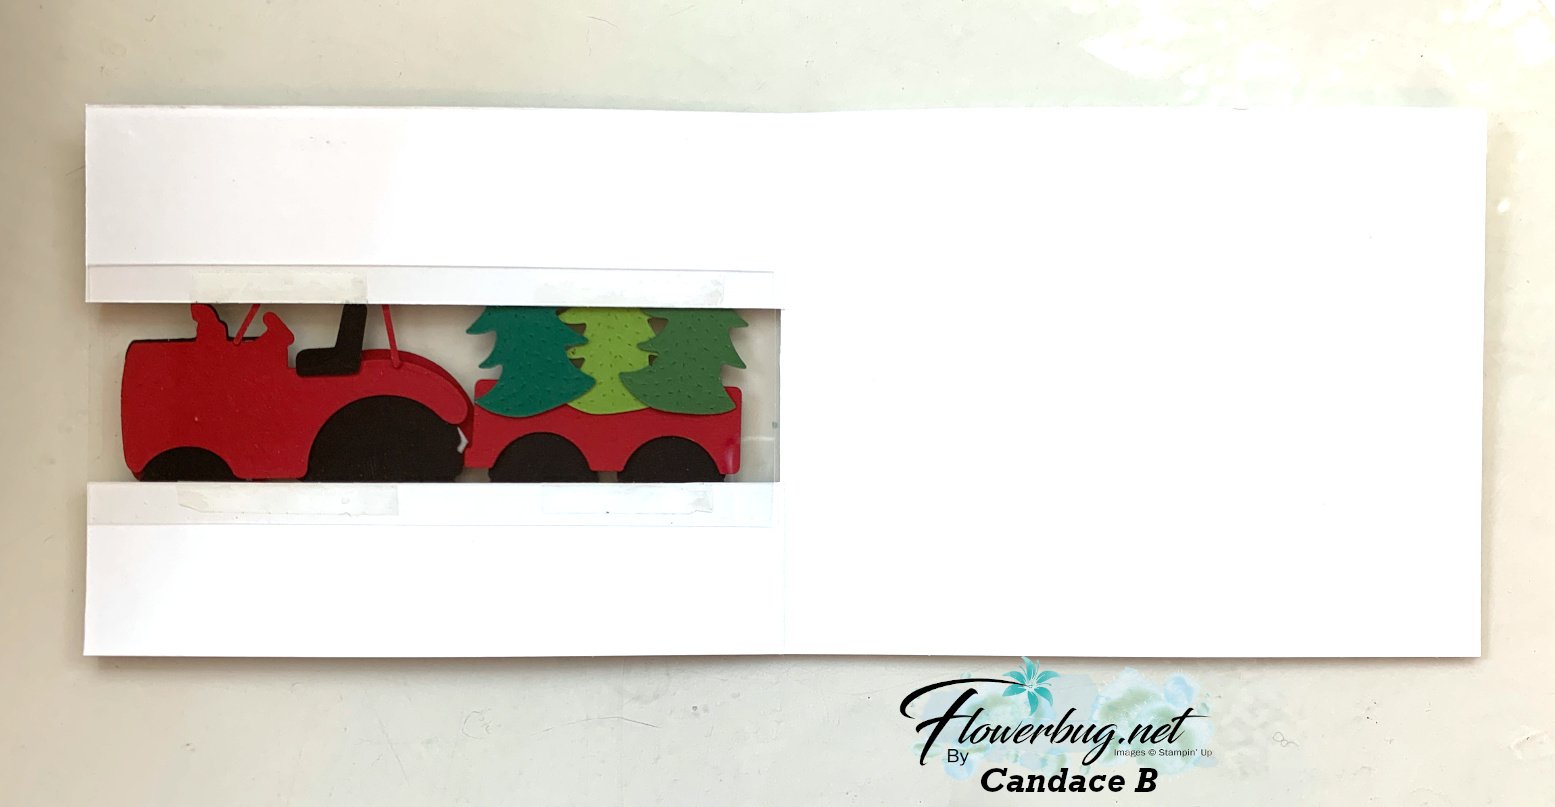
    Here's the inside view where you can see how she trimmed a portion of her card front away to create the window effect. *She'd normally stamp or add to the inside but she had to rush to get them mailed out in time.  

    Measurements:

    • White card base 11" X 4 1/4" score at 5 1/2". Trim away 1 3/8" from the center 
    • Navy layers – top is 5 1/4" X 1 3/8", lower is 5 1/4" X 1 1/4"
    • White torn edge 5" X 1"
    • scraps for tractor & tree die-cuts

    Her colors & sponging are amazing as usual.  She used Silver foil for her tire rims and clear rhinestones for the starry sky.  

    ~~~

    July Specials:


    New Online Exclusives are here!  Click here

    ~~~

    Get my Turtle-y Cute PDF tutorial free with any online order in July!

    Leave a Reply

    Your email address will not be published. Required fields are marked *


Notice: LeeAnn Greff, Independent Stampin’ Up! Demonstrator, Manager. The content of this website is my sole responsibility as an independent Stampin’ Up! demonstrator and the use of, and content of, the classes, services, or products offered on this website is not endorsed by Stampin’ Up! Copyright 2025