/


Latest Post

Blossoms in Bloom; cut for 2 cards at once!


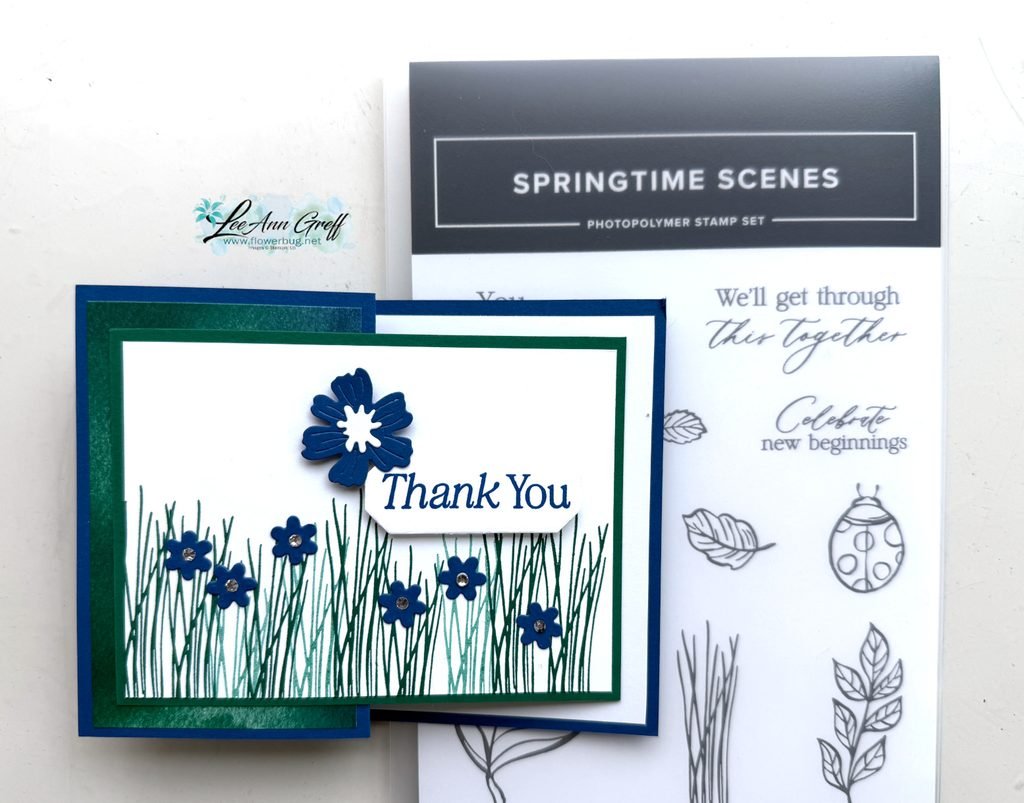
The Blossoms in Bloom bundle seen here was a big hit at my New Catalog open house event last week.  Everyone was amazed at the many options you have with the dies and stamps. 

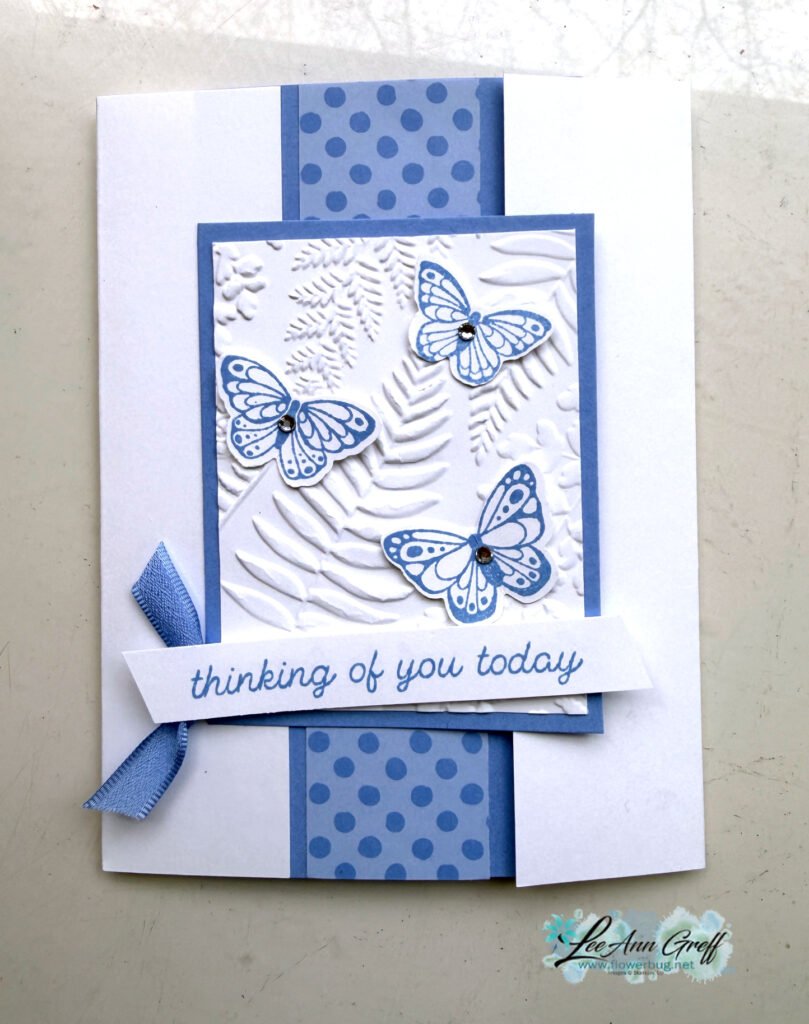
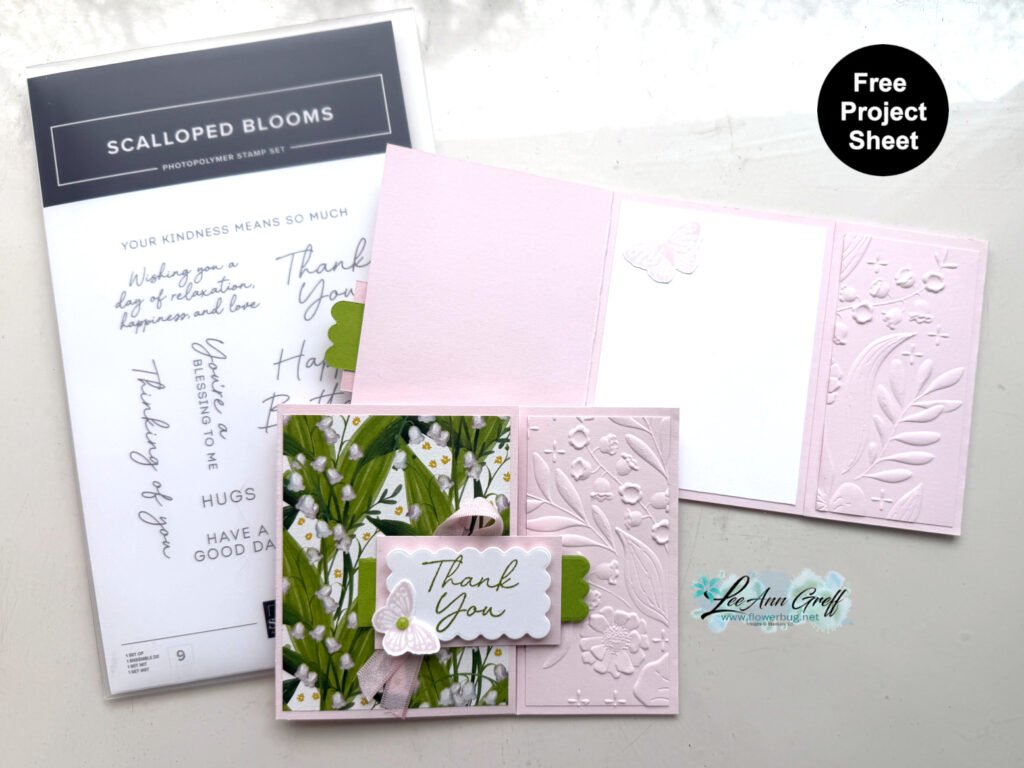
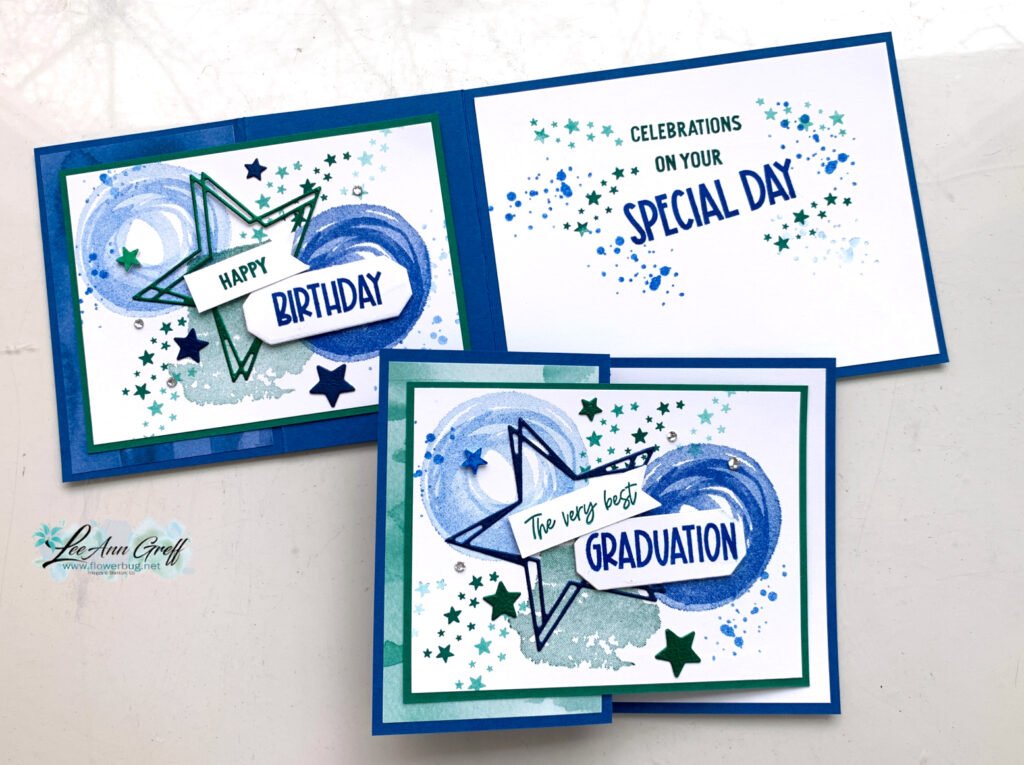
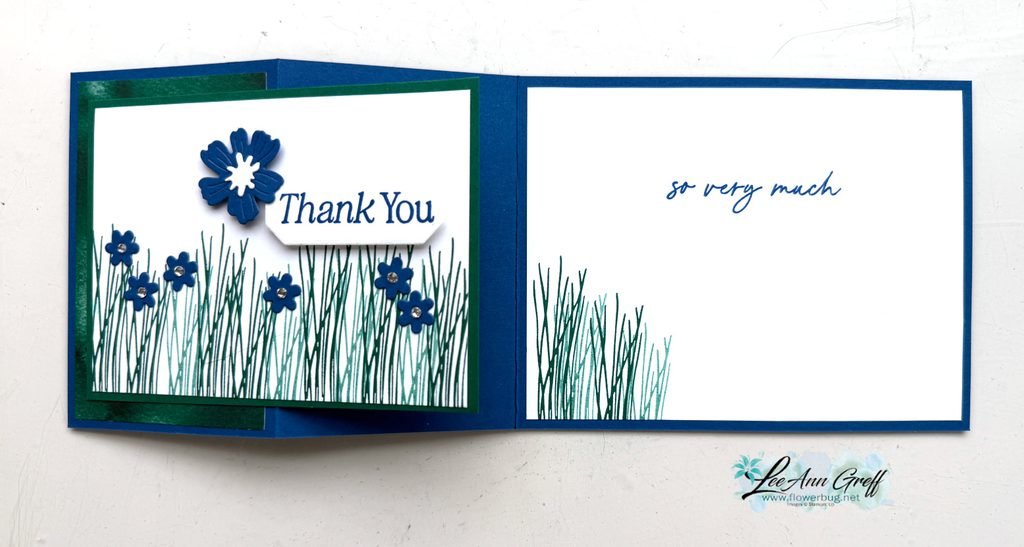
Look at these pretty cards!  They're made from one set of dies cut in half to create two cards at once. 

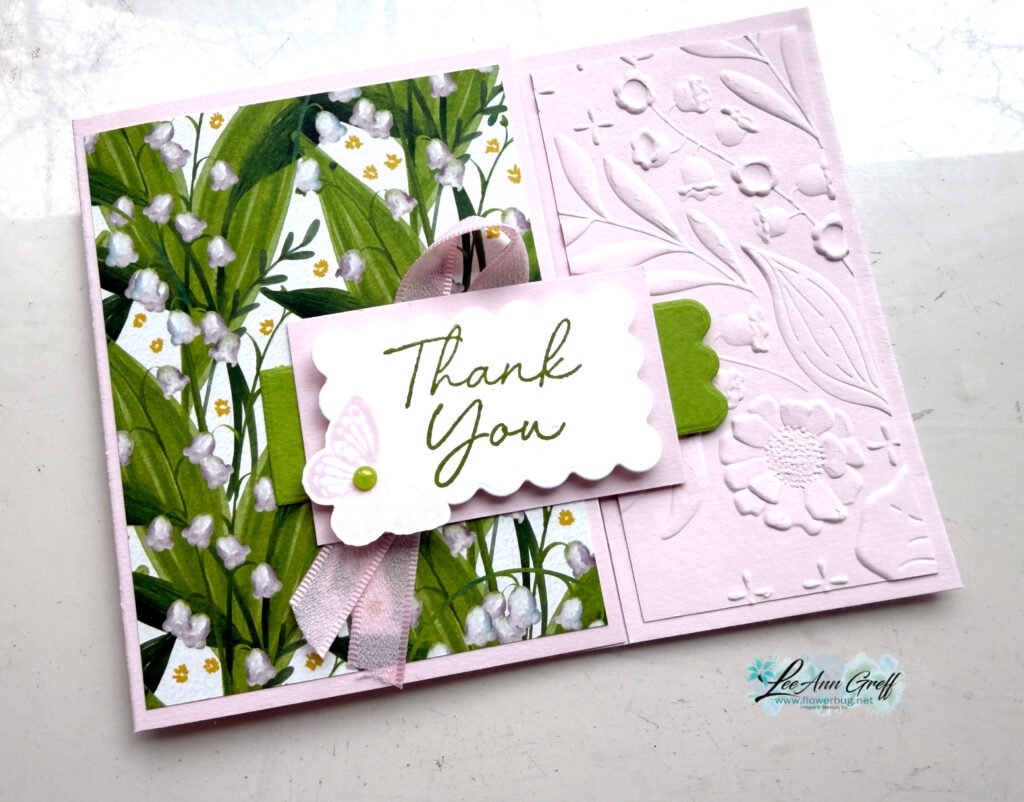
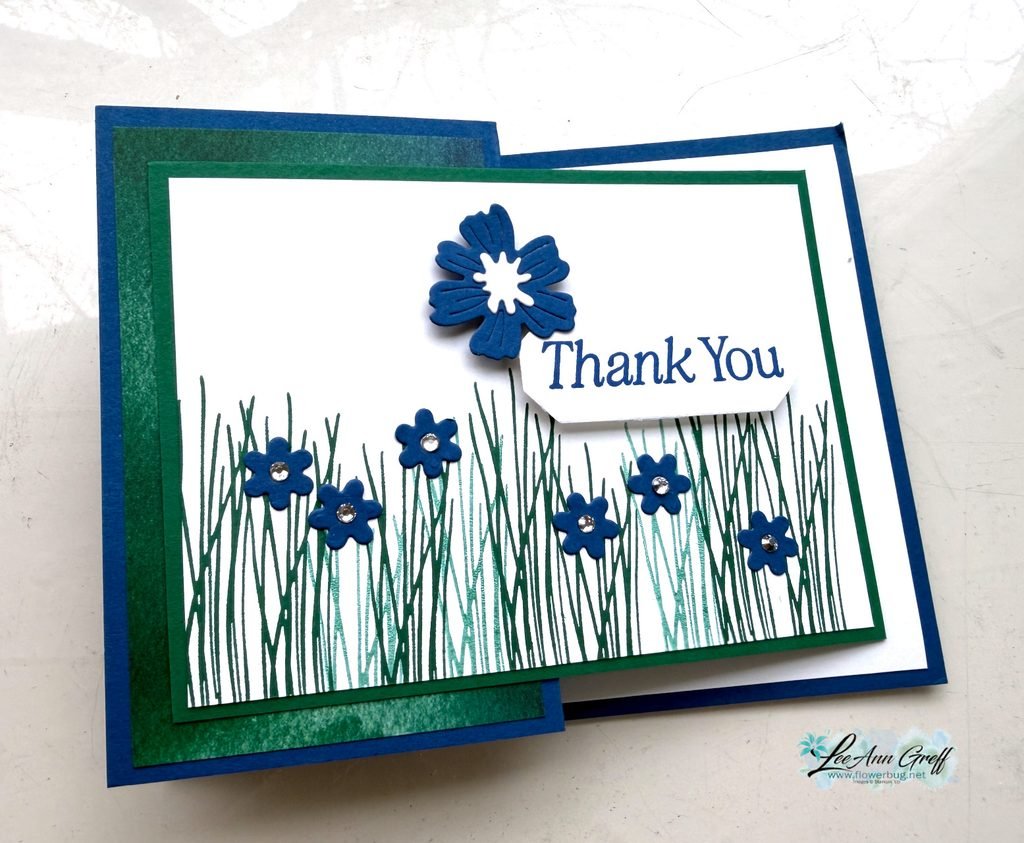
On these cards I die-cut one full set of flowers with both the thin and the thicker die in White.  Then I sponged each of them with the following colors: Daffodil Delight, Calypso Coral, Coastal Cabana and Granny Apple Green.  

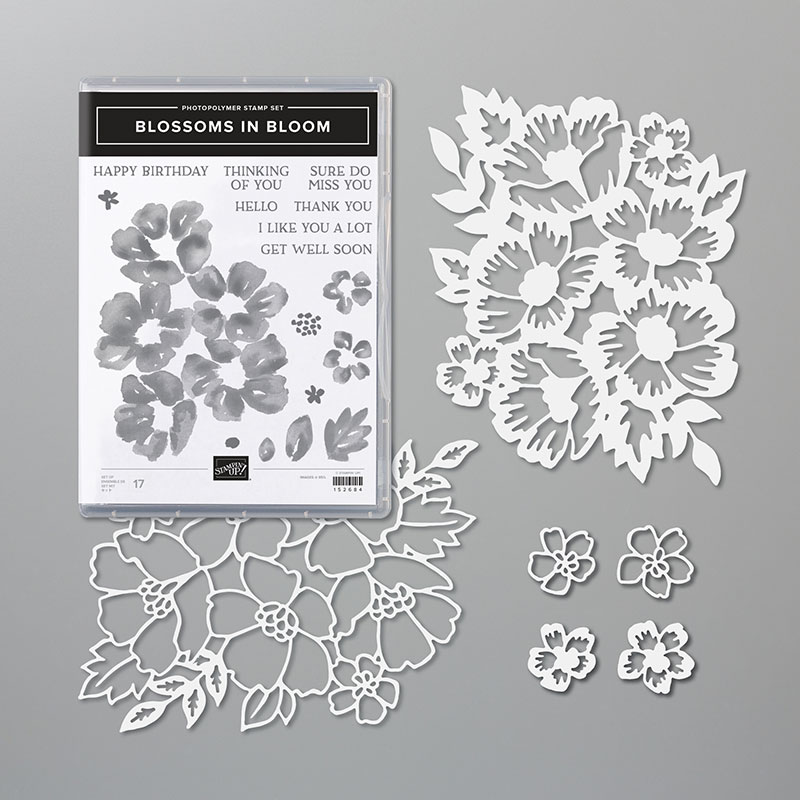
When you purchase this bundle you're getting a discount of 10% off. It's always nice to get a break on the price. It's also one of the 34 Bundles you can choose free when you purchase the Stampin' Up! starter kit here. 

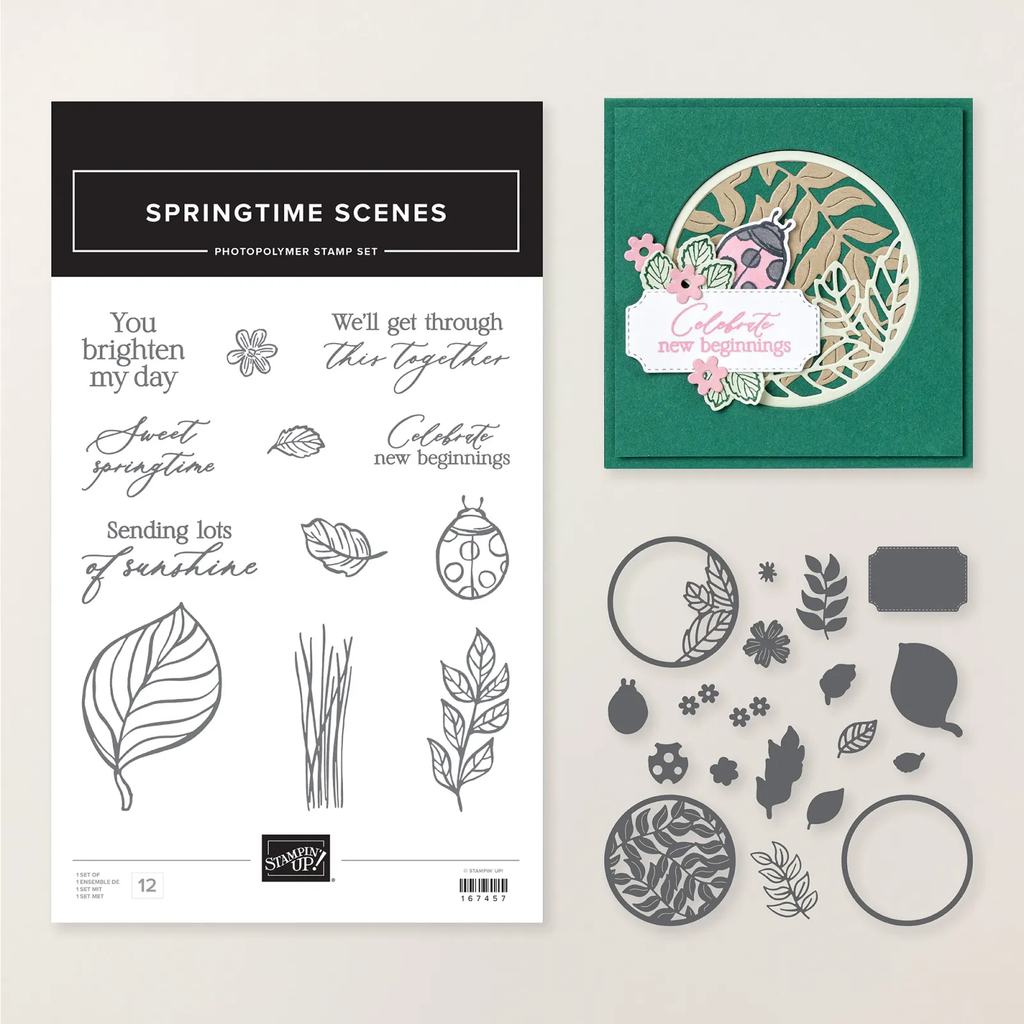
Besides the pretty distinktive flowers look at all of the greetings you get in the stamp set!  And the flower dies are nice and large and fill up a standard card fully. Or use just half like I did! 

I added some sequins in the flower centers and added a heat embossed greeting from this stamp set to both cards. 

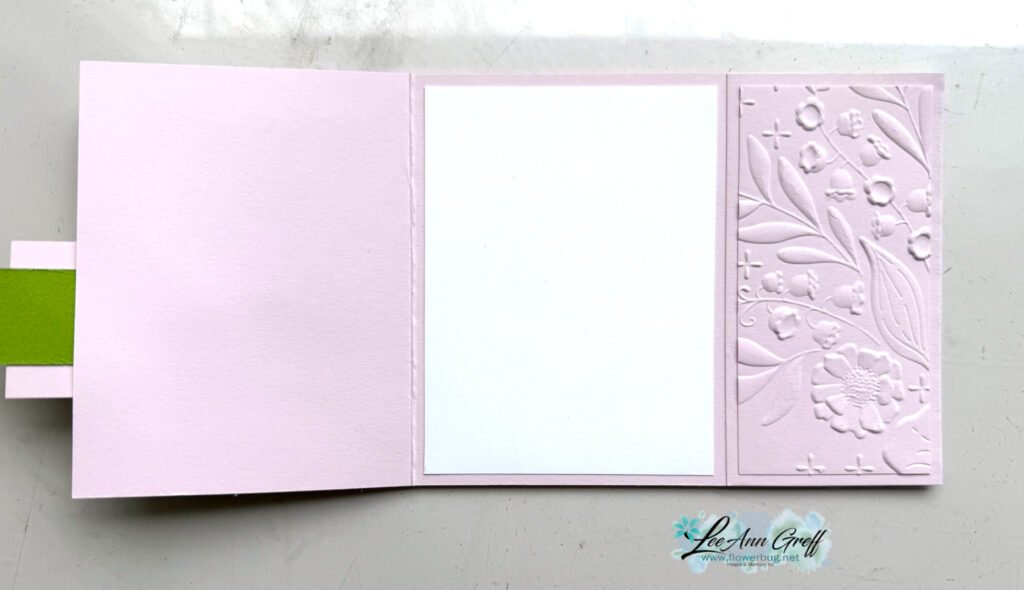
The white layer is 3 3/4" X 5", the black is 4" X 5 1/4" on the standard 5 1/2" X 8 1/2" Coastal Cabana card base. 

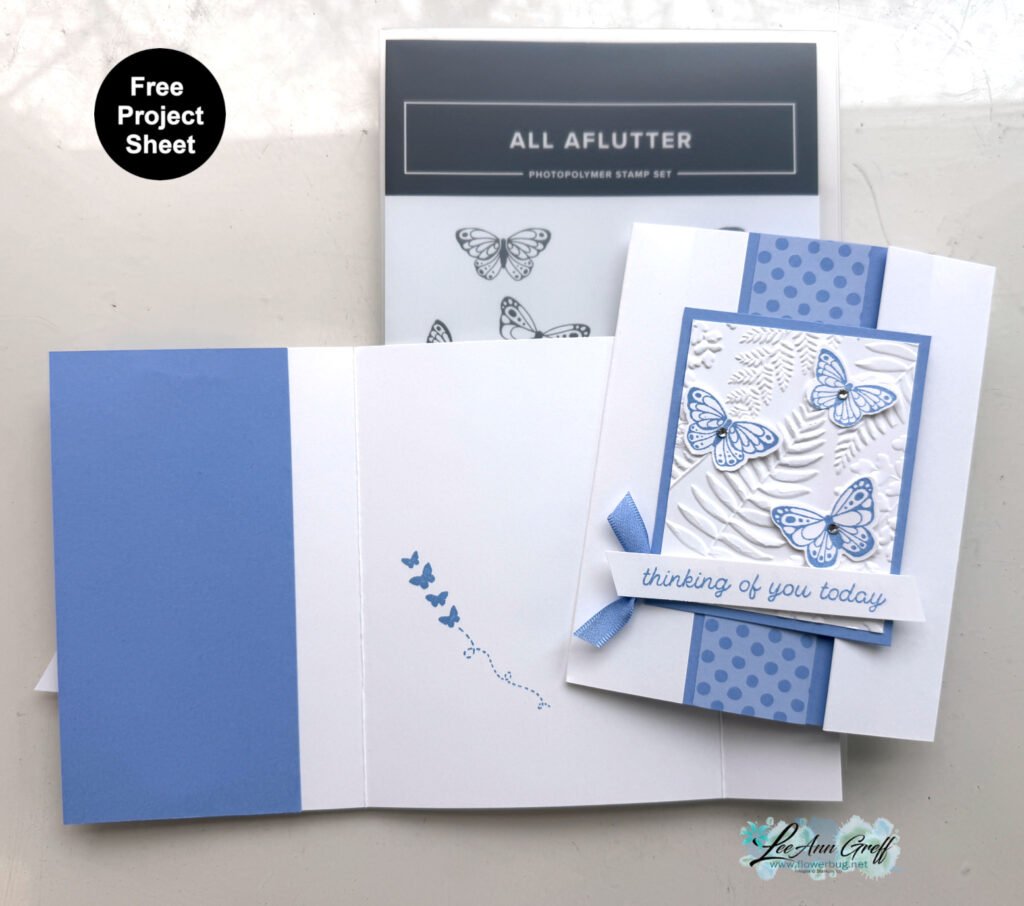
I hope you enjoy the idea of getting two cards from one set of die-cuts.  I have more cards to share with you featuring this bundle; it's quite amazing! 

~~~

June Specials

The new catalog is here!!!  


Get my Lovely You pdf tutorial free with any online order in June

It includes directions, photos and measurements for 10 cards!


June Host code is 7H2FW9FG

Get a free pkg. of Elegant Faceted Gems from me if your order is over $55. 

Order online here

All Posts

  • The new Swirled Designs bundle is super fun!


    I had to point you to the new Swirled Designs bundle in our newest Online Exclusives release. It has the neatest sets of dies and stamps in it!

    See what I mean? The extra layers on the dies make them super playful and the stamps will be great for stamping backgrounds. Basic shapes like ovals and stars are something we’ll always use for multiple occasions.

    Look closer at this card made by Stampin’ Up! I love when we get new product that’s unique and we haven’t seen before.

    See what I mean? You can use the stamps to add the details to the inside of the die-cut shapes like above. I just love this card! See this bundle here.

    *You’ll receive a PDF with multiple projects featuring this product
    after the 20th of the month.
    ~~~

    The Last Chance list has been updated!
    Click here to shop.

    Get a free PDF tutorial with any online order from me in December!

    Leave a Reply

    Your email address will not be published. Required fields are marked *

  • The Branching Out bundle is retiring! Check out this fun fold card with video tutorial!


    We made this card earlier this fall and I realize I haven’t shared it with you yet. I also made a video too – scroll down….

    The colors include Pecan Pie with Crumb Cake, Early Espresso & Shaded Spruce. I used various wood-like designer series papers for the side panel. See how it has a double fold?

    Also notice the ‘white’ snow on the pine boughs plus snow in the background. You can achieve that without heat embossing. We used White Craft ink and stamped over the pine. Easy & a fun accent!

    The stamp set is retiring but the dies are not. The bundle is on the last chance list now. Click here to see it.
    It’s been one of my favorite products in our Holiday catalog this year. It’s timeless and can be used for fall, winter or Christmas!

    Besides the video tutorial here’s a free project sheet for you too. Click here to download or print it.

    I’m glad the dies are not retiring but I have to say the stamp set is among my top 5 favorites!

    Below is the video tutorial which gives you tips on stamping the branches with the pines and pine cones.

    *You’ll receive a PDF with multiple projects featuring this product
    after the 20th of the month.
    ~~~

    The Last Chance list has been updated!
    Click here to shop.

    Get a free PDF tutorial with any online order from me in December!

    Leave a Reply

    Your email address will not be published. Required fields are marked *

  • Easy Holiday cards made from tags! Free project sheet & video tutorial.


    I look forward to receiving my Paper Pumpkin boxes each month. November’s Wrapped in Cheer kit featured holiday tags and I couldn’t waste an opportunity to make cards from them. I need a lot more Christmas cards than I do tags!

    I didn’t change the tag from the original except for the linen thread bow at the top. But I did add it to a Basic Beige textured layer and then onto a Cherry Cobbler card base.
    Now that is an easy card!

    To create the colored leaves inside the card I used the empty piece of paper from the kit where the leaves had been removed. I’m always looking for easy ways to add to the inside of my cards.

    There were two different tags in this kit. Aren’t they pretty?

    I used the embossing folder called Traditional Wreath 3D folder; it can be seen here. It’s discounted and available while supplies last.
    *The greeting is from the stamps in the kit.

    Below is the video tutorial for this card and more information on Paper Pumpkin.

    *You’ll receive a PDF with multiple projects featuring this product
    after the 20th of the month.
    ~~~

    The Last Chance list has been updated!
    Click here to shop.

    Get a free PDF tutorial with any online order from me in December!

    Leave a Reply

    Your email address will not be published. Required fields are marked *


Notice: LeeAnn Greff, Independent Stampin’ Up! Demonstrator, Manager. The content of this website is my sole responsibility as an independent Stampin’ Up! demonstrator and the use of, and content of, the classes, services, or products offered on this website is not endorsed by Stampin’ Up! Copyright 2025