/


Latest Post

Best Tips for successful Shaker Cards with video tutorial!


Who wouldn't like to receive a shaker card?!  They're fun, shakable and hard to resist playing with. 

I made a bunch of these for our July Team card swap featuring 'window sheets'. I love the fact that I could get multiple, colorful die-cut flowers with the Extraordinary Floral Washi Tape and the coordinating die-cut. Just add it to another piece of cardstock and die-cut. So fast & EASY! 

Notice the sponged green designer paper above. That is the Irresistible Designs 12" DSP seen here.  I added Olive ink to it with a Blending Brush; the printed embossed designs 'resist' the ink.  Pretty cool! 

I used the Paper Tags stamp set – stamping the greeting directly onto the window sheet with Black Stazon ink. Then I turned it over to add a bit of Flirty Flamingo blends marker on the 'celebrate' part.  
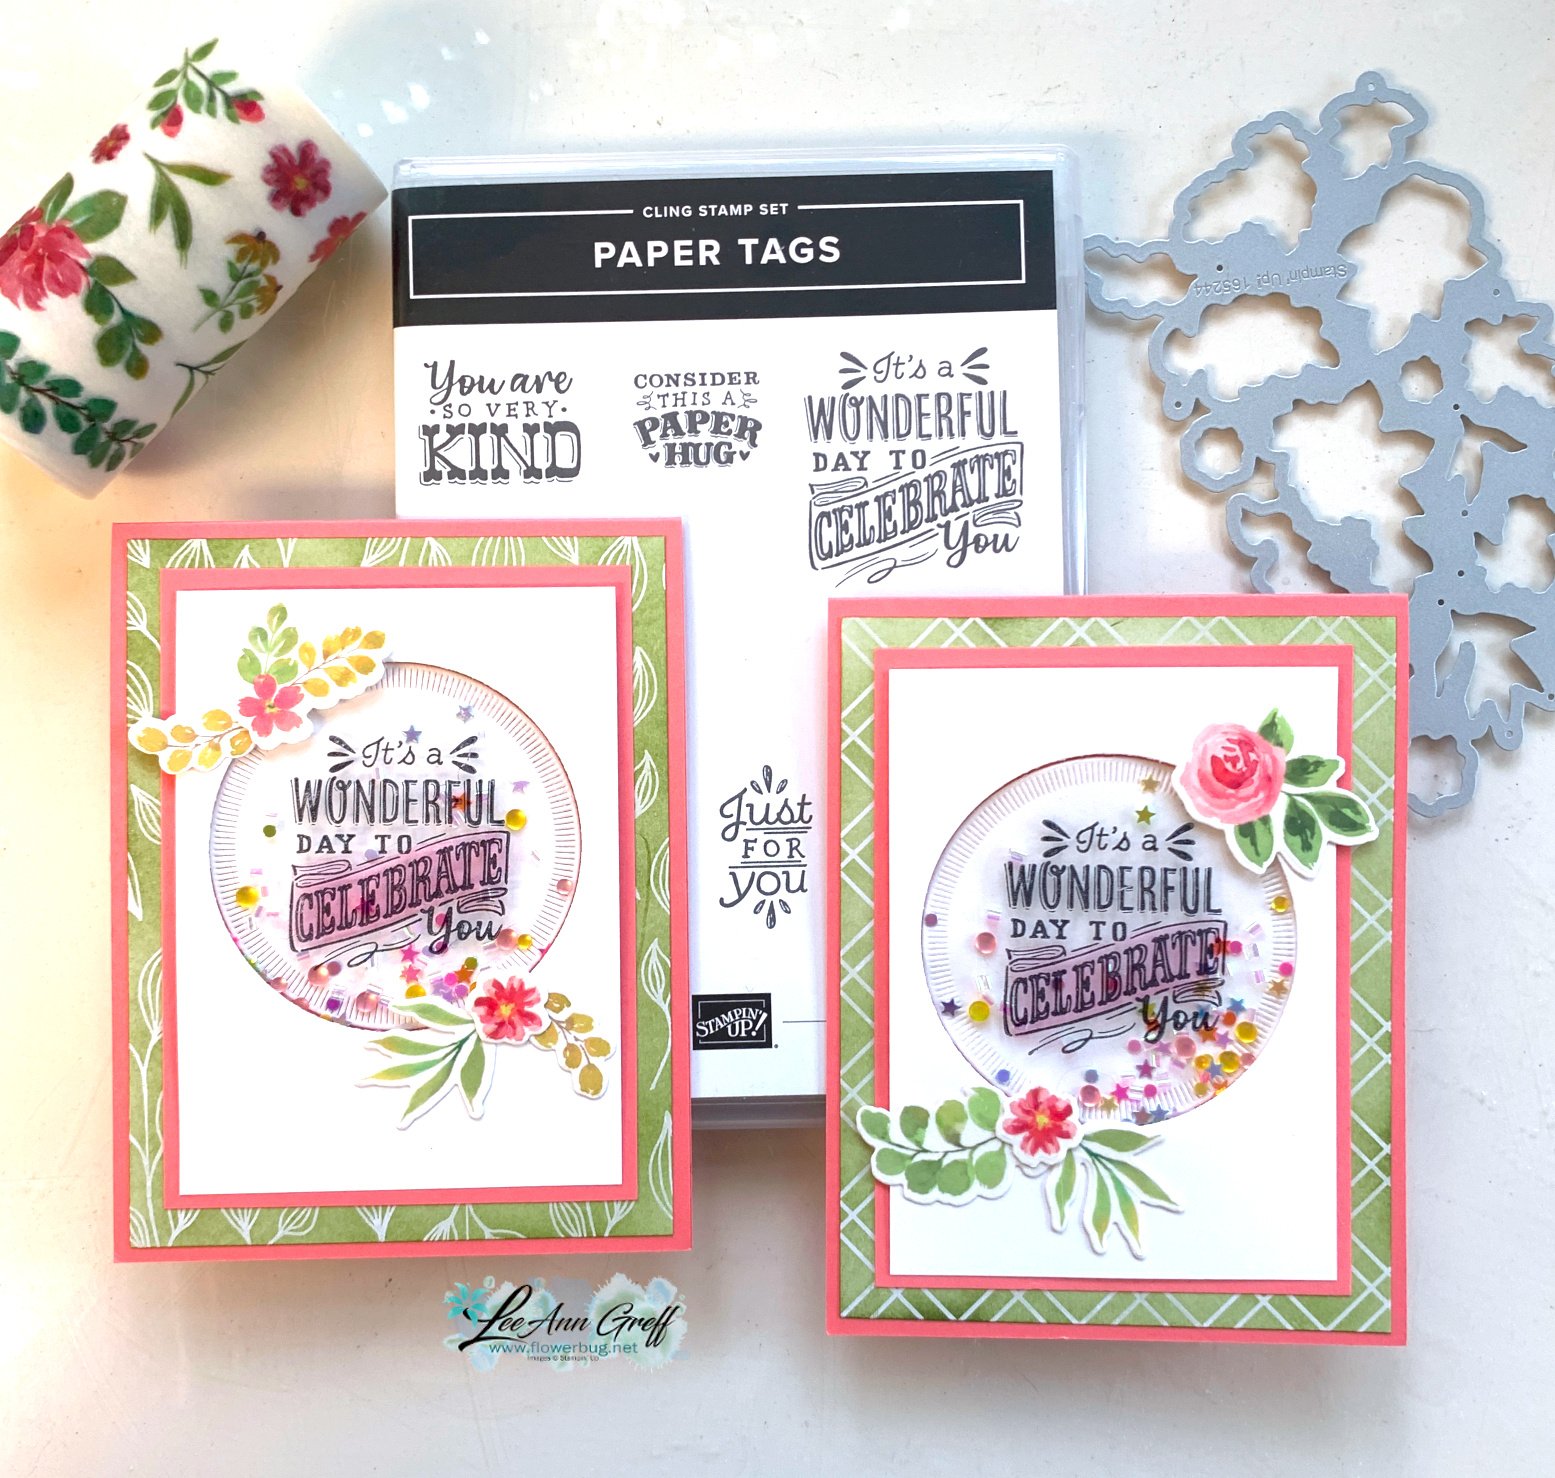
My colors include Flirty Flamingo, Old Olive and White for a fresh floral card design. Want to know the steps to achieve a shaker card?  Best to grab the free project sheet below or watch the video tutorial. 

Here's the free project sheet with measurements for you. Click on the following link to print or download it.  Download Paper Tags Shaker Card


Below is the video tutorial for this neat shaker card.  Watch to get the tips for success on making one plus another pretty card featuring the Extraordinary Floral washi tape. 

~~~

July Specials:
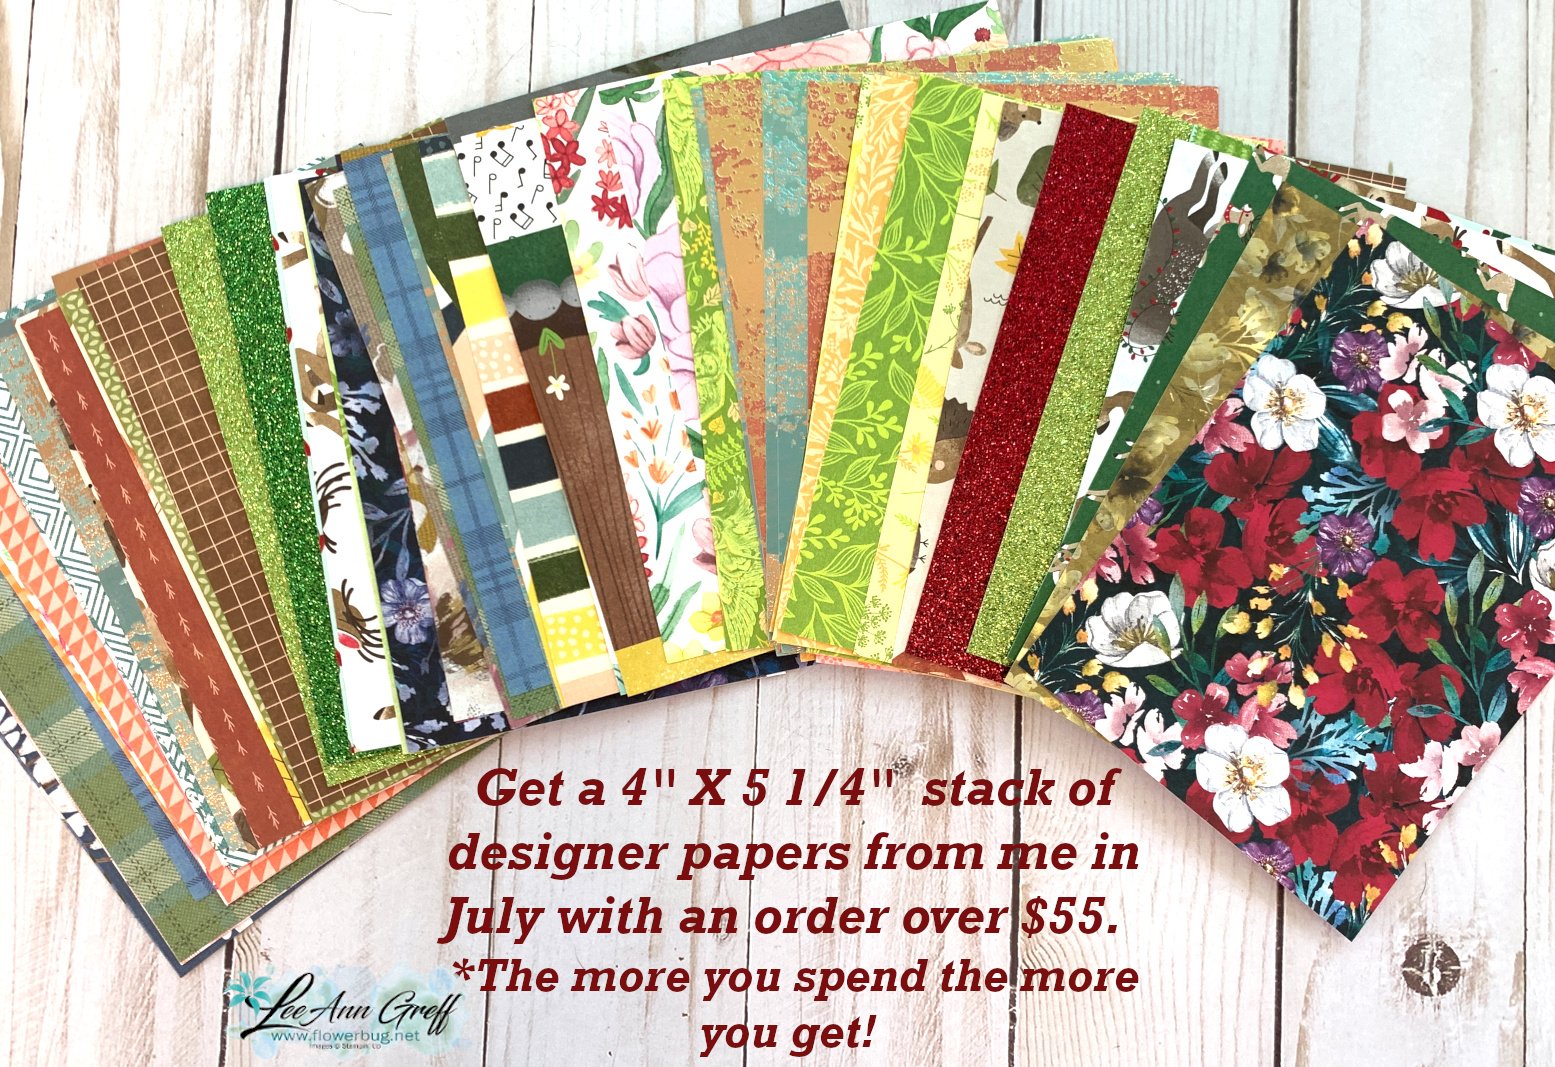

New Online Exclusives are here!  Click here

~~~

Get my Turtle-y Cute PDF tutorial free with any online order in July!

All Posts

  • Easy Holiday cards made from tags! Free project sheet & video tutorial.


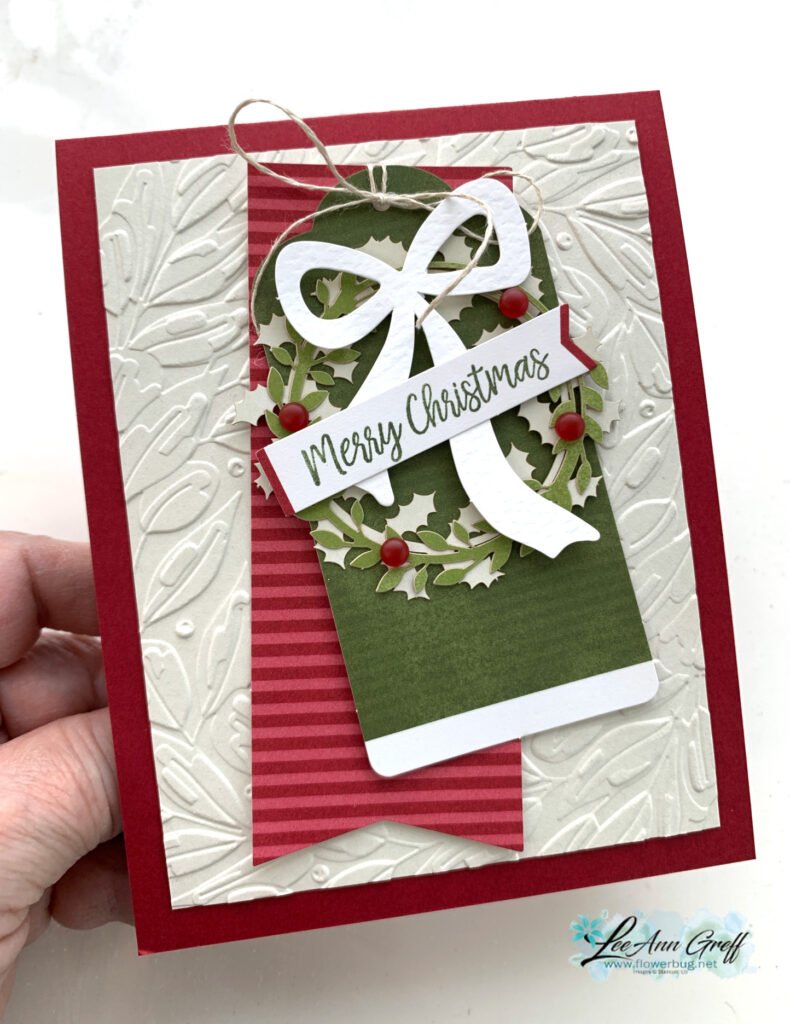
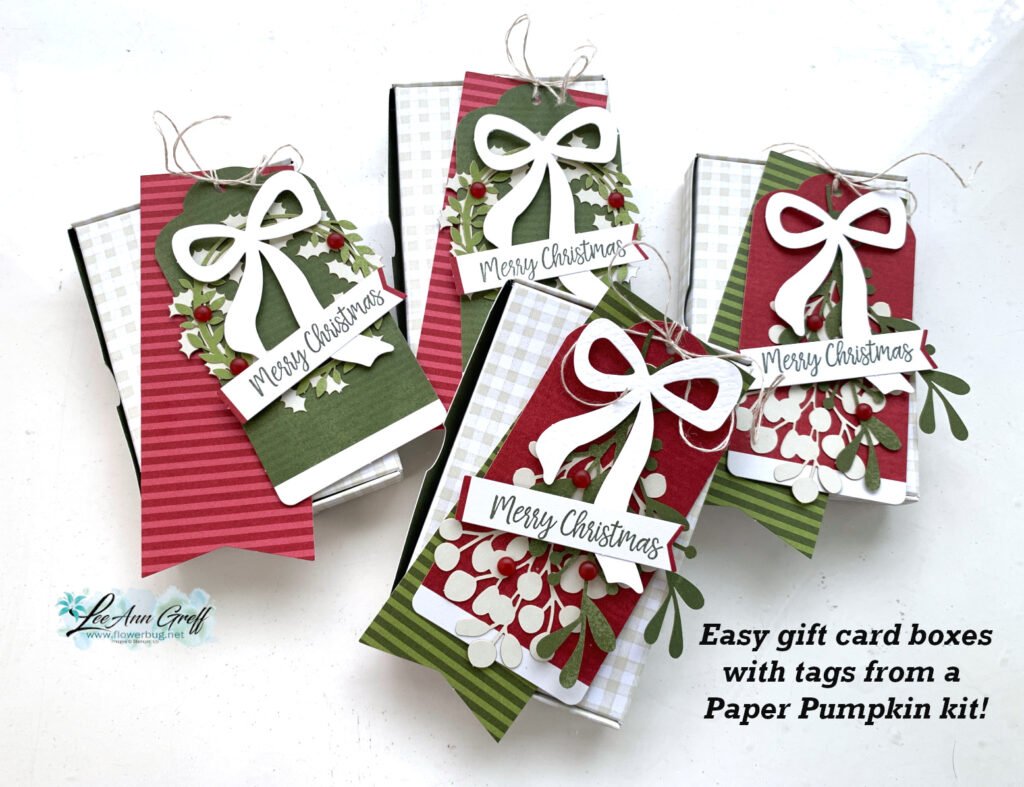
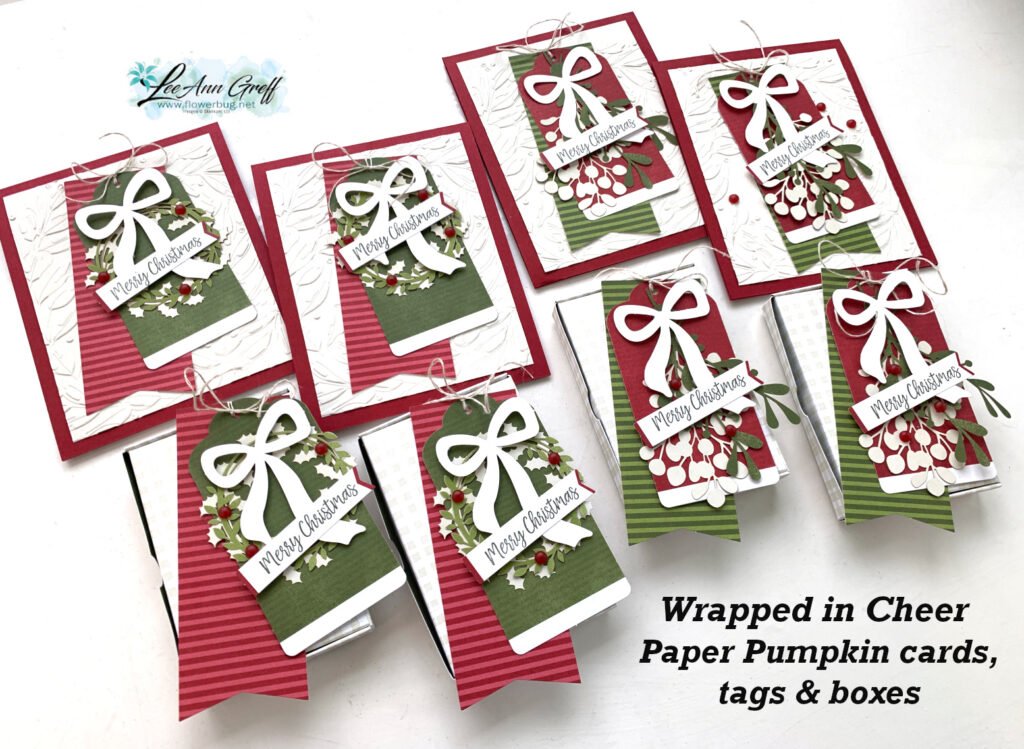
    I look forward to receiving my Paper Pumpkin boxes each month. November’s Wrapped in Cheer kit featured holiday tags and I couldn’t waste an opportunity to make cards from them. I need a lot more Christmas cards than I do tags!

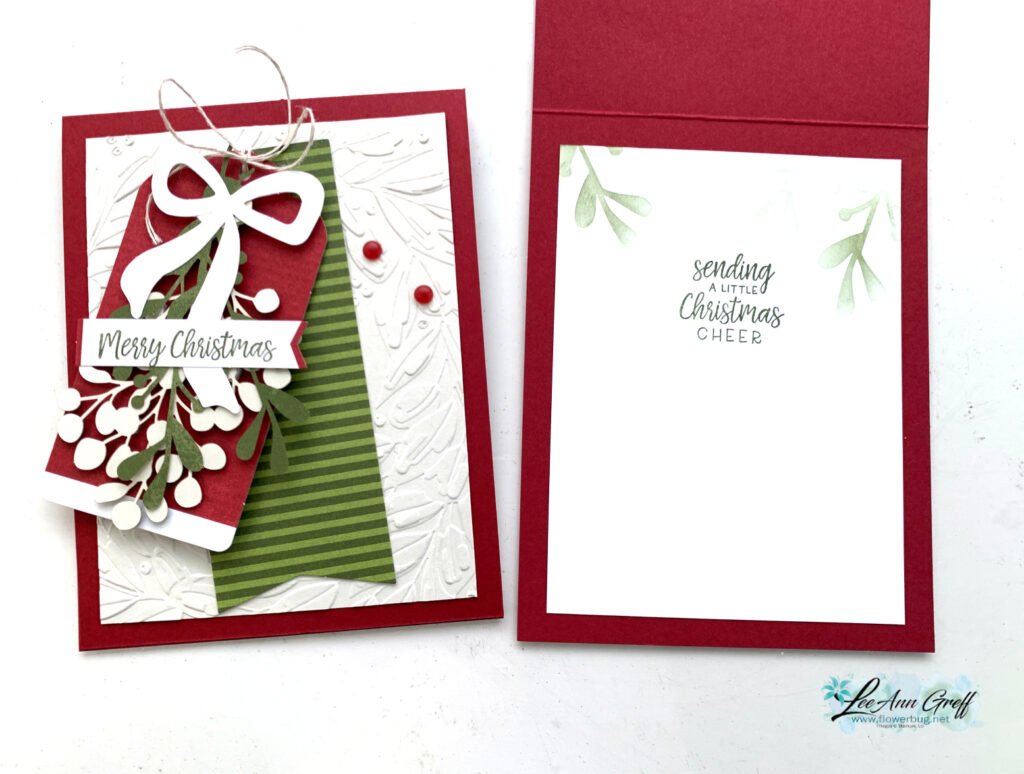
    I didn’t change the tag from the original except for the linen thread bow at the top. But I did add it to a Basic Beige textured layer and then onto a Cherry Cobbler card base.
    Now that is an easy card!

    To create the colored leaves inside the card I used the empty piece of paper from the kit where the leaves had been removed. I’m always looking for easy ways to add to the inside of my cards.

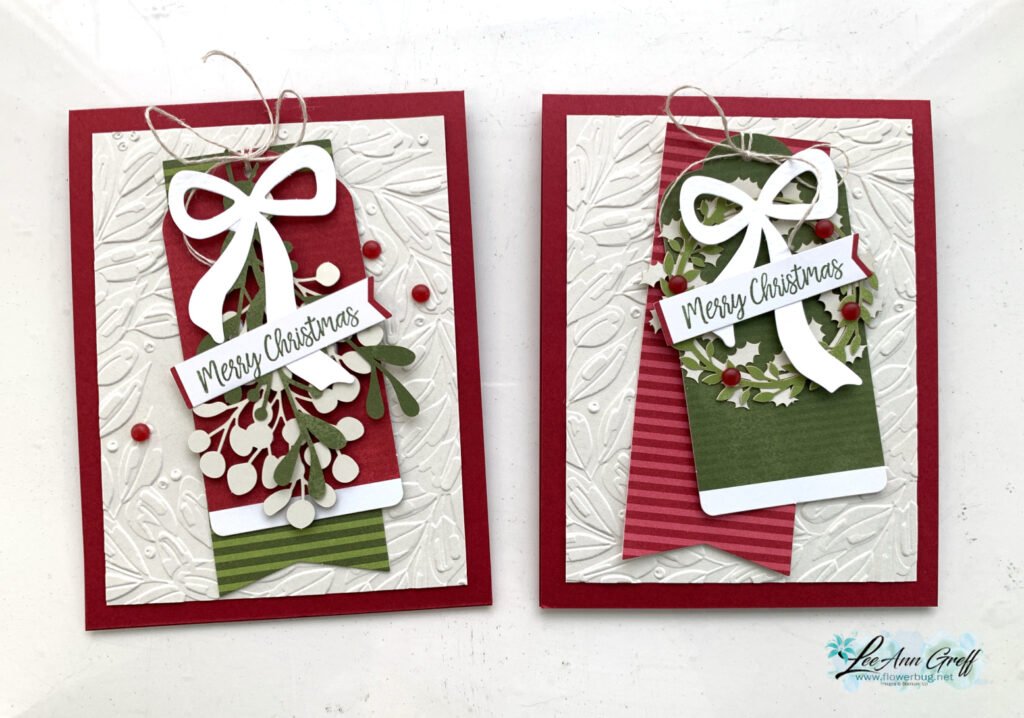
    There were two different tags in this kit. Aren’t they pretty?

    I used the embossing folder called Traditional Wreath 3D folder; it can be seen here. It’s discounted and available while supplies last.
    *The greeting is from the stamps in the kit.

    Below is the video tutorial for this card and more information on Paper Pumpkin.

    *You’ll receive a PDF with multiple projects featuring this product
    after the 20th of the month.
    ~~~

    The Last Chance list has been updated!
    Click here to shop.

    Get a free PDF tutorial with any online order from me in December!

    Leave a Reply

    Your email address will not be published. Required fields are marked *

  • Wrapped in Cheer tags for Christmas


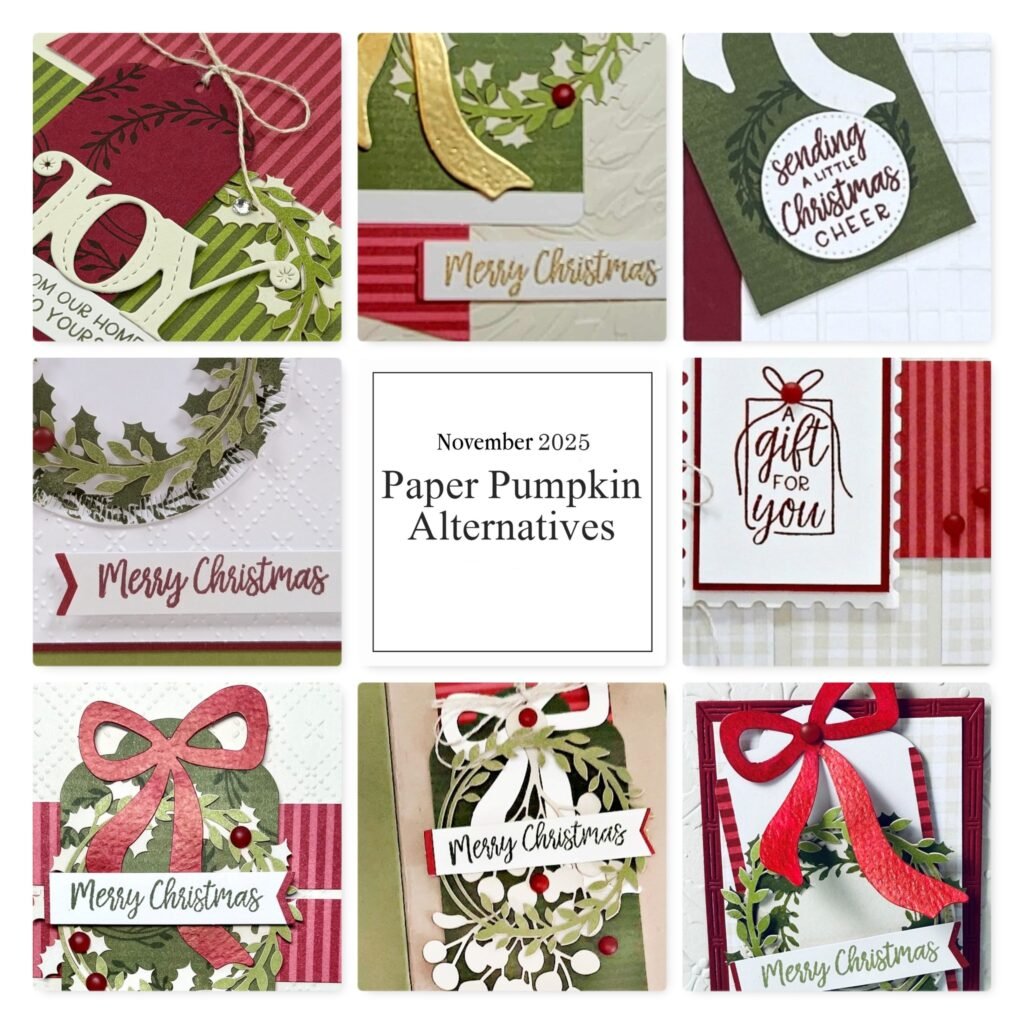
    I shared the November Paper Pumpkin kit on last week’s live video. I just love receiving my crafty box in the mail each month! Easy crafting without a plan or step it up and use your creativity to change the projects.

    There were two different tags in this kit and each one includes multiple pieces. Aren’t they pretty? The embossing folder is called Traditional Wreath 3D folder and can be seen here. It’s discounted and available while supplies last.
    *The greeting is from the stamps in the kit.

    I used the tags to make Christmas cards which you can see below. All I did was add a textured layer and a card base. *I’ll share more details tomorrow.

    Remember that each month my subscribers and Team receive my bonus projects PDF. Lots of unique ideas to create with the contents of each box. Subscribe to Paper Pumpkin here.

    Below is the video where I share this kit, last months and how to make the cards too.

    *You’ll receive a PDF with multiple projects featuring this product
    after the 20th of the month.
    ~~~

    The Last Chance list has been updated!
    Click here to shop.

    Get a free PDF tutorial with any online order from me in December!

    Leave a Reply

    Your email address will not be published. Required fields are marked *

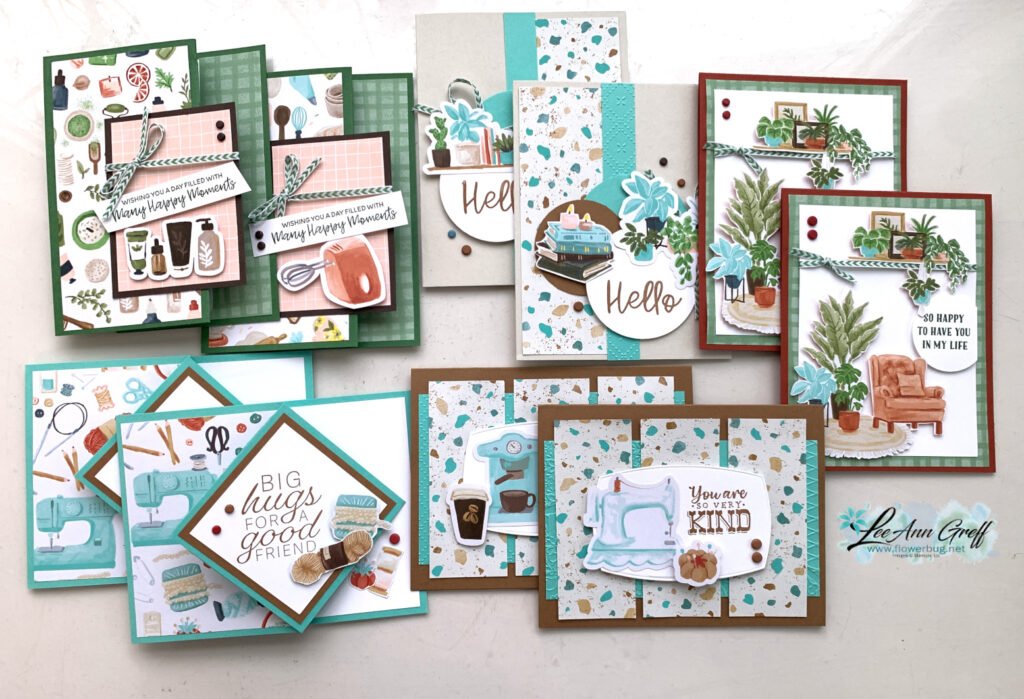
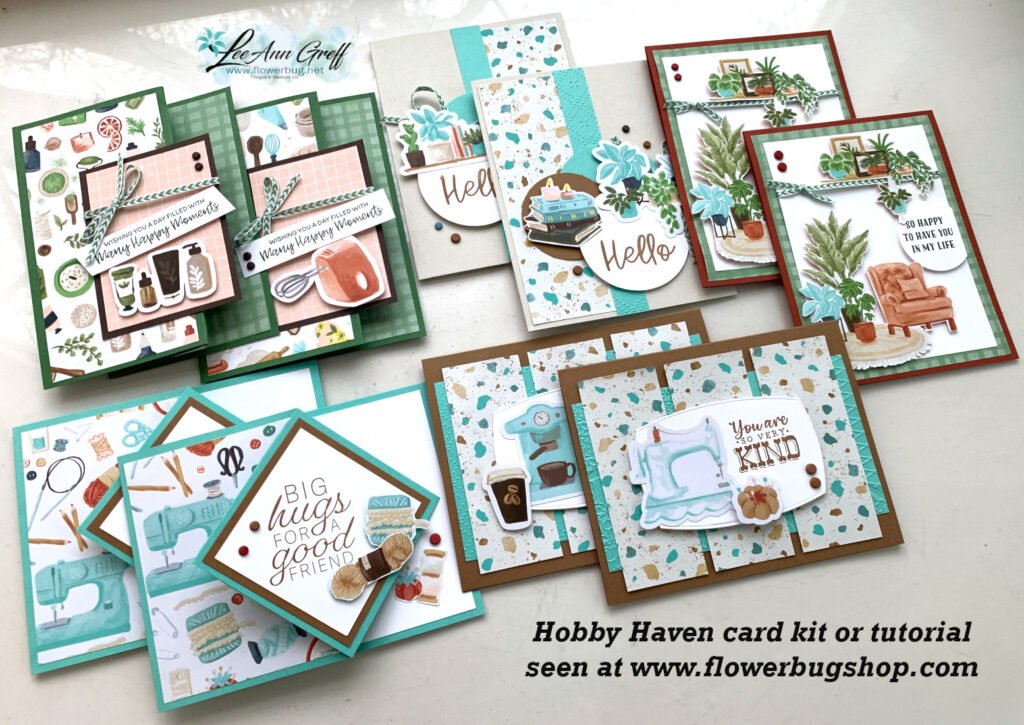
  • Hobby Haven card kit is ready; reserve yours now! PDF tutorial & video option available also


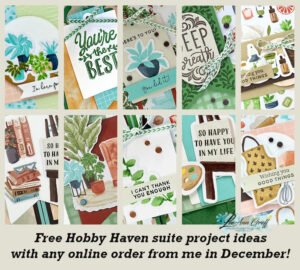
    This new Hobby Haven designer paper is absolutely perfect for us crafters! The colors are fresh and it fits crafters, plant lovers and baker’s too.

    I’m ahead of the game this month so these card kits will ship out next week; before Christmas. I have a limited supply so reserve yours soon!

    The pre-cut kit to go includes 10 cards, 1/2 pkg of the Hobby Haven designer paper, a share of the Earthy Matte dots and green chevron ribbon. Plus you’ll get the PDF tutorial too! All for $31. Reserve your kit here. You’ll need adhesives, greeting stamps and a paper trimmer to cut your new designer paper.

    Or if you’d rather get the PDF tutorial click here. It’s just $16. The tutorial is emailed to you immediately after purchase.

    The tutorial includes a link to a video tutorial exclusive to this kit.

    Two of the 5 layouts are fun folds but all are unique layouts. You’ll love making them! *Don’t forget to browse all of my available kits in my shop here.

    *You’ll receive a PDF with multiple projects featuring this product
    after the 20th of the month.
    ~~~

    The Last Chance list has been updated!
    Click here to shop.

    Get a free PDF tutorial with any online order from me in December!

    Leave a Reply

    Your email address will not be published. Required fields are marked *


Notice: LeeAnn Greff, Independent Stampin’ Up! Demonstrator, Manager. The content of this website is my sole responsibility as an independent Stampin’ Up! demonstrator and the use of, and content of, the classes, services, or products offered on this website is not endorsed by Stampin’ Up! Copyright 2025