/


Latest Post

Beautiful Peaceful View card the easy way with video & free project sheet


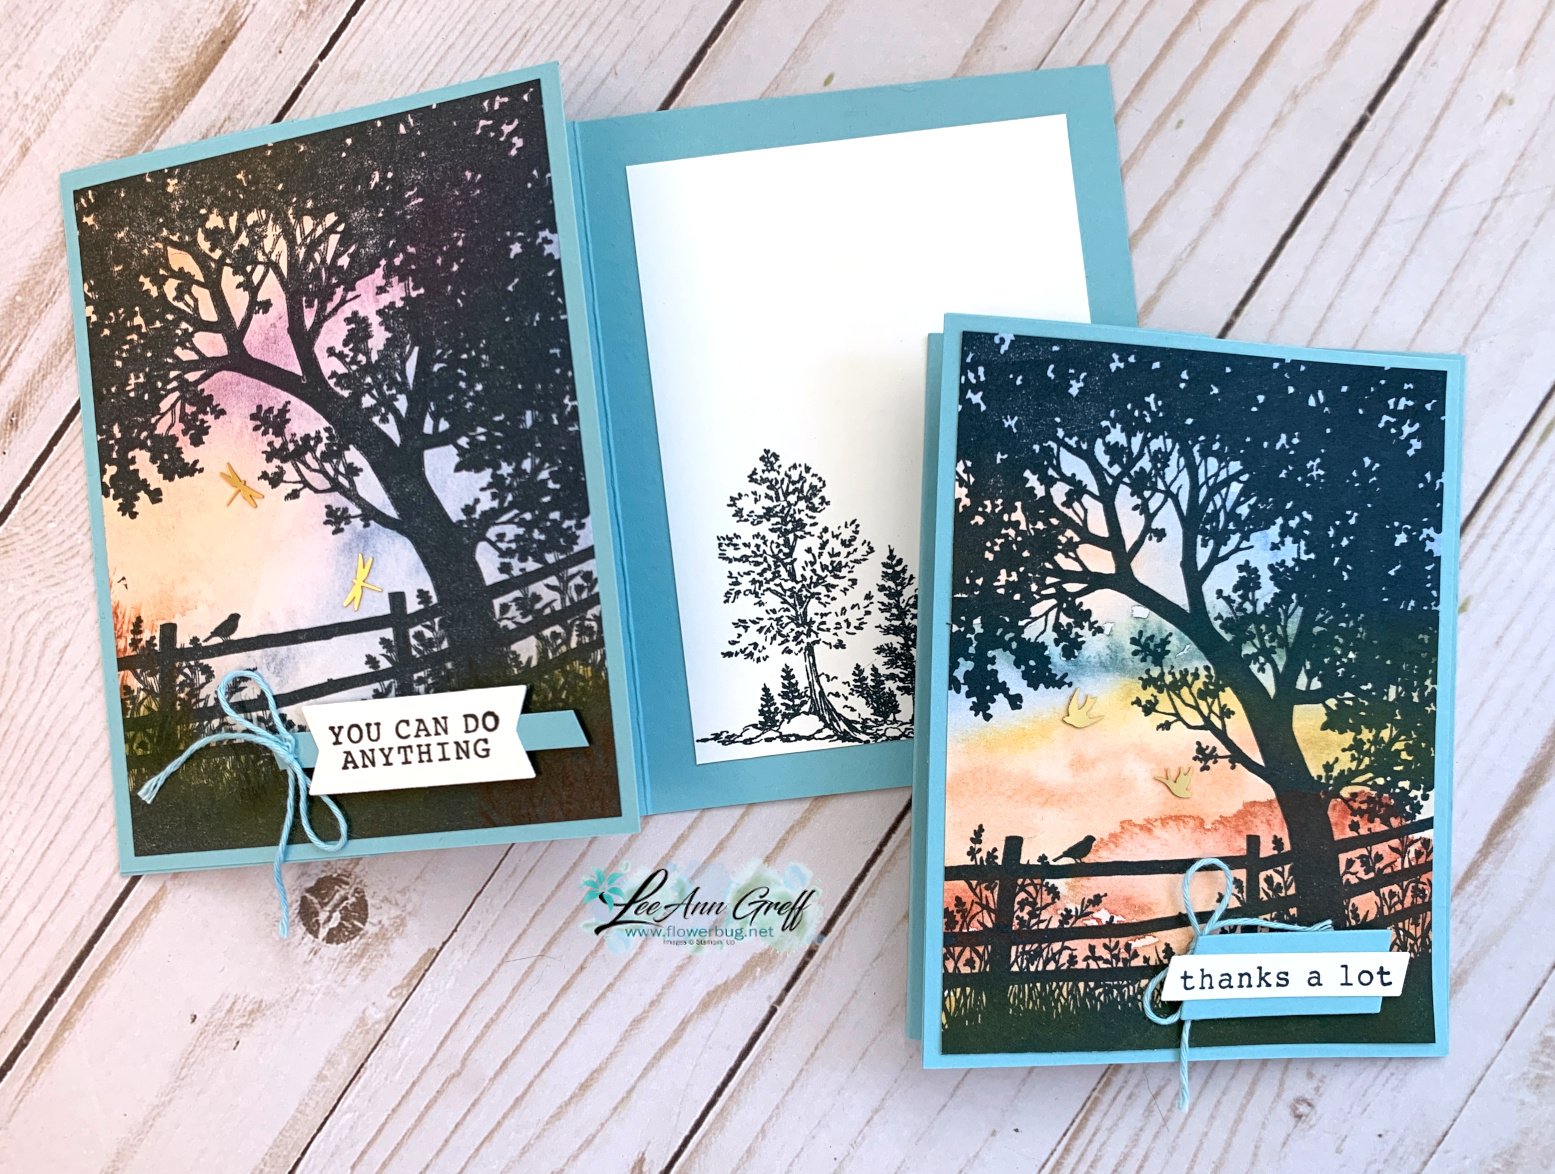
For my June card clubs I knew I wanted to feature the Peaceful View stamp set.  This gorgeous stamp makes it easy to create a stunning card with.  I've asked for this type of stamp for years and finally got one! 


Could you ask for a more perfect background for this image?  Where did it come from?  It's a piece of designer series paper – from the Thoughtful Journey 6" X 6" DSP seen here.   It's absolutely the perfect choice and much easier than creating a coloreful background with ink. 

The majority of the papers work well for this stamp so my club members could pick their favorite. 

We inked the tree scene with Secret Sea ink and stamped on the designer paper.  It's then adhered to a full 4 1/4" X 5 1/2" piece of Balmy Blue CS before it's added to the front flap of the card base (front is folded back once).  

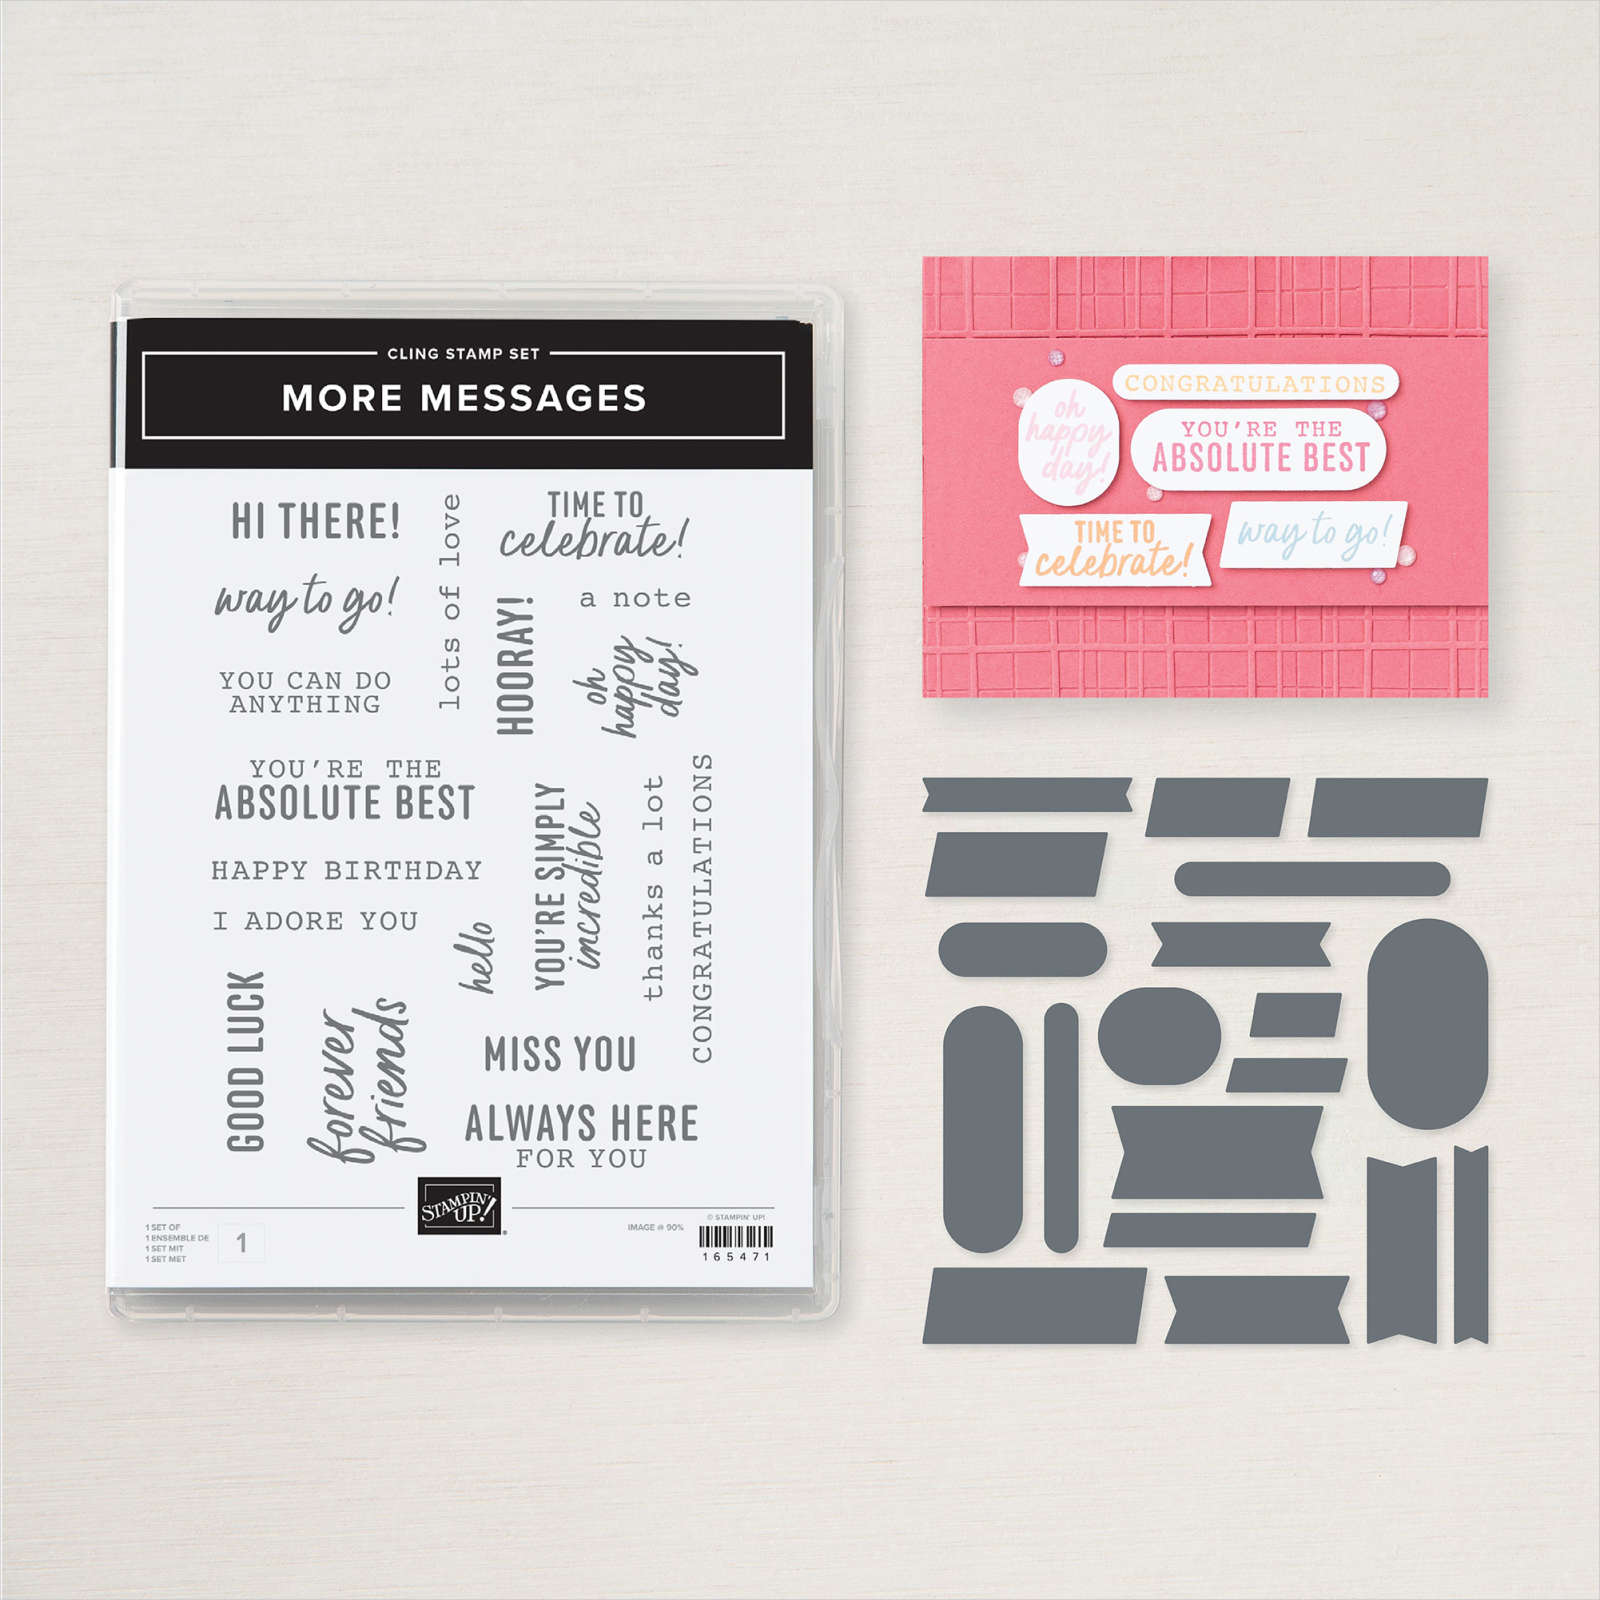
For the greetings I stamped the More Messages stamp a few times and used the coordinating die to cut them all out.  I had tons of greetings for them to choose from.  They then layered them onto another Balmy Blue strip or die-cut. 

What I love about this latest messages bundle is that the greetings and die-cuts are larger than ever before. See the bundle here. 
Here's the free project sheet with measurements and supplies for you: Download Peaceful View June Club

Below is the video for this card and another where I show you how to add color to the stamp. I'll share details on that project tomorrow.  

~~~

July Specials:

New Online Exclusives are here!  

~~~

Last Chance List has been updated!  see it all here. Don't miss out on the deals!

~~~

Get my Turtle-y Cute PDF tutorial free with any online order in July!

All Posts

  • Paper Bag Snowflakes; an easy wow for Home Decor


    I changed things up a bit for this week's Stamp with Me Live FB video and made these big beautiful Snowflakes!  Guess what they're made from?  Paper bags!


    I found some white glossy ones at a party store.  They measure 3" X 6 1/2" and 5" X 9" in size.  You need 8 of them.

    Depending on the size of your paper bag your finished snowflake can be anywhere from 13" to 18" across!  Watch the FB Live replay video below to catch the tips on making them. 

    Supplies:

    • 8 paper bags
    • Hot glue
    • Scissors (or punches)
    • Ribbon or cord for hanging

    ~~~


    December Ordering Special: 

    Current Host code is AHJNPWNB

    Order online here

    All online orders will receive my 16 Christmas cards class PDF!

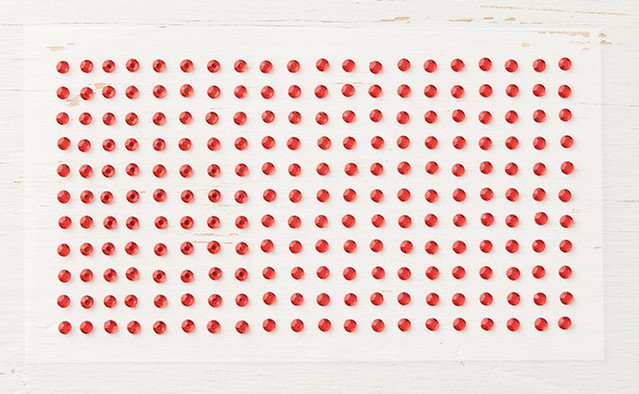
    Get a free package of 220 Red Rhinestones from me with an online order over $50 using the host code above.

    Below are the Multipurpose Glue stands we're making. They're $6 each and available in my Shop here.  

    Leave a Reply

    Your email address will not be published. Required fields are marked *

  • Stunning framed Winter Sampler with Snowflake Splendor!!


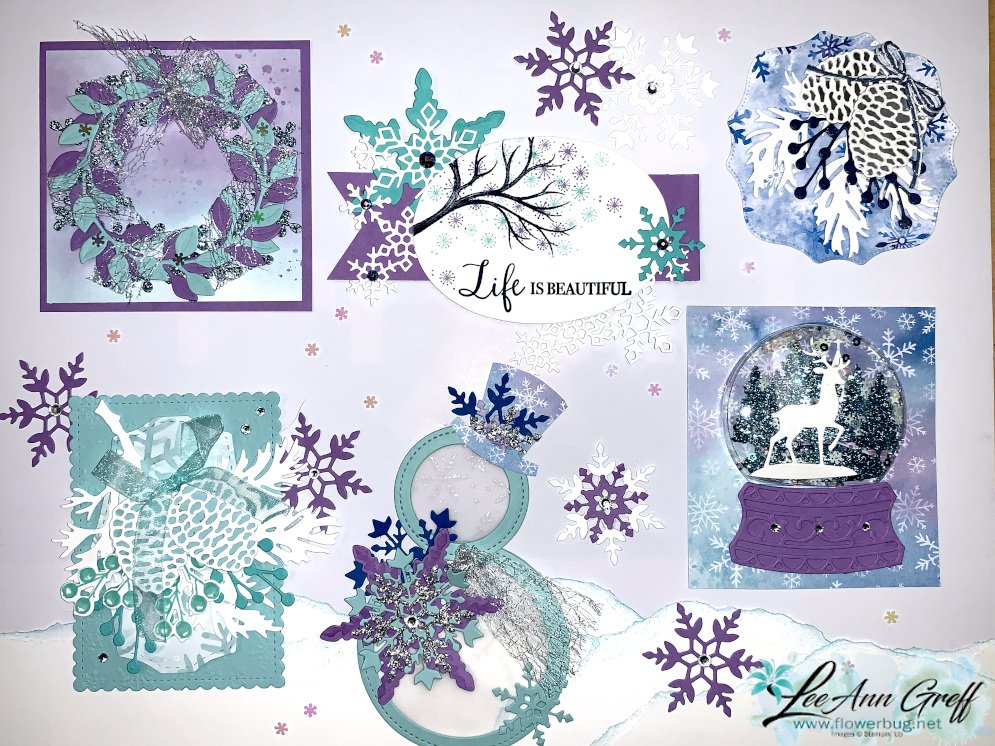
    Look at this incredible framed sampler my Team made!  

    My Flowerbug's Team tend to swap almost every month and in November we chose to do a Winter themed sampler featuring the colors in the Snowflake Splendor designer series paper.  There were more than I could fit in one frame (approximately 11" X 17") so I'll use the others for cards or scrapbooking. 

    I have to point out this super creative snowman Margo made using circle dies and snowflakes.  She clear embossed snowflakes on Vellum under the two circles!

    I am not going to go into detail on each of these elements except to brag on the talent they shared!  I LOVE swapping with my Flowerbugs! 

    December Ordering Special: 

    Year End Closeout happening now!  Click here for amazing deals on retiring Holiday products.


    Current Host code is NQHKDKZR

    Order online here

    All online orders will receive my 16 Christmas cards class PDF!

    Get a free package of 220 Red Rhinestones from me with an online order over $50 using the host code above.

    Leave a Reply

    Your email address will not be published. Required fields are marked *

  • Easy 8 card wonder with Beautiful Friendship!


    I haven't done a one sheet wonder for awhile and felt like using flowers.  I grabbed the Beautiful Friendship stamp set and some of my favorite colors and created these cards: 

    The pre-cut cards & stamp set are included in my Easy 8 Card Wonder kit to go this month. I want to get it out before Christmas so the time to sign up for it is short; ending on December 14th. 

    Here's what you'll receive in the kit:
    • the Beautiful Friendship photopolymer stamp set
    • the PDF tutorial with photos, directions, products and measurements
    • Pre-cut card stock including punched or die-cut pieces and 8 card bases
    • an 8 1/2" X 11" Whisper White 'wonder' card stock sheet that you stamp on one side and cut on the printed lines on the other.
    To finish the cards you will need Navy, Gorgeous Grape, Granny Apple Green & Magenta Madness inks, rhinestones and adhesives.  It does not include are stamped images, gems or adhesive.  
     
    **It's just $28 plus Priority shipping for this kit including the stamp set! 
    Be sure to order your kit by December 14th. The kits will be mailed out before Christmas.
     
    You have two options.
    **You can save on shipping and order both of my Snowflake Splendor card kits at the same time. See these cards here. 
    Message me by December 14th to get a combined shipping price at lagreff60@gmail.com.

    Earlier this year I made a set of cards featuring the Forever Fern stamp set and offered it as a kit to go also.  Here are those cards; they're included in the free Easy 8 Card Wonder tutorial seen here! 


    ~~~

    December Ordering Special: 

    Current Host code is NQHKDKZR

    Order online here

    All online orders will receive my 16 Christmas cards class PDF!


    Get a free package of 220 Red Rhinestones from me with an online order over $50 using the host code above.

    Leave a Reply

    Your email address will not be published. Required fields are marked *


Notice: LeeAnn Greff, Independent Stampin’ Up! Demonstrator, Manager. The content of this website is my sole responsibility as an independent Stampin’ Up! demonstrator and the use of, and content of, the classes, services, or products offered on this website is not endorsed by Stampin’ Up! Copyright 2025