/


Latest Post

Beautiful Peaceful View card the easy way with video & free project sheet


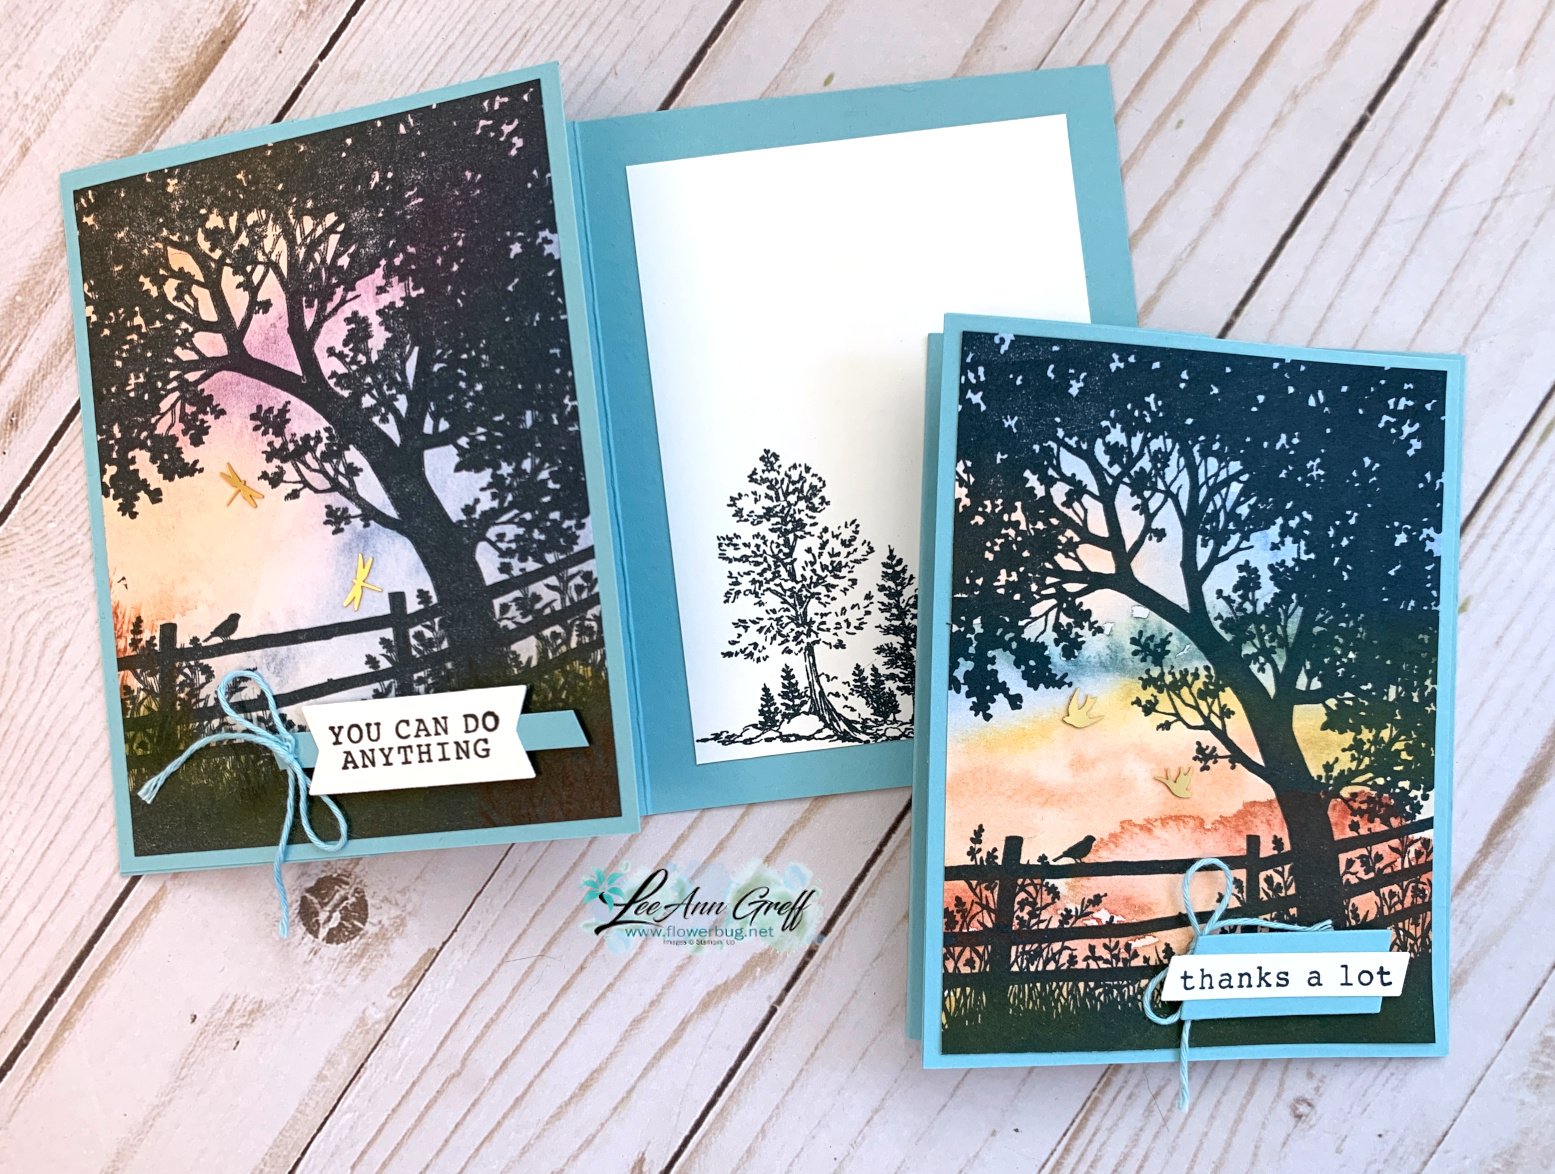
For my June card clubs I knew I wanted to feature the Peaceful View stamp set.  This gorgeous stamp makes it easy to create a stunning card with.  I've asked for this type of stamp for years and finally got one! 


Could you ask for a more perfect background for this image?  Where did it come from?  It's a piece of designer series paper – from the Thoughtful Journey 6" X 6" DSP seen here.   It's absolutely the perfect choice and much easier than creating a coloreful background with ink. 

The majority of the papers work well for this stamp so my club members could pick their favorite. 

We inked the tree scene with Secret Sea ink and stamped on the designer paper.  It's then adhered to a full 4 1/4" X 5 1/2" piece of Balmy Blue CS before it's added to the front flap of the card base (front is folded back once).  

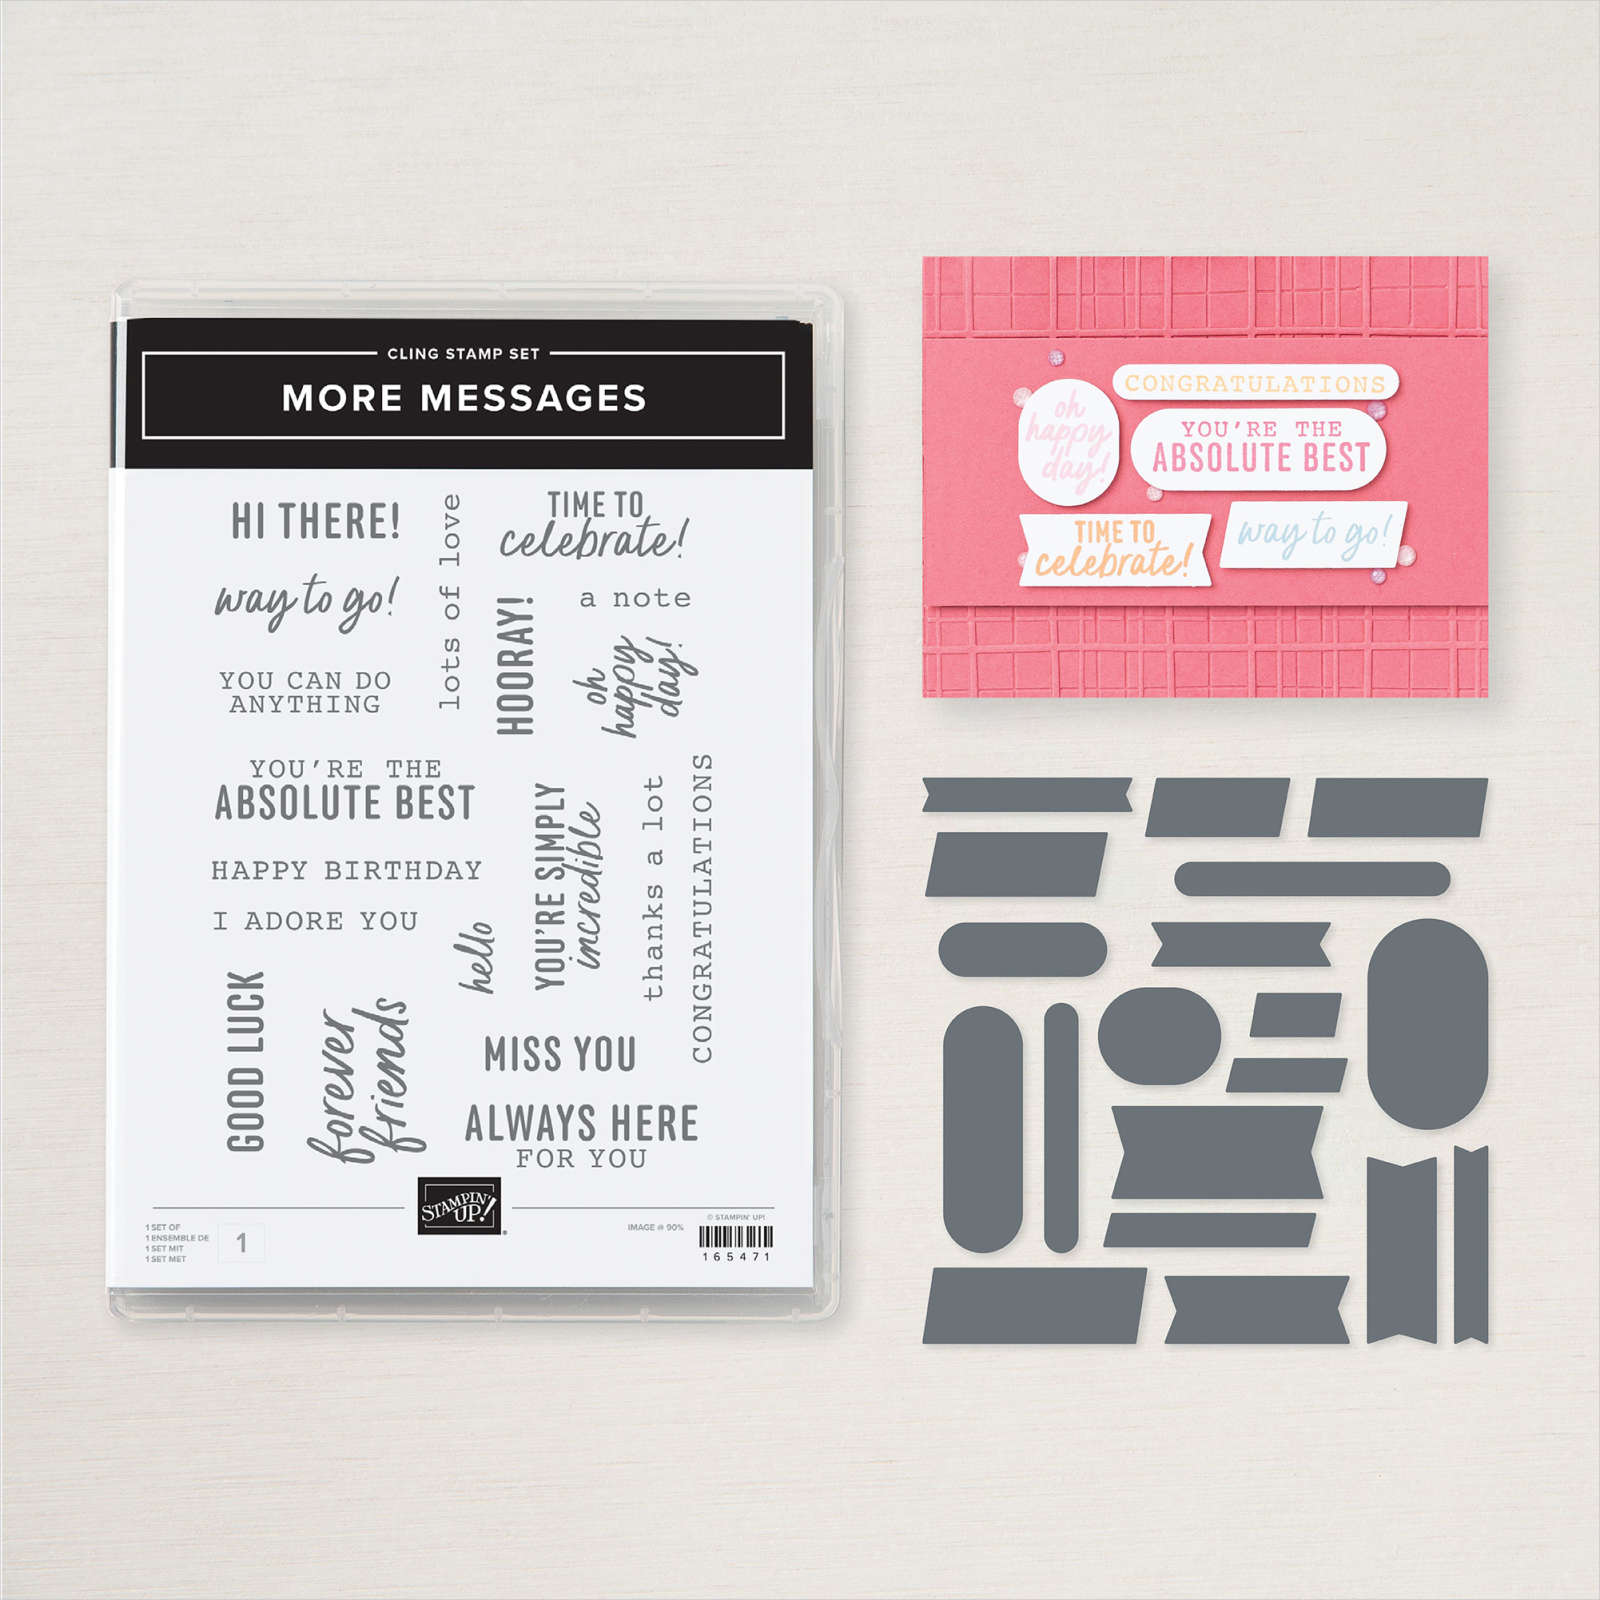
For the greetings I stamped the More Messages stamp a few times and used the coordinating die to cut them all out.  I had tons of greetings for them to choose from.  They then layered them onto another Balmy Blue strip or die-cut. 

What I love about this latest messages bundle is that the greetings and die-cuts are larger than ever before. See the bundle here. 
Here's the free project sheet with measurements and supplies for you: Download Peaceful View June Club

Below is the video for this card and another where I show you how to add color to the stamp. I'll share details on that project tomorrow.  

~~~

July Specials:

New Online Exclusives are here!  

~~~

Last Chance List has been updated!  see it all here. Don't miss out on the deals!

~~~

Get my Turtle-y Cute PDF tutorial free with any online order in July!

All Posts

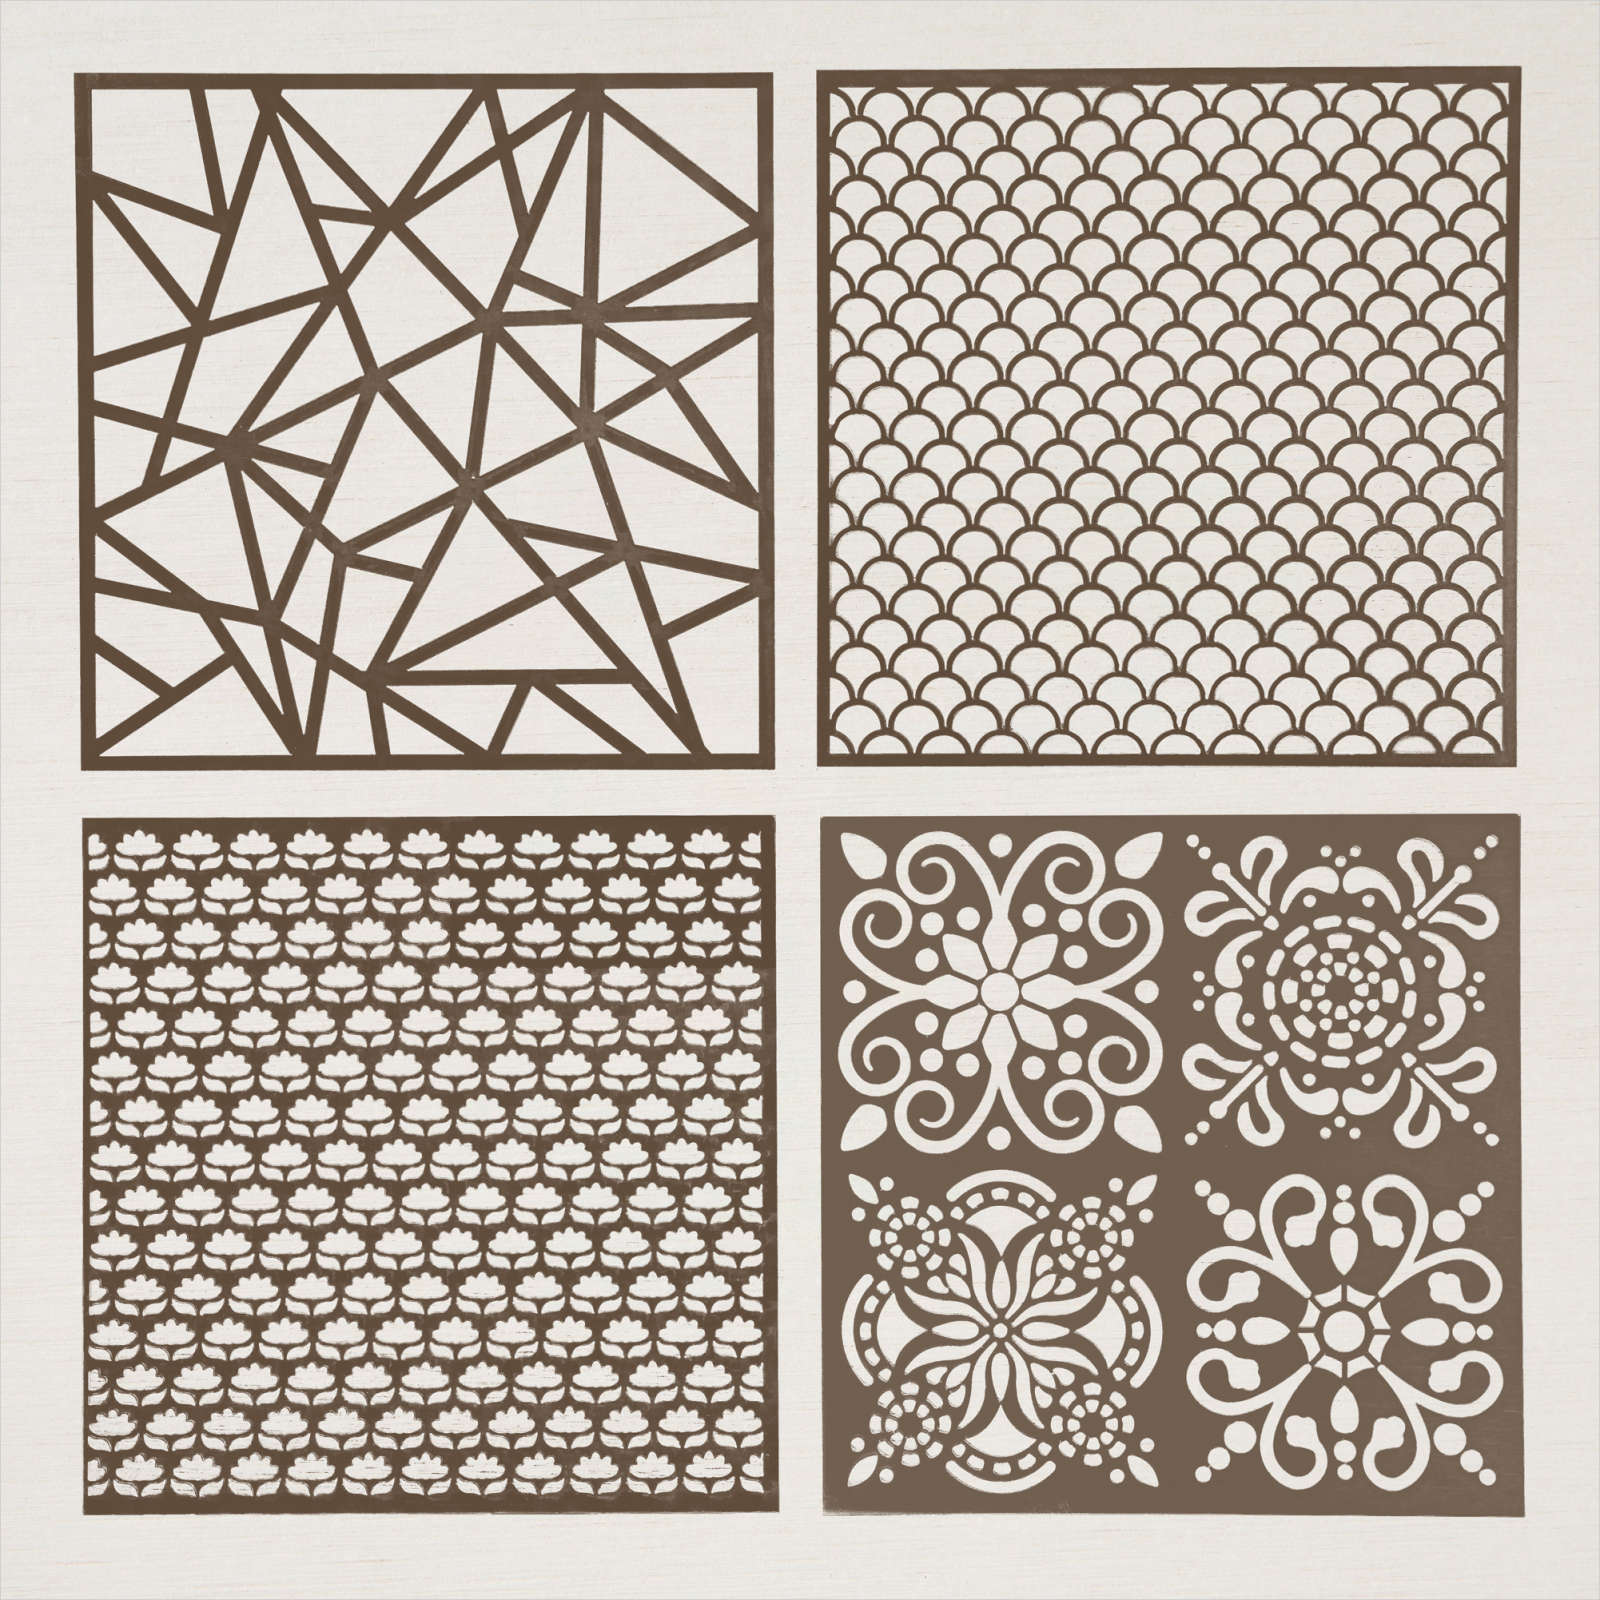
  • New Artfully Layered stamp set with Plenty of Pattern masks; embossed grid technique & video


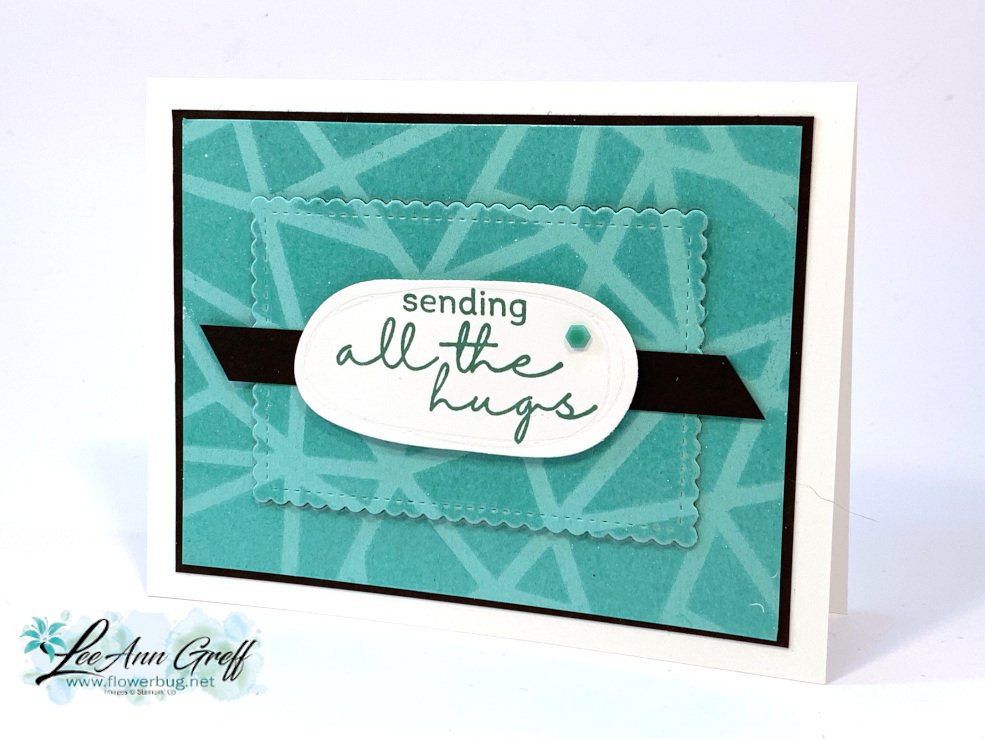
    Here's a card made in my series featuring the Plenty of Pattern masks from a recent FB Live seen here.  I think it's super neat!  

    I explain how it's done in the video here.  Basically I laid the mask over my card stock and repeatedly pressed my Versamark ink pad directly over it.  Then I heat embossed with Clear embossing powder & my heat tool. I love this effect!

    The greeting is from the Artfully Layered stamp set in the upcoming 2022 Jan-June catalog.  It will be in a bundle with the Tropical Layer dies at 10% off.  

    After I created the embossed grid background layer I used a scalloped stitched rectangle from the Stitched So Sweetly dies to die-cut a piece from the center.  Then I adhered the outside piece to my Black layer and added the center piece on Stampin' Dimensionals. I wanted the Black to show a bit behind it.  

    The oval die-cut for the greeting is from the Beautiful Layers dies; also from the upcoming new catalog. Adding a 1/2" Black strip brings the Black outer layer forward a bit.  

    Below is the video with this project & lots more! 

    ~~~

    December Specials:

    Host code:  T9YW6QCC

     *click here to order 

    Use the host code above & get a free card stock sampler ring with a $50 order in December! 

    See the last chance list here

    See the July-December catalog carry over list here

    Leave a Reply

    Your email address will not be published. Required fields are marked *

  • Easy Medallion cards with the Plenty of Patterns masks with video


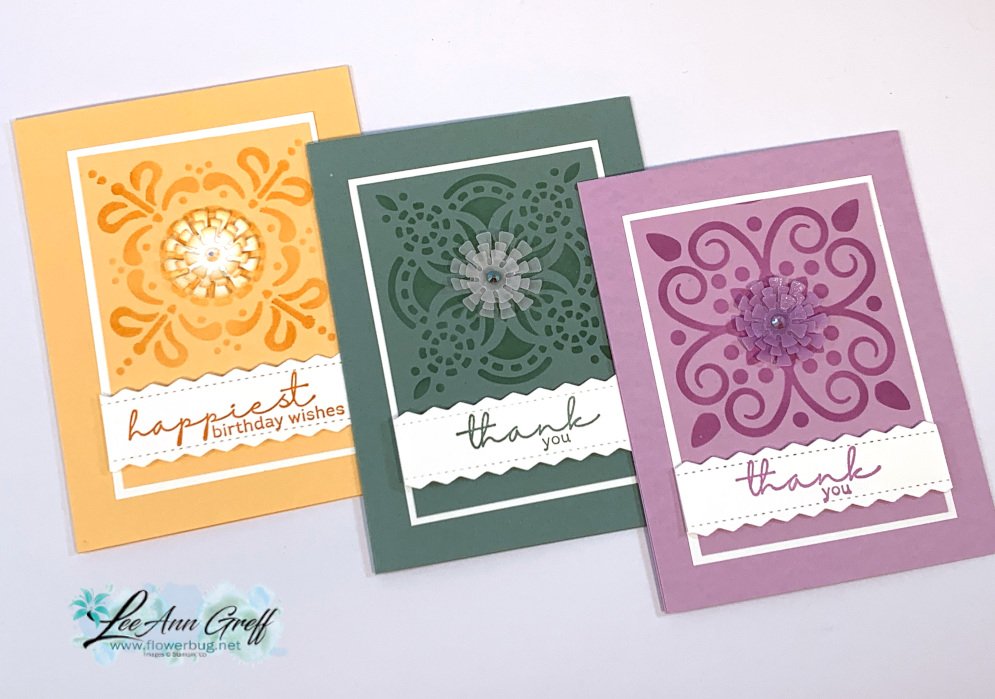
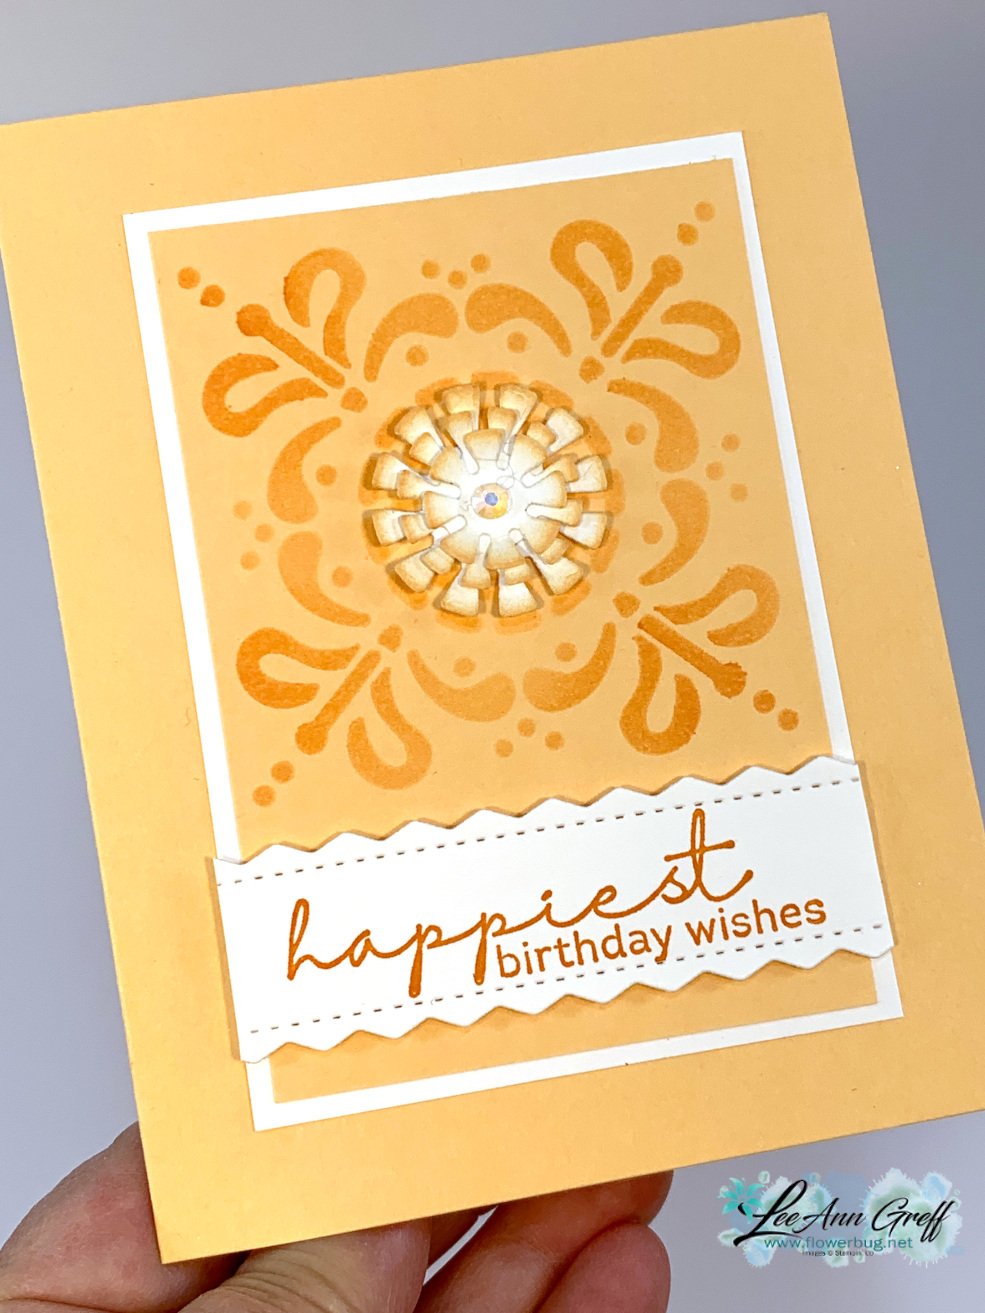
    I played with the Plenty of Pattern masks on last week's FB Live and here are three cards I shared.  Follow me on Facebook here. 

    I decided to feature some of the pretty 2021-23 In Colors.  This first card is in Fresh Freesia. 

    I used Blending Brushes and Fresh Freesia ink to add the medallion to the CS. The flower in the center is made with our Shimmer In Color Vellum paper & the Dandy Wishes dies seen here.  

    The greetings are stamped on a strip of White CS.  The edges are created with a new set of dies coming out in the 2022 Jan-June catalog called the Tropical Layer dies. It's a scalloped/stitched edge die I ran through twice. 

    Above is Soft Succulent with a Vellum CS flower. 

    Here's a photo of all 3 of them together.  Here you can see three of the four medallions in one of the masks. They're all unique and so pretty! 

    And next is our pretty Pale Papaya color.  The flower center is cut from White CS and the edges are curled up and sponged. 

    Measurements:

    • Card base 4 1/4" X 11" scored at 5 1/2"
    • Sponged CS 3" X 4 1/4"
    • White layer 3 1/4" X 4 1/2", greeting strip 1" X 3 1/4" 

    Below is the video with these projects & lots more! 

    ~~~

    December Specials:

    Host code:  6YCWV7QN

     *click here to order 

    Use the host code above & get a free card stock sampler ring with a $50 order in December! 

    See the last chance list here

    See the July-December catalog carry over list here

    Leave a Reply

    Your email address will not be published. Required fields are marked *

  • A Stunning Christmas to Remember card


    The picture does not do this card justice!  It's stunning in person! 


    I received it from Bobby, one of my Flowerbug team members.  It's elegant in the all White & Gold colors.  She added two main layers of the large pine dies; one in white & another in Gold under it offset a bit.  Then a few layered pinecones too.  

    It's made with the Christmas to Remember bundle with White, Gold Foil paper, Brushed Metallic Adhesive-Backed dots, Gold heat embossing & Gold shimmer ribbon.  You can see this bundle here.  

    The dies are called Christmas Pine Cone dies and can be seen here. 

    ~~~

    December Specials:

    Host code:  6YCWV7QN

     *click here to order 

    Use the host code above & get a free card stock sampler ring with a $50 order in December! 

    See the last chance list here

    See the July-December catalog carry over list here

    Leave a Reply

    Your email address will not be published. Required fields are marked *


Notice: LeeAnn Greff, Independent Stampin’ Up! Demonstrator, Manager. The content of this website is my sole responsibility as an independent Stampin’ Up! demonstrator and the use of, and content of, the classes, services, or products offered on this website is not endorsed by Stampin’ Up! Copyright 2025