/


Latest Post

Beautiful Glitz & Shine card swaps


Today is the second batch of Glitz, Shine or Glimmer card swaps by my Flowerbug's Team.  You'll love the wide array of gorgeous cards they made! 

But first I have to tell you about the Last Chance & Carry Over lists from the 2023 Holiday catalog. 

 

The holiday catalog ends January 3rd and they've released the items that are retiring AND those that will carry over into 2024. *see all items here!

This Last Chance Products promotion will include two lists: a retiring list and a carryover list.

Details:

  • Not all items on the Last Chance Products List will be discounted. 
  • All products are available while supplies last, and there are no purchase limits.
  • Stamp sets are not guaranteed during this promotion and are while supplies last.

~~~

First up today is a birthday card made by Deloris. She used the beautiful Autumn Leaves dies as her main focus.  
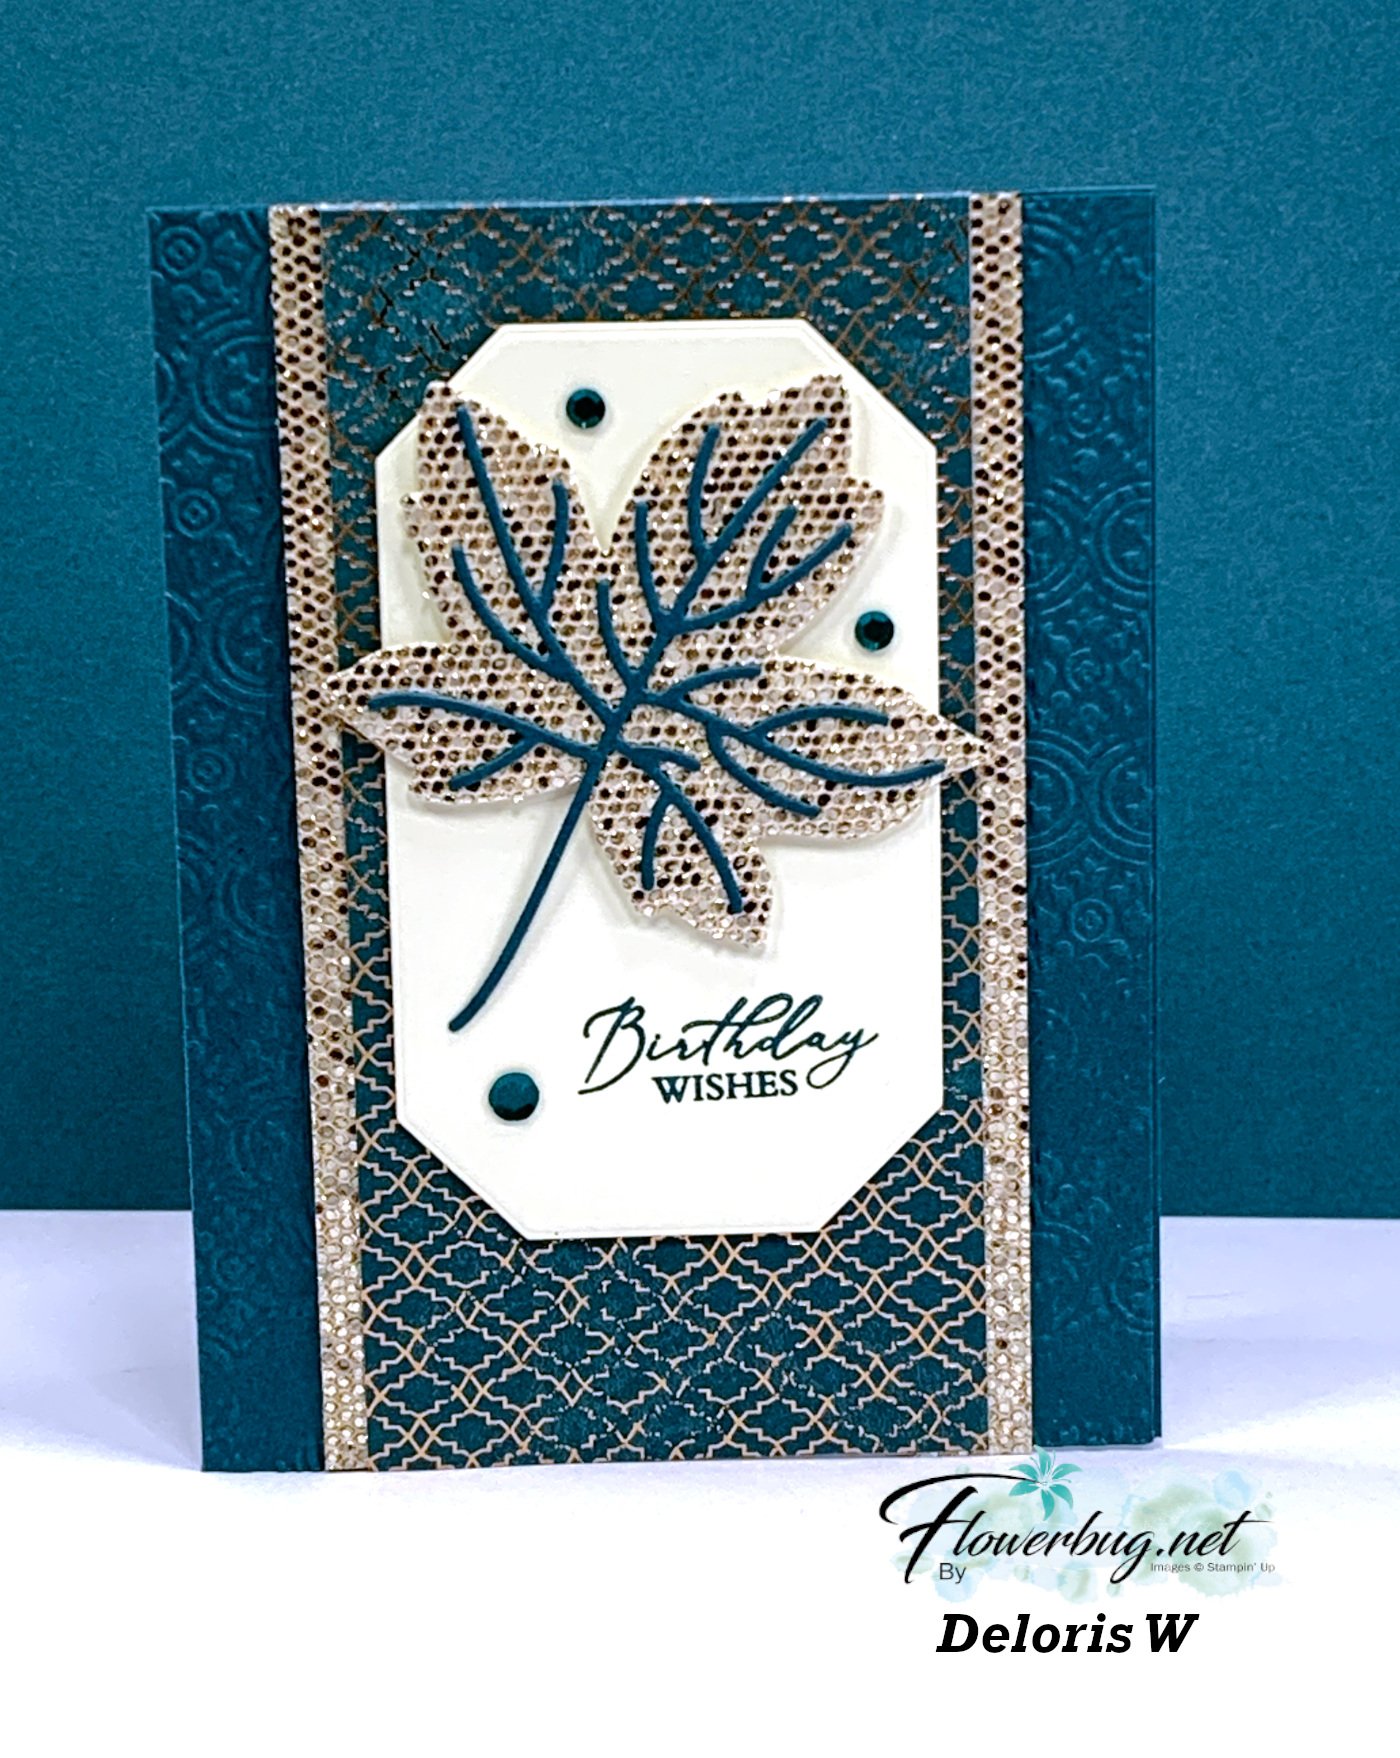
Measurements & products: 

  • All About Autumn center panel 2 3/4" X 5 1/2" (DSP is discontinued now)
  • More Dazzle paper 1/2" X 5 1/2" strips
  • Pretty Peacock card base 8 1/2" X 5 1/2" scored at 4 1/4" – front textured with the Distressed Tile embossing folder
  • Vanilla die-cut 2 3/8" X 4" – Countryside Corners dies (2023-24 Annual catalog)
  • Greeting from the Lasting Joy stamp set (2023-24 Annual catalog)

~~~

 Next is a pretty Christmas card made by Jane. She chose to feature the Merriest Trees bundle seen here. 

This card is all about Lost Lagoon and Silver which are absolutely beautiful together!

Products used:

  • Lost Lagoon card stock
  • Snowflake Magic specialty & Winter Meadow designer papers (2023 Holiday catalog)
  • Silver & Gold adhesive backed glimmer paper (Online Exclusives but sold out now)
  • Elegant Trim (silver cord – Annual catalog)
  • Festive Pearls (Annual catalog) 

Measurements:

  • Lost Lagoon card base 8 1/2" X 5 1/2" score at 4 1/4"
  • White 4" X 5 1/4"
  • Snowflake Magic 1" X 5 1/8"
  • Winter Meadow 2 7/8" X 5 1/8" 

~~~

Next is a pretty card made by Candy

I love her pretty color combo of Crumb Cake, Flirty Flamingo & White.  

Products & measurements:

  • Crumb Cake card base 8 1/2" X 5 1/2" score at 4 1/4" (textured with the Stripes & Splatters 3D embossing folder 2023-24 Annual catalog)
  • Dry Brushed Metallic specialty paper (Online Exclusives) 2" X 5 1/2"
  • Deckled Rectangle dies 2 1/8" X 3 1/2" (Annual catalog)
  • Flirty Flamingo greeting 2 1/8" long (Stylish Shapes dies 2023-24 Annual catalog) 
  • Inks – Old Olive, Flirty Flamingo & Old Olive Stampin' Write markers 
  • Brass Butterflies (Annual catalog)

I love sharing my Team's cards and their special styles! Stop back in for more gorgeous card swaps tomorrow!

~~~

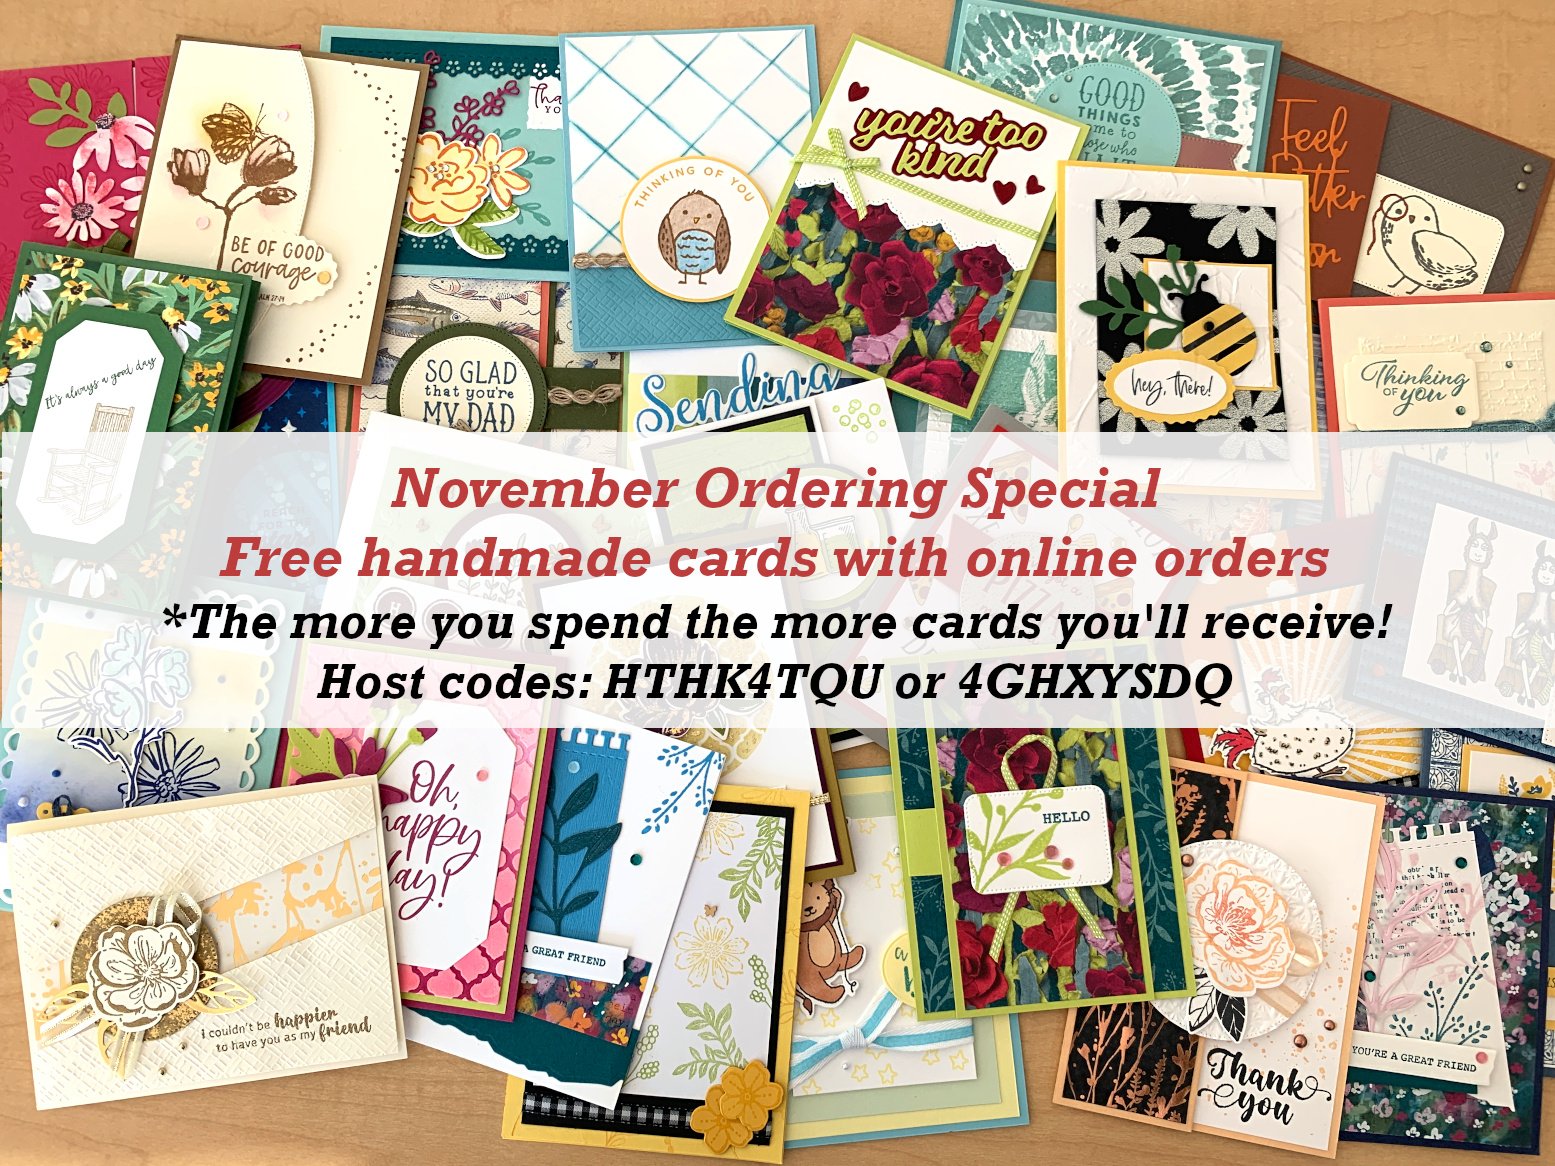
November Specials: 

*current host code:  4D2ZDS6Q
Click on the photo below to see all of the new online products
 

All Posts

  • The last of my 10 amazing card ideas for Paper Strips!


    Today I'm sharing the last of the 10 cards I made on my Facebook Live video.  If you aren't following me on Facebook yet click here. I host a video each Tuesday morning at 11 am CT and twice a month on Monday evenings as well. 

    I had a bunch of paper strips leftover from cutting out for cards and kits and created some fun & unique cards with them.  We're calling them 'Stripper Cards'! 

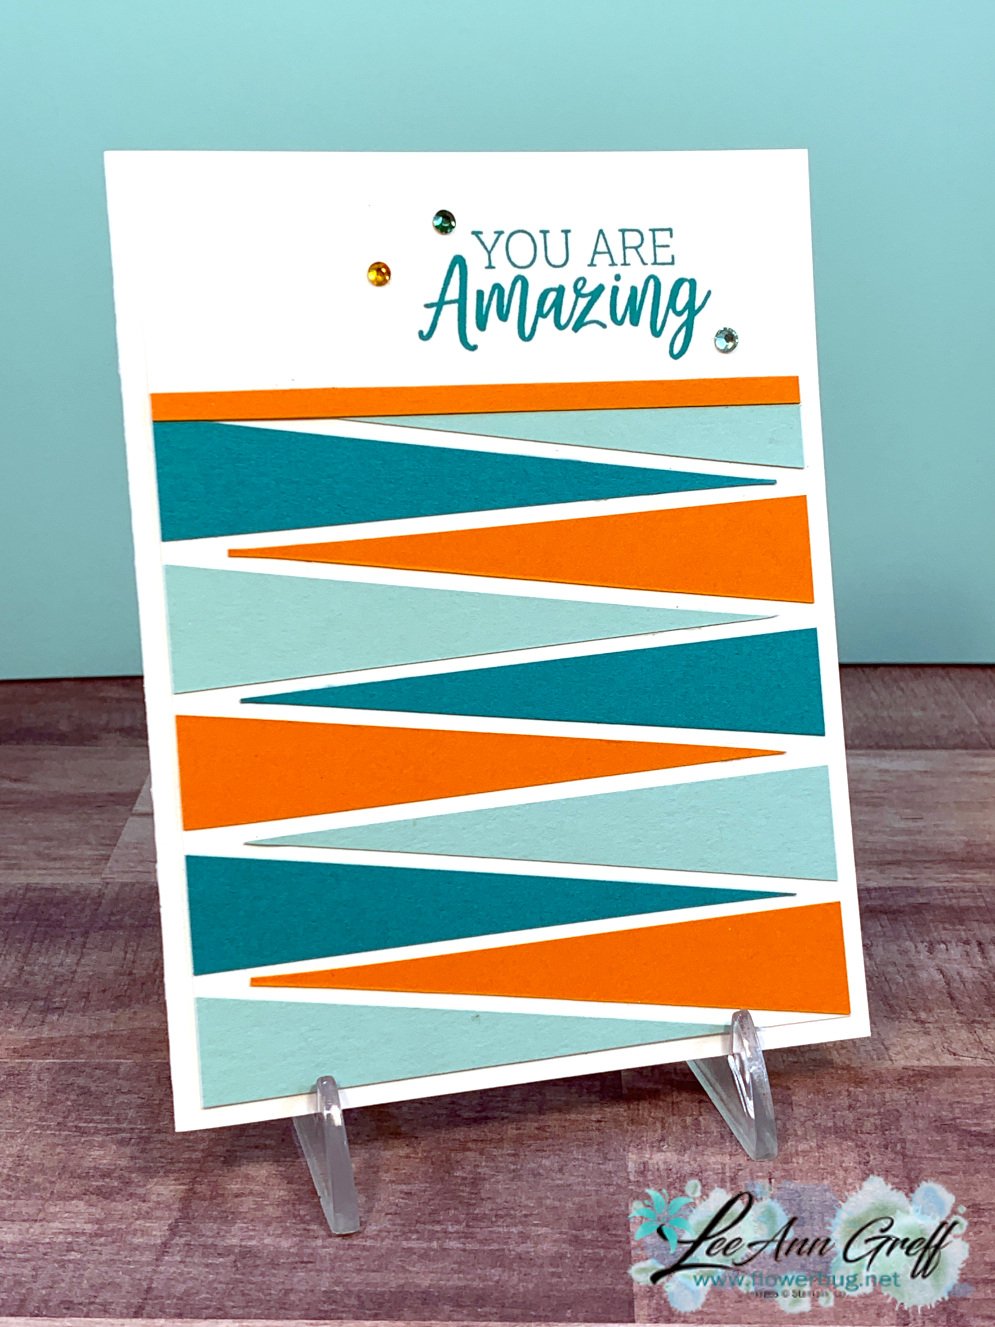
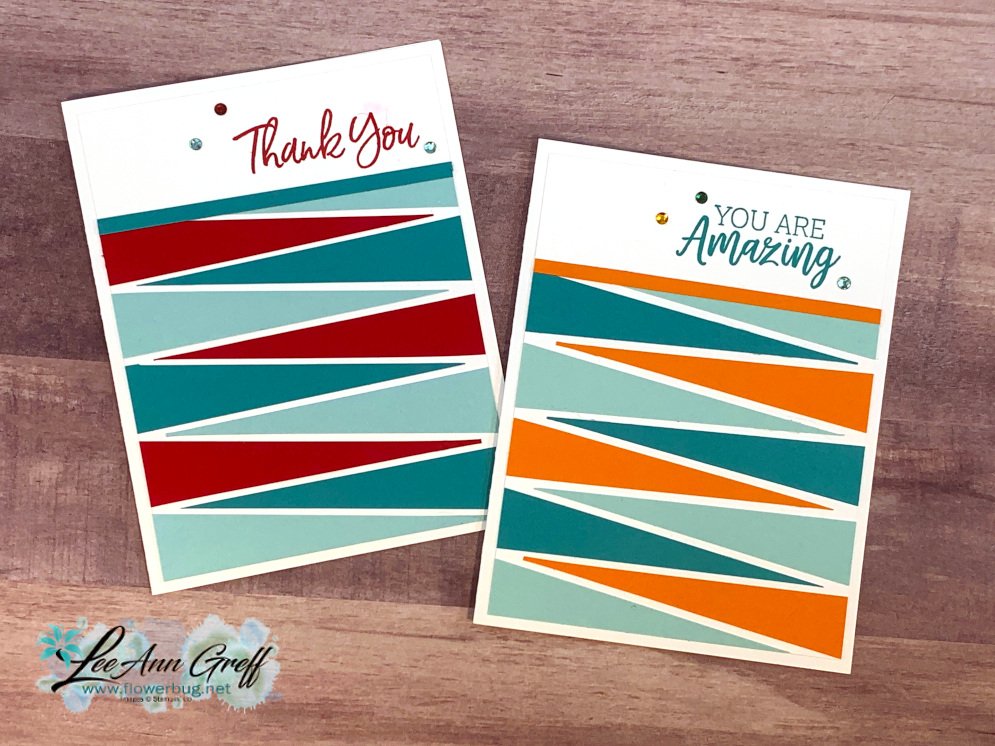
    Here's a favorite I made with 3/4" X 3 3/4" strips of Bermuda Bay, Pool Party & Pumpkin Pie.  

    I started out with a 4" X 5 1/4" piece of White CS.  Starting at the bottom I added a strip and alternated colors and directions each time.  I focused on keeping the tips at the same area and left the excess 'wide' end hang over the edge.  

    I had to leave enough space to stamp the greeting (You Are Amazing set seen here) so I stopped about 1 1/2" up.  The last piece may need to be trimmed before you add that skinny little edge strip.  A few Holiday rhinestones finish it off. 

    On my video (scroll down) I used Real Red with the Pool Party & Bermuda Bay.  Which do you prefer?  


    ~~~

    This is another of my favorites!  So easy and just plain fun!


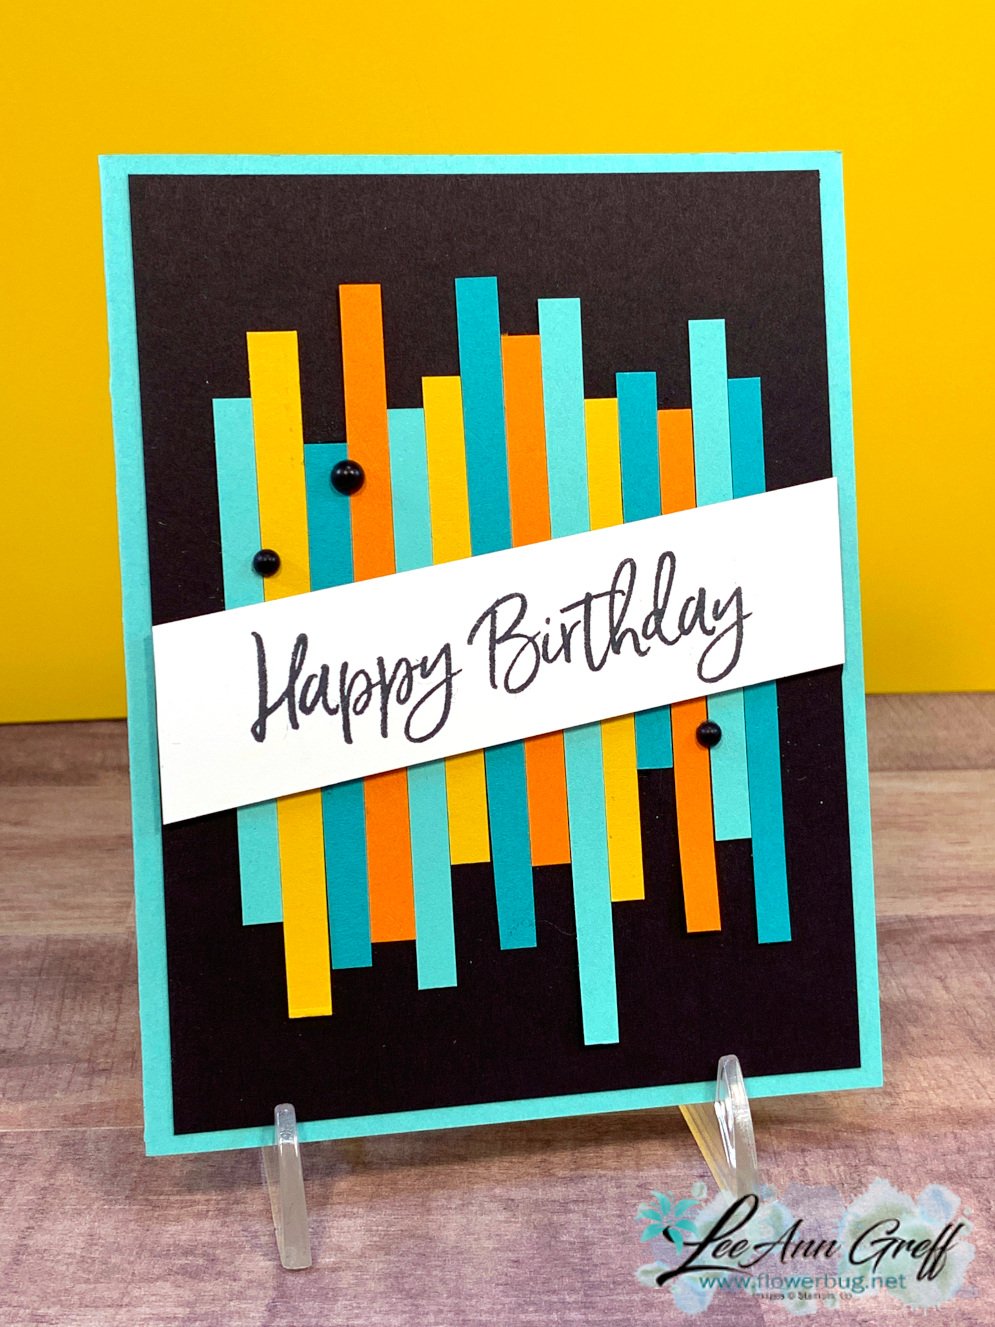
    I cut random lengths of 1/4" strips and adhered them to a 4" X 5 1/4" piece of Black card stock. The greeting is from the Sweet Ice Cream set stamped on a 1" X 4 3/4" strip of White CS.  Add this and trim the ends off before you add it to the main Coastal Cabana card base.  

    Here are both versions; which do you prefer?  


    • Left features Coastal Cabana, Bermuda Bay, Crushed Curry & Pumpkin Pie.
    • Right has Coastal Cabana, Bermuda Bay, Granny Apple Green, Pacific Point and Daffodil Delight. 

    Below is the video for all 10 'stripper' card ideas using leftover strips of paper! 


    ~~~

    April Specials!

    Click here for the Annual Catalog Retiring List; many discounted items while supplies last! 

    Current Host code is 3PA3P32V

    Order online here

    ~~~

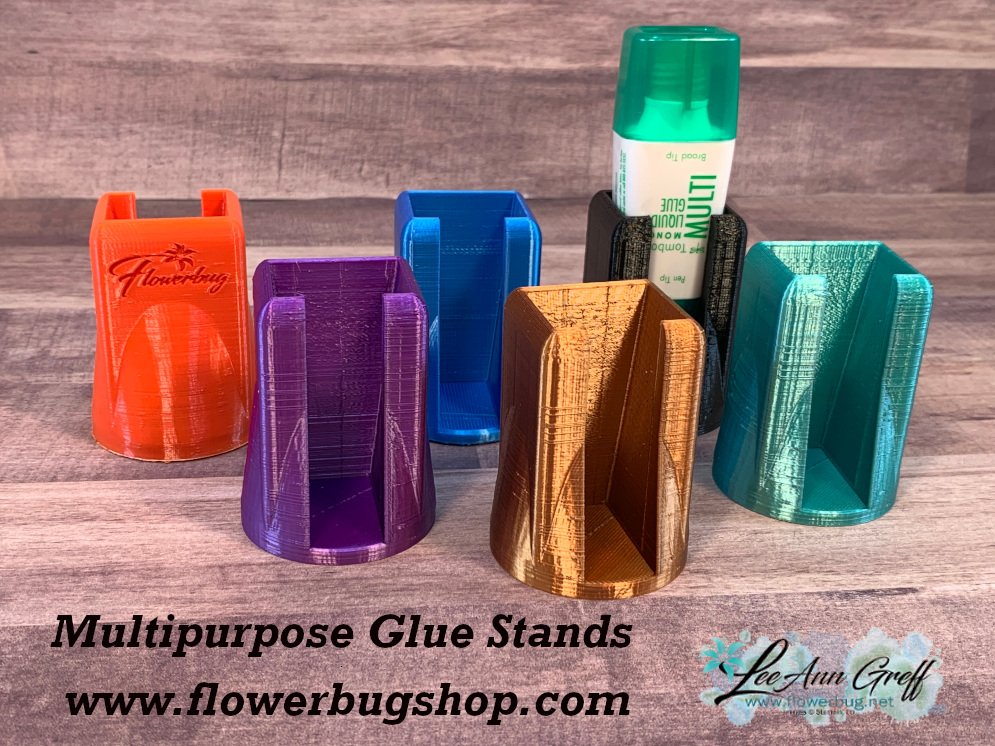
    Get a free multipurpose glue stand with an online order over $60 using the host code above. You'll receive a color of my choice unless you let me know your preference. *if you'd rather have gems; let me know.

    *If your order is over $150 do not use the code; you'll still receive a gift! 

    You can also order them in my Shop here. 

    All online orders will receive a free 14 project PDF tutorial

    Leave a Reply

    Your email address will not be published. Required fields are marked *

  • More fun cards with leftover paper strips


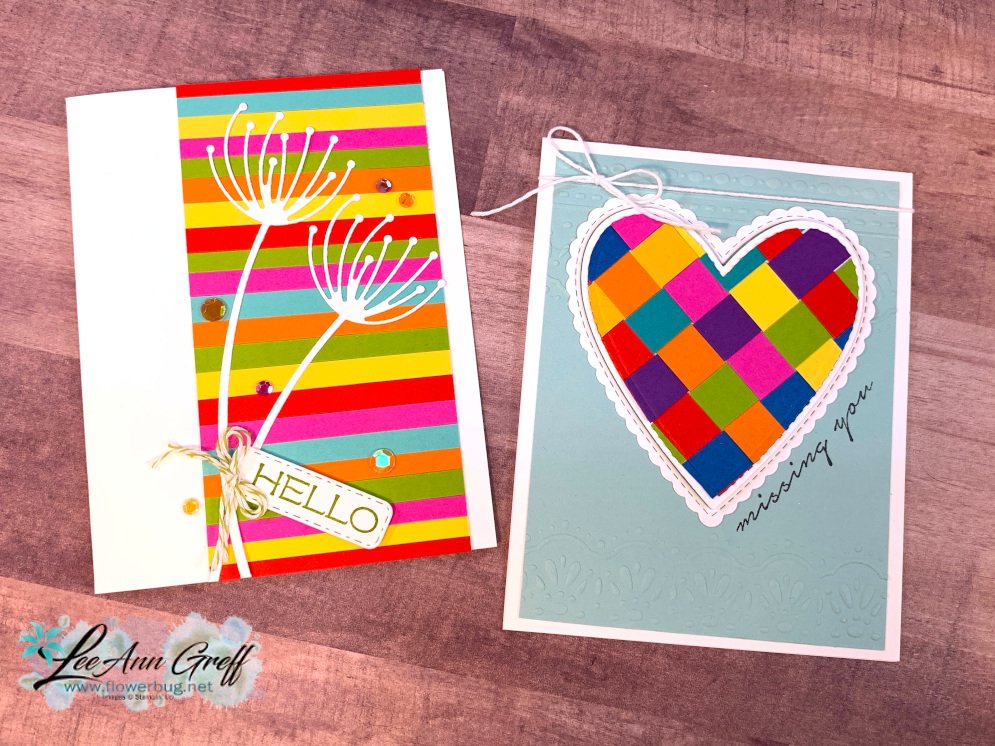
    I wanted these cards to be bright and happy so I chose my brightest colors of strips! 

    This first card has 1/4" strips adhered to a White layer 2 1/2" wide.  

    After I had the White piece covered with strips I trimmed off the excess on the edges and added it to the White card base.  Then I added the pretty dandelion White die-cuts (from the Dandy Wishes dies here).  That stitched greeting tag is from the Hydrangea Dies seen here.  Artistry Blooms adhesive-backed sequins finish it off as well as a twine bow.

    ~~~

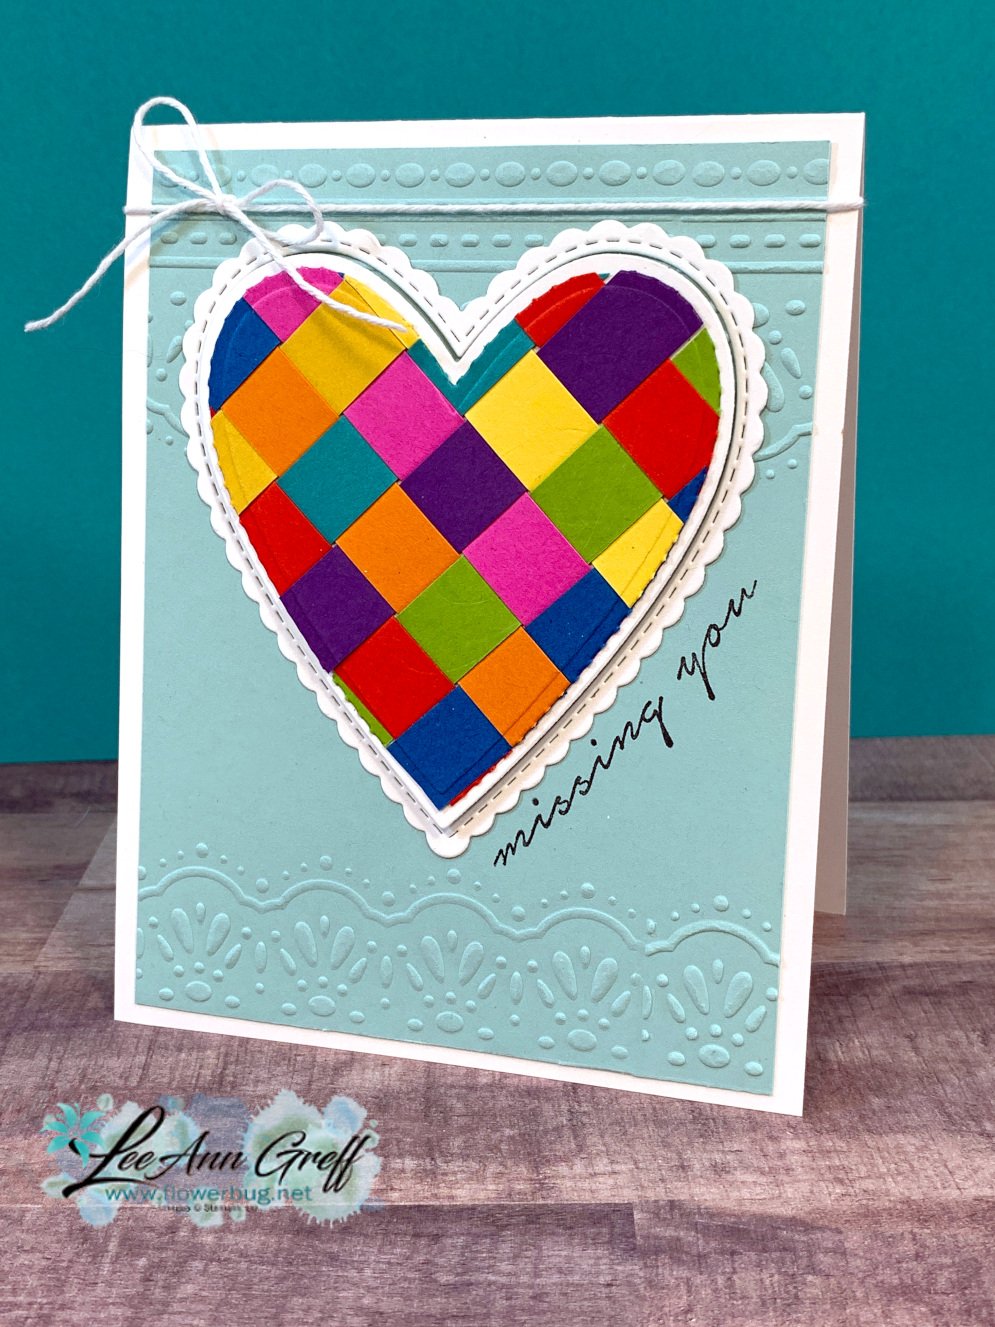
    Next is a card with a woven heart.  I think it's pretty neat!  And it looks difficult but it's just a few extra steps to die-cut the shape. *Watch the video below to catch my tips on paper weaving. 


    I share a good demo on this technique in the video below.  The strips are 1/2" and the heart shape is die-cut with the retiring Stitched Be Mine dies seen here.  There are 16 dies with lots of heart shapes & borders in many sizes.  

    The pretty textures are from the Little Details embossing folders seen here.  It's just $3.20 right now; while supplies last! 

    Here's the video for all 10 of my paper strips projects!  

    ~~~

    April Specials!

    Click here for the Annual Catalog Retiring List; many discounted items while supplies last! 

    Current Host code is PX6ZWGM7

    Order online here

    ~~~

    Get a free multipurpose glue stand with an online order over $60 using the host code above. You'll receive a color of my choice unless you let me know your preference. *if you'd rather have gems; let me know.

    *If your order is over $150 do not use the code; you'll still receive a gift! 

    You can also order them in my Shop here. 

    Leave a Reply

    Your email address will not be published. Required fields are marked *

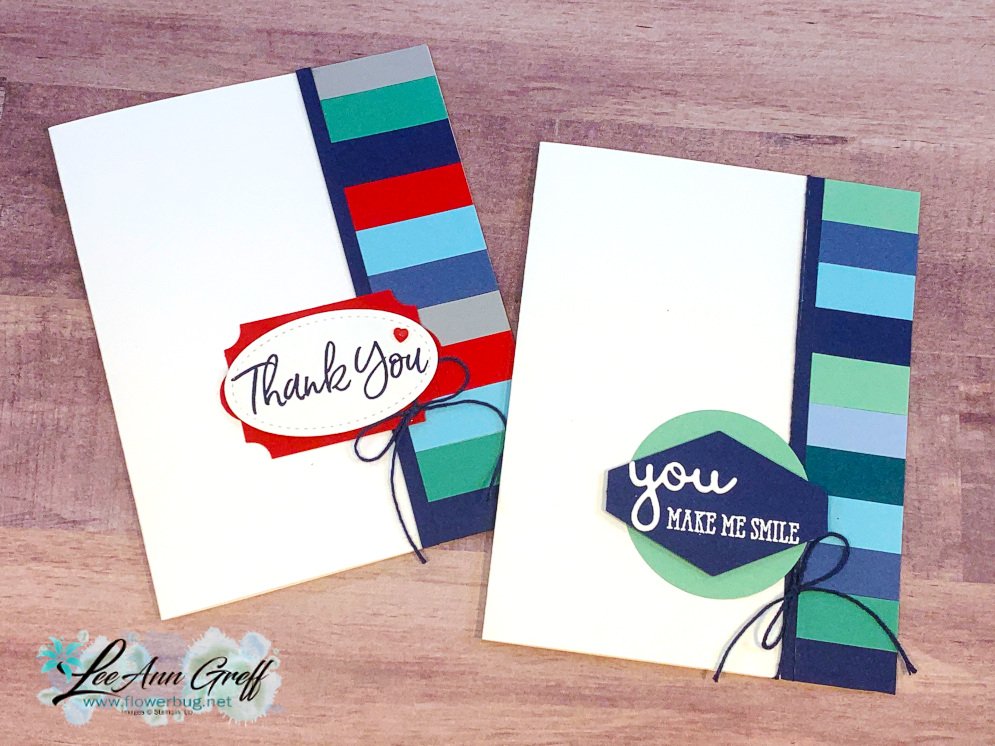
  • Quick cards for Men using paper strips!


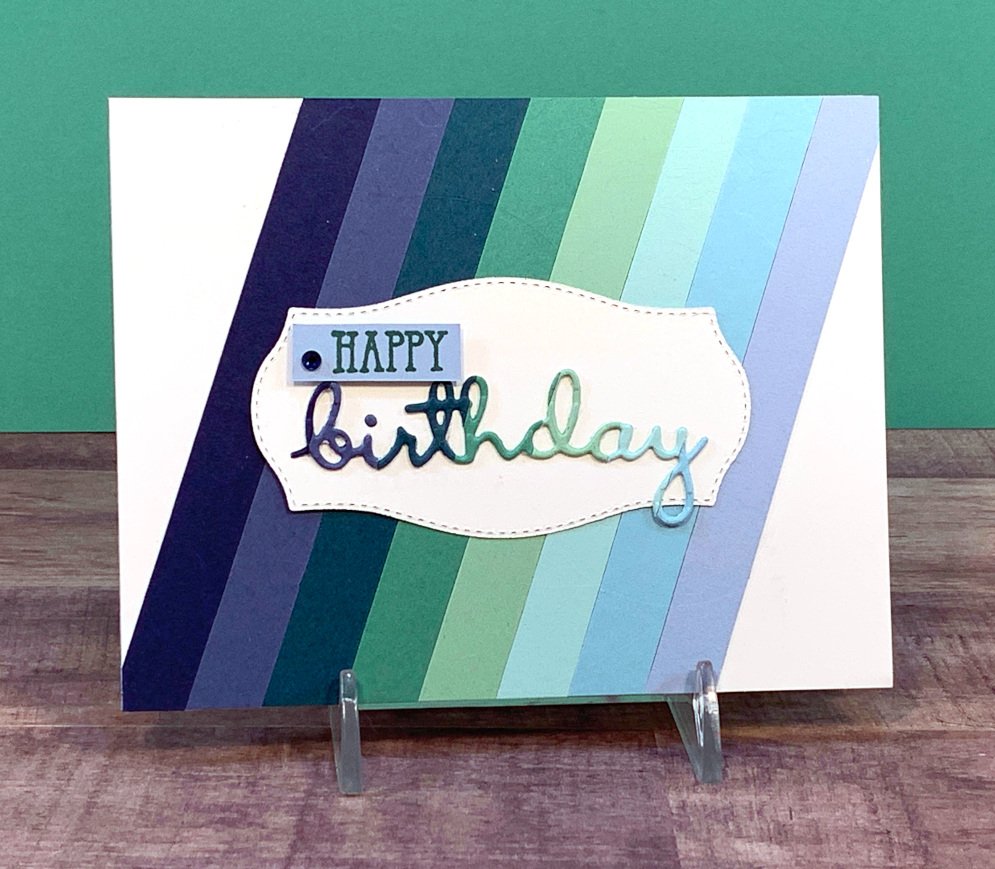
    I thought paper strips were a perfect way to create cards for men.  So I chose some 1/2" strips of blues and greens and adhered them to a piece of White 4 1/4" X 5 1/2" card stock at an angle. 

    Add them at an angle, graduating colors as you go if you wish.  Once you're added strips trim off the excess on the edges.  

    Next I used the retiring Well Written 'birthday' dies seen here and cut it out of the stripes piece.  I wanted the greeting to reflect the same colors in the background.  So easy!  

    I adhered it to the Tasteful Labels die-cut with Multipurpose Glue. I stamped 'Happy' from the coordinating stamp set Well Said seen here and fussy cut it to add to the card.  

    ~~~

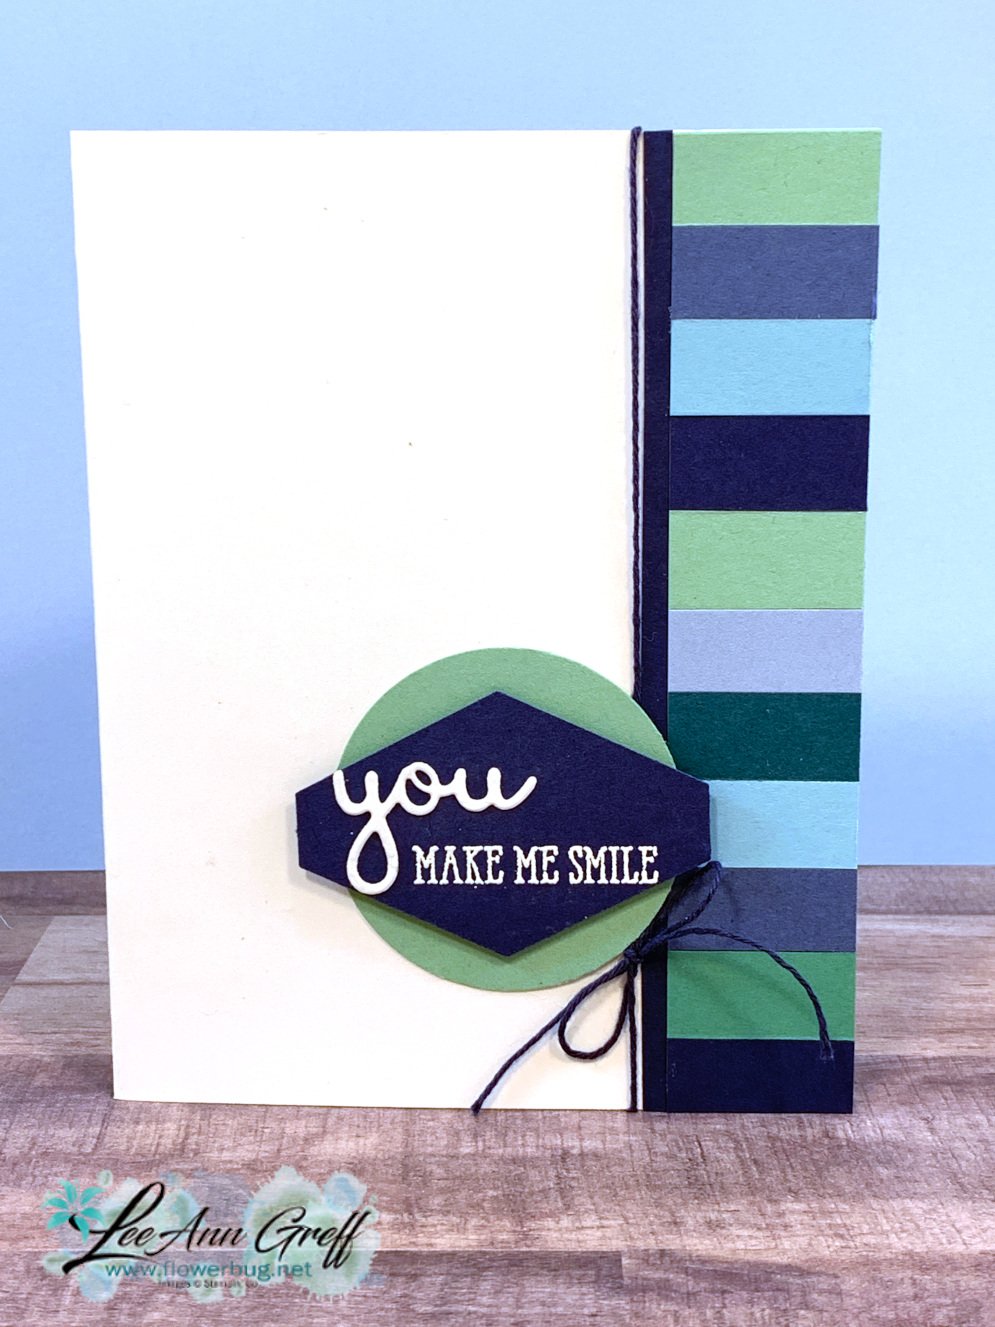
    Next is another card with the exact same colors but totally different.  I adhered 1/2" strips to the edge of a White card base.  I didn't worry about the outer edge until I was done; trimming it off afterwards.  I focused on the left edge being even.   

    I added a skinny 1/8" strip of Night of Navy to cover up any unevenness on my left edge.  A length of Navy twine wrapped around and into a bow finishes it off. 

    The 'you' is from the Well Written dies and the 'make me smile' is rom the Well Said stamp set (heat embossed in White) on a Navy Tailored Tag punch.


    Here's the video for all 10 paper strips projects!  

    More details on my paper strips projects tomorrow! 

    ~~~

    April Specials!

    Click here for the Annual Catalog Retiring List; many discounted items while supplies last! 

    Current Host code is 3PA3P32V

    Order online here

    ~~~

    Get a free multipurpose glue stand with an online order over $60 using the host code above. You'll receive a color of my choice unless you let me know your preference. *if you'd rather have gems; let me know.

    *If your order is over $150 do not use the code; you'll still receive a gift! 

    You can also order them in my Shop here. 

    All online orders will receive a free 14 project PDF tutorial

    Leave a Reply

    Your email address will not be published. Required fields are marked *


Notice: LeeAnn Greff, Independent Stampin’ Up! Demonstrator, Manager. The content of this website is my sole responsibility as an independent Stampin’ Up! demonstrator and the use of, and content of, the classes, services, or products offered on this website is not endorsed by Stampin’ Up! Copyright 2025