/


Latest Post

Beautiful Glitz & Shine card swaps


Today is the second batch of Glitz, Shine or Glimmer card swaps by my Flowerbug's Team.  You'll love the wide array of gorgeous cards they made! 

But first I have to tell you about the Last Chance & Carry Over lists from the 2023 Holiday catalog. 

 

The holiday catalog ends January 3rd and they've released the items that are retiring AND those that will carry over into 2024. *see all items here!

This Last Chance Products promotion will include two lists: a retiring list and a carryover list.

Details:

  • Not all items on the Last Chance Products List will be discounted. 
  • All products are available while supplies last, and there are no purchase limits.
  • Stamp sets are not guaranteed during this promotion and are while supplies last.

~~~

First up today is a birthday card made by Deloris. She used the beautiful Autumn Leaves dies as her main focus.  
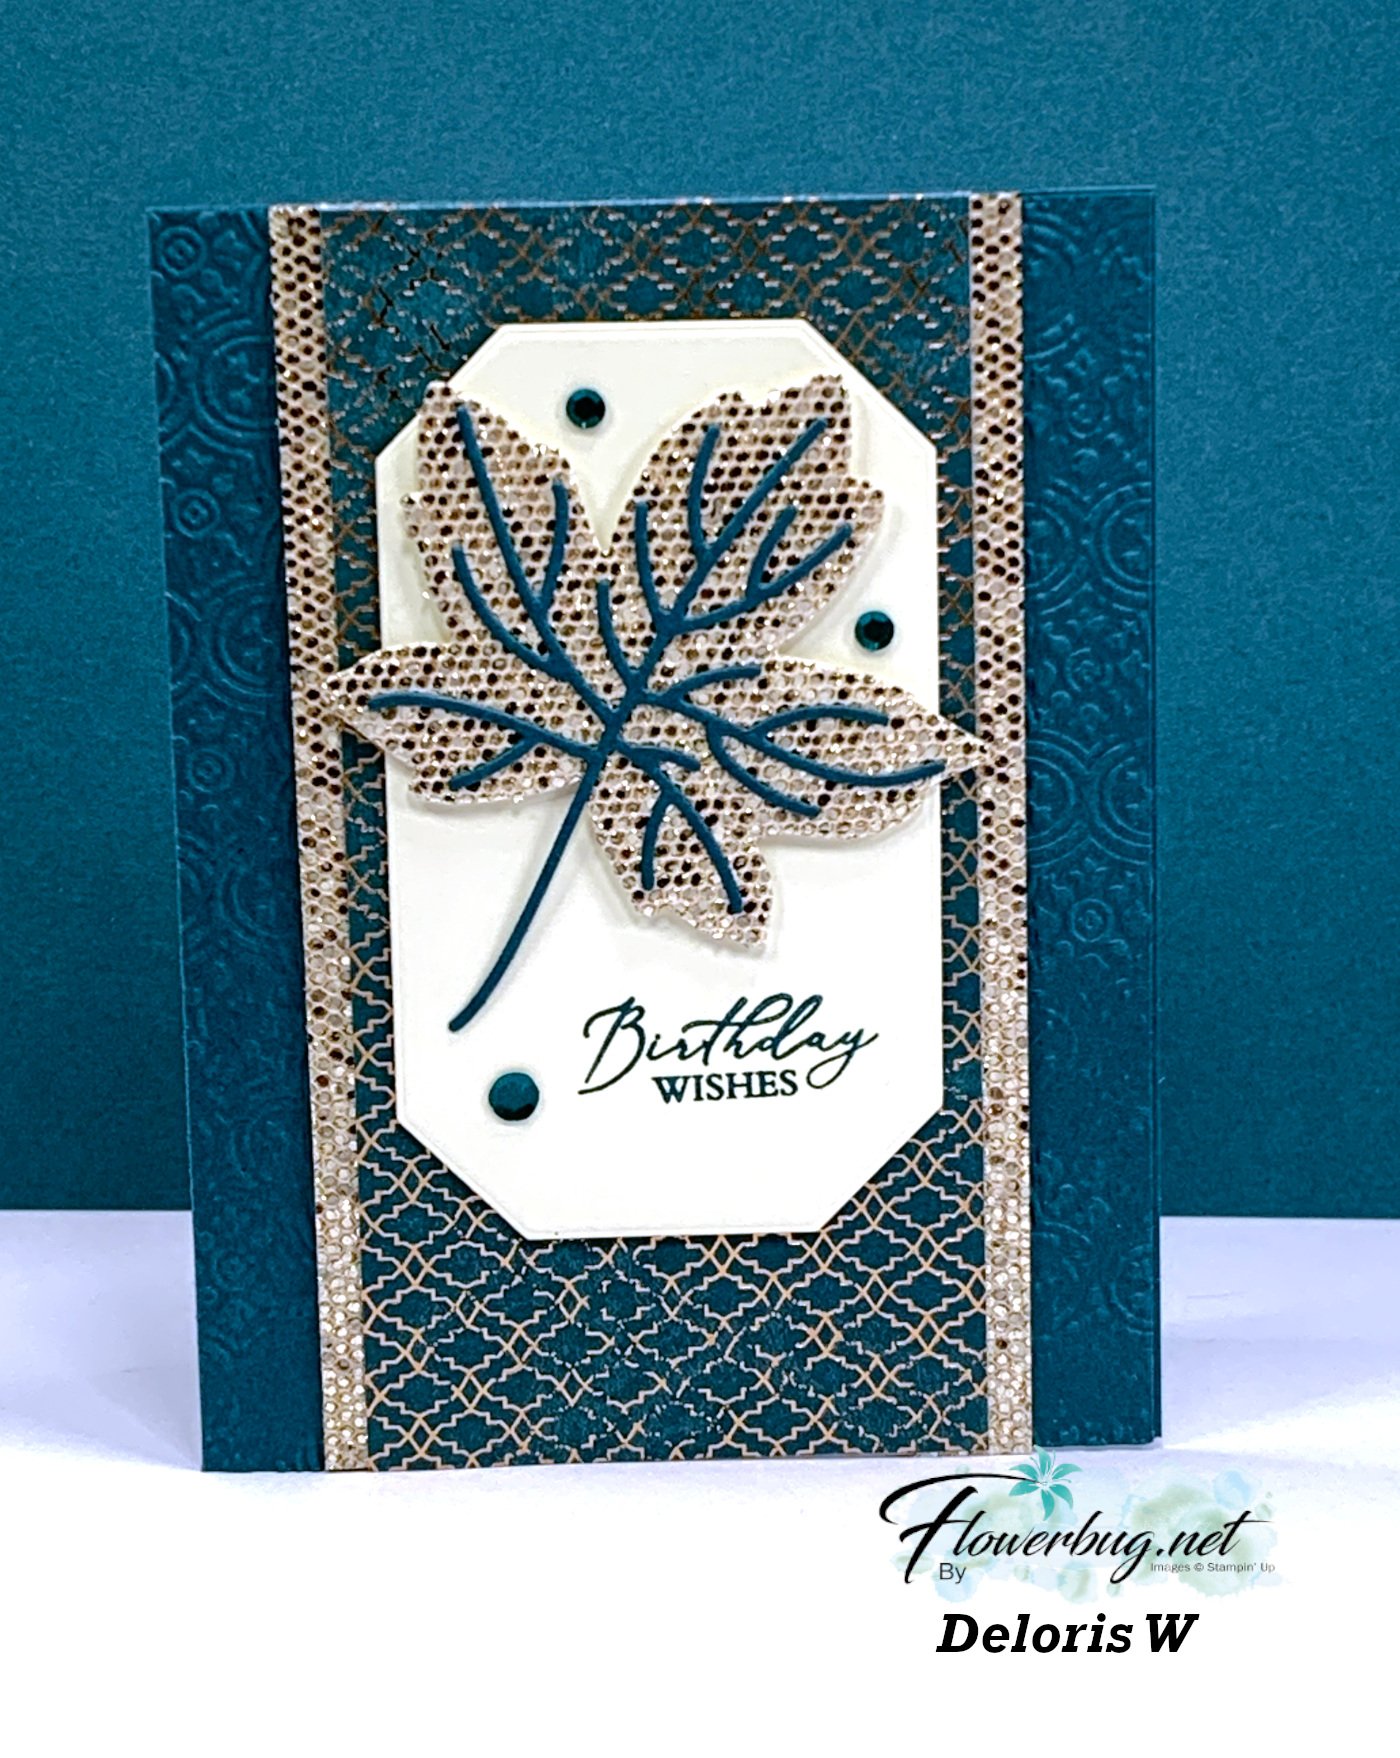
Measurements & products: 

  • All About Autumn center panel 2 3/4" X 5 1/2" (DSP is discontinued now)
  • More Dazzle paper 1/2" X 5 1/2" strips
  • Pretty Peacock card base 8 1/2" X 5 1/2" scored at 4 1/4" – front textured with the Distressed Tile embossing folder
  • Vanilla die-cut 2 3/8" X 4" – Countryside Corners dies (2023-24 Annual catalog)
  • Greeting from the Lasting Joy stamp set (2023-24 Annual catalog)

~~~

 Next is a pretty Christmas card made by Jane. She chose to feature the Merriest Trees bundle seen here. 

This card is all about Lost Lagoon and Silver which are absolutely beautiful together!

Products used:

  • Lost Lagoon card stock
  • Snowflake Magic specialty & Winter Meadow designer papers (2023 Holiday catalog)
  • Silver & Gold adhesive backed glimmer paper (Online Exclusives but sold out now)
  • Elegant Trim (silver cord – Annual catalog)
  • Festive Pearls (Annual catalog) 

Measurements:

  • Lost Lagoon card base 8 1/2" X 5 1/2" score at 4 1/4"
  • White 4" X 5 1/4"
  • Snowflake Magic 1" X 5 1/8"
  • Winter Meadow 2 7/8" X 5 1/8" 

~~~

Next is a pretty card made by Candy

I love her pretty color combo of Crumb Cake, Flirty Flamingo & White.  

Products & measurements:

  • Crumb Cake card base 8 1/2" X 5 1/2" score at 4 1/4" (textured with the Stripes & Splatters 3D embossing folder 2023-24 Annual catalog)
  • Dry Brushed Metallic specialty paper (Online Exclusives) 2" X 5 1/2"
  • Deckled Rectangle dies 2 1/8" X 3 1/2" (Annual catalog)
  • Flirty Flamingo greeting 2 1/8" long (Stylish Shapes dies 2023-24 Annual catalog) 
  • Inks – Old Olive, Flirty Flamingo & Old Olive Stampin' Write markers 
  • Brass Butterflies (Annual catalog)

I love sharing my Team's cards and their special styles! Stop back in for more gorgeous card swaps tomorrow!

~~~

November Specials: 

*current host code:  4D2ZDS6Q

Click on the photo below to see all of the new online products
 

All Posts

  • Create a mountain scene with the In the Grove bundle; video & free project sheet too!


    I shared this card on last week's Live video. I made a bunch of them for an online swap I participated in.  I just love creating a scene on my cards!  

    It features the In the Grove bundle; from the new Annual Catalog.  You can see it here.  

    My colors include Smoky Slate, Balmy Blue, Shaded Spruce and the new Shy Shamrock. 

    Tips: I heat embossed the clouds in clear embossing on the White layer; then used a blending brush with Balmy Blue ink over it for the sky. When you do this I recommend wiping off the excess ink with a slightly damp tissue or cloth. That removes the blue ink from the embossed clouds. 

    That pretty mountain image is all one stamp! One color of ink and one stamp. I stamped the green trees multiple times in Shaded Spruce ink, varying the height each time.  

    I hope you like it! Be sure to watch the video below to see how quickly it comes together. 

    Here's a free project sheet for this pretty card; it has photos, directions, measurements and products listed.  Download In the Grove Mountain scene

    You can see this card being made on my video below plus another pretty card made with the In the Grove bundle. 

    ~~~

    May Specials: 

    *current host code link:  FCJ937QT or 9AWSF9T9

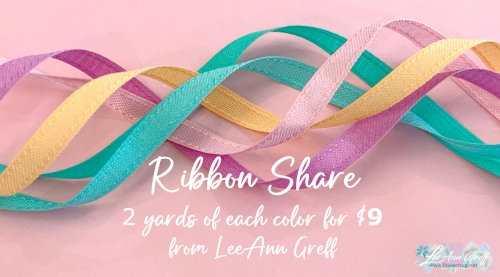
    Click on the pictures above or below to get to my new catalog shares – choose from designer papers or a ribbon share. 

    ~~~

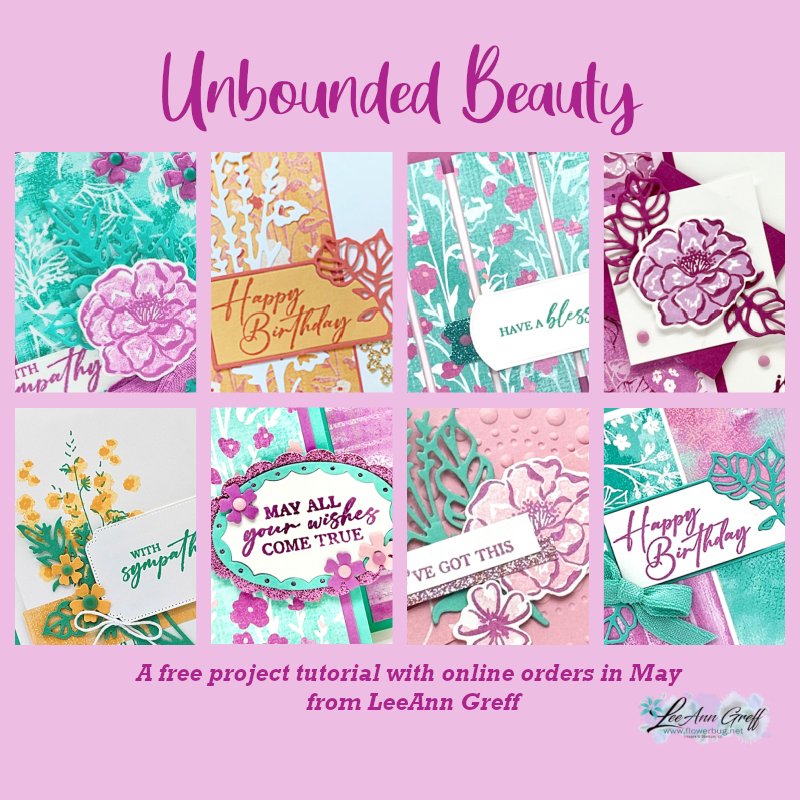
    All online orders in May will receive a free project tutorial and if your order is over $50 I'll also send you a pre-cut card kit!

    Leave a Reply

    Your email address will not be published. Required fields are marked *

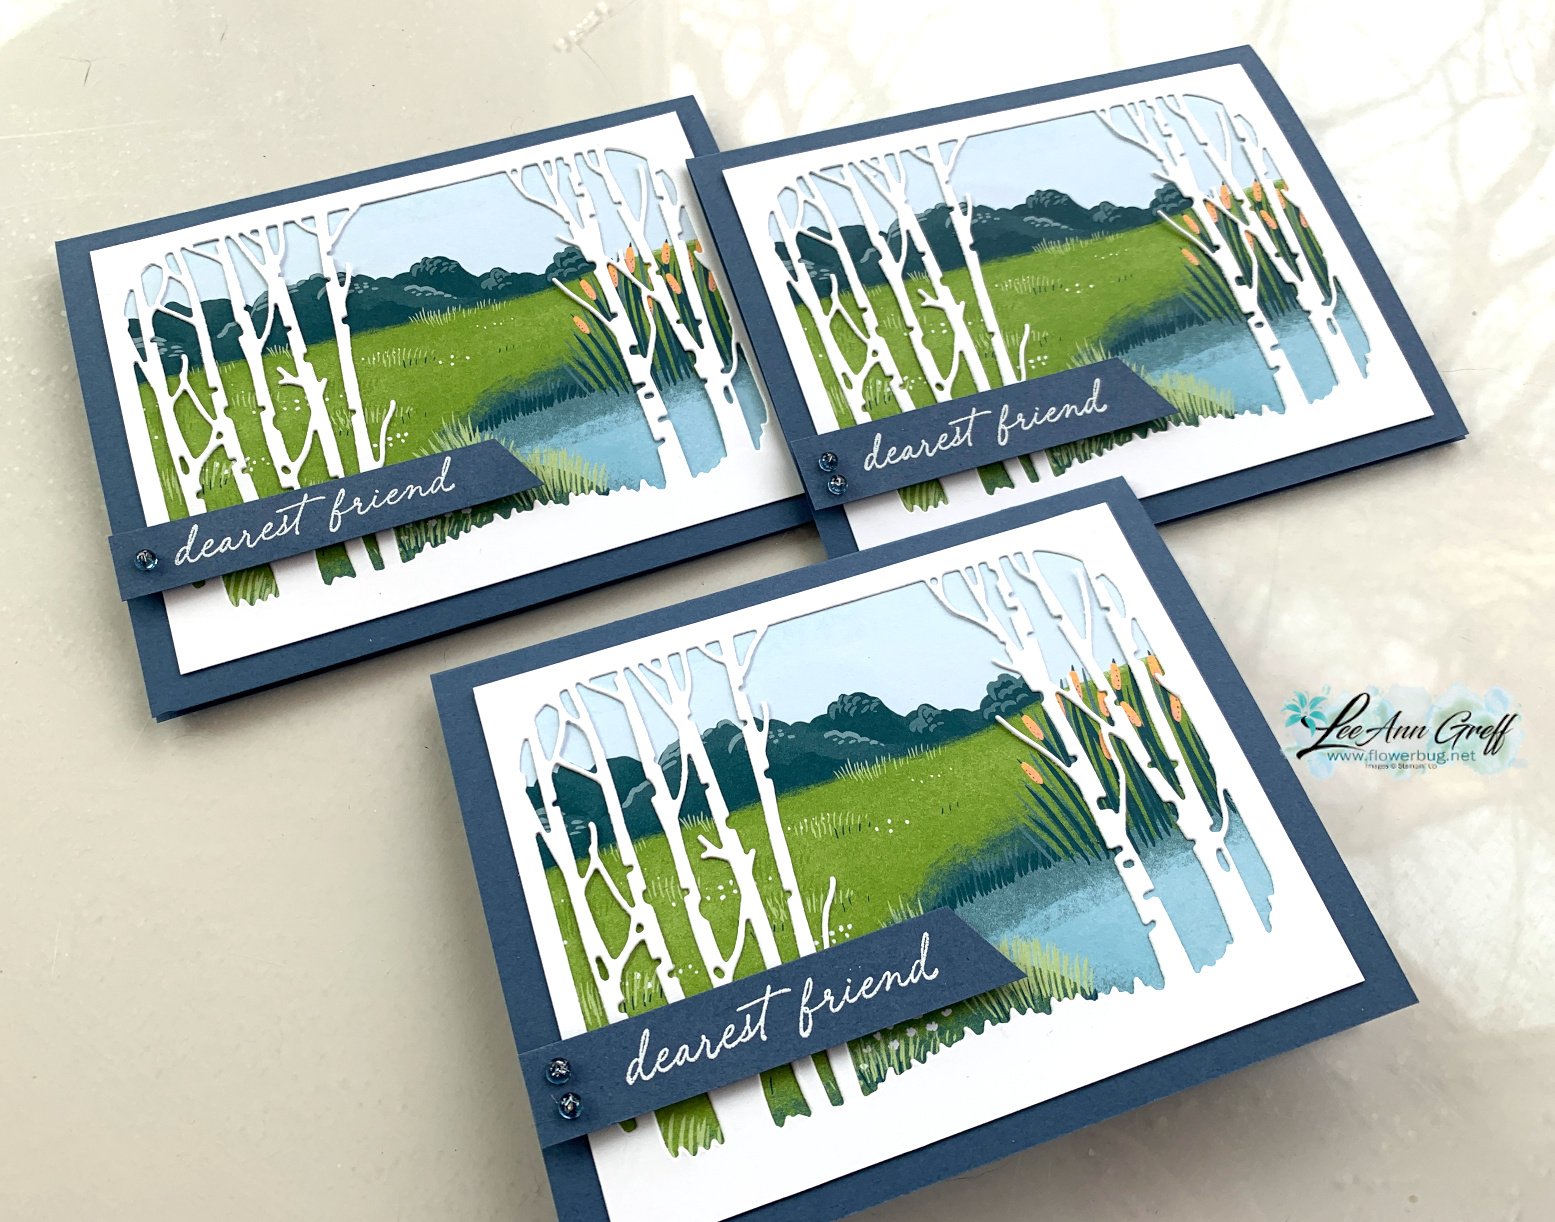
  • Thoughtful Journey designer paper paired with In The Grove for stunning results!


    I shared this beautiful card on last week's Live video. 

    It features a few new products in the 1024-25 Annual Catalog;

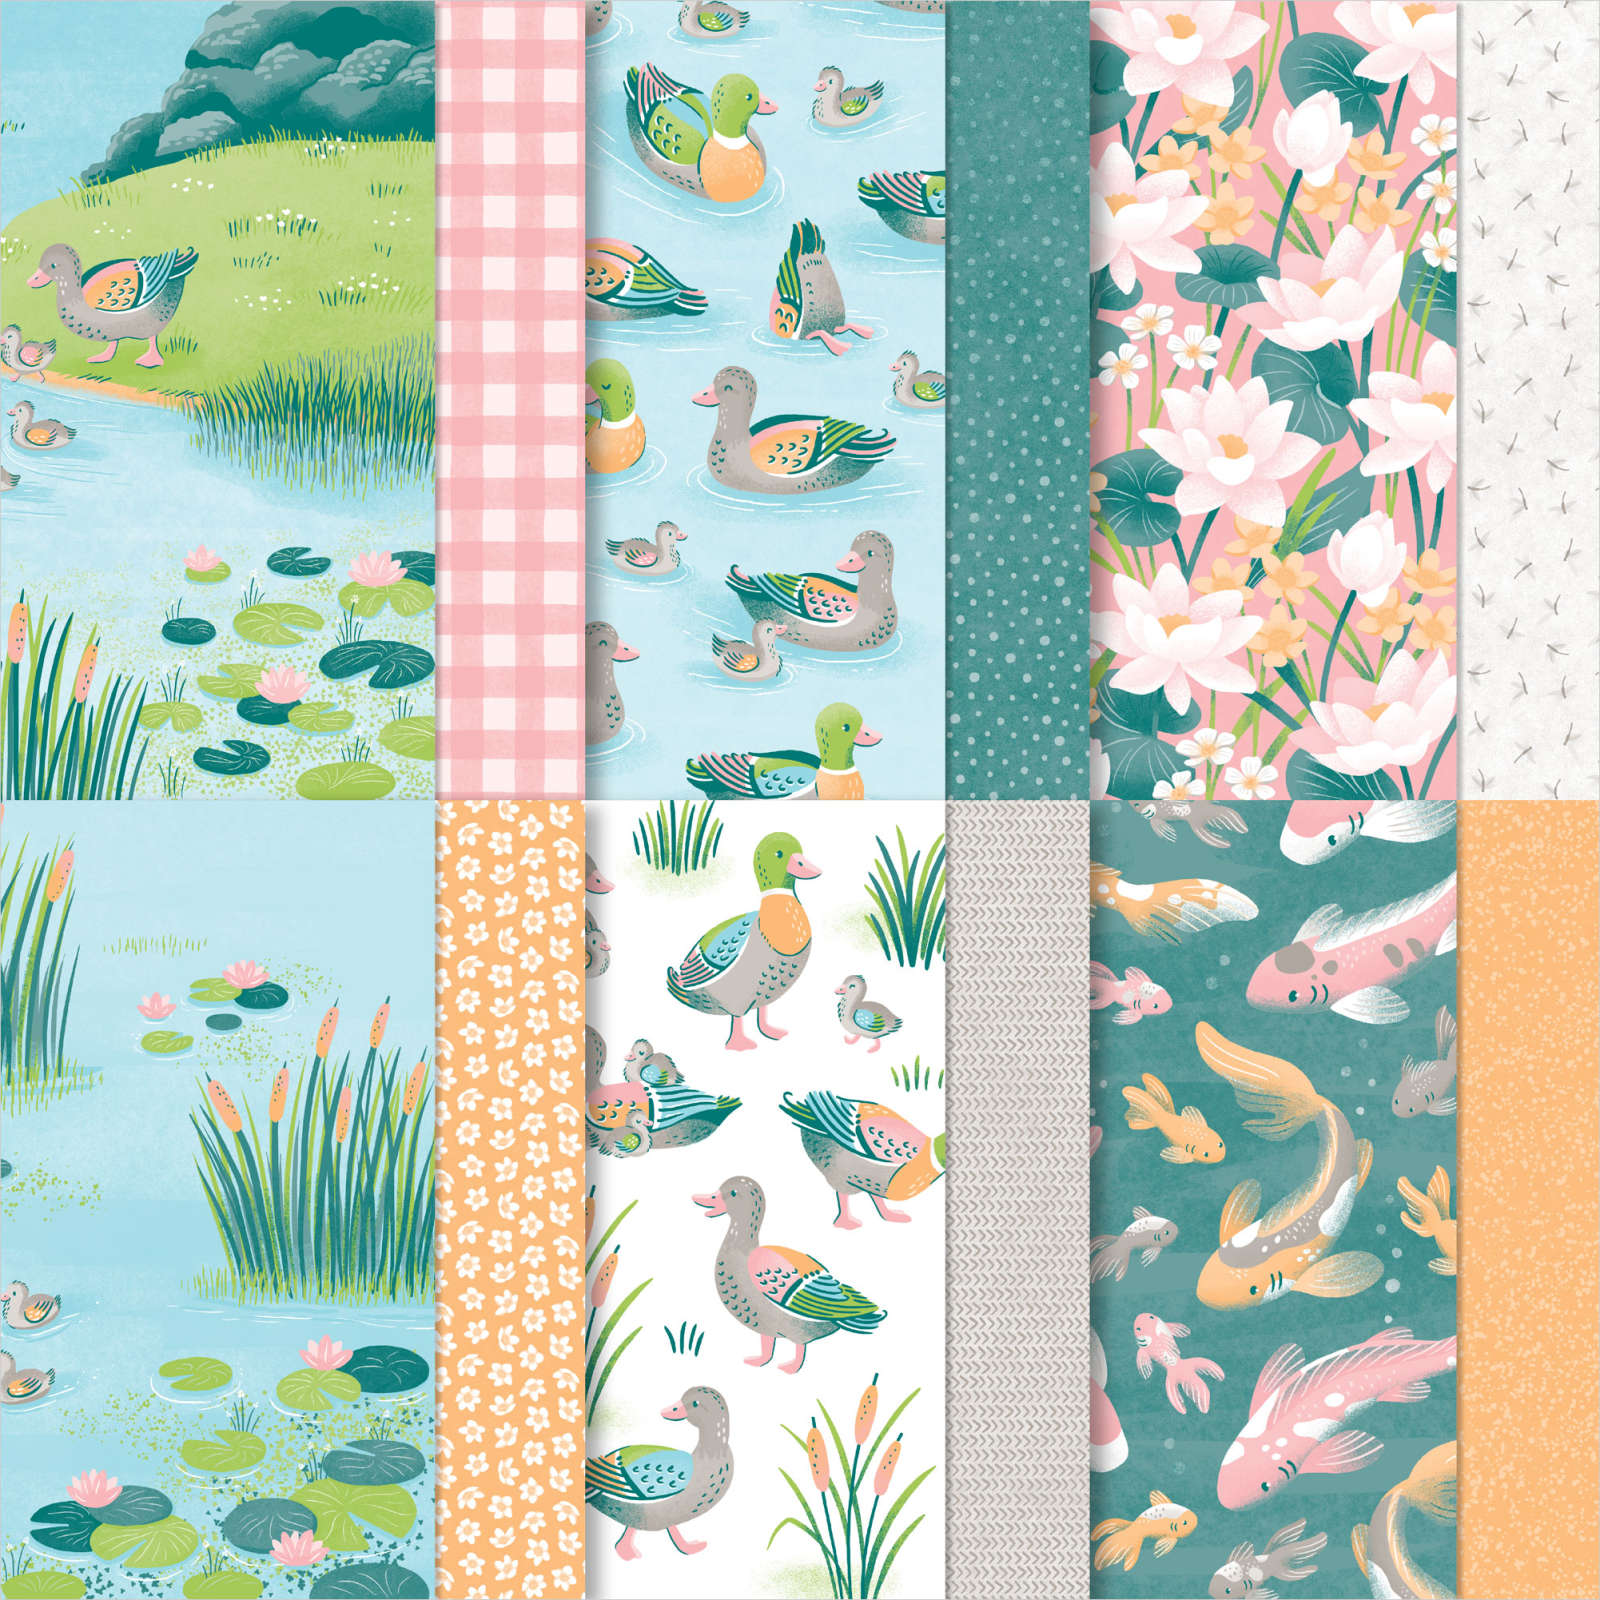
    This Thoughtful Journey designer paper is incredible! Many people love the watercolor look of this type of scenic paper.

    To me it seems the perfect choice for thinking of you, sympathy or get well cards.  

    I made a few of these cards with the Lily Pond Lane designer paper too.  You can see both in the photo below:

    Here's a free printable project sheet for you: Download In the Grove scene

    My card bases are Misty Moonlight and the White birch tree die-cut is approximately 5" X 3 3/4"; as is the designer paper under it.  See the Lily Pond Lane designer paper here. 

    I think these scenic cards are fabulous.  Those birch tree die-cuts sure make quick but beautiful cards! 

    You can see this card being made on my video below plus another card made with the In the Grove bundle. 

    ~~~

    May Specials: 

    *current host code link:  D6QRFZ7J or FCJ937QT

    Click on the pictures above or below to get to my new catalog shares – choose from designer papers or a ribbon share. 

    ~~~

    All online orders in May will receive a free project tutorial and if your order is over $50 I'll also send you a pre-cut card kit!

    Leave a Reply

    Your email address will not be published. Required fields are marked *

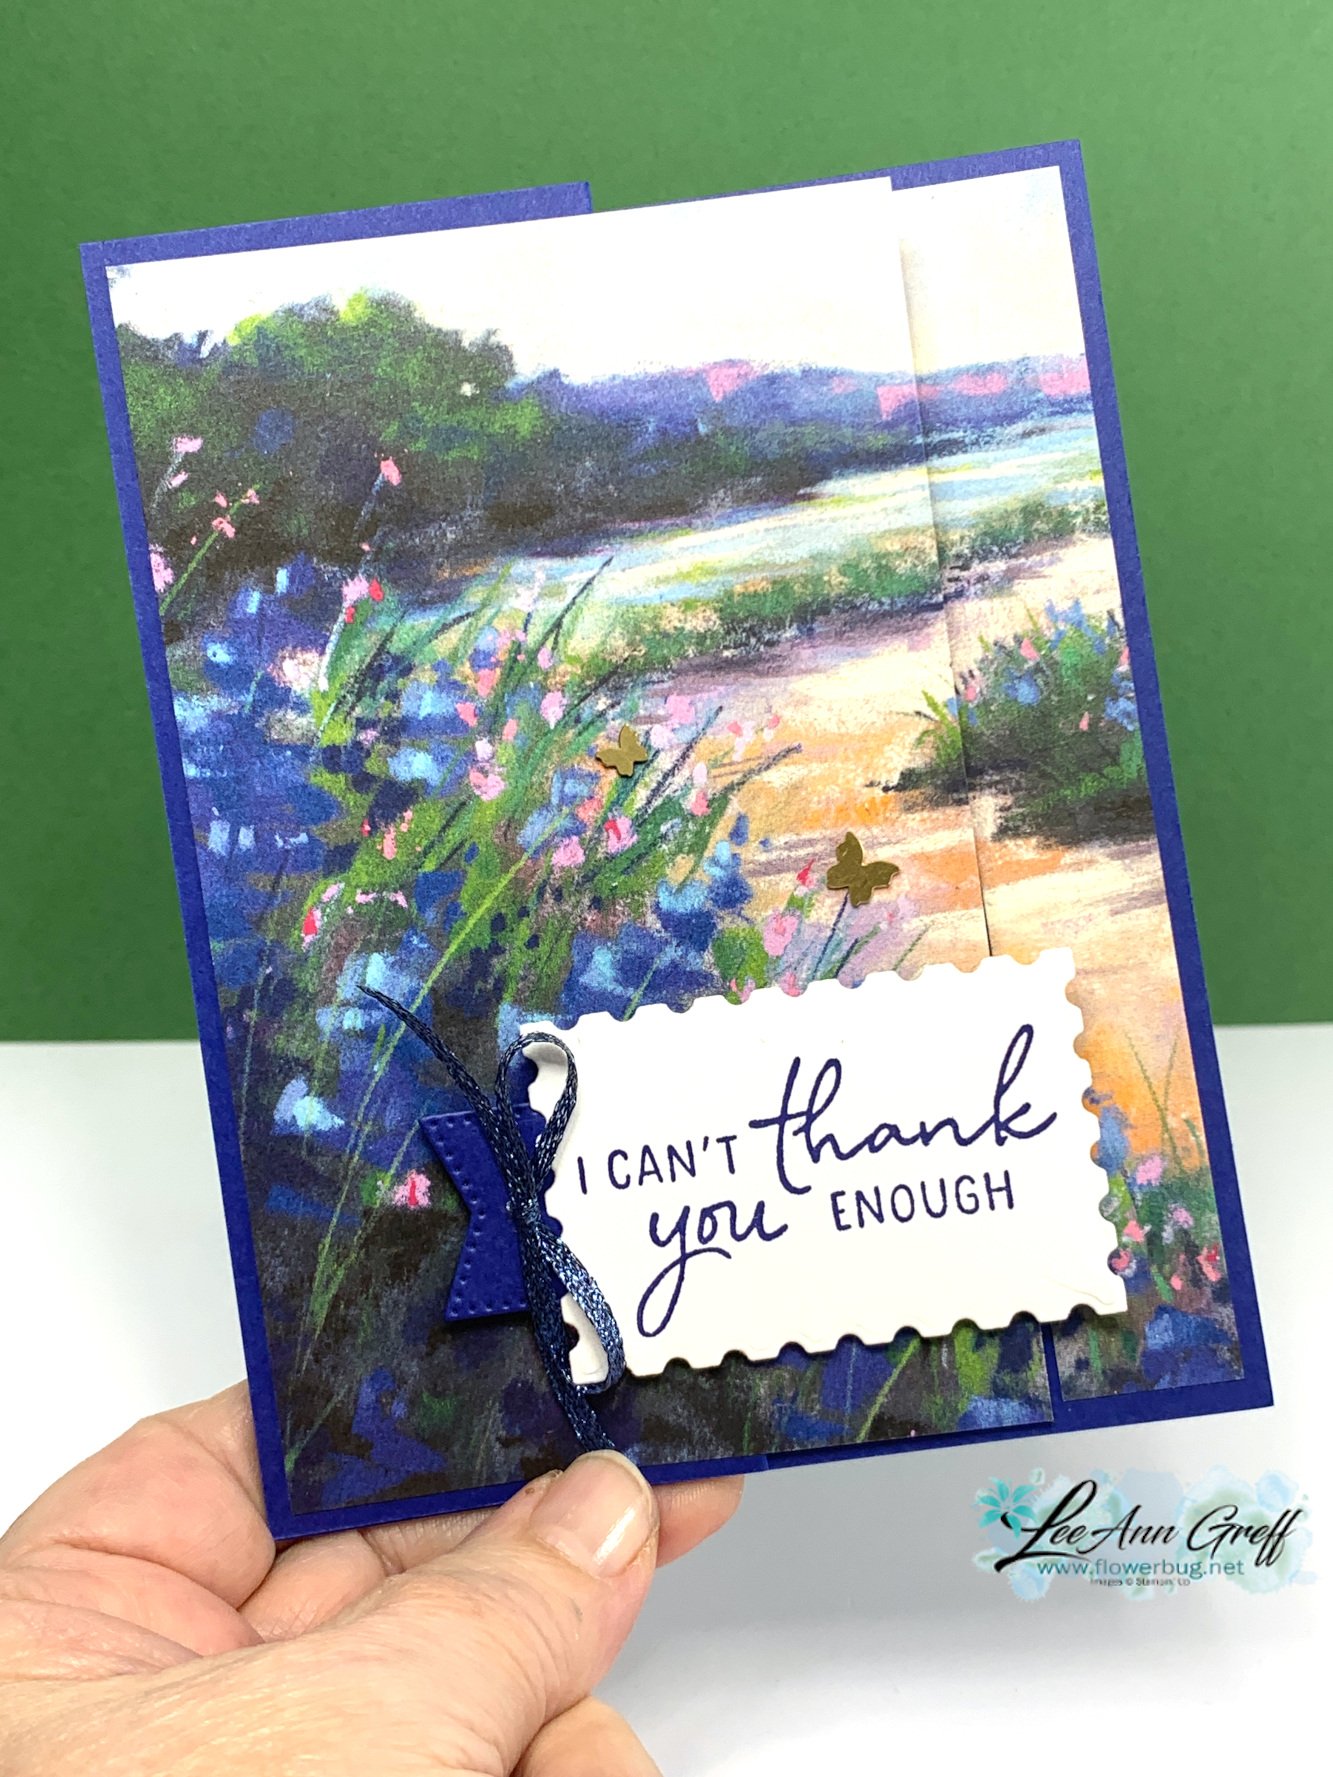
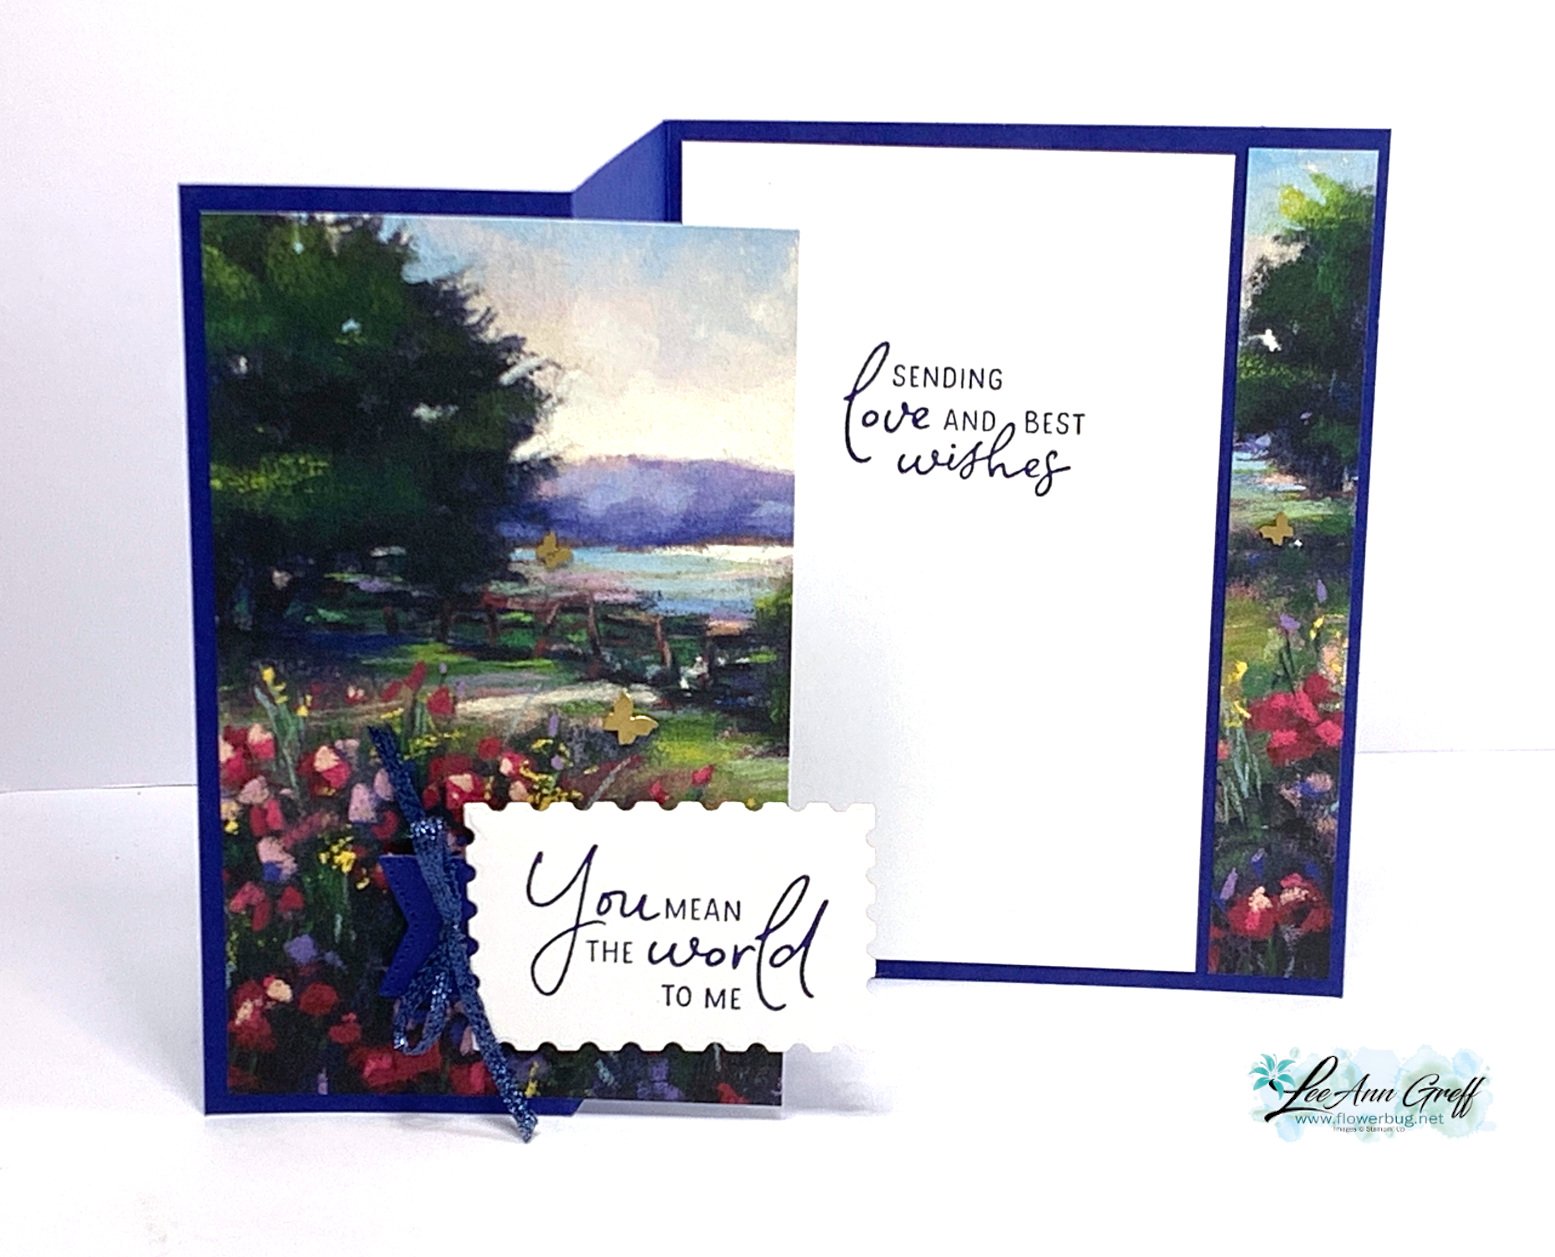
  • A WOW fun fold card that has to be the easiest ever!


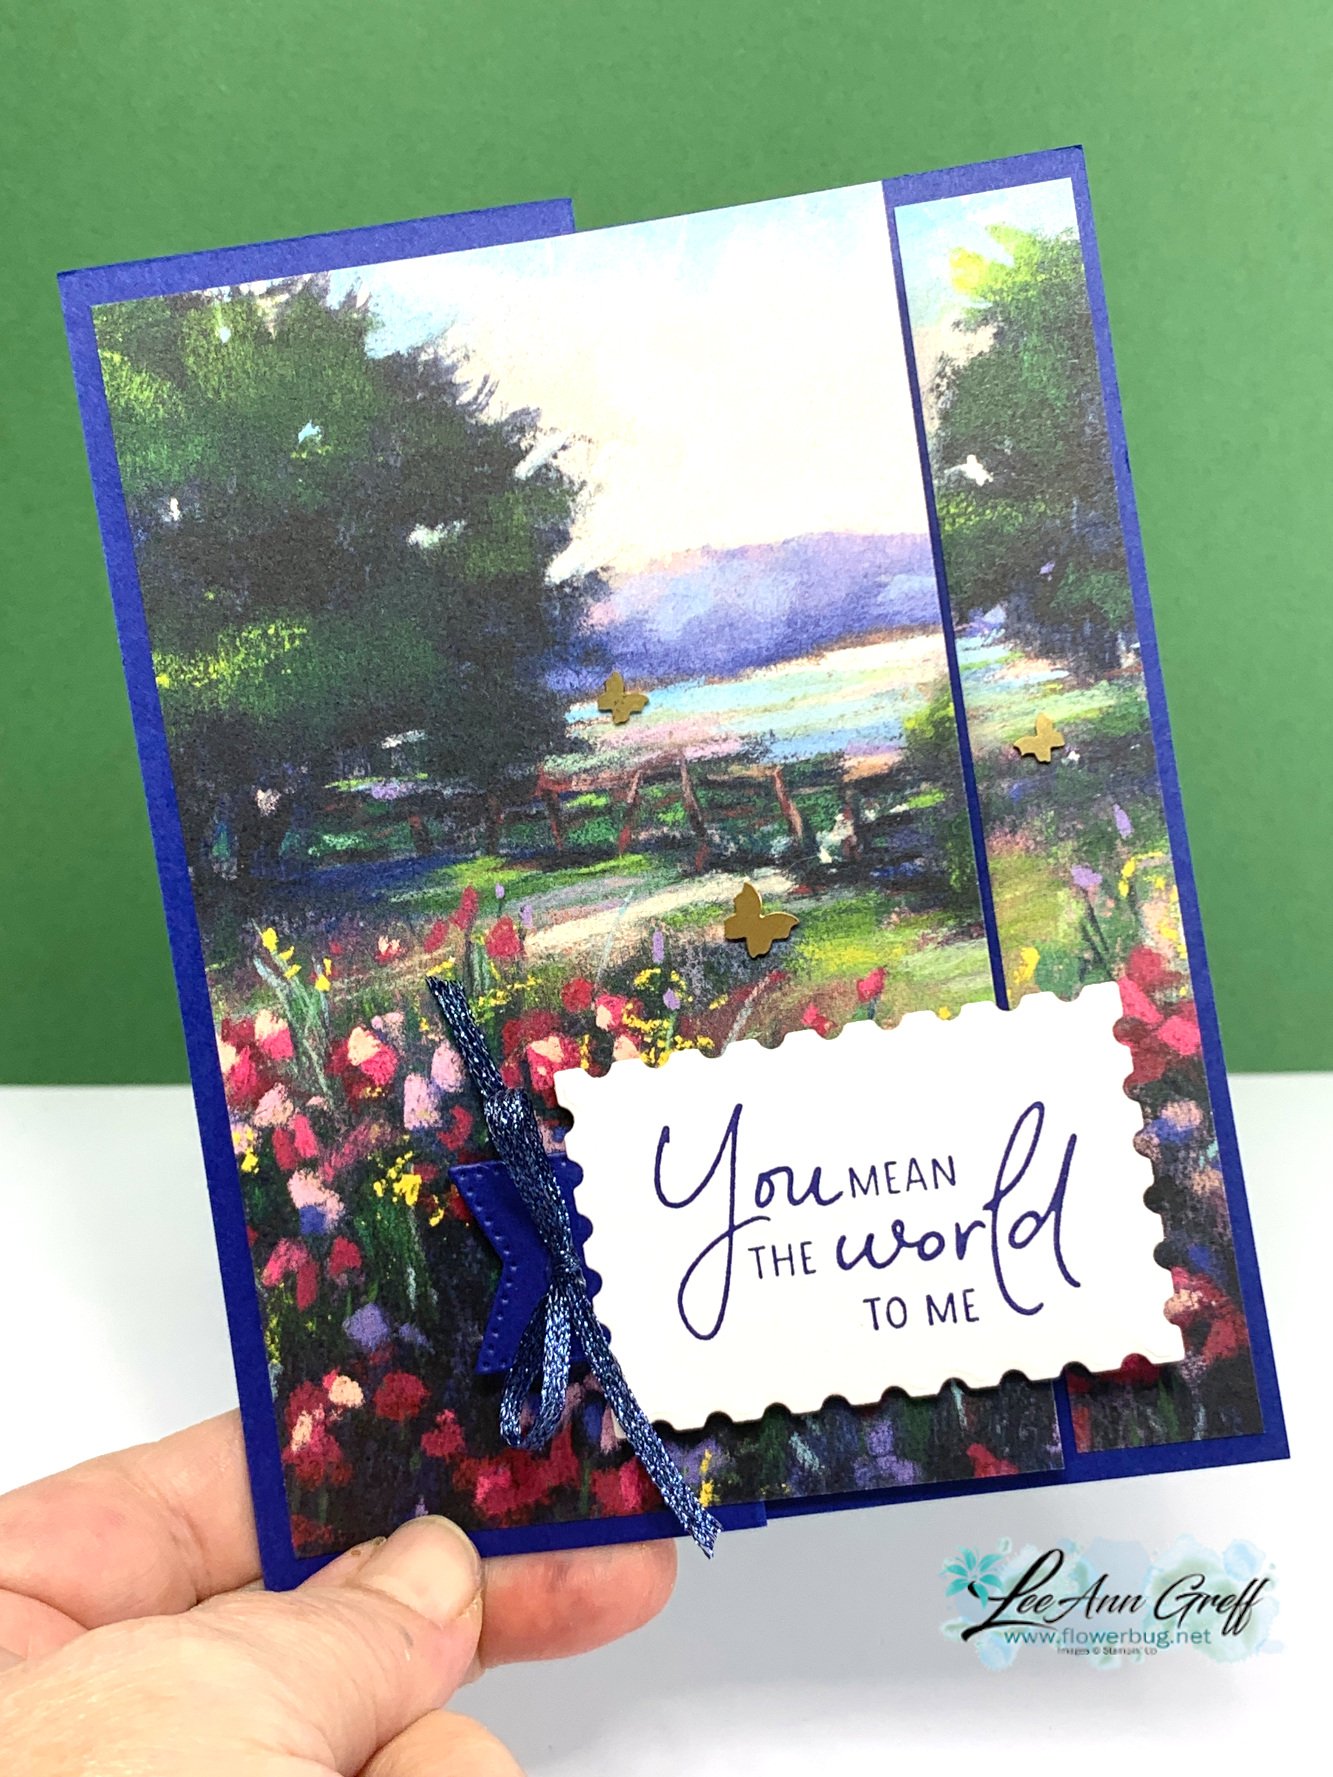
    If you are looking for a great idea for designer papers that create a scene this layout is it!  

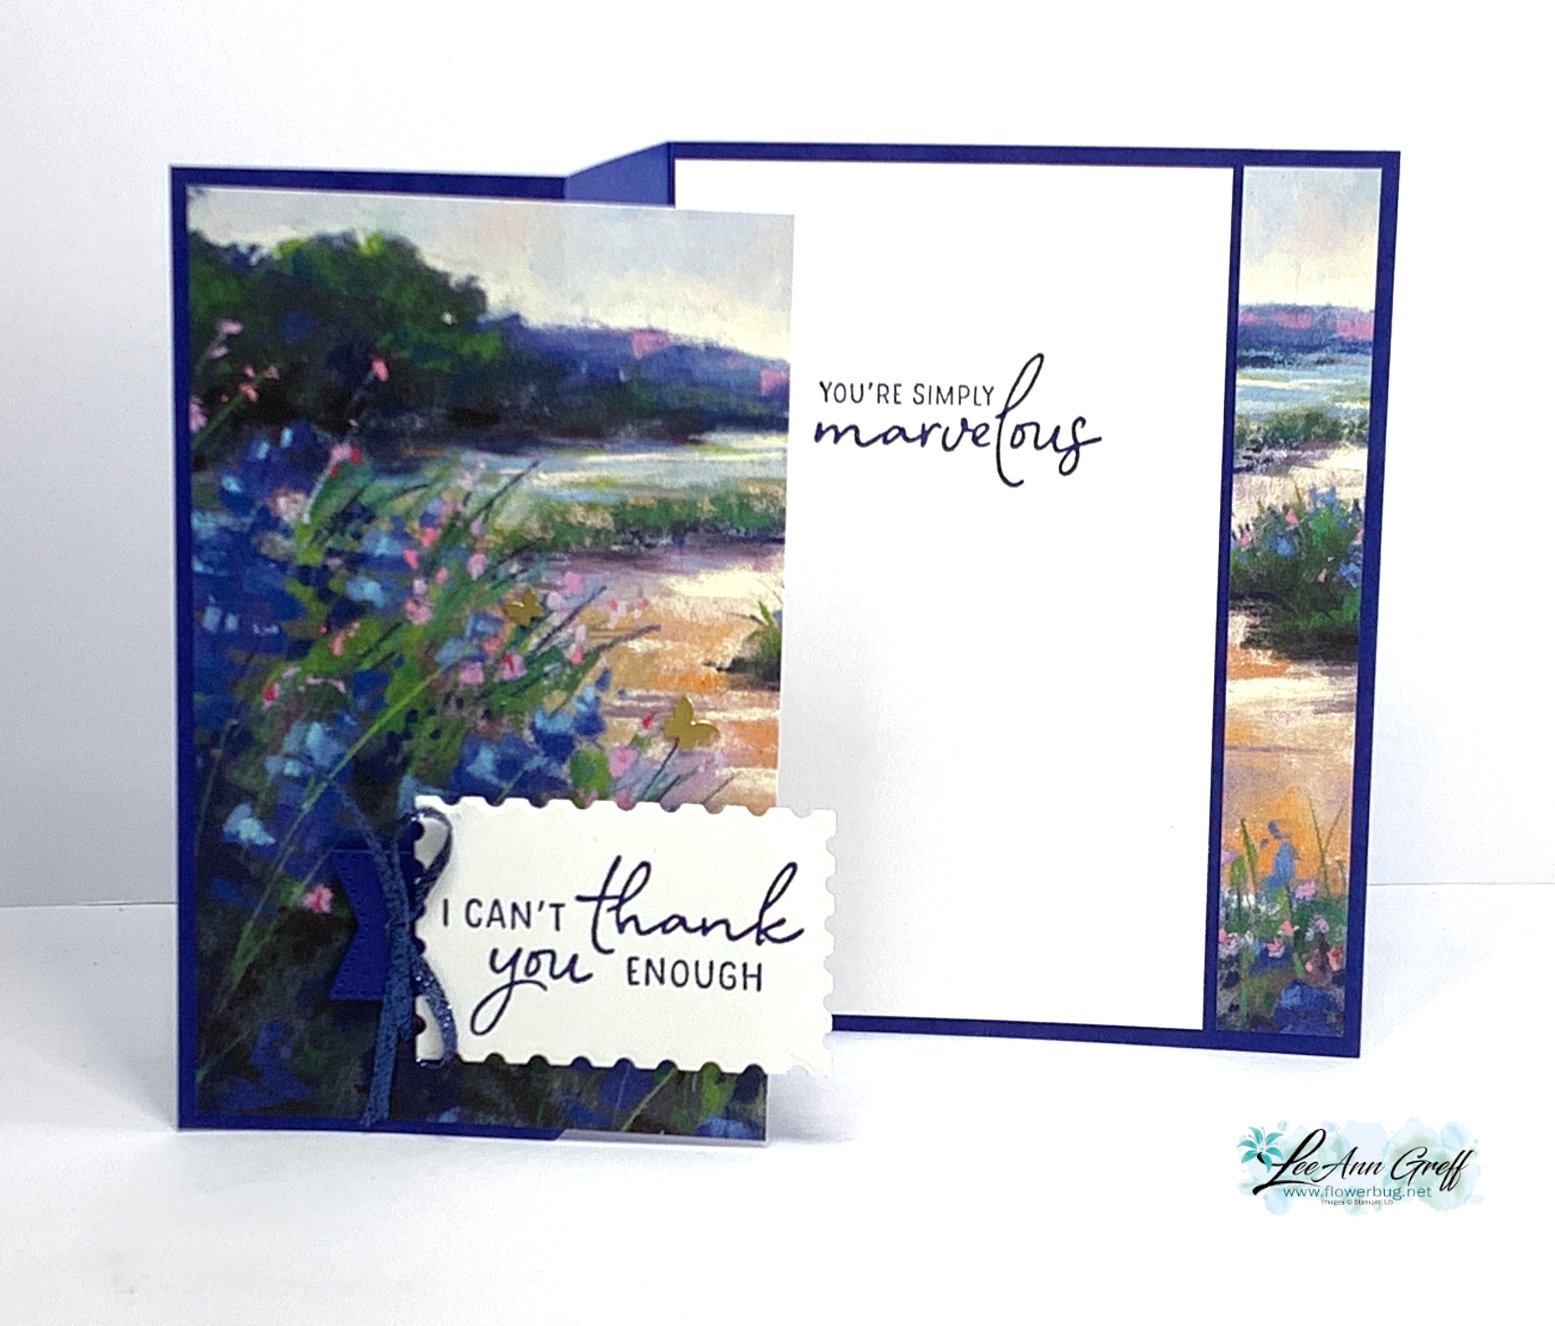
    Start with a card base of 8 1/2" X 5 1/2" scored at 2 1/8" and 4 1/4".  Then cut a 4" X 5 1/4" piece of designer paper and trim off the right side at 3/4". Add that strip to the left side of your card base and the larger half to the left folded side. 

    Isn't that the best & most simple layout?!  Think of the many cards you could make with this design. 

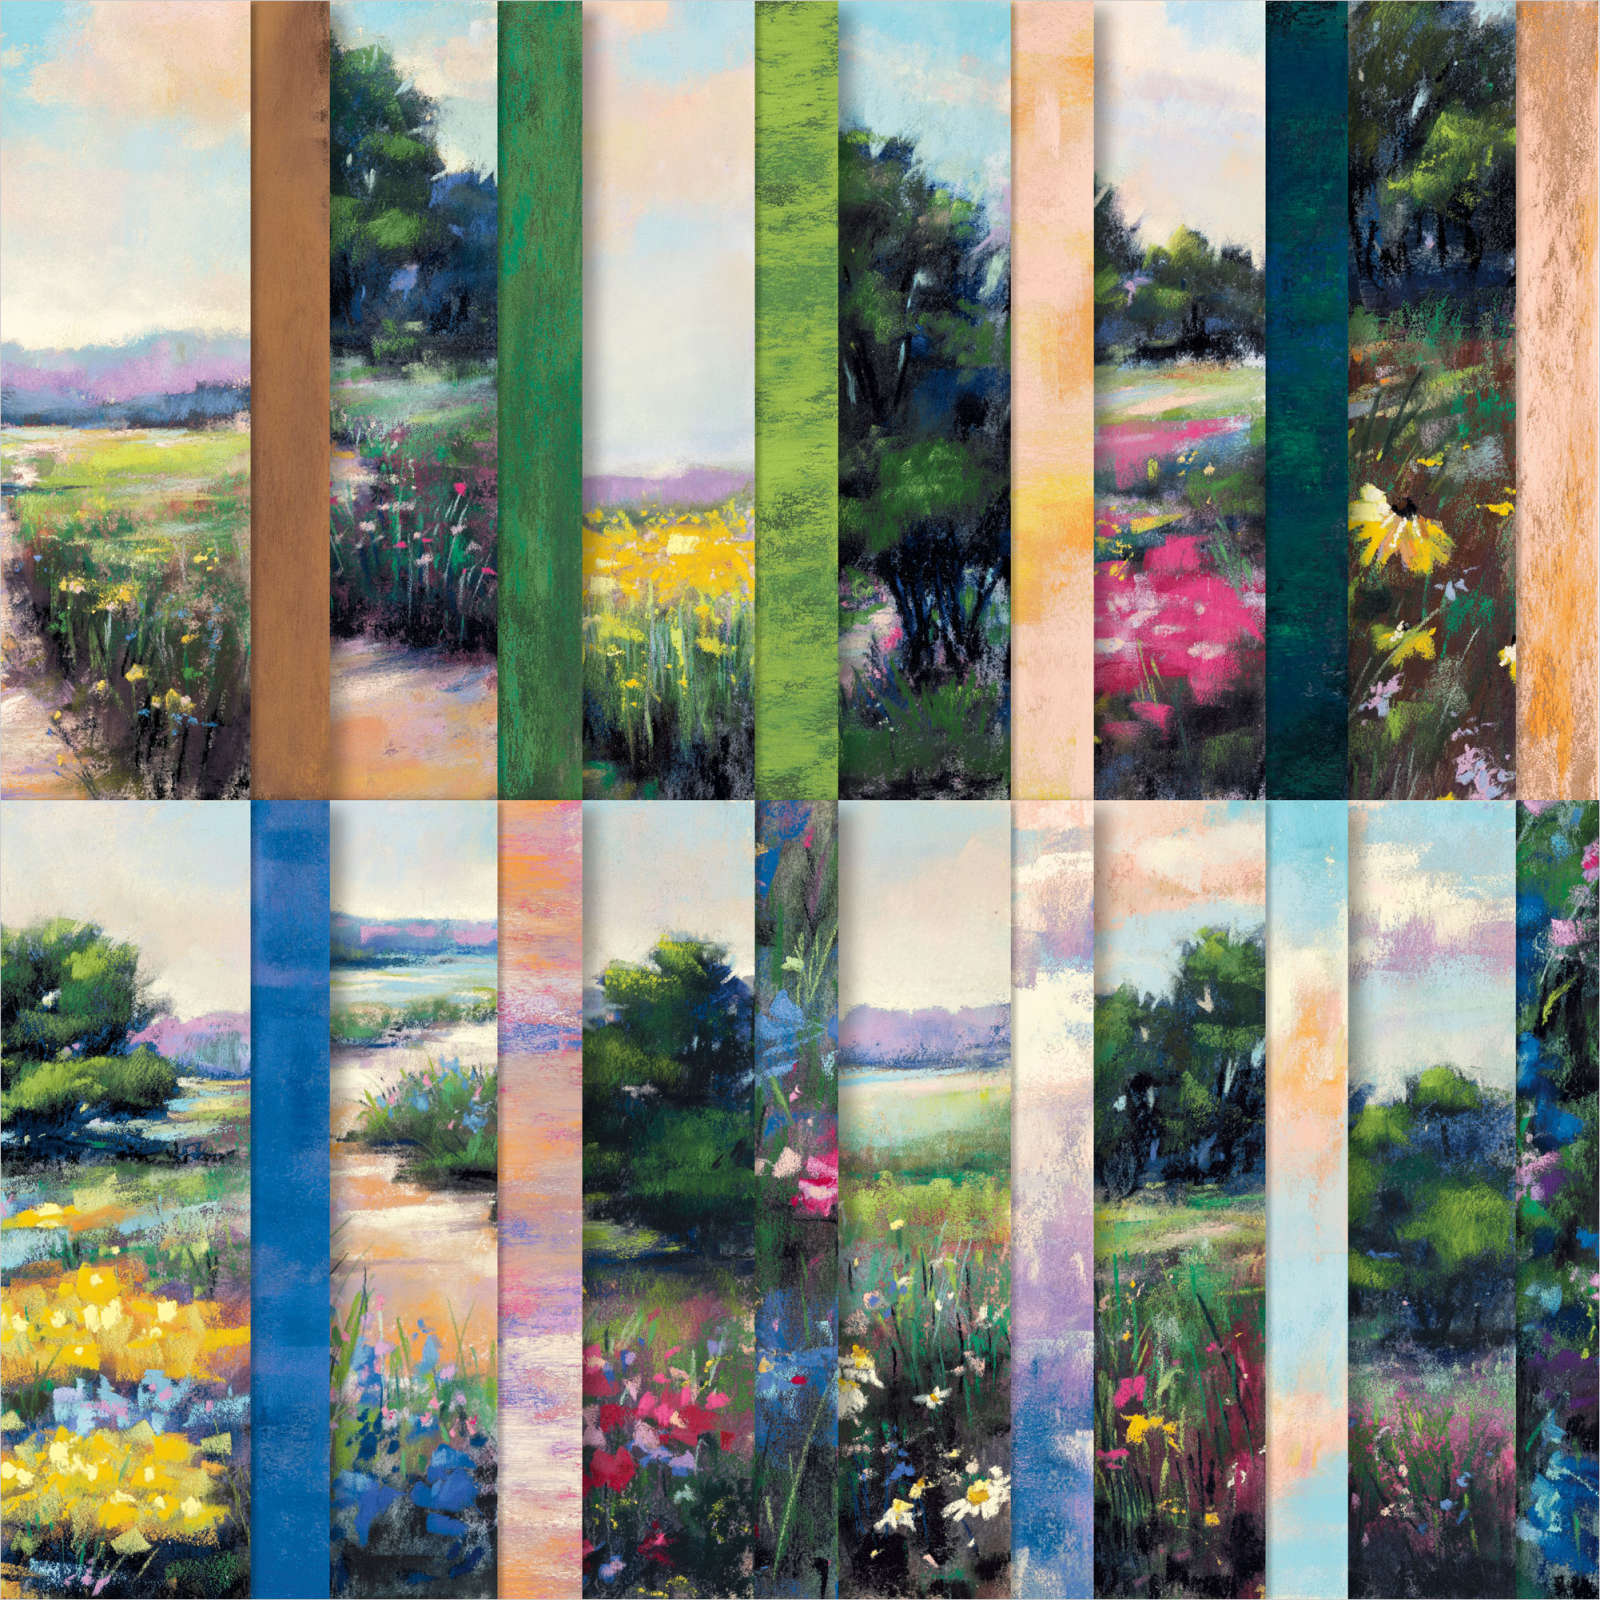
    The card features the stunning Meandering Meadows designer paper pack.  This paper can be found here in our Online Exclusives – but is currently unavailable until later May.

    I wouldn't wait too long to order this DSP; when they run out they don't always re-order and then it's gone for good.  That's how the Online Exclusive products work.  

    Here's an inside view: 

    If you'd like to have a project sheet with measurements, photos and products used, here you go. Here is the free project sheet for this super simple but gorgeous card. Download April Club Perennial Postage scene

    There are so many beautiful scenes in this pack of paper and most sheets coordinate with our Starry Sky, Balmy Blue or Shaded Spruce cardstock. *Starry Sky has retired now; I will miss this pretty blue color.

    I featured the Perennial Postage bundle for both the greetings and the label die-cut.

     The dies did carry over into the new catalog but the stamp set did not and is retired now.  The dies are currently out of stock but should be available in about 2 weeks; around May 13th. 


    I hope you like this simple but beautiful card.  It's perfect when you need a quick but fabulous card design. 

    **Below is the video for this card and my In Color cards: 

    ~~~

    May Specials: 

    *current host code link:  D6QRFZ7J or FCJ937QT

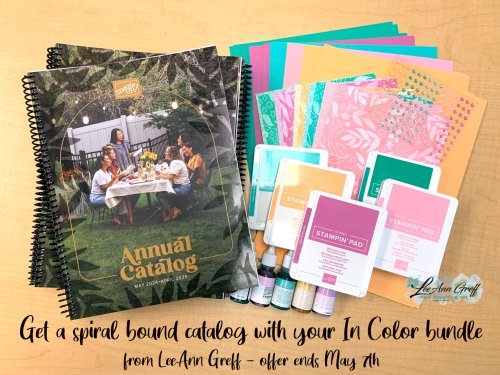
    Click on the pictures above or below to get to my new catalog shares – choose from designer papers, In Color bundles or a ribbon share. They're available through May 7th only. 

    All online orders in May will receive a free multi-project tutorial and a share of !

    Leave a Reply

    Your email address will not be published. Required fields are marked *


Notice: LeeAnn Greff, Independent Stampin’ Up! Demonstrator, Manager. The content of this website is my sole responsibility as an independent Stampin’ Up! demonstrator and the use of, and content of, the classes, services, or products offered on this website is not endorsed by Stampin’ Up! Copyright 2025