/


Latest Post

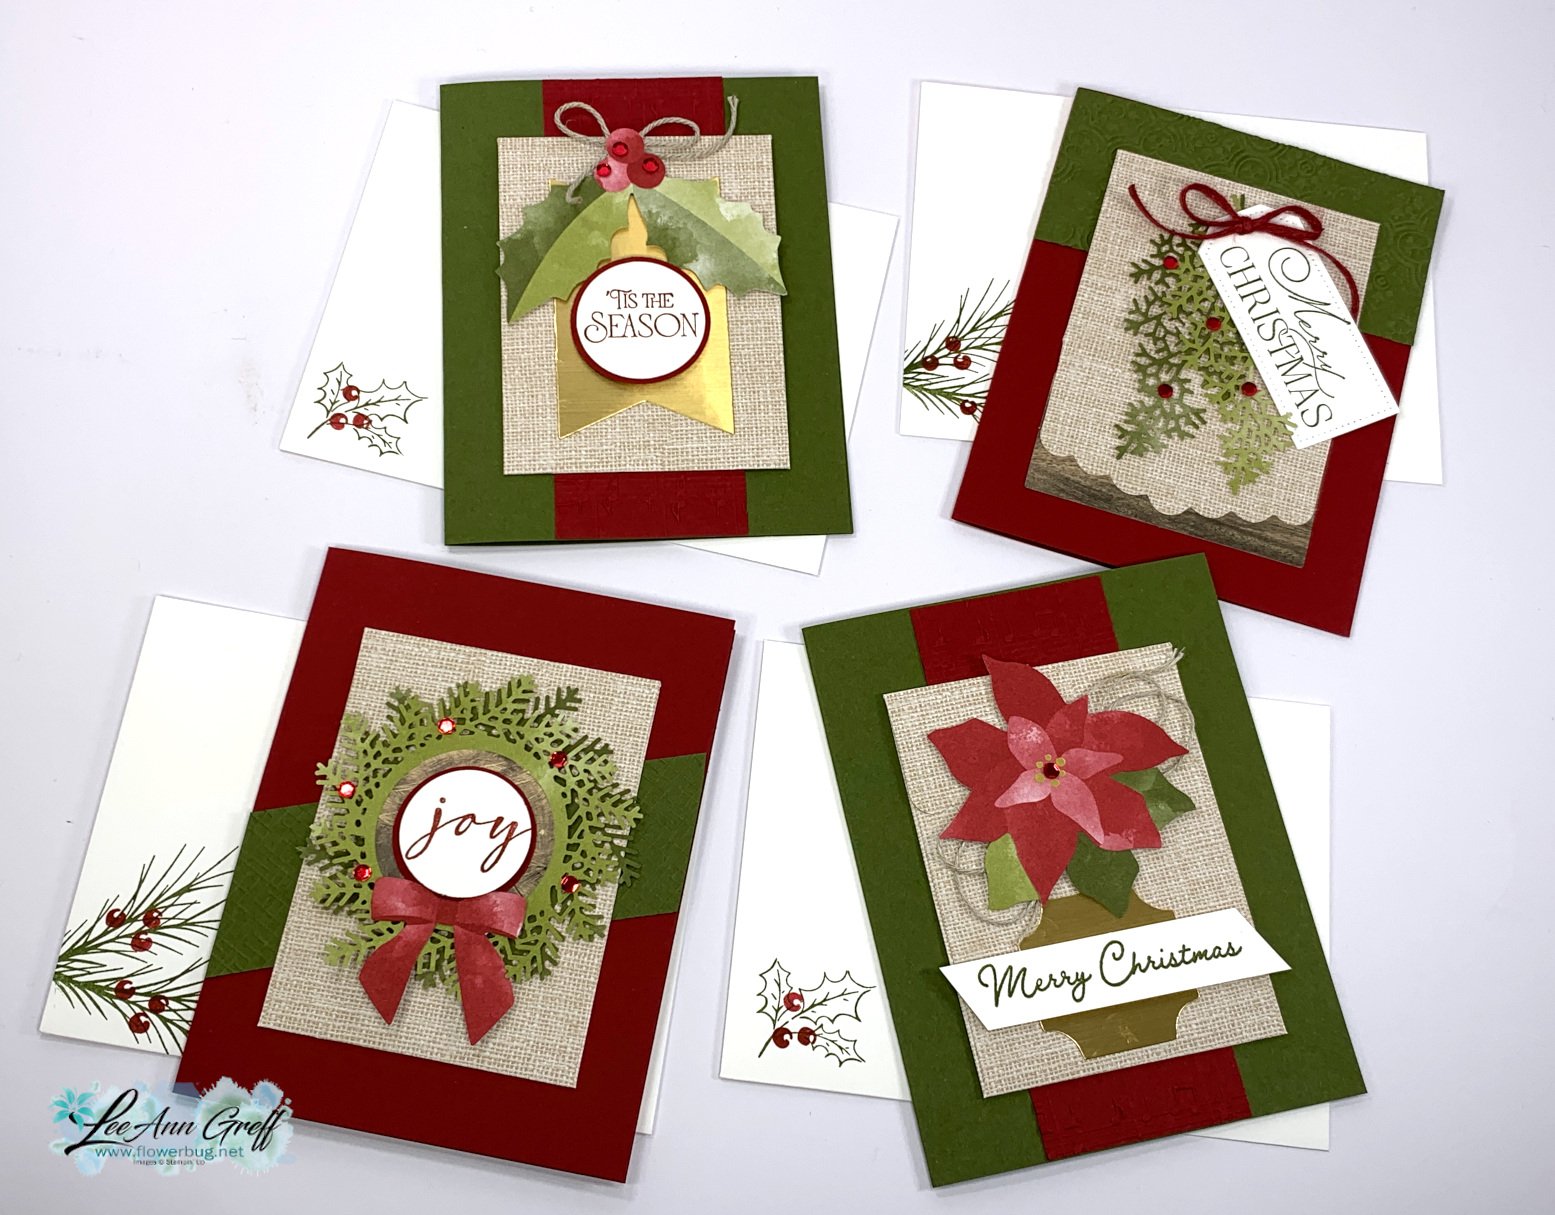
Beautiful cards made with the Rustic Christmas Countdown kit!


I created these pretty cards with the Rustic Christmas Countdown kit.  It's meant to be used as an advent calendar but I thought they'd make great Christmas cards. 

I will not be surprised if this kit sells out soon.  It's gorgeous!  The envelopes for the advent calendar are approximately 3" X 4"; a good size to add a treat inside. 
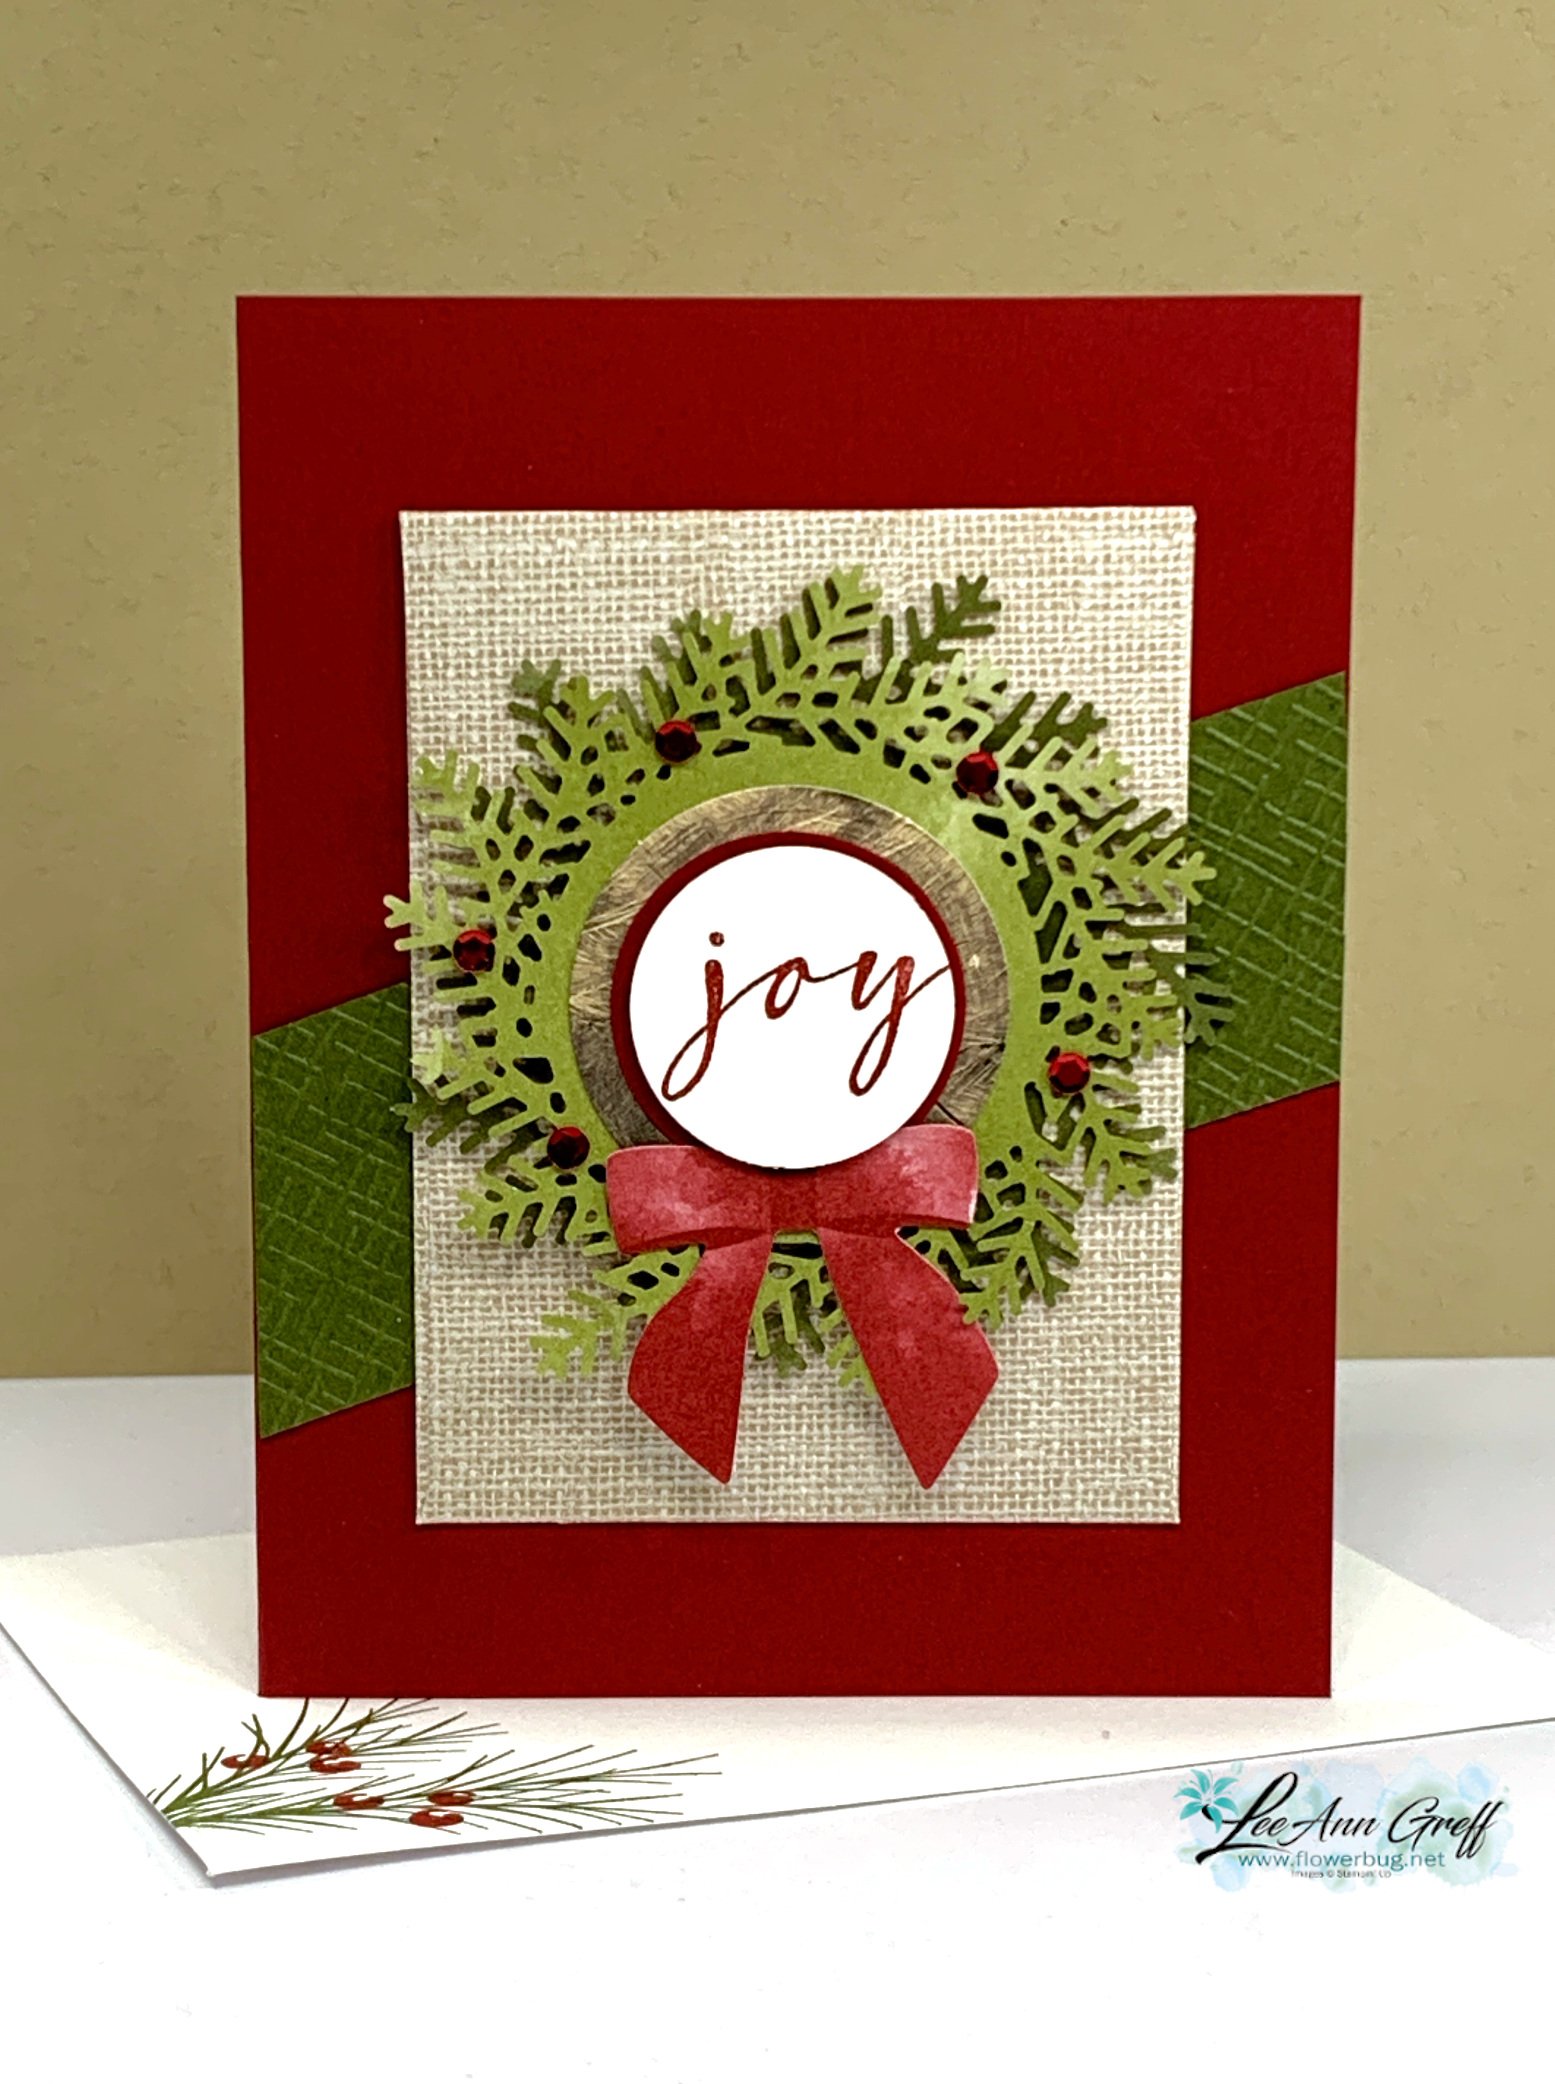
I added Mossy Meadow & Cherry Cobbler card bases, some textured strips of the same colors and a few greetings. 

The greetings mostly cover up the numbers printed on the wood & gold paper elements in the kit. 

For greetings I used the Brightest Glow (annual catalog) and Beary Cute (Holiday catalog) along with circle punches and Tailored Tags dies. 

We made these projects at my October Flowerbug's Team meeting. So pretty but super easy!


You could make up to 25 cards using this kit just by adding card bases, a few layers and greetings.  The red adhesive-backed sequins, Dimensionals, Cherry Cobbler and craft twine all comes in the kit. 
 

See this kit here online.  Our Christmas kits can sell out quick; so don't wait too long.  You never know if it will be back in time for Christmas. 

The kits is gorgeous as an advent project as well!  It also includes the cutest clothespins to close the envelopes. 

While you're shopping our kits be sure to check out the huge selection of kits in our Kit Collection. These kits are all inclusive and can be the answer to quick, seamless crafting or a fabulous gift for any creative person.  See them all here. 


~~~

October Specials: 

Amazing Starter Kit choices! 

Choose one and enjoy the 20% discount on all future orders! Click here

*current host code: HTHK4TQU or Y7VMN2TC

*Get free glitter gems with online orders over $55 (Please use a host code)

All Posts

  • Control Freaks Blog Hop; ‘Can’t Live Without’ theme


    This month the Control Freaks are sharing their favorite retiring products in a 'Can't Live Without' theme.  There are so many wonderful items on the Last Chance list this year!  Be sure to really look at it so you have no regrets when they're no longer available.

    If you just arrived here be sure to click on the icon at the end of each post to see it all.  Or maybe you just arrived from Melissa's blog.  I love her style! 

    I'm focusing on the Garden Wishes stamp set & Dandy Wishes dies today. Both are marked down 40-50% right now!  

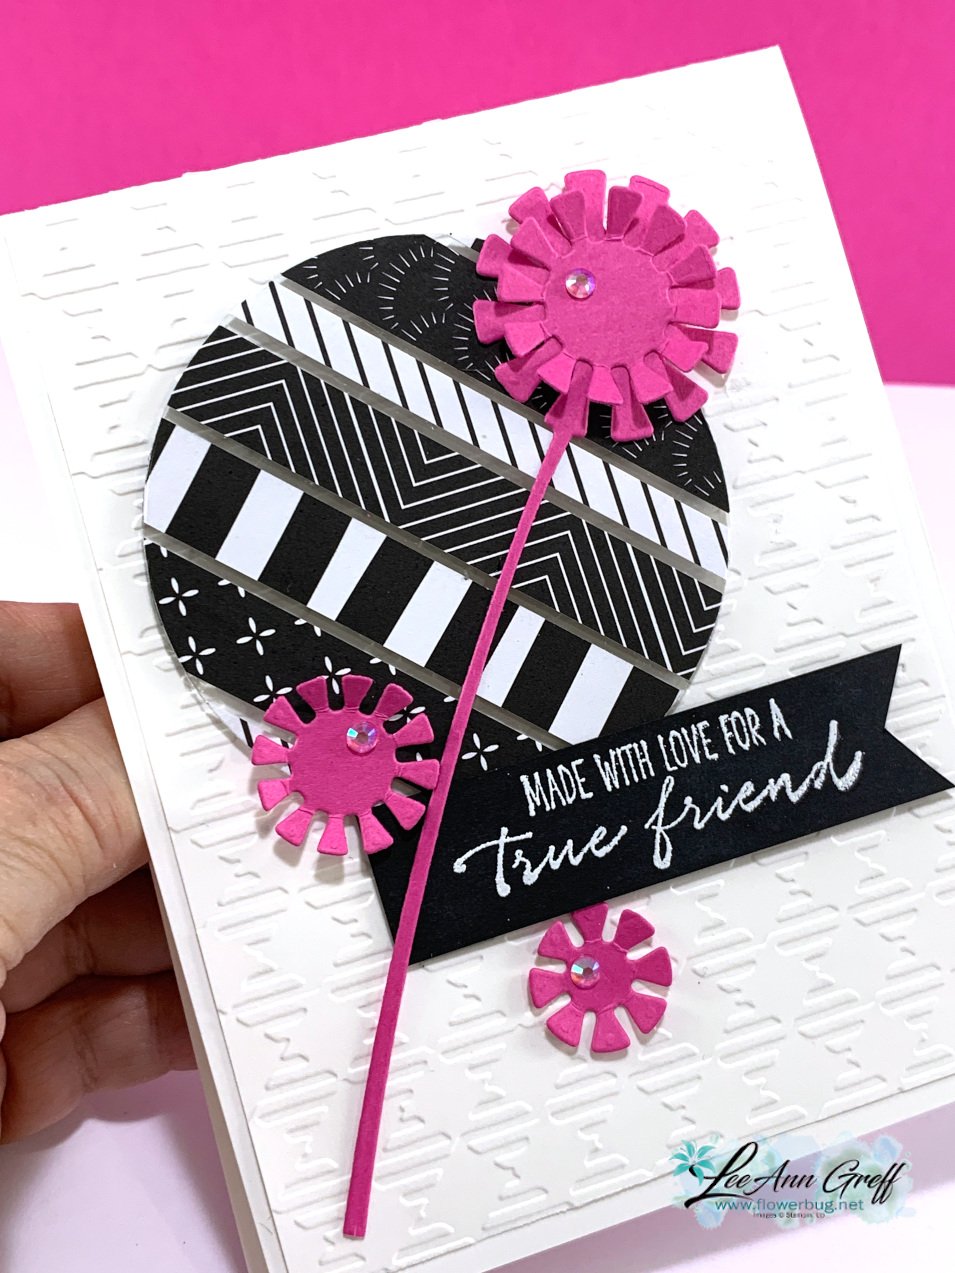
    This first card is bright & colorful in Magenta Madness, Black & White.  I love a black & white card with a pop of color.  

    The Designer Paper is the All Together 6 X 6" DSP; it's a special collection ending in May. 

    I used the 'Floating' technique here.  I adhered strips of various widths of Designer Series Paper to a piece of Window Sheet and die-cut it out with the largest circle in our Layering Circle dies.  Then I added dimensionals to the back and adhered it to a 4 X 5 1/4" White card stock that's been textured with the Gingham embossing folder. 

    Products retiring:

    • Dandy Wishes dies
    • Garden Wishes stamp set
    • All Together 6 X 6" DSP

    I just love these Dandy Wishes die-cuts!  They are unique. fun and give lots of texture to our projects.

    ~~~

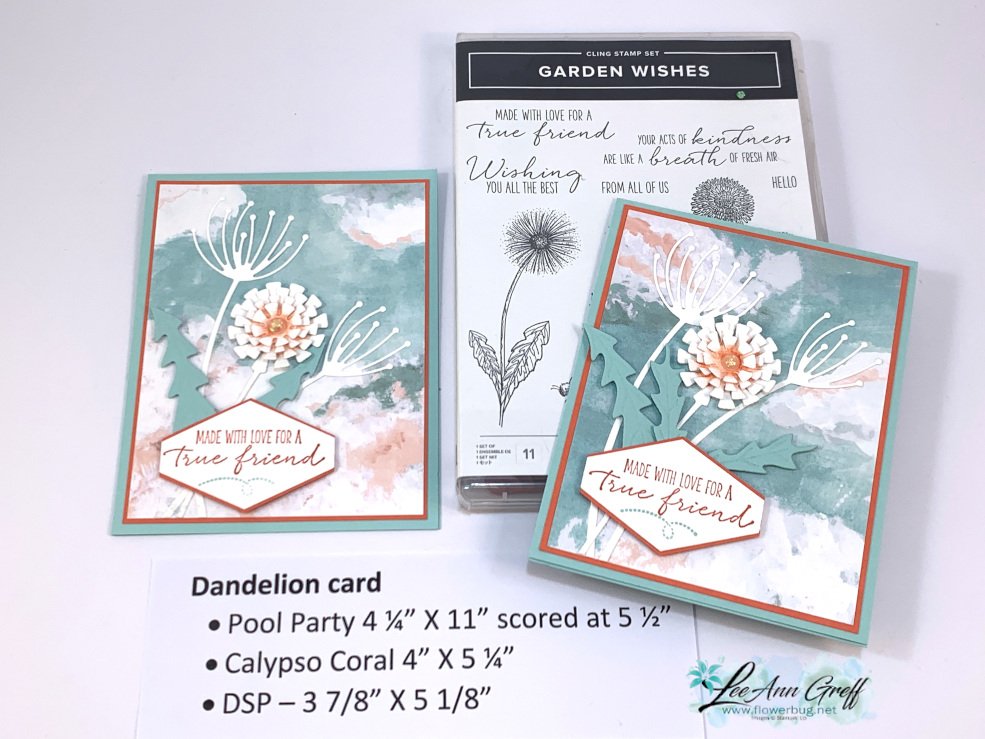
    Next is a pretty card that's soft and almost ethereal instead of bright & bold.  The colors include Pool Party, White & Calypso Coral.  

    I used the same greeting from the Garden Wishes stamp set and the same round 'Dandy Wishes' dies but also added more die-cuts in the set. I also sponged the center of the round die-cuts with Calypso Coral ink.  

    Notice the two sizes of the White 'dandelions'? I trimmed off a few of the thin, outer petals on one for a smaller flower. The Designer Paper background is from the Flowering Fields DSP in the 2022 January-June catalog. 

    I am SUPER SAD that the Tailored Tag punch is retiring.  It's so easy to layer this one! Just cut a second one in half horizontally. It's my 'go to' punch for greetings. If you don't have this punch, get it now; it's on sale! 

    Retiring items:

    • Dandy Wishes dies
    • Garden Wishes stamp set
    • Flowering Fields DSP
    • Tailored Tag punch

    *Remember the Last Chance products are while supplies last and many are already gone. 

    Be sure to check out what Wendy has to share; she's super creative and crafts 'outside the box'!  

    ~~~

    The Last Chance list is out!
    Tons of items from the 2021-22 Annual Catalog are retiring and many are deeply discounted from 20-50% off.
     
    Remember that these items are while supplies last and may run out. 
    Click here to see it all online along with the discounts.

    Host codes: E7S6DEAP

     *click here to order 

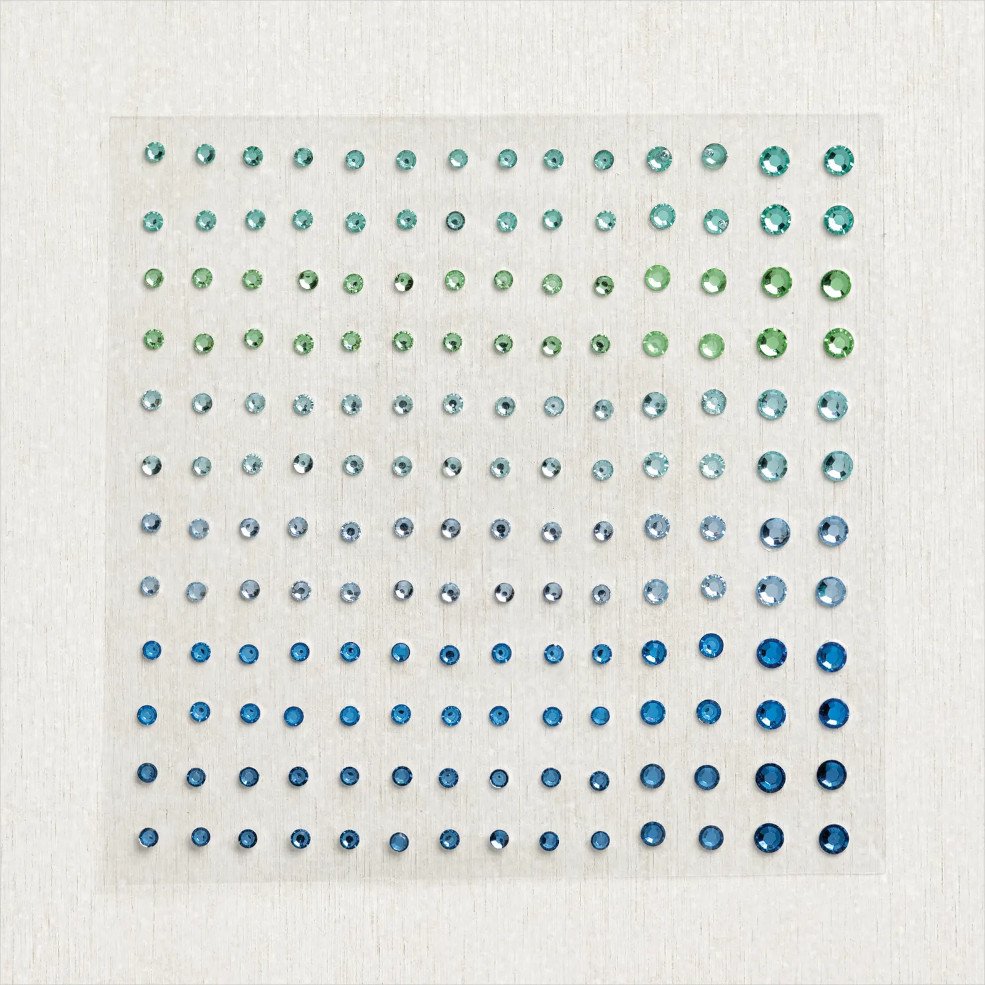
    If your order is over $50 you'll receive free Polished Dots or In Color jewels and 3 hand made cards from me.


    Don't forget about my loyalty rewards! 

    Click here to download yours and earn a $50 shopping spree!  

    Leave a Reply

    Your email address will not be published. Required fields are marked *

  • A simple trick makes this Floating Pop-Up card work; with measurements & video!


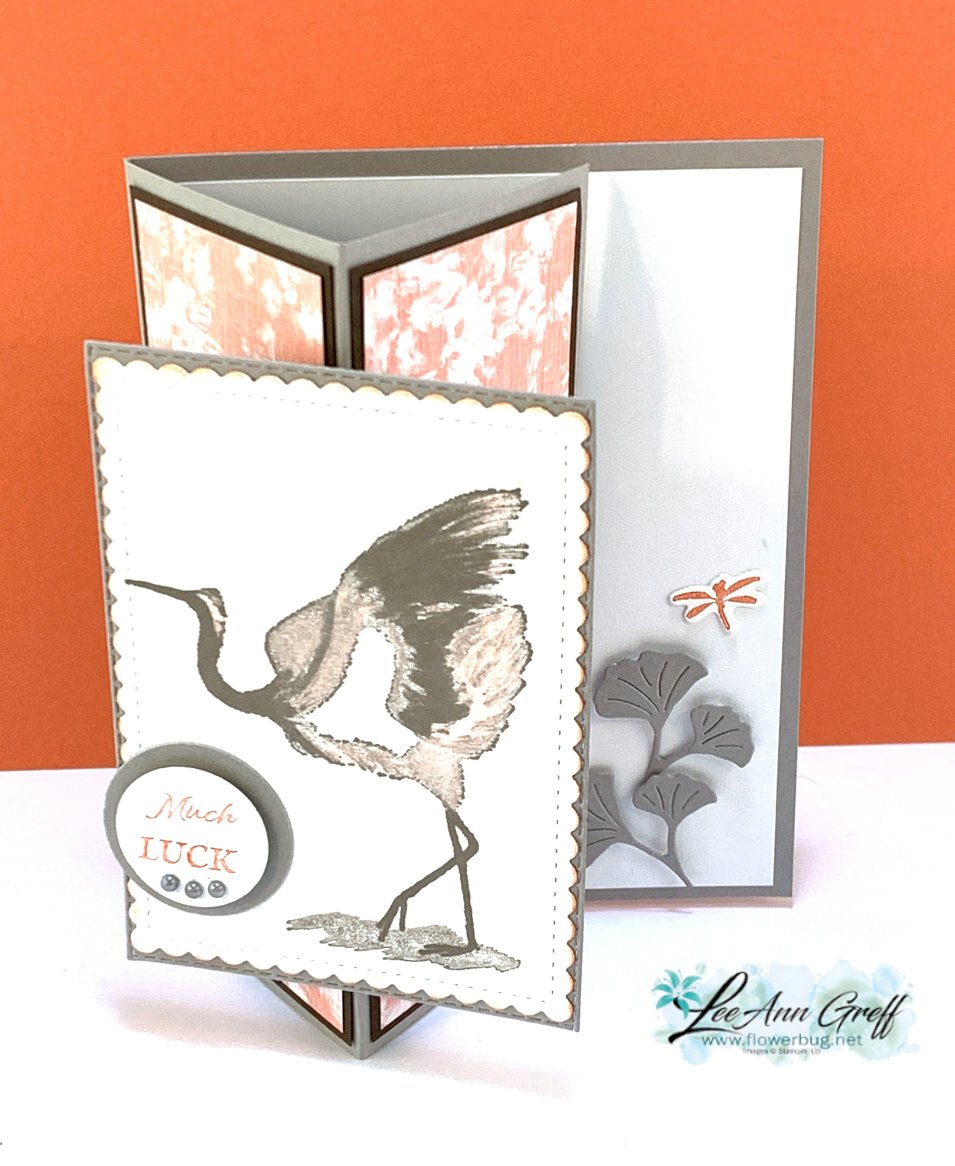
    This special fancy fold card is super unique and makes you wonder just how it's sort of floating!  You will be shocked at what it takes to make it work.  

    I used the Crane of Fortune bundle to create this card. The colors are so soft & pretty – Gray Granite, Calypso Coral, White & Early Espresso. 

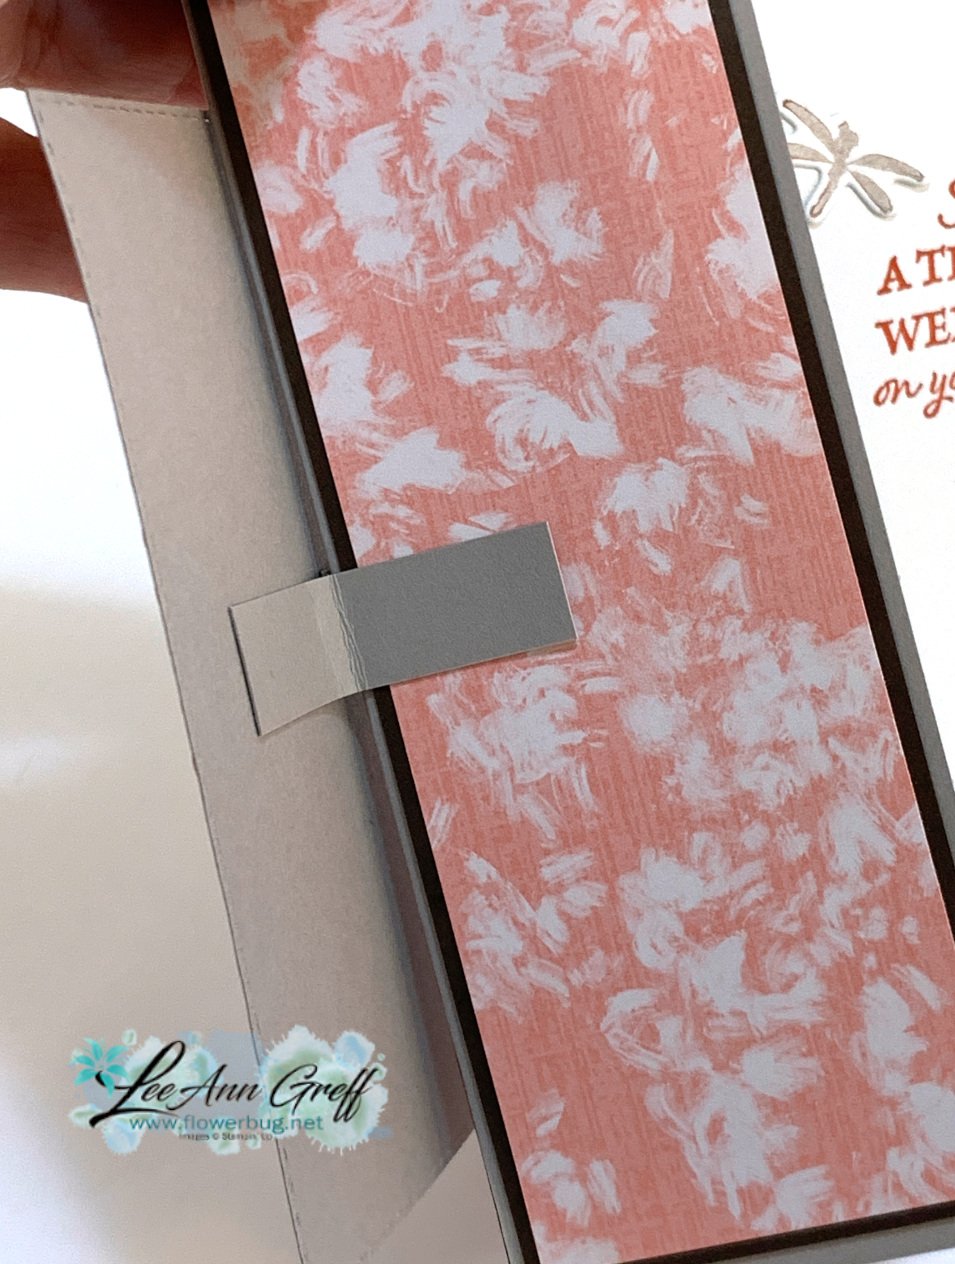
    The front panel flips up as you open the card and it even wobbles a bit.  You can see how it works in the video, or scroll down to the next photo.  

    I stamped the main image on a die-cut from the Stitched So Sweetly dies. They are on the retiring list; so if you don't have them yet you know what you need to do! 

    The Good Fortune dies include the pretty leaves I used to hold my card open. When doing this be sure to add Dimensionals under the image to support the card open.  

    You need two little pieces of card stock under the front layers to make the pop-up work.  Mine are 1/2" X 2 1/2" but size really does not matter here.  Just fold them in half and secure one side to the card base and the other to the top layer. Do this on each side of the front panel. Again, please watch the video here to see how it works.  

    Please follow me on Facebook here to catch my Live videos each week.  I share 6 each month and my focus is to inspire you to stamp by sharing great ways to use Designer Paper, unique fun folds and easy techniques.  


    Click on the photo below to watch the video. 


    ~~~

    The Last Chance list is out!
    Tons of items from the 2021-22 Annual Catalog are retiring and many are deeply discounted from 20-50% off.
     
    Remember that these items are while supplies last and may run out. 
    Click here to see it all online along with the discounts.

    Host codes: E7S6DEAP

     *click here to order 

    If your order is over $50 you'll receive free Polished Dots or In Color jewels and 3 hand made cards from me.


    Don't forget about my loyalty rewards! 

    Click here to download yours and earn a $50 shopping spree!  

    Leave a Reply

    Your email address will not be published. Required fields are marked *

  • Blending Brush border idea with Artfully Layered; so pretty!


    I created these pretty cards on last week's FB Live video.  I LOVE the colors and style; they're so my style!  

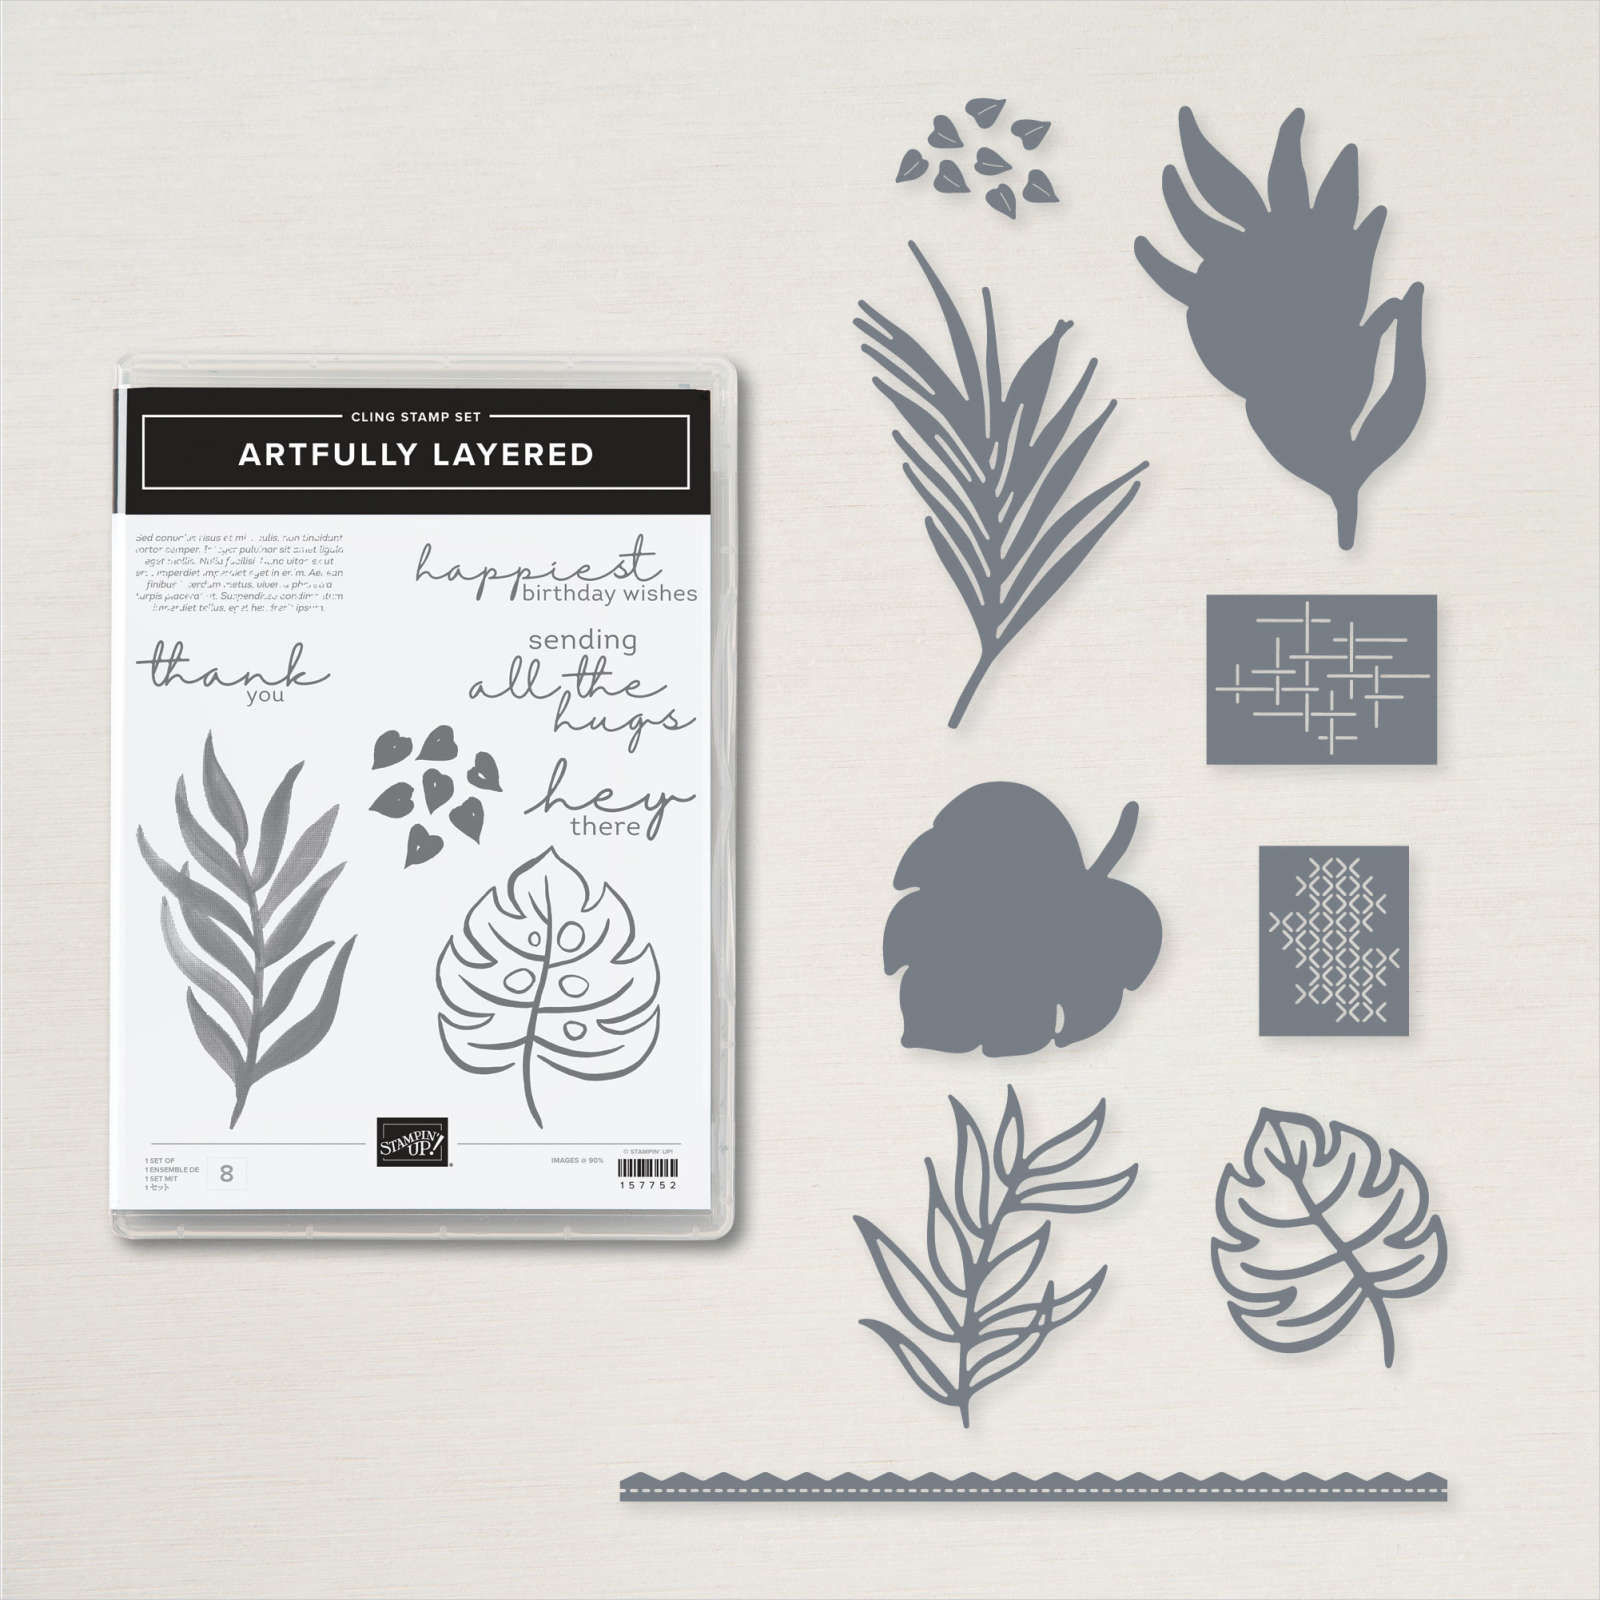
    I chose to play with the Artfully Layered bundle seen here in colors of Coastal Cabana and Granny Apple Green.  Having a lot of 'white space' makes the textures & pretty leaves the clear star of the card. 

    I used a blending brush to blend the two inks on a piece of White card stock and then cut the leaf die-cut from that.  

    For the multi-colored border underneath I used the blending brush to add the same colors.  I love the effect!  

    The cross-hatch texture is made with the dies in the bundle.  There are two of them in the set that give textures. 

    I also used the Faux Sea Glass shapes for accents.  

    The measurements are in the post below but here they are again: 

    • White card base 5 ½” X 8 ½”
    • White 3 ½” X 4 ¾”, sponged layer 3 ¾” X 5”

    Click on the photo below to watch the video; it's the first project of three.  And be sure to follow me on Facebook here. 

    ~~~

    The Last Chance list is out!
    Tons of items from the 2021-22 Annual Catalog are retiring and many are deeply discounted from 20-50% off.
     
    Remember that these items are while supplies last and may run out. 
    Click here to see it all online along with the discounts.

    Host codes: E7S6DEAP

     *click here to order 

    If your order is over $50 you'll receive free Polished Dots or In Color jewels and 3 hand made cards from me.


    Don't forget about my loyalty rewards! 

    Click here to download yours and earn a $50 shopping spree!  

    Leave a Reply

    Your email address will not be published. Required fields are marked *


Notice: LeeAnn Greff, Independent Stampin’ Up! Demonstrator, Manager. The content of this website is my sole responsibility as an independent Stampin’ Up! demonstrator and the use of, and content of, the classes, services, or products offered on this website is not endorsed by Stampin’ Up! Copyright 2025