/


Latest Post

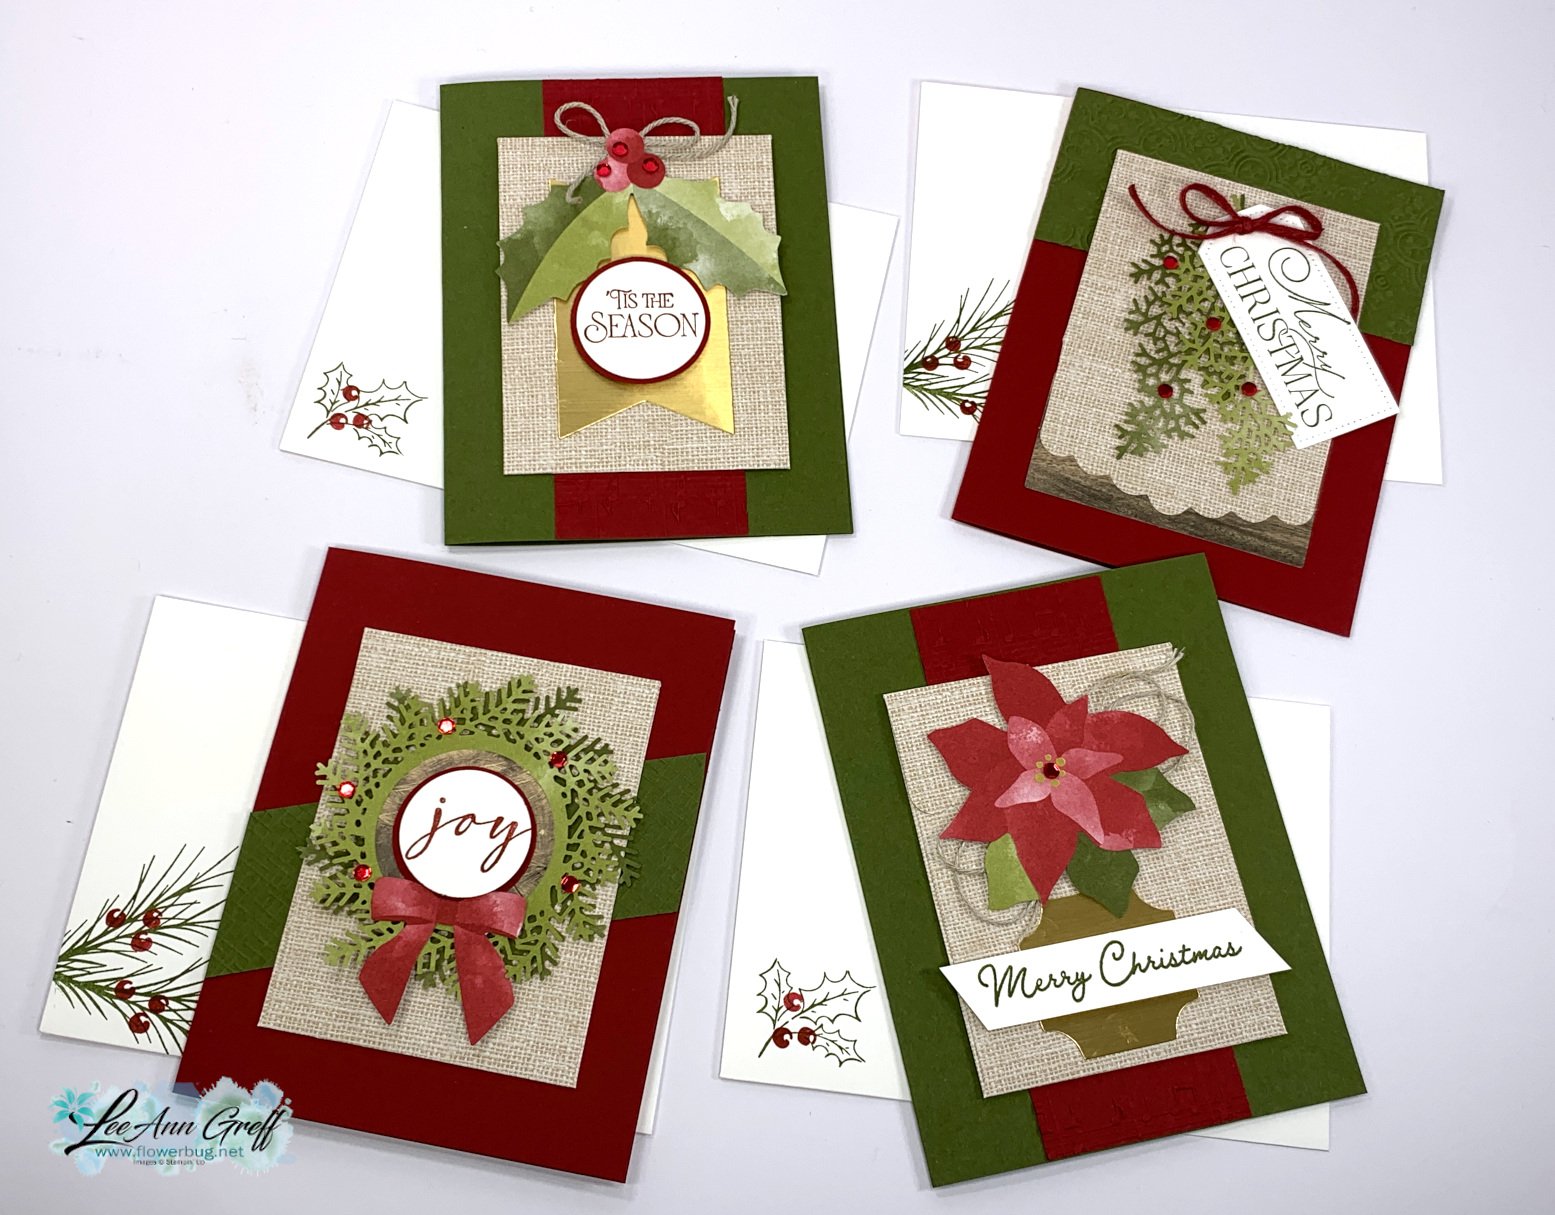
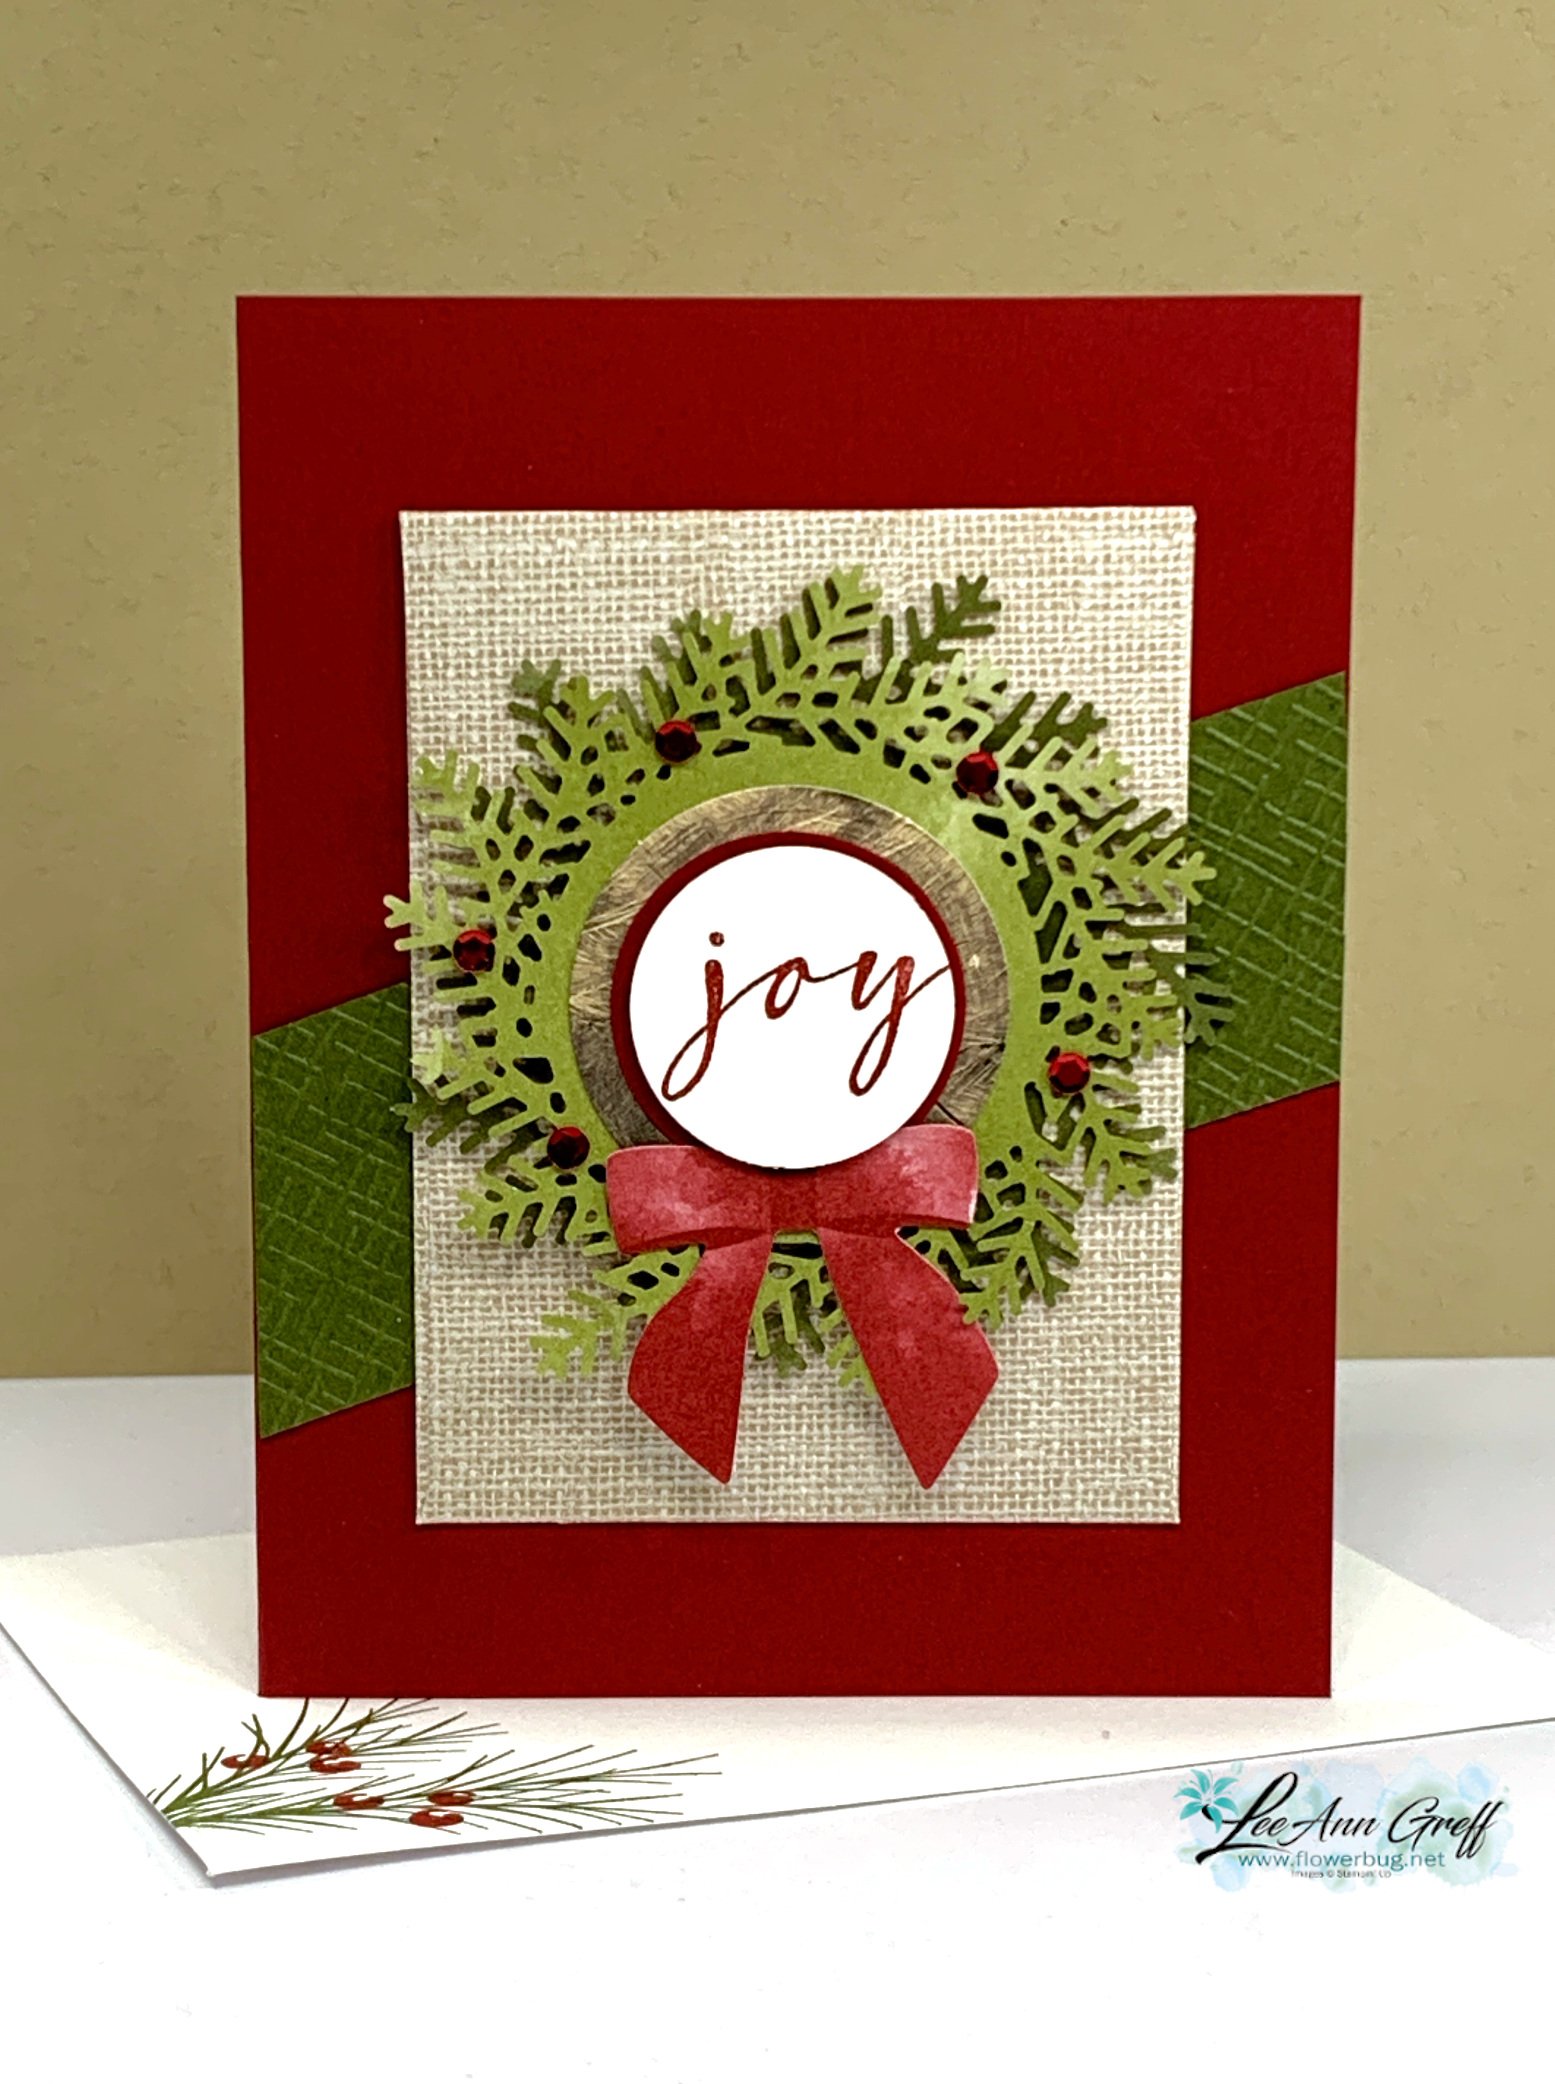
Beautiful cards made with the Rustic Christmas Countdown kit!


I created these pretty cards with the Rustic Christmas Countdown kit.  It's meant to be used as an advent calendar but I thought they'd make great Christmas cards. 

I will not be surprised if this kit sells out soon.  It's gorgeous!  The envelopes for the advent calendar are approximately 3" X 4"; a good size to add a treat inside. 

I added Mossy Meadow & Cherry Cobbler card bases, some textured strips of the same colors and a few greetings. 

The greetings mostly cover up the numbers printed on the wood & gold paper elements in the kit. 

For greetings I used the Brightest Glow (annual catalog) and Beary Cute (Holiday catalog) along with circle punches and Tailored Tags dies. 

We made these projects at my October Flowerbug's Team meeting. So pretty but super easy!


You could make up to 25 cards using this kit just by adding card bases, a few layers and greetings.  The red adhesive-backed sequins, Dimensionals, Cherry Cobbler and craft twine all comes in the kit. 


See this kit here online.  Our Christmas kits can sell out quick; so don't wait too long.  You never know if it will be back in time for Christmas. 

The kits is gorgeous as an advent project as well!  It also includes the cutest clothespins to close the envelopes. 

While you're shopping our kits be sure to check out the huge selection of kits in our Kit Collection. These kits are all inclusive and can be the answer to quick, seamless crafting or a fabulous gift for any creative person.  See them all here. 


~~~

October Specials: 

Amazing Starter Kit choices! 

Choose one and enjoy the 20% discount on all future orders! Click here

*current host code: HTHK4TQU or Y7VMN2TC

*Get free glitter gems with online orders over $55 (Please use a host code)

All Posts

  • Baby Wipe technique – 2 great swaps by my Flowerbug’s


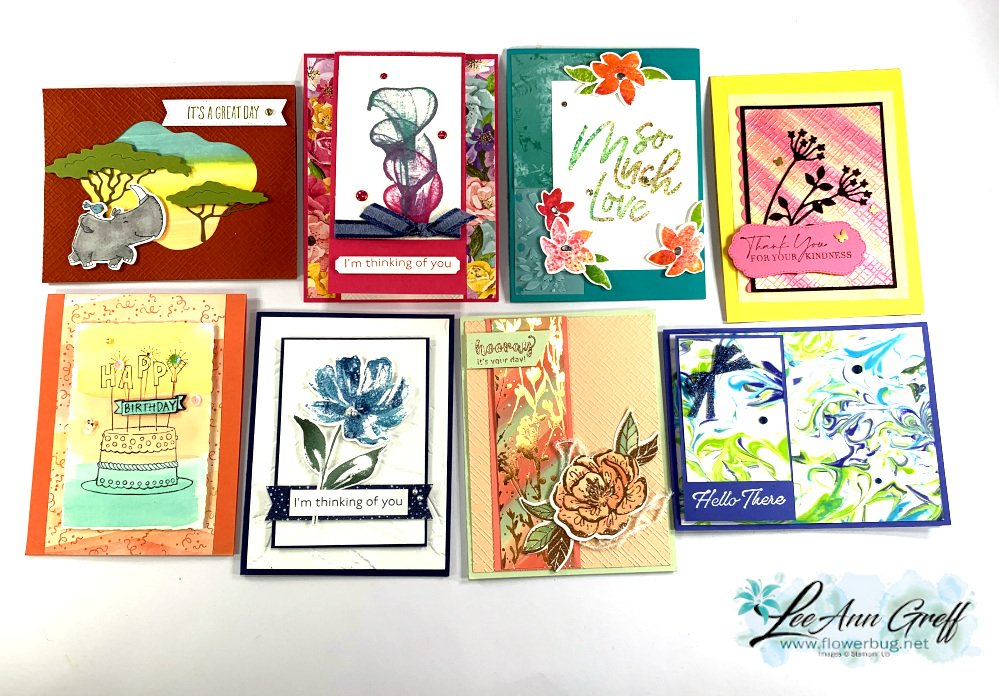
    Our March card swap theme was to use a technique with a re-inker or an ink refill.  There are lots of fun techniques out there that you need ink refills for. 

    These first two feature the Baby Wipe technique; one of my very favorites for getting multiple colors on solid images! 

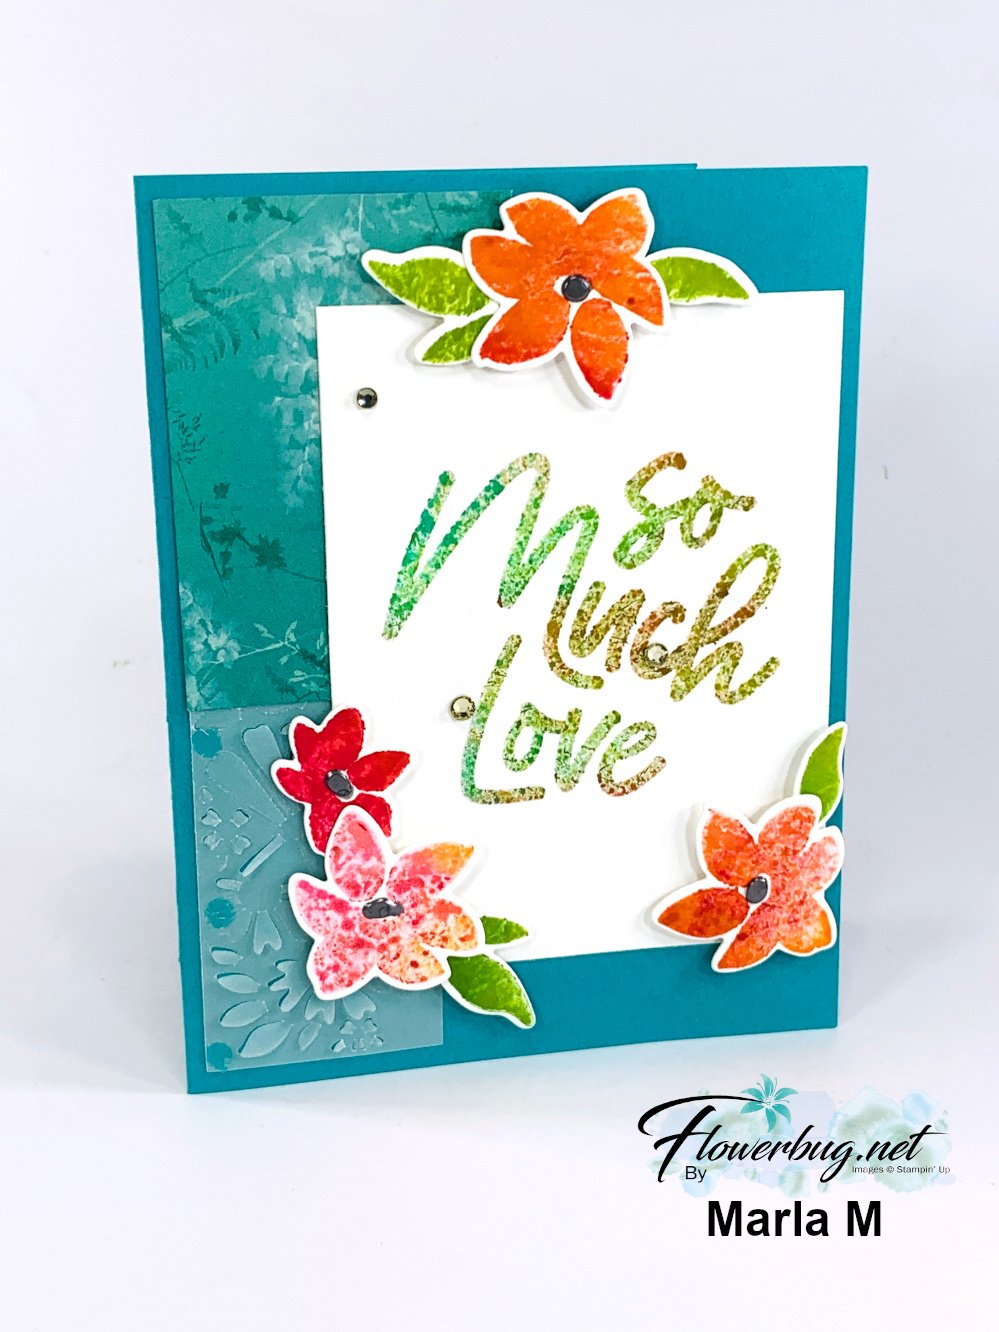
    This first card was made by Marla where she featured the Love for You bundle seen here.  

    I believe her colors include Bermuda Bay, Granny Apple Green, Melon Mambo and Calypso Coral.  She even stamped her greeting in the baby wipe technique.  Watch my video today here   (or later on my YouTube channel here) to see how it's done.  It's absolutely fun!!

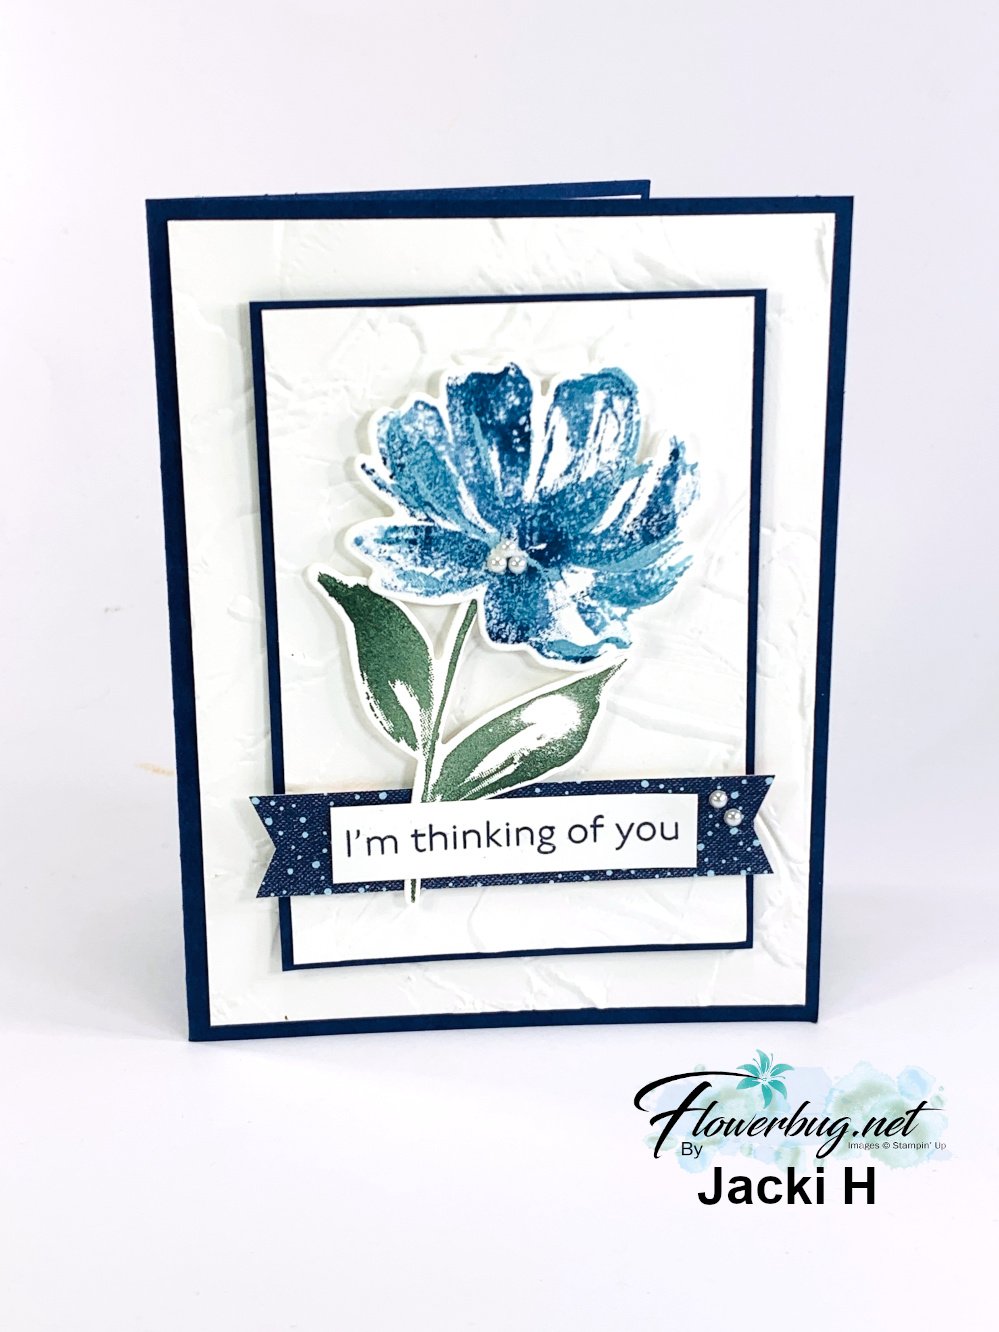
    Next is a pretty card made by Jacki with the Art Gallery stamp set and Floral Gallery dies.  

    I believe her colors include Navy, Garden Green and Tahitian Tide.  Her White layers are textured with the Painted Texture 3D embossing folder seen here.  

    Come back for more tomorrow! Click here or on the photo below to watch the video.

    ~~~

    March Specials:

    See the new Online Exclusives here! 

    *current host code: BFE4C2KM

    Get a free class kit with online orders over $55 when using the host code above!

    Earn free products with my loyalty rewards! 

    Click here to download yours and earn a $50 shopping spree!

    Leave a Reply

    Your email address will not be published. Required fields are marked *

  • Shaving Cream & Watercolor techniques with tips for success


    This week I'm sharing the swap cards my Flowerbug's Team made for our March card swap. The theme was to use a technique featuring ink refills. 

    Each one is fabulous!

    This first card was created by Paula who used the shaving cream technique.  It looks a little bit like tie dye!  

    Tips on the Shaving Cream technique.  It's fun but a bit messy. 

    1. Fill a container with about an inch of shaving cream. Your container should be large enough to fit the card stock you're coloring. *tip; cheap shaving cream works just fine! 
    2. Smooth out the cream.  Add drops of your ink colors onto the cream. Take a knife and swirl the ink into the cream. Don't do this too much or you'll make 'muddy' colors.  
    3. Lay your card stock onto the swirled cream and press lightly. Use gloves if you don't want inky fingers.  
    4. Remover your card stock and wipe off the excess cream. Set aside to dry.  
    5. You can use regular card stock or glossy if you have it. 

    She used Orchid Oasis, Parakeet Party & Tahitian Tide inks and regular Basic White card stock. 

    She even die-cut a few corner elements for the inside of her card. These dies are from the Fabulous Frames dies seen here

    Next is a pretty card made by Ginny using the Best Day stamp set seen here.  She cased a card from the Jan-June catalog.  Check out the sample on page 67.  This is a great reminder that there are wonderful ideas in our catalogs! 

    She stamped the image on watercolor paper and colored it using our Water painters.  I believe her colors include Calypso Coral, Pool Party & Daffodil Delight.  

    Here are a few helpful tips for successful water-coloring.

    • Wet your paper before you add color. Watercolor paper is THE BEST for smooth blending. 
    • First wet only the area you want colored; blue for example. Then dip your brush in ink you've added to a block or other slick surface.
    • I either press my ink pad onto a clear block or add ink drops to the block or a paper plate. 
    • Saturate your wet brush in the ink and paint color onto the previously wet area. 
    • Let dry before adding another color that touches it or they'll bleed together.  

    More techniques coming tomorrow!  Stop back in. 

    ~~~

    March Specials:

    See the new Online Exclusives here! 

    *current host code: BFE4C2KM

    Get a free class kit with online orders over $55 when using the host code above!

    Earn free products with my loyalty rewards! 

    Click here to download yours and earn a $50 shopping spree!

    Leave a Reply

    Your email address will not be published. Required fields are marked *

  • CUTE Easter Bunny projects by Sharon; our Artist of the Month


    Easter is just 2 weeks away so I thought I'd share Sharon's projects featuring the Easter Bunny bundle. She chose it for her Artist of the Month theme and she knocked it out of the park!  

    Unfortunately the bundle is not currently available as the Easter Bunny punch is out of stock.  It will be back on or before May 15th.  You can get the Easter Bunny stamp set now. 

    I'll share a brief description of each: 

    She stamped her bunnies on Vellum and colored in just the ears.  The vellum is die-cut with the Scalloped Contour dies. So many cute details here – note the bird, egg and carrot…. The grass in front and the white cloud pieces under the vellum set the scene!

    Next is a few of her adorable  Easter treats:

    ON the top left is one of our Scalloped Kraft Treat boxes seen here. She punched the bunny through the lid and added a piece of window sheet to hold in the yummy candy.  The blue 'pull-up' candy bar treat holds a massive kit kat candy bar!  I love the bunny punched through the front with a sweet basket. Just wrap the ribbon around the bar and tie at the top for a fun pull up treat.  *Tip; use the size of your candy bar to guide you on cutting/folding your card stock wrap.  

    Here is a close-up of the bunny eggs.  She stamped the White strip and added it to a card stock wrap. The bunnies are stamped, colored and fussy cut then added to the band.  

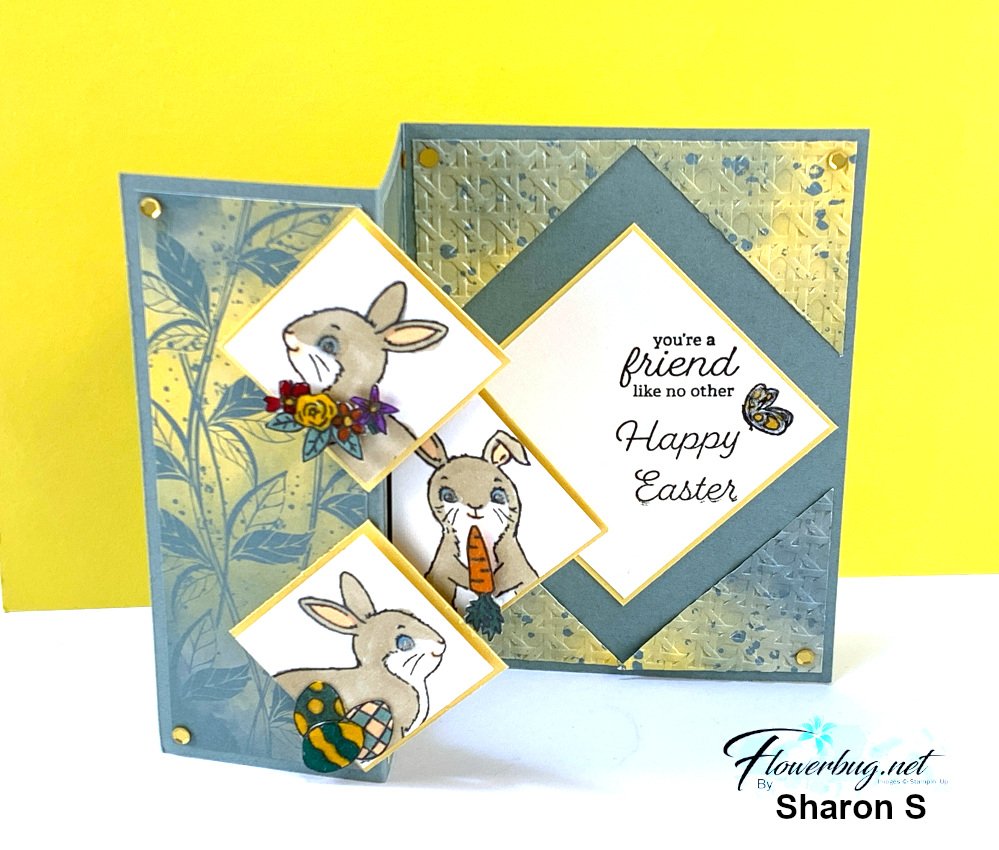
    Next is a fun fold with three bunnies on the diagonal.  

    This card is a standard A2 card – 5 1/2" X 8 1/2" scored at 2 1/8" & 4 1/4". She added the front two squares on the front panel and here's how she added the center bunny to the inside edge.  The designer paper is the new Hello, Irresistible DSP. 

    I love the additions she added to each one, flowers, a carrot and eggs; all from the Easter Bunny stamp set. 

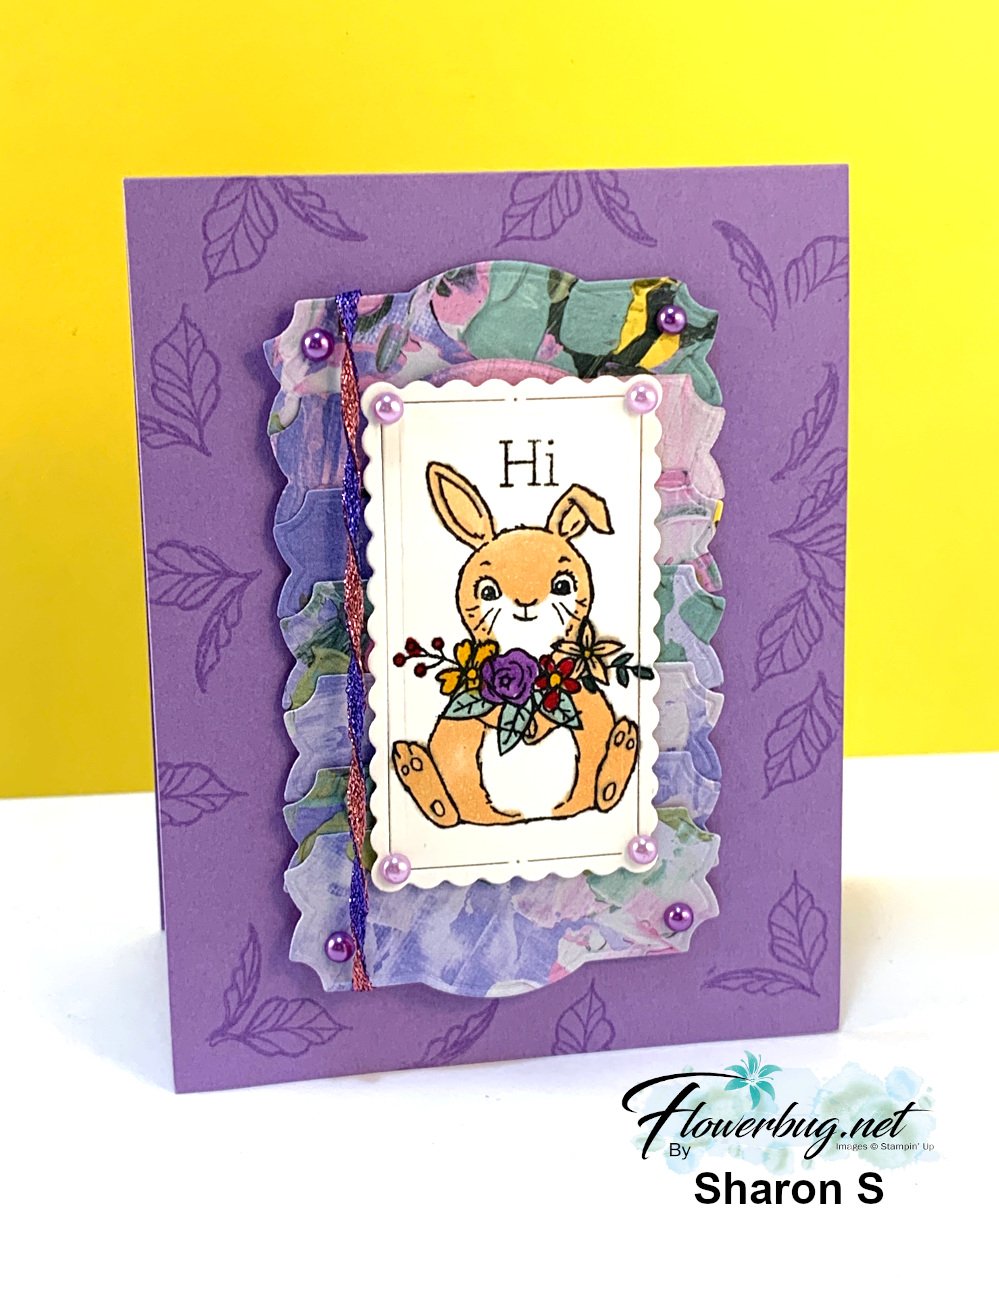
    Look closely at the ribbon and fancy edge element on this next card: 

    She used two colors or our In Color ribbon and twisted them together.  Fun!  And for the DSP element here she die-cut multiple labels from the Fancy Flora DSP & Natural Prints dies to create this pretty layer.  Clever & creative!

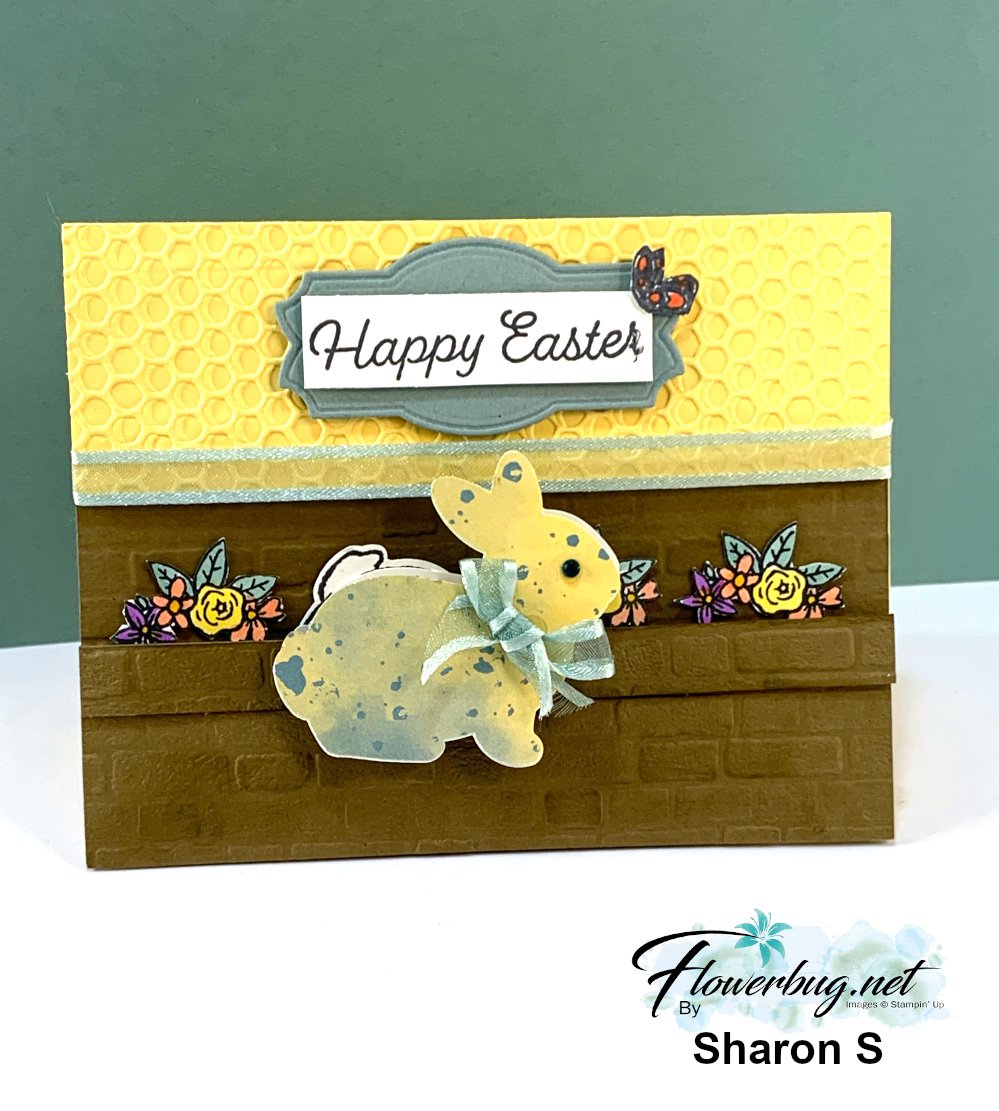
    This next card is a card with an additional 'gift'.  A bunny bookmark… 

    See how the double bunny can be removed to use as a bookmark?  It's held onto her basket with magnets.  These magnets are adheres to each side of the bunnies. The card looks great without the magnet bookmark too.  Super clever!  

    This next card is made from a window sheet.  Yes; the card base is a clear window sheet!  So cool.  

    The die-cut wreath is from the Natural Prints dies using Fancy Flora DSP. 

    Here's a view of the inside. She added the card stock to the inside front and the inside back of the folded Window Sheet card base.  

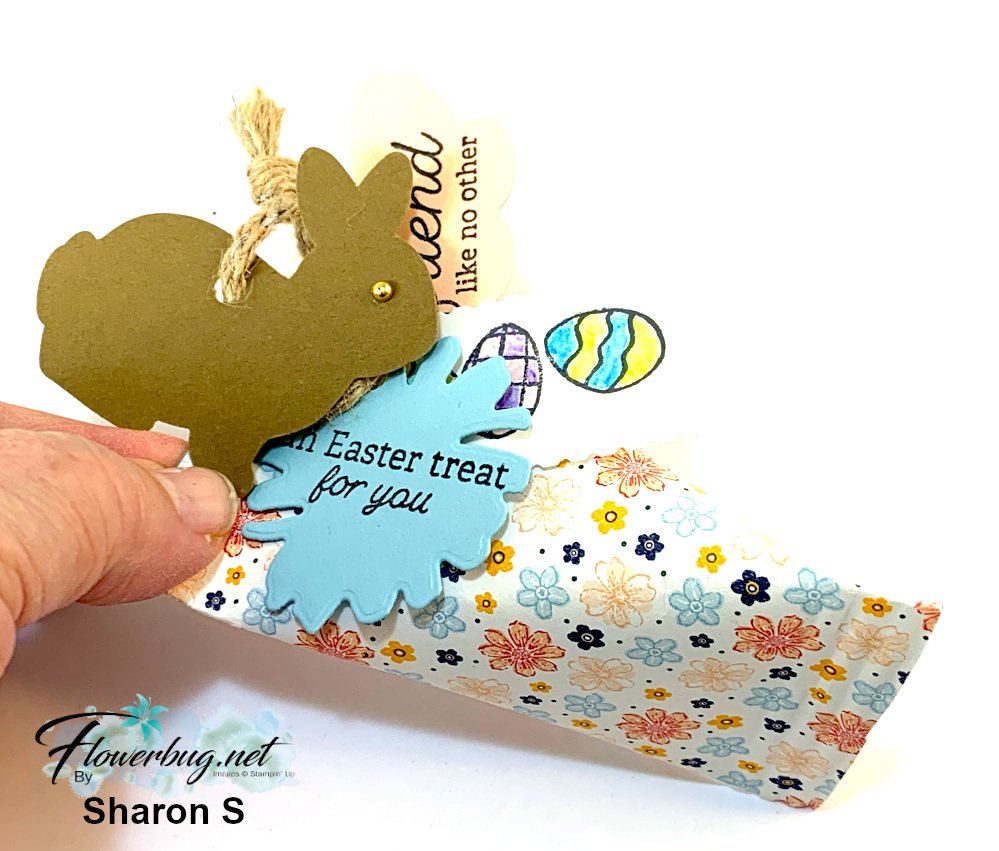
    Lastly a set of sour cream treat containers: 

    Have you ever made one of these?  It's been awhile for me but they are so fun to make.  Basically it a tube of paper that you secure one end well. Then fill with candy and secure the other end closed opposite from the other end.  Traditionally you use a crimper to crease the end, but you can use a scoring tool as well.  

    She had fun adding multiple tags to each! 

    Didn't she do an amazing job?!  So many wonderful and SUPER creative projects. Well done Sharon!!

    ~~~

    March Specials:

    See the new Online Exclusives here! 

    *current host code: BFE4C2KM

    Get a free class kit with online orders over $55 when using the host code above!

    Earn free products with my loyalty rewards! 

    Click here to download yours and earn a $50 shopping spree!
    Leave a Reply

    Your email address will not be published. Required fields are marked *


Notice: LeeAnn Greff, Independent Stampin’ Up! Demonstrator, Manager. The content of this website is my sole responsibility as an independent Stampin’ Up! demonstrator and the use of, and content of, the classes, services, or products offered on this website is not endorsed by Stampin’ Up! Copyright 2025