/


Latest Post

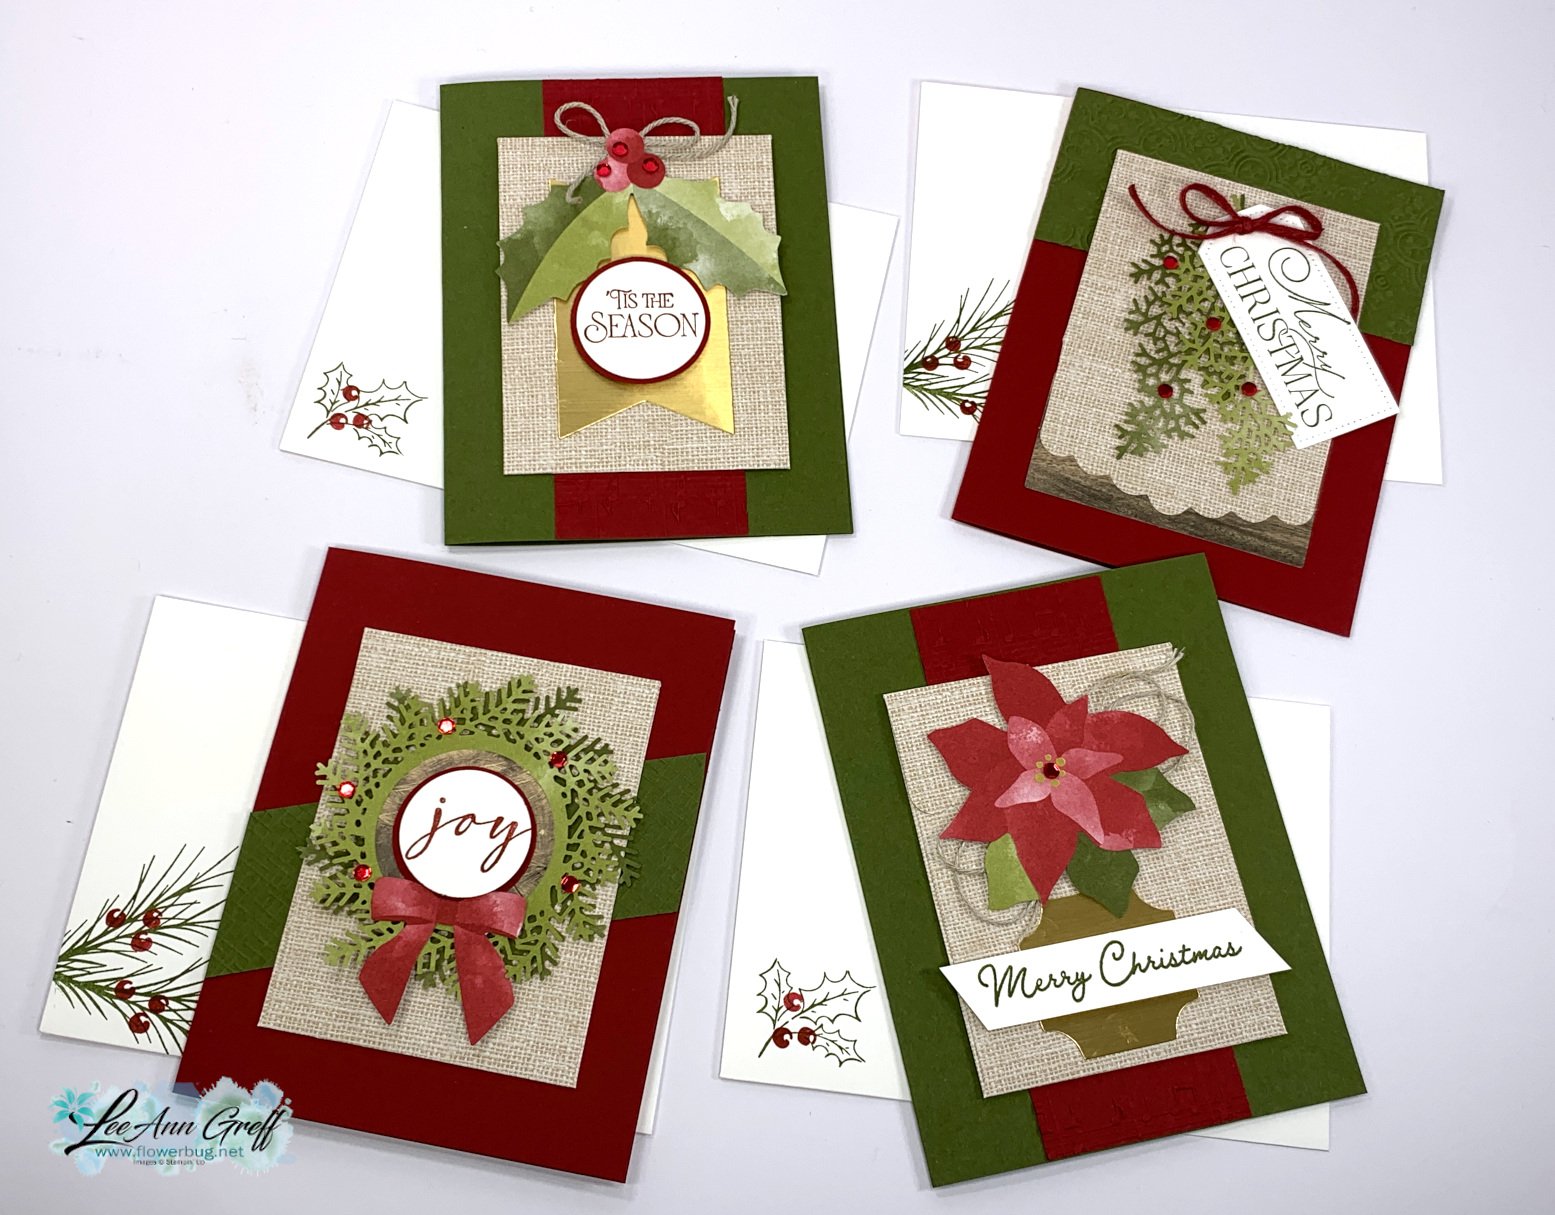
Beautiful cards made with the Rustic Christmas Countdown kit!


I created these pretty cards with the Rustic Christmas Countdown kit.  It's meant to be used as an advent calendar but I thought they'd make great Christmas cards. 

I will not be surprised if this kit sells out soon.  It's gorgeous!  The envelopes for the advent calendar are approximately 3" X 4"; a good size to add a treat inside. 
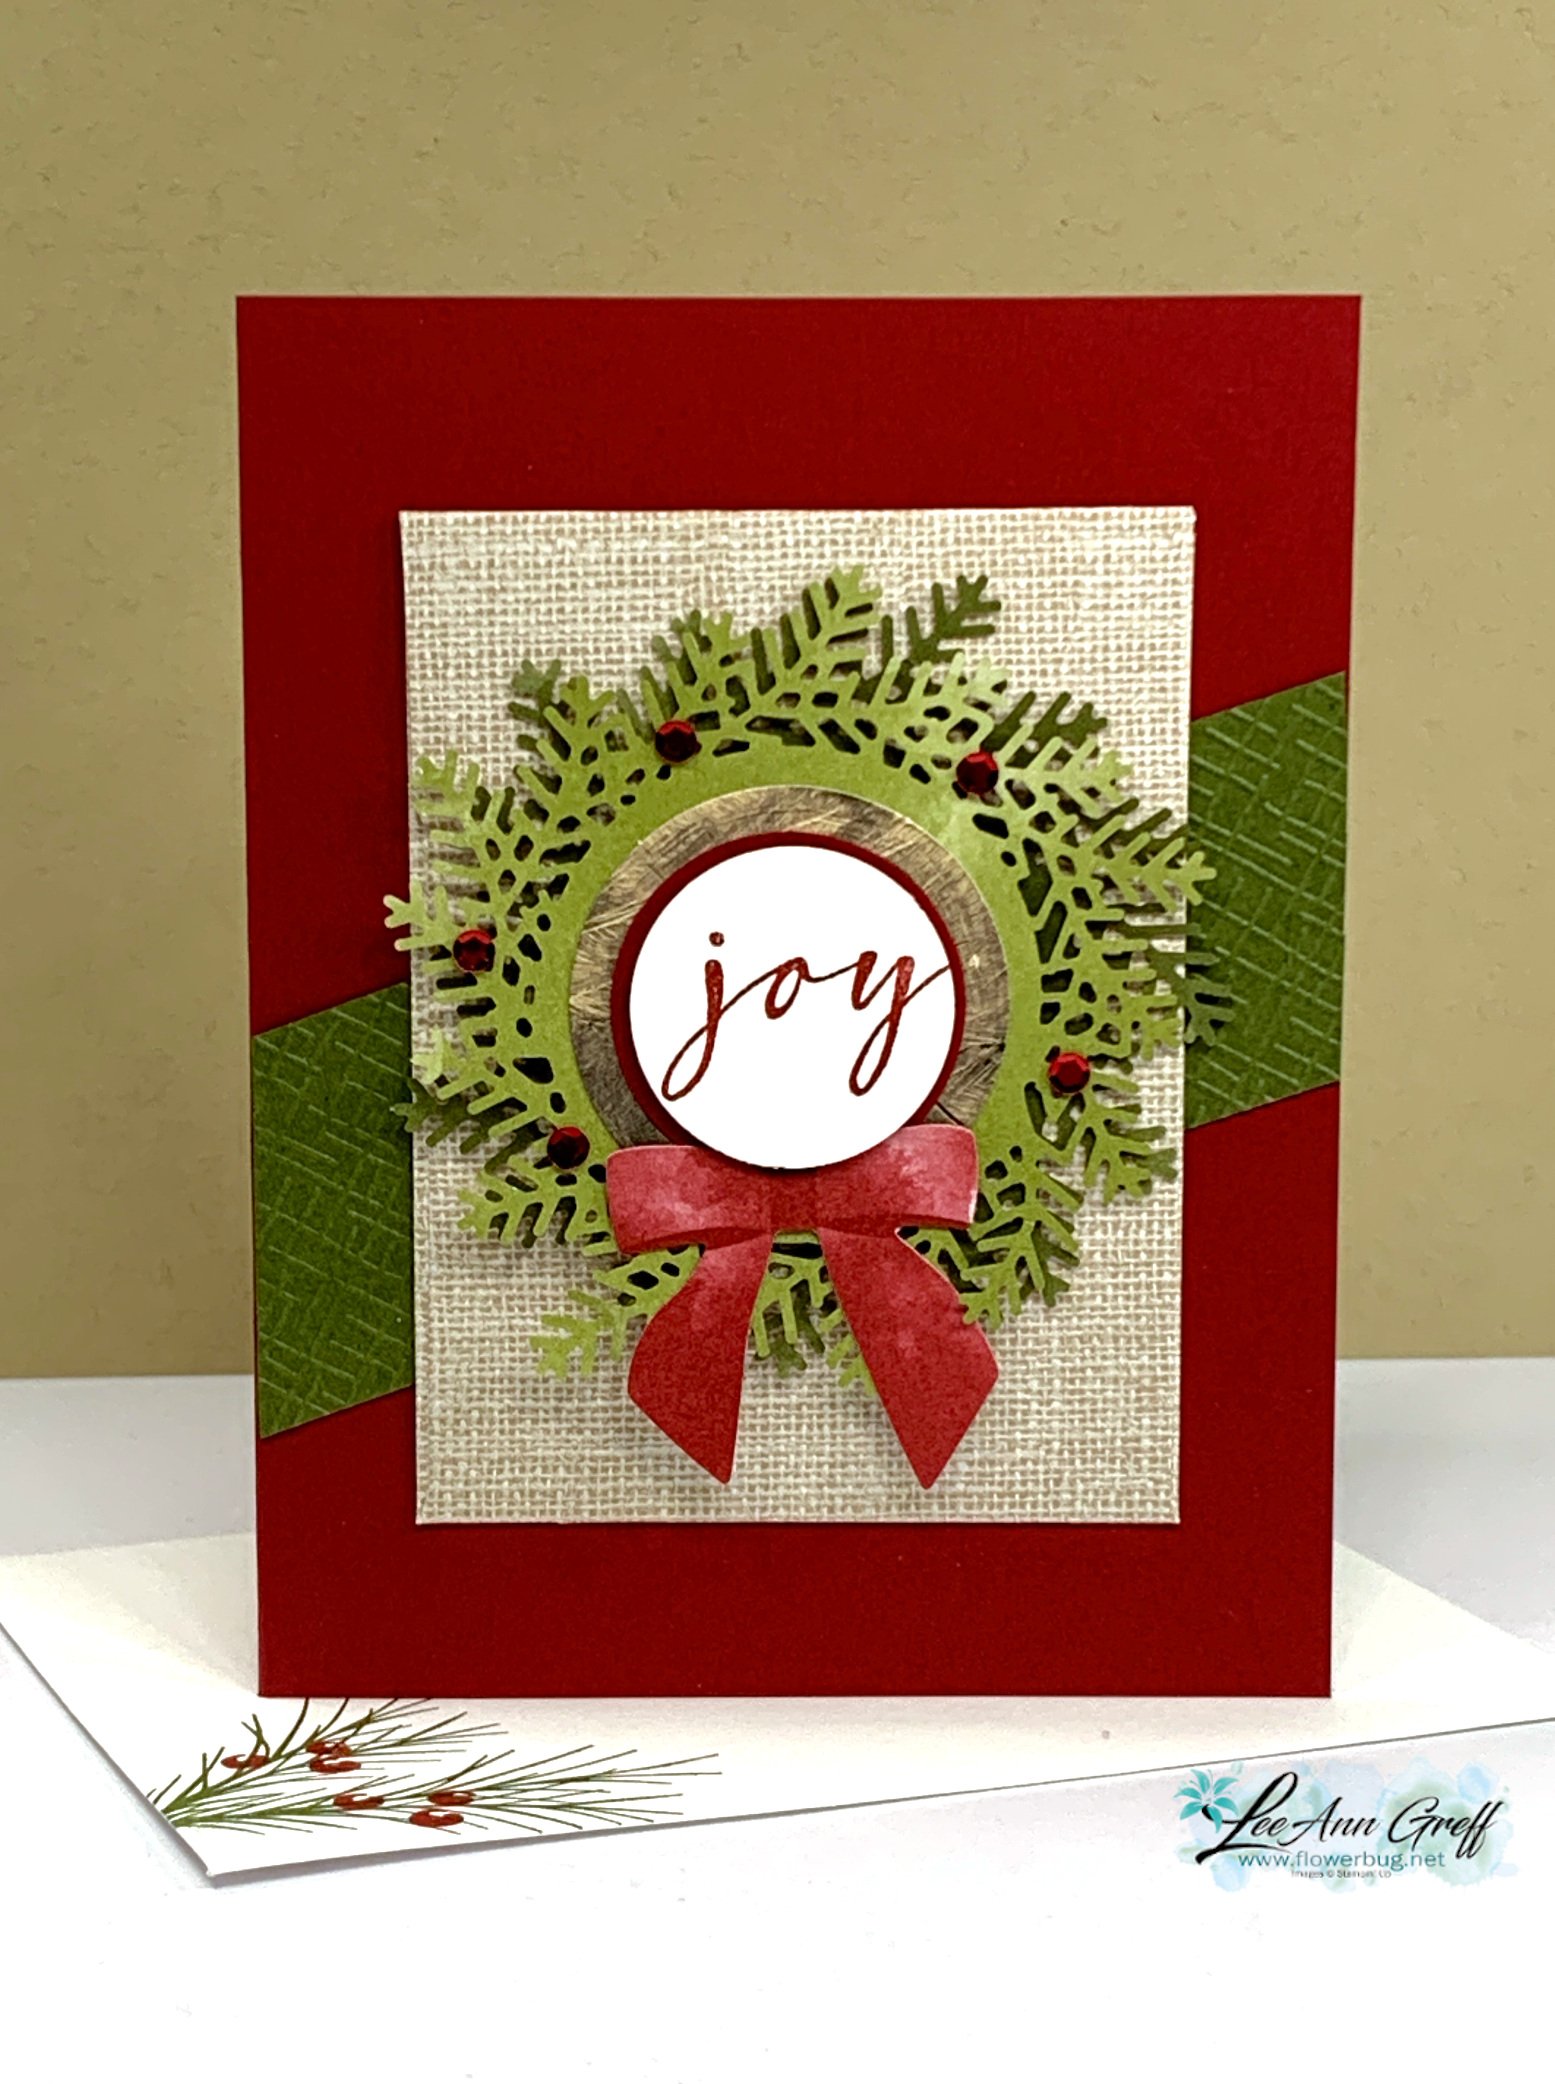
I added Mossy Meadow & Cherry Cobbler card bases, some textured strips of the same colors and a few greetings. 

The greetings mostly cover up the numbers printed on the wood & gold paper elements in the kit. 

For greetings I used the Brightest Glow (annual catalog) and Beary Cute (Holiday catalog) along with circle punches and Tailored Tags dies. 

We made these projects at my October Flowerbug's Team meeting. So pretty but super easy!


You could make up to 25 cards using this kit just by adding card bases, a few layers and greetings.  The red adhesive-backed sequins, Dimensionals, Cherry Cobbler and craft twine all comes in the kit. 
 

See this kit here online.  Our Christmas kits can sell out quick; so don't wait too long.  You never know if it will be back in time for Christmas. 

The kits is gorgeous as an advent project as well!  It also includes the cutest clothespins to close the envelopes. 

While you're shopping our kits be sure to check out the huge selection of kits in our Kit Collection. These kits are all inclusive and can be the answer to quick, seamless crafting or a fabulous gift for any creative person.  See them all here. 


~~~

October Specials: 

Amazing Starter Kit choices! 

Choose one and enjoy the 20% discount on all future orders! Click here

*current host code: HTHK4TQU or Y7VMN2TC

*Get free glitter gems with online orders over $55 (Please use a host code)

All Posts

  • Check out this fun & unique way to use up those card stock scraps!


    Look at this gorgeous card!  It's so bright, colorful and just plain fun! I made it on this week's Live video. My theme was to feature Bermuda Bay (a favorite of mine) and some sets of retiring dies I'll miss a lot! 

    I used the 'Picture This' dies seen here for the multiple circle windows.  The White delicate leaves die-cuts are from the Splendid Stems dies; which I thought were still current!  Oops! 

    Isn't it striking?  It's almost like a rainbow effect with these bright colors.  I adhered 1/4" strips of card stock to another layer of White (under the White window die).  It's slightly smaller than the top one. Watch the video here to catch my tips on this technique

    I used Coastal Cabana, Bermuda Bay, Mango Melody, Polished Pink and Berry Burst.  The only two colors that will be in the next catalog are Coastal Cabana and Berry Burst!  But I know we'll learn to love the new color line too.  It's always sad to say goodbye to some of our favorites.  

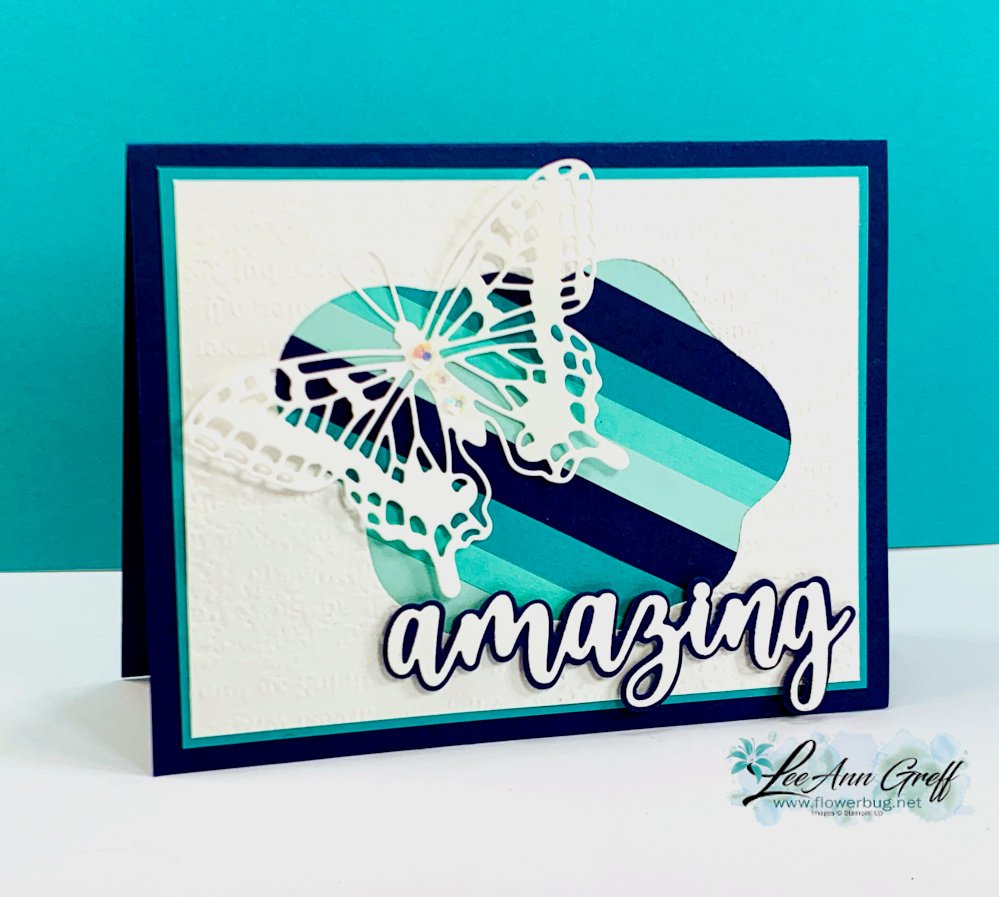
    Next I shared a fun card featuring blues/greens and the Layering Diorama dies. They're discounted to $20.30 now. 

    The other dies used are the Amazing Thanks dies seen here (these were $27 and are now just $10.80). 

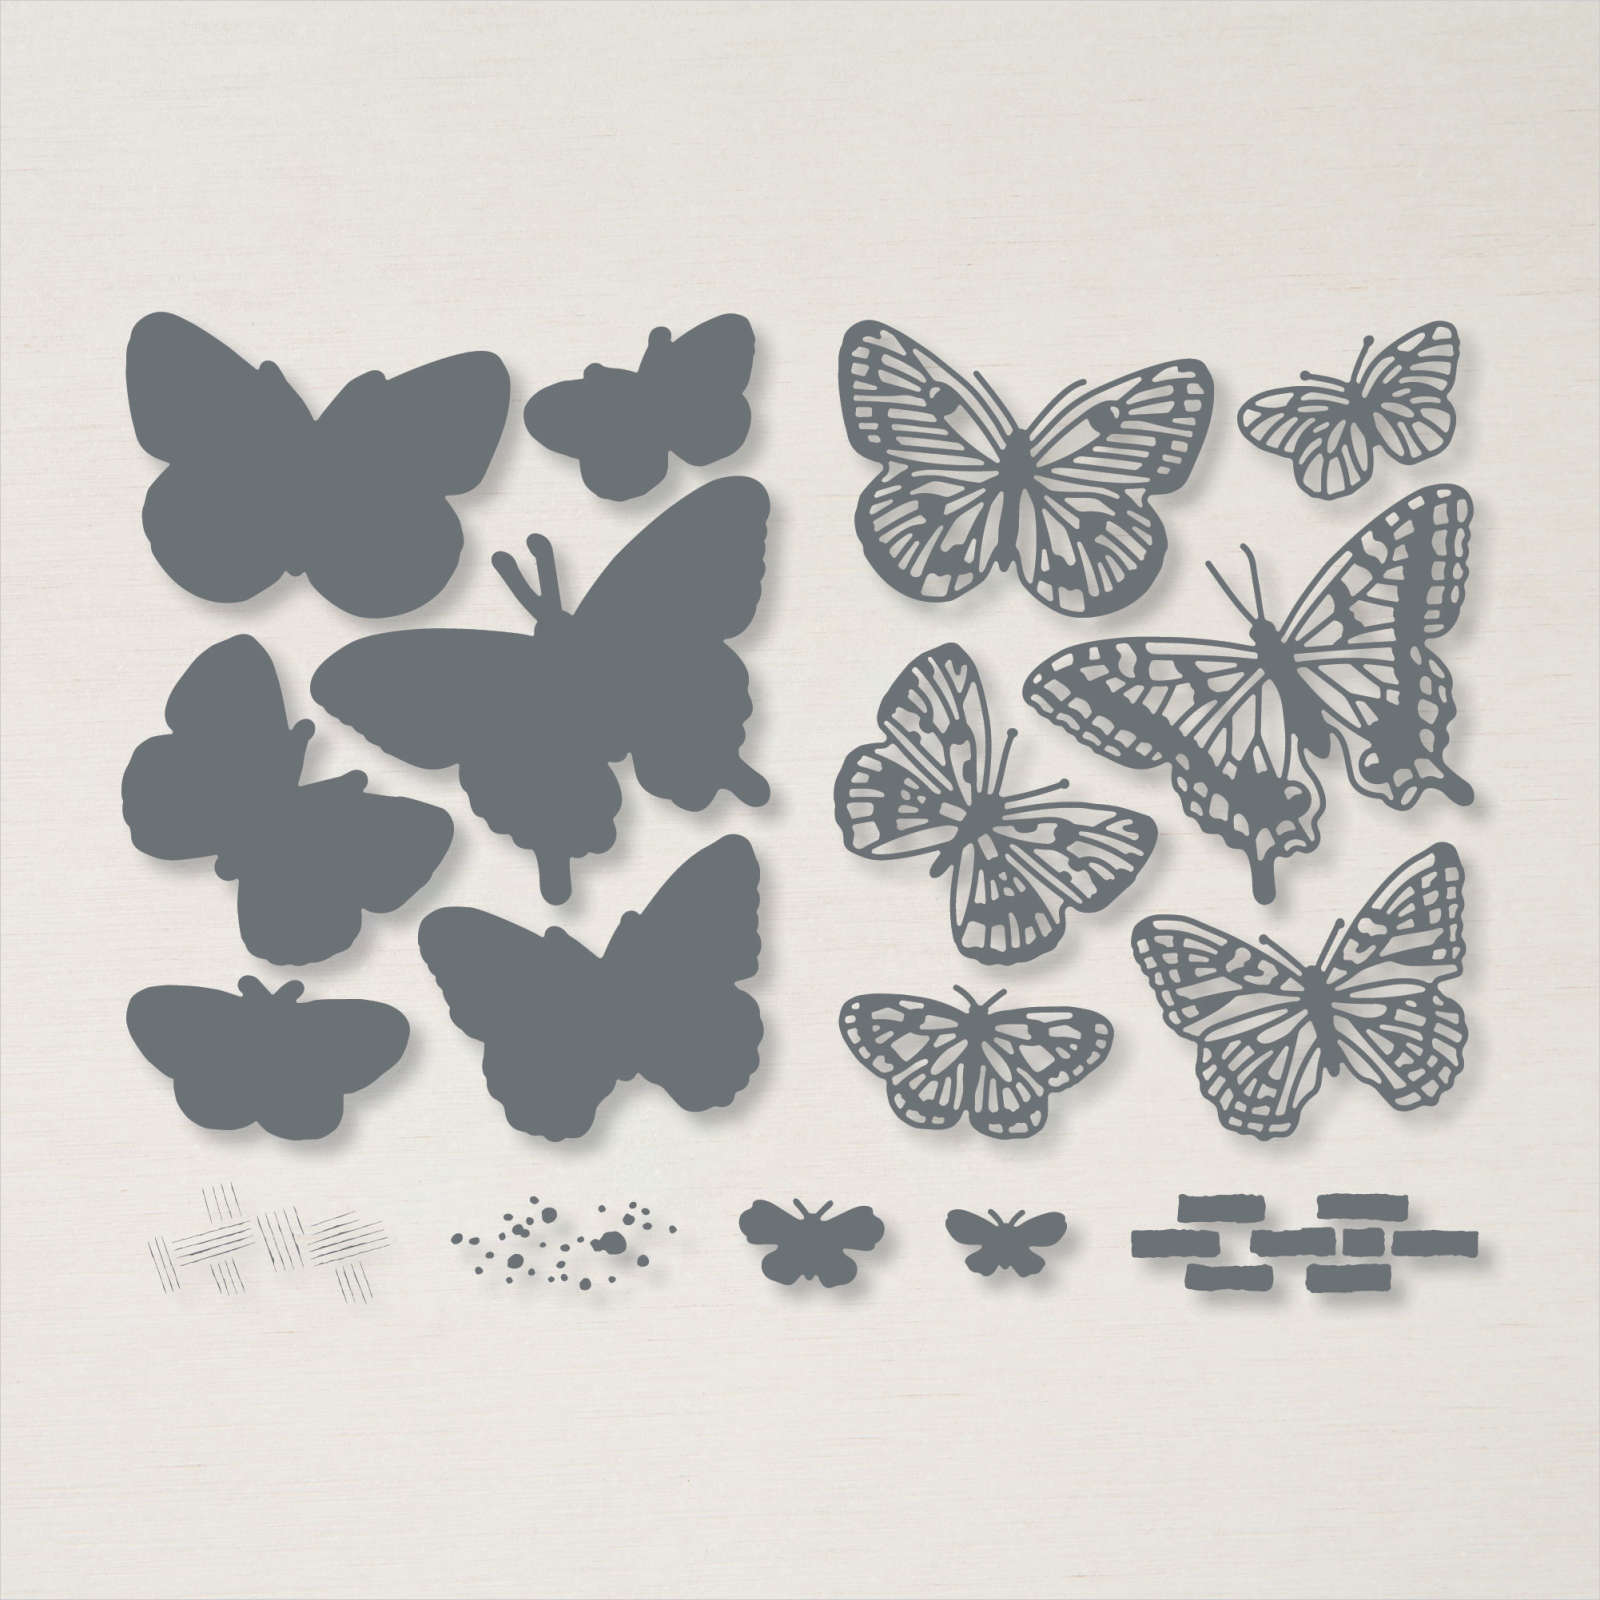
    And the Brilliant Wings dies shown above which include tons of butterflies in both solid and detailed dies that layer perfectly.  They were $44 and are now just $17.60.  See them here. 

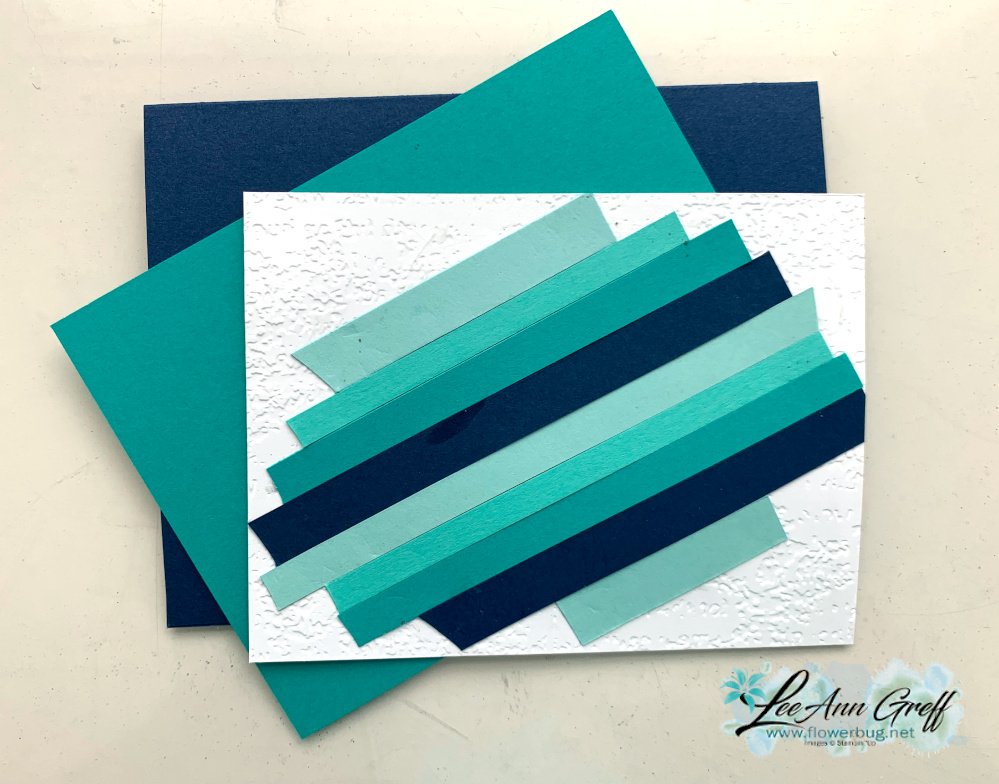
    Here's how I adhered the strips to the back of the White die-cut piece. I die-cut the Layering Diorama shape first and then added these strips on the back side. It's a super fun way to show off your die-cut shape and use up those scraps you just cannot throw out! 

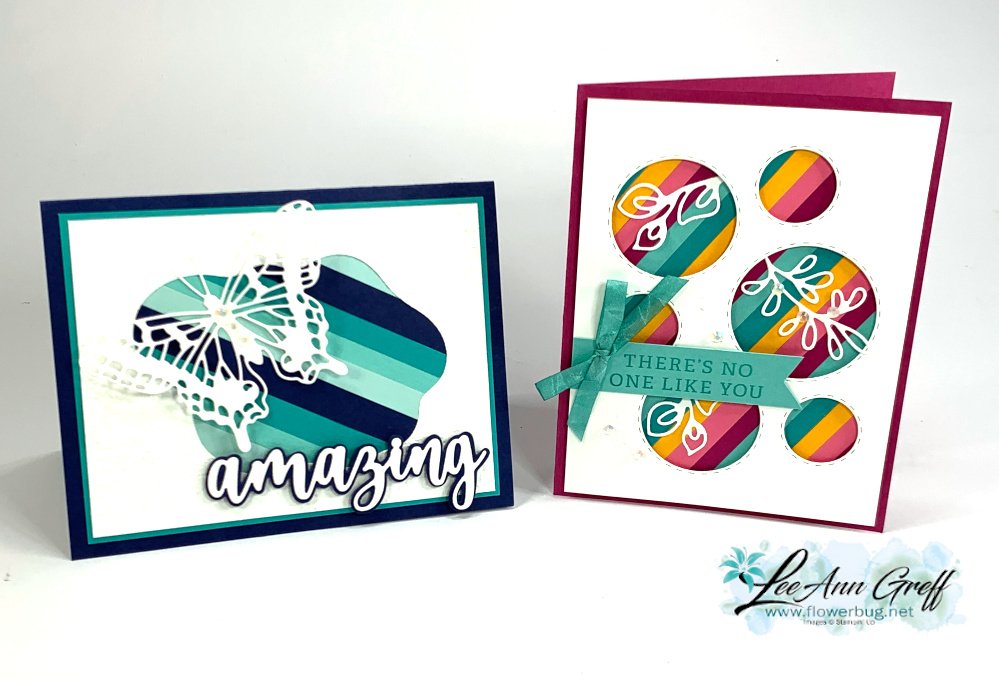
    Here are both projects shown together.  I hope this inspired you to use up some of those paper scraps you're saving for 'someday'!  

    Here's the video I shared how to make the window card with the Picture This dies.  Plus two other cool projects using up card stock strips! Click on the photo below.  Don't forget to subscribe to my YouTube channel!  

    ~~~

    April Specials:

    See the 2023 Last Chance list here 

    *current host code: SYZD4PH2 or SFHU3WMT

    Get a free specialty paper sampler with online orders over $55 using a host code above plus an embellishment if your order is over $100

    Earn free products with my loyalty rewards! 

    Click here to download yours and earn a $50 shopping spree!

    Leave a Reply

    Your email address will not be published. Required fields are marked *

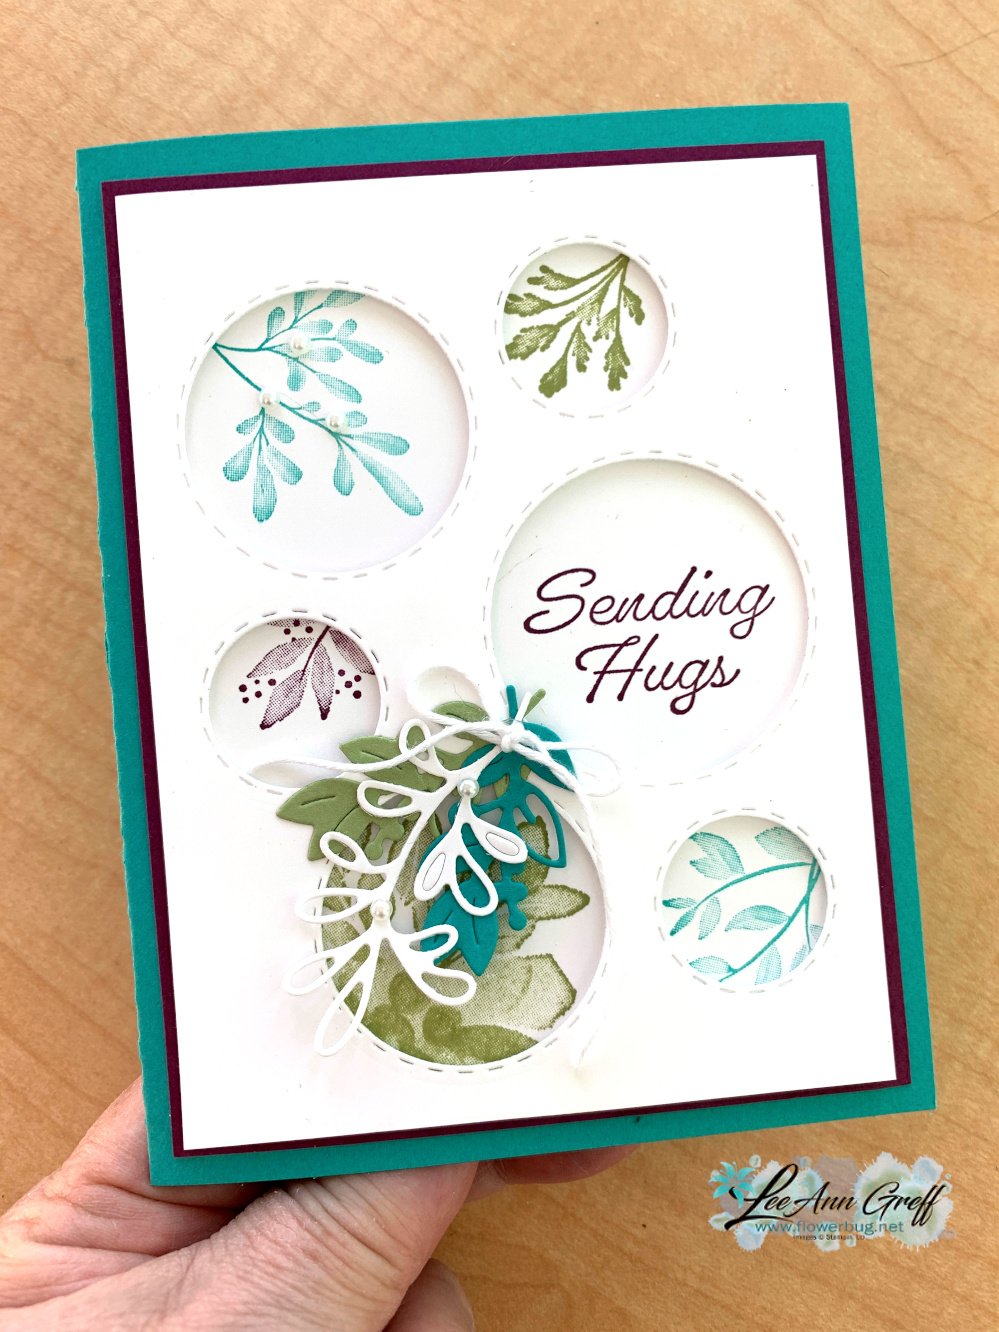
  • Eden’s Garden & Forever Fern; a fun way to use the Picture This dies


    Monday evening I created projects with the Forever Fern bundle for my weekly Tuesday Facebook Live. But by the next morning the Forever Fern stamp set was sold out; gone.  So I had to switch gears a bit and decided to substitute Forever Fern with Eden's Garden. I think it turned out lovely!  

    See the Eden's Garden set here.  It was $22 and is now just $9.20, while supplies last.  

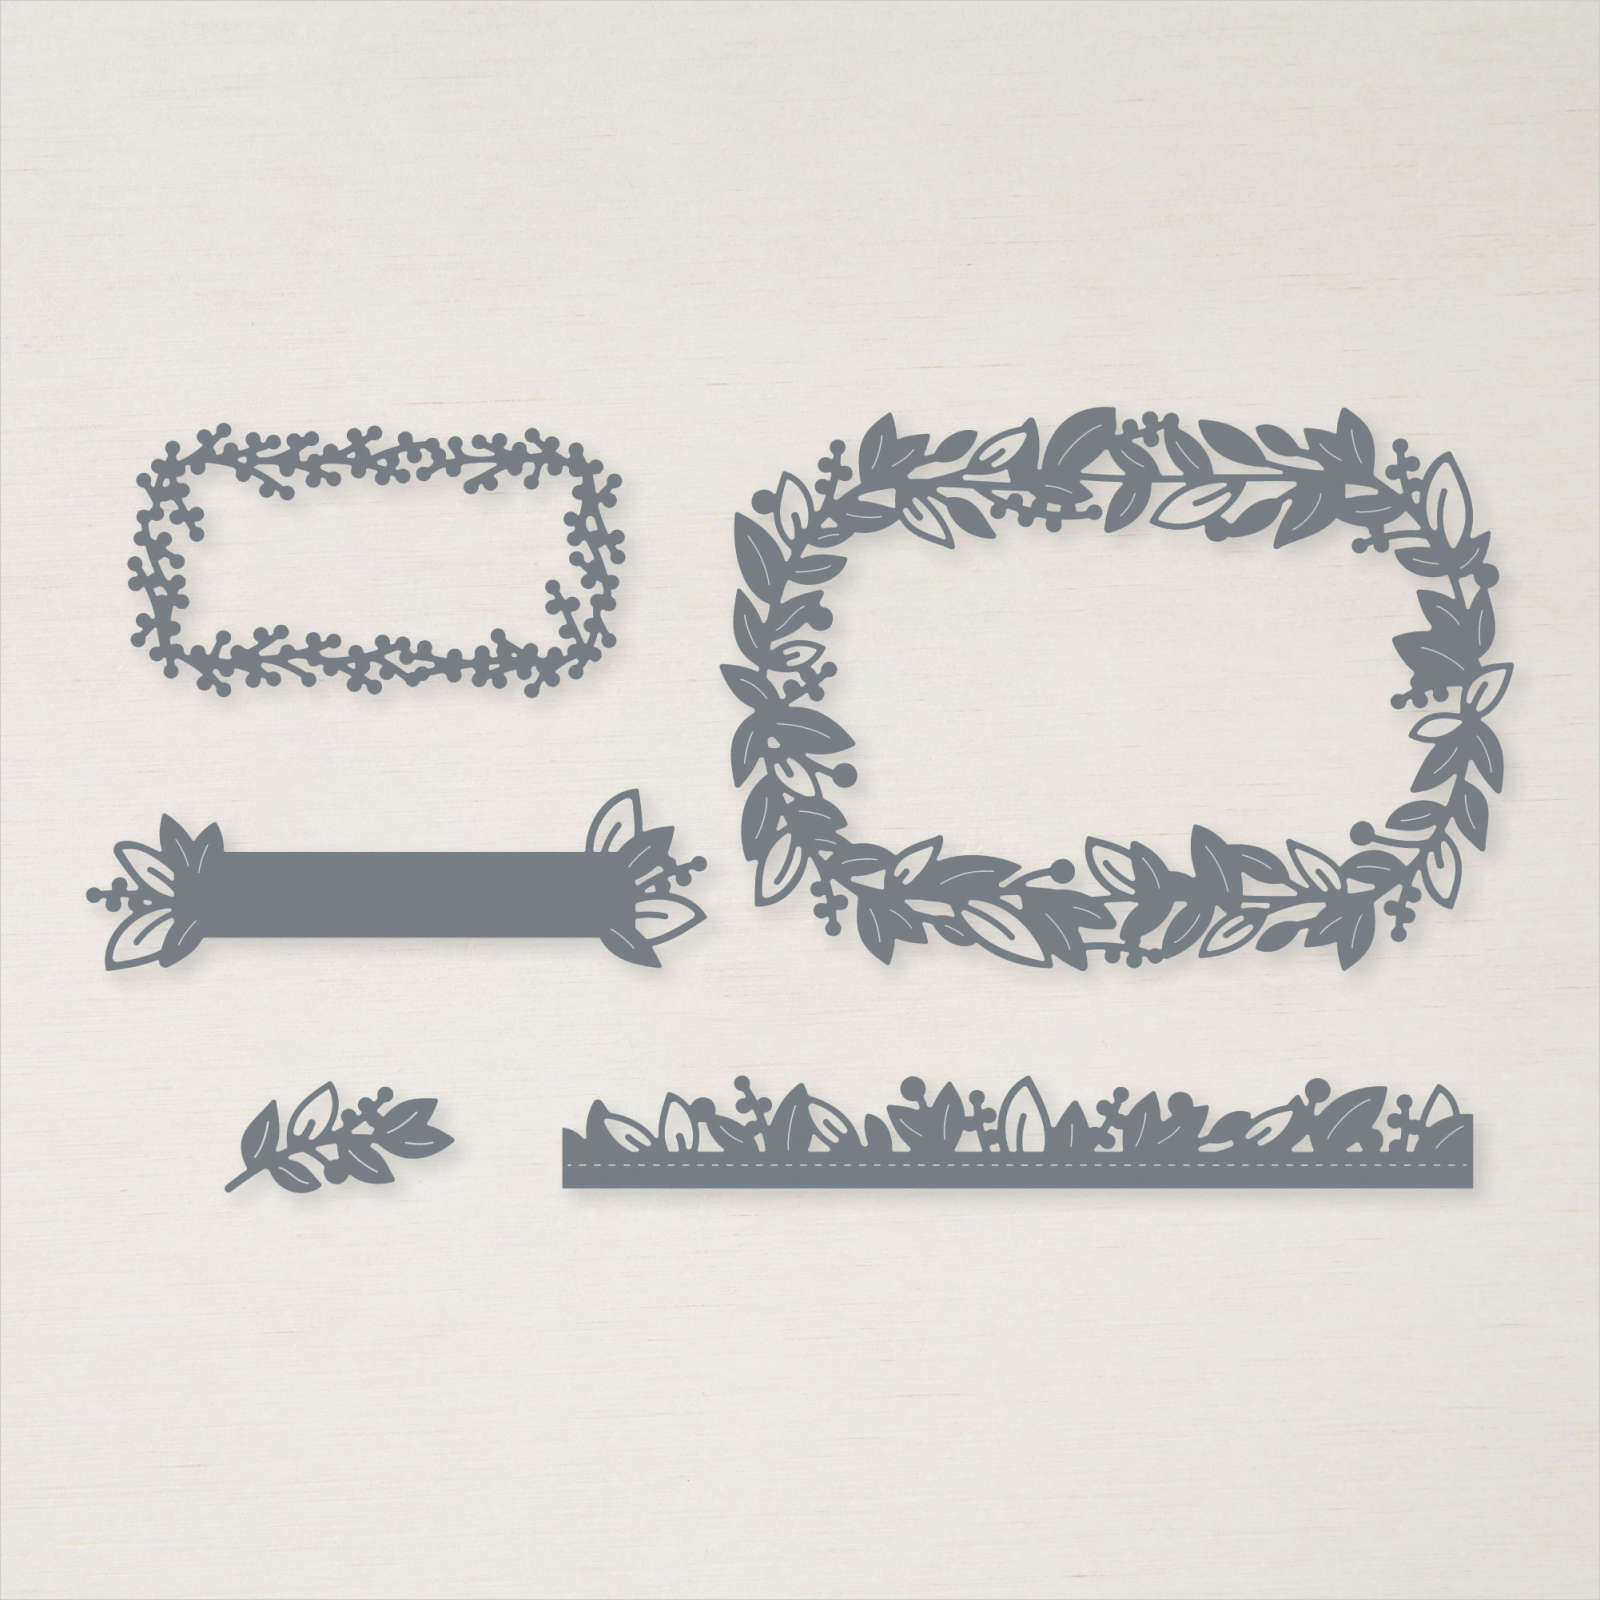
    There are dies to match called the Eden dies seen here. They were $35 and are now just $14. 

    I used all retiring inks and card stock – Bermuda Bay, Rich Razzleberry & Pear Pizzazz.  I had to focus on my Bermuda Bay; I'll sure miss this color!  The card stock, ink and refill are already sold out.  

    I wanted to feature the Picture This dies too; I honestly love these dies and use both the full windows die-cut and the stitched label pieces left over. Each side is stitched! They're perfect for greeting labels. This 2 piece set of dies is now $27.20; it was $34.  See them here.

    Measurements:

    • Bermuda Bay card base 8 ½” X 5"
    • White die-cut piece is 3 ¾” X 5”, White stamped piece is 3 5/8" X 4 7/8"
    • Rich Razzleberry 3 7/8” X 5 1/8”

    Below you can see the Forever Fern card on the left and the Eden's Garden card on the right.  

    I think the color combination is beautiful.  I'll sure miss these colors!  

    Below are the three cards I shared on the video.  I think the Forever Fern stamp set is one of the most gorgeous set of stamps Stampin' Up! has ever made. The distinktive quality of the images gives a true multi-hued effect; it's my very favorite type of stamp.  I'm sorry it retired and that it's already sold out.  You can get it in French still…..


    Things are flying off the shelves on the retiring Last Chance Sale.  Thank you to all who have placed orders with me this week!  I sure appreciate it!!!

    Here's the video I shared how to make the window card with the Picture This dies.  Plus two other cool projects using up card stock strips! Click on the photo below.  Don't forget to subscribe to my YouTube channel!  

    ~~~

    April Specials:

    See the 2023 Last Chance list here 

    *current host code: SYZD4PH2 or SFHU3WMT

    Get a free specialty paper sampler with online orders over $55 using a host code above plus an embellishment if your order is over $100

    Earn free products with my loyalty rewards! 

    Click here to download yours and earn a $50 shopping spree!

    Leave a Reply

    Your email address will not be published. Required fields are marked *

  • String Art Technique; fun, easy & the results are a big WOW!


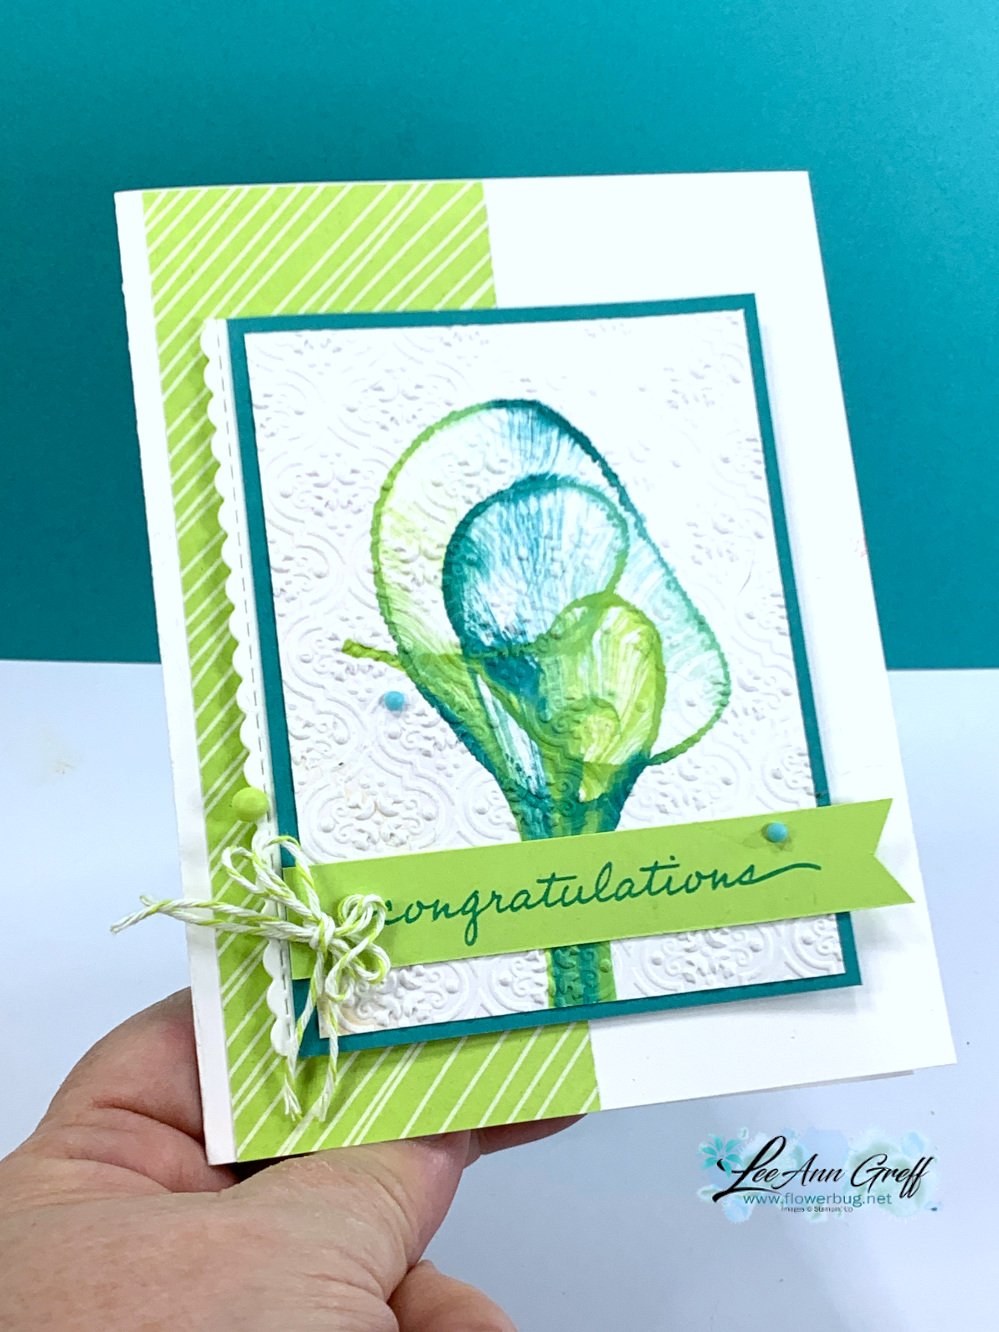
    I shared the String Art technique on last week's Live video.  It's been years since I tried it and it brought back how much fun it is!

    That cool swirly, colorful image is made with a length of twine, ink refills and a phone book.  Yes; a phone book!  Any book will do but I a phone book is okay to get inky.  

    And another neat thing about this technique is you get two finished panels from one technique!  

    You might notice the card on the right has thicker lines.  I believe that piece was on the bottom and had more moisture on it.  

    I used Bermuda Bay and Parakeet Party ink refills for this technique, along with about 14" of baker's twine. After the piece was created I let it dry and textured it with an embossing folder.  

    *Bermuda Bay card stock, ink pad and refill are already sold out.  Products can go so fast on the Last Chance list! 

    Other products used: 2022-24 In Color dots seen here (Just $4; reduced by 50%!), the Quatrefoil embossing folder, Butterfly Kisses 6 X 6" DSP, 2022-24 In Color Baker's Twine pack. 

    You really need to watch this technique in action.  It's so much easier than to try to explain it.  

    Watch the video here or click on the image below to see this special technique. It's the third project in the video. 

    ~~~

    April Specials:

    See the 2023 Last Chance list here 

    *current host code: SYZD4PH2 or SFHU3WMT

    Get a free specialty paper sampler with online orders over $55 using a host code above plus an embellishment if your order is over $100

    Earn free products with my loyalty rewards! 

    Click here to download yours and earn a $50 shopping spree!

    Leave a Reply

    Your email address will not be published. Required fields are marked *


Notice: LeeAnn Greff, Independent Stampin’ Up! Demonstrator, Manager. The content of this website is my sole responsibility as an independent Stampin’ Up! demonstrator and the use of, and content of, the classes, services, or products offered on this website is not endorsed by Stampin’ Up! Copyright 2025