/


Latest Post

Beautiful cards made with the Rustic Christmas Countdown kit!


I created these pretty cards with the Rustic Christmas Countdown kit.  It's meant to be used as an advent calendar but I thought they'd make great Christmas cards. 

I will not be surprised if this kit sells out soon.  It's gorgeous!  The envelopes for the advent calendar are approximately 3" X 4"; a good size to add a treat inside. 
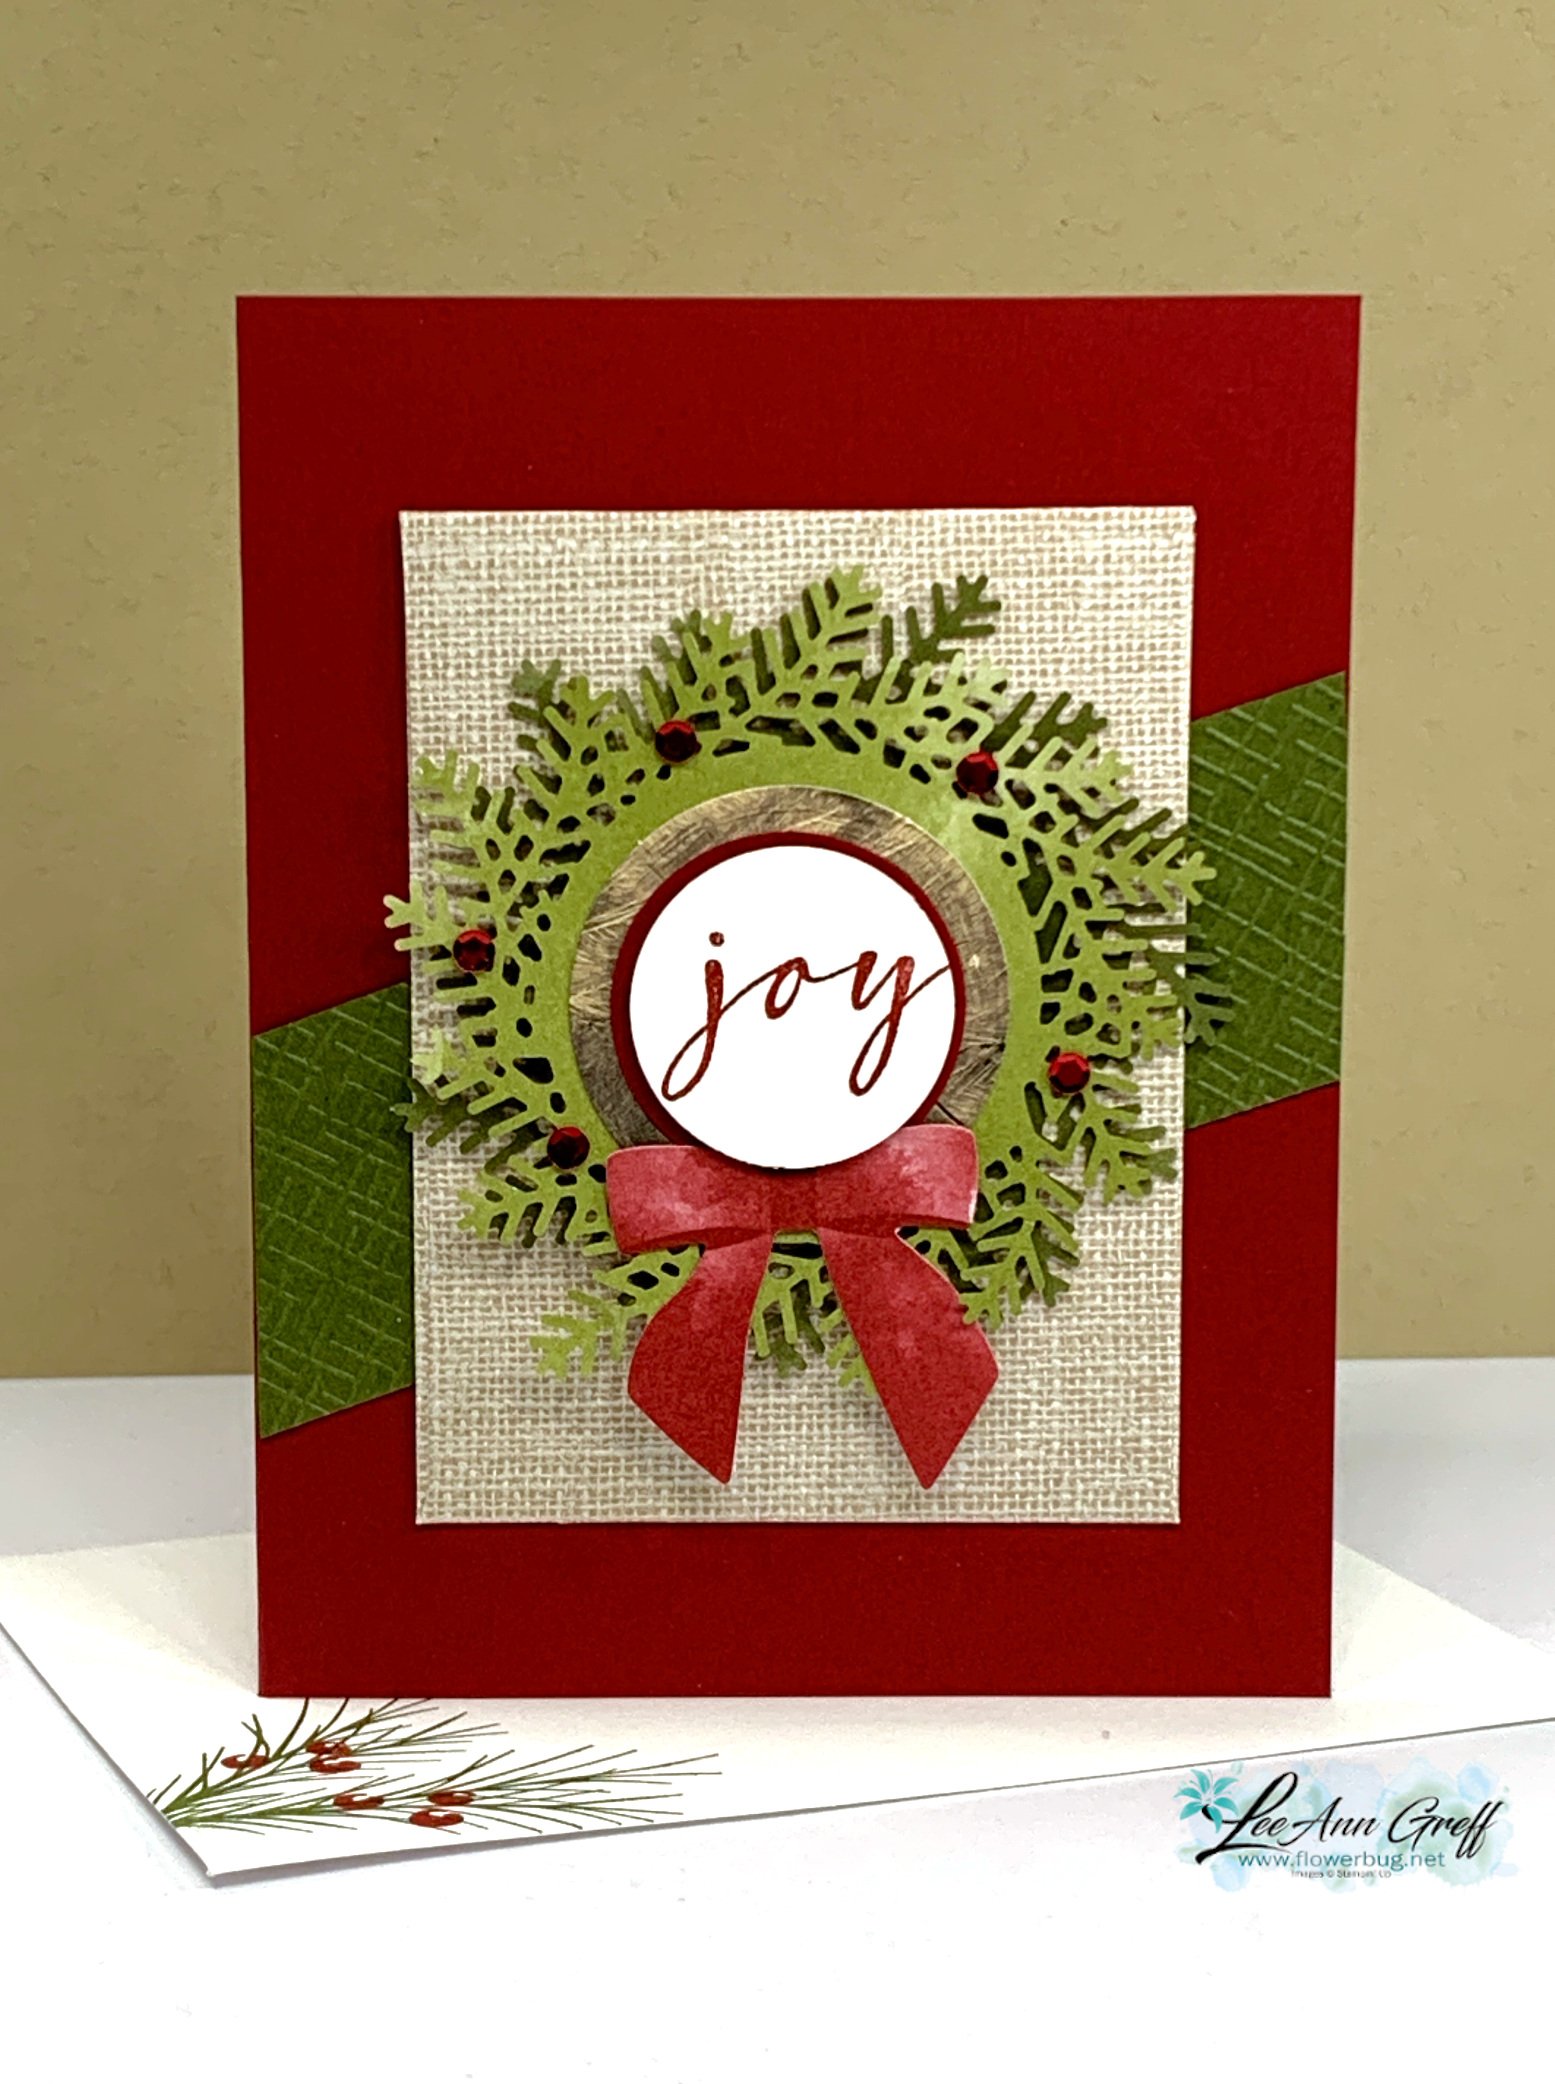
I added Mossy Meadow & Cherry Cobbler card bases, some textured strips of the same colors and a few greetings. 

The greetings mostly cover up the numbers printed on the wood & gold paper elements in the kit. 

For greetings I used the Brightest Glow (annual catalog) and Beary Cute (Holiday catalog) along with circle punches and Tailored Tags dies. 

We made these projects at my October Flowerbug's Team meeting. So pretty but super easy!


You could make up to 25 cards using this kit just by adding card bases, a few layers and greetings.  The red adhesive-backed sequins, Dimensionals, Cherry Cobbler and craft twine all comes in the kit. 
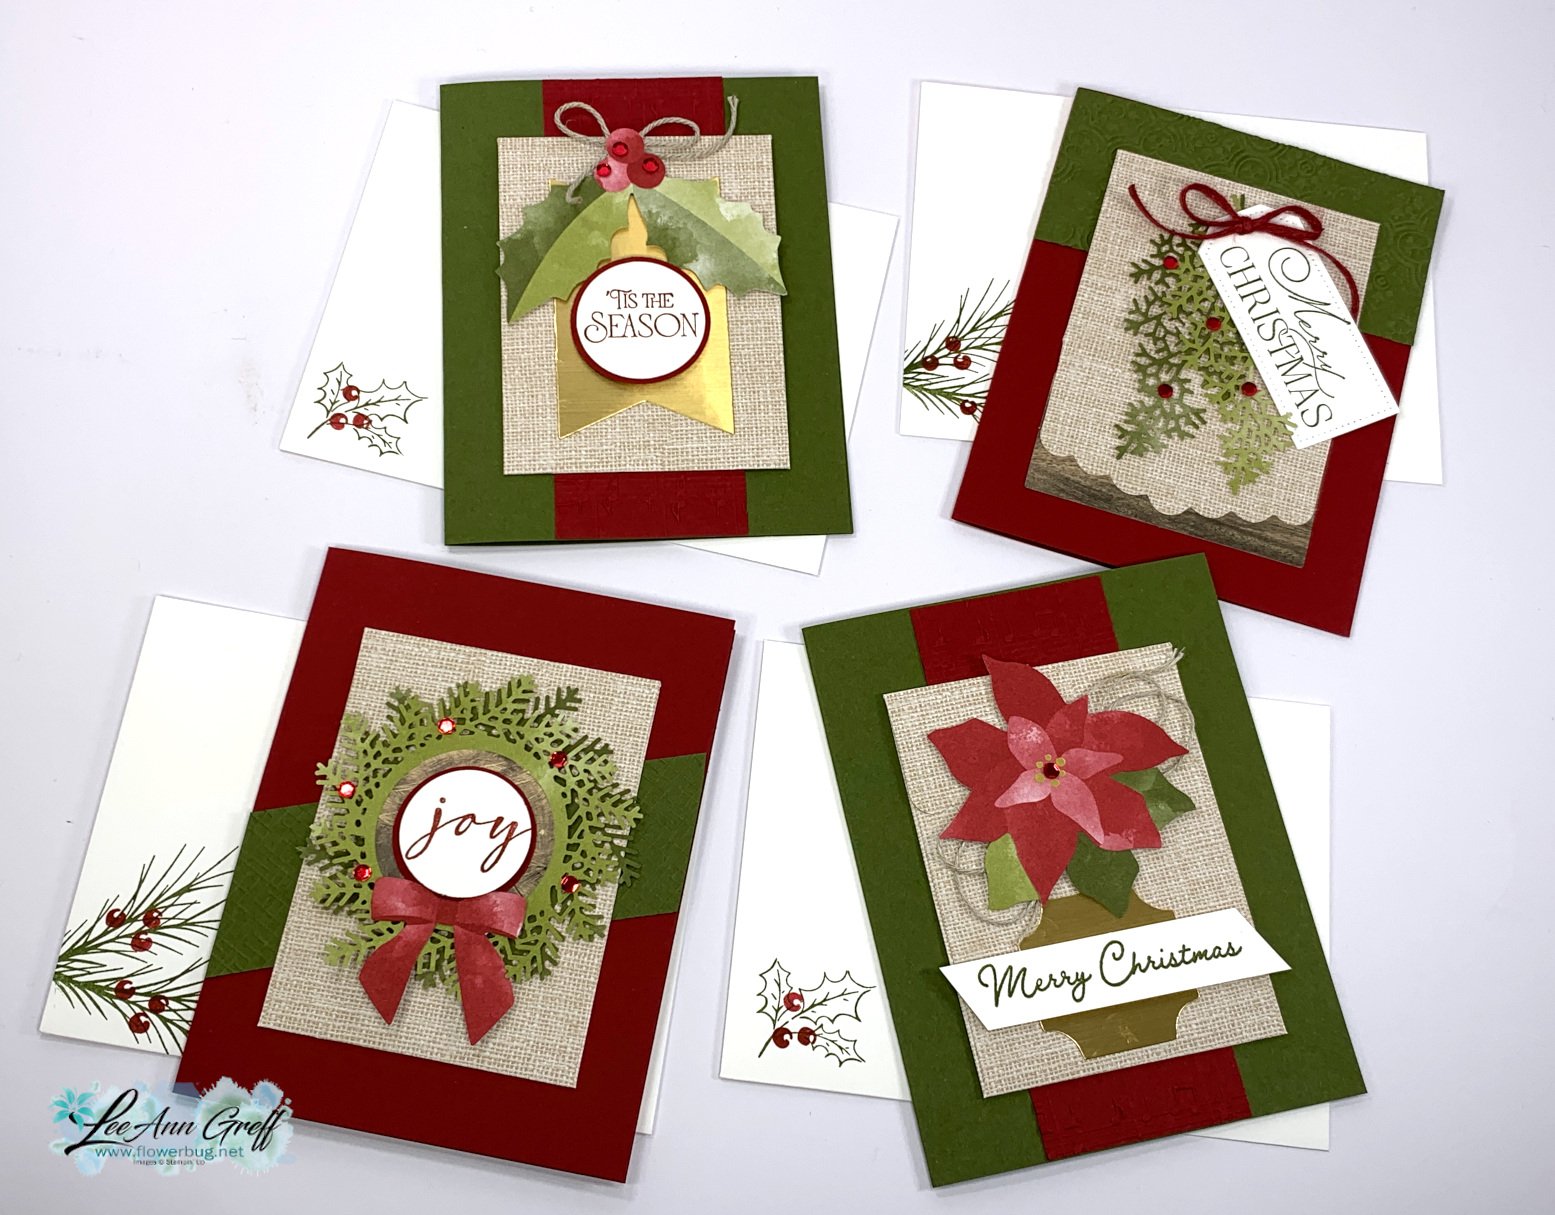
 

See this kit here online.  Our Christmas kits can sell out quick; so don't wait too long.  You never know if it will be back in time for Christmas. 

The kits is gorgeous as an advent project as well!  It also includes the cutest clothespins to close the envelopes. 

While you're shopping our kits be sure to check out the huge selection of kits in our Kit Collection. These kits are all inclusive and can be the answer to quick, seamless crafting or a fabulous gift for any creative person.  See them all here. 


~~~

October Specials: 

Amazing Starter Kit choices! 

Choose one and enjoy the 20% discount on all future orders! Click here

*current host code: HTHK4TQU or Y7VMN2TC

*Get free glitter gems with online orders over $55 (Please use a host code)

All Posts

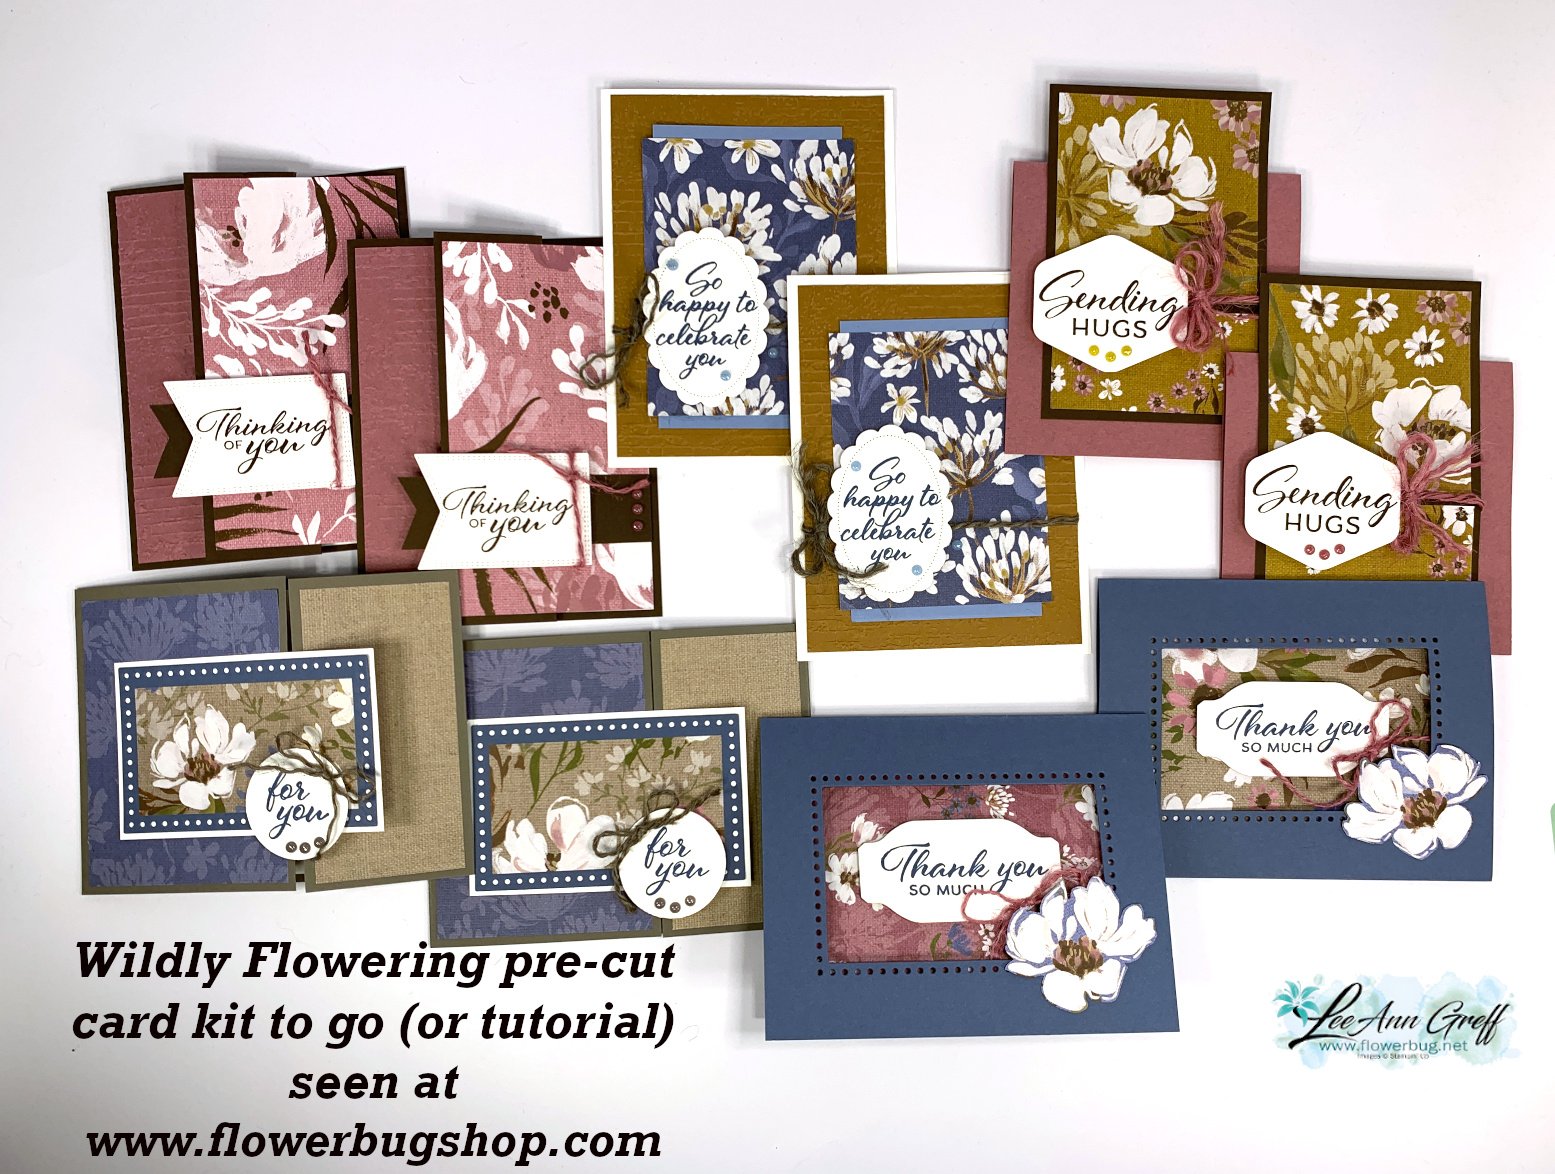
  • Beautiful Wildly Flowering Card Kit to go or choose the PDF tutorial option


    These striking cards feature the pretty Wildly Flowering designer paper. 4 of the 5 designs are fancy folds.  You'll make 2 of each card. 


    Each month I choose two packs of designer paper and create cards for kits to go. I also type up the directions for each set of cards for those who prefer the PDF written tutorial instead of the pre-cut kit. 

    This pre-cut kit costs $30 & includes the following:

    • 10 pre-cut cards with die-cuts
    • 1/2 pkg of Wildly Flowering DSP (6" X 12"), a share of 2 colors of Jute Twine, and In Color sparkle dots 
    • PDF tutorial with photos, measurements, supplies list and step by step directions

    This kit will be mailed out at the end of August via Priority Mail. The PDF tutorial is emailed immediately after payment. 

    Click here to reserve a kit to go.  Or click here to purchase the PDF tutorial for $15.

    You will need the following items to finish the cards:

    • greeting images – I used the Layering Leaves set but any can be substituted
    • Misty Moonlight & Early Espresso inks 
    • Paper trimmer (to cut your new DSP), paper snips scissors, adhesives 

    *Get the Layering Leaves stamp set at 10% off with this kit. Email me here

    ~~~

    August Specials:

    *current host code links: M0Z4KJD7 or BDGBJHAE


    Redeem your $5 coupon now! 

    ~~~

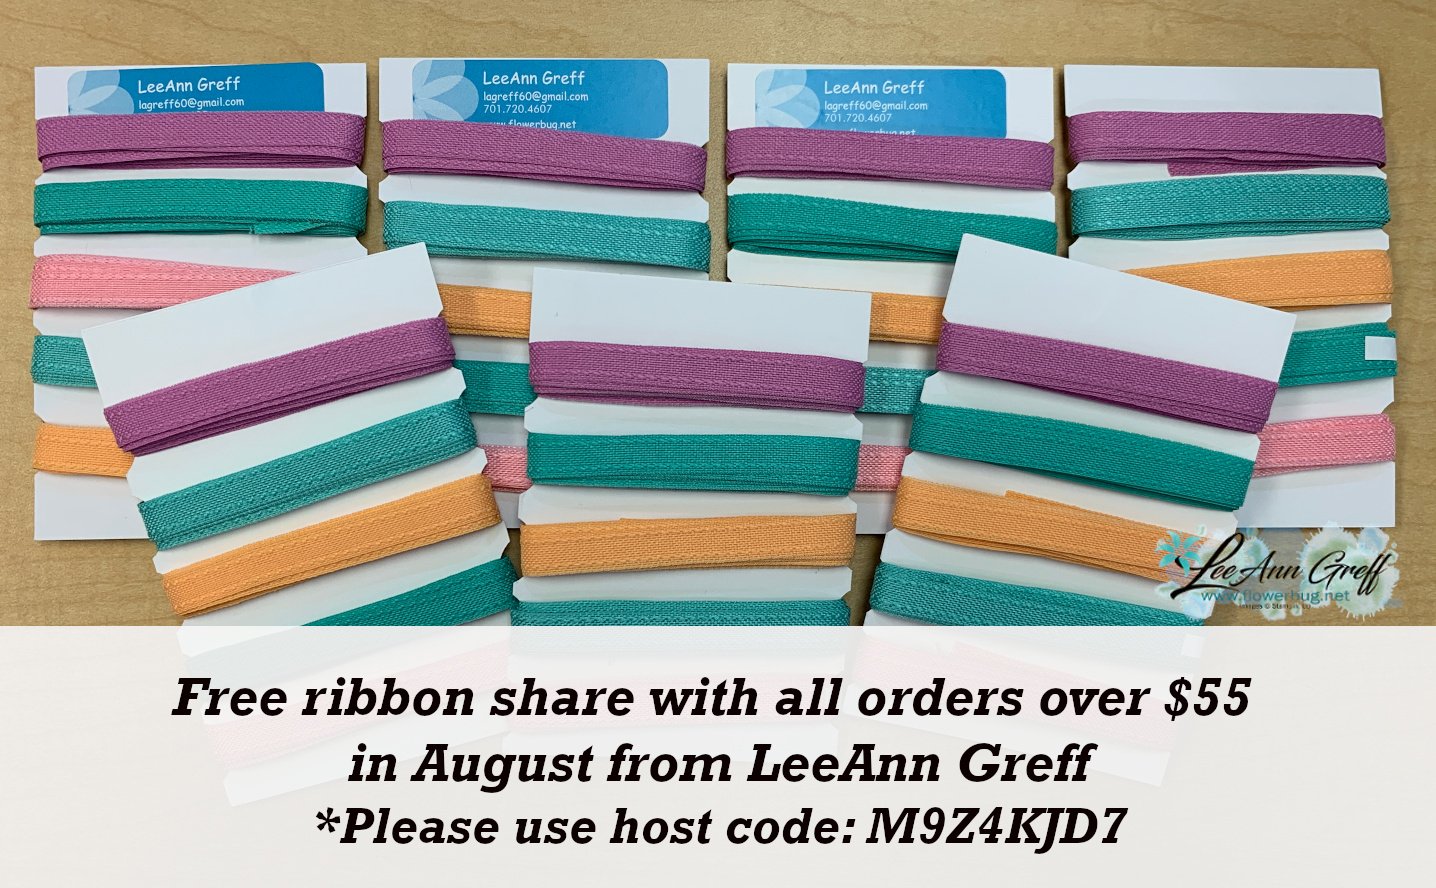
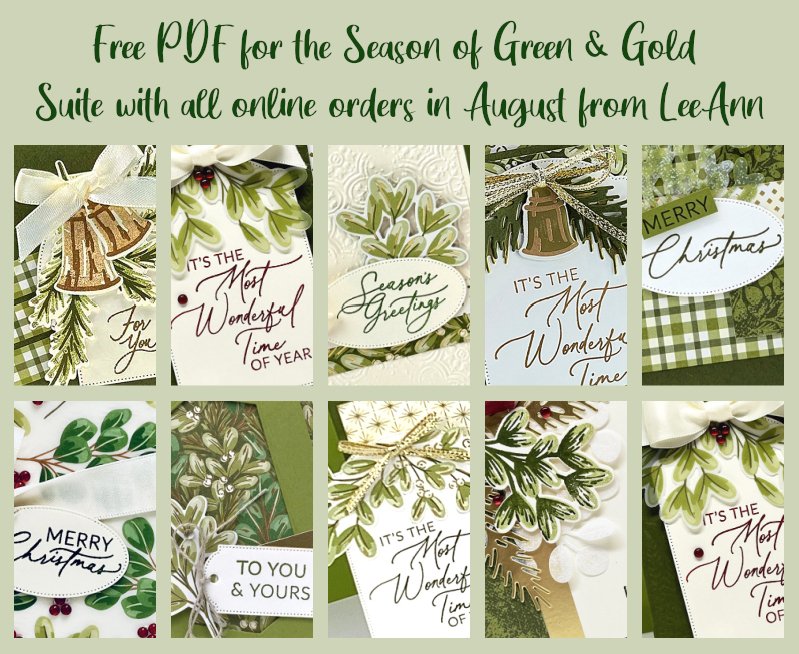
    Get a free In Color ribbon share with any online order over $55 from me!


    All online orders will receive a free PDF tutorial featuring the

    Season of Green & Gold suite

    Leave a Reply

    Your email address will not be published. Required fields are marked *

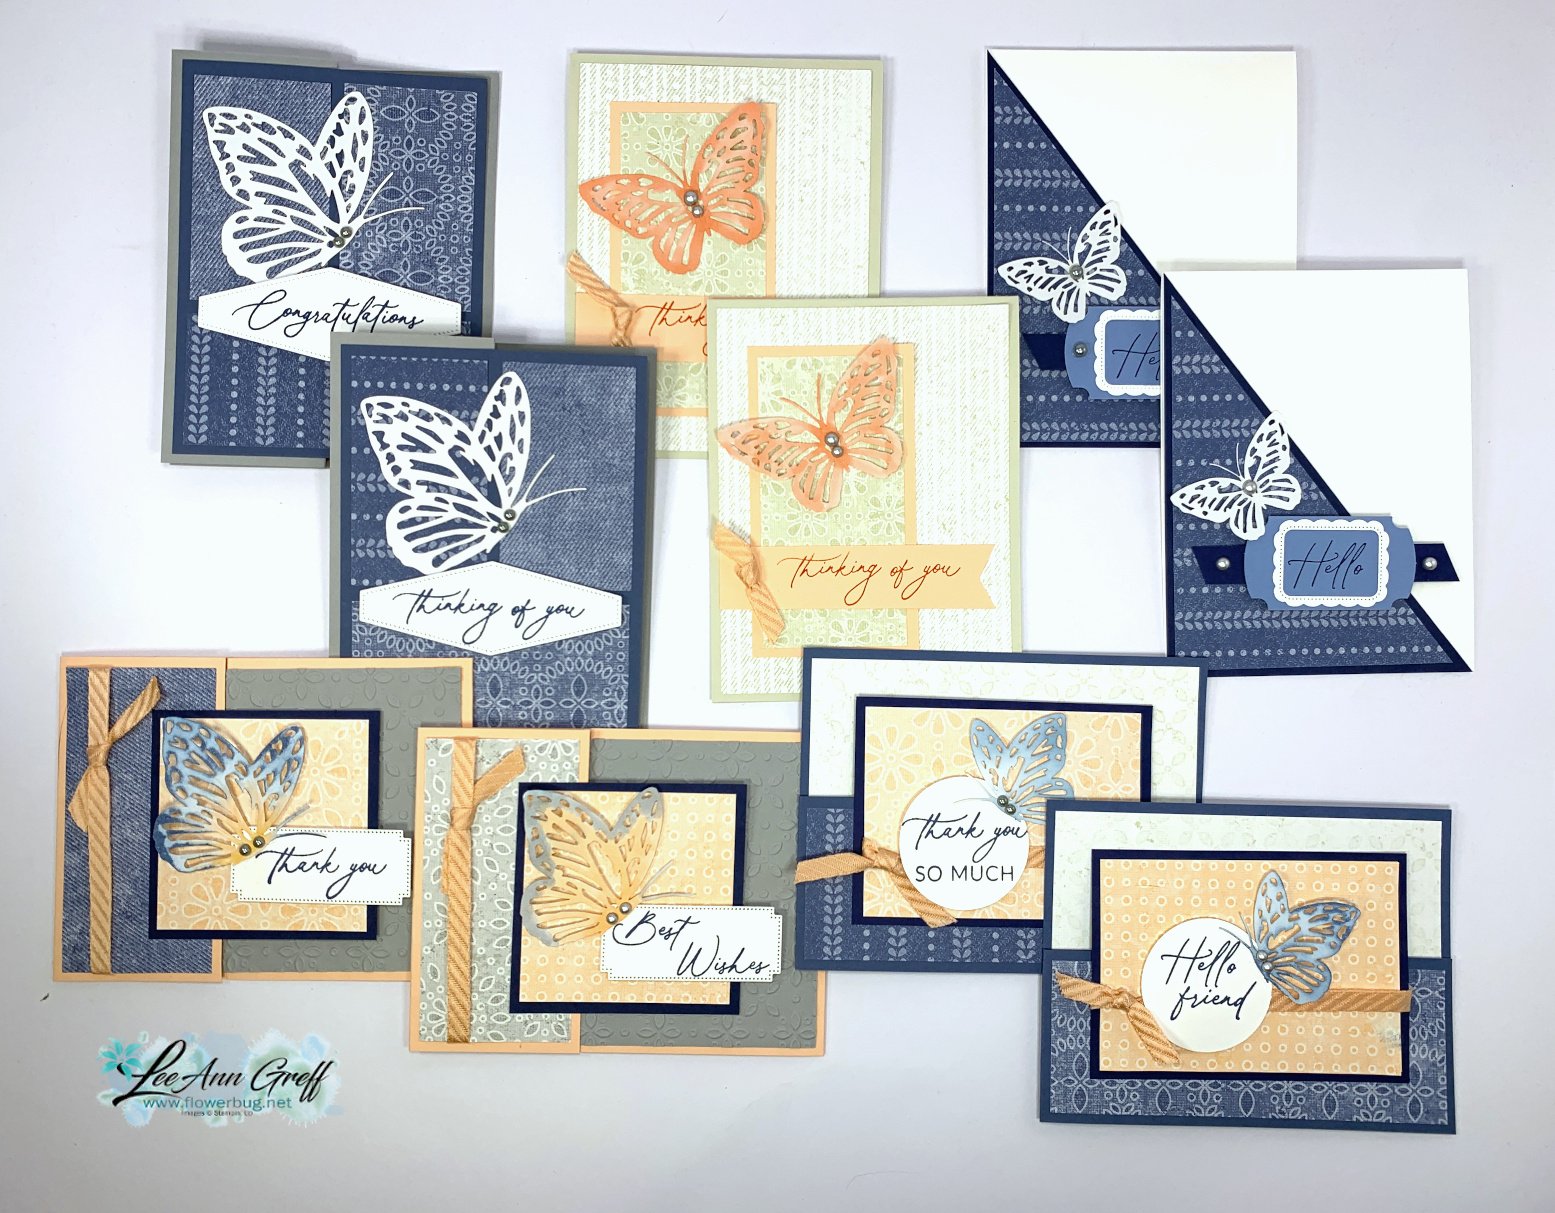
  • Country Lace card kit to go; mostly fun folds with this soft & pretty DSP!


    The Country Lace designer paper is filled with soft & pretty patterns & colors.  I chose this DSP because it provides a beautiful & subtle background for your greetings.

    There are 10 cards consisting of 5 designs; you'll make 2 of each. 

    This pre-cut kit is $30 plus shipping & includes the pre-cut kit and a bunch of SU products::

    • 10 pre-cut cards including layers, die-cuts or punched pieces
    • 1/2 pkg of Country Lace DSP (6" X 12"), a share of Petal Pink Diagonal trim ribbon, Paper Butterfly Accents and Smoky Slate & Basic Gray Pearls 
    • PDF tutorial with photos, measurements, supplies list and step by step directions

    *this is the kit my subscribers will receive.  Want to get a pre-cut kit each month? Subscribe here: 

    You can order this kit at my shop here.  Or choose the PDF tutorial option here. 

    Be sure to check the other kits or tutorials available. Save on shipping when you purchase more than one.

    The PDF tutorial is emailed to you immediately after payment and the pre-cut kit is mailed out at the end of August. 

    **The stamped images are not included. You will need Navy & Calypso Coral inks and greeting images.  I used the Everyday Greeting stamp set which you can add on to the kit at 10% off.  Message me here for that option. 

    I used sponges or markers to color some of my paper butterflies that are included in the kit. 


    I'll share my other August card kit here tomorrow. 

    ~~~

    August Specials:

    *current host code links: M0Z4KJD7 or BDGBJHAE


    Redeem your $5 coupon now! 

    ~~~

    Get a free In Color ribbon share with any online order over $55 from me!


    All online orders will receive a free PDF tutorial featuring the

    Season of Green & Gold suite

    Leave a Reply

    Your email address will not be published. Required fields are marked *

  • Neat fun fold card with a Blends/embossing technique with Fields in Bloom; video & free project sheet too!


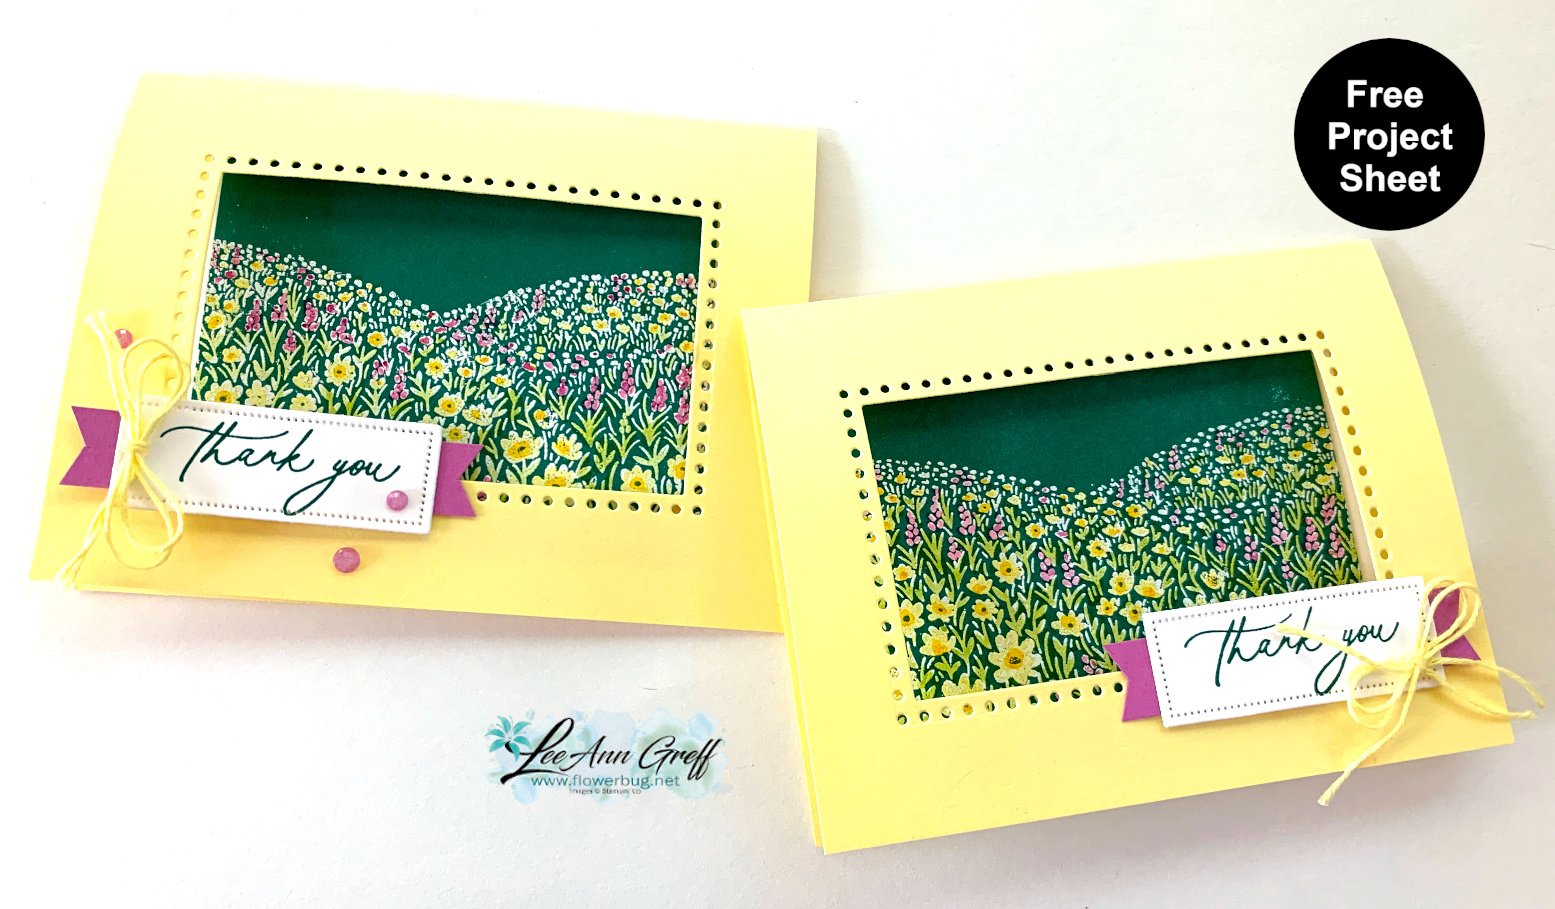
    I really love the card I'm sharing with you today.  In addition to it being a unique fun fold there are so many great details! 

    I used the Fields in Bloom & Everyday Greetings stamp sets which are both wonderful. But what makes this card so special is the technique and the fun fold. 

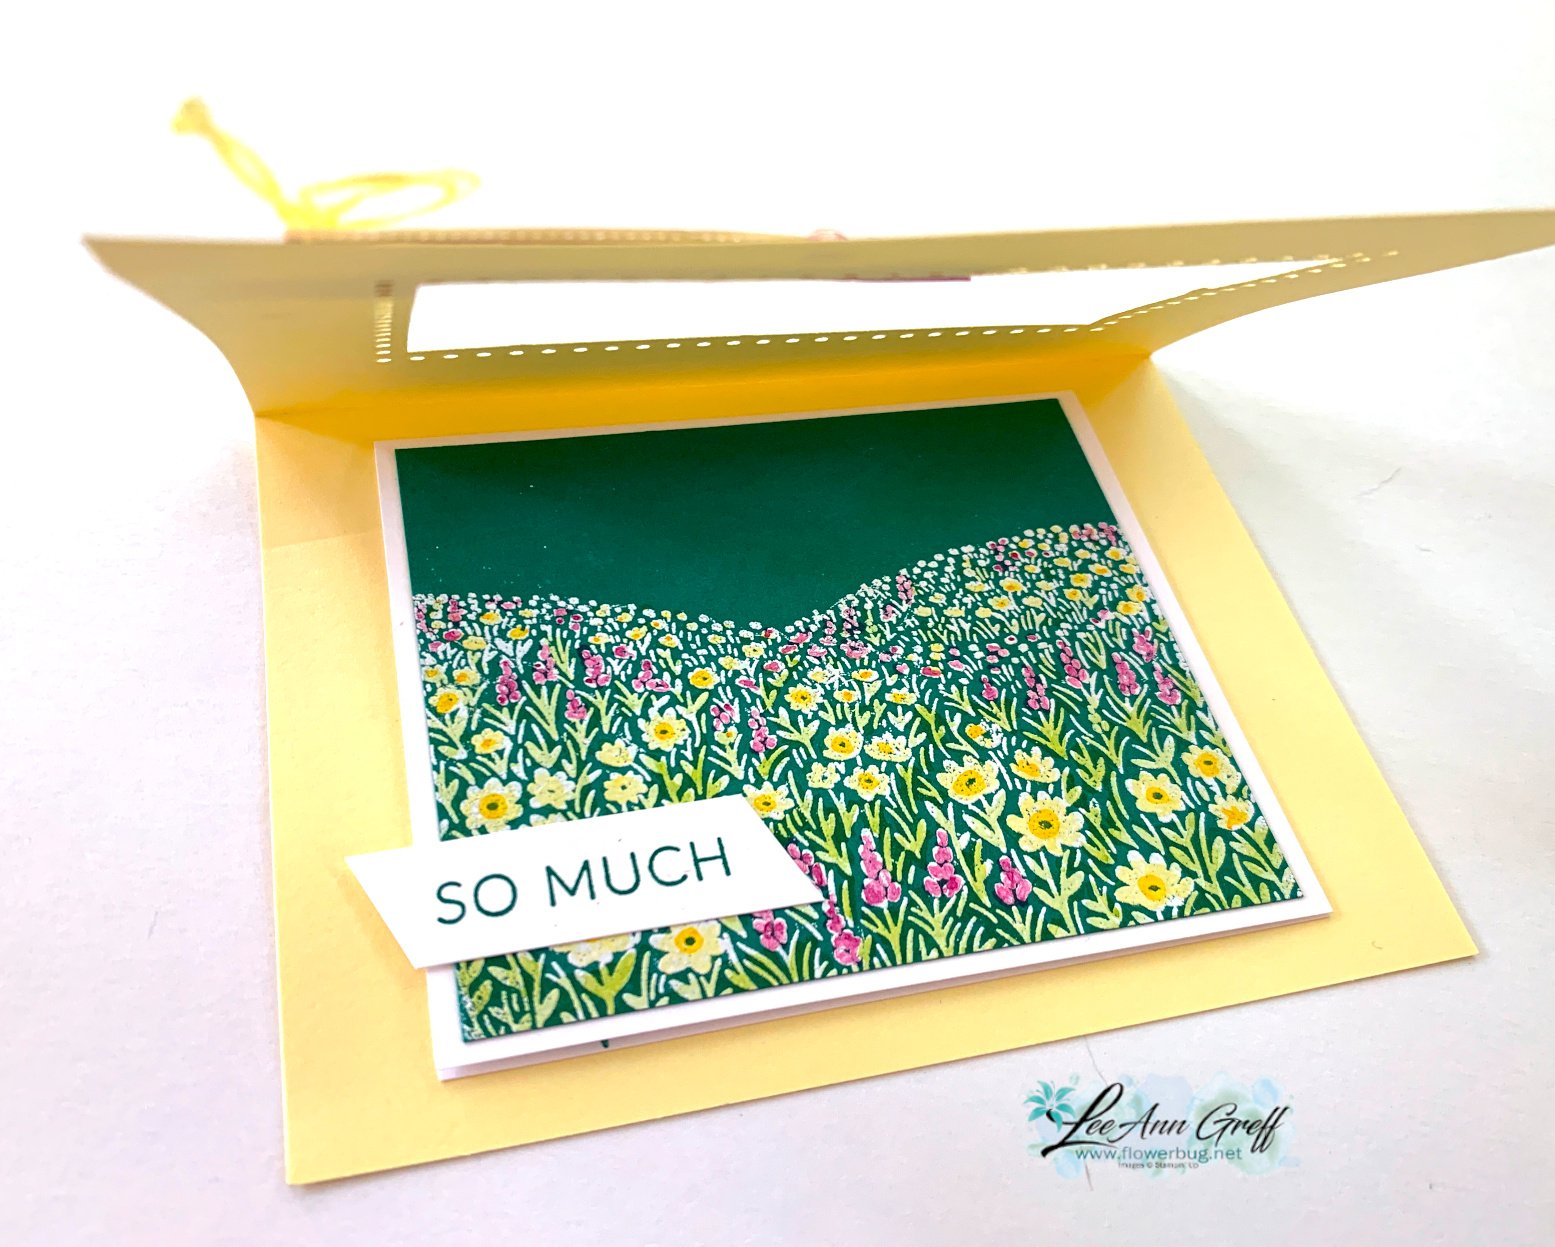
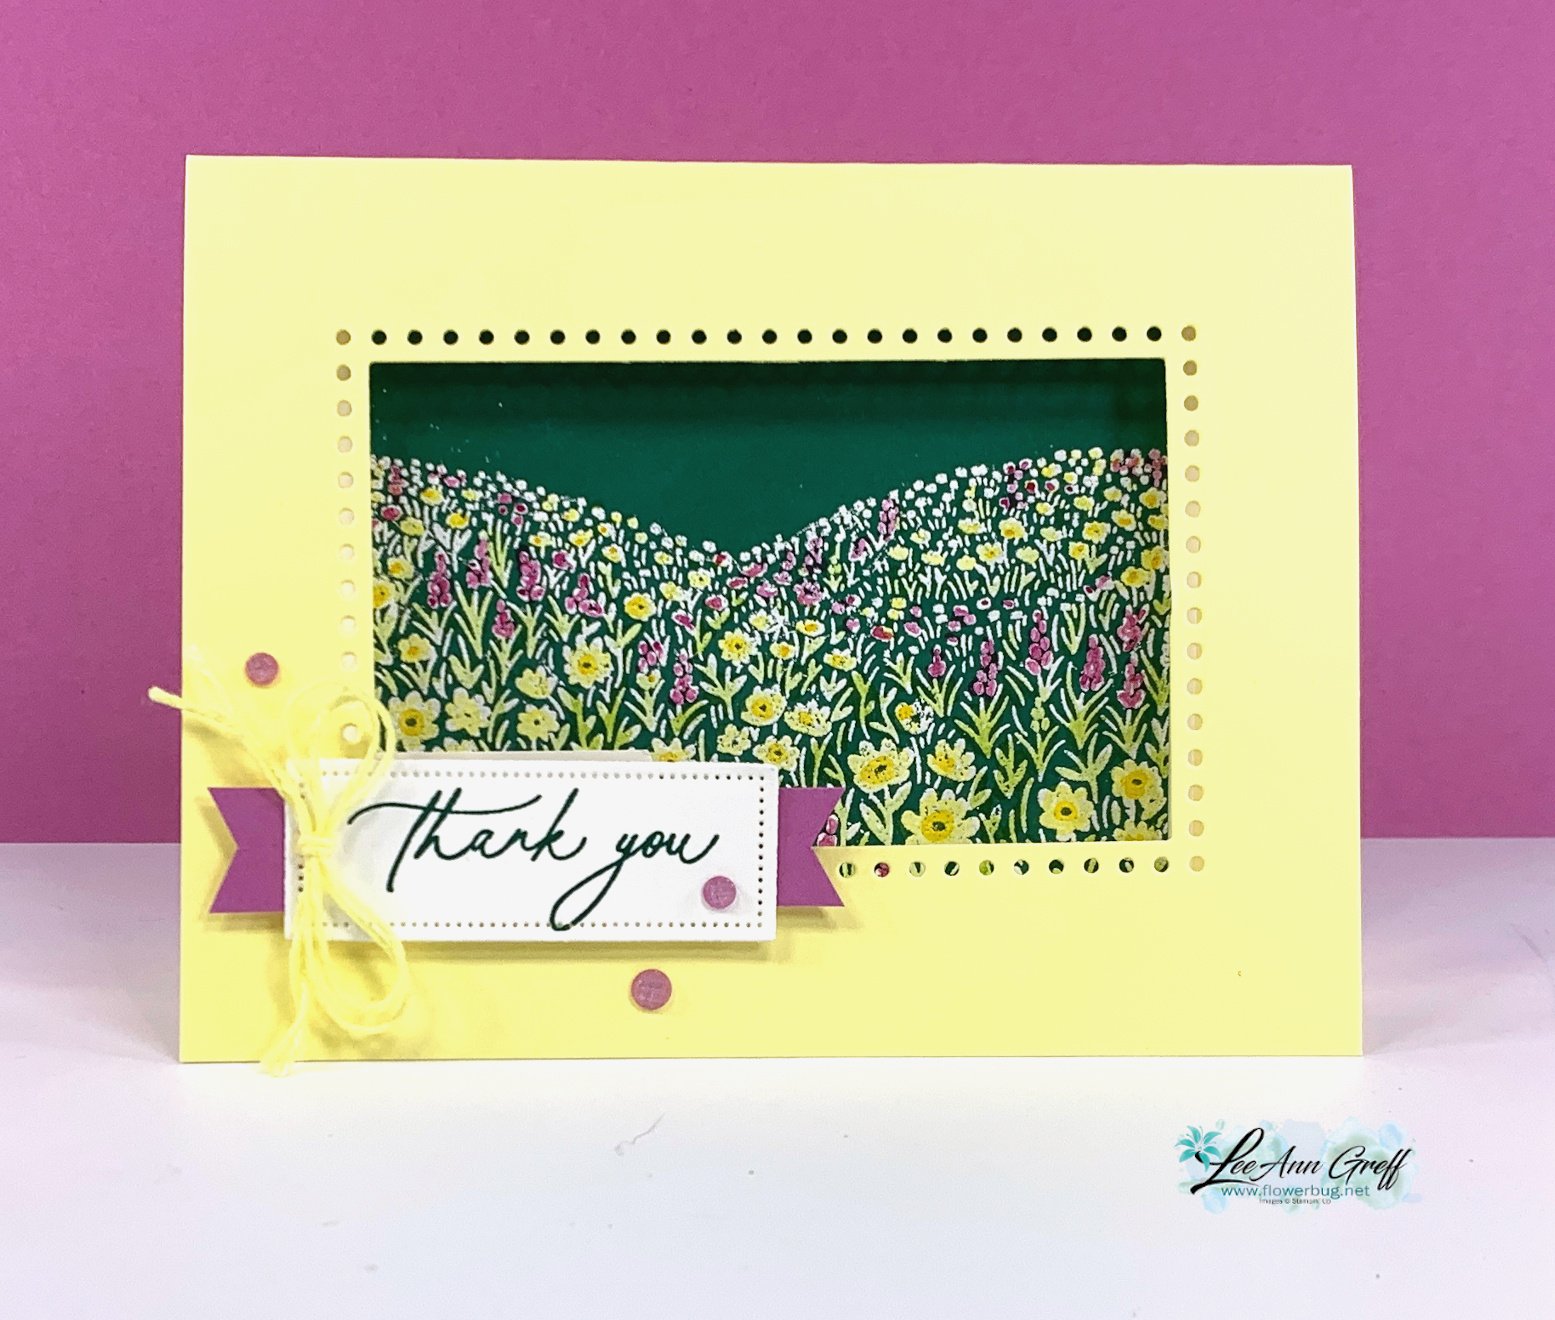
    There is a second folded card under the window; inside the main card base.  For the window, I used the Everyday Details dies seen here.  They are in the online store now but were in last year's catalog. It creates a perfect window for the hill of flowers scene. 

    I stamped the flowers and leaves images in Versamark and heat embossed them in White.  Then I used Blends markers to color the embossed flowers & leaves. This is such a fun technique and super easy too.  I love that I can get these two large images colored in multiple colors this way. Please watch the video here to see how it's done. 

    It's photopolymer so you can see just where to stamp each image over the other.  Watch the video here or below to see how simple it is. 

    My colors include Lemon Lolly, Shaded Spruce and a bit of Petunia Pop. Here's a shot of the window & fun fold aspect of this card.

    I used the new Everyday Greetings set for my greeting images.  See it here; it's in the online store.  

    I created a free project sheet for you. Click on the following link to download or print it. Download Fields in Bloom window card

    Below you can see the video tutorial for this card and two more card idea for the Fields in Bloom set. 

    ~~~

    August Specials:

    *current host code links: M0Z4KJD7 or BDGBJHAE


    Redeem your $5 coupon now! 

    ~~~

    Get a free In Color ribbon share with any online order over $55 from me!


    All online orders will receive a free PDF tutorial featuring the

    Season of Green & Gold suite

    Leave a Reply

    Your email address will not be published. Required fields are marked *


Notice: LeeAnn Greff, Independent Stampin’ Up! Demonstrator, Manager. The content of this website is my sole responsibility as an independent Stampin’ Up! demonstrator and the use of, and content of, the classes, services, or products offered on this website is not endorsed by Stampin’ Up! Copyright 2025