/


Latest Post

Baby Wipe technique and the easiest Shaker Card ever! Tips for success & Video Tutorial


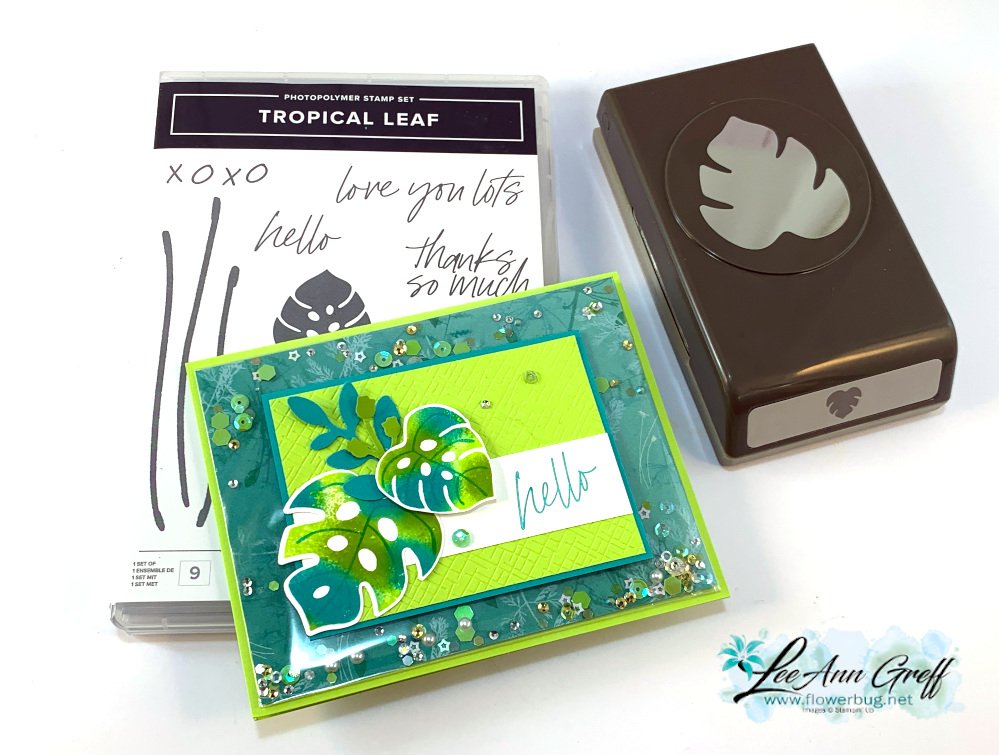
This card was cased from my good friend Susie Wood; creating comes naturally to her.  She's fast and super talented.  See her cute card here.  

I used the Tropical Leaf bundle in the Online Exclusives section of our online store.  I also wanted to feature the baby wipe technique. 

The colors include Parakeet Party, Bermuda Bay and a tiny bit of Granny Apple Green.  The designer paper inside the clear envelope is Pretty Prints.  Here's how I created the clear envelope shaker:

My Pretty Prints designer paper layer is 5 1/4" X 4" and our clear envelopes are about 1/2" larger.  For the shaker elements to stay on the front side of the envelope it has to be tight and smaller.  So I added tear & tape to the back edge and folded the extra over tightly. Now, insert your shaker elements on the front pocket and fold down the end flap. Wallah!  You have a shaker card front!  

This DSP is from the Pretty Prints; soon to retire from the Annual catalog.  See it here. 
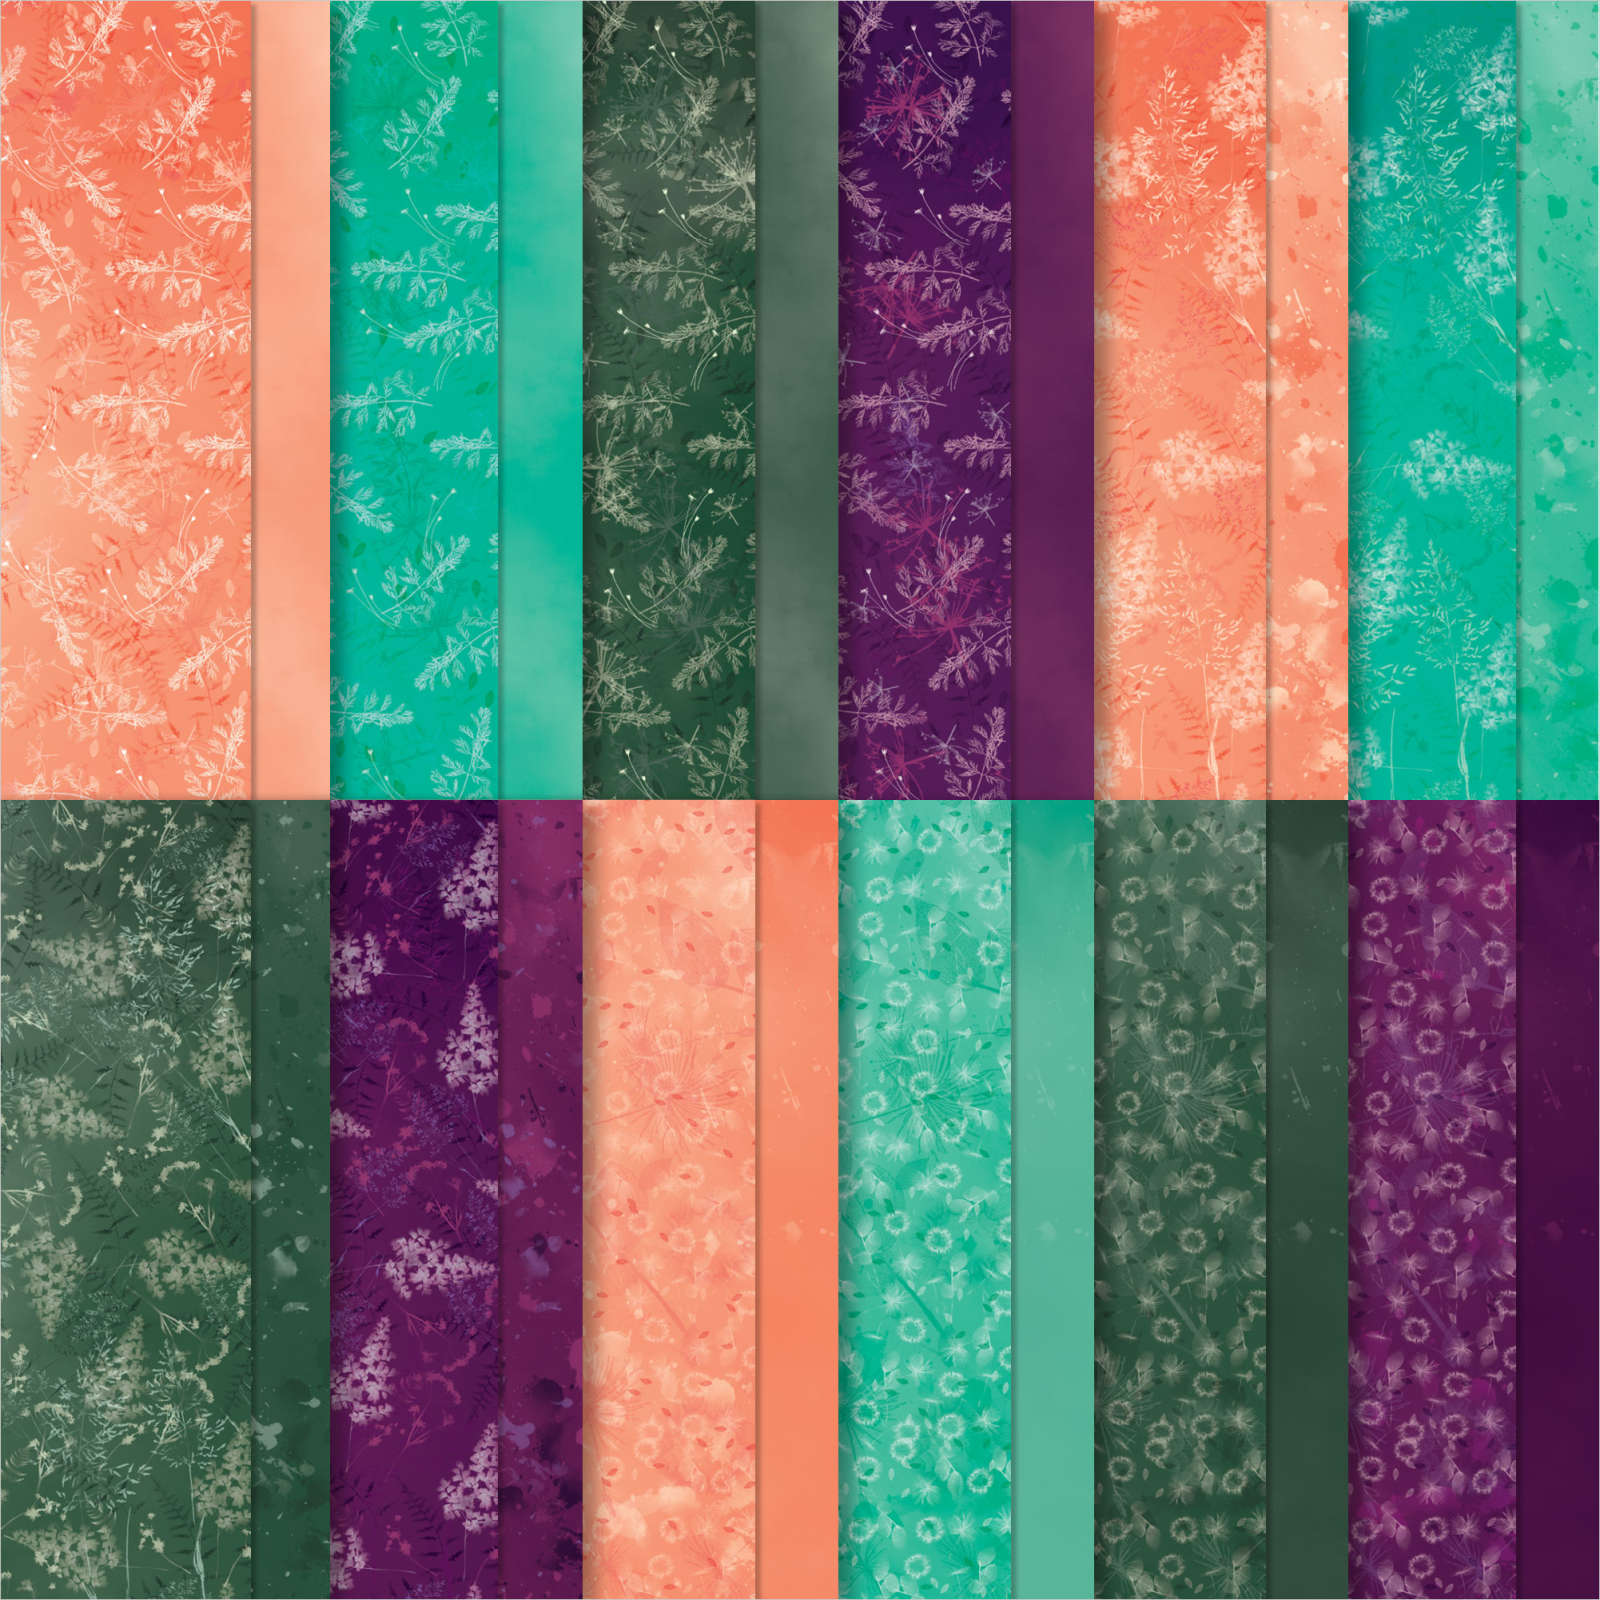
It includes some of my favorite colors – Bermuda Bay, Blackberry Bliss, Calypso Coral and Evening Evergreen.  

The CS layers on the front are added on top of this shaker element so you still get the feel of a real card; not all slippery.  Watch the video here or below to see how it's done.  It's the 2nd project of 3. 

You can see this unique Tropical Leaf bundle here: The font of the greetings in this Tropical Leaf stamp set are so unique; love it! 
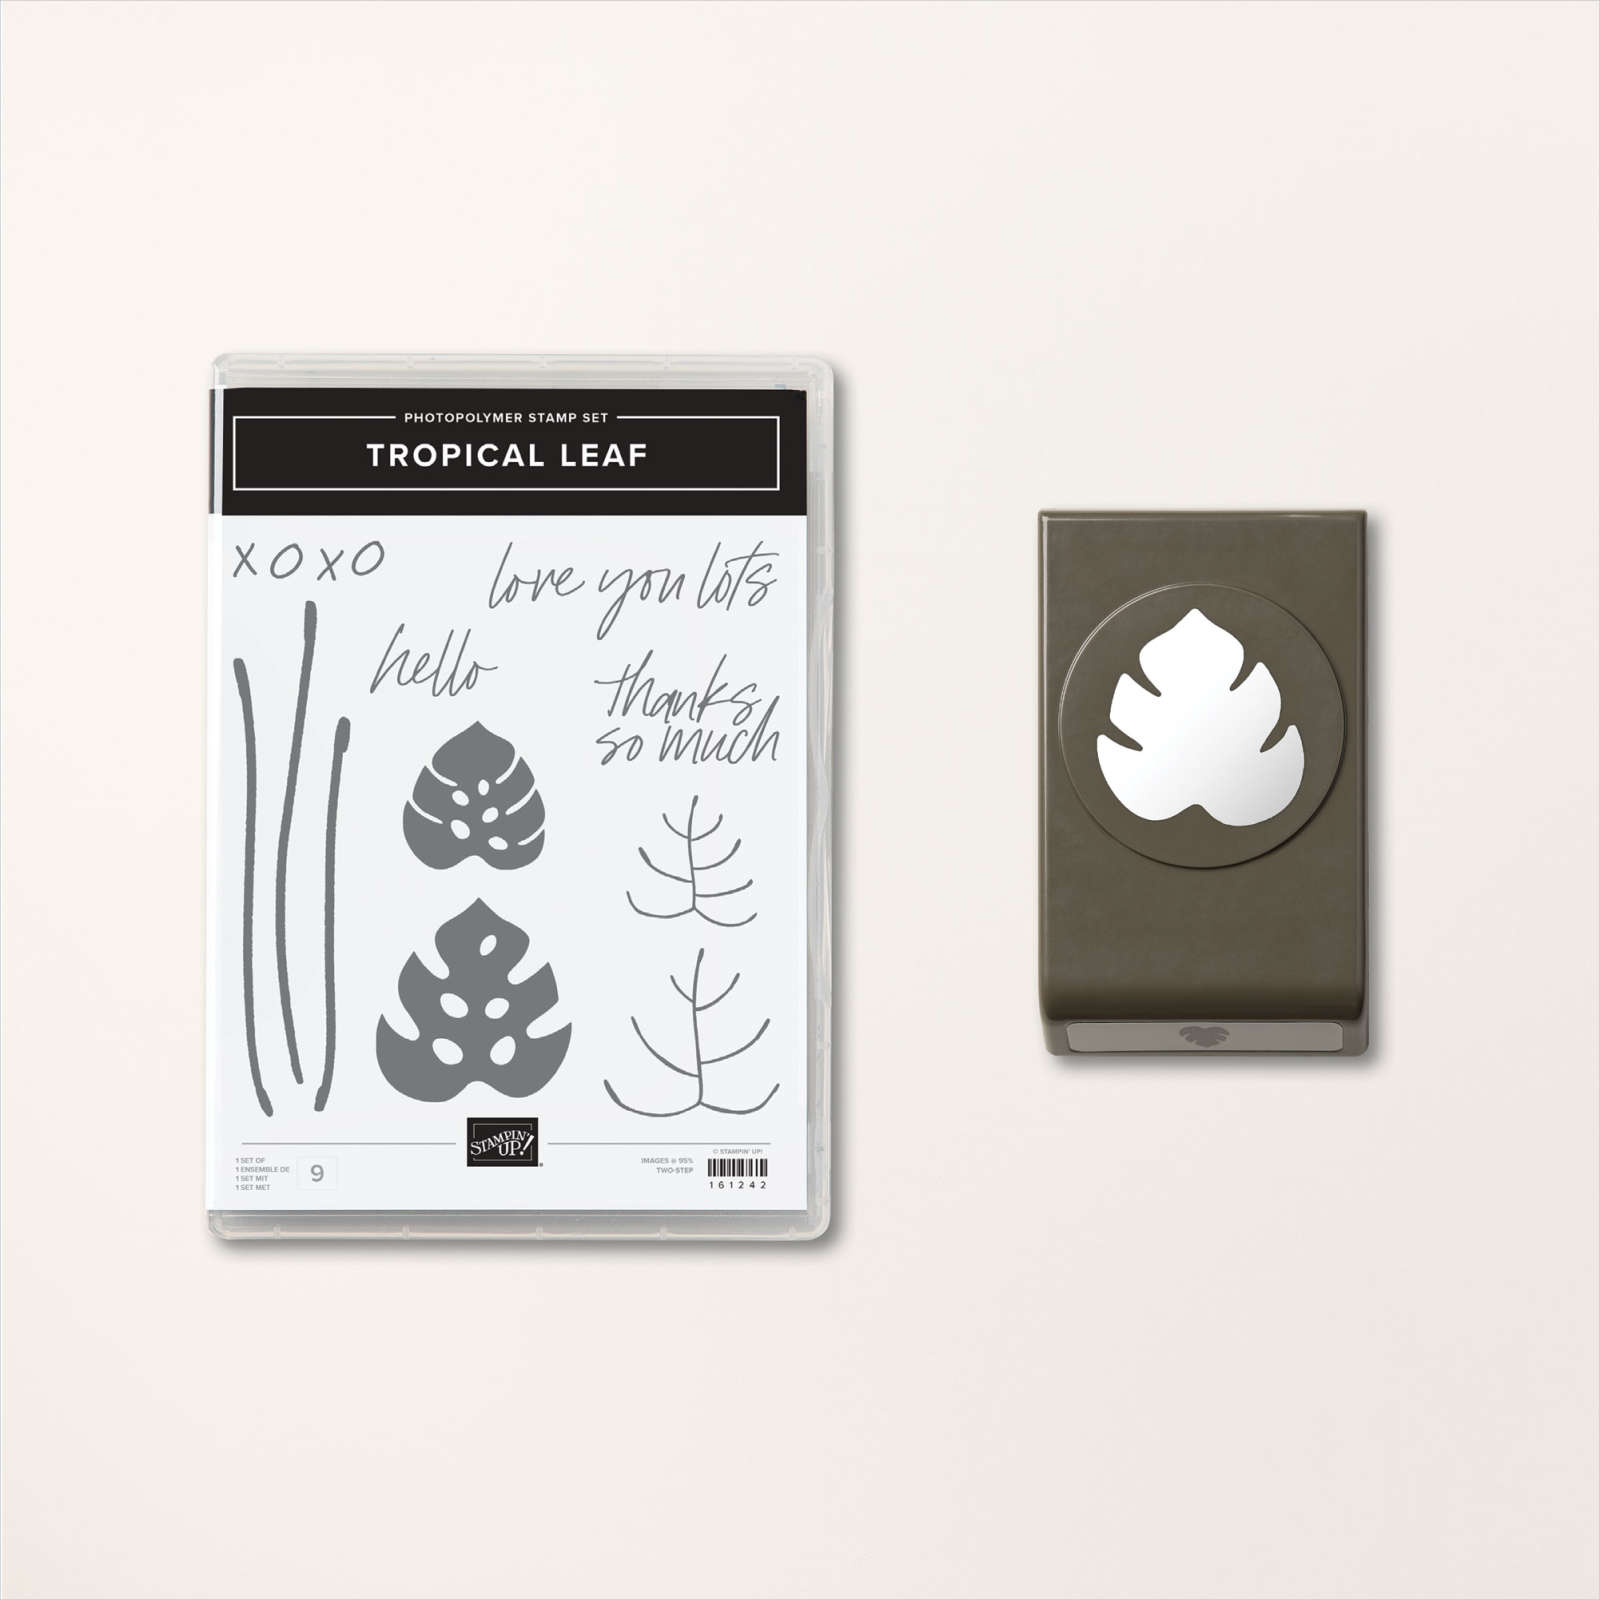
Now to create the baby wipe leaves I made my own ink pad with a folded baby wipe.  

Tips for success of the baby wipe technique:

  1. Fold a baby wipe into a thick layer; at least 4 layers thick. Make your 'pad' as large as your largest stamp image.  Place it on a plate.
  2. Drop multiple drops of each color of ink refill onto the baby wipe, leaving room between colors for another color.
  3. I recommend at least 2 colors and up to 4 at the most. 
  4. Choosing colors?  Find complimentary colors in similar shades – blues/greens, yellows/oranges, oranges/pinks etc.  
  5. Choosing stamps? Solid images work best; outline images will not show off your colors well. 
  6. Ink your stamp in the new colored pad by tapping up and down in the same approximate place. Traveling while inking may muddy your colors. 
  7. Huff on the image and stamp.
  8. Depending on how much ink you added you can use your new 'ink pad' multiple times. Add more ink drops as needed.  

Here's how the inside was stamped:

Products used:

  • Tropical Leaf bundle
  • Pretty Prints DSP
  • Parakeet Party, Bermuda Bay and Granny Apple card stock and ink refills
  • For Everything and Sparkle & Shine sequins (Annual Catalog)
  • Clear envelopes (Annual Catalog)
  • baby wipe 
  • Bough Punch a big favorite!
  • Basics 3D embossing folder 

In the video below I demonstrate this fun baby wipe technique; Click here or on the photo below to watch the video.

~~~

March Specials:

See the new Online Exclusives here! 

*current host code: BFE4C2KM

Get a free class kit with online orders over $55 when using the host code above!

Earn free products with my loyalty rewards! 

Click here to download yours and earn a $50 shopping spree!

All Posts

  • Bright & Beautiful Fancy Fold card kit to go; or get the PDF tutorial option


    Look what you can make with the Bright & Beautiful designer paper: 

    It's my featured card kit for June.  I love that the colors in this DSP include many new and returning colors like Bubble Bath, Azure Afternoon, Berry Burst, Lemon Line Twist and Misty Moonlight.  

    There are 5 fancy fold designs and you'll make 2 of each for a total of 10 cards. *The fun fold designs include a Book Binding Easel, Latch cards and Z-folds.

    *This is the kit my subscribers will receive in May. Are you interested in receiving a kit each month?  Click here. My subscribers get a surprise product every few months. 

    If you're interested in receiving this card kit click here.  It's $28 plus shipping and includes $20 in Stampin' Up! products plus the 10 pre-cut card pieces.  Add on a second kit and save on shipping.  See my other May kit or more kits here. 

    You can also choose the PDF tutorial for $15.  Click here for that. 

    You'll receive the following in this pre-cut kit:

    • 1/2 pkg. 6 X 6" Bright & Beautiful DSP
    • a share of both Bubble Bath & Azure Afternoon ribbons
    • a share of Tinsel gems
    • All pre-cut pieces for the 10 cards including punched & die-cut pieces
    • the PDF tutorial is free *a $15 value

    The tutorial includes photos, step by step directions, a supplies list and measurements.  You'll receive the PDF tutorial in an email immediately after payment.  Please check your spam or junk folder. 

    To complete the cards you will need the following: Blueberry Bushel, Berry Burst, Bubble Bath & Misty Moonlight inks, a paper trimmer, stamps and adhesives.  

    I used the Beautiful Balloons stamp set quite a bit on these cards. You can substitute other stamps but if you'd like to add it to the kit (or the bundle) at an extra10% off, please message me here and I'll send you an invoice.

    ~~~

    June Specials:

    Designer Paper is 15% off in June!

    WOW – get $155 in product for $99 with free shipping! click here!

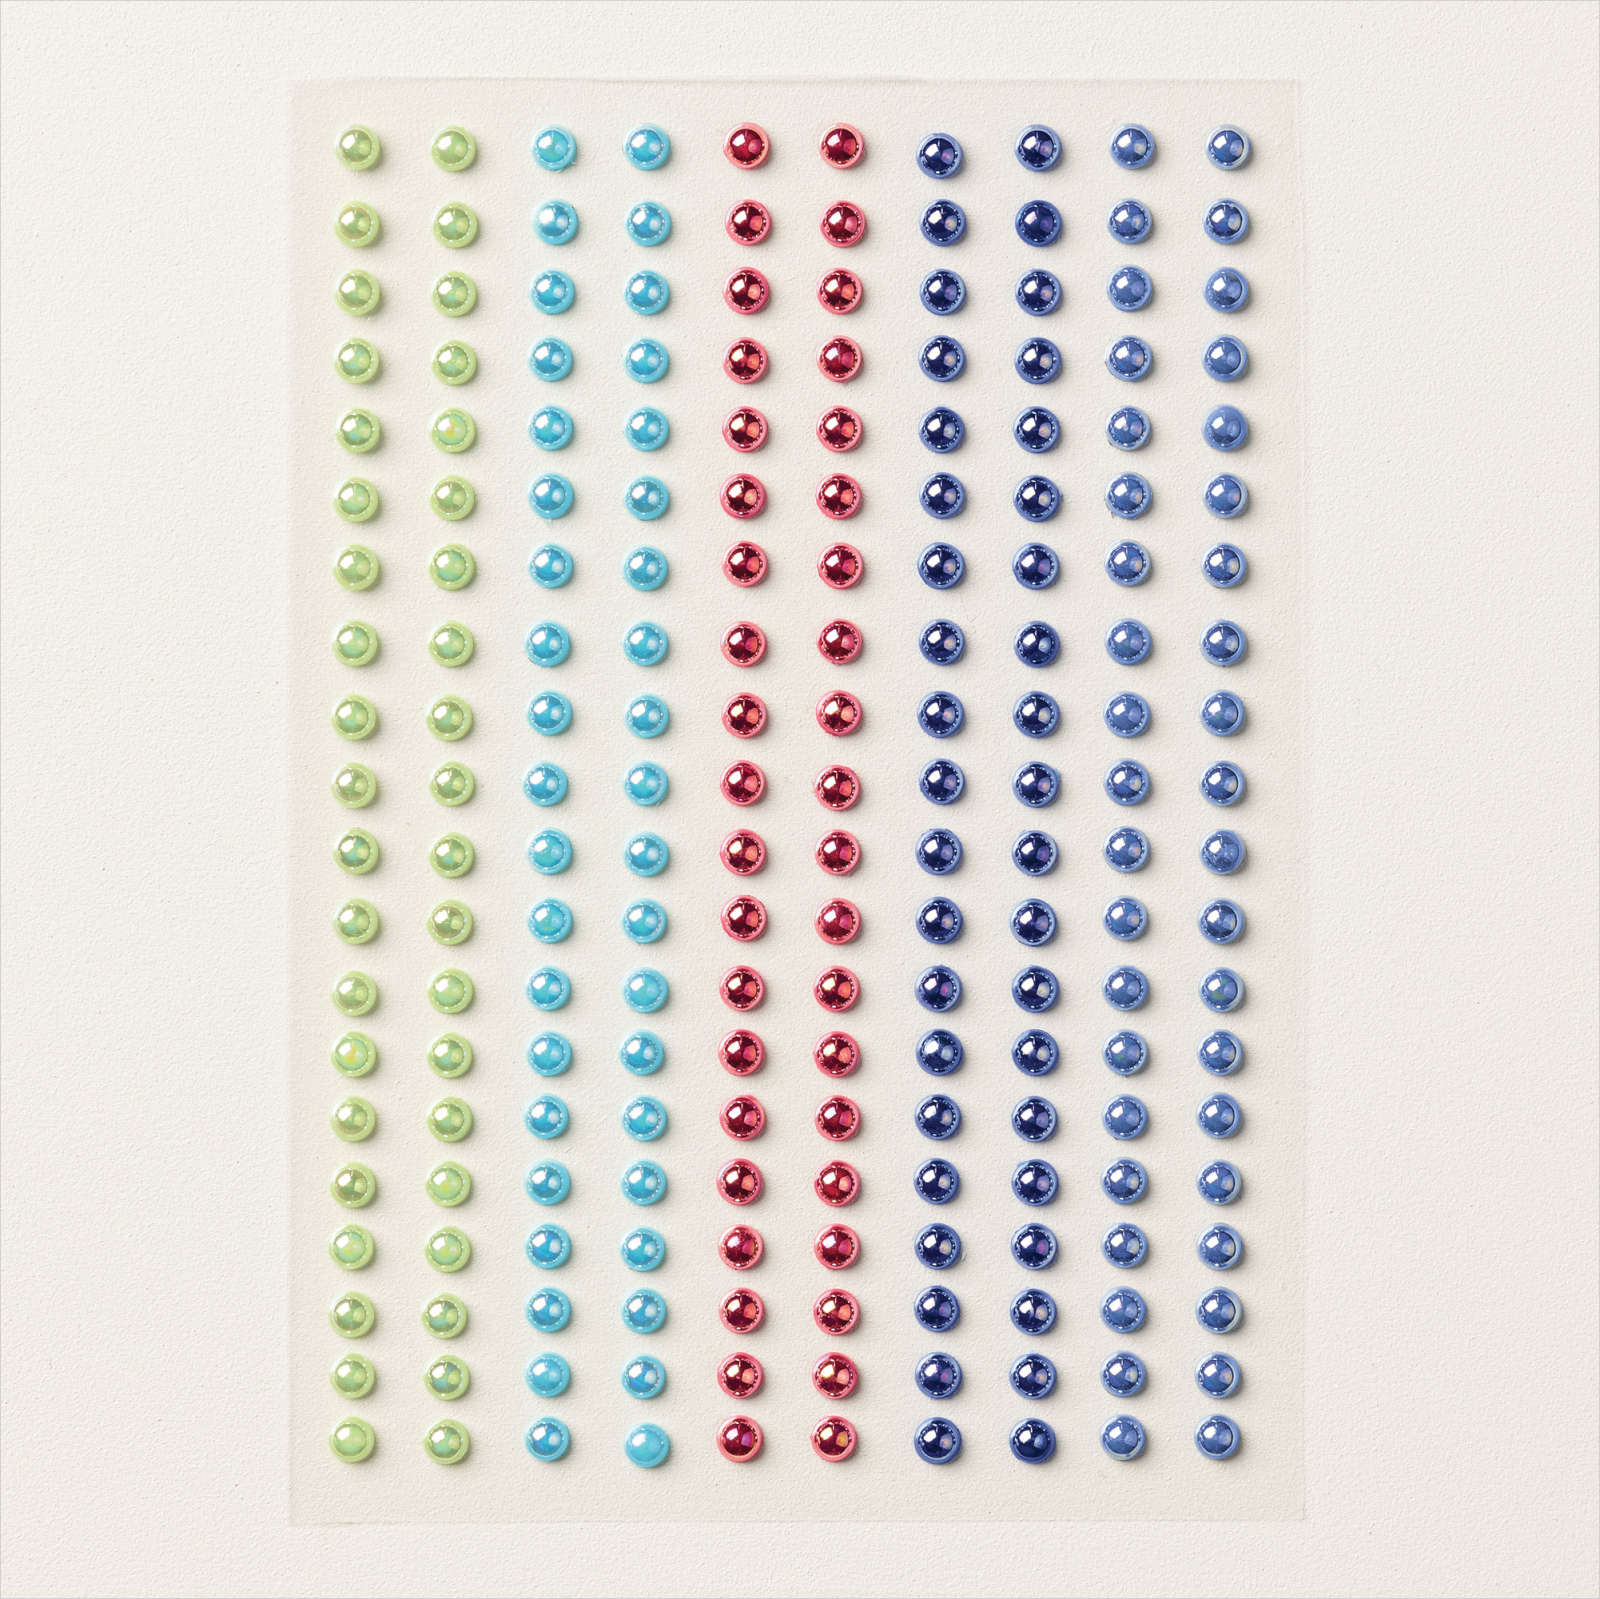
    Get a package of In Color pearls with online orders over $55 using a host code.

    *current host codes: ZHZ6CPYU or AJVB3B3V 

     Earn free products with my loyalty rewards! 

    Click here to download yours and earn a $50 shopping spree!

    Leave a Reply

    Your email address will not be published. Required fields are marked *

  • Exploring In Color cards & envelopes & the Paper Pumpkin refill – both while supplies last!


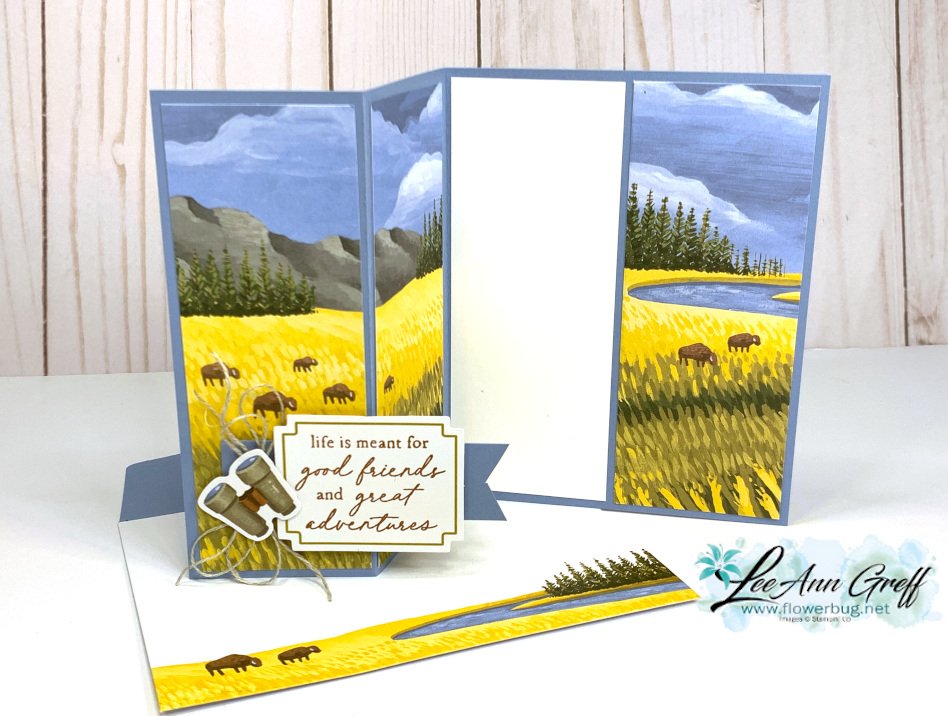
    May's Paper Pumpkin kit was amazing!  It featured our newest In Colors in fabulous scenic themed cards. Here is an alternative card I made with this kit:

    I cut one of the card bases into three strips and adhered them onto a Boho Blue card base (5 1/2" X 8 1/2", scored at 2 1/8" & 4 1/4").  Each printed piece is 1 7/8" X 5 1/4". The White inside is 2" X 5 1/4".  The greeting, binoculars & pretty label piece are from the kit.  I added a 3/4" strip of Boho Blue CS under it. 

    **Each month my Paper Pumpkin customers receive a big bunch of alternative ideas!  

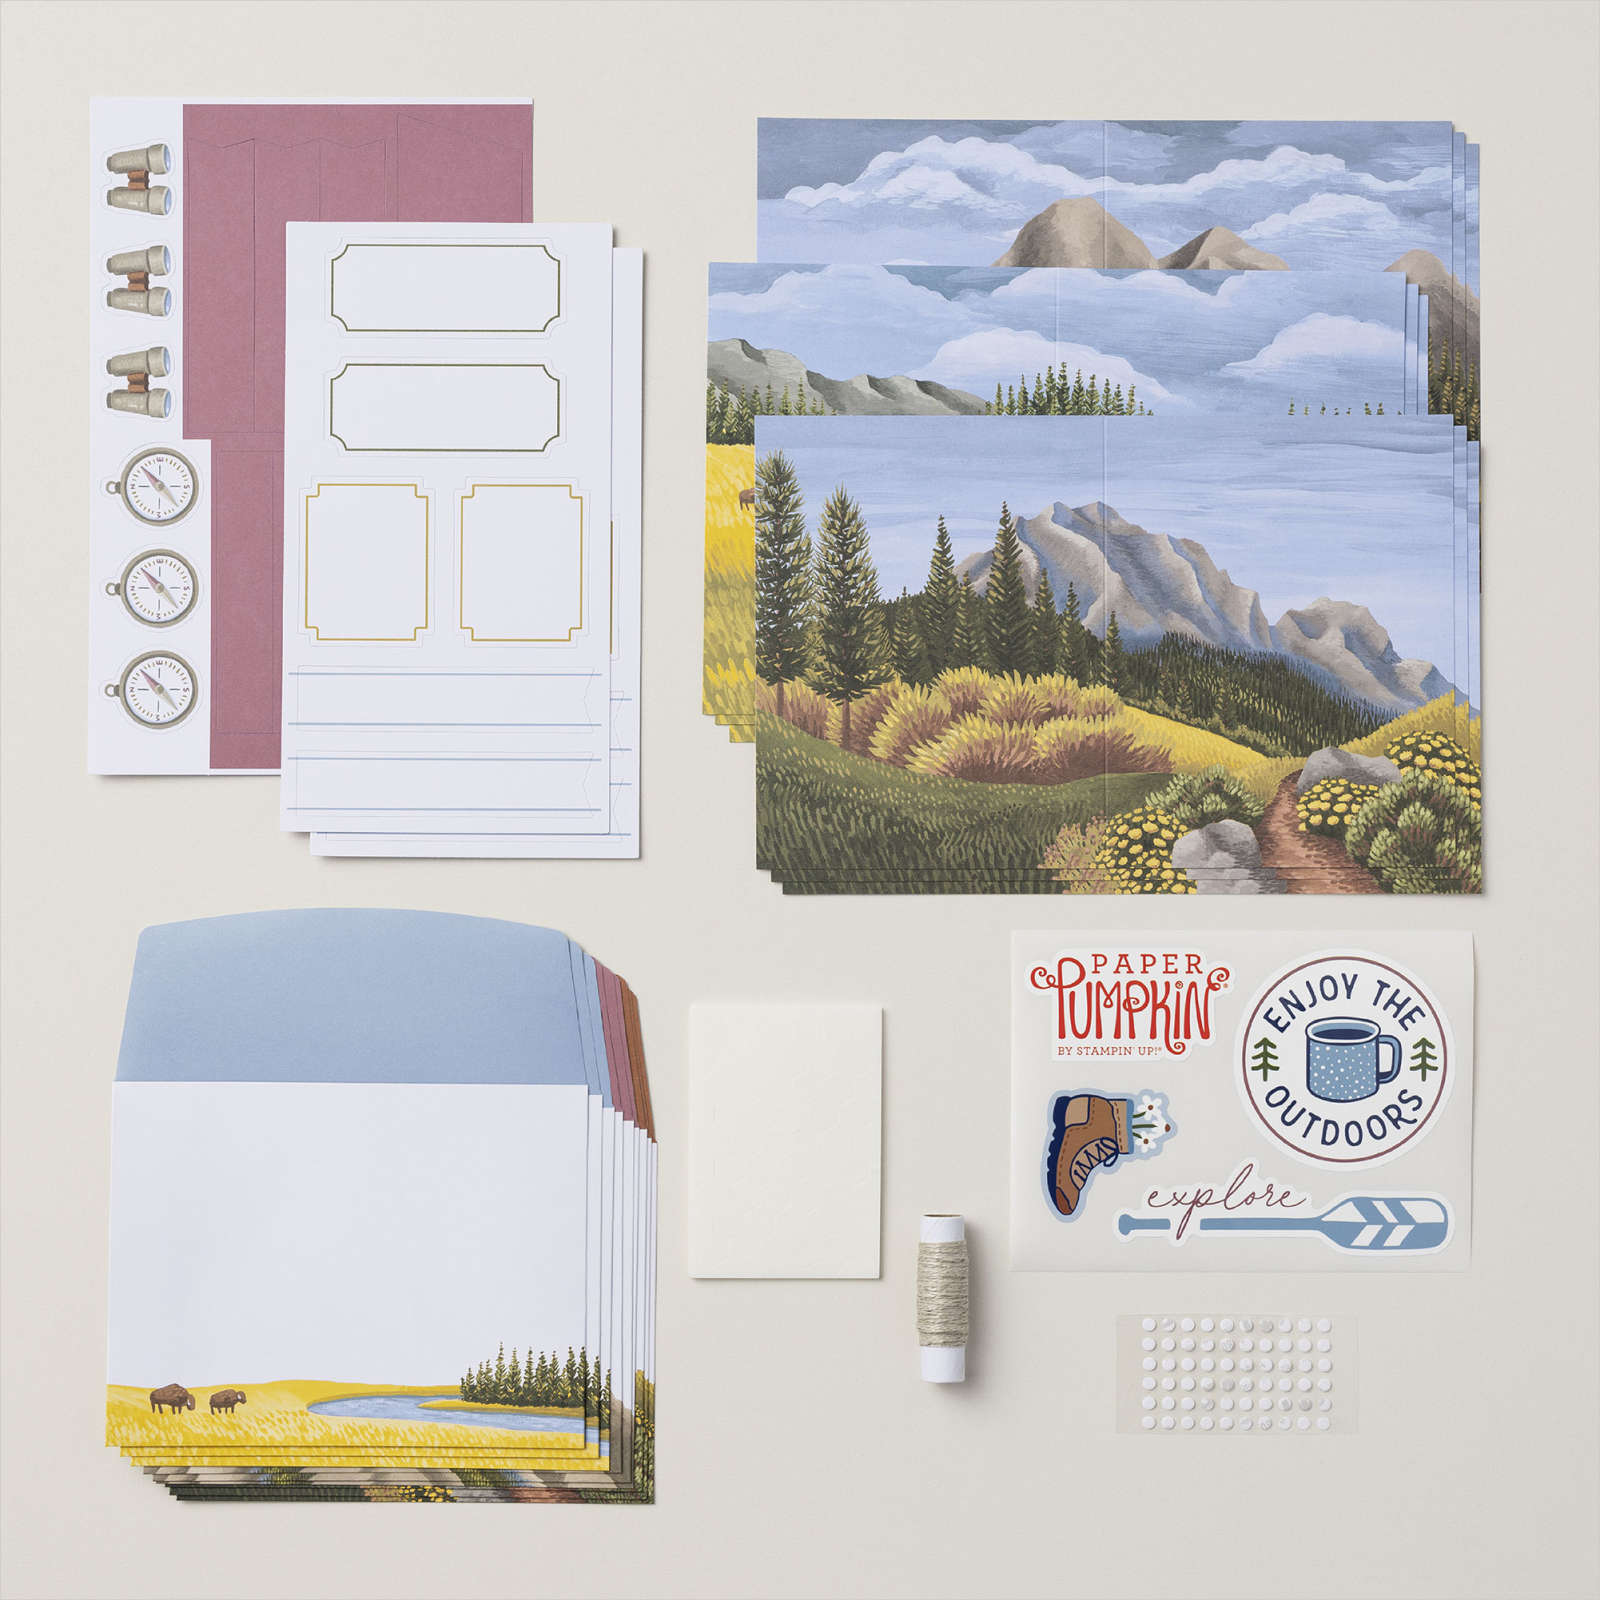
    You can't get the full kit anymore; the cut off date was May 10th.  But the refill is still available here.  Here's what you get: 

    For $11.50 this refill kit includes:
    * 9 printed card bases: 3 each of 3 designs
    * Folded card size: 4-1/4" x 5-1/2" 
    * 9 envelopes
    * Die cut labels and accents
    * Linen twine
    * Adhesive
    * Sticker sheet

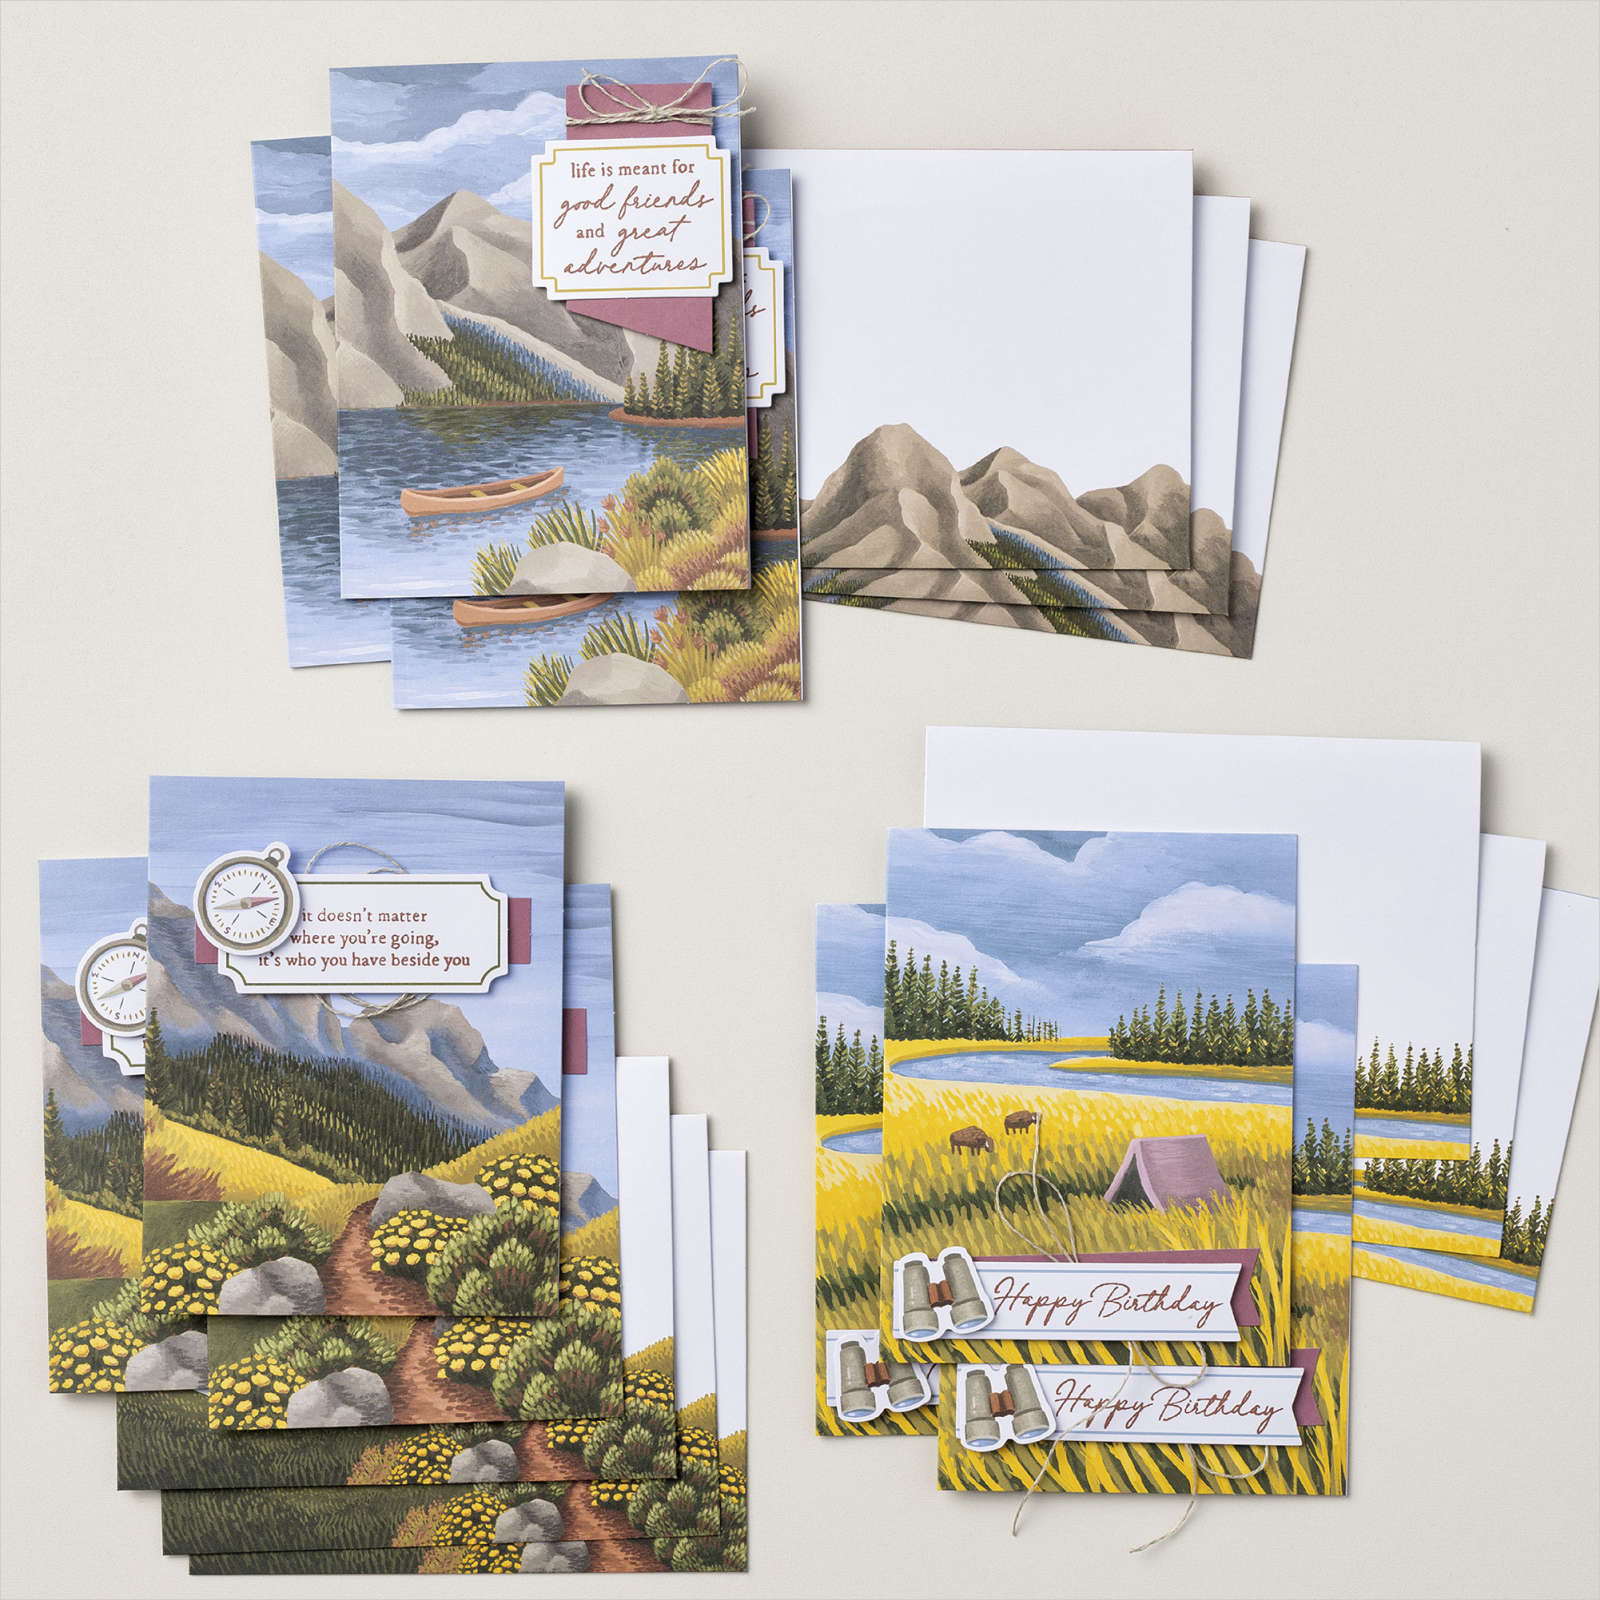
    Below is what the original kit cards look like: it included the stamp set & Copper Clay ink spot.  You can easily substitute other greetings.  However you do have to be a Paper Pumpkin subscriber to take advantage of the refills & other add ons.  

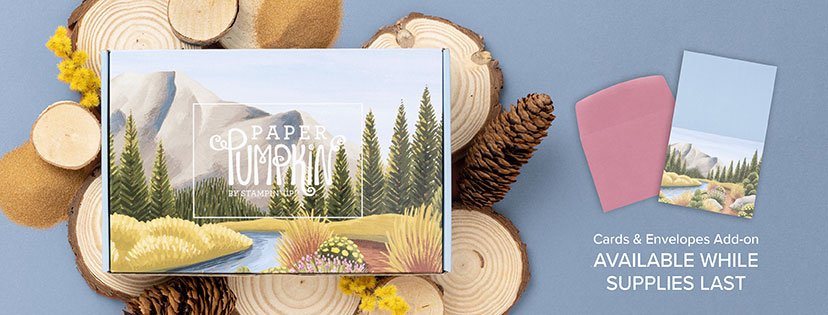
    And while supplies last there are coordinating cards & envelopes available too!  

    You can see these below.  It includes 18 cards AND 18 coordinating envelopes; all for just $10!  Get them here *You must be a Paper Pumpkin subscriber though. 

    Subscribe to Paper Pumpkin here by June 10th and you'll get the Welcome Inn card kit.  Or choose a pre-paid subscription here.  Here's a sneak peak of June's card kit: 

    The June Welcome Inn kit coordinates with the Countryside Inn Suite collection and they've added on optional coordinating dies this month too!  These are available to Paper Pumpkin customers.  

    Welcome Inn Dies (Available for purchase while supplies last).

    Item number: 163192  $6.00 USD

    This add-on includes:

    • One coordinating vase die: 1-1/2" x 1-1/2" (3.8 x 3.8 cm)
    • One coordinating flower die
    • One beautiful leaf die

    ~~~

    June Specials:

    Designer Paper is 15% off in June!

    WOW – get $155 in product for $99 with free shipping! click here!

    Get a package of In Color pearls with online orders over $55 using a host code.

    *current host codes: ZHZ6CPYU or AJVB3B3V 

     Earn free products with my loyalty rewards! 

    Click here to download yours and earn a $50 shopping spree!

    Leave a Reply

    Your email address will not be published. Required fields are marked *

  • TWO new June specials! more Norway cruise photos


    Stampin' Up! has two NEW promotions in June & they both start today

    First is a Starter Kit Promotion – an extra $30 in free product with purchase of the $99 starter kit.  This means that you can choose up to $155 in product of your choice for $99.  Yes; all of your choice plus FREE shipping too!  

    Click here to get yours.  Or message me here with any questions you may have. 

    Remember that purchasing the starter kit does not mean you have to hold classes or 'sell' Stampin' Up! products.  It just means you want the 20% discount on your purchases.  You can be any sort of Demonstrator you want – enjoy the discount only or hold events, or turn it into a business.  YOU are in charge and whatever you choose to do is just fine with me and Stampin' Up!.   

    I'd love to have you join my team of Flowerbug's!  We're a fun group consisting of all types of Demo's.  

    ~~~

    The second promotion is the Designer Paper Sale!  13 different packs of DSP are discounted 15%.  

    Here's the flyer with prices & item numbers for you.  Download June DSP flyer

    ~~~

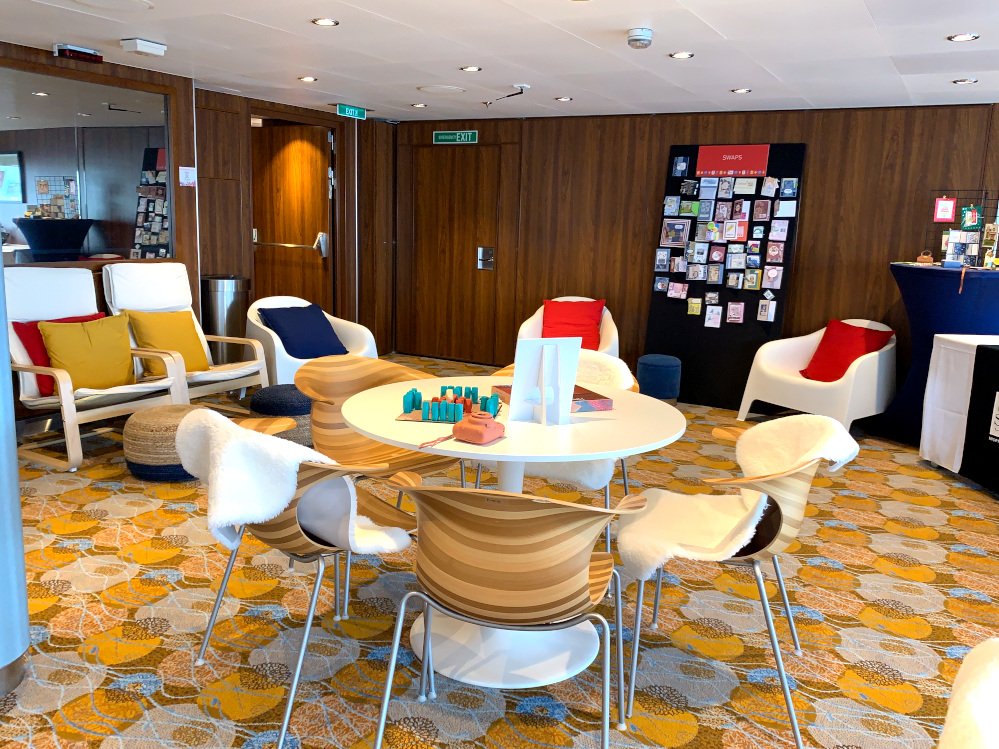
    Continuing on from my post yesterday where I shared photos of our visit to London and some from the Norway cruise…..I thought you'd like to see some photos of the hospitality suite on the ship. We were on the Anthem of the Seas, a Royal Caribbean's ship.  

    We were invited to stop in each day to spin for a prize.  Prized were SU logo items like mugs, towels etc.  

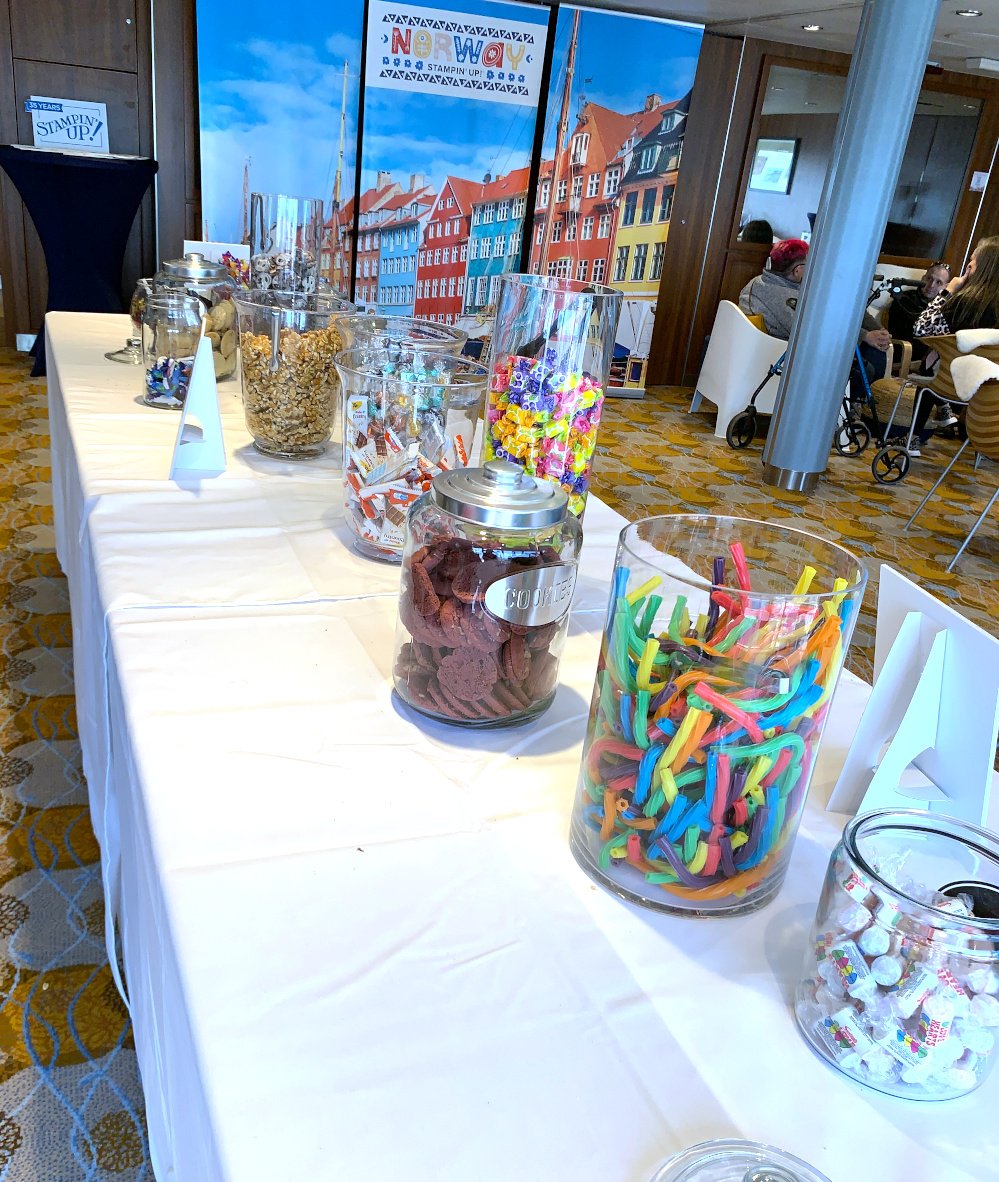
    They had lots of goodies for us to enjoy each day.  Jars & jars of candy & treats many of them unique to us as they were from the UK. 


    In the hospitality suite they displayed our swap cards, had games & chairs for us to hang out to visit our friends.  

    We are treated royally by Stampin' Up! but honestly the best things about the trip were time to relax and also spending time with new and old friends we've made over the years.  


    To stay within direct sales compliance I need to add that earning the incentive trip is not typical for Stampin’ Up! Demonstrators. Fewer than 1% of demonstrators actually achieve this extraordinary result. I appreciate my customers and team members that make this possible for me each year! 

    ~~~

    June Specials:

    Designer Paper is 15% off in June!

    WOW – get $155 in product for $99 with free shipping! click here!

    Get a package of In Color pearls with online orders over $55 using a host code.

    *current host codes: ZHZ6CPYU or AJVB3B3V 

     Earn free products with my loyalty rewards! 

    Click here to download yours and earn a $50 shopping spree!
    Leave a Reply

    Your email address will not be published. Required fields are marked *


Notice: LeeAnn Greff, Independent Stampin’ Up! Demonstrator, Manager. The content of this website is my sole responsibility as an independent Stampin’ Up! demonstrator and the use of, and content of, the classes, services, or products offered on this website is not endorsed by Stampin’ Up! Copyright 2025