/


Latest Post

Baby Wipe technique and the easiest Shaker Card ever! Tips for success & Video Tutorial


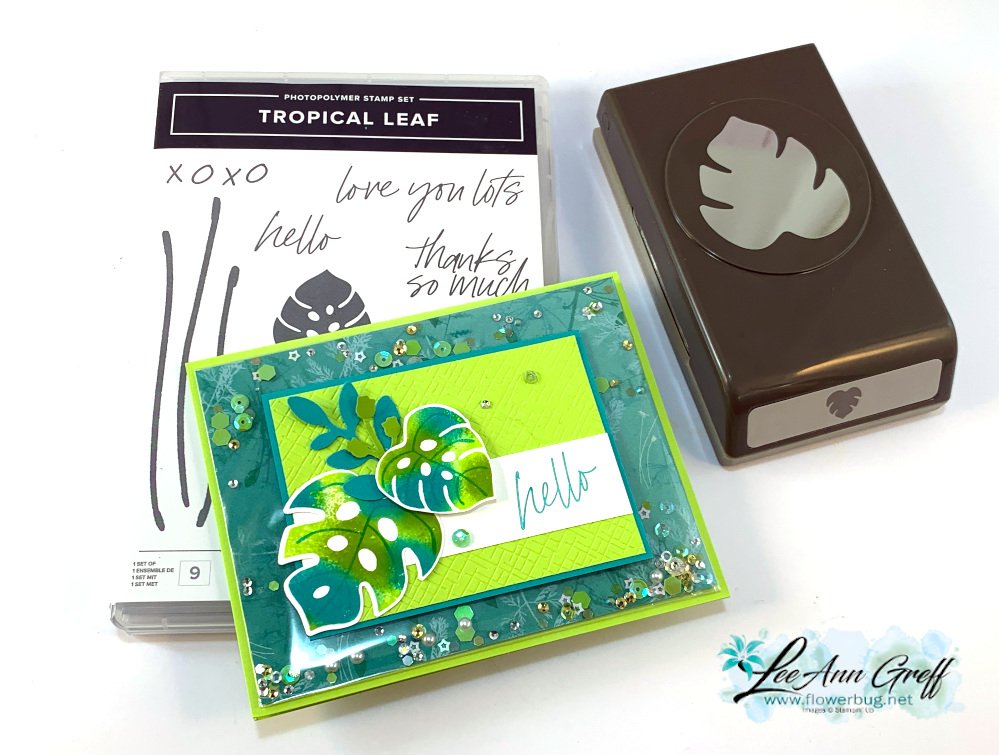
This card was cased from my good friend Susie Wood; creating comes naturally to her.  She's fast and super talented.  See her cute card here.  

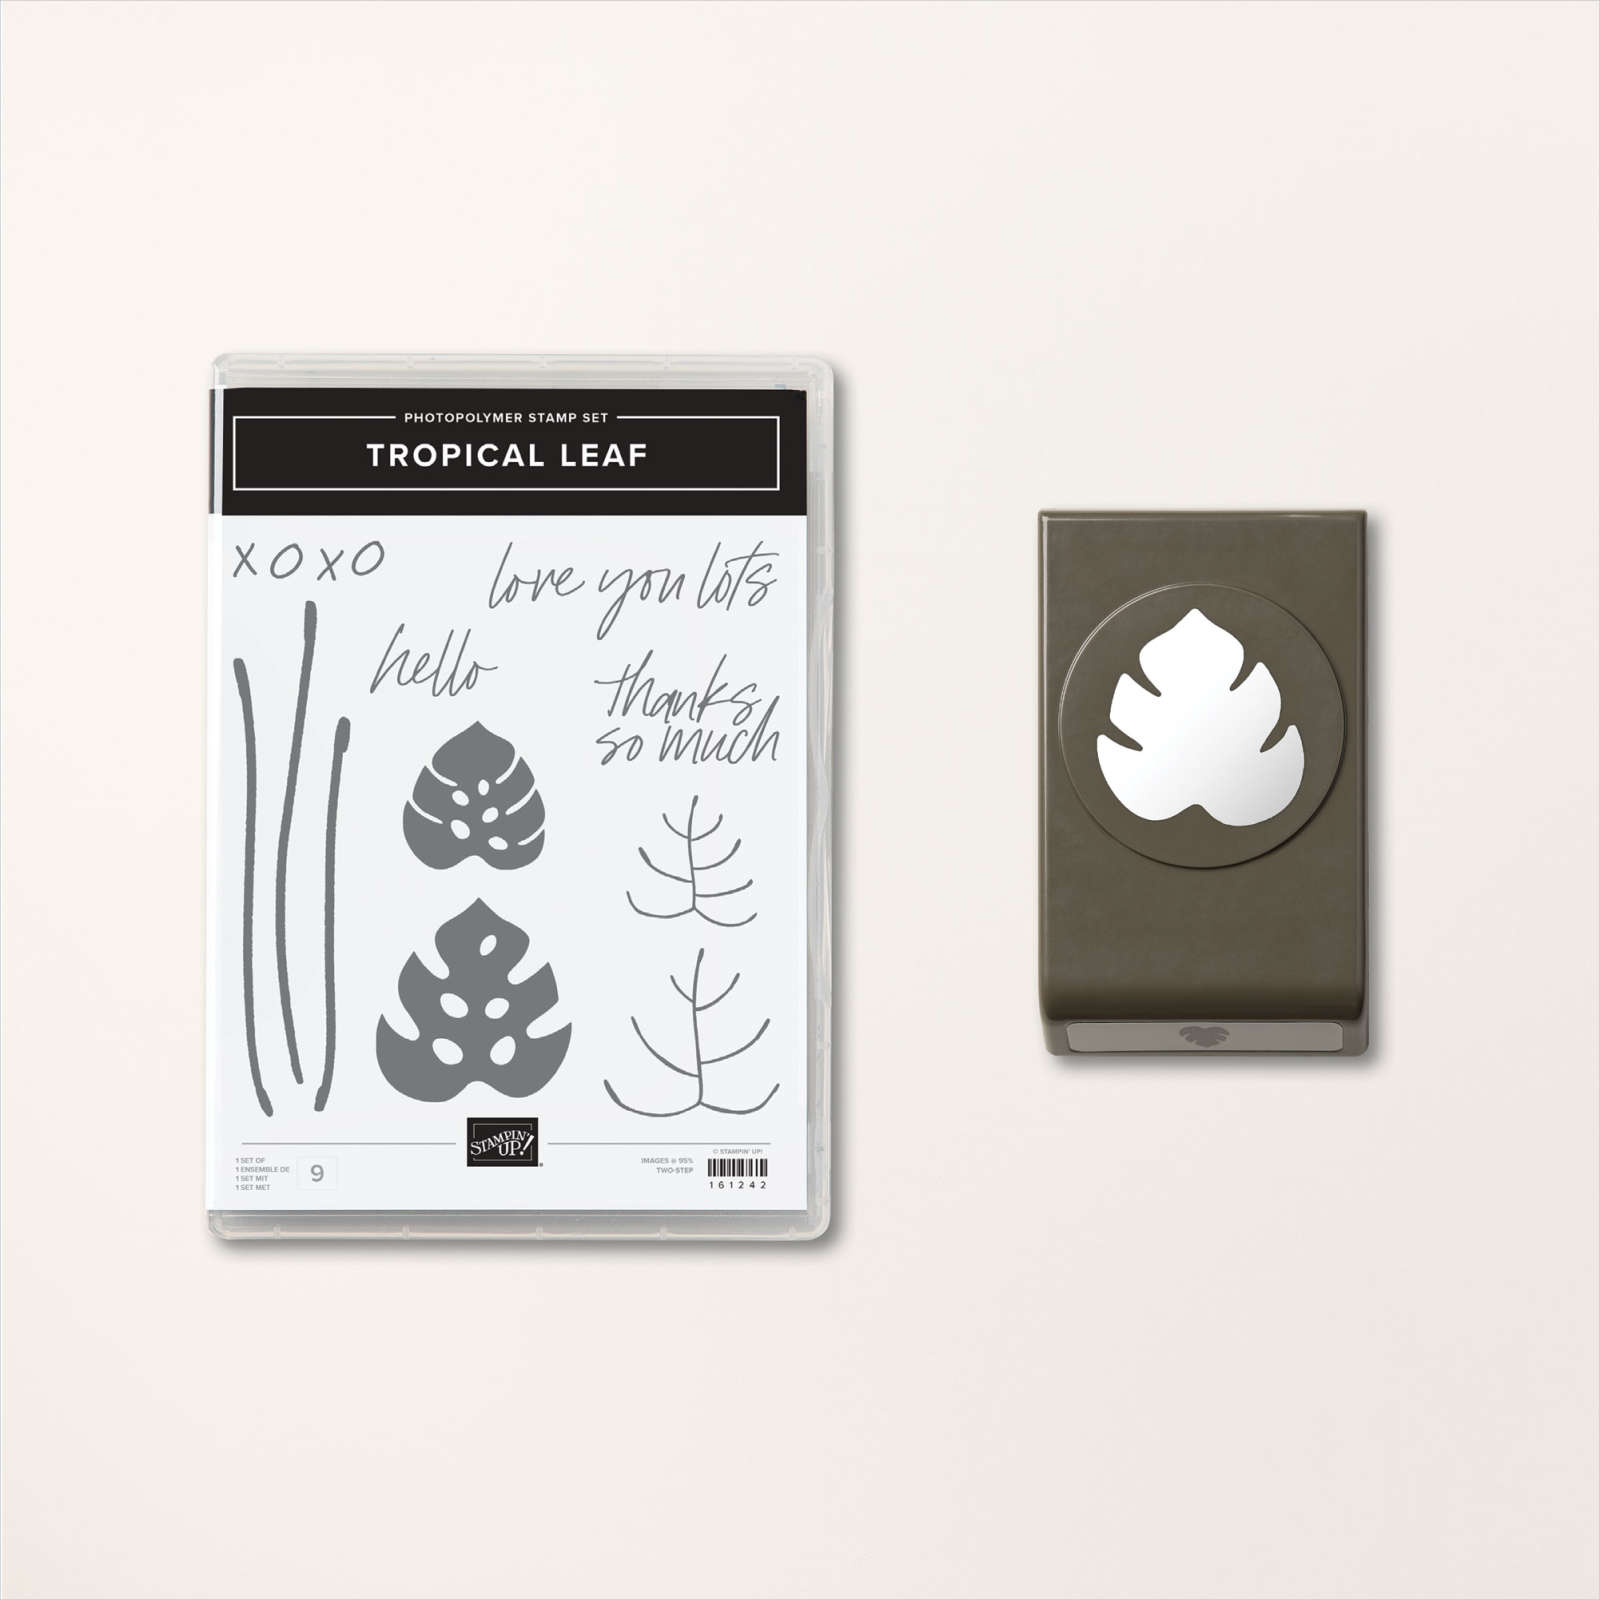
I used the Tropical Leaf bundle in the Online Exclusives section of our online store.  I also wanted to feature the baby wipe technique. 

The colors include Parakeet Party, Bermuda Bay and a tiny bit of Granny Apple Green.  The designer paper inside the clear envelope is Pretty Prints.  Here's how I created the clear envelope shaker:

My Pretty Prints designer paper layer is 5 1/4" X 4" and our clear envelopes are about 1/2" larger.  For the shaker elements to stay on the front side of the envelope it has to be tight and smaller.  So I added tear & tape to the back edge and folded the extra over tightly. Now, insert your shaker elements on the front pocket and fold down the end flap. Wallah!  You have a shaker card front!  

This DSP is from the Pretty Prints; soon to retire from the Annual catalog.  See it here. 
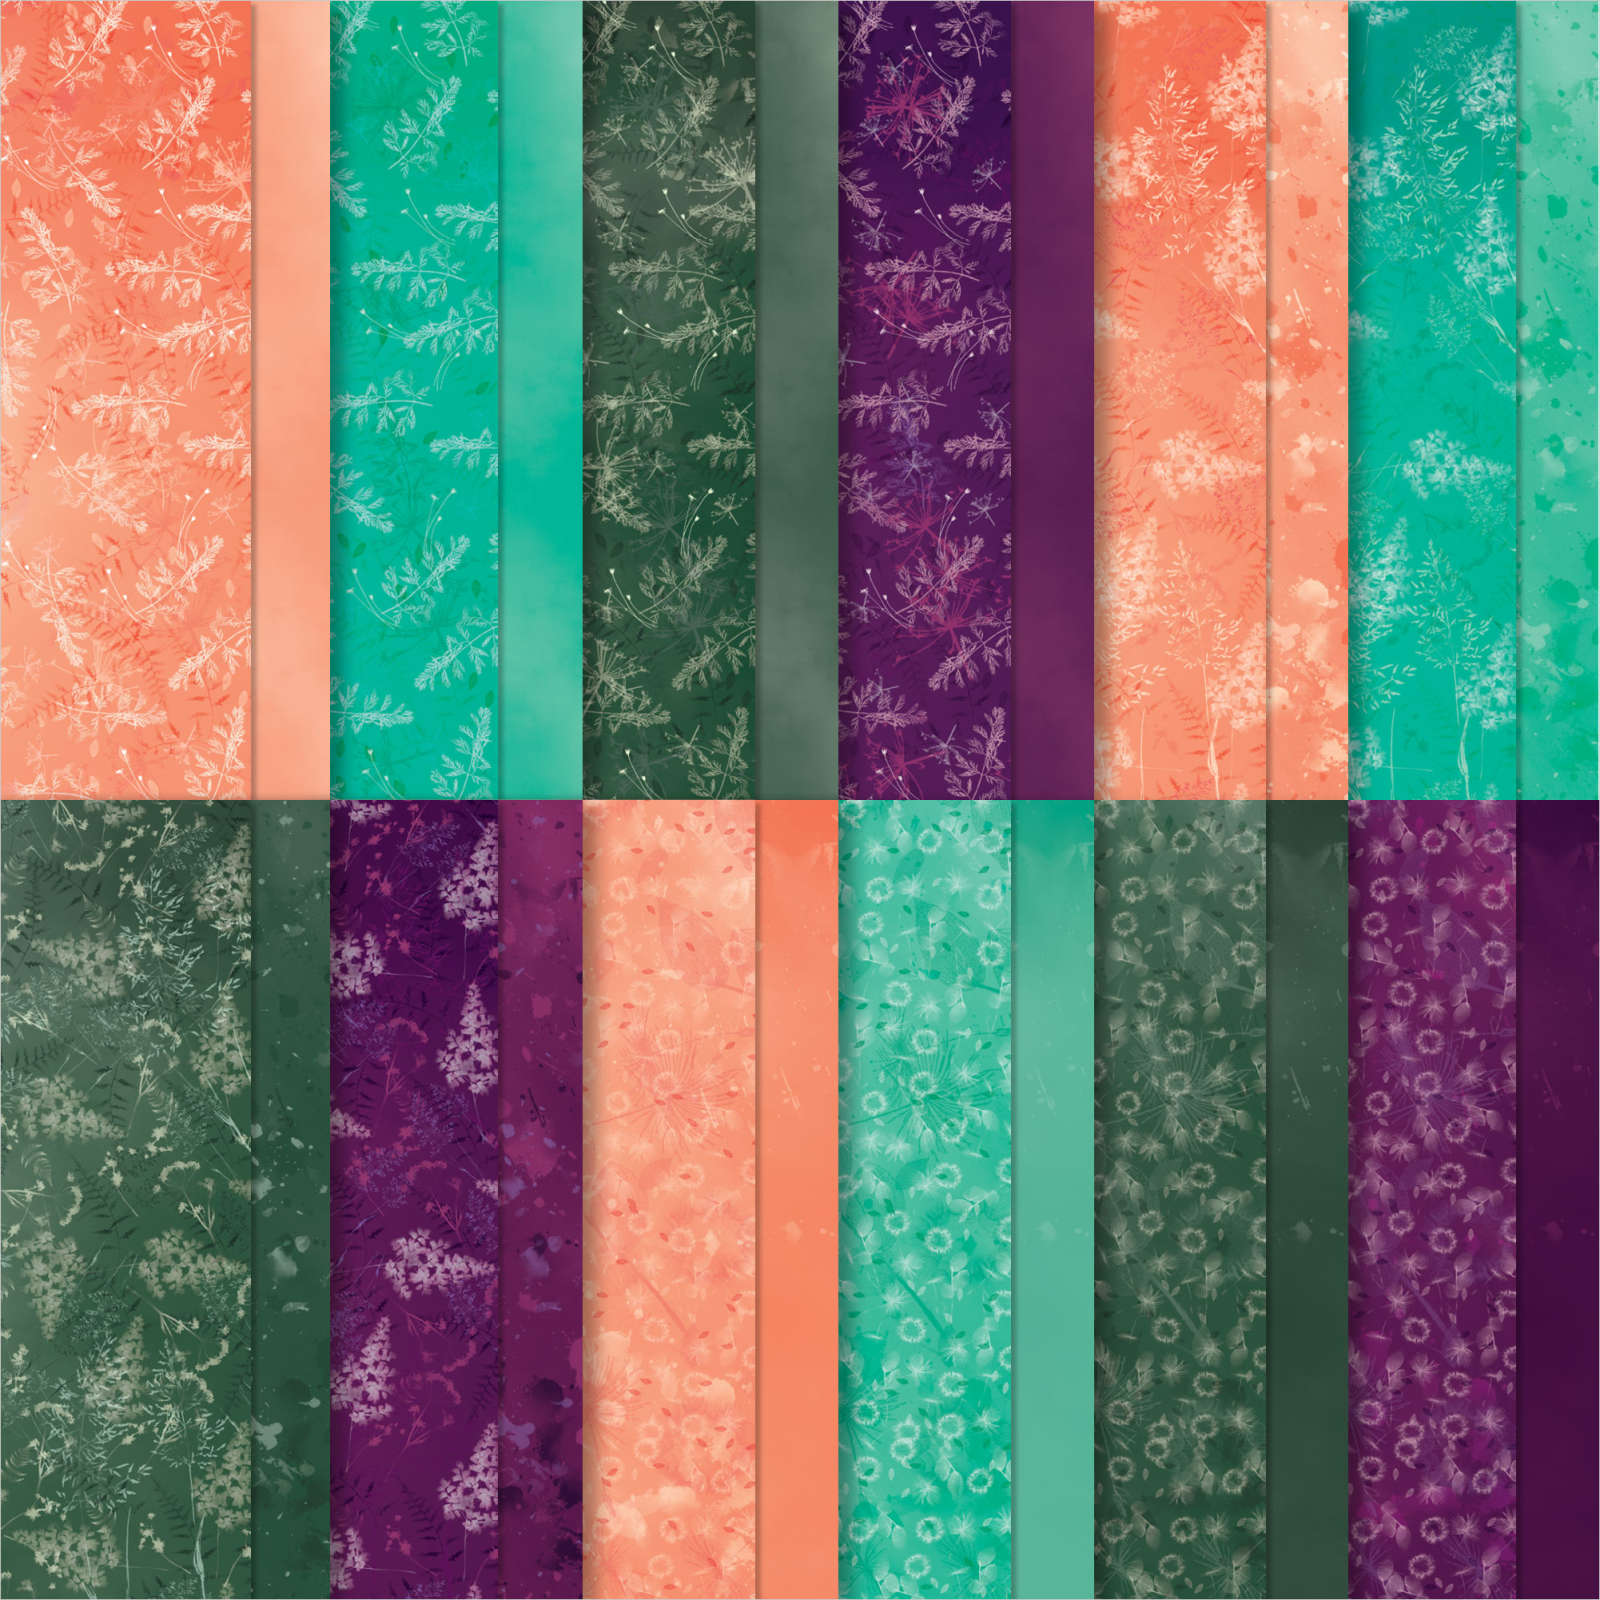
It includes some of my favorite colors – Bermuda Bay, Blackberry Bliss, Calypso Coral and Evening Evergreen.  

The CS layers on the front are added on top of this shaker element so you still get the feel of a real card; not all slippery.  Watch the video here or below to see how it's done.  It's the 2nd project of 3. 

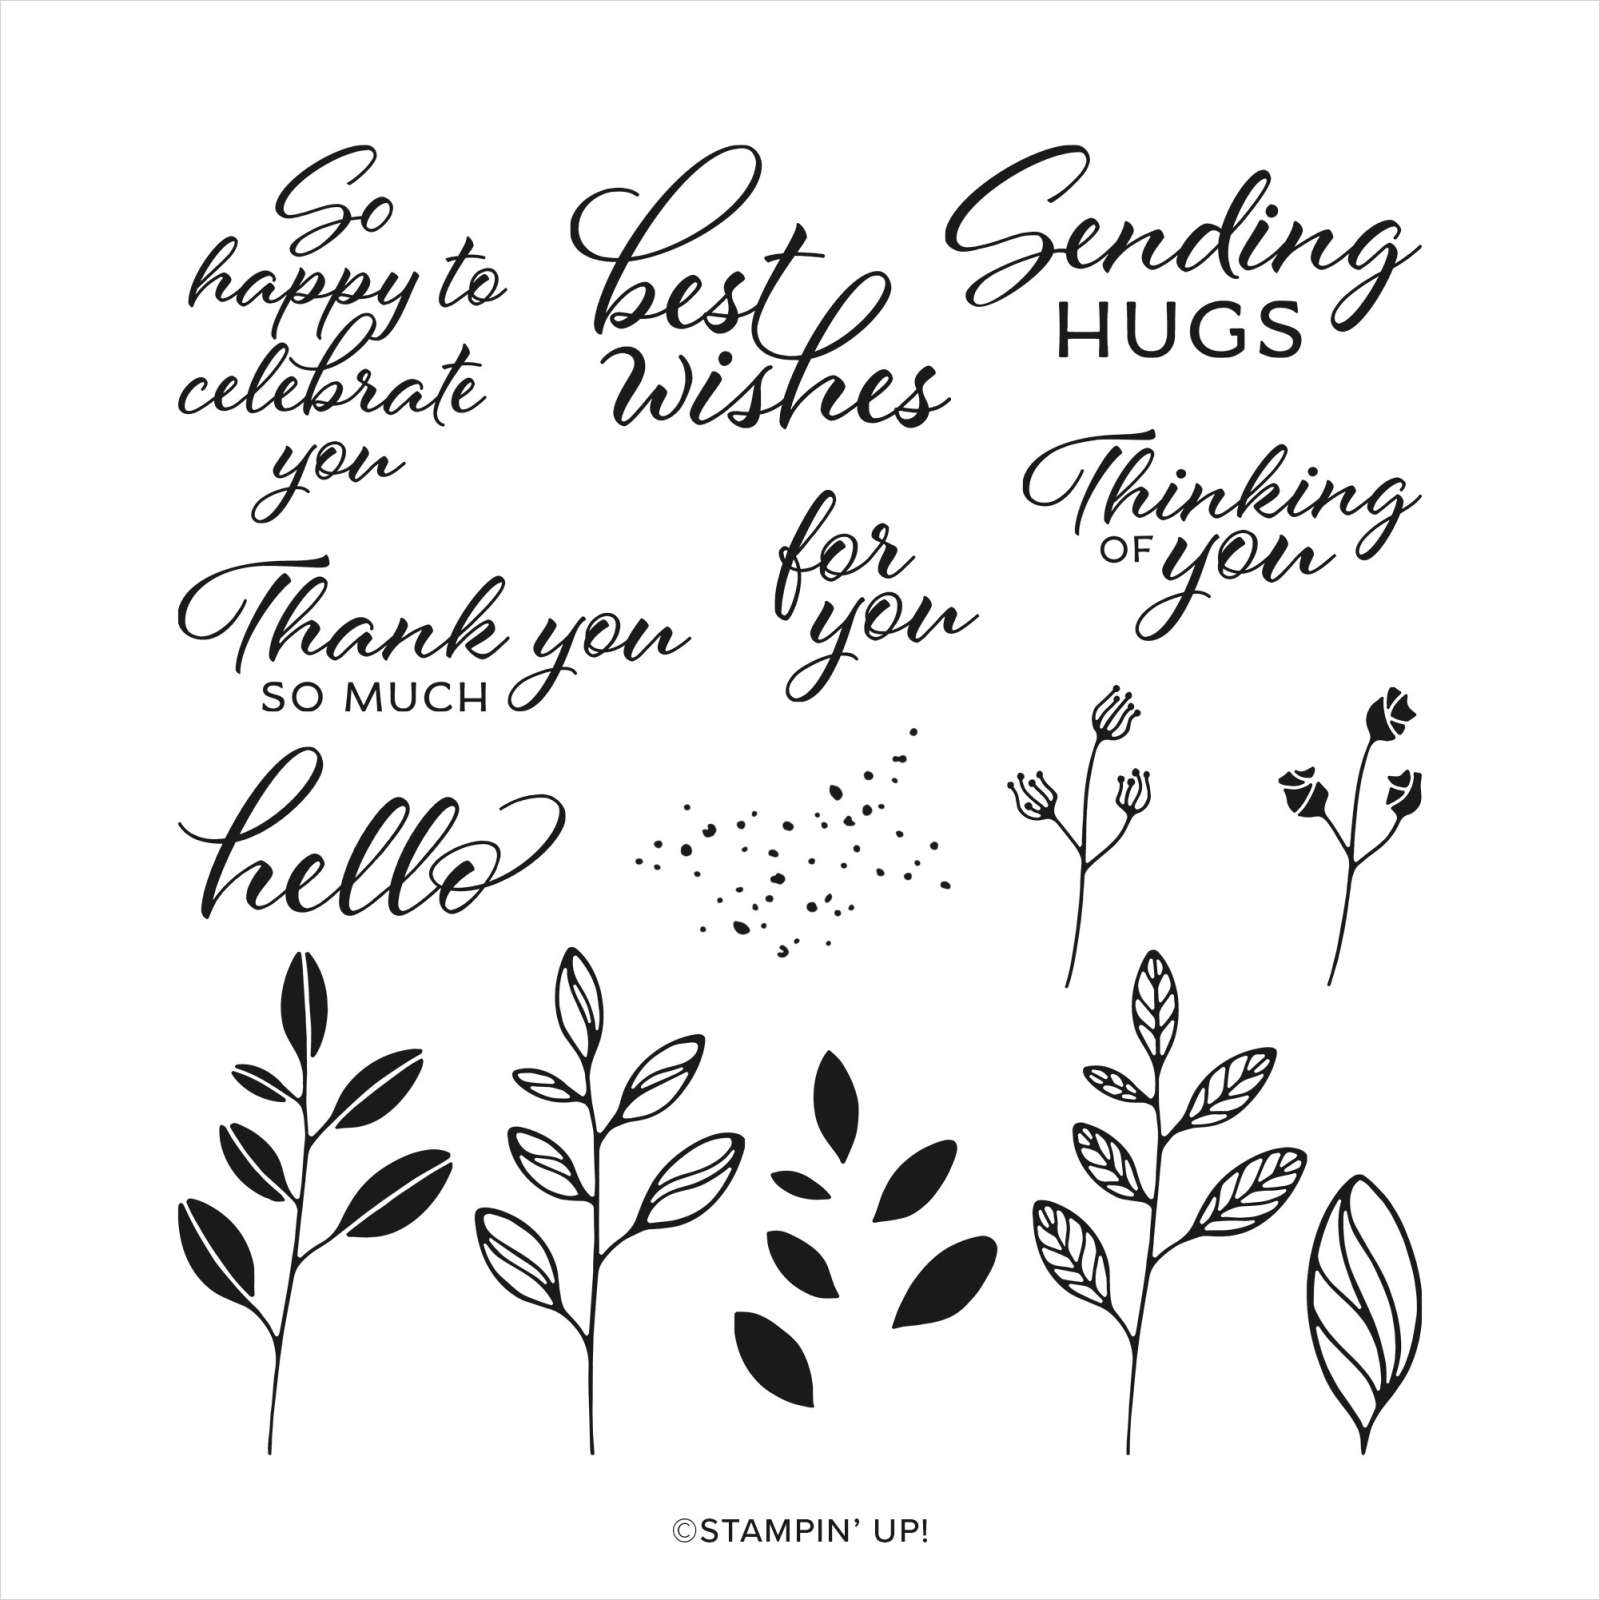
You can see this unique Tropical Leaf bundle here: The font of the greetings in this Tropical Leaf stamp set are so unique; love it! 
Now to create the baby wipe leaves I made my own ink pad with a folded baby wipe.  

Tips for success of the baby wipe technique:

  1. Fold a baby wipe into a thick layer; at least 4 layers thick. Make your 'pad' as large as your largest stamp image.  Place it on a plate.
  2. Drop multiple drops of each color of ink refill onto the baby wipe, leaving room between colors for another color.
  3. I recommend at least 2 colors and up to 4 at the most. 
  4. Choosing colors?  Find complimentary colors in similar shades – blues/greens, yellows/oranges, oranges/pinks etc.  
  5. Choosing stamps? Solid images work best; outline images will not show off your colors well. 
  6. Ink your stamp in the new colored pad by tapping up and down in the same approximate place. Traveling while inking may muddy your colors. 
  7. Huff on the image and stamp.
  8. Depending on how much ink you added you can use your new 'ink pad' multiple times. Add more ink drops as needed.  

Here's how the inside was stamped:

Products used:

  • Tropical Leaf bundle
  • Pretty Prints DSP
  • Parakeet Party, Bermuda Bay and Granny Apple card stock and ink refills
  • For Everything and Sparkle & Shine sequins (Annual Catalog)
  • Clear envelopes (Annual Catalog)
  • baby wipe 
  • Bough Punch a big favorite!
  • Basics 3D embossing folder 

In the video below I demonstrate this fun baby wipe technique; Click here or on the photo below to watch the video.

~~~

March Specials:

See the new Online Exclusives here! 

*current host code: BFE4C2KM

Get a free class kit with online orders over $55 when using the host code above!

Earn free products with my loyalty rewards! 

Click here to download yours and earn a $50 shopping spree!

All Posts

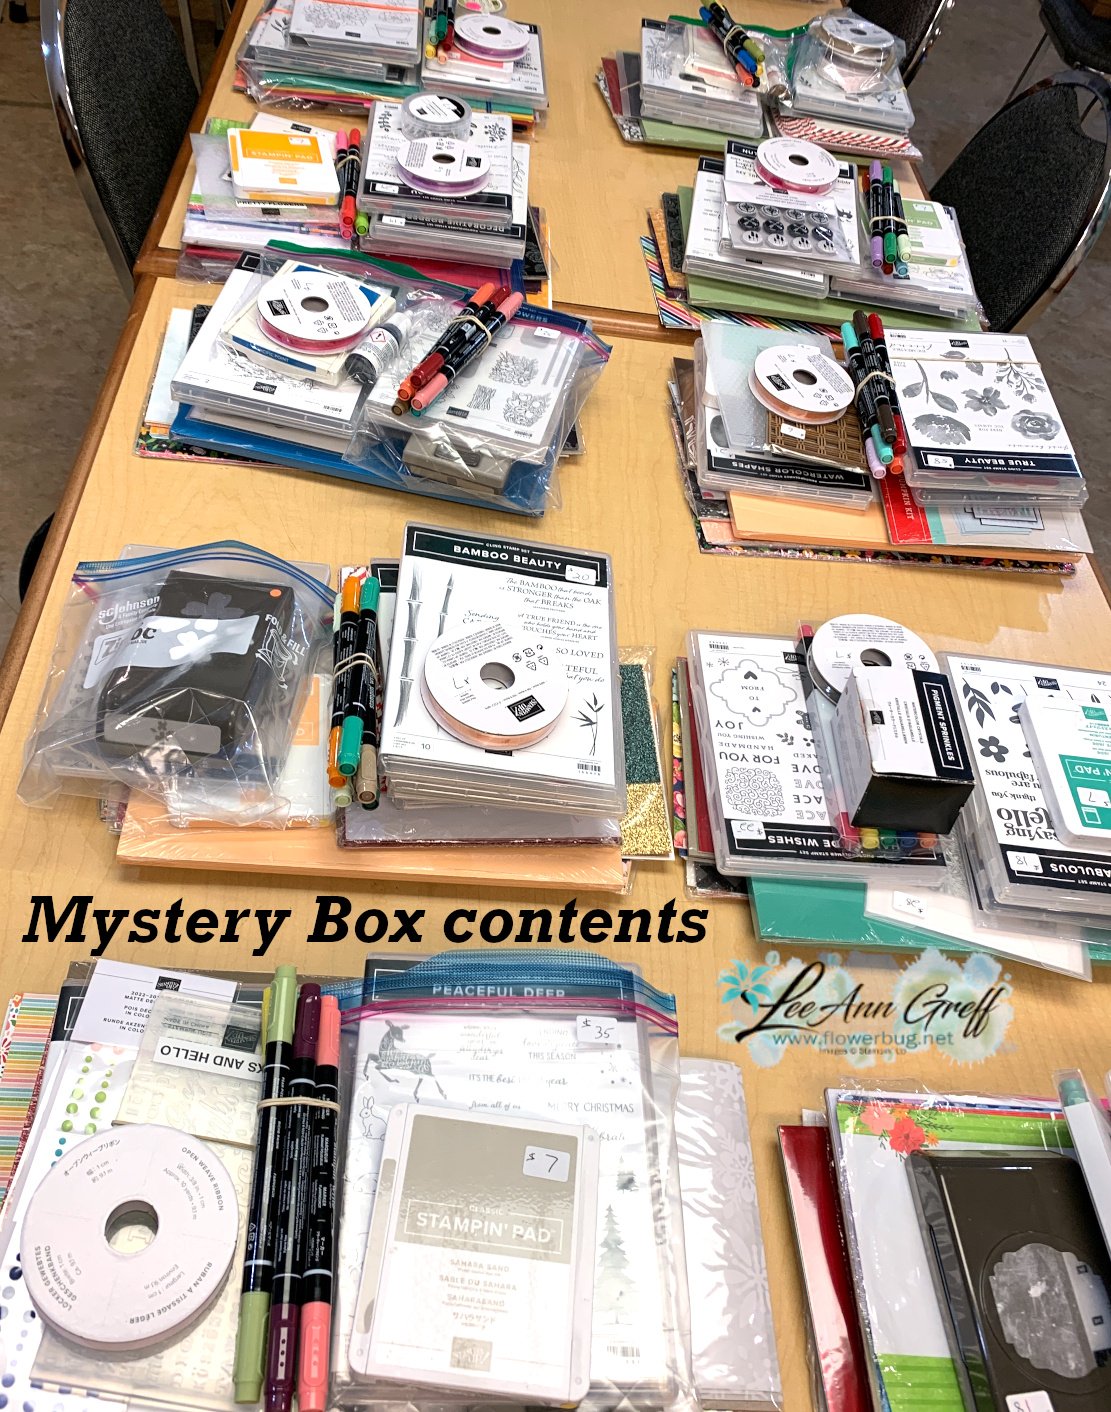
  • Mystery Boxes are back! Get over $180 in free products with an online order!!


    My Mystery Box special is back!  I've got a big, fabulous box of Stampin' Up! goodies packed up for you! 


    How does it work? It's quite simple: 

    1. Place an online Stampin' Up! order over $100 (before tax & shipping) using one of my current host codes to reserve a Mystery Box. *Host code links – WXX6RCHA or VEH4FKBV
    2. Send me the $14 shipping fee (PayPal or Venmo). 
    3. I'll send you your Mystery box via Priority Shipping!  

    I've listed most of the contents of each box below; but I forgot to add card stock.  Remember all of these items are Stampin' Up! but retired. *stamp sets & dies are lightly used.

    There is a limited supply of these; so don't wait long to claim yours! 

    Below is my table full of Mystery Box 'piles' before I stuffed the boxes.

    They are packed full of goodies and most have a value of $200!

    Let me know if you'd like one!  Please use one of these host codes WXX6RCHA or VEH4FKBV

    ~~~

    September Specials: 

    *current host code: WXX6RCHA or VEH4FKBV

    Reserve your Holiday catalog designer paper share:

    $37 with shipping to you; message me here

    (There may be a delay due to a few papers being unavailable for a bit)

    *Get a free 6 card kit with orders over $55 (Includes card bases, coordinating envelopes, Memories & More cards, gems & more) 

    ~~~

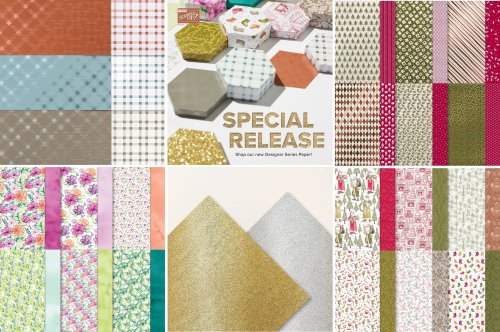
    NEW Designer papers released September 6th!  While supplies last!

    Leave a Reply

    Your email address will not be published. Required fields are marked *

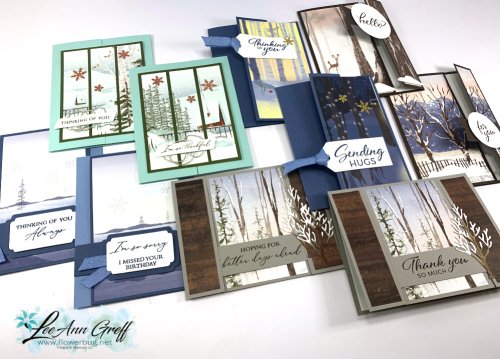
  • More fun fold cards with One Horse Open Sleigh!


    Here are the other two cards I shared in last week's Live video.  If you're not following me on Facebook to catch the live videos click here to join my FB page!  

    Not on Facebook, follow me on YouTube here. 

    This first card is a Spanner fun fold card; featuring the One Horse Open Sleigh designer paper seen here. It's only seen in our Online Exclusives.  

    My colors are Gray Granite with Early Espresso ink. The die-cut trees are from the Horse & Sleigh dies seen here. I added some color to the base of the trees with brown & Gray Granite Blends. My greetings are from the Lasting Joy and Layering Leaves sets.

    Here's the view once the upper panel is lifted.  I stamped a tree from the Horse & Sleigh bundle on the inside.  

    Measurements: 

    • Card base 5 ½” X 8 ½” scored at 4 ¼”.  Cut up to the 4 ¼” score line at 1 ¼” from each outer edge.
    • Greeting strip 5 ½” X 1”

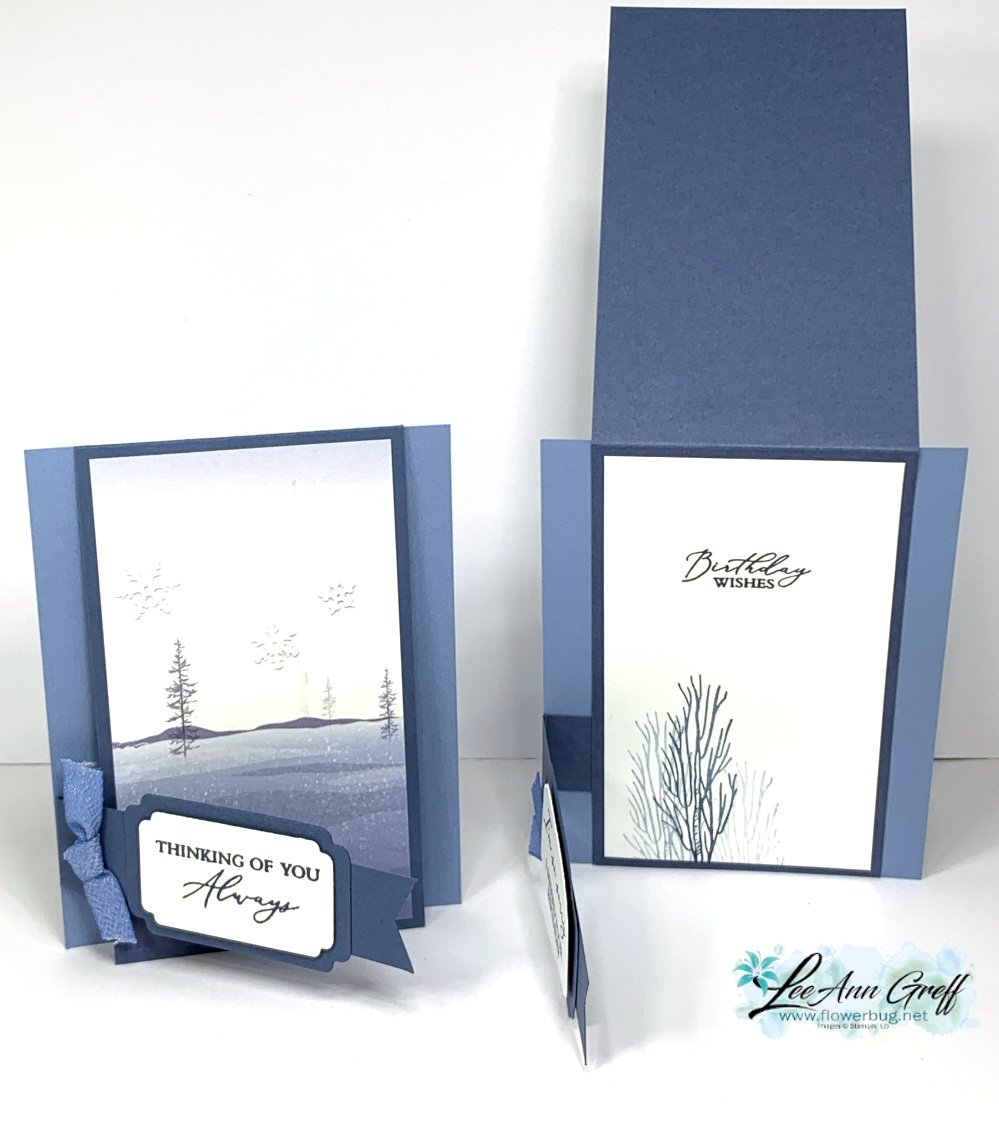
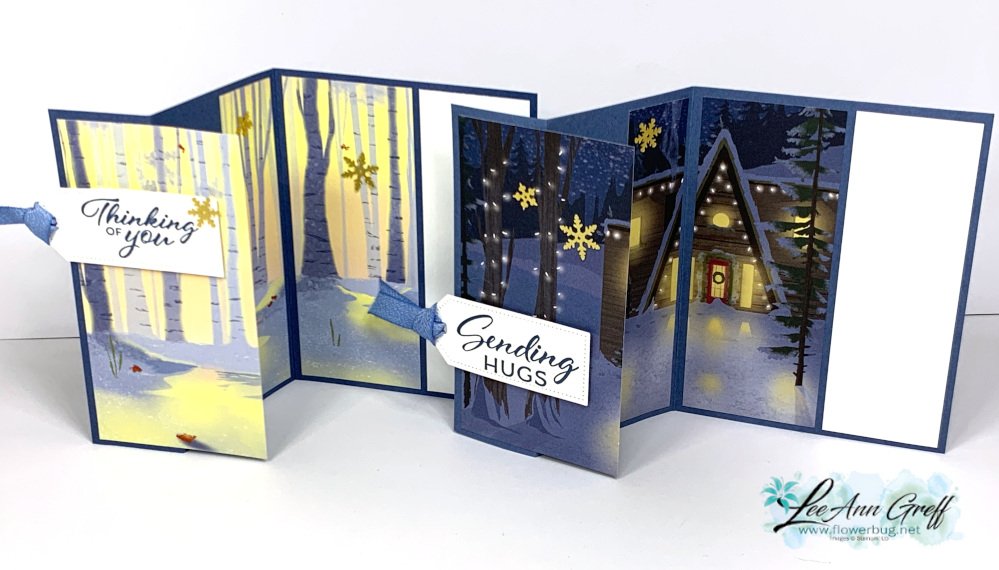
    Next is a double flap card in blues – Misty Moonlight & Boho Blue.  These colors pair beautifully together.  

    This card is a wonderful fun fold layout for 6" papers.  You can make two cards with one piece. Or make 8 cards with a 12" designer paper! The stamps are from One Horse Open Sleigh and Lasting Joy.  

    The side flap is scored and the score line is placed right at the left card edge.  I cover that up with the inside white panel.  

    Measurements:

    • DSP – 1 piece per card 3” X 5 ¼”
    • Card base 5 ½” X 4 ¼”
    • Center flap 3 ¼” X 11” score at 5 ½”, Side flap 5” X 1” score at ¾”
    • White inside 3” X 5 ¼”

    Both of these cards are included in my One Horse Open Sleigh fun fold cards PDF tutorial seen here.  My tutorials can be used for more than this designer paper!  


    Below is the video where I made three of these cards:

    ~~~

    September Specials: 

     *current host code: 3QBXJJ4U or MYF6MXAG

    Reserve your Holiday catalog designer paper share:

    $37 with shipping to you; message me here

    (There may be a delay due to a few papers being unavailable for a bit)

    *Get a free 6 card kit with orders over $55 (Includes card bases, coordinating envelopes, Memories & More cards, gems & more) 

    ~~~

    NEW Designer papers released September 6th!  While supplies last!

    Leave a Reply

    Your email address will not be published. Required fields are marked *

  • One Horse Open Sleigh Fun Fold cards with video & measurements!


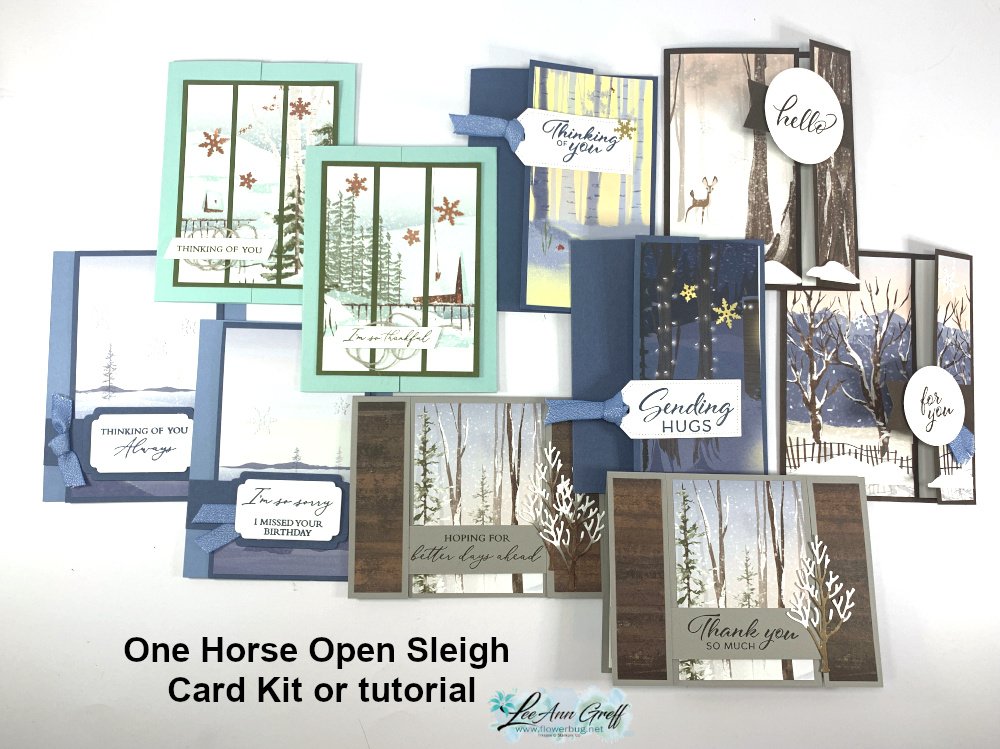
    On last week's Live video I shared three fantastic fun fold cards featuring the One Horse Open Sleigh designer paper – it's an Online Exclusive you can see here.  

    These cards were featured in last month's card kit to go; each card is a fancy fold!  The kit is no longer available but the PDF tutorial is here.   You can see all of the cards in the tutorial below:


    I love this card because it shows off the full beauty of this scenic paper. Whenever I have a pretty scenic paper I want to show off  this is the layout I use.

    Just trim off 3/4" of the upper or lower edge of the designer paper and cut using the following measurements: 

    Measurements:

    • DSP – start with 1 piece 5 ¼” tall X 6” wide. Make your first cut 2 ¾” from the left edge vertically.  From that cut edge cut another piece at 1 1/8"
    • Card base 8 ½” X 5 ½” score at 1 ½” & 4 ¼”
    • White inside 1 ¾” X 5 ¼”


    I used the Layering Leaves stamp set for my greetings.  It's my favorite set from the Annual Catalog; see it here. 

    ~~~

    September Specials: 

     *current host code: Z9BRPPWA or MYF6MXAG

    Reserve your Holiday catalog designer paper share:

    $37 with shipping to you; message me here

    (There may be a delay due to a few papers being unavailable for a bit)

    *Get a free 6 card kit with orders over $55 (Includes card bases, coordinating envelopes, Memories & More cards, gems & more) 

    ~~~

    NEW Designer papers released September 6th!  While supplies last!

    Leave a Reply

    Your email address will not be published. Required fields are marked *


Notice: LeeAnn Greff, Independent Stampin’ Up! Demonstrator, Manager. The content of this website is my sole responsibility as an independent Stampin’ Up! demonstrator and the use of, and content of, the classes, services, or products offered on this website is not endorsed by Stampin’ Up! Copyright 2025