/


Latest Post

Baby Swipe technique with tips & video! Plus retiring lists & colors.


They released the retiring lists from the Annual & Spring catalogs yesterday.  Here are the lists:

Here's the Annual Catalog retiring list: Download 2022-2023 Annual Catalog Last Chance Products_US Landscape

And here is the Spring (January-April) retired list Download January-April 2023 Mini Catalog Last Chance Products_US Landscape

*There is a sale on some of these retiring items but the discounts do not start until April 4th. 

Here's a graphic on which colors are retiring. Go here to shop and get the items you need before they're gone! 
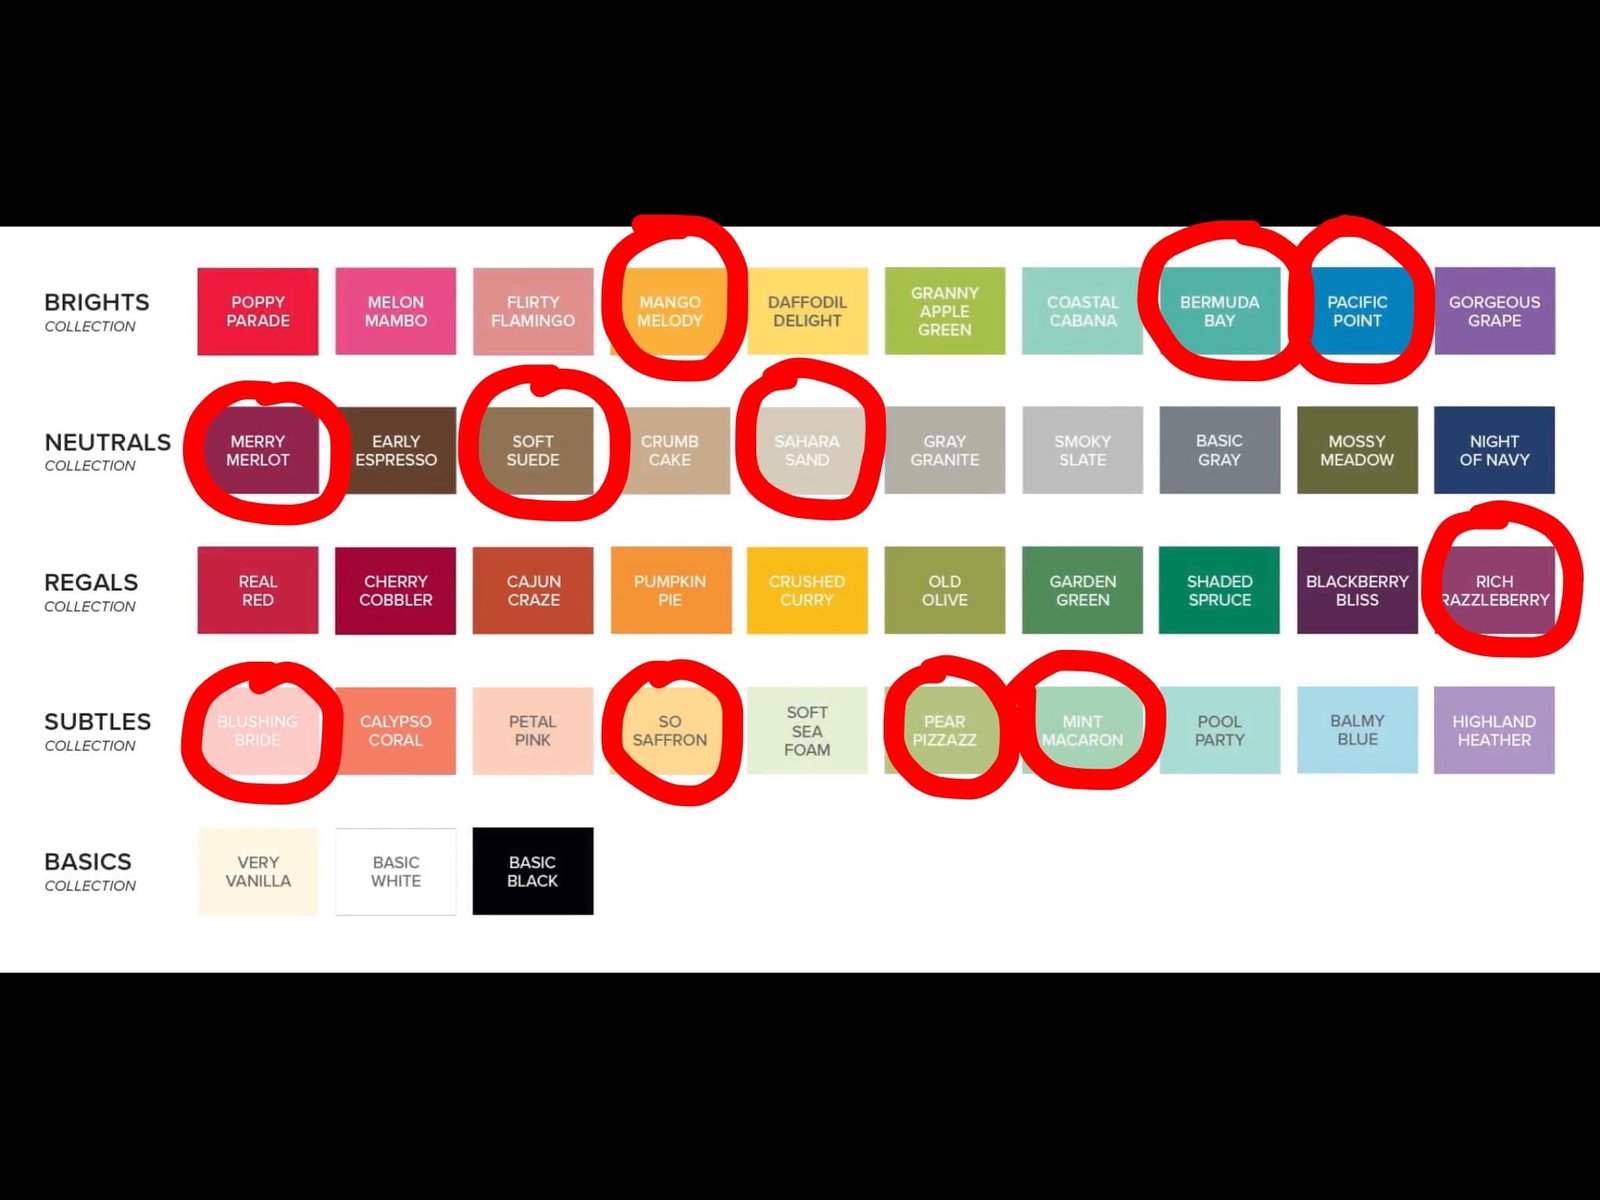
Sad to say good bye to these colors: 
  • Soft Suede 
  • So Saffron
  • Blushing Bride
  • Mint Macaron
  • Pear Pizzazz
  • Pacific Point
  • Mango Melody
  • Rich Razzleberry
  • Bermuda Bay
  • Merry Merlot
  • Sahara Sand

Which are returning?
  • Fresh Freesia!!
  • Misty Moonlight
  • Blueberry Bushel
  • Berry Burst
  • Lemon Lime Twist
  • Lost Lagoon
  • Pretty Peacock

~~~

Have you ever done the baby swipe technique?  It's so fun; playing with baby wipes and ink refills is a bit addictive!  

I made this card for our March Team swap; the theme was to use a technique involving ink refills.  
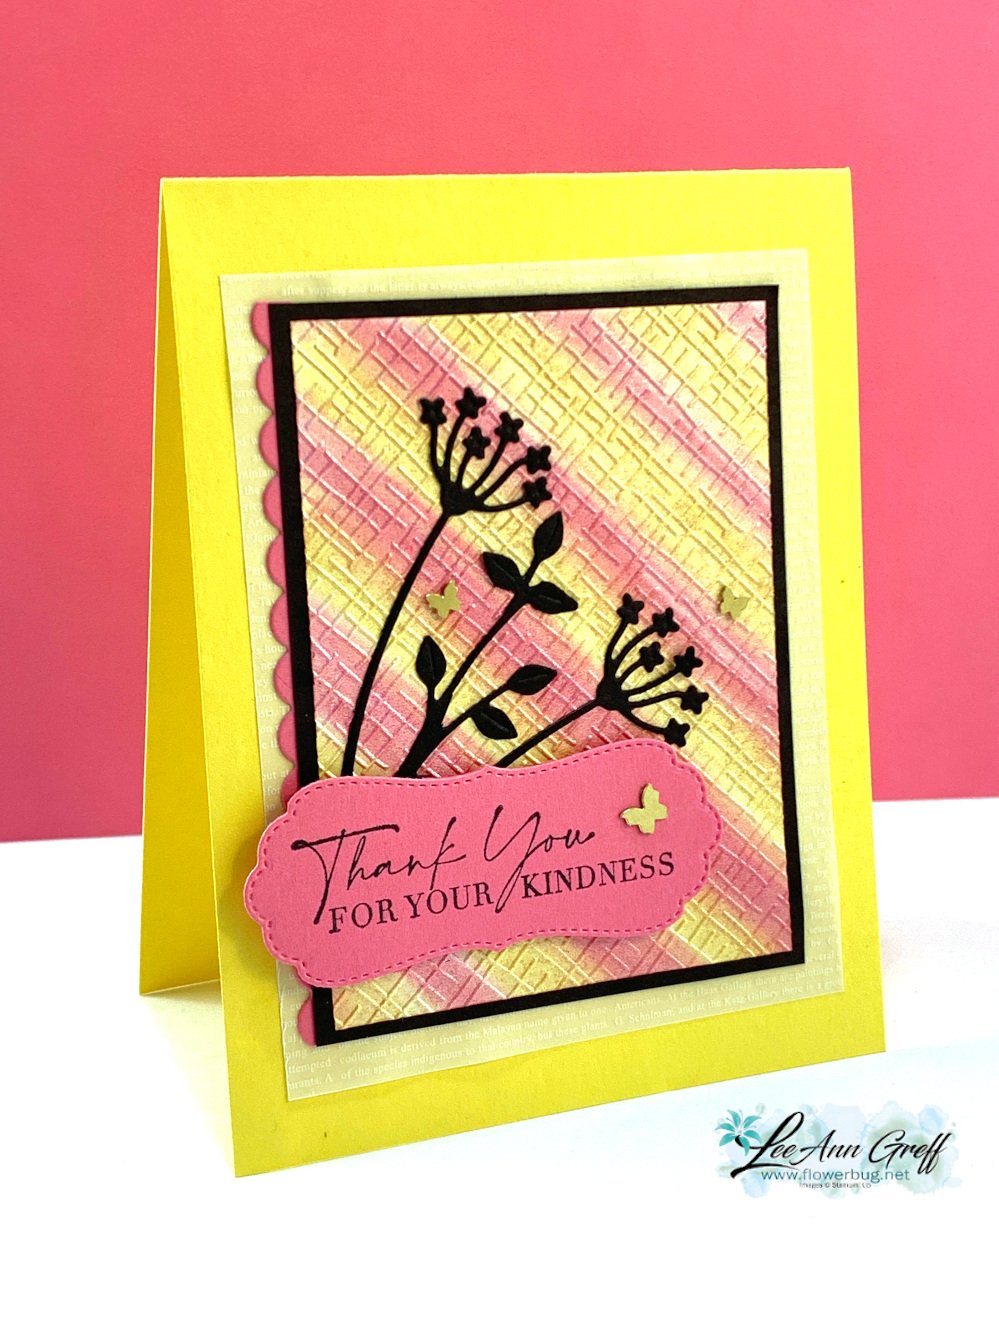
My colors include Daffodil Delight, Polished Pink and Black.  

Other products used:

Can you spot the shimmer?  I used the Pearlescent paper from the Annual Catalog.  See it here. 

It was the perfect sheen for this technique as the moist ink did not absorb quickly like it might for regular card stock. Glossy paper would also work well. 

After I added the color, I let it dry for an hour or so.  Then I textured it with one of the embossing folders in the 3D Basics pack seen here.  These are currently out of stock but they'll be back in May. 

Below you can see the difference in my cards; especially the colors. One is soft and subtle and the other more vibrant.  This happens as you work with your baby wipe; the first few swipes are bold and the next few are much softer. 

Tips for success: 

  • Fold and roll your baby wipe in a tube.  Hold it tightly and add a few drops of ink refills. 
  • Add each color separately in a row.  I tend to add enough for about 1/2" of surface. 
  • Start swiping off your paper and then onto it.  You can do straight swipes or get creative and add curves or swirls. Let dry.
  • Shimmery, pearlescent or glossy works best. But you can do it on regular card stock too. 
  • I suggest you use light to medium colors. 

Notice the colors of the butterflies? I colored the Brass Butterflies with a Polished Pink blends marker for the left card.  I wasn't sure I liked it or not so left them uncolored for my swap cards.  

Watch the video here or click on the image below to see this technique. It's the last technique I share in the video. 

~~~

March Specials:

See the new Online Exclusives here! 

*current host code: QBQB4TBF or BFE4C2KM

See the Jan-Apr 2023 Last Chance list here *sale prices start April 4th 

See the 2022-2023 Annual Catalog Last Chance list here

Get a free class kit with online orders over $55 when using the host code above!

I have three left! *after that you'll receive a pack of 10 handmade cards! 

Earn free products with my loyalty rewards! 

Click here to download yours and earn a $50 shopping spree!

All Posts

  • New Fitting Florets card kit to go; or choose the PDF tutorial; limited quantity!


    Update on blog issues:  It seems to be working on a desktop computer.  But if you're looking at this from a laptop, phone or tablet you may not see any photos.  So frustrating! 

    Please hang in with me; I hope it's fixed soon.  Typepad 'says' they're working on it…..  *follow me on Facebook here.

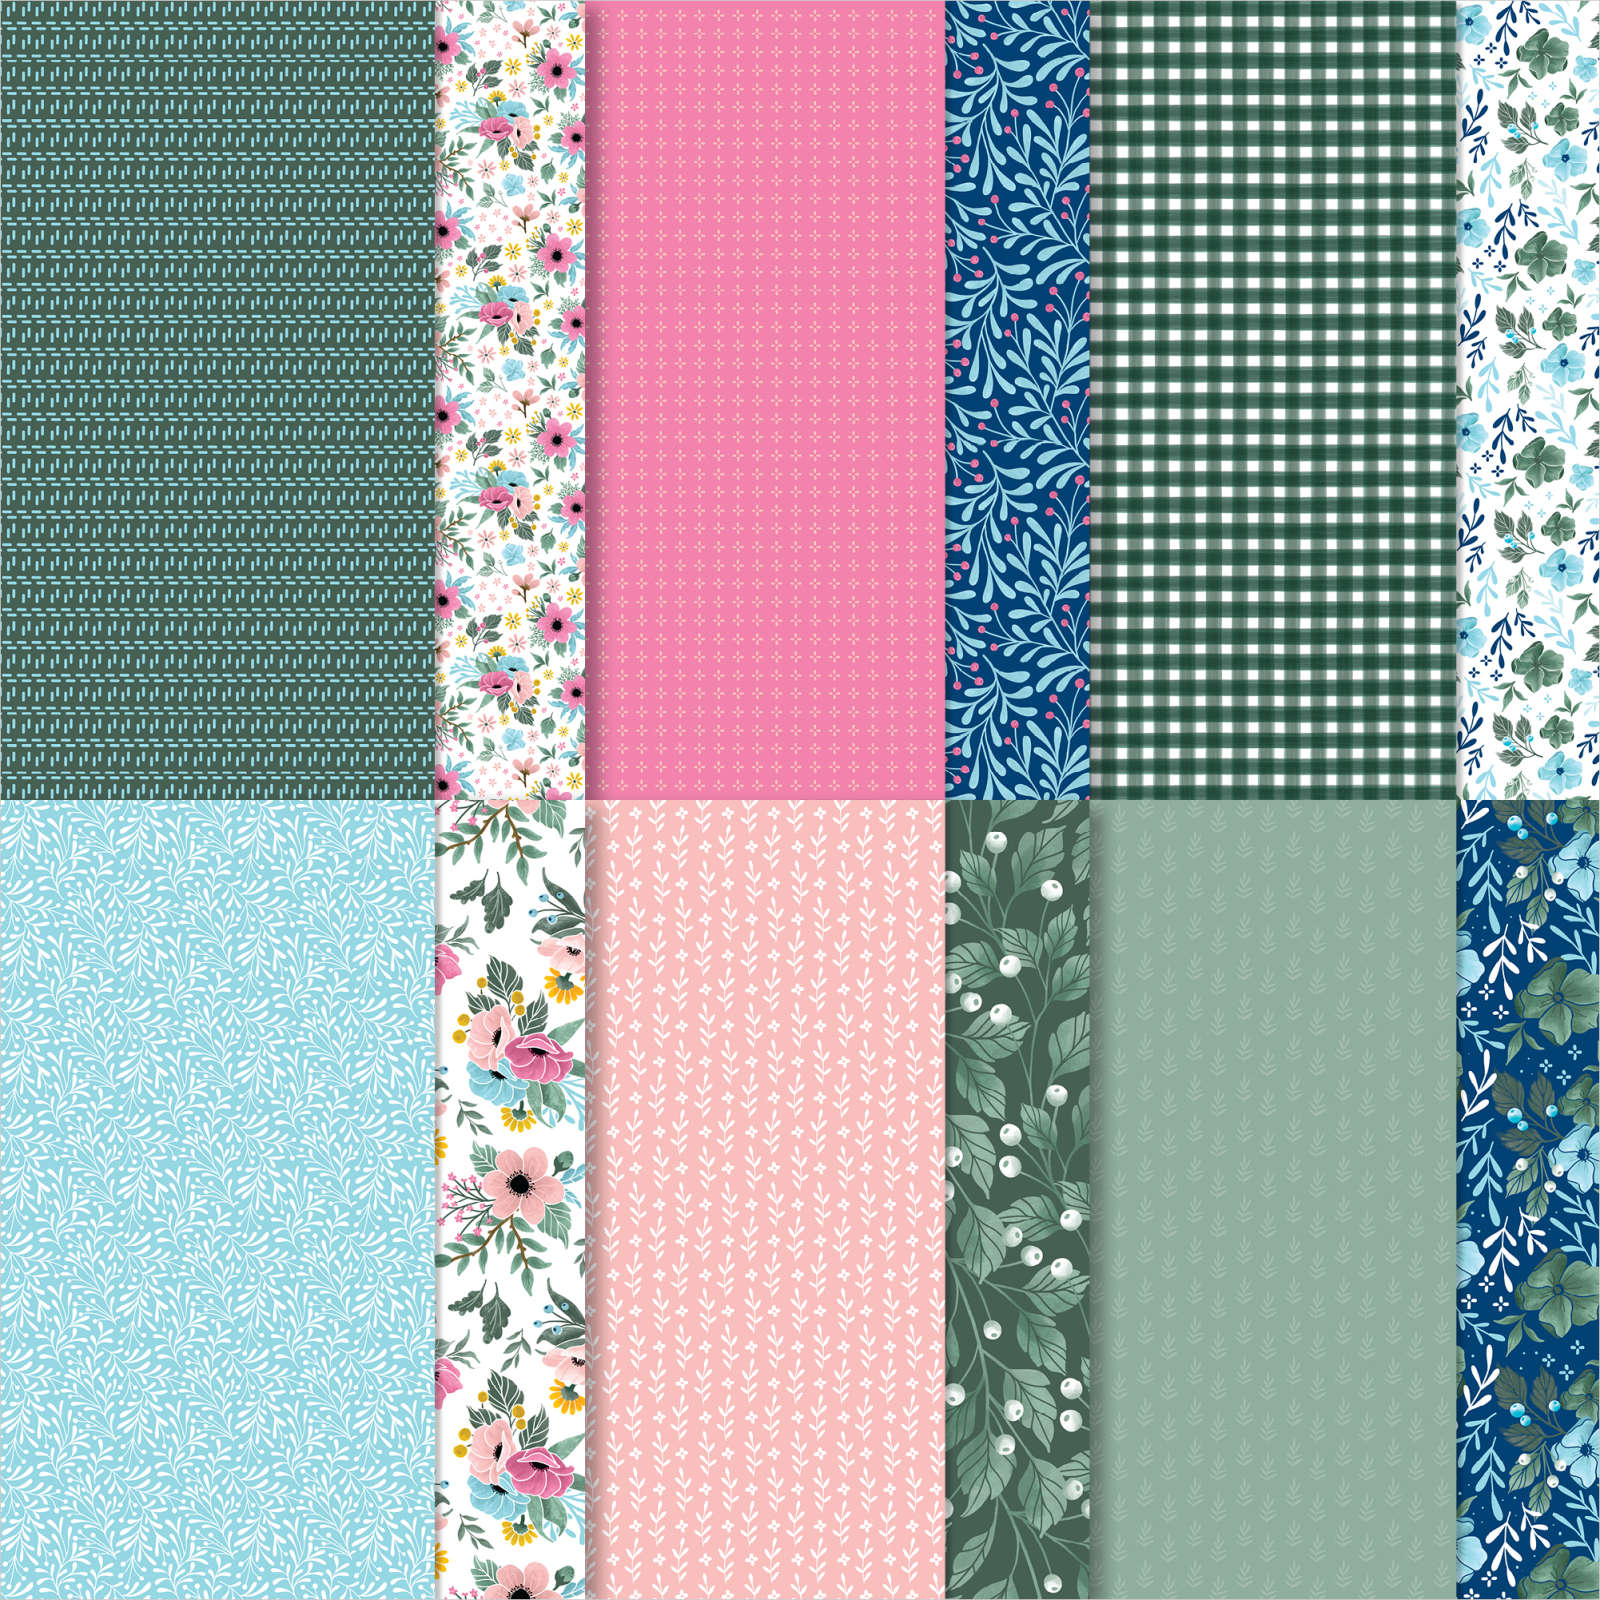
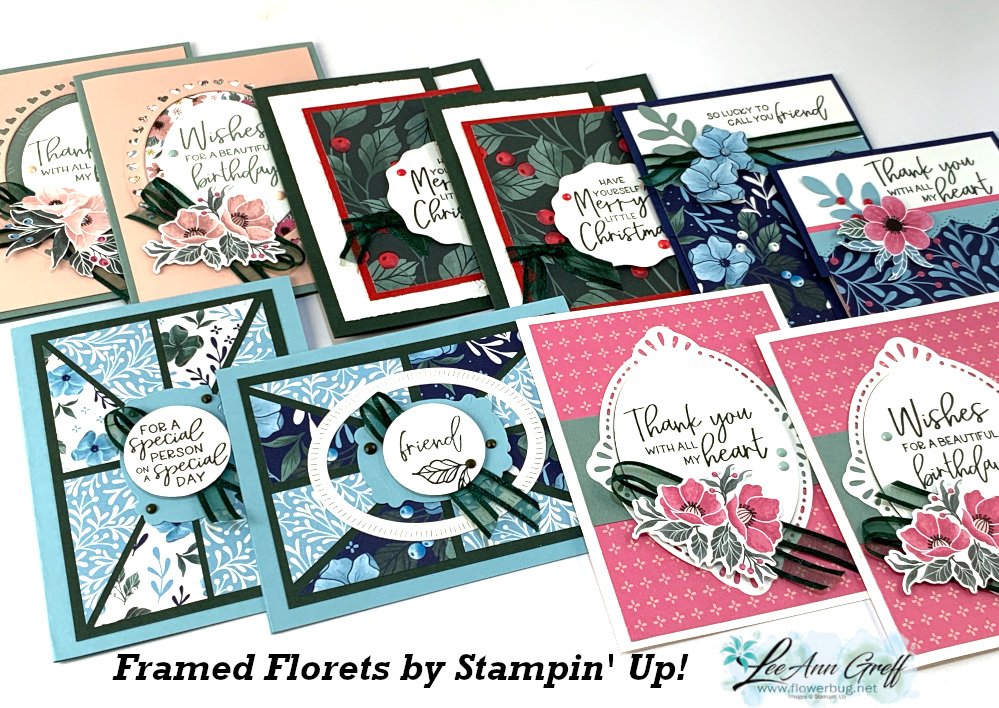
    One of my card kits to go (and PDF tutorials) features the time limited designer paper called Fitting Florets. It's filled with pretty florals, prints for many occasions. It's new this month and available through early January or while supplies last.  Here are the gorgeous cards included:

    This pre-cut kit to go includes 10 pretty all occasion cards featuring the new Framed Florets collection.  I have a limited quantity of these available; opt in ASAP! 

    You'll receive the pre-cut pieces for 10 cards (2 each of 5) and a share of the following products; the Fitting Florets designer paper (6" X 12"), Evergreen ribbon and Solid Faceted Gems plus 10 envelopes. 

    This kit to go will be mailed via Priority Mail at the end of November.  Please opt in for this kit by November 17th.  

    *add a 2nd kit and save on shipping; see all 8 kit options available here. 

    The PDF includes step by step directions, photos, a supply list and measurements for each card.  This tutorial will be send via email immediately after payment.  Please check your spam folder for it. 

    You'll need greeting stamps (I used the Framed Florets & Framed & Festive), ink, adhesives & a paper trimmer. Inks are Evergreen, Soft Succulent & Night of Navy

    Click here to get the pre-cut kit by Nov 17th. 

    Or click here to get the PDF tutorial. 

    **Add on the Framed Florets bundle ore the Framed & Festive set at an EXTRA 10% off.  contact me here for a price quote.  

    **Remember that I have multiple card and scrapbook kits available here; while supplies last. 

    Save on shipping and choose more than one!

    ~~~

    Order online here

    Host code link: XZPZ6TDV  or BMGZZDPU

    November Specials: 

      1. Get a stack of designer papers from me with online orders over $50!
      2. All orders in November will receive a big project tutorial – a collection of 12 cards featuring this new collection of products.


    Earn free products with my loyalty rewards! 

    Click here to download yours and earn a $50 shopping spree!
    Leave a Reply

    Your email address will not be published. Required fields are marked *

  • Framed & Festive for an easy Christmas card


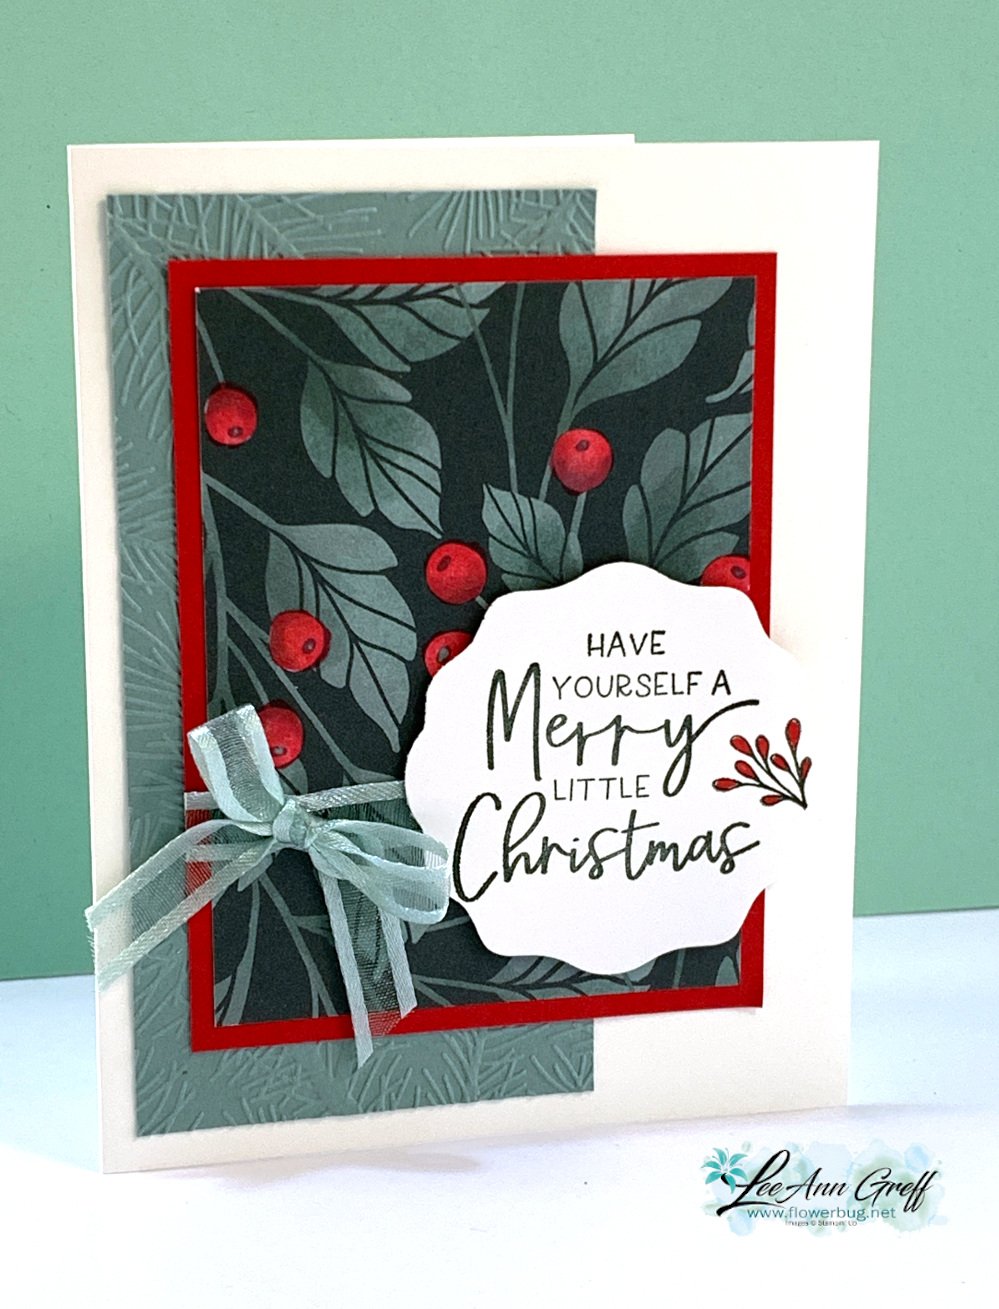
    I shared this pretty card on last week's FB Live video.  I LOVE this pretty DSP.  

    For this card I colored the white berries on the DSP Red with a Blends marker.  You can change the color of these berries so easily! They could be pink for a birthday card or red for Christmas. 

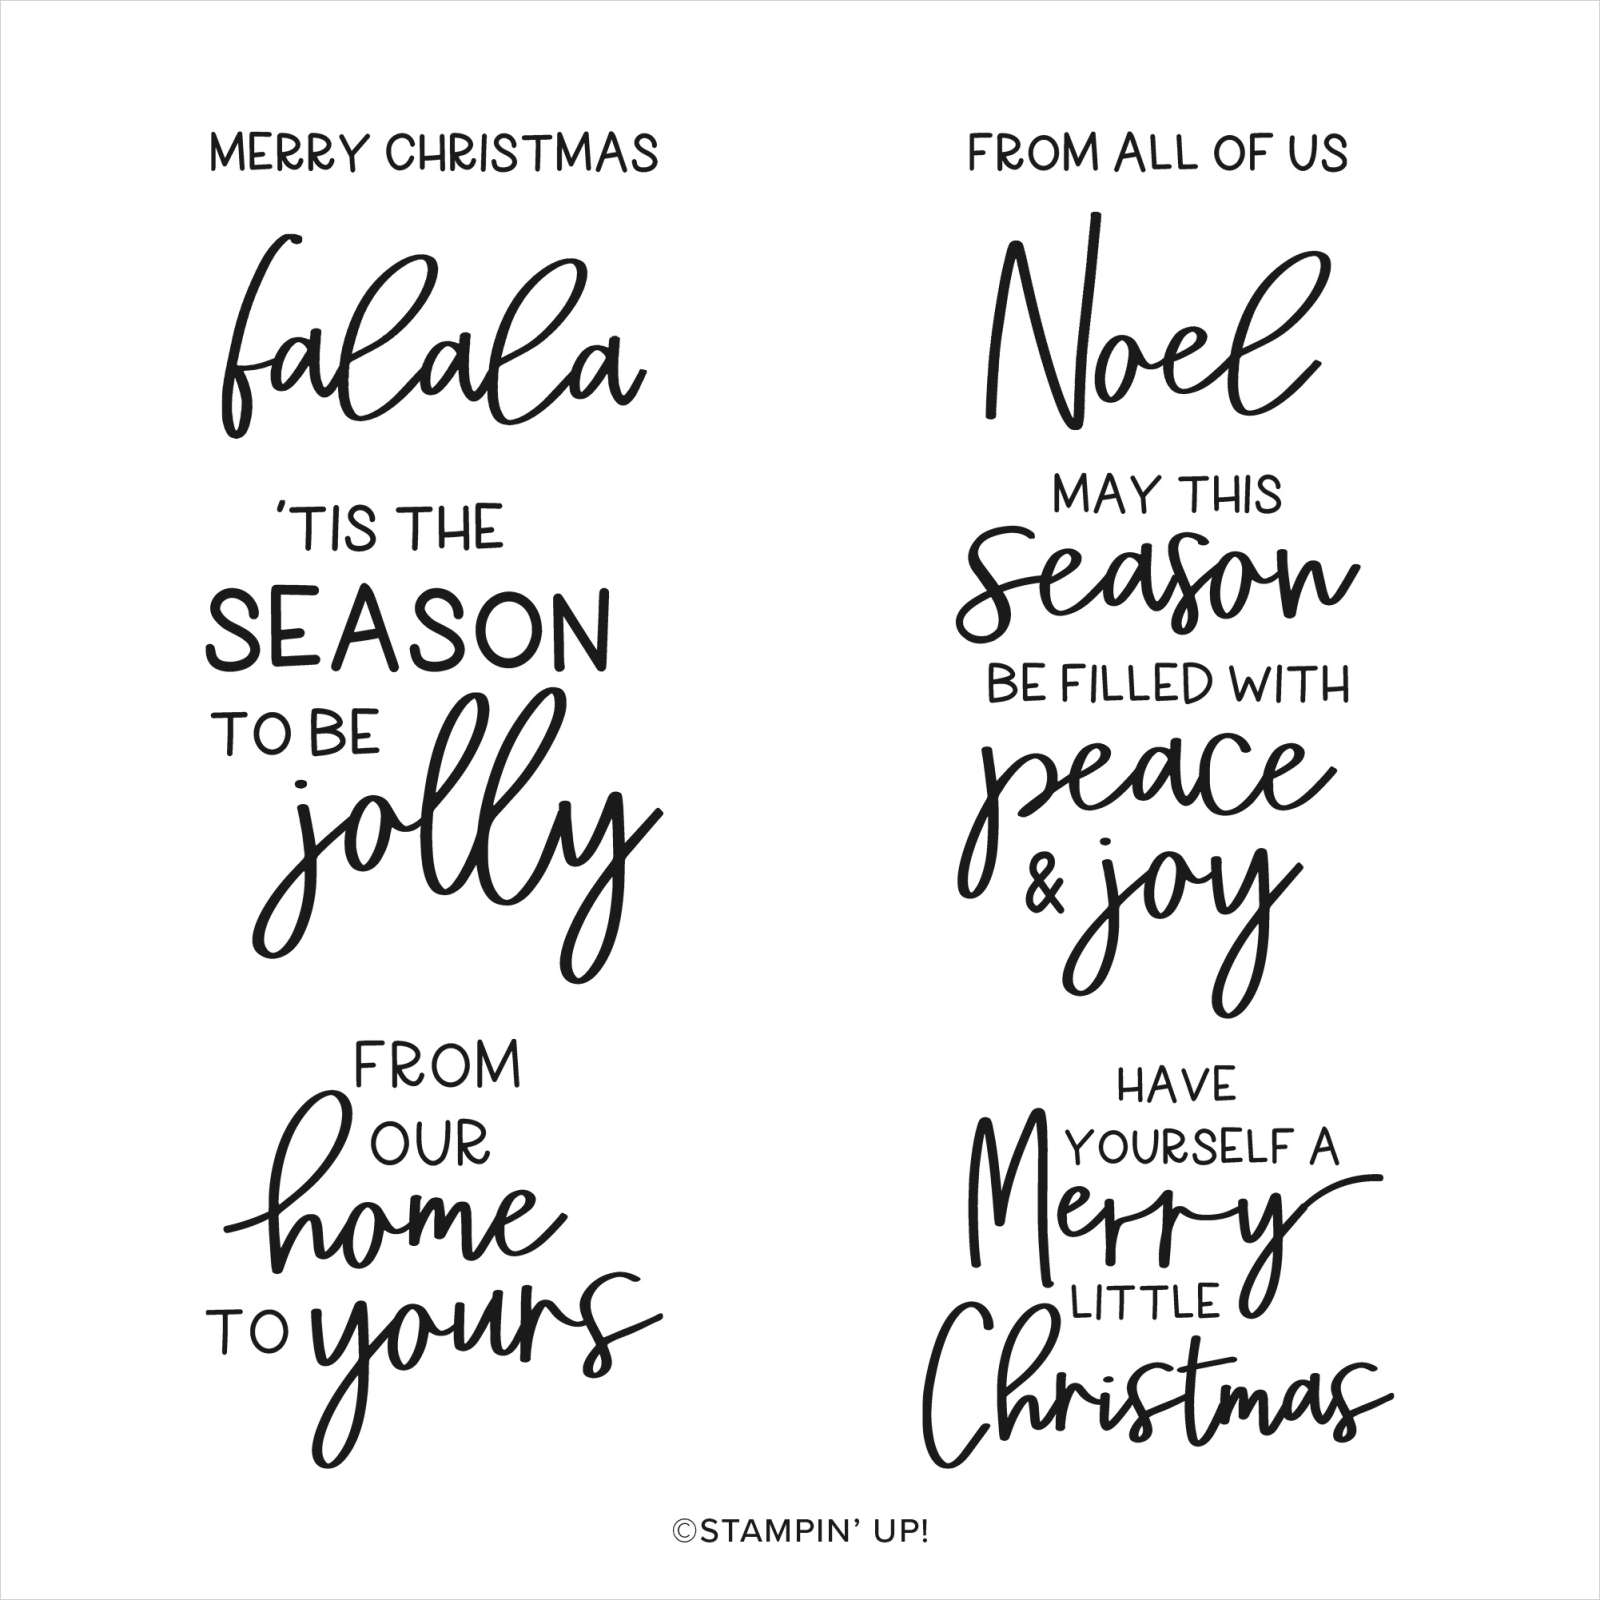
    The greeting is from the Framed & Festive stamp set seen here; available through early January or while supplies last.

    I love this card layout because of it's simplicity.  It has a textured layer, a layered piece of designer paper, ribbon and a punched greeting.  Everything most of us want to add to our cards.  Here are the measurements, in the photo below. 

    The greeting punch is the Decorative Circle punch from the Annual Catalog. 

    This DSP is a limited time products; available through early January or while supplies last.  It's featured in this month's kit to go seen here. 

    You can see all of these new products here. 

    ~~~

    Order online here

    Host code link: XZPZ6TDV  or BMGZZDPU

    November Specials: 

      1. Get a stack of designer papers from me with online orders over $50!
      2. All orders in November will receive a big project tutorial – a collection of 12 cards featuring this new collection of products.


    Earn free products with my loyalty rewards! 

    Click here to download yours and earn a $50 shopping spree!


    Leave a Reply

    Your email address will not be published. Required fields are marked *

  • Last set of my Christmas card class kits this year; while supplies lasts


    Update on blog issues:  I think it's working again; but if you're looking at this from a phone or tablet you may not see any photos.  But they may show up on a computer.  

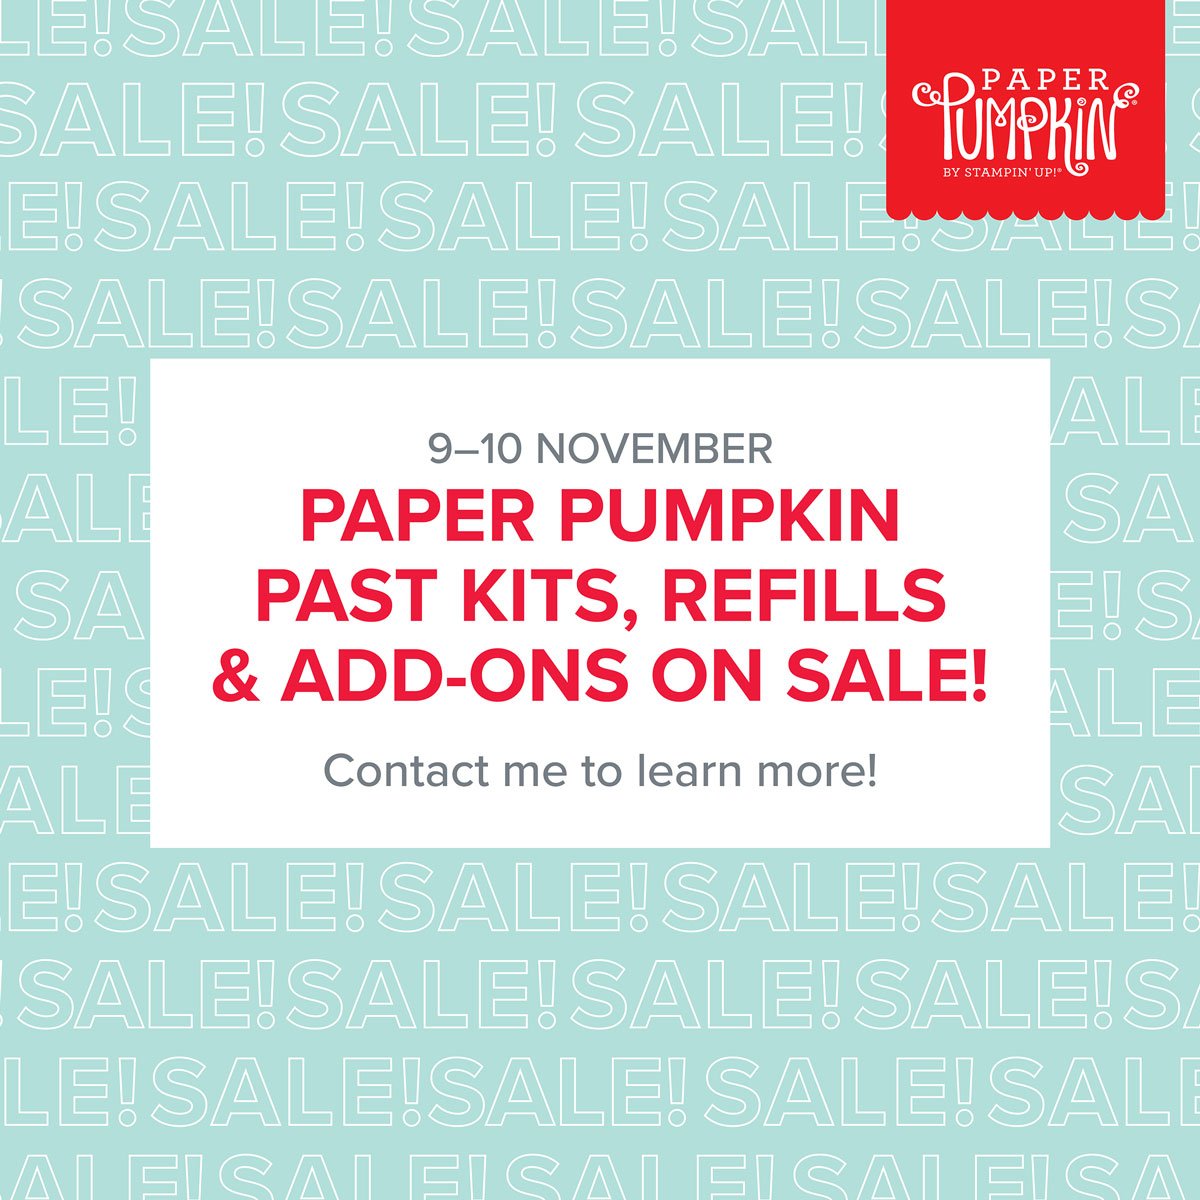
    Today & tomorrow only!!! 


    All Paper Pumpkin past kits, refills and add on's are 50% off!!  


    *click on any of the photos below to see them online.  Don't forget to use the host codes below: 

    ~~~

    Below is the last set of cards in my Christmas cards class series this fall.  I sure do enjoy creating them with our beautiful Stampin' Up! products!

    There's a nice variety – from cute to beautiful; they satisfy all of your holiday card needs.  

    The local class is on Saturday, November 19th at 10 am.  Cost is $25 and you'll make 3 of each card with stamped, coordinating envelopes too.  RSVP to attend by Thursday, November 16th please.  

    The pre-cut kit to go includes 12 cards, all cut, die-cut & punched pieces.  It includes ribbons but not gems, texturing or stamped images. The cost is $25 plus shipping. 

    For these cards I used these stamp sets: Trees for Sale, Cottage Wreaths, Christmas Lights, Handmade Wishes and Joyful Flurry; all from the 2022 Holiday catalog plus a few greeting images.  You can substitute other sets for these if you'd like to.  Inks: Evening Evergreen, Soft Succulent, Cherry Cobbler, Shaded Spruce, Versamark, Red, Garden Green, Pool Party & Poppy Parade

    Go here to get the kit to go by November 16th or while supplies last.  *The PDF tutorial is sent to you via email immediately after payment. 

    You can combine kits and save on shipping. You can see them all here.  

    I also have a PDF tutorial for every card in my Christmas card series – all seen below.  See that here.   

    ~~~

    Order online here

    Host code link: SVBHWRCY or BMGZZDPU

    November Specials: 

      1. Get a stack of designer papers from me with online orders over $50!
      2. All orders in November will receive a big project tutorial – a collection of 12 cards featuring this new collection of products.

    Earn free products with my loyalty rewards! 

    Click here to download yours and earn a $50 shopping spree!
    Leave a Reply

    Your email address will not be published. Required fields are marked *


Notice: LeeAnn Greff, Independent Stampin’ Up! Demonstrator, Manager. The content of this website is my sole responsibility as an independent Stampin’ Up! demonstrator and the use of, and content of, the classes, services, or products offered on this website is not endorsed by Stampin’ Up! Copyright 2025