/


Latest Post

Blessings of Home & Flowers of Home dies projects


Look at this pretty card I made on last week's Facebook Live. 
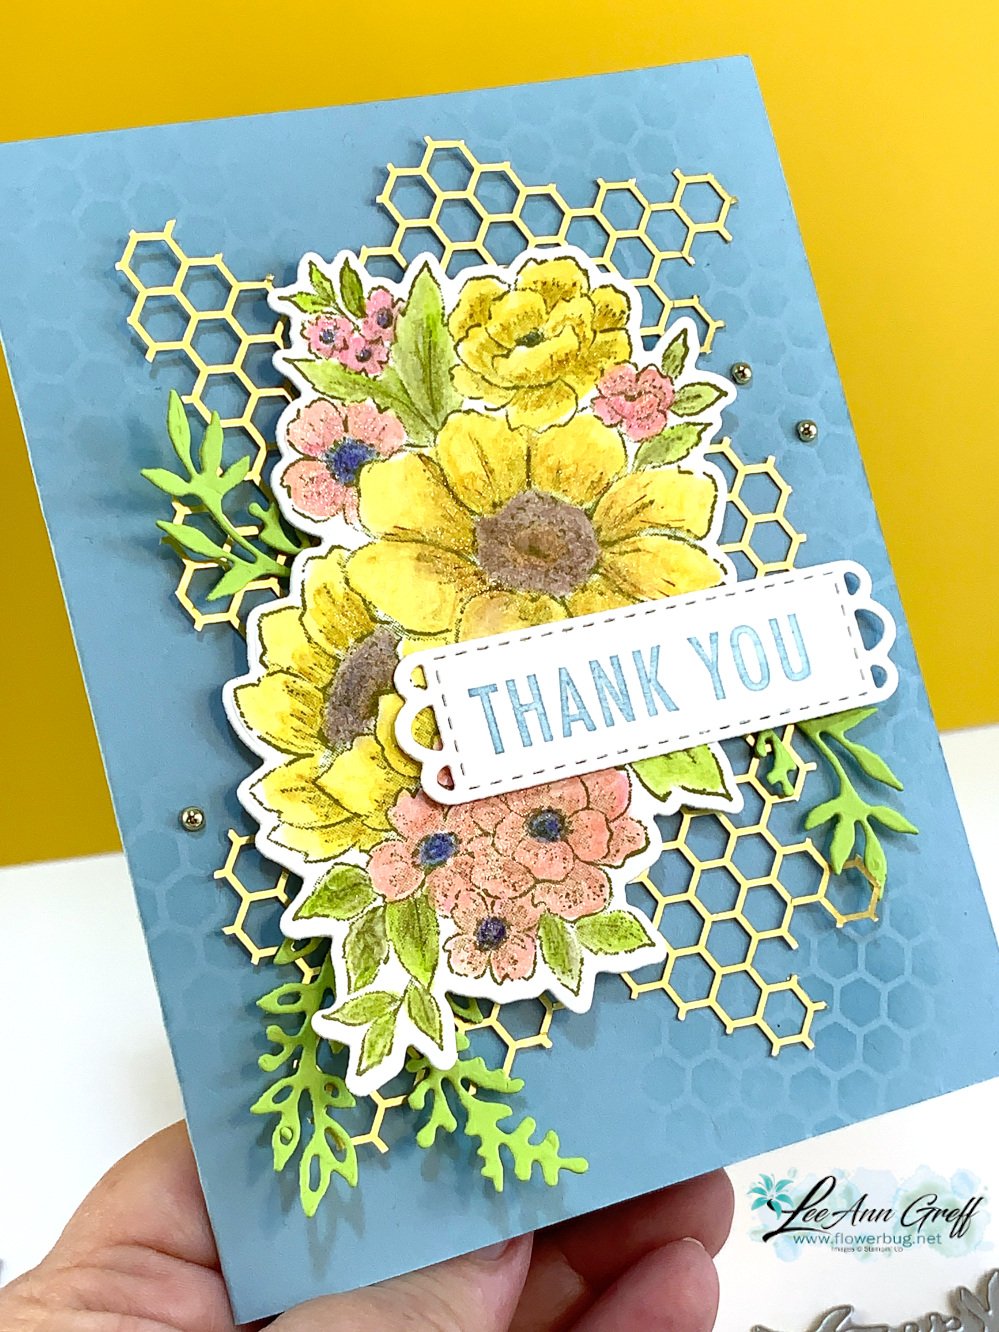
Lots of pretty details on this card:

  • Blessings of Home stamp set & Flowers of Home dies for the leaves
  • I used watercolor pencils & blender pen to color the floral image
  • the gold honeycomb sheet is from the Sweet Sunflower Paper Pumpkin kit; it was a free gift add on
  • I used the gold honeycomb sheet to add a pretty, blended background using Balmy Blue ink & a Blending Brush

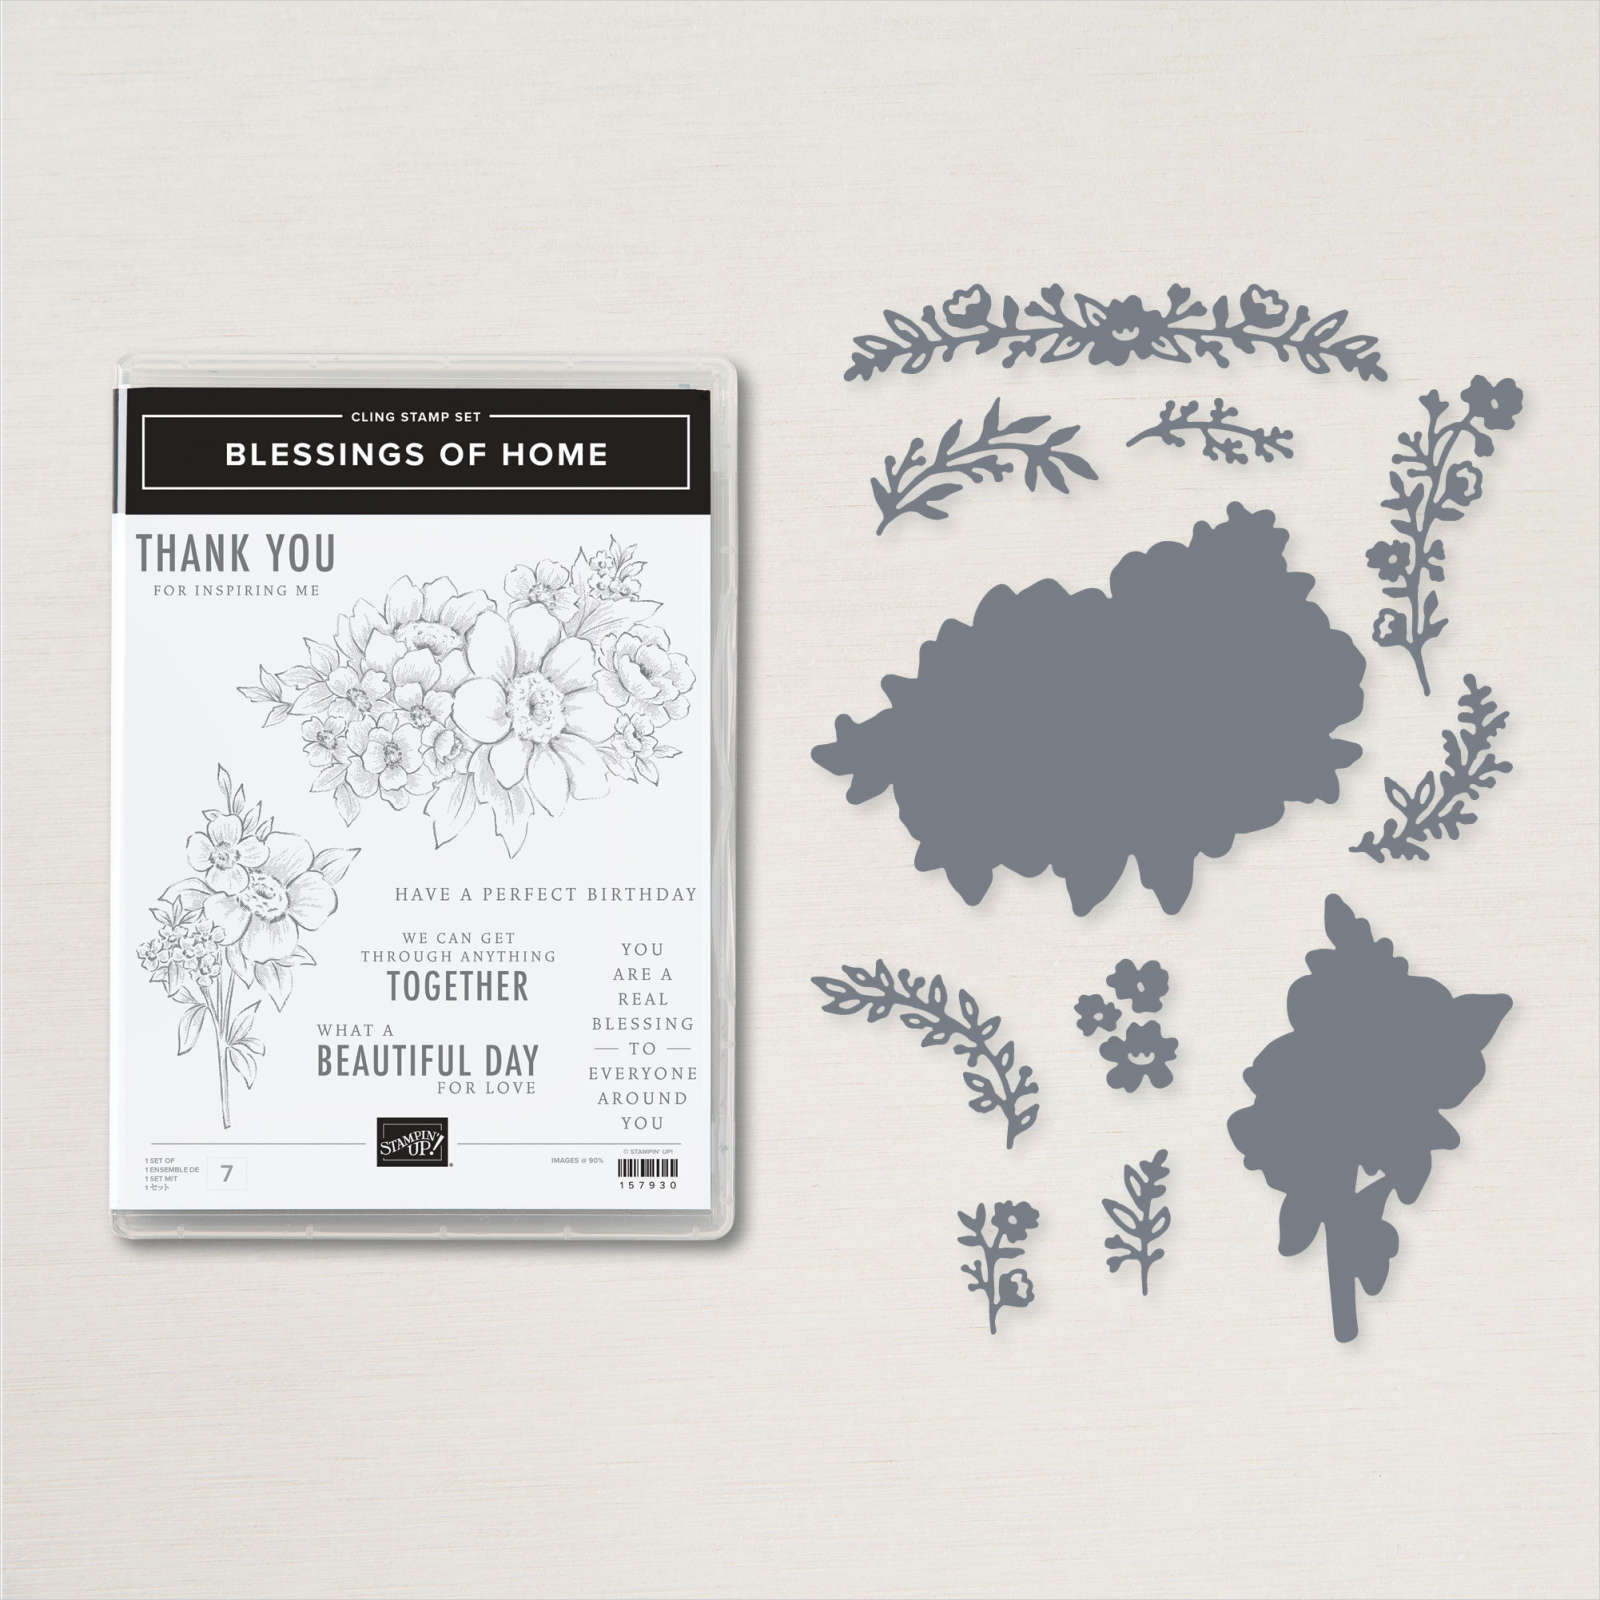
The Flowers of Home dies are in the 2022-23 Annual Catalog but also available free with a $100 Stampin' Up! order during Sale-a-Bration.  See them here. This option ends on Wednesday, August 30th.  See all of the Sale-a-Bration options here. 

The stamp set & dies are available in a bundle too.
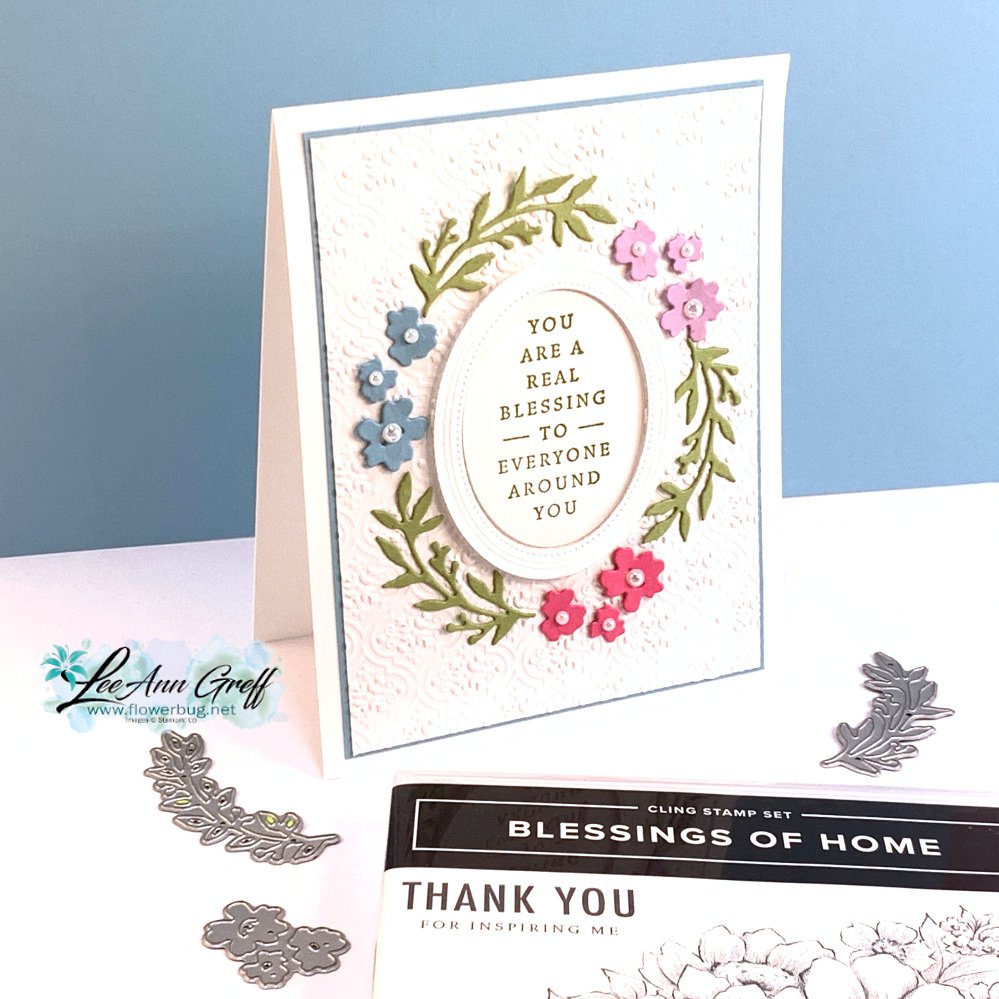
I made a second card using mostly the Flowers of Home dies.

I cased the card from Sue Mohr; I thought it was simply elegant way to create a 'wreath' around the oval sentiment.  

The oval dies are from the Fabulous Frames dies seen here.  When you cut out the oval it creates both the frame and the inside; two pieces with one die! 

I textured the White layer with the Quatrefoil embossing folder seen here.  It's so pretty and works perfectly with these flower & leaves die-cuts.  

The colors I used are Balmy Blue, Pear Pizzazz, Polished Pink and Fresh Freesia.  

Tip; when adding these delicate die-cuts use just a tiny but of Multipurpose Liquid glue.  
Remember that these Flowers of Home dies are free with any $100 order through Wednesday, August 31st.  Sale-a-Bration ends that day. 

Click on the photo below to watch the video to see how I made both of these cards & one more too! 

~~~

August Specials

Get free items here in August during Sale-a-Bration! 
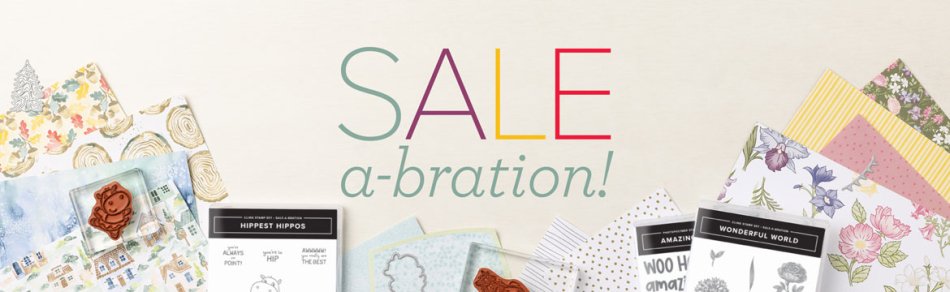

Host code: E22FXSSB


Get these pretty gems free! *click here to order 

Earn free products with my loyalty rewards! 

Click here to download yours and earn a $50 shopping spree!

All Posts

  • More Magical Meadow fun fold cards by Judith


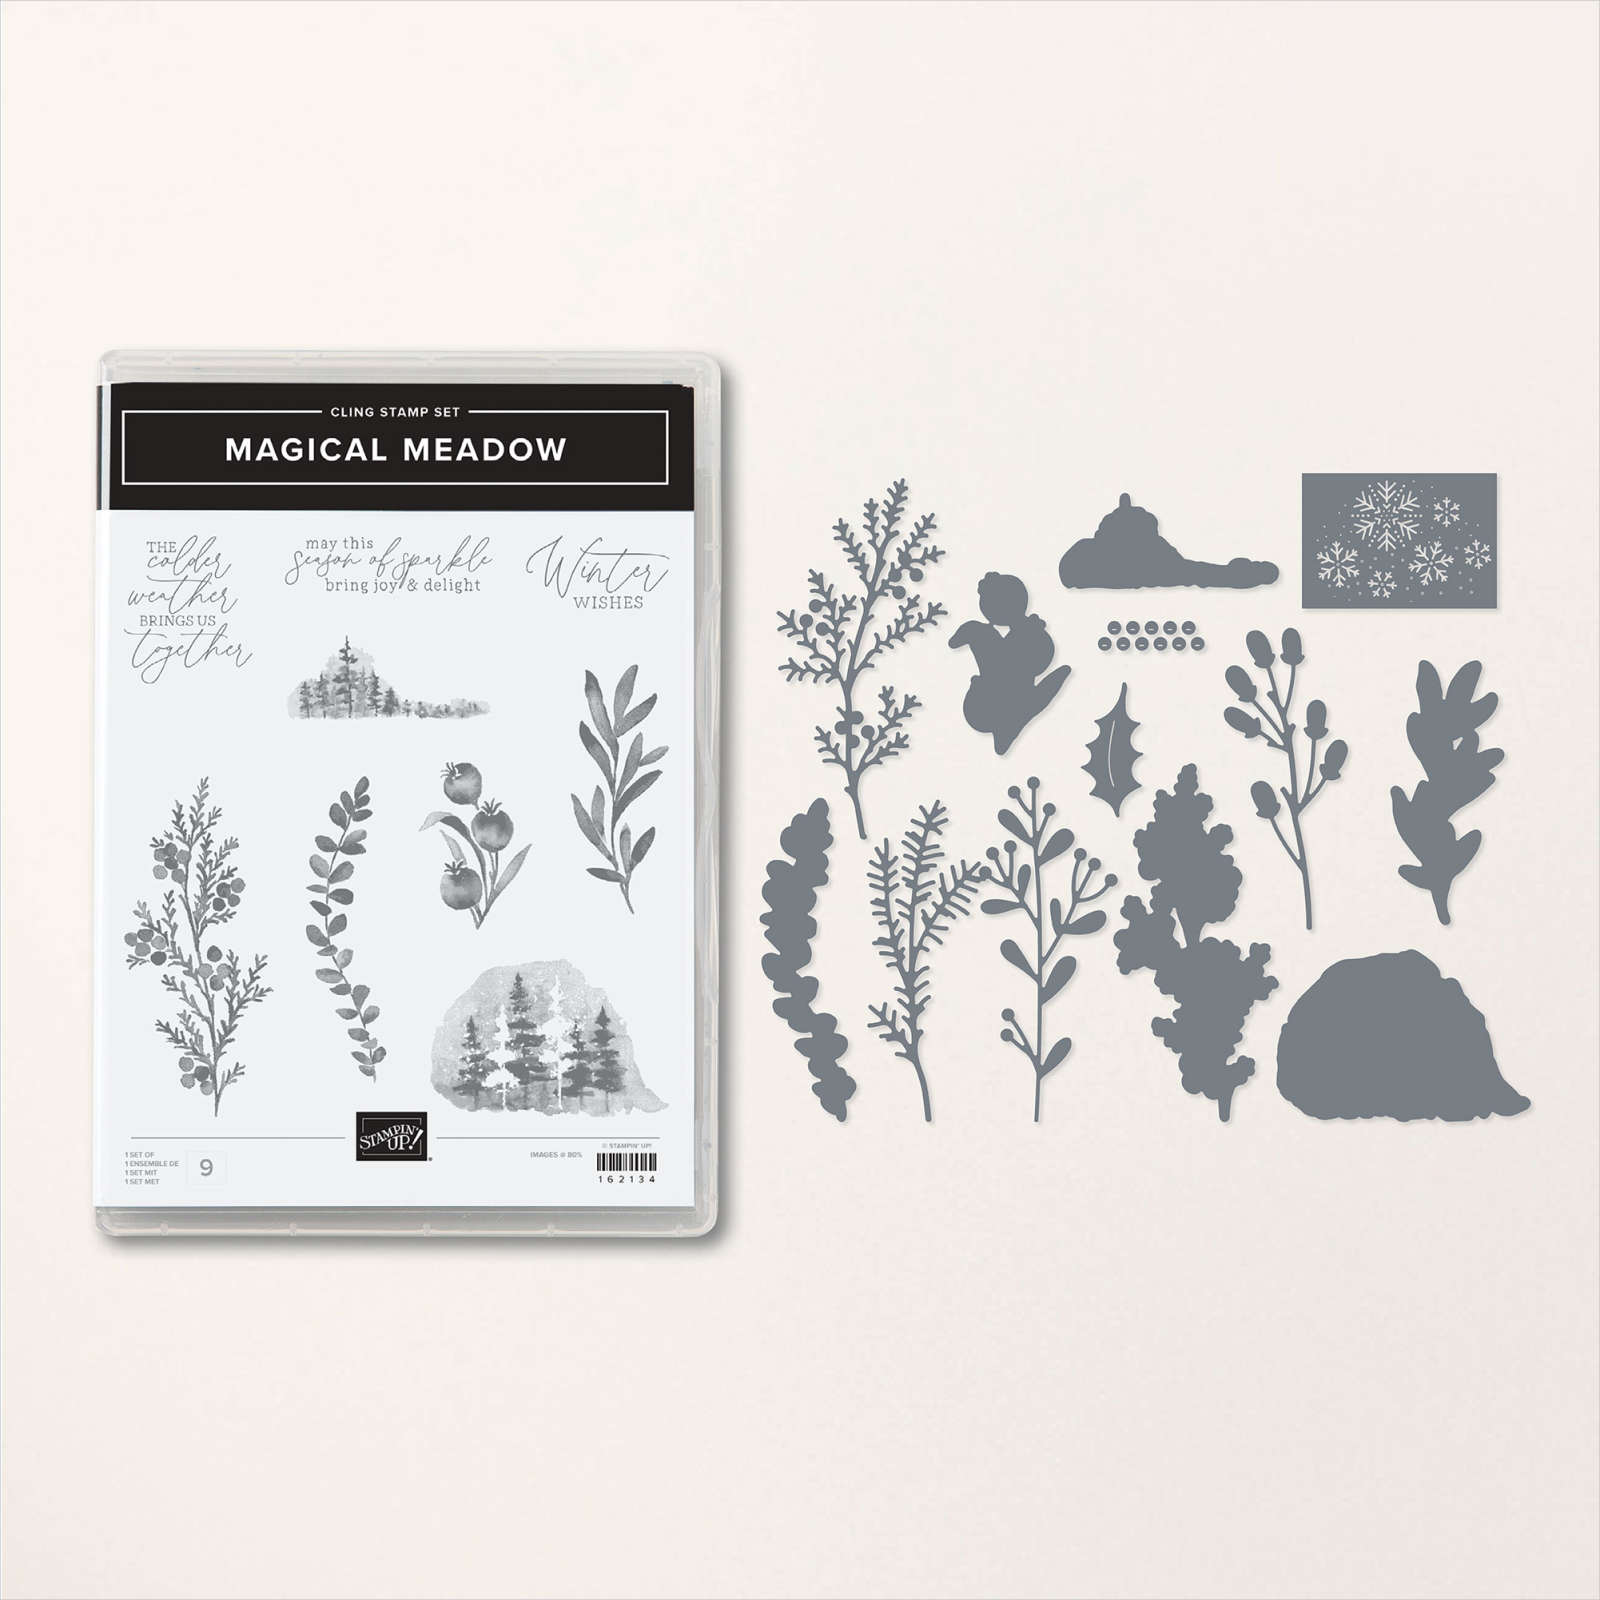
    Yesterday I shared the cards Judith made as our Team Artist of the Month and today I'm sharing more. She did a wonderful job highlighting the Magical Meadow bundle and the Winter Meadow designer paper. 

    All of her cards have been fun folds; she does like to make fancy fold cards. 

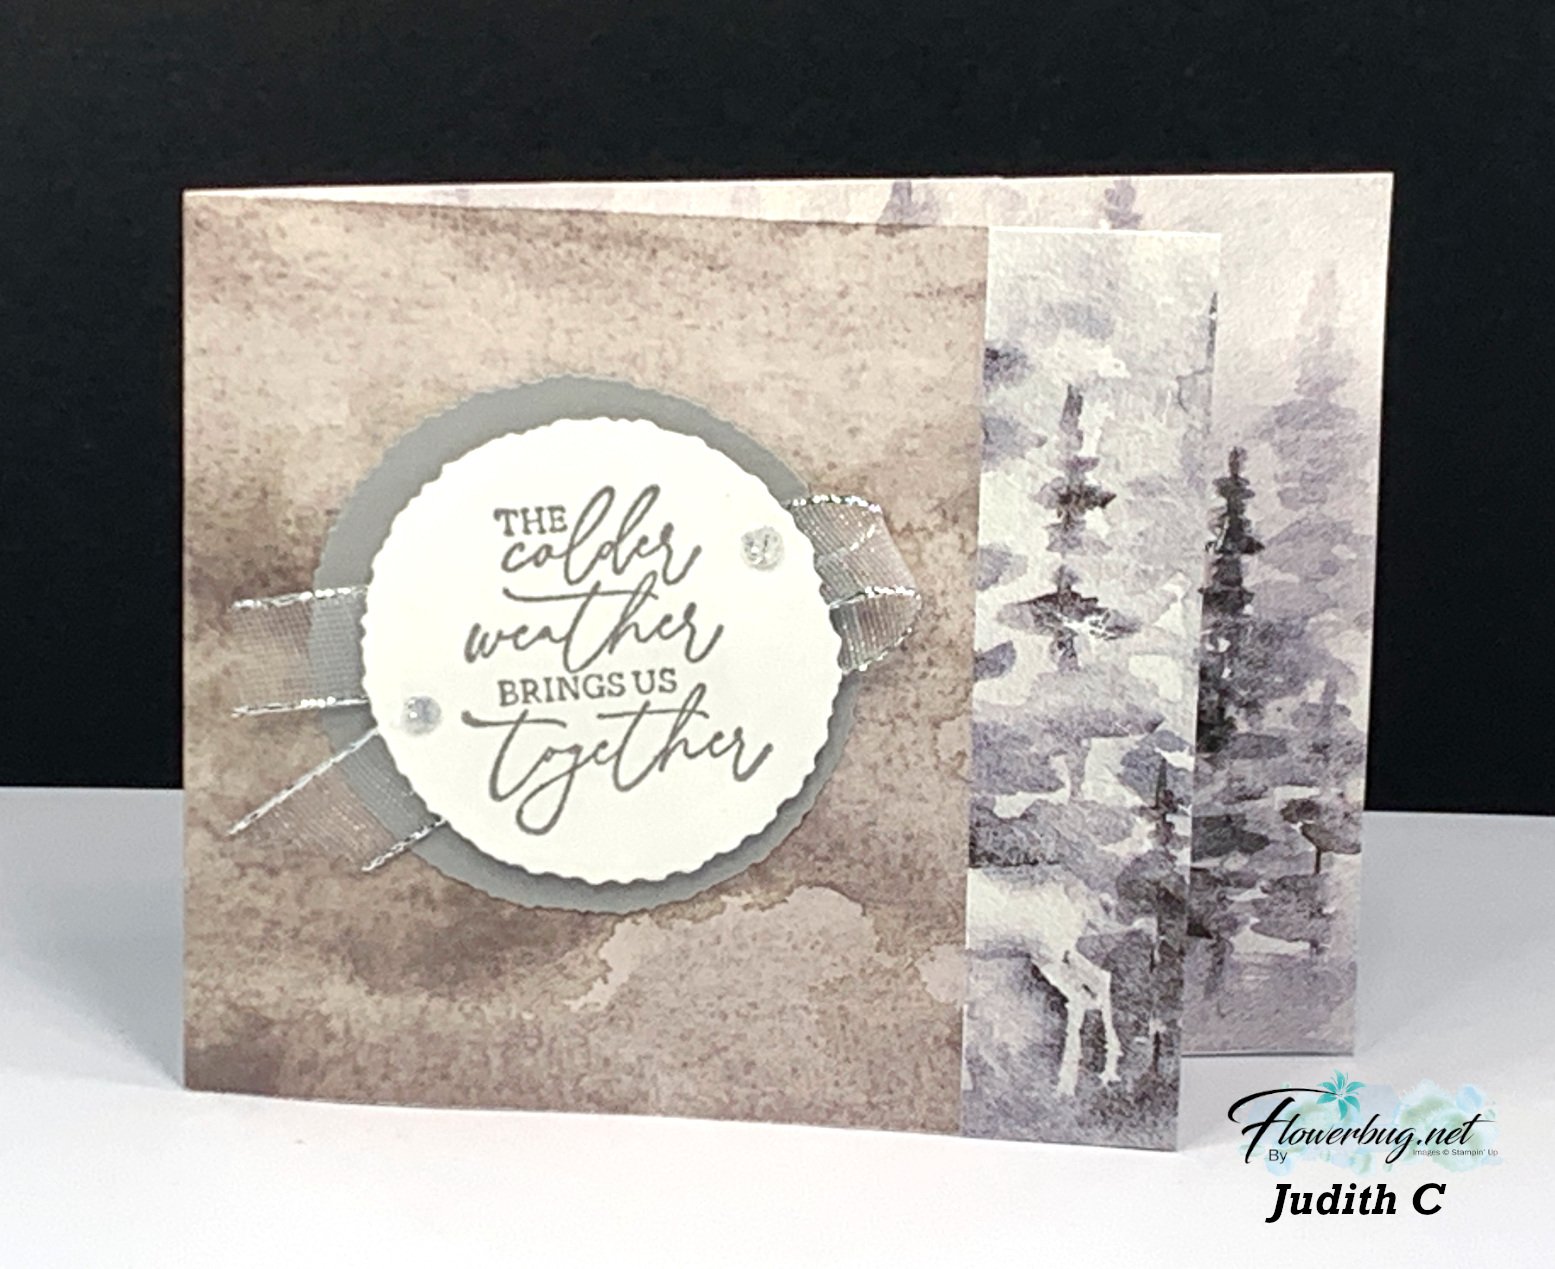
    This card features a center greeting layer that enfolds both front layers of her gatefold card.  She left it removeable so the recipient can add it or leave it off.  You can adhere it if you'd like; I usually add it to the left side.  

    The gorgeous leaves & berries image was done with markers; it coordinates with the Magical Meadow dies perfectly! She used the Deckled Circle dies seen here. 

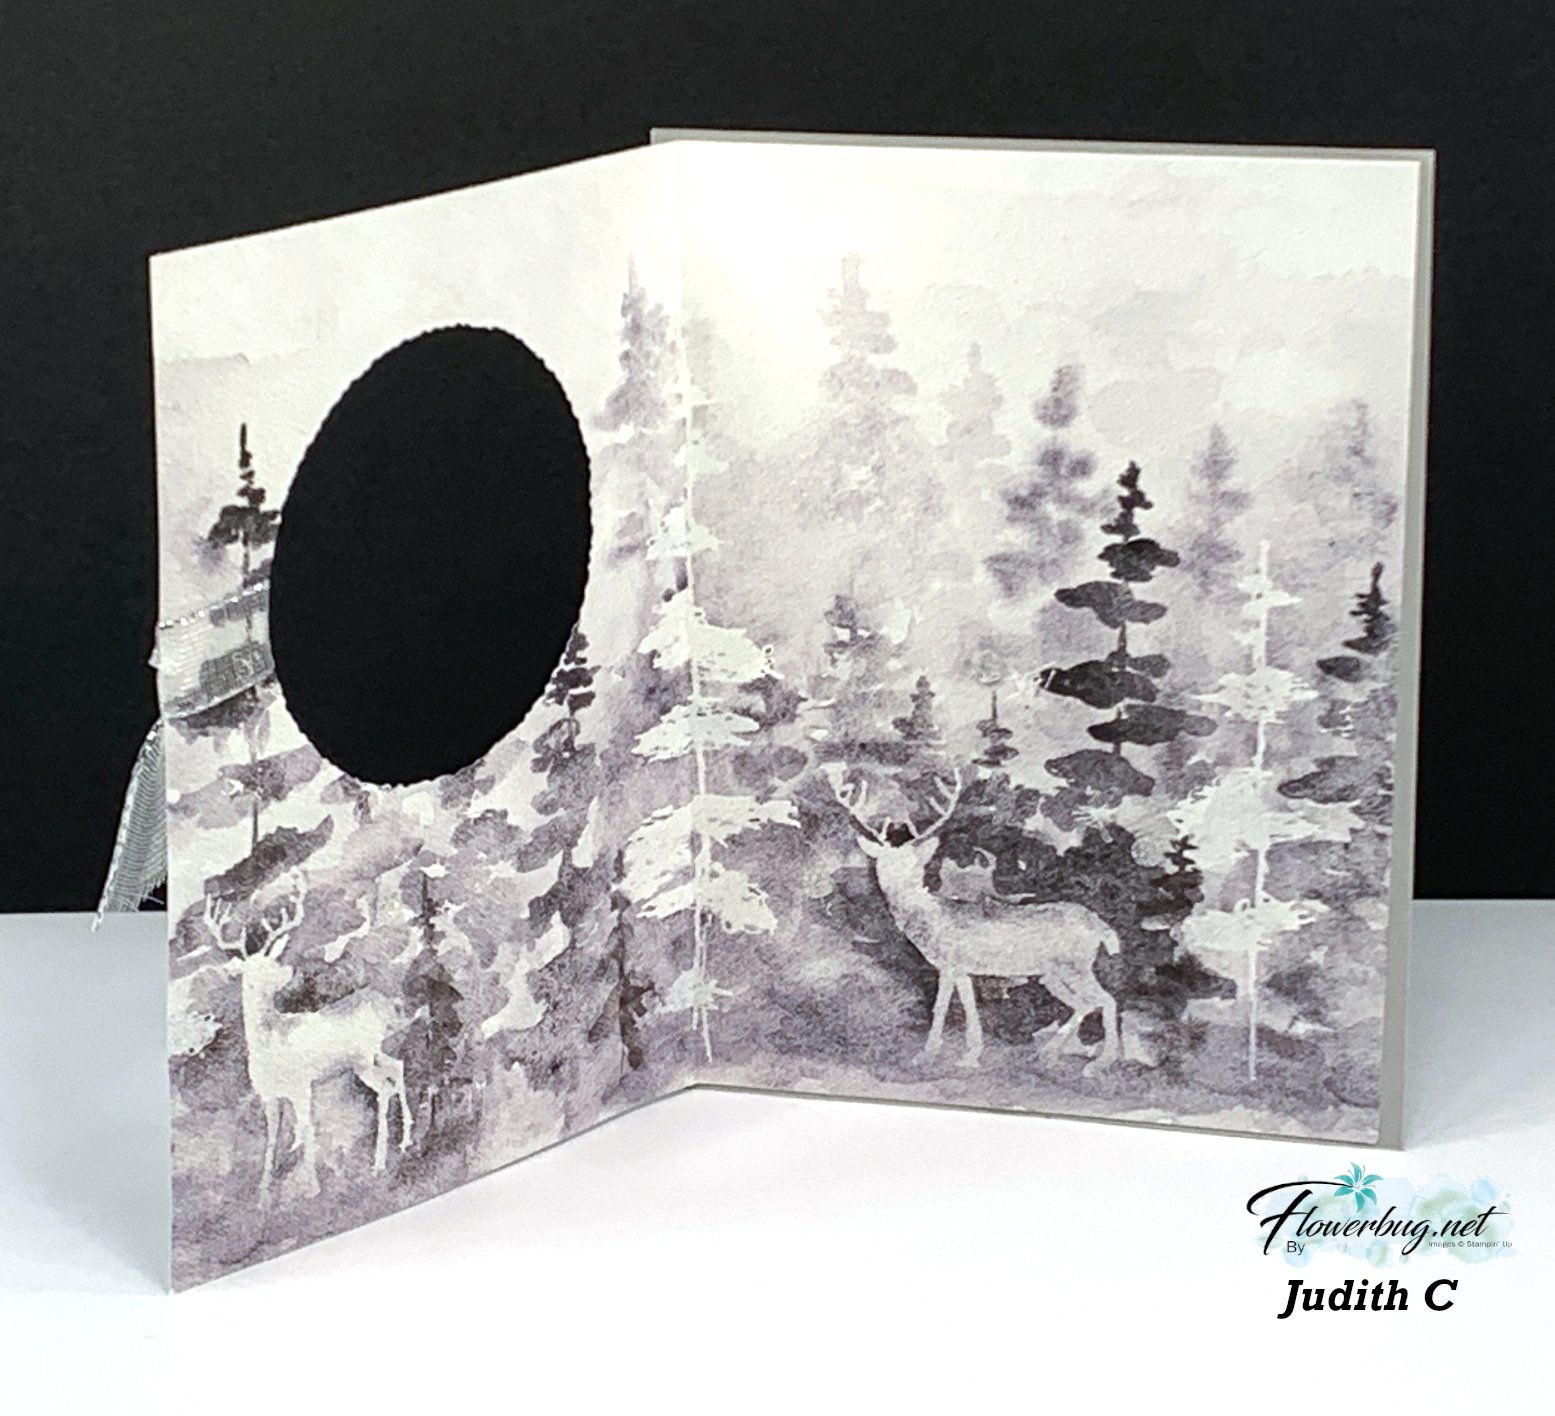
    Below is the inside view with the center layer separate. 

    Next is another fun fold card I call a double-flap card. She used the same sheet of Winter Meadow as the card above. 

    She scored the right side of her double layered circles and adhered the scored flap under the inside layers. Clever!  

    The greeting layers are from the Autumn Leaves dies and of course she used the beautiful White & Silver mesh ribbon – all from the 2023 Holiday catalog.  

    Thank you for sharing these beautiful projects with us Judith!  

    ~~~

    November Specials: 

    *current host codes:  4D2ZDS6Q or 77277NNH

    Click on the image below to see the Holiday Last Chance items 


    Leave a Reply

    Your email address will not be published. Required fields are marked *

  • Magical Meadow & Winter Meadow fun fold cards


    Today I'm sharing two gorgeous cards made with the Magical Meadow bundle and the Winter Meadow designer paper.  Judith created multiple projects using this suite as the Artist of the Month on my Flowerbug's Team for November.

    First is a window card using the Deckled Circle dies: 

    Her colors include Gray Granite & Whisper White. The die-cut greeting is from the Autumn Leaves dies. I've always liked the ribbon tied around the window like this; a unique touch! 

    Measurements:

    • Card back is 4 1/4" X 5 1/2"
    • Designer paper 8" X 5 1/4" score at 4", window die-cut is 2 1/2"

    The designer paper is carrying over but sadly the Magical Meadow bundle is retiring soon; it's still available while supplies last. 

    This next card is a fabulous way to feature your double sided designer paper.  

    Start with a 11" X 4 1/4" layer. Score the left side at 1" and the center at 5 1/2". Fold back the 1" score line and secure closed. She used the Deckled Circle dies and the Silver & White ribbon on her greeting layer; both from the 2023 Holiday catalog. 

    Add a layer inside or just a simple greeting like she did. 

    The Winter Meadow designer paper is gorgeous as you can see. Beautiful water-colored scenes make your design work easy! I'm so glad it's carrying over for a few more months.  See it here. 

    I'll share more projects tomorrow!

    ~~~

    November Specials: 

    *current host codes:  4D2ZDS6Q or 77277NNH

    Click on the image below to see the Holiday Last Chance items 


    Leave a Reply

    Your email address will not be published. Required fields are marked *

  • Wishes all Around Christmas card with video & free project sheet


    I hope you all enjoyed your Thanksgiving holiday weekend. We sure did!  We spent it with our kids – playing games, making puzzles and of course enjoying wonderful food.

    ~~~

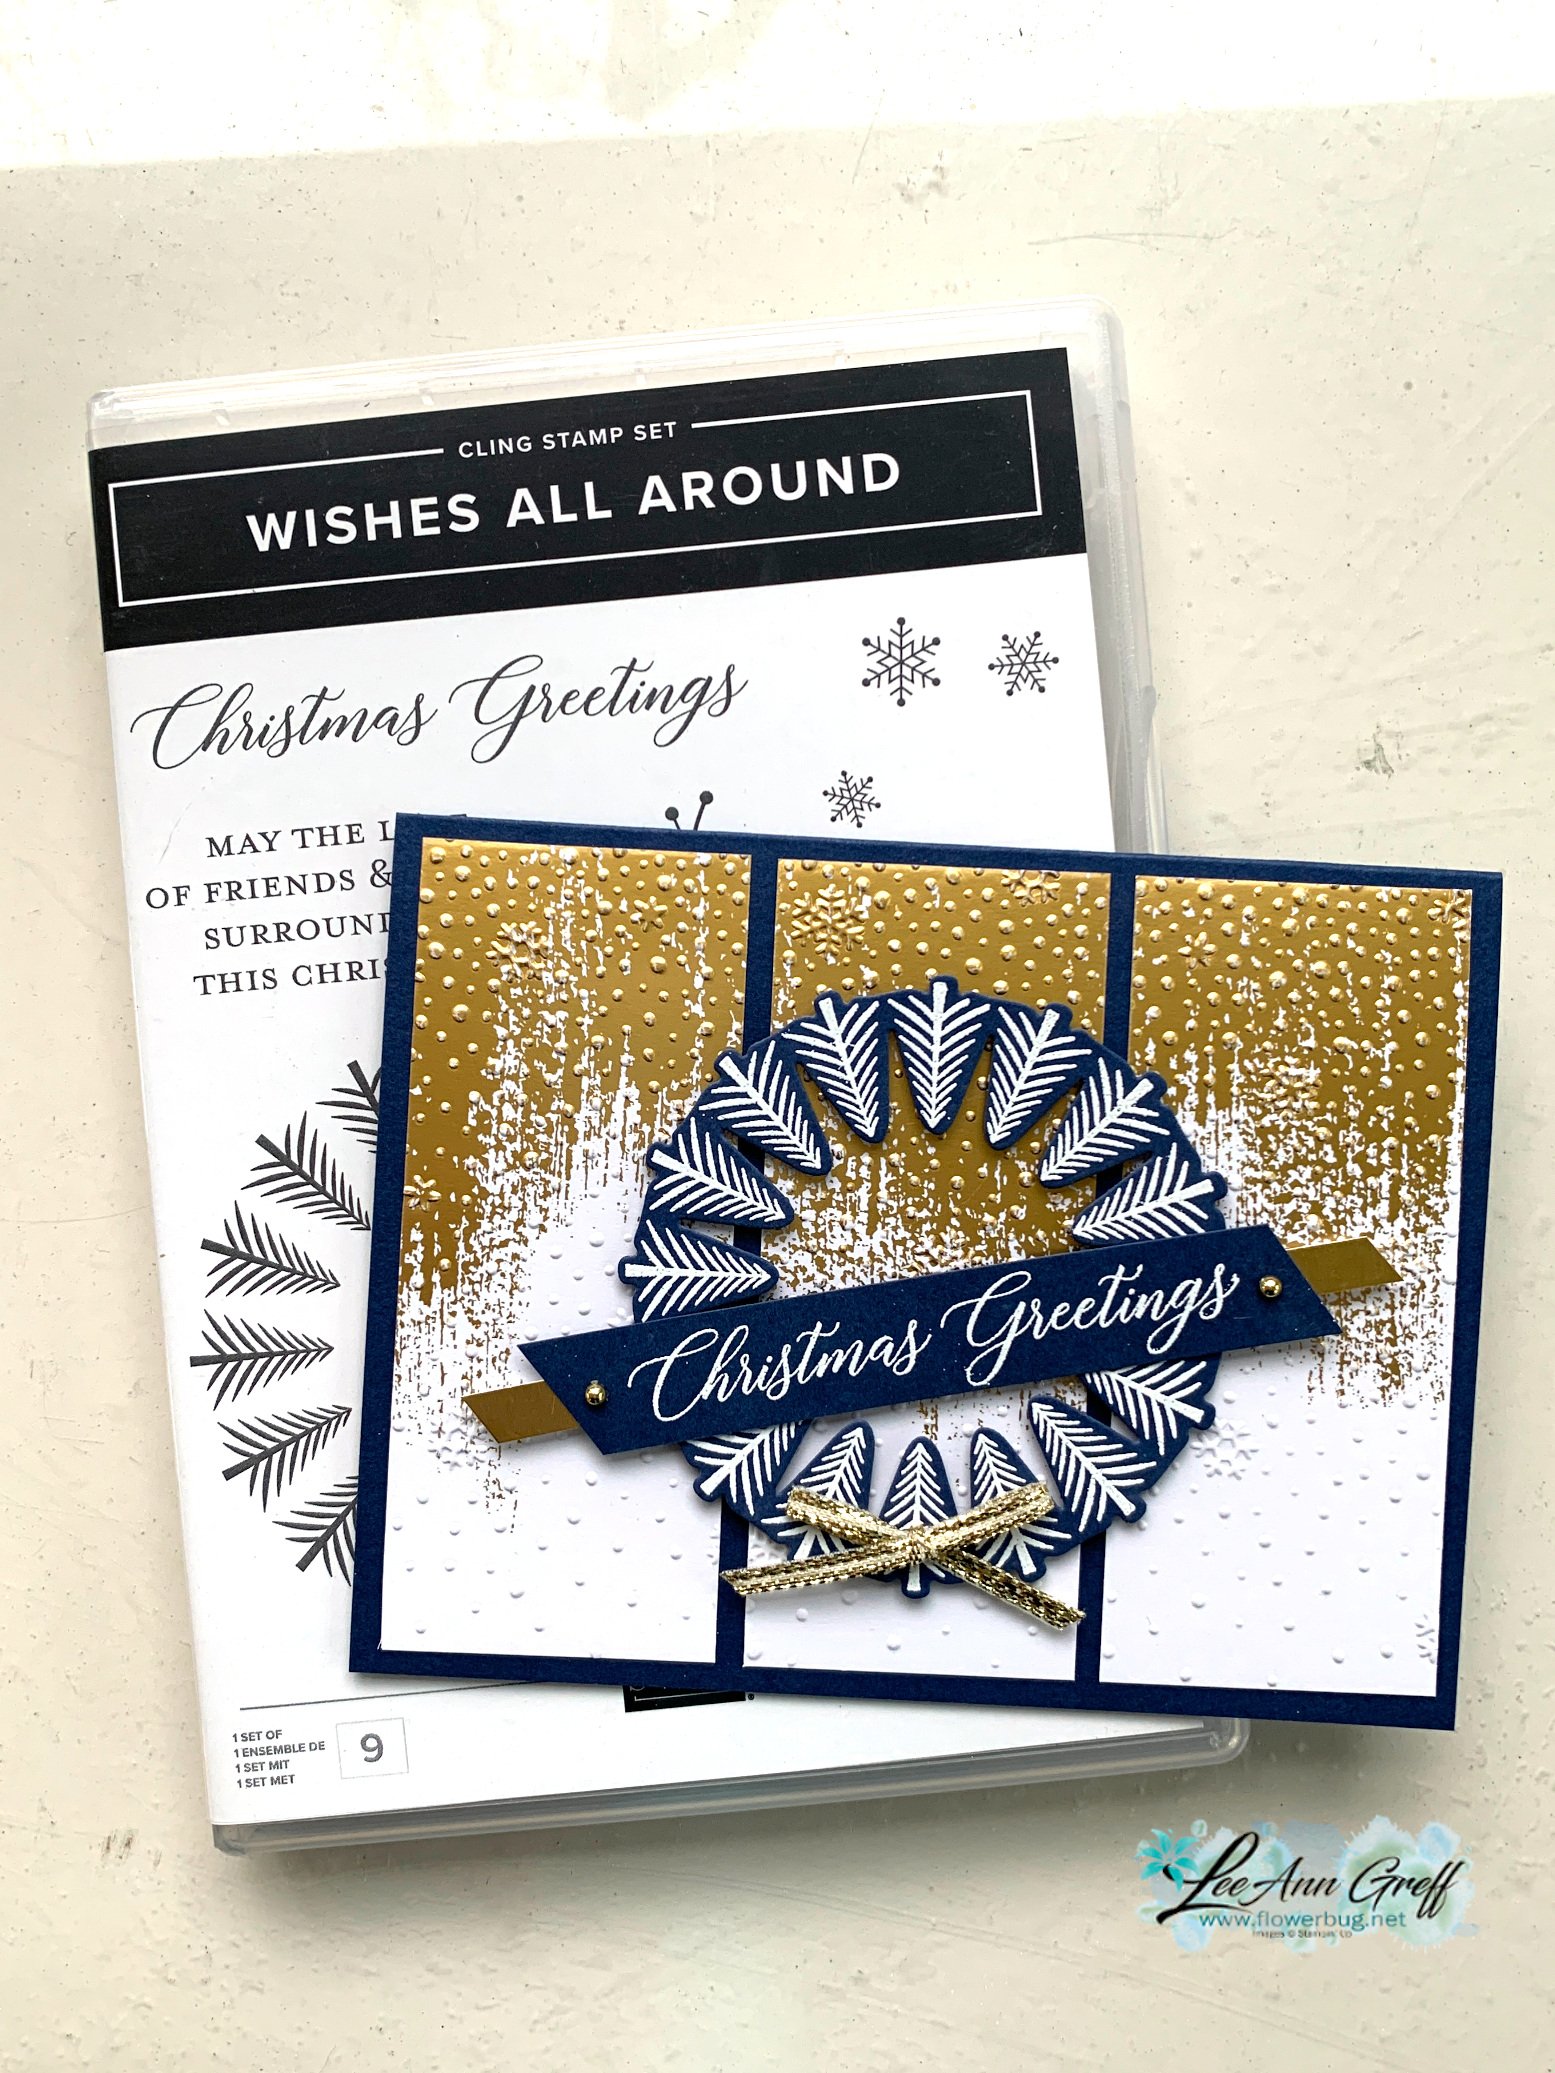
    Have you noticed the Wishes All Around bundle in the 2023 Holiday catalog?  

    I've always loved wreaths.  In fact I used to collect them and put them up at Christmas time on a big wall in my dining room. 

    I thought this Wishes All Around stamp bundle seen here had a wide variety of pretty stamps and wonderful dies. 

    I heat embossed the tree wreath image in White embossing powder and die-cut it with the coordinating dies. I added it onto three cut panels from the Brushed Gold Cards & envelopes; each one cut at 1 5/8" X 4" and added to my Navy card base. These panels are textured with the Snowflake Sky 3D embossing folder.

    I love the fact that you can cut the Brushed Gold cards & envelopes into two card fronts; more bang for your buck! 

    Below is a photo of all of the card swaps I made.  I truly love these Brushed Gold cards & envelopes. I've found them quite versatile and easy to use. 

    Here's a photo of this sweet bundle. As you can see it has three die-cut wreaths, snowflakes, trees and stems/berries. All meant to coordinate with the stamp set. 

    I made a second version in the video last week. Which do you prefer?

    Bow on top or on the bottom of the wreath?  Gold or white embossed greeting?


    Below is the video where I shared this pretty card.  Unfortunately this video has some blurry spots; I hope you can bear with me! 

    ~~~

    November Specials: 

    *current host code:  4D2ZDS6Q

    Click on the image below to see the Holiday Last Chance items 


    Leave a Reply

    Your email address will not be published. Required fields are marked *


Notice: LeeAnn Greff, Independent Stampin’ Up! Demonstrator, Manager. The content of this website is my sole responsibility as an independent Stampin’ Up! demonstrator and the use of, and content of, the classes, services, or products offered on this website is not endorsed by Stampin’ Up! Copyright 2025