/


Latest Post

Artist of the Month projects with the Bag of Bones suite!


Our Artist of the Month for September was Candy who chose the Bag of Bones bundle. She did an incredible job on her projects! 
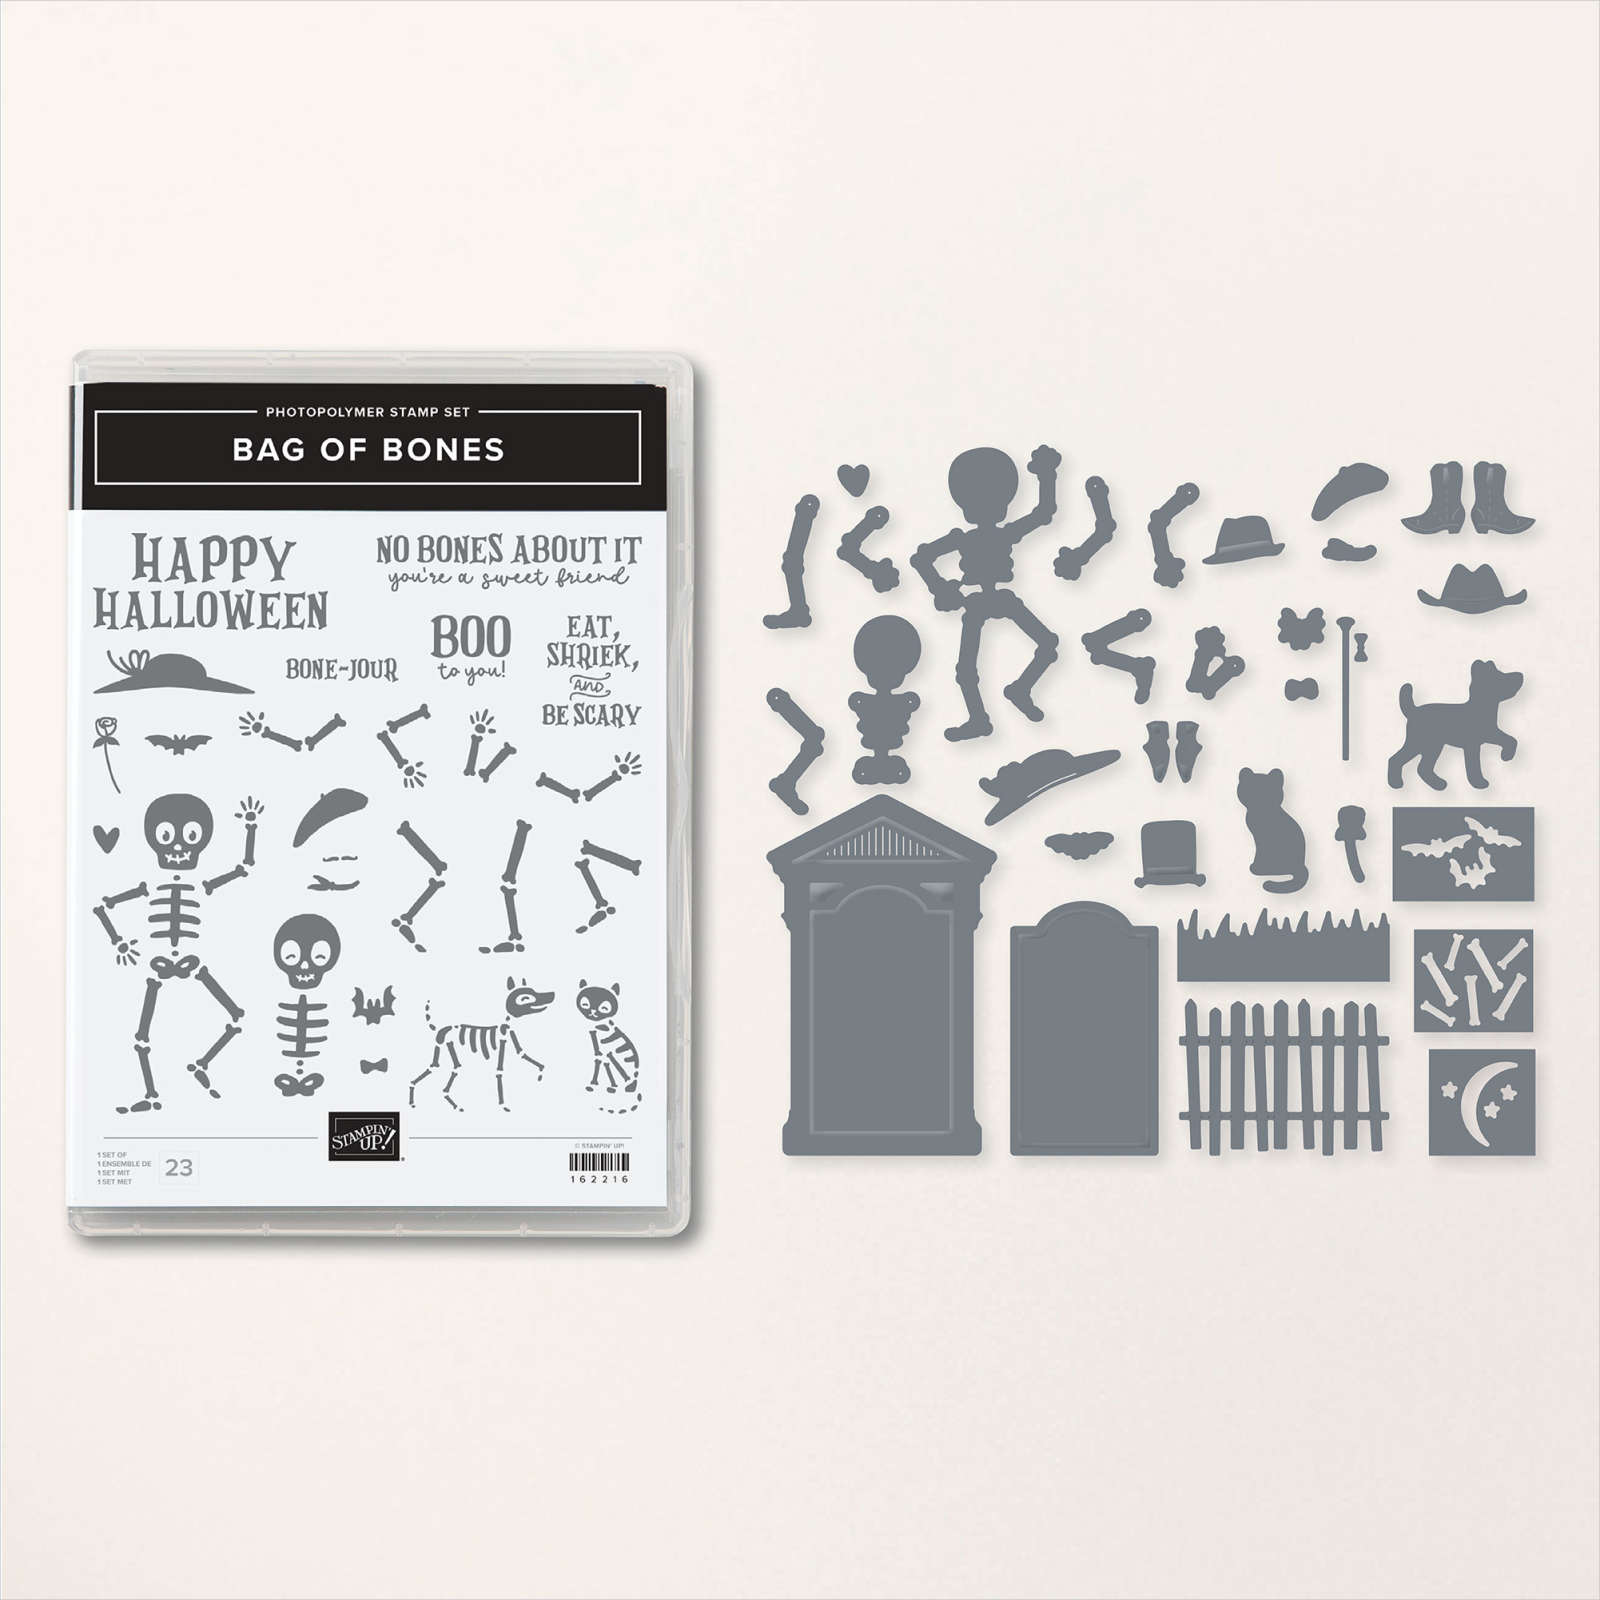
The suite is no longer available because the Glow in the Dark bats & ghosts have been discontinued. This means you can still get everything else individually. 

First is a card showing off both the Bag of Bones bundle and the Them Bones designer paper.
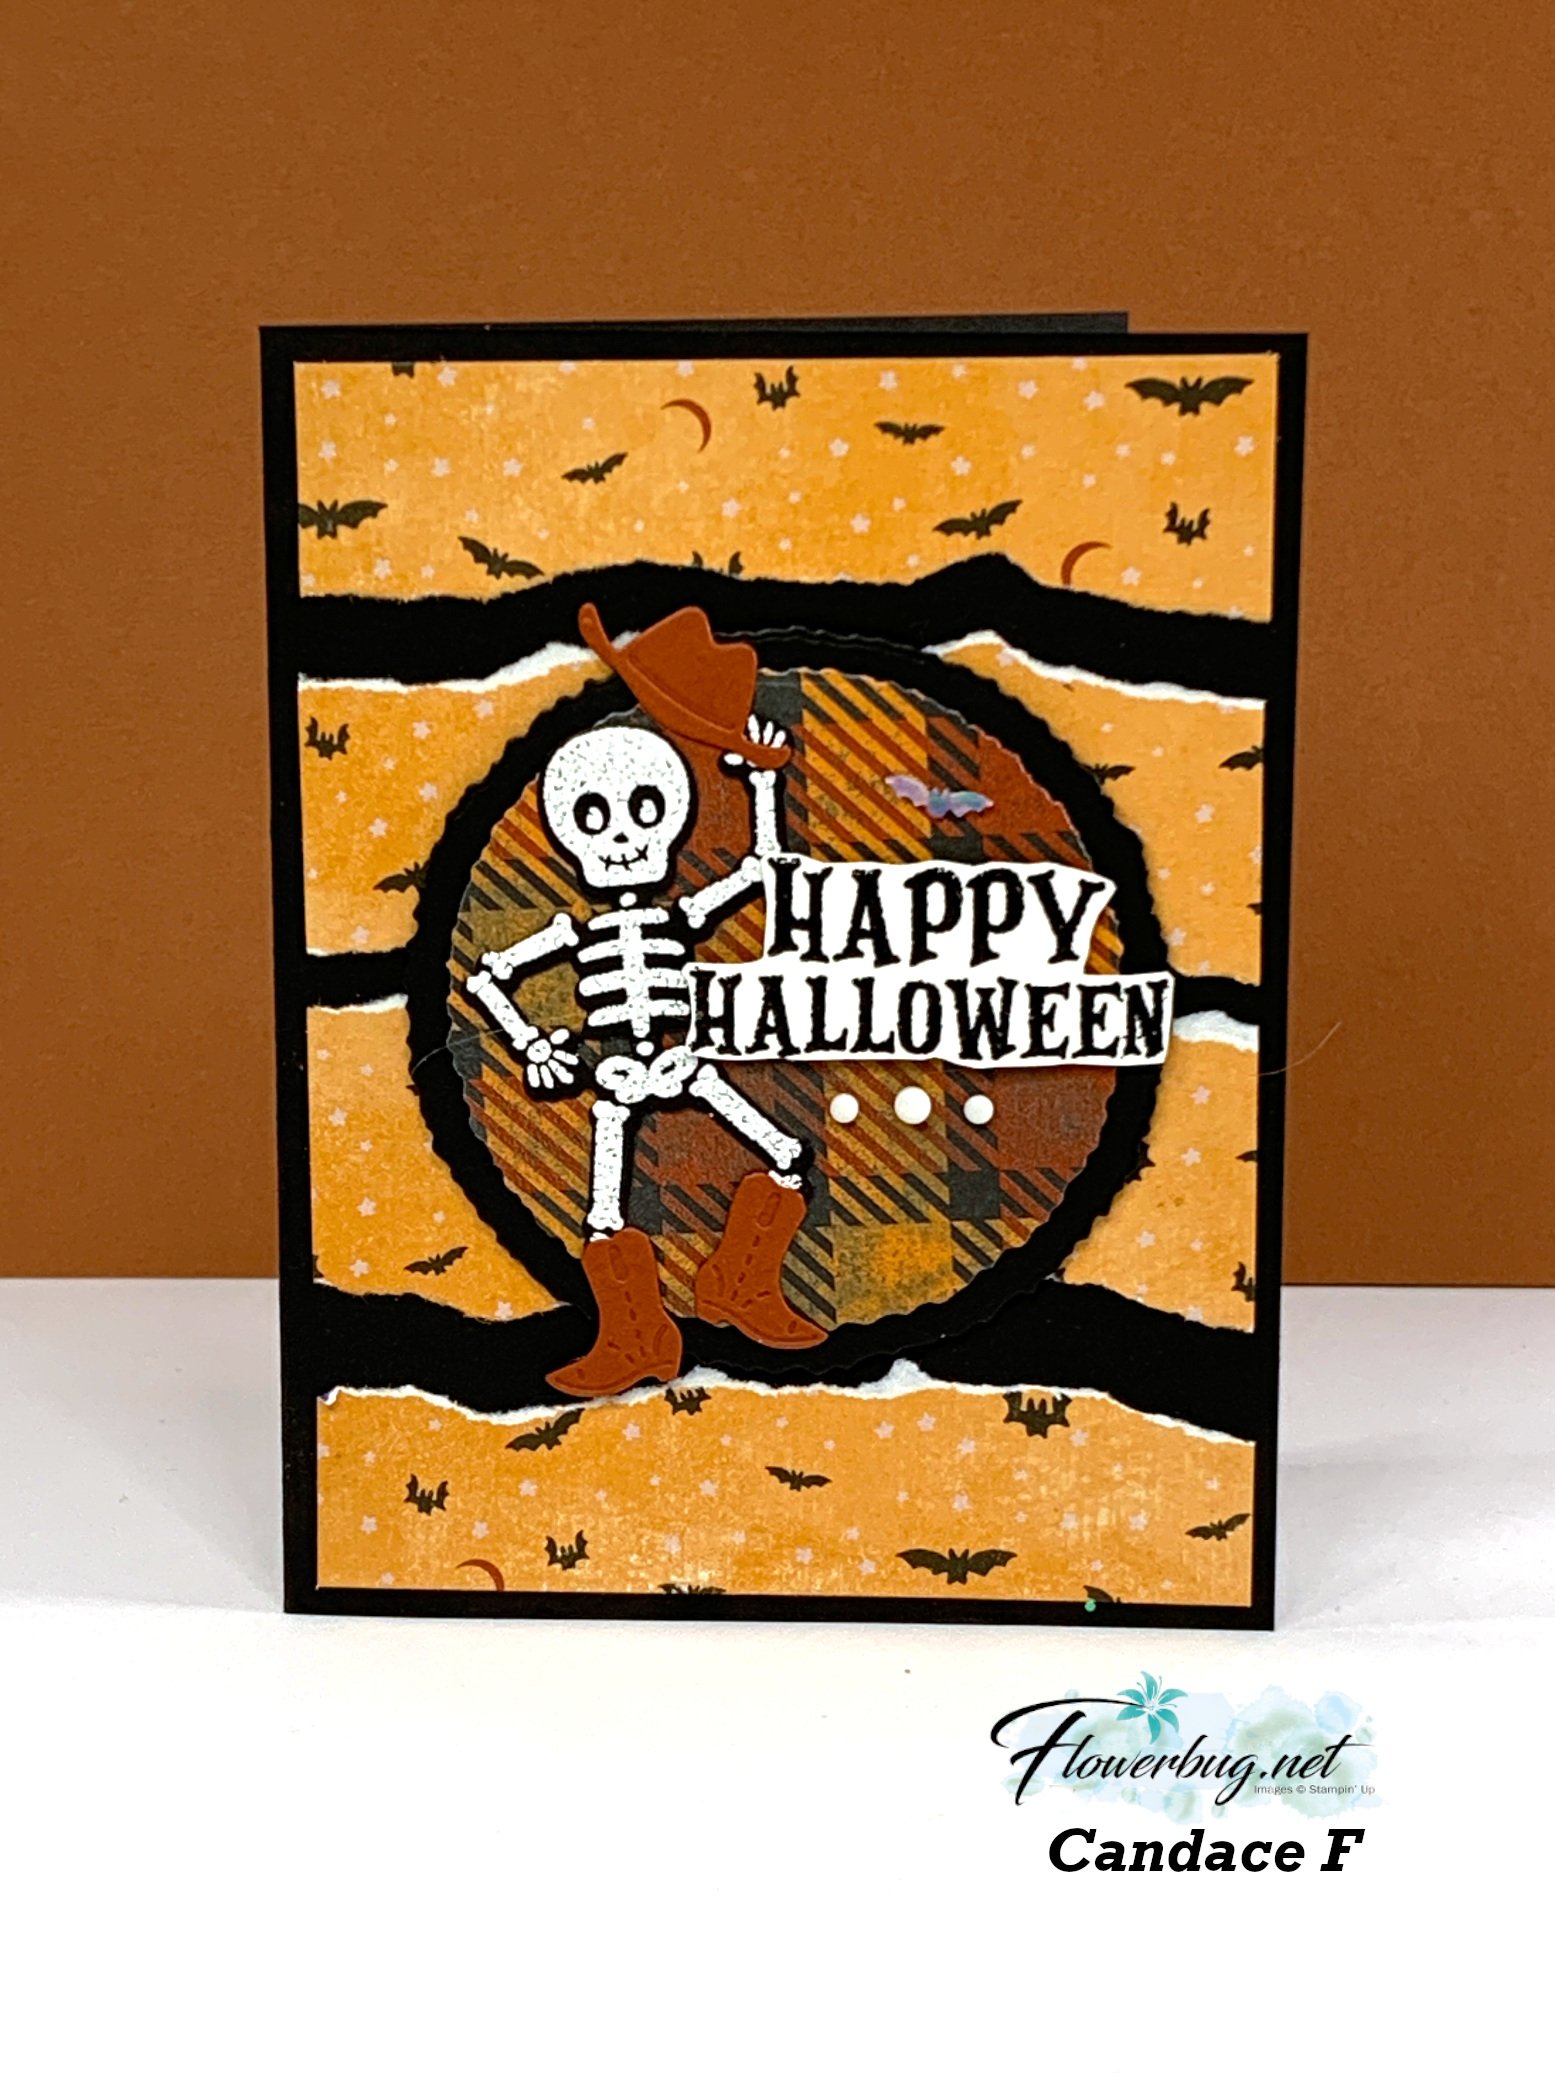
She tore her paper and pieces it on her card base.  Then she stamped the skeleton using Versmark onto Black card stock heat embossing it with White embossing powder. Love the boots and hat on him!  The circles are die-cuts from the new Deckled Circle dies in the 2023 Holiday catalog.  

Here's the Them Bones designer paper: 

Next is a neat monochromatic card in Basic Gray and Gray Granite.  She stamped the background with the skeleton bones!

The tombstone, fence, bats, cat and dog are all die-cuts from the Bag of Bones bundle. The dog and cat are stamped on our Glow in the Dark specialty paper.  You must use Stazon in for this or it may run. She sponged on gray ink onto the tombstone and fence for a 'spooky' look.  

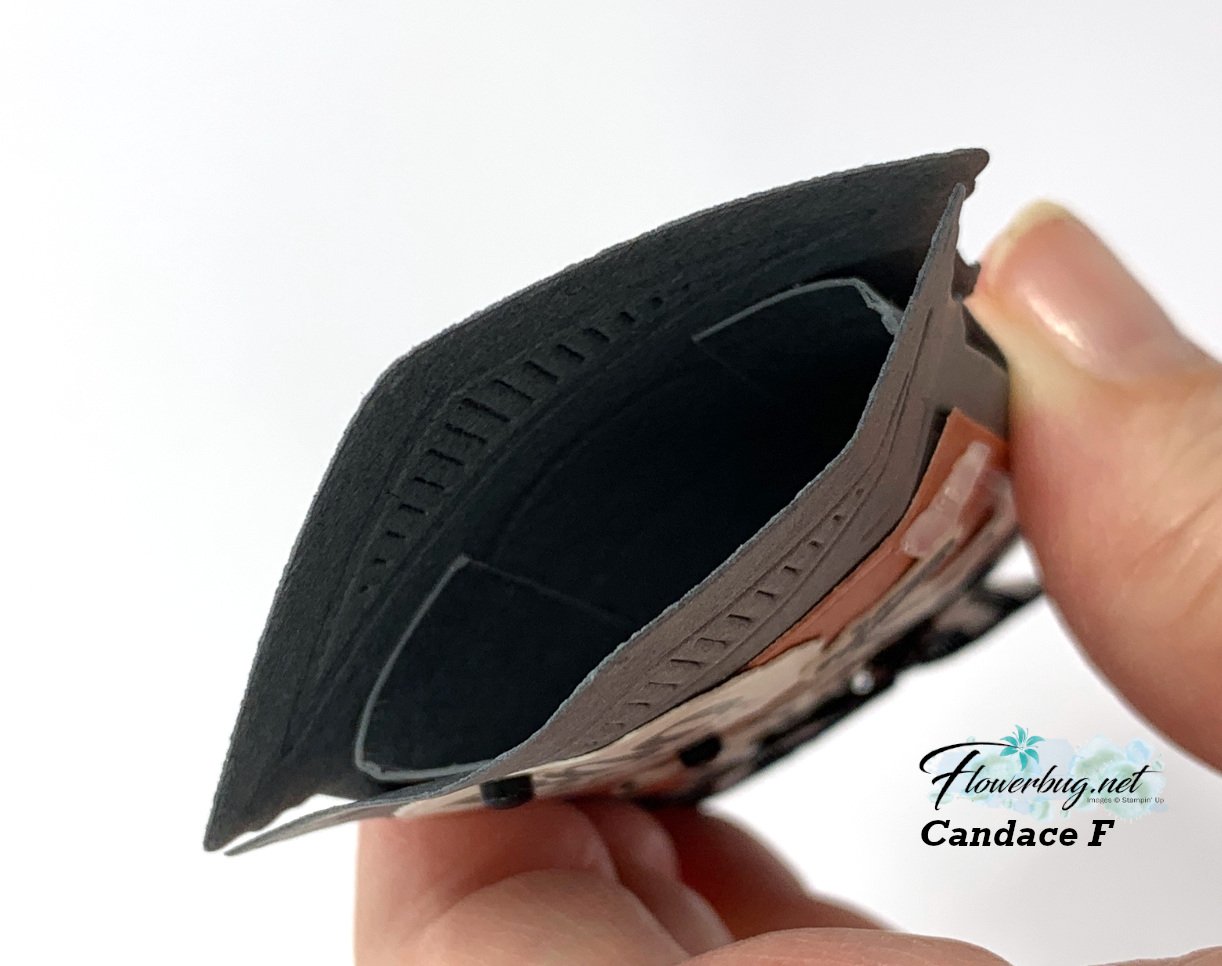
Next is a cute treat holder made with that same tombstone die-cut.  She simply added a few strips of card stock inside the two die-cuts to create a pouch.  


This card is so fun; she featured a panel from the Them Bones designer paper to show off the dancing skeleton.  Love his suspenders, hat and bow tie!!  

These skeletons are all heat embossed with White embossing powder onto Black card stock. You can see a few of the glow in the dark bats and ghosts here.  Unfortunately they are sold out now and will not return.  

Here's a slimline card showing off more of the Them Bones designer paper.  Her colors are Basic Gray, Pumpkin Pie and Cajun Craze. 

Isn't it cute how the skeleton on the bottom has his dog on a leash?!  

This next card shows off a neat background effect.  She used the Deckled Circle dies 

The background is made by sponging on the houndstooth mask (Abundant Beauty decorative masks) then debossed it with the Distressed Tile embossing folder. She then dragged the Blackberry Bliss ink pad across it.  Cool!  

Didn't she create a fabulous group of projects. She truly showcased this Halloween suite wonderfully!  Fantastic job Candy!!!


~~~

October Specials: 

Amazing Starter Kit choices! 

Choose one and enjoy the 20% discount on all future orders! Click here

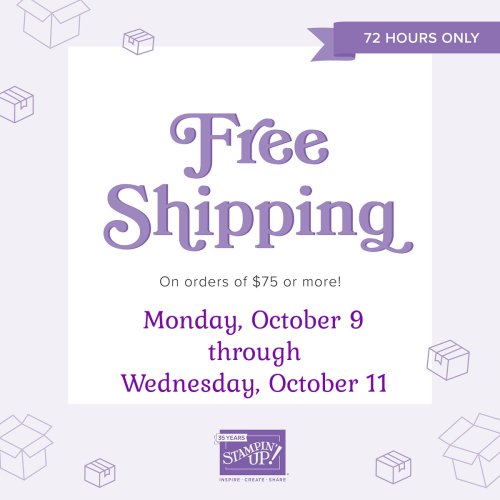
Today through Wednesday is free shipping on Stampin' Up! orders over $75!  It's a great time to pick up those items you've had on your list. 
*current host code: HTHK4TQU or VEH4FKBV

*Get free glitter gems with online orders over $55 (Please use a host code)

All Posts

  • Cool technique for a background made with our new shimmer brushes


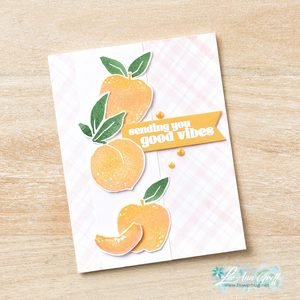
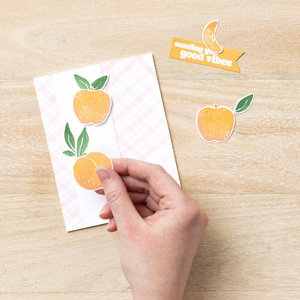
    Take your new Shimmer Brushes for a test drive with this darling DIY background idea. Stampin’ Up! posted this card idea; what a super neat plaid background!

    Here’s how you do it:

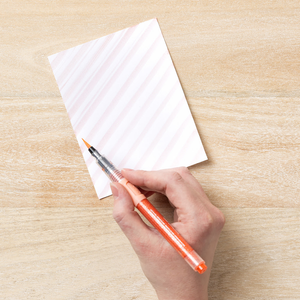
    Step 1: Draw diagonal lines on Basic White Cardstock using the Barely Blush Shimmer Brush. (Use the Clear Block F as a guide.) Apply light pressure to create fine lines; increase pressure for thicker lines.

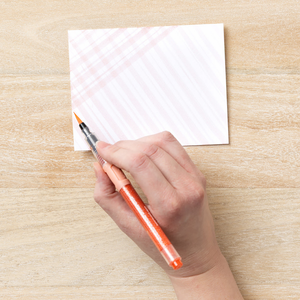
     Step 2: Rotate your cardstock and (using the Clear Block F) draw additional lines to create a plaid pattern.

     Step 3: Decorate your sparkling background with images, sentiments, and embellishments, then adhere the finished piece to the card base.

    We now have 5 colors of these Shimmer Brushes in each of our new In Colors. See them all here.

    I hope this technique inspires you to try it. I think you could also do it with our Wink of Stella on any color CS.

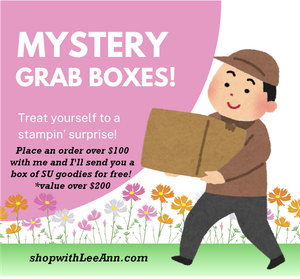
    I have one Mystery Box left!
    Place an order over $100 to grab it before it’s gone.
    Message me before you order to be sure it’s still available.

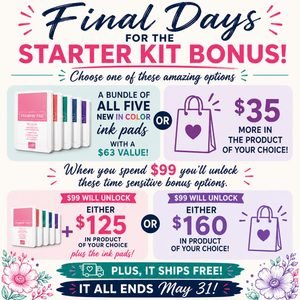
    Don’t forget to consider the Starter Kit Deal in May; time is almost up!

    You’ll get either all 5 new Magnetic ink pads or an extra $35 in product of your choice; all for $99!

    Leave a Reply

    Your email address will not be published. Required fields are marked *

  • More Team swaps!


    Here are a few more of the Team swaps featuring brand new catalog products.

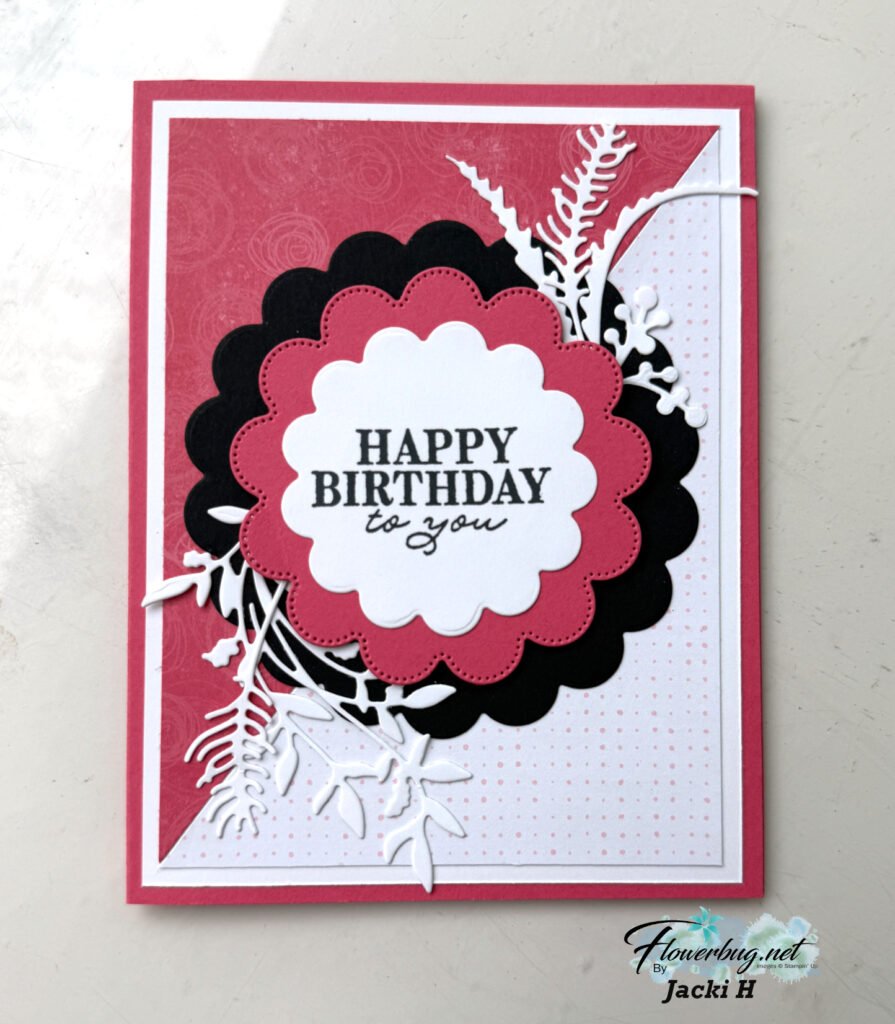
    Jacki created this striking card with the Scalloped Blooms bundle seen here.

    Her colors include Melon Mambo, Black & White. Those scalloped circle dies are so fun aren’t they? The leaf die-cuts are from the Delicate Whispers dies seen here.

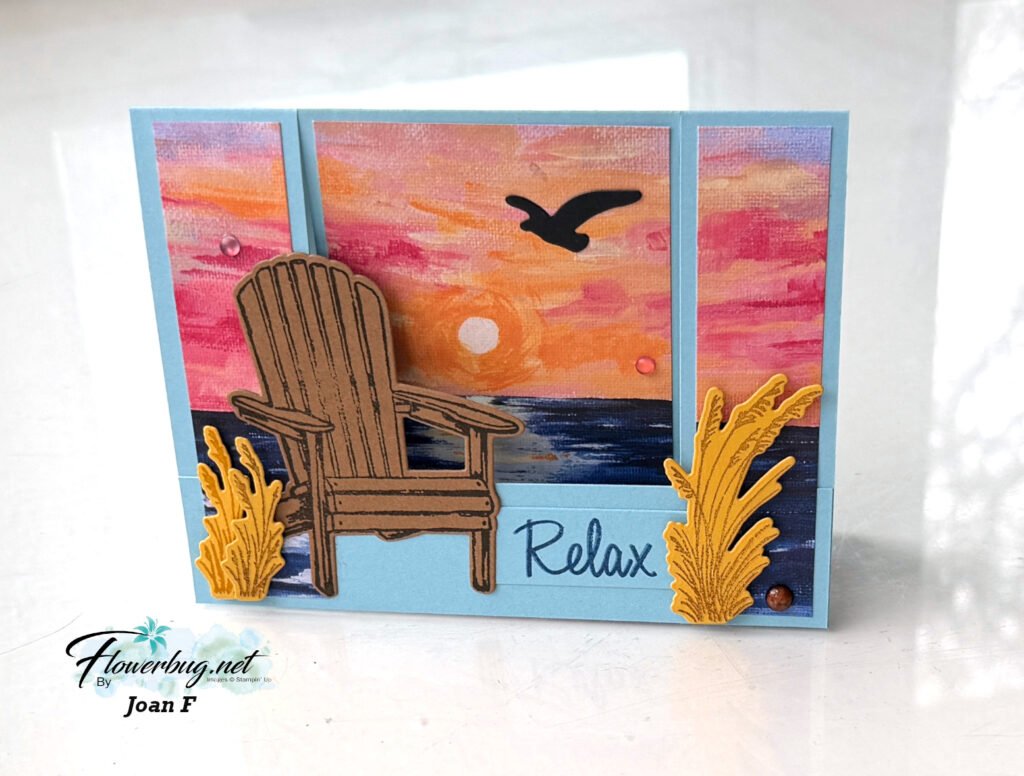
    Next is a striking card made by Joan: She chose to highlight the Scenic Coast DSP.

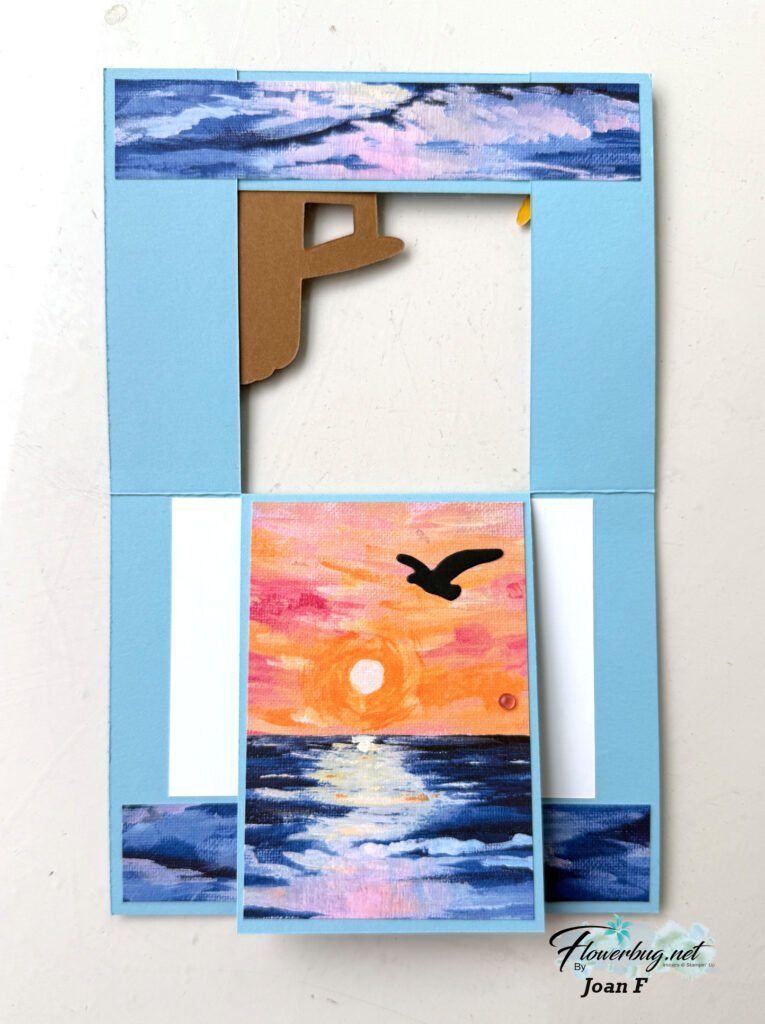
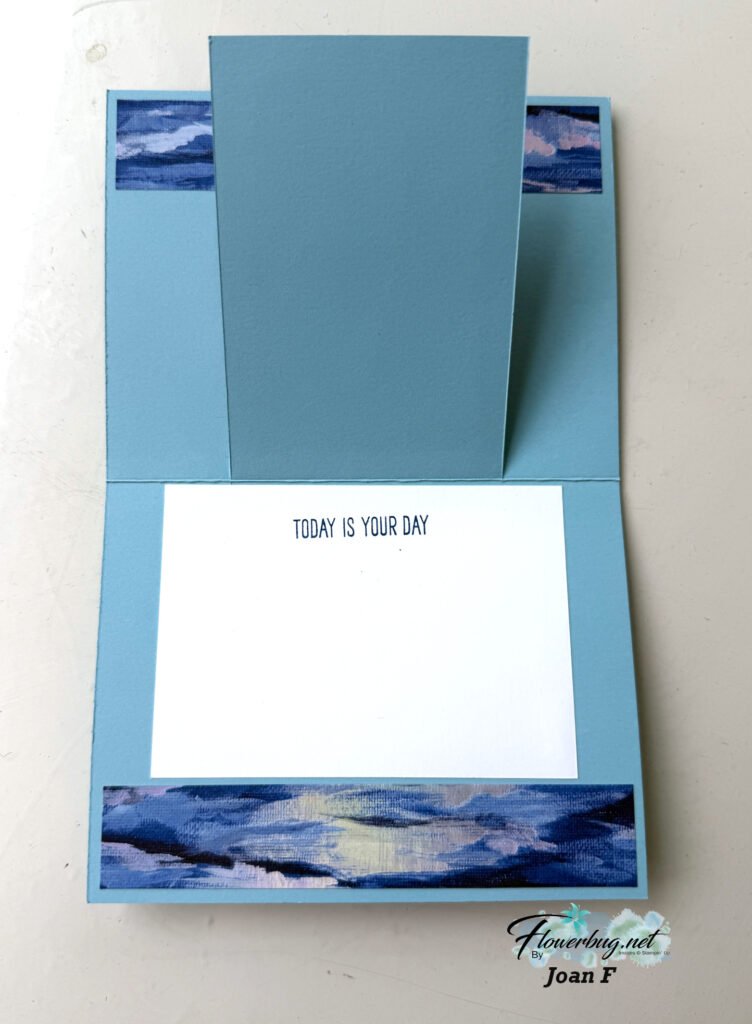
    She also used the Relaxing Waterside bundle seen here. Love that chair! As you might guess, it’s a fun fold ‘bridge card’.

    Super cool! To make this card you’ll start with a 5 1/2″ X 8 1/2″ card base, scored at 4 1/4″. Now use the paper trimmer to cut up to the score line on each side at 1 1/4″.
    The DSP is 2 3/4″ X 4″ and on the sides it’s 1″ X 4″. There’s also a lower and an upper strip that is 5 1/4″ X 1″.

    Great cards ladies! I’ll share more later this week.

    May Specials:

    I have one Mystery Box left! The first person to place an online order from me over $100 will receive it.
    It has over $200 in Stampin’ Up! products in it and I’ll ship it to you FREE! Order here.

    Don’t forget to consider the Starter Kit Deal in May; time is almost up!

    You’ll get either all 5 new Magnetic ink pads or an extra $35 in product of your choice; all for $99!

    Leave a Reply

    Your email address will not be published. Required fields are marked *

  • Kits to Go Clearance sale starts today! While supplies last!


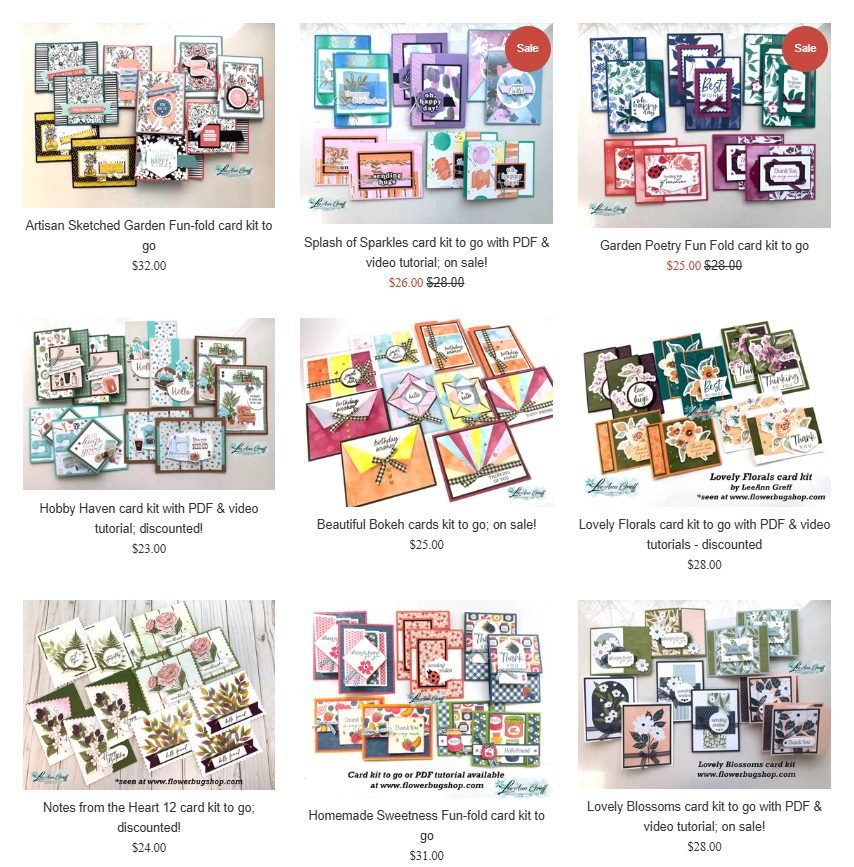
    I have 14 available kits to go right now and I’ve marked most of them down to de-stash my stock. I want to clear them out before we move in a month.

    Be sure to check them all out here.

    Even if they don’t have a ‘Sale’ icon most are still reduced in price. My kits include about $20 in SU product plus the 10-12 pre-cut cards! Most only need greeting images added. You will need adhesives, ink and a paper trimmer to cut the DSP in most cases.

    These are a steal of a deal!

    They’re so fun to create with and many come with both PDF & video tutorials too. Most will include fun fold layouts and you’ll find new ways to create with my unique layouts.

    Shop all tutorials and kits here.

    Leave a Reply

    Your email address will not be published. Required fields are marked *


Notice: LeeAnn Greff, Independent Stampin’ Up! Demonstrator, Manager. The content of this website is my sole responsibility as an independent Stampin’ Up! demonstrator and the use of, and content of, the classes, services, or products offered on this website is not endorsed by Stampin’ Up! Copyright 2025