/


Latest Post

Another version of my 1 sheet box & cards; featuring the Softly Sophisticated DSP


Today I'm sharing the second version of my 1 sheet box & cards. I shared the other one on Monday;  See it here. 
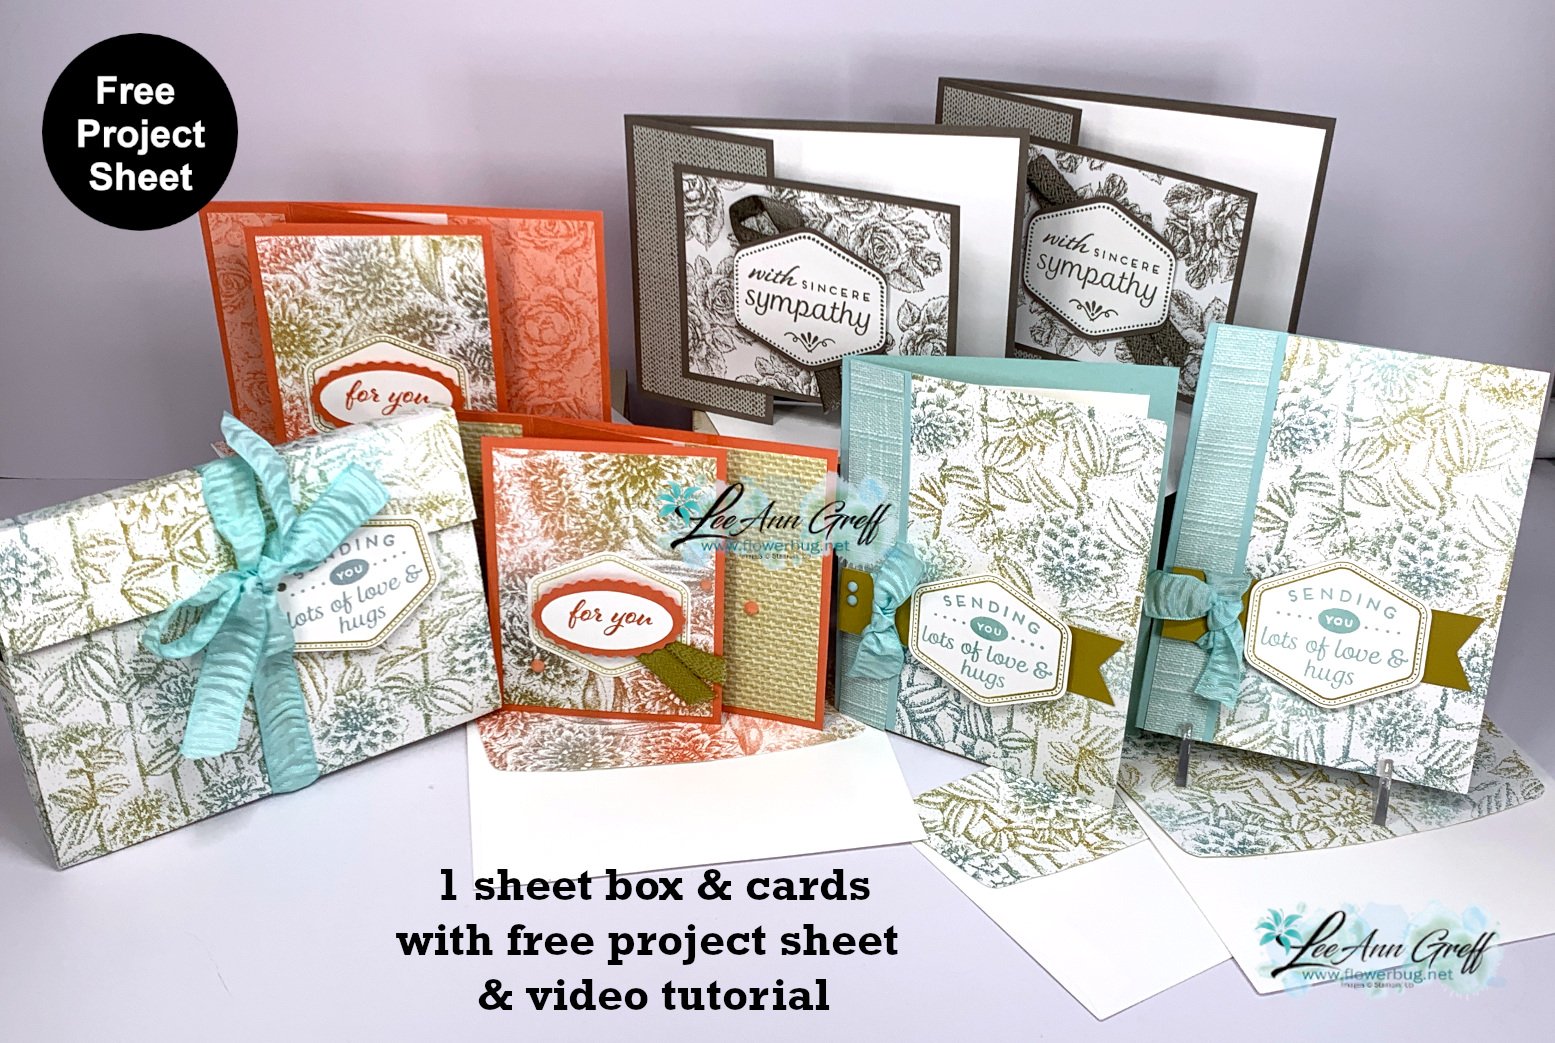
These projects feature the Softly Sophisticated designer paper from our recent Sale-a-Bration promotion.  Sadly SAB is over so it's not available anymore.  You can easily substitute your favorite designer paper instead. 

Please watch the video tutorial below to see how to make this box. I used the crinkled Pool Party ribbon from SAB to close it and the Heartfelt Hexagon stamp & punch bundle on these projects. 

I decided to attach the ribbon on this box instead of leaving it loose.  I used Tear & Tape and adhered it to the back, upper flap and half of the front.  I tied the tag to the ribbon with twine so it's easy to tie together again. 
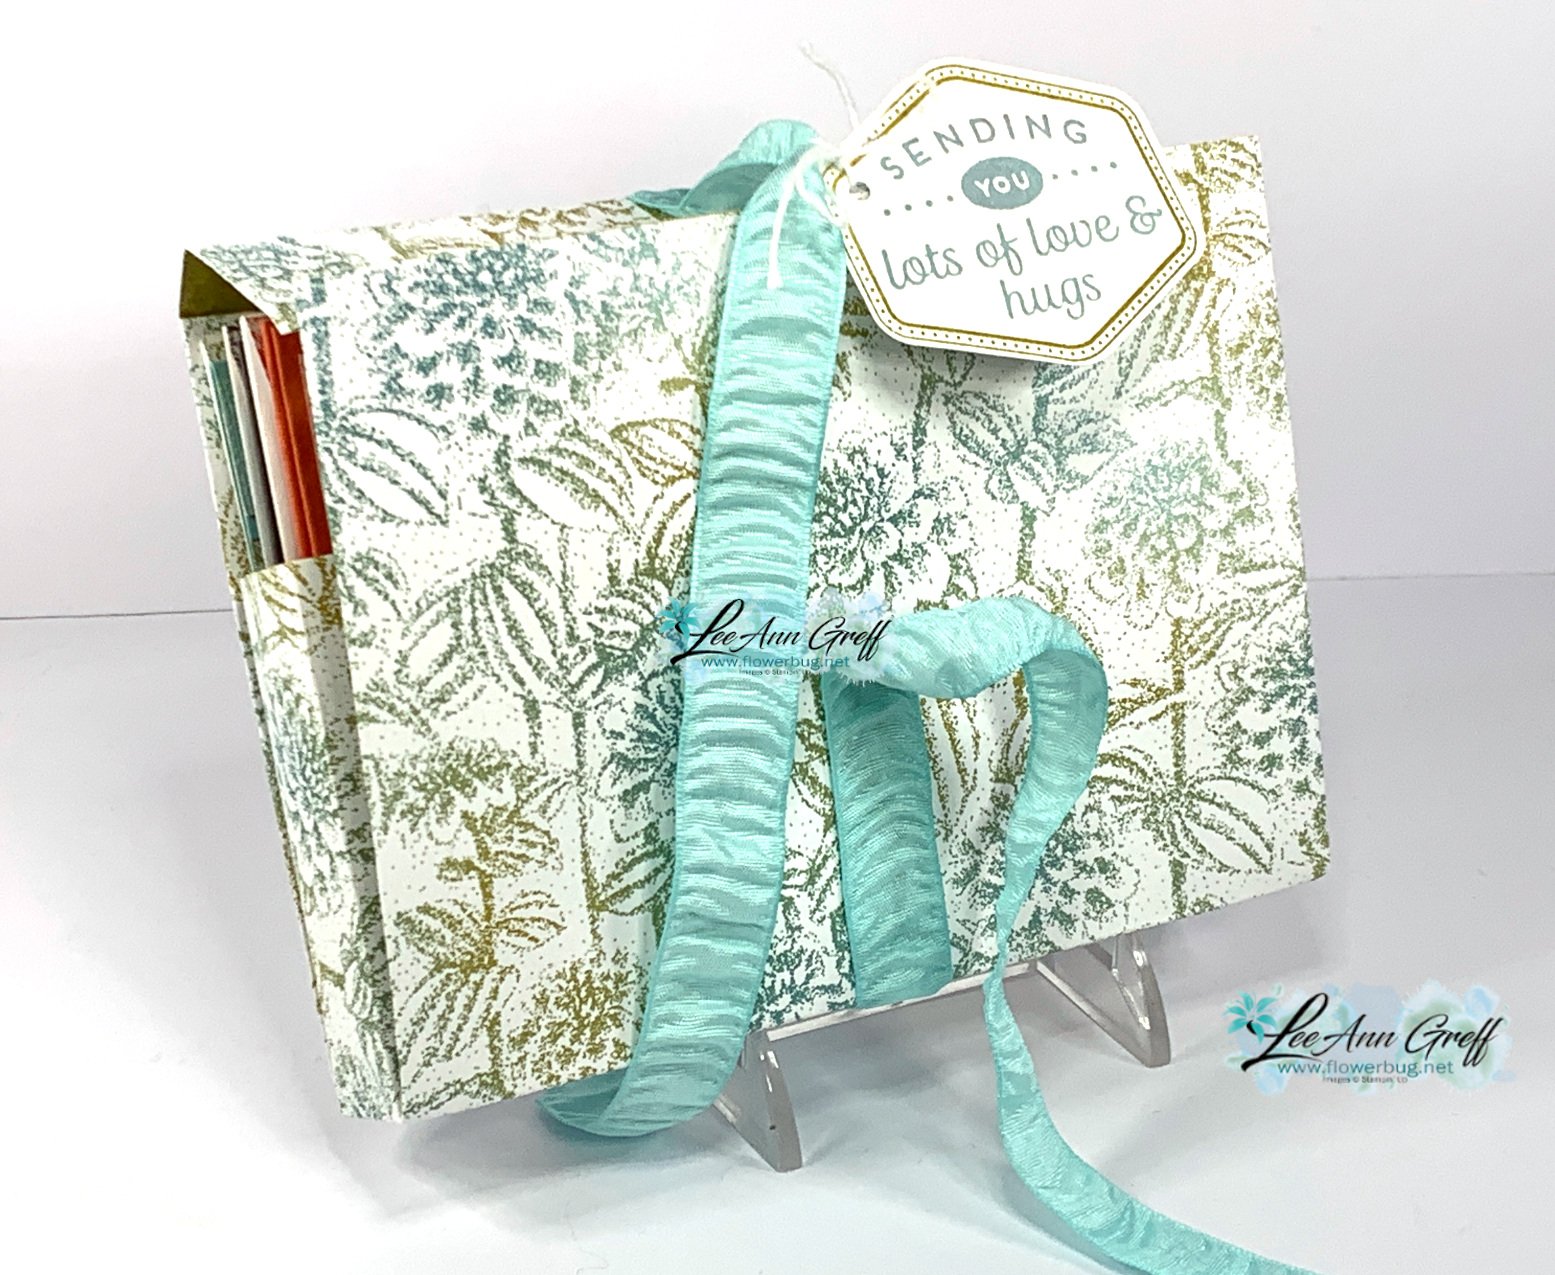
Here's the template you can save.  It's also included in the free project sheet below too. 

Click here to download or print the free project sheet: Download 1 sheet box for 6 cards & envelopes

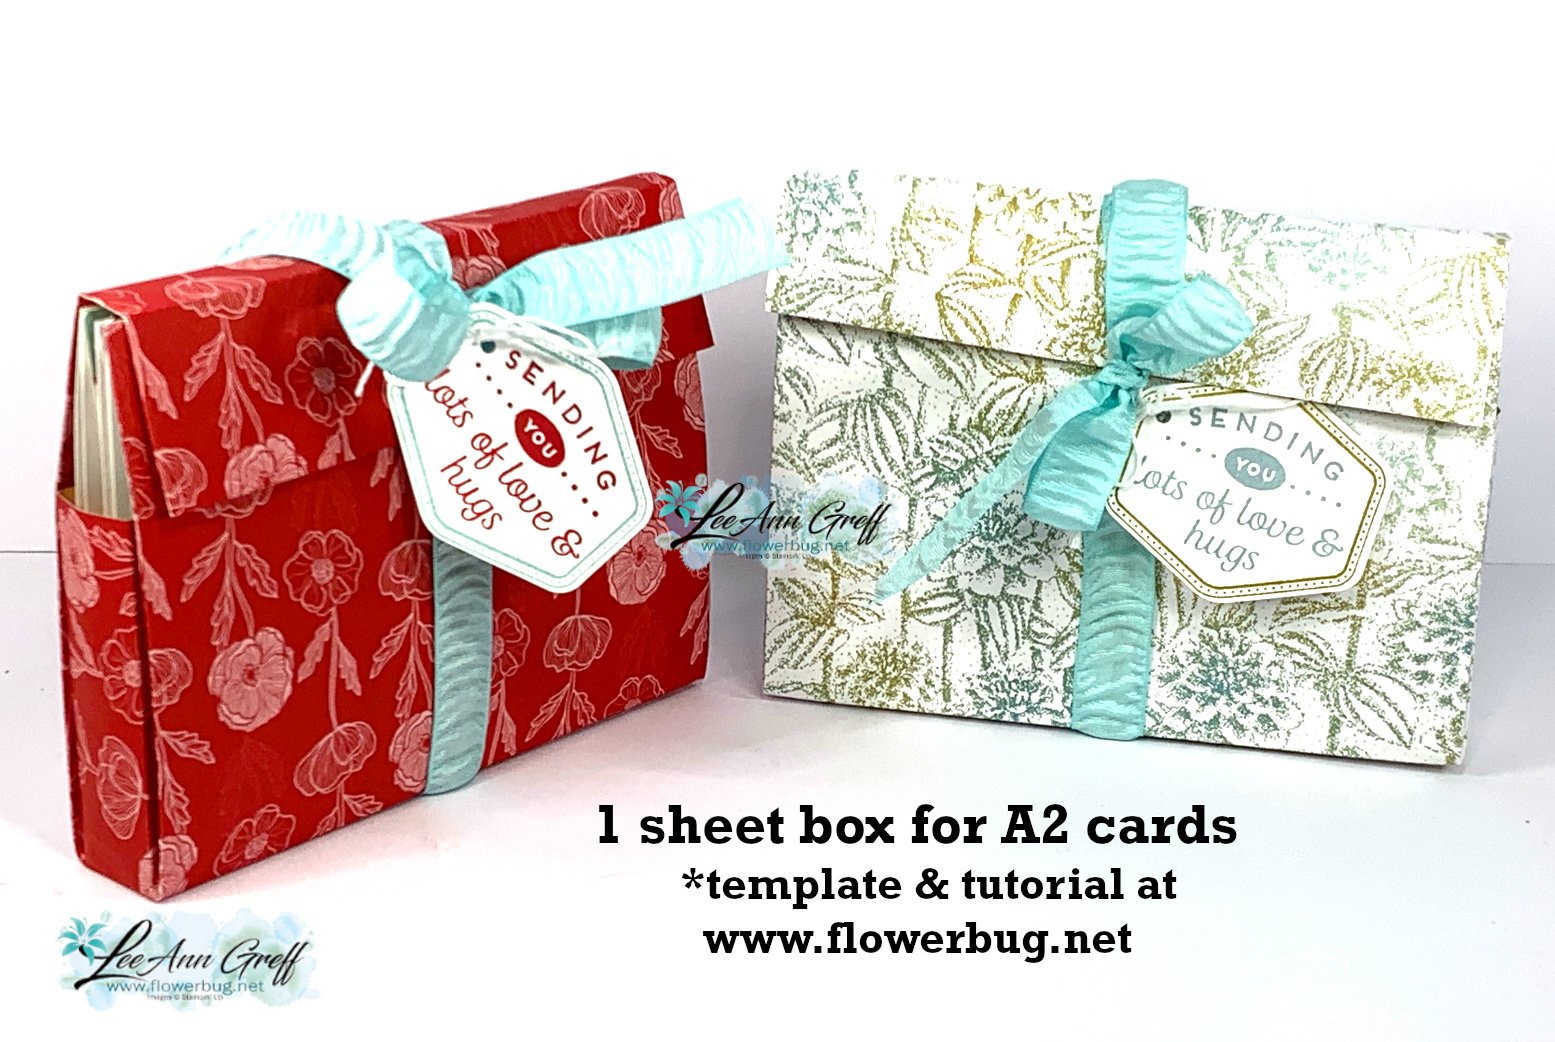
Here are both of my 1 sheet boxes; which is your favorite?

Next I'll share the individual cards with the measurements. Each one is a special but easy fun fold layout. I used just one stamp set on these cards – the Heartfelt Hexagon set. The coordinating Hexagon punch is unavailable right now; it's out of stock but will be back in April. 

Note the decorated envelopes to match!  Doing this makes your projects extra special and uses up your designer paper stash too.

This card is a new take on a book-binding card fold. It has just one extra layer of card stock to make it a new fold. 

Measurements: Calypso Coral card 11" X 4 1/4" score at 2 1/8", 4 1/4" & 5 1/2". 2nd piece is 3 1/4" X 4", White inside 2" X 4". DSP – large panel is 3" X 4", 1" X 4" & 2" X 4"
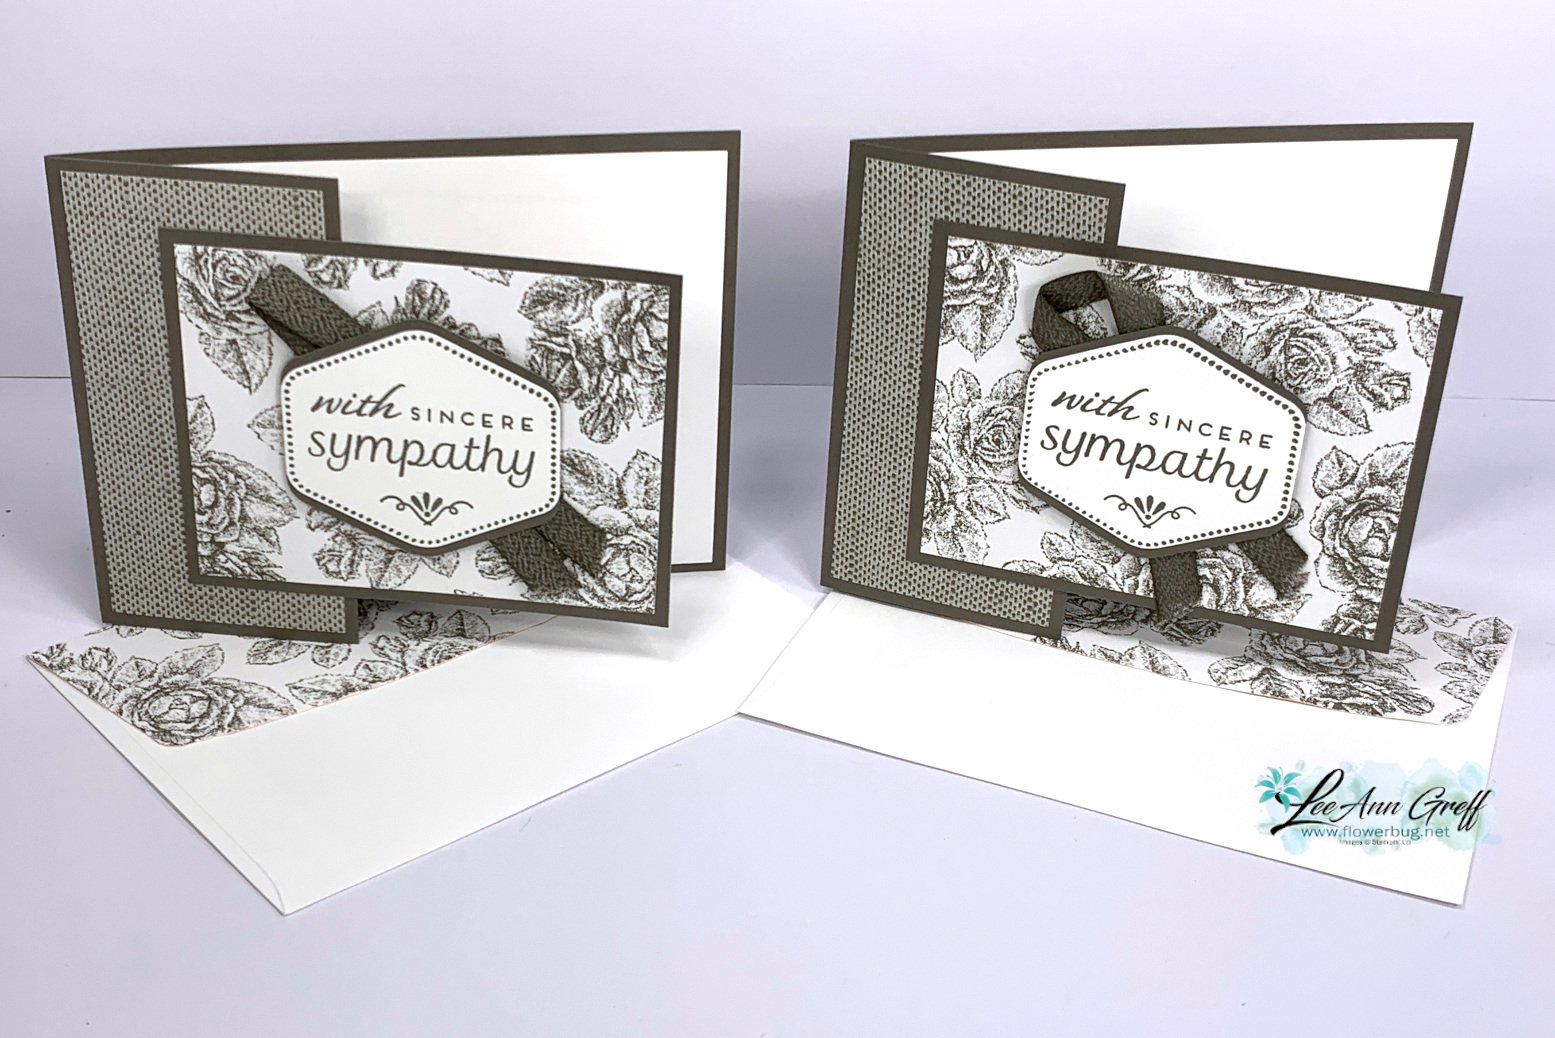
I love this card fold!  It used the trimmed off layer from the card base as the front panel. 

Measurements: Pebbled Path – 11" X 4 1/4" score at 5 1/2"; cut off one end at 2 3/4". DSP 1 piece at 2" X 4", 2nd piece at 4" X 3"

This card shows off both sides of your designer paper since the DSP is actually the front of your card base.

Measurements: Pool Party is 5 1/4" X 5 1/2" score at 4 1/4". DSP – 1 piece at 3/4" X 5 1/2", 1 piece at 4" X 5 1/2". Wild Wheat strip 4" X 1"

Click here or on the photo below to watch the video tutorial.  It will help you understand how to make the box.  Don't forget to follow me on YouTube while you're there! 

~~~

March Specials: 

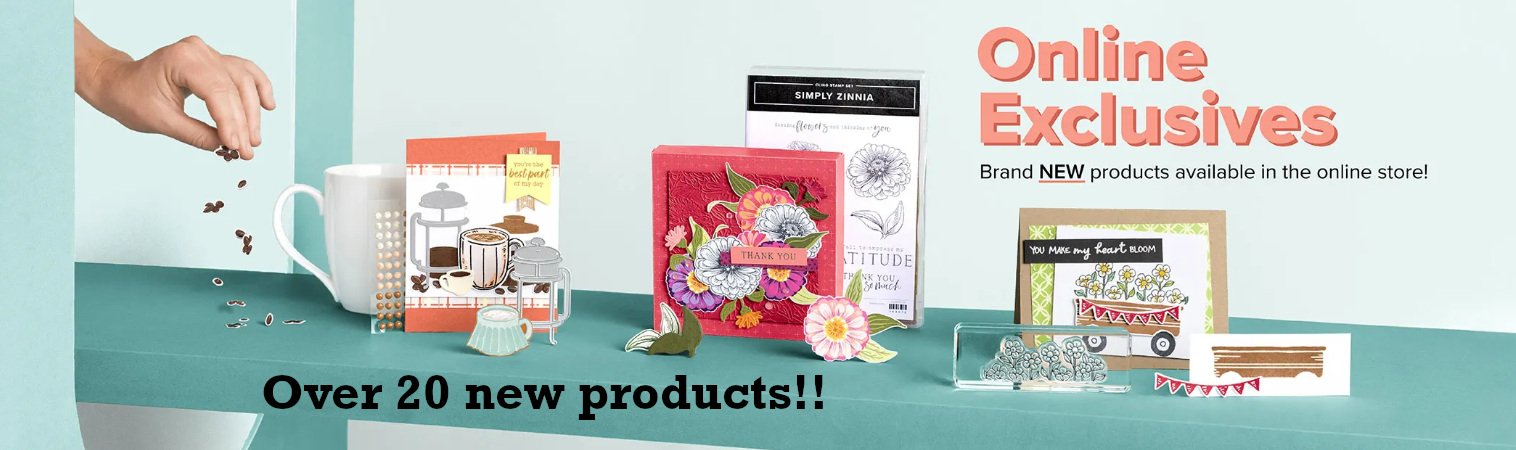
See over 20 brand new Online Exclusive products here!
*current host code link:  ZQW9KYDC

~~~

Get a free package of Rainbow Dots

with online orders over $55 in March

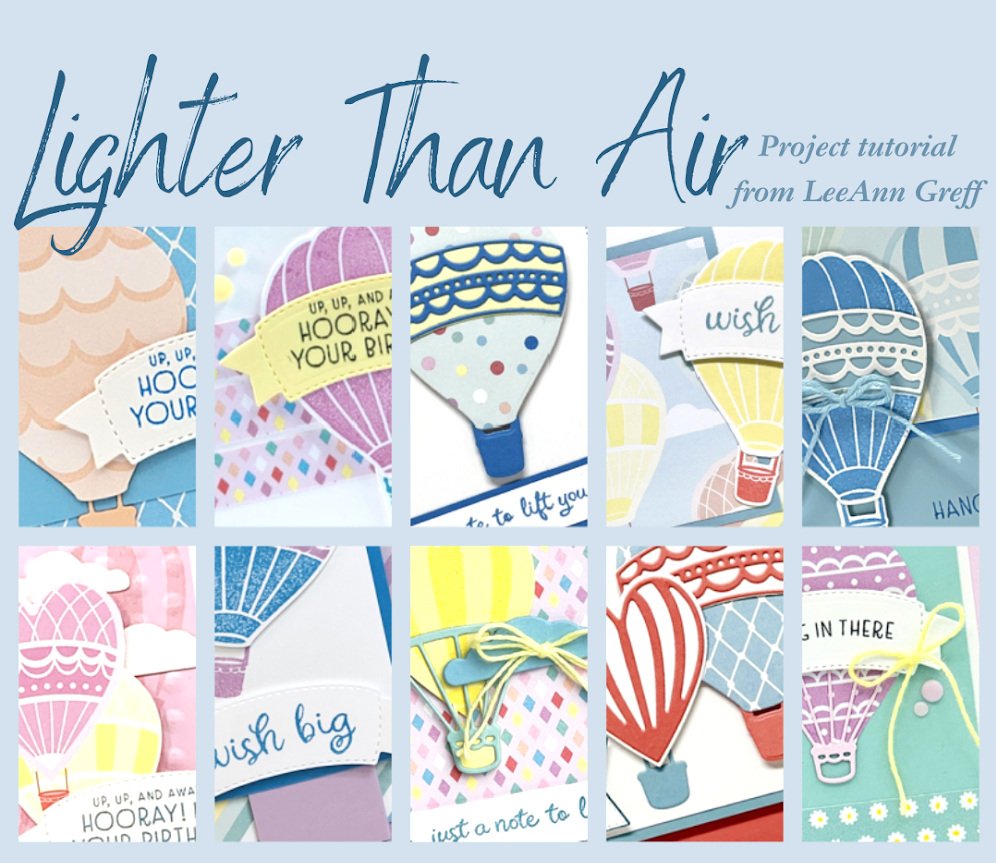
All online orders in March will receive this free Hot Air Balloon tutorial with 8 projects!
All Posts

  • The next 3 months of gorgeous Paper Pumpkin kits – wow!


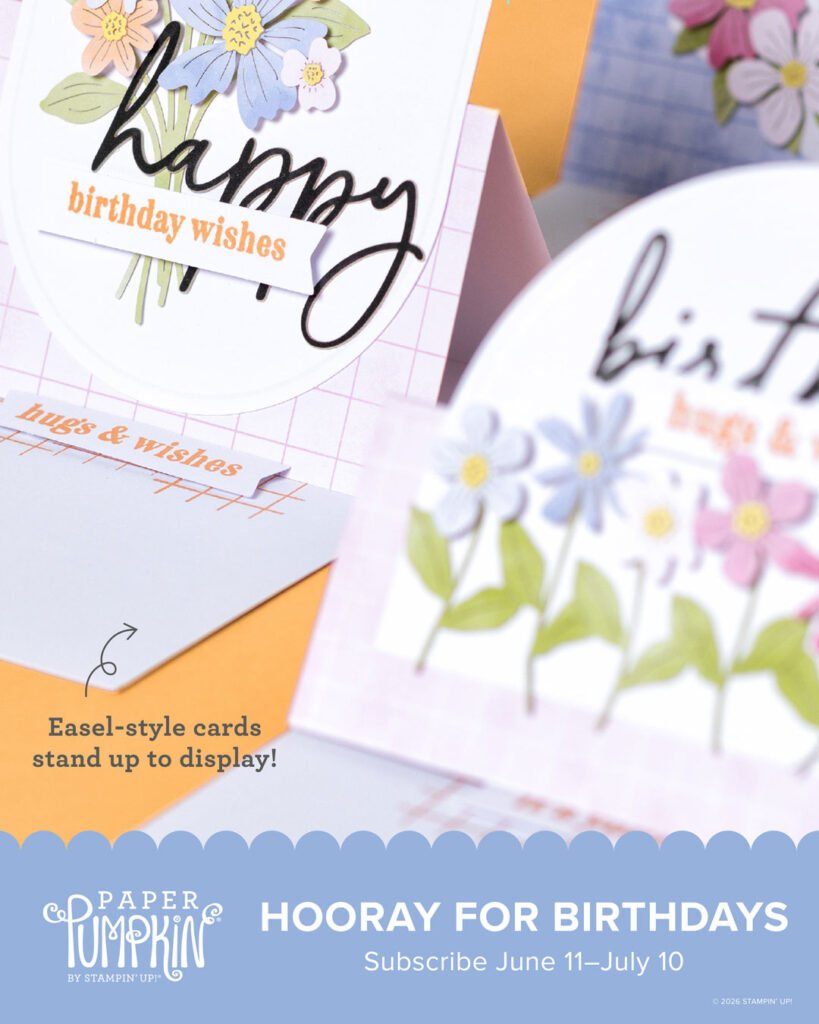
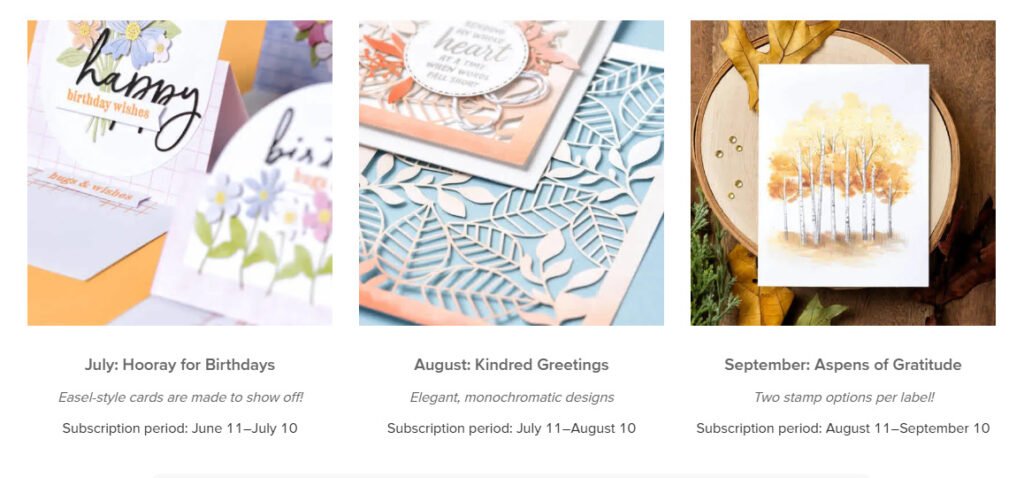
    If you love working with ready to create kits; you have to see the next 3 months of Paper Pumpkin card kits! I think they’ll be some of our favorites ever! Here’s a sneak peek:

    If you subscribe before July 10th you’ll receive the Hooray for Birthdays kit. Go here to subscribe and get a fun kit in the mail each month.

    Remember you are in charge of which kits you receive. You can pause or skip any kit at any time. We always get a hint of what the upcoming kits will be.

    Or get a pre-paid subscription in either 3, 6 or 12 months increments. It’s so nice to get a fun surprise in the mail each month! And you save when purchasing a pre-paid subscription plus earn FREE product credits! Shop here for this option.

    And remember that once you’re a subscribe you have access to all of the past kits, refills and extras available. A great perk!

    Here’s the flyer for the next 3 months. It describes each kit in detail.

    Leave a Reply

    Your email address will not be published. Required fields are marked *

  • Striking and fun Black Magic technique with video!


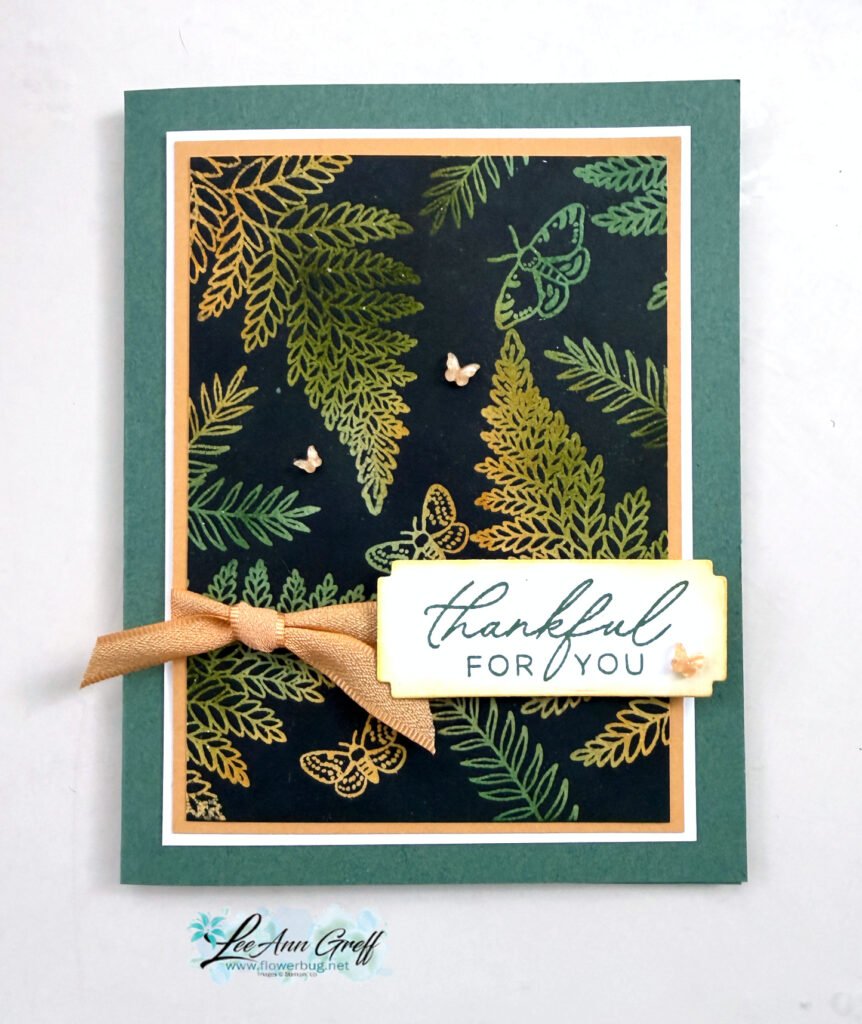
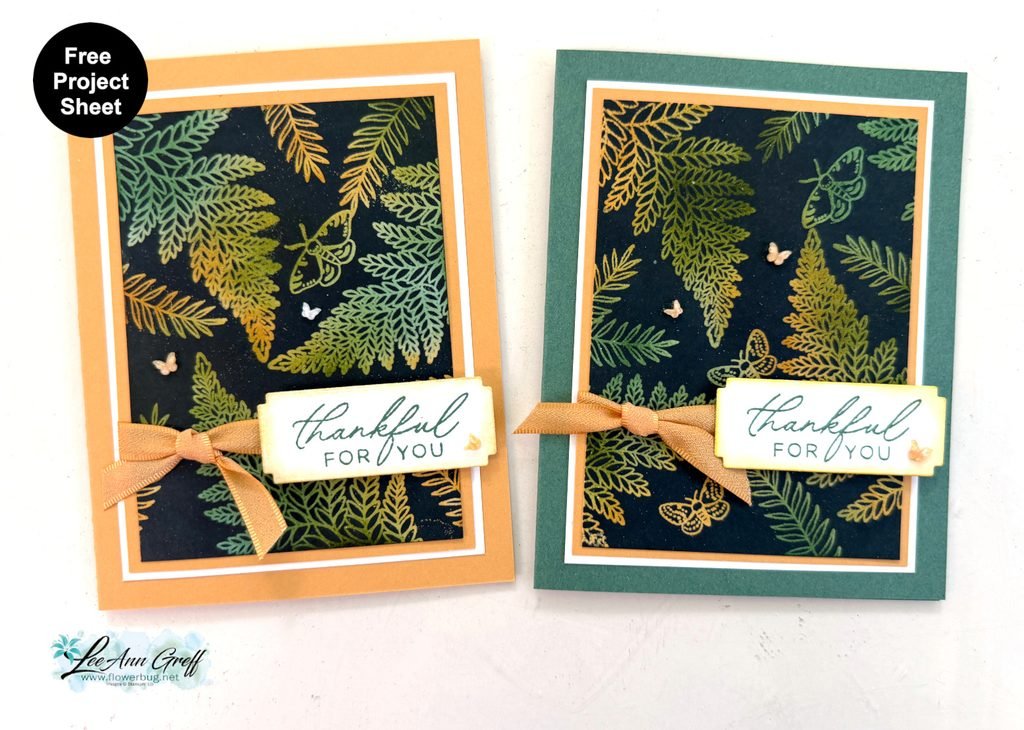
    I shared this pretty card on last week’s Live video. It’s the Black Magic technique!

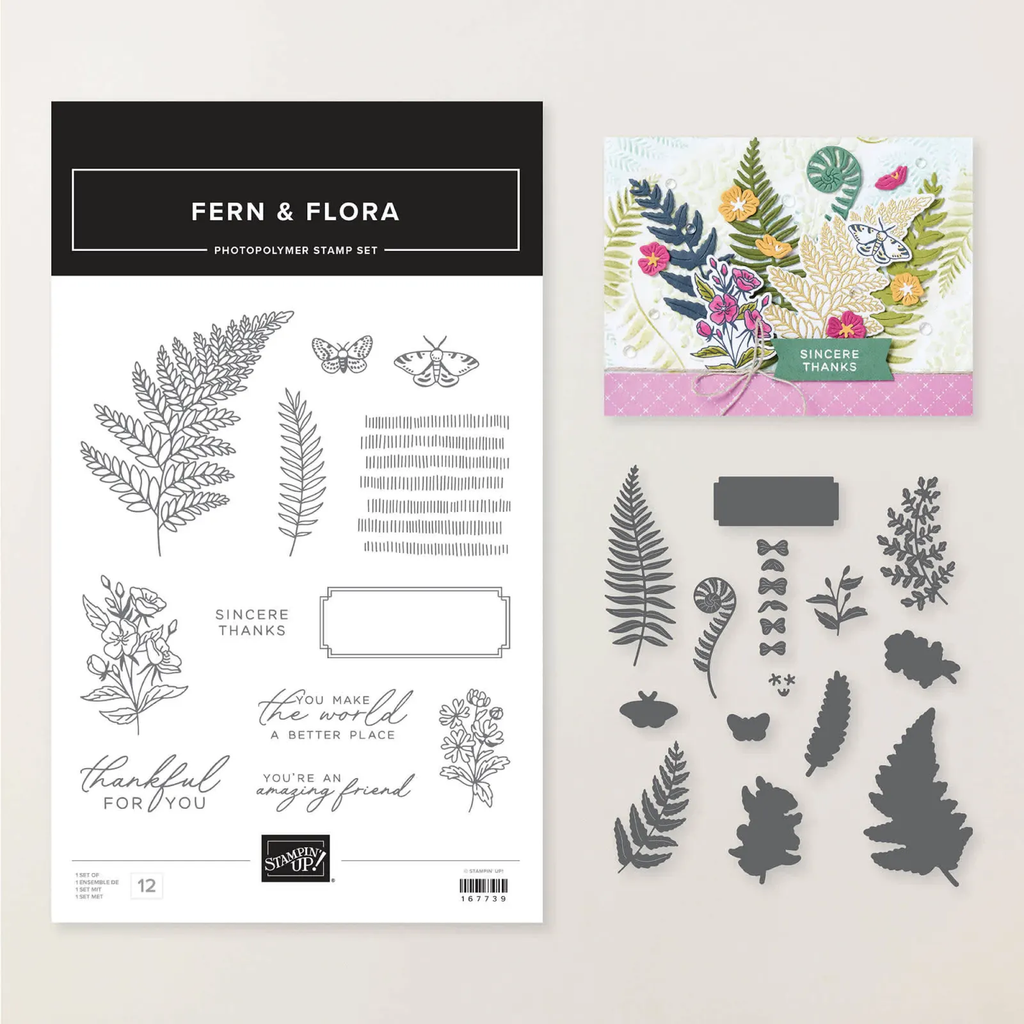
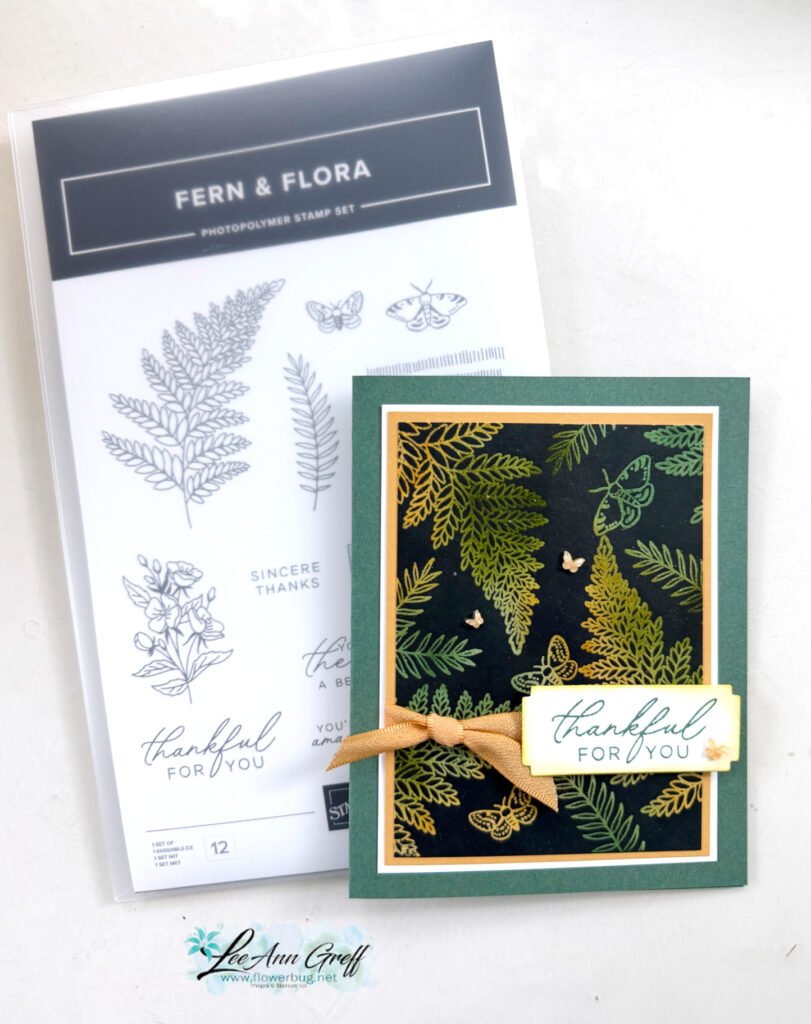
    My colors include Peaceful Pine, Old Olive (ink only), Golden Glow and White. It features the Fern & Flora bundle seen here.

    What is the Black Magic technique? It’s where you start with a light neutral piece of card stock and add color with sponges or markers. Then stamp images in Versamark and heat emboss with clear embossing powder. The magic happens when you cover it completely with a water based ink (here I used Secret Sea). Then wipe off the ink that does not ‘stick’ to the heat embossed areas. True magic!

    Watch my video tutorial further below to see this technique in action.

    On this card I used mostly the stamp images; only the greeting die-cut is from the dies. I added a few In Color butterfly gems and the pretty Golden Glow ribbon too.

    I created a free project sheet for this card; click here to download it or to print it.

    I made one with Golden Glow as the card base and the other as Peaceful Pine as the card base.

    Below is the video tutorial for this card and another.

    Leave a Reply

    Your email address will not be published. Required fields are marked *

  • Pretty Fern & Flora card; with free project sheet & video tutorial


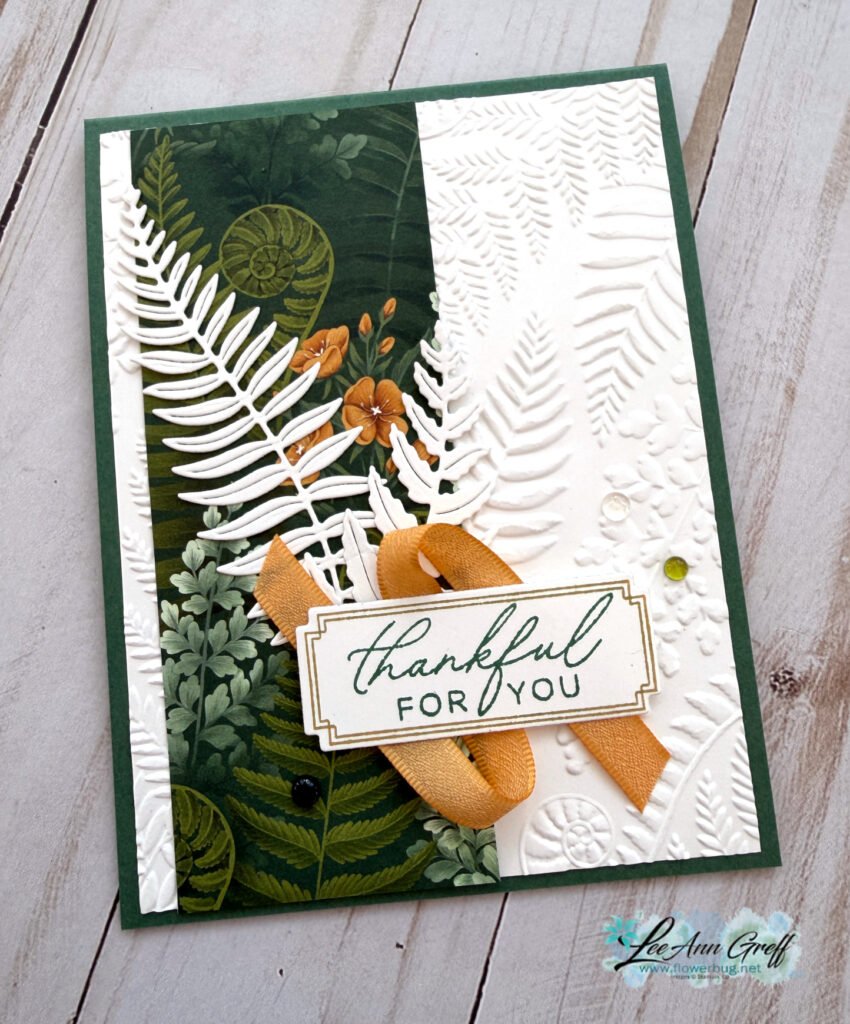
    There’s something about crisp white on a card. It gives a feeling of elegance to your projects.

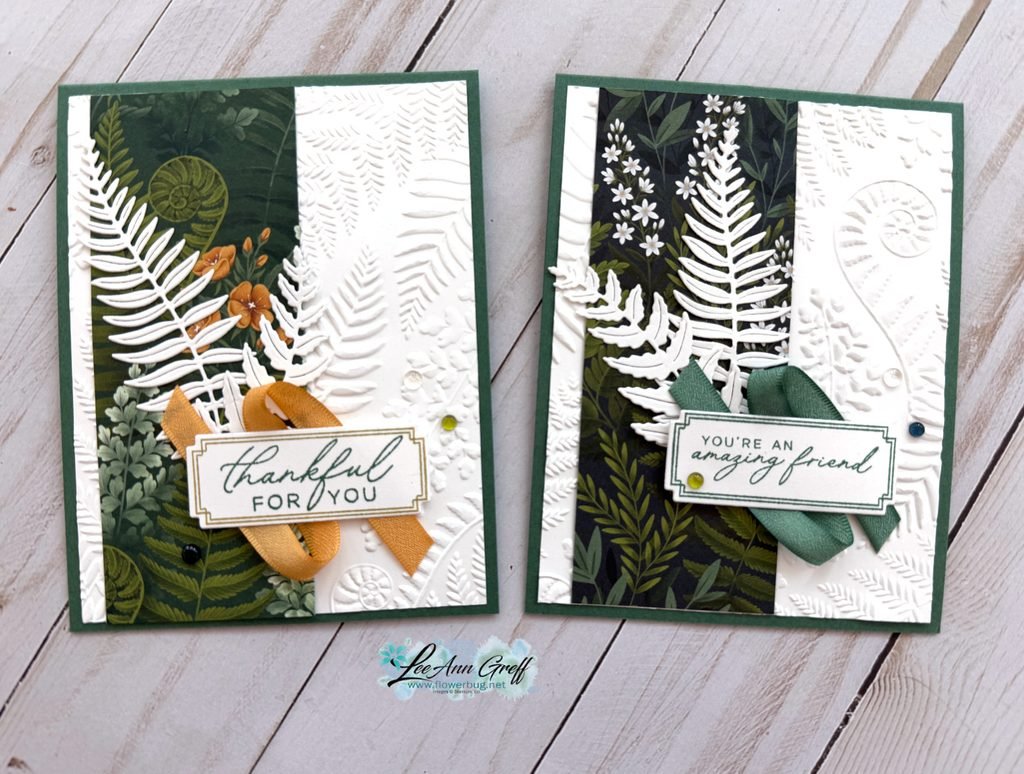
    This card features the Fern & Flora bundle seen here. The designer paper is called Moonlit Flora and the embossing folder is called Fern & Flora and can be seen here. Unfortunately the Designer paper AND the embossing folder are out of stock right now. Very popular products!

    I took a little creative license and added White fern die-cuts here. I love the way they show up against the Moonlit Flora designer paper strip.

    The colors include Peaceful Pine, with White and the new Golden Glow in color.

    Which do you like better? All green and White on the upper right, or the pop of the additional Golden Glow?

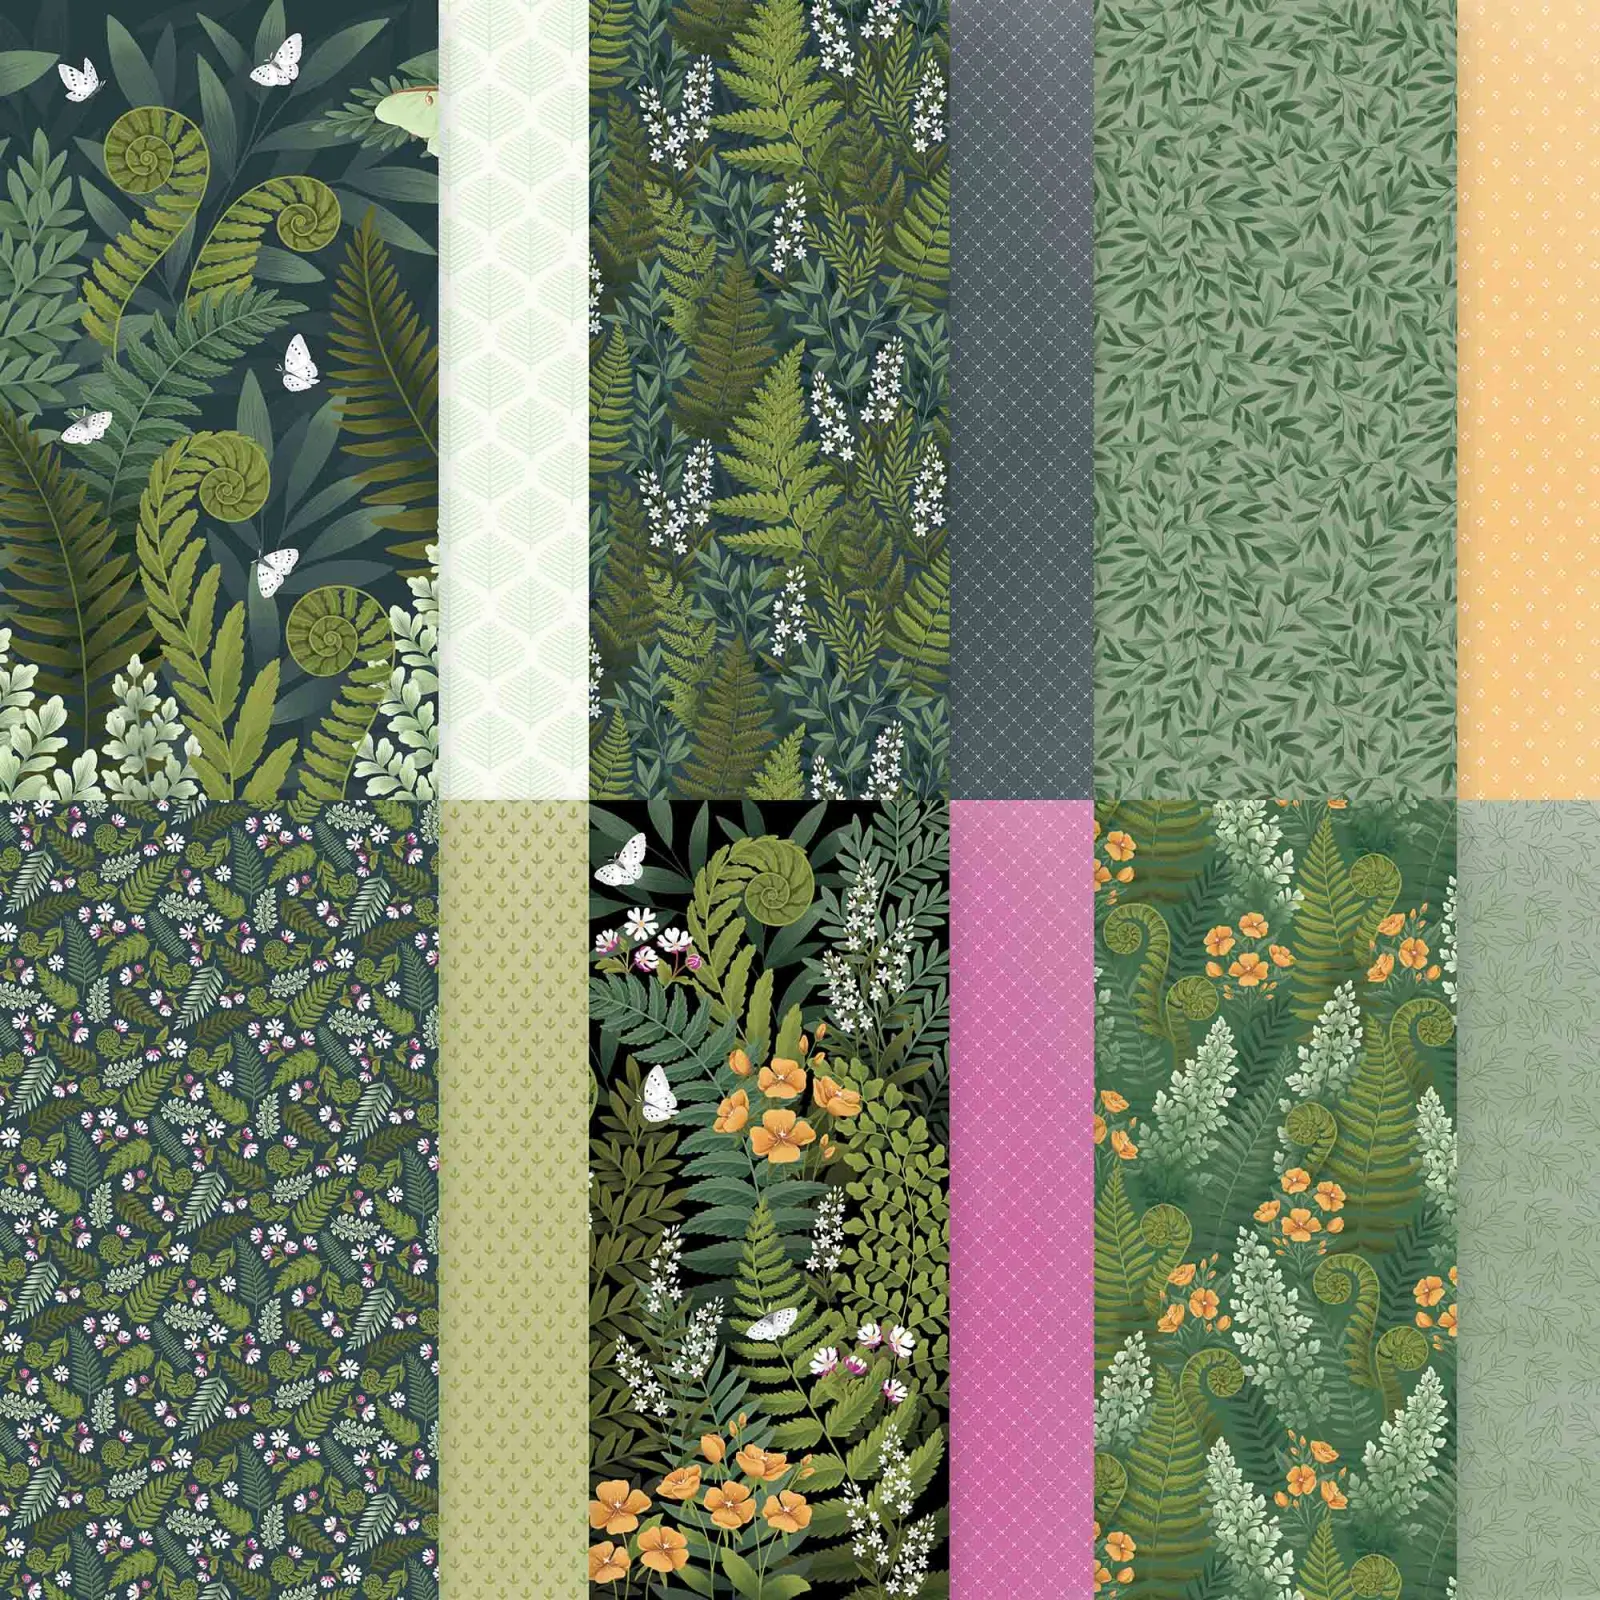
    The pretty Moonlit Flora designer paper offers multiple patterns: See it here. Be sure to add your name to the product so you get an email when it’s back in stock.

    I created a free project sheet for this card. Click here to download it or print it.

    I also shared a video tutorial for this card and one more using this pretty bundle. Click on it below.

    Leave a Reply

    Your email address will not be published. Required fields are marked *


Notice: LeeAnn Greff, Independent Stampin’ Up! Demonstrator, Manager. The content of this website is my sole responsibility as an independent Stampin’ Up! demonstrator and the use of, and content of, the classes, services, or products offered on this website is not endorsed by Stampin’ Up! Copyright 2025