/


Latest Post

Another version of my 1 sheet box & cards; featuring the Softly Sophisticated DSP


Today I'm sharing the second version of my 1 sheet box & cards. I shared the other one on Monday;  See it here. 
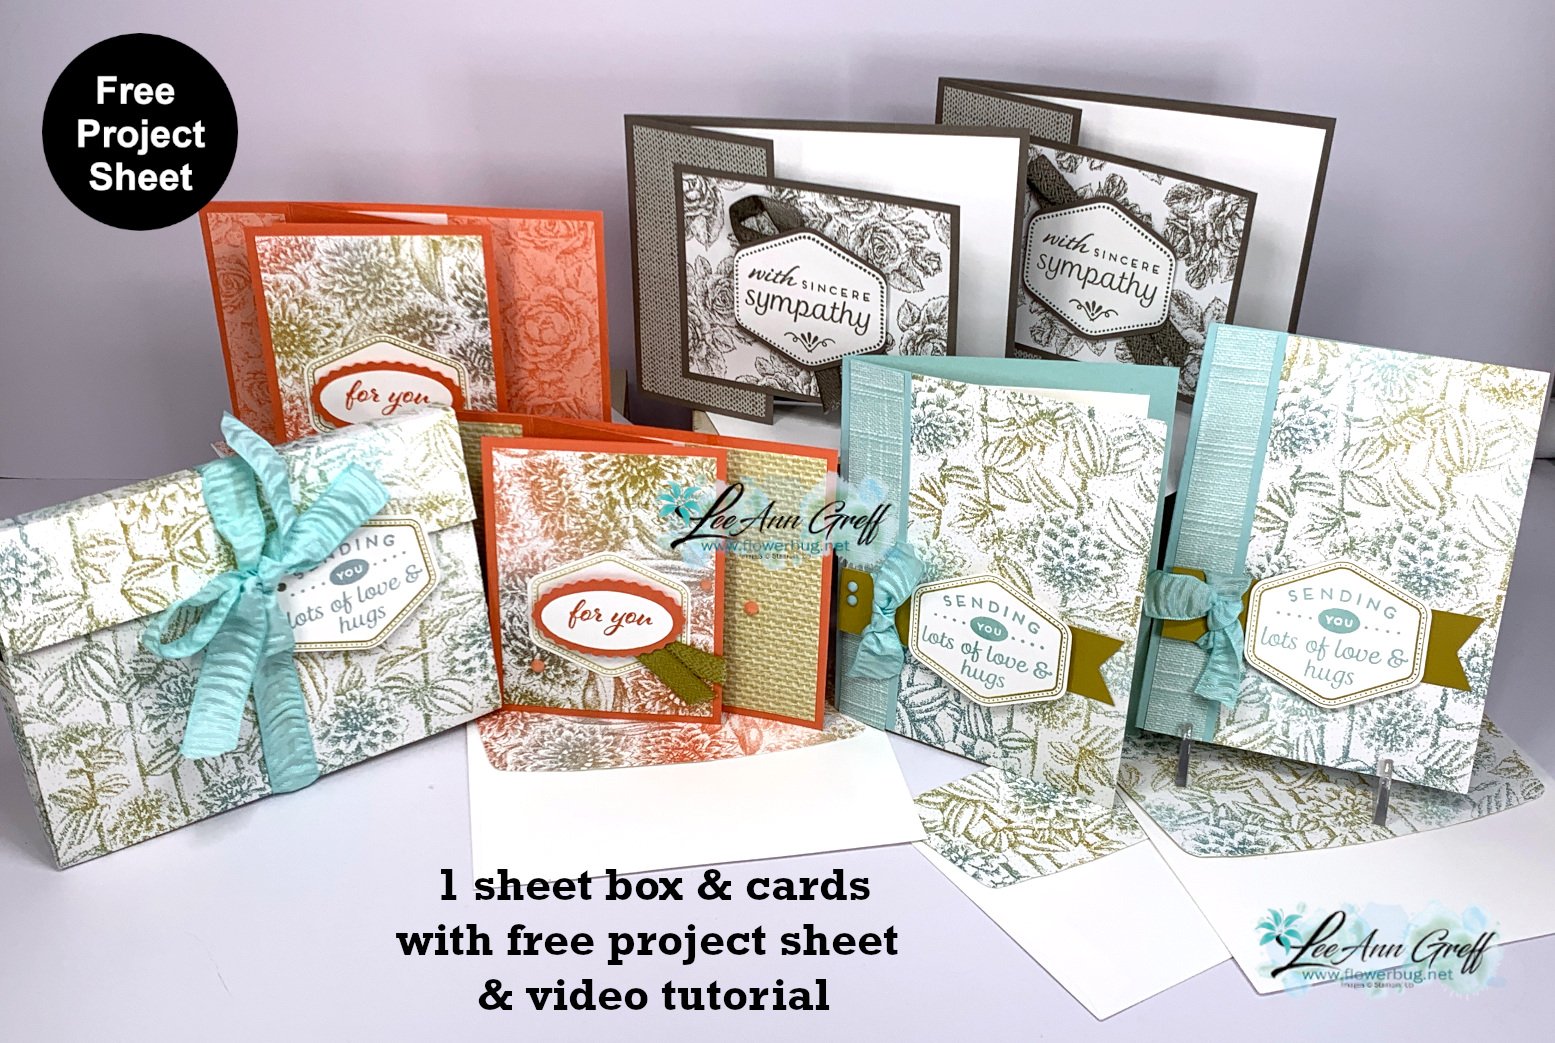
These projects feature the Softly Sophisticated designer paper from our recent Sale-a-Bration promotion.  Sadly SAB is over so it's not available anymore.  You can easily substitute your favorite designer paper instead. 

Please watch the video tutorial below to see how to make this box. I used the crinkled Pool Party ribbon from SAB to close it and the Heartfelt Hexagon stamp & punch bundle on these projects. 

I decided to attach the ribbon on this box instead of leaving it loose.  I used Tear & Tape and adhered it to the back, upper flap and half of the front.  I tied the tag to the ribbon with twine so it's easy to tie together again. 
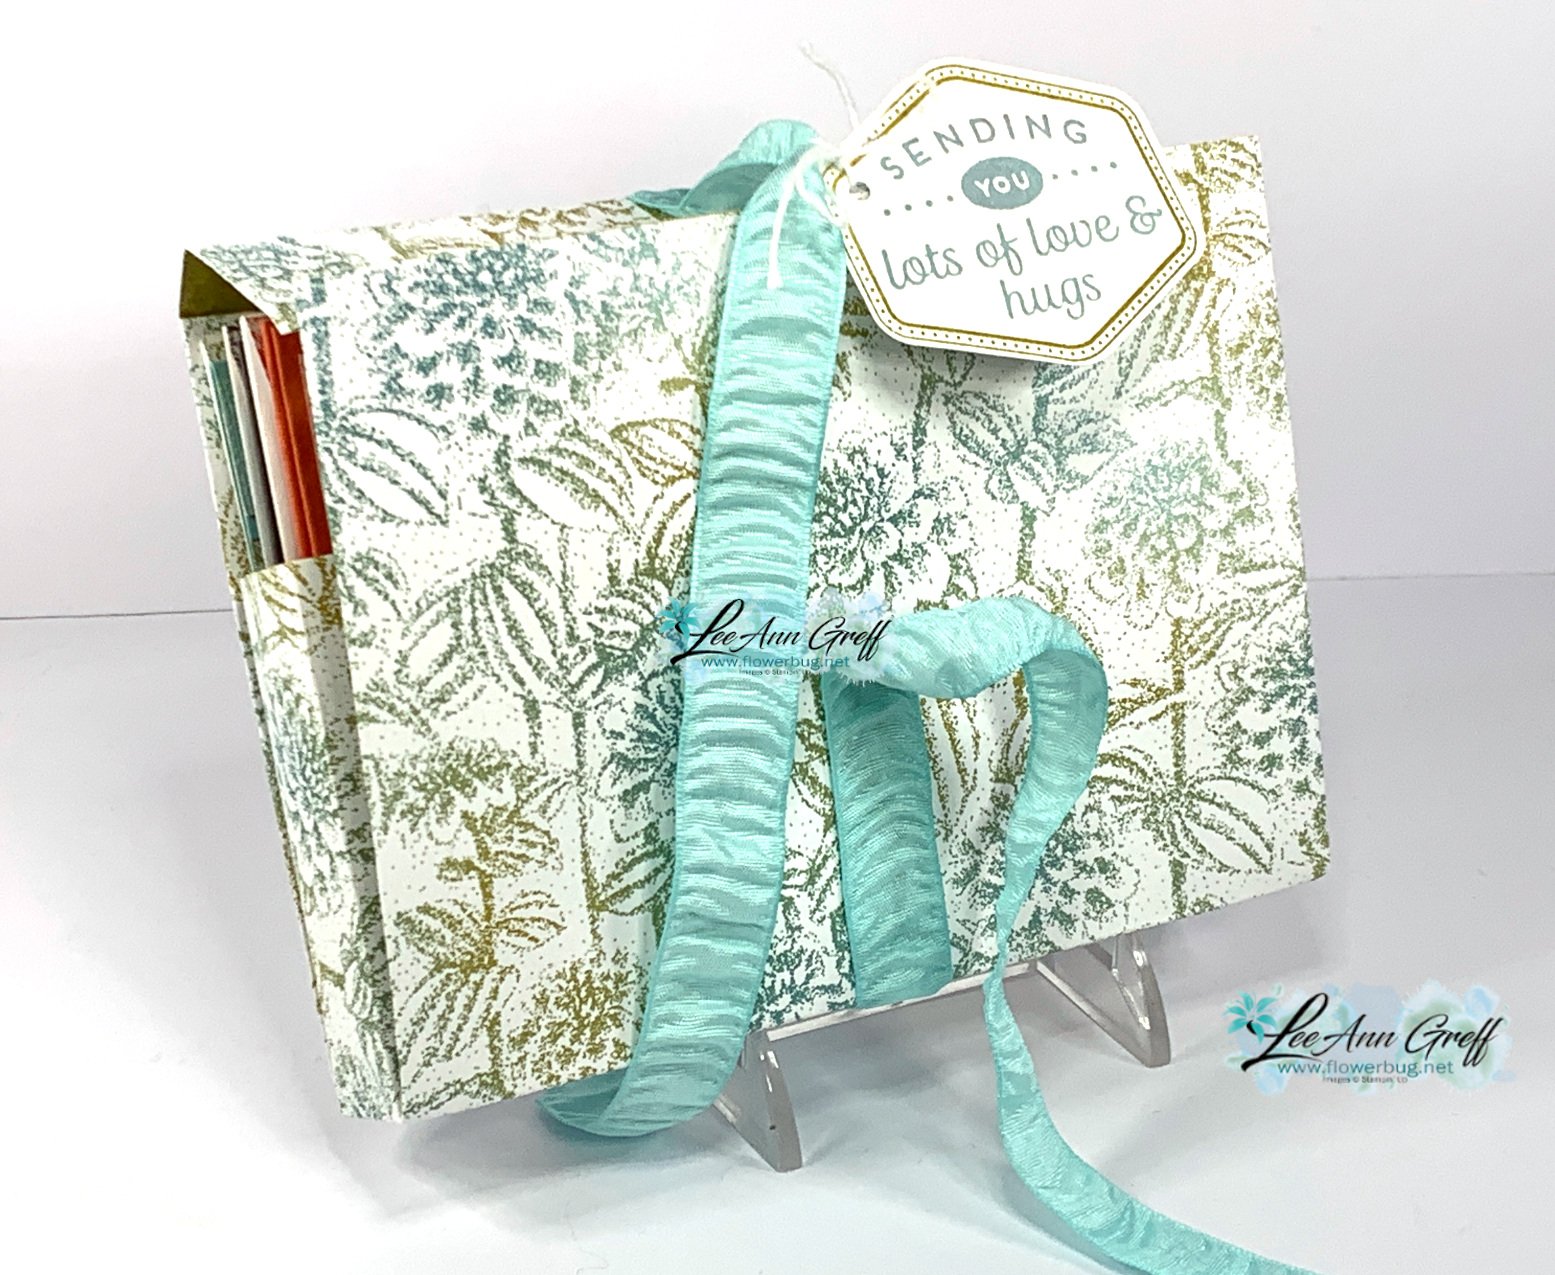
Here's the template you can save.  It's also included in the free project sheet below too. 

Click here to download or print the free project sheet: Download 1 sheet box for 6 cards & envelopes

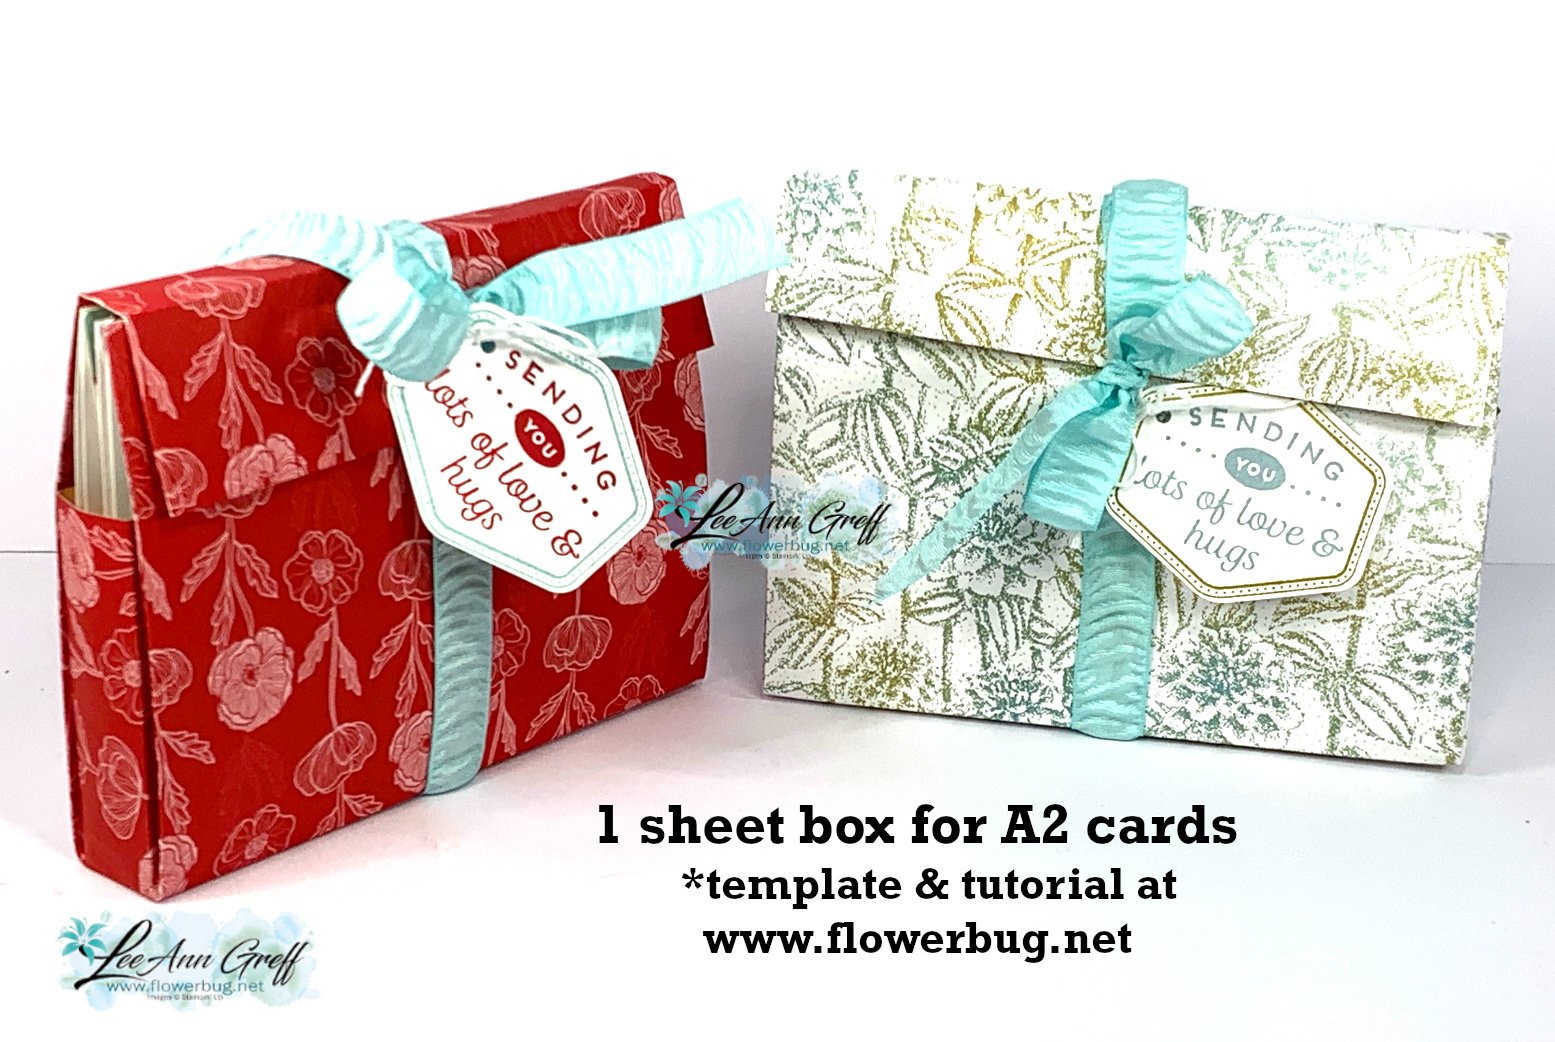
Here are both of my 1 sheet boxes; which is your favorite?

Next I'll share the individual cards with the measurements. Each one is a special but easy fun fold layout. I used just one stamp set on these cards – the Heartfelt Hexagon set. The coordinating Hexagon punch is unavailable right now; it's out of stock but will be back in April. 

Note the decorated envelopes to match!  Doing this makes your projects extra special and uses up your designer paper stash too.

This card is a new take on a book-binding card fold. It has just one extra layer of card stock to make it a new fold. 

Measurements: Calypso Coral card 11" X 4 1/4" score at 2 1/8", 4 1/4" & 5 1/2". 2nd piece is 3 1/4" X 4", White inside 2" X 4". DSP – large panel is 3" X 4", 1" X 4" & 2" X 4"
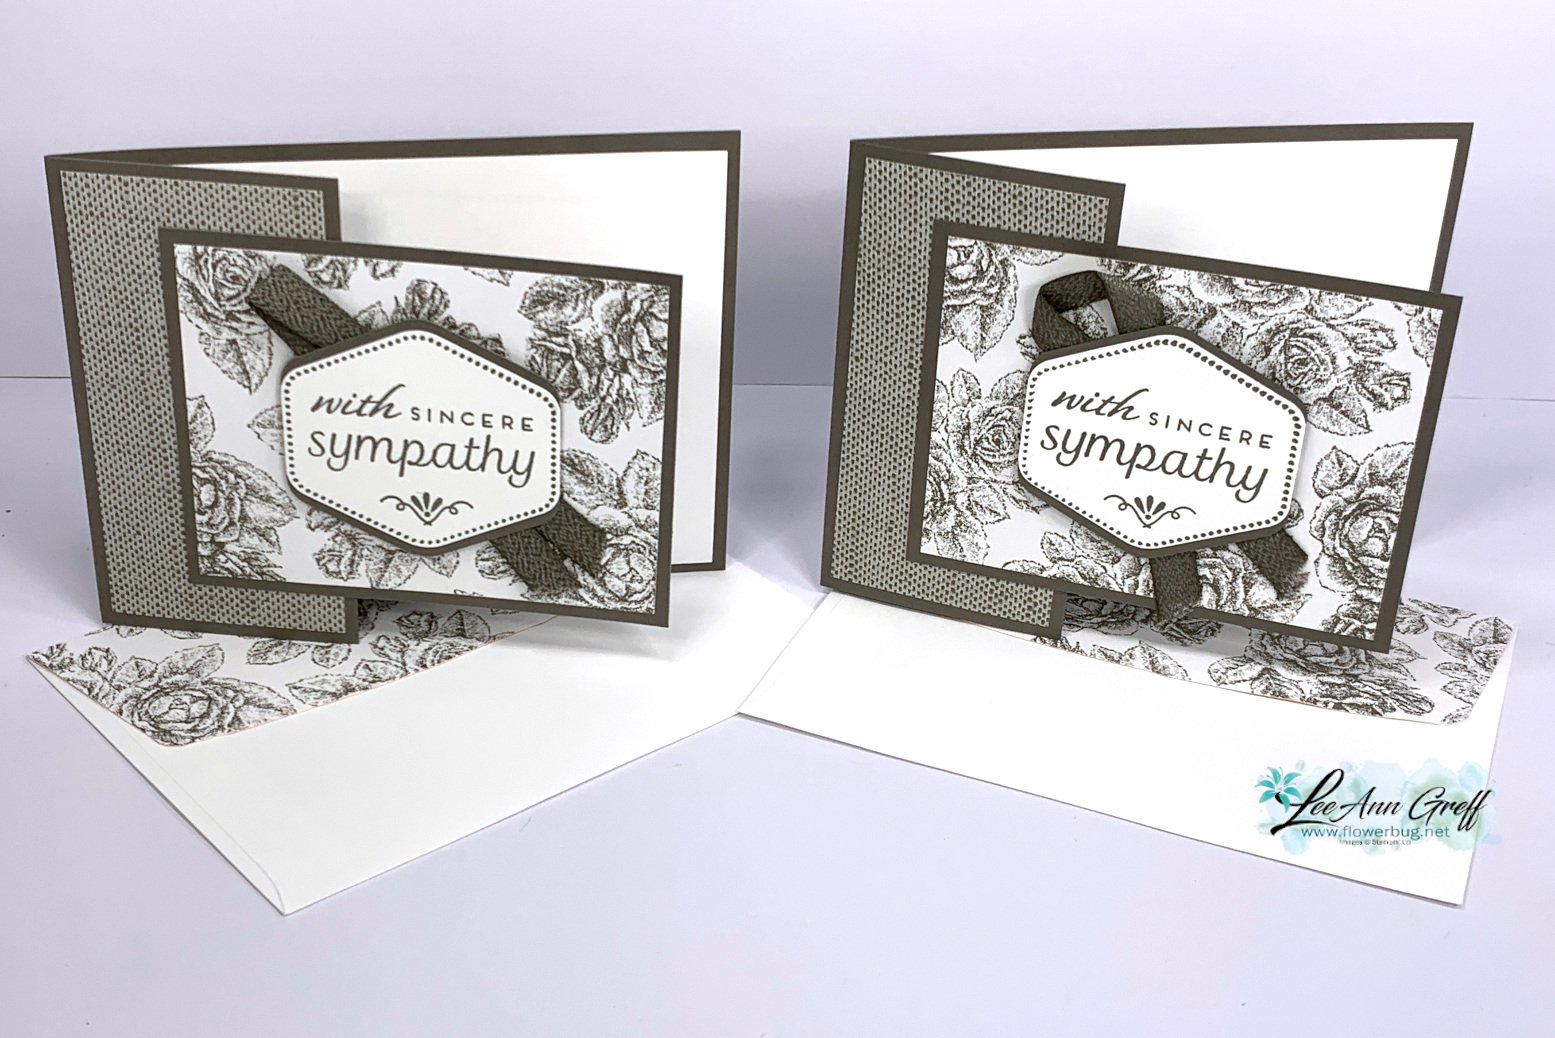
I love this card fold!  It used the trimmed off layer from the card base as the front panel. 

Measurements: Pebbled Path – 11" X 4 1/4" score at 5 1/2"; cut off one end at 2 3/4". DSP 1 piece at 2" X 4", 2nd piece at 4" X 3"

This card shows off both sides of your designer paper since the DSP is actually the front of your card base.

Measurements: Pool Party is 5 1/4" X 5 1/2" score at 4 1/4". DSP – 1 piece at 3/4" X 5 1/2", 1 piece at 4" X 5 1/2". Wild Wheat strip 4" X 1"

Click here or on the photo below to watch the video tutorial.  It will help you understand how to make the box.  Don't forget to follow me on YouTube while you're there! 

~~~

March Specials: 

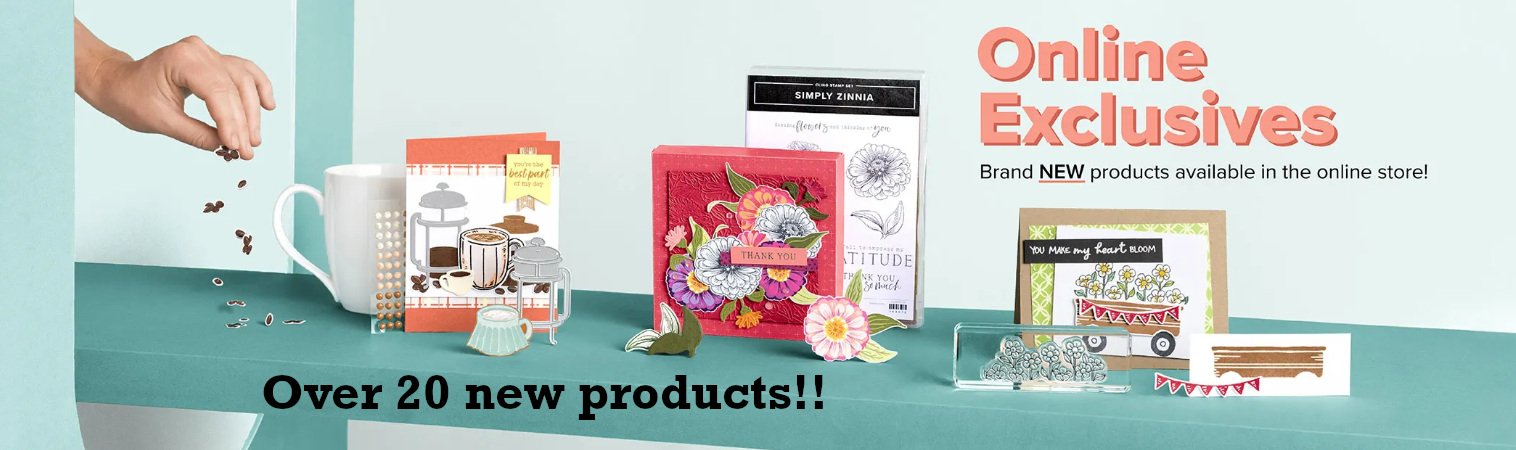
See over 20 brand new Online Exclusive products here!
*current host code link:  ZQW9KYDC

~~~

Get a free package of Rainbow Dots

with online orders over $55 in March

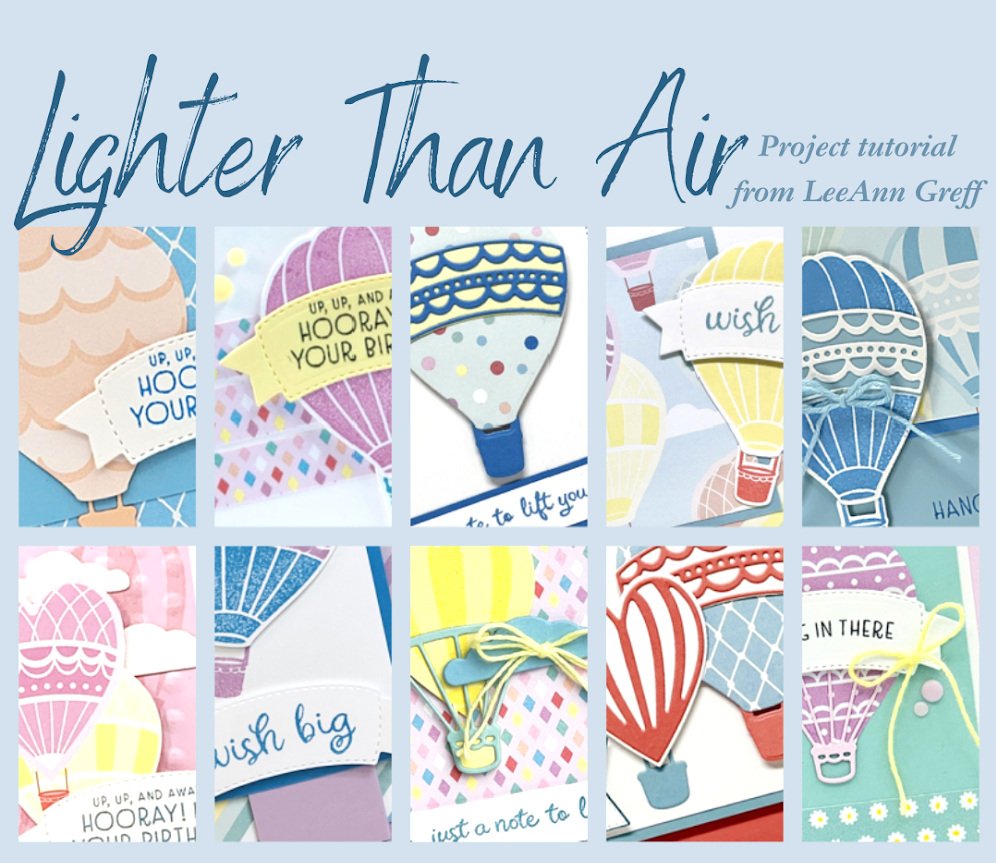
All online orders in March will receive this free Hot Air Balloon tutorial with 8 projects!
All Posts

  • Quick card with the Violet Dreams DSP


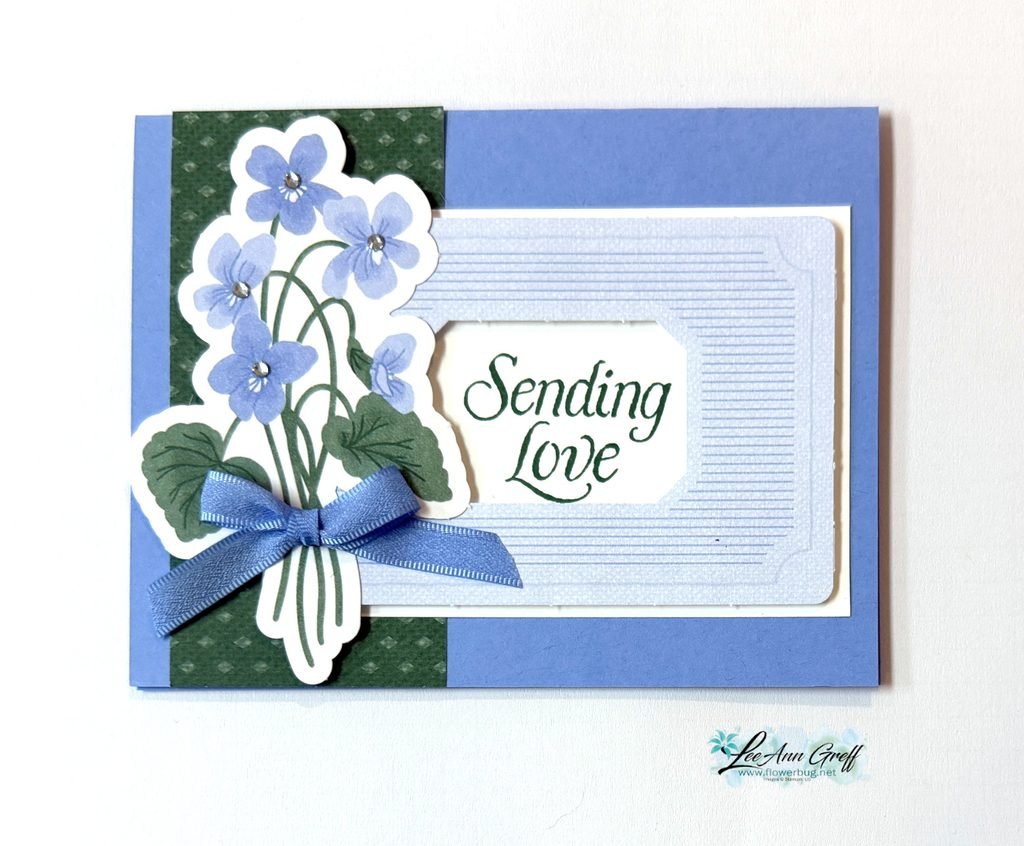
    Here’s the second card I made featuring the Violet Dreams suite. I shared it during last week’s video.

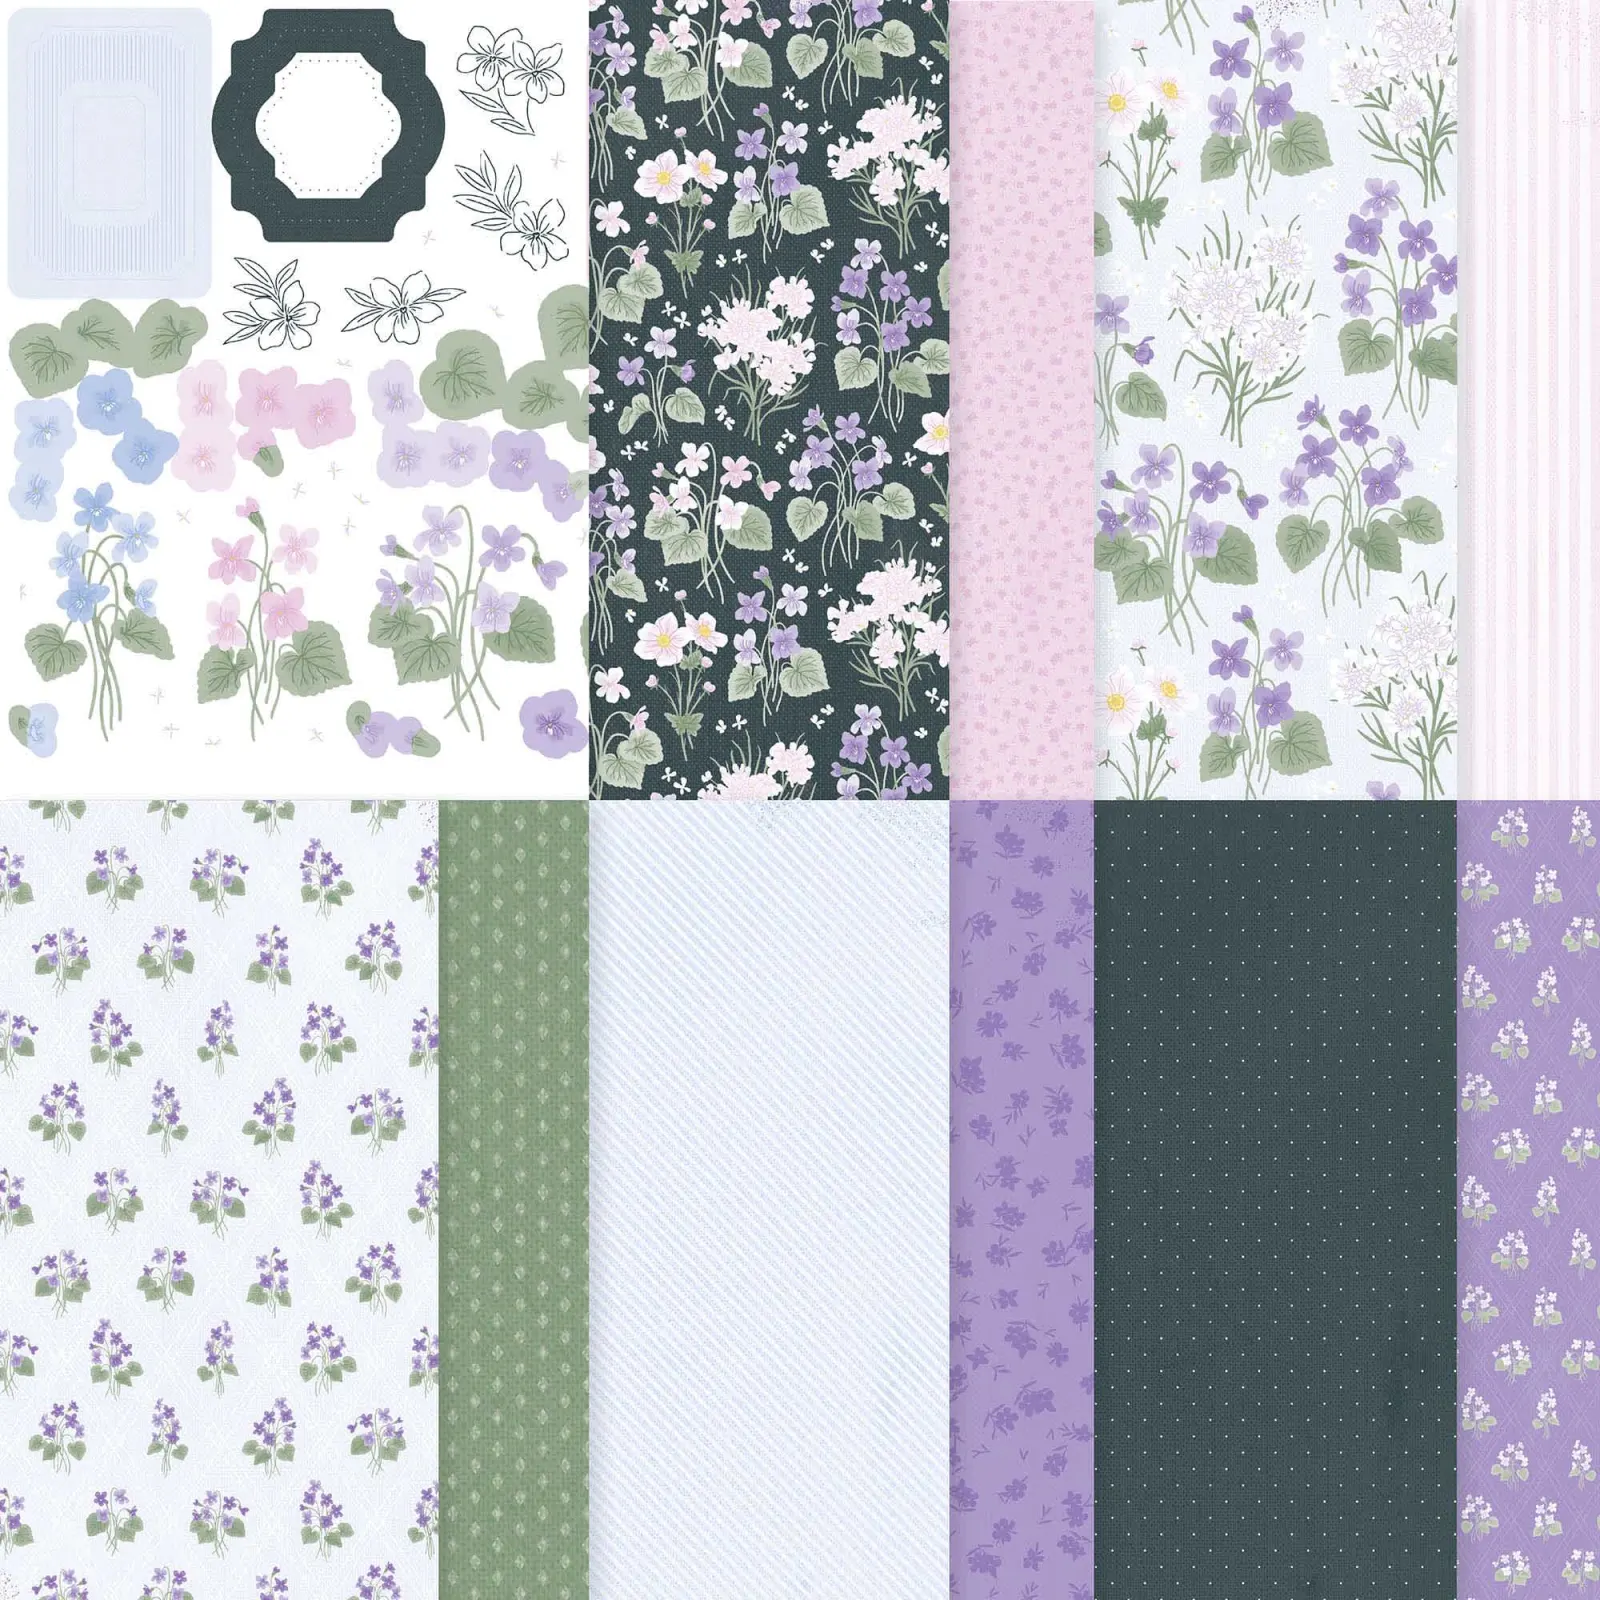
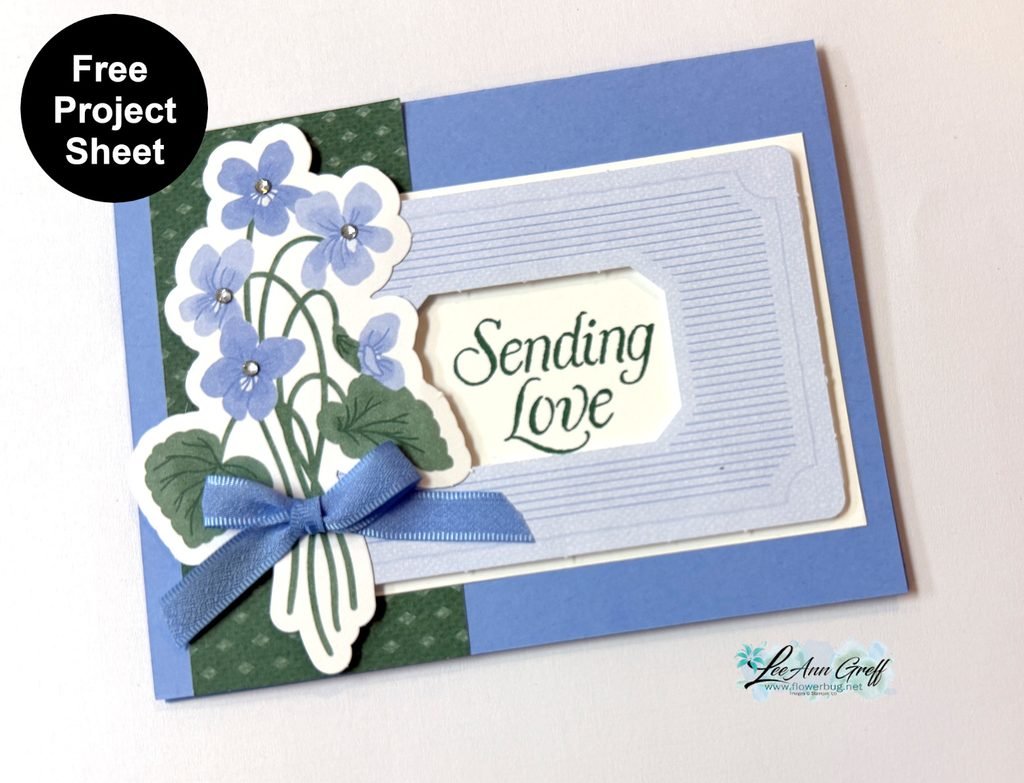
    It showcases the pretty Violet Dreams DSP seen here. There are 3 pieces from the DSP on this card: the violets die-cut, the striped frame and the green DSP strip. This DSP has 2 sheets of die-cut ephemera included in the package. I love that; it opens up so many options when creating.


    Besides the DSP I added the White layer behind the frame, the Hydrangea Hue ribbon and rhinestones. So quick!

    Here’s the free project sheet for this card; click here.

    Look closely at the coordinating colors on this card. Stampin’ Up! makes it so easy to create with perfectly matching colors. It’s my very favorite thing about SU.
    I used the violets as the starting point and simply repeated each color once or twice on my project for a wonderfully cohesive look.

    Tip: If you struggle with color coordination pick two colors and repeat them at least once if not twice on your project. This works!

    Check out the video below where I shared on more pretty card featuring DSP strips.

    Leave a Reply

    Your email address will not be published. Required fields are marked *

  • How to use up those DSP strips! Video & free project sheet


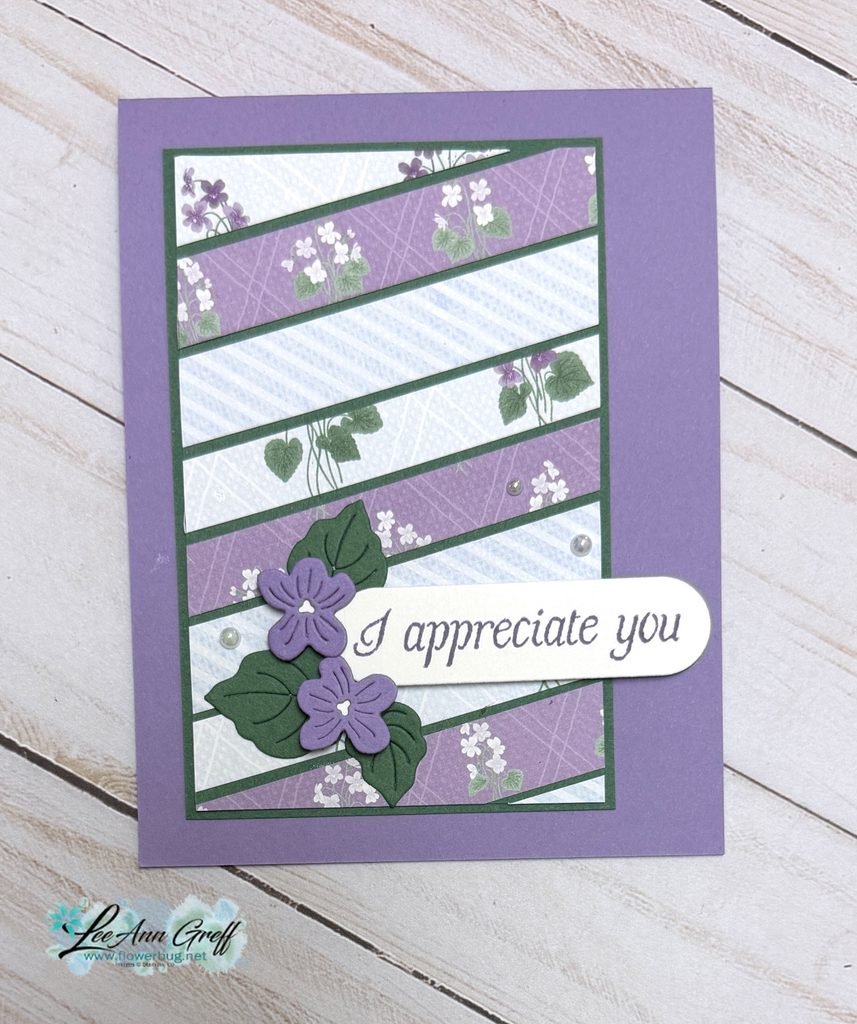
    I shared this pretty card on last week’s Live video. It’s a great way (and easy too) to use up those scraps of DSP you’re saving.

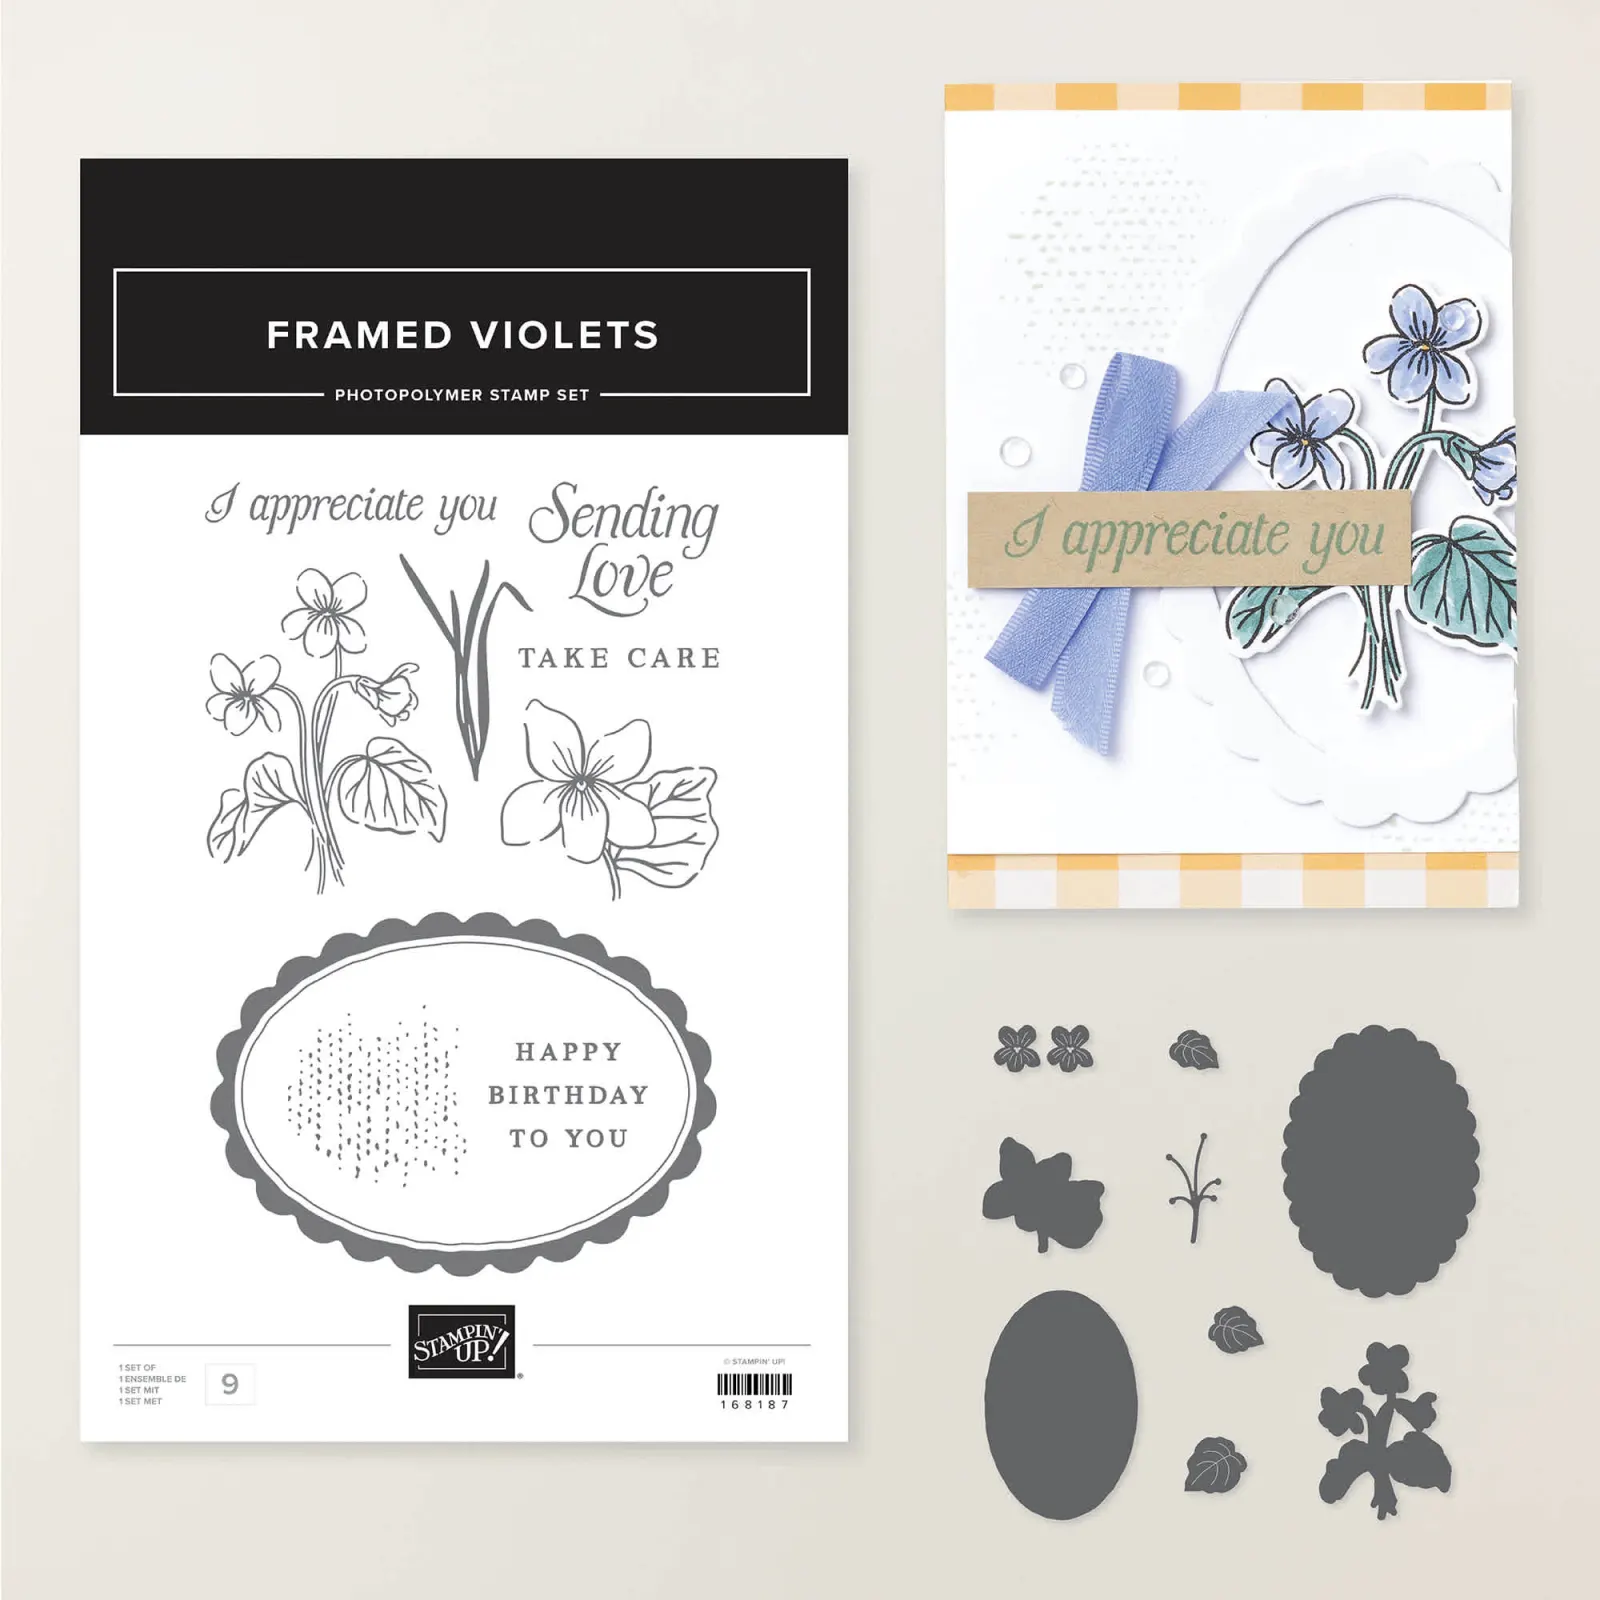
    Here I used the Violet Dreams DSP along with the Framed Violets bundle & Highland Heather ink.

    I started out with 1/2″ thick strips of DSP and adhered the first to a Peaceful Pine CS layer at an angle. Then simply continue to add more strips leaving a space between each. Trim off the excess on all edges and adhere to a larger Peaceful Pine CS layer.

    Adhere to your card base, add a greeting and die-cut accents and you’re done!

    I created a free project sheet with photo, measurements and directions. Click here to print it or download it.

    And below is the video tutorial for this card and one more using the Violet Dreams suite seen here.

    July Stampin’ Up! specials:

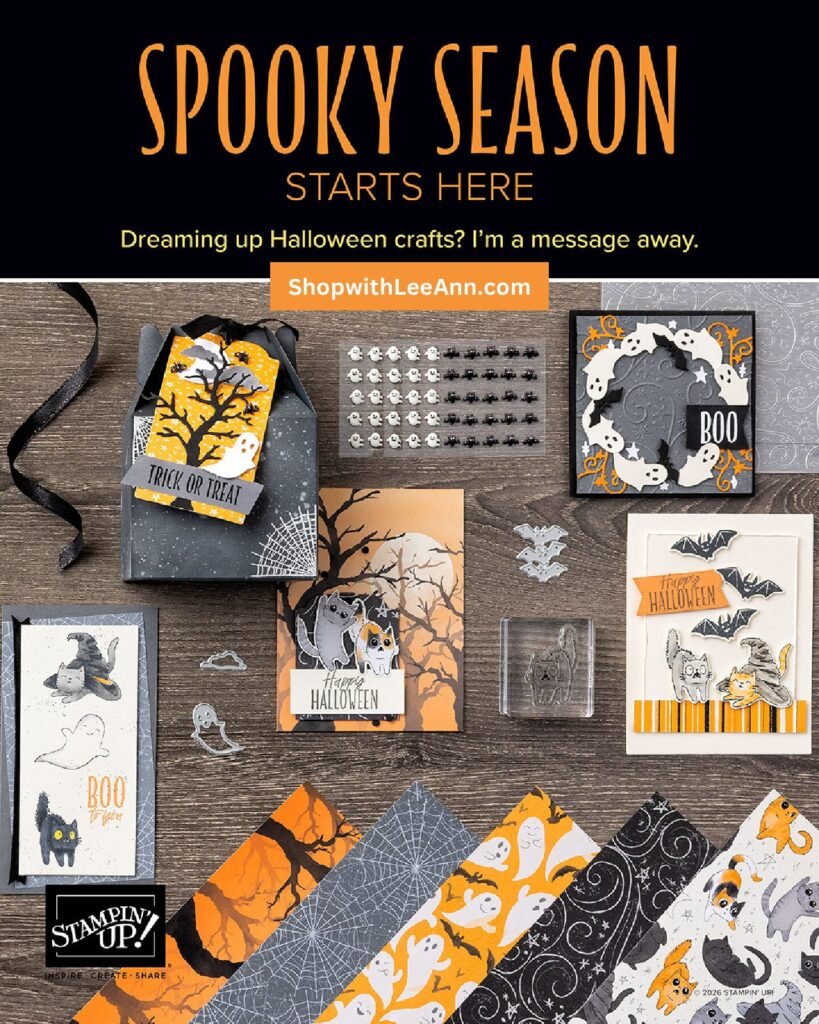
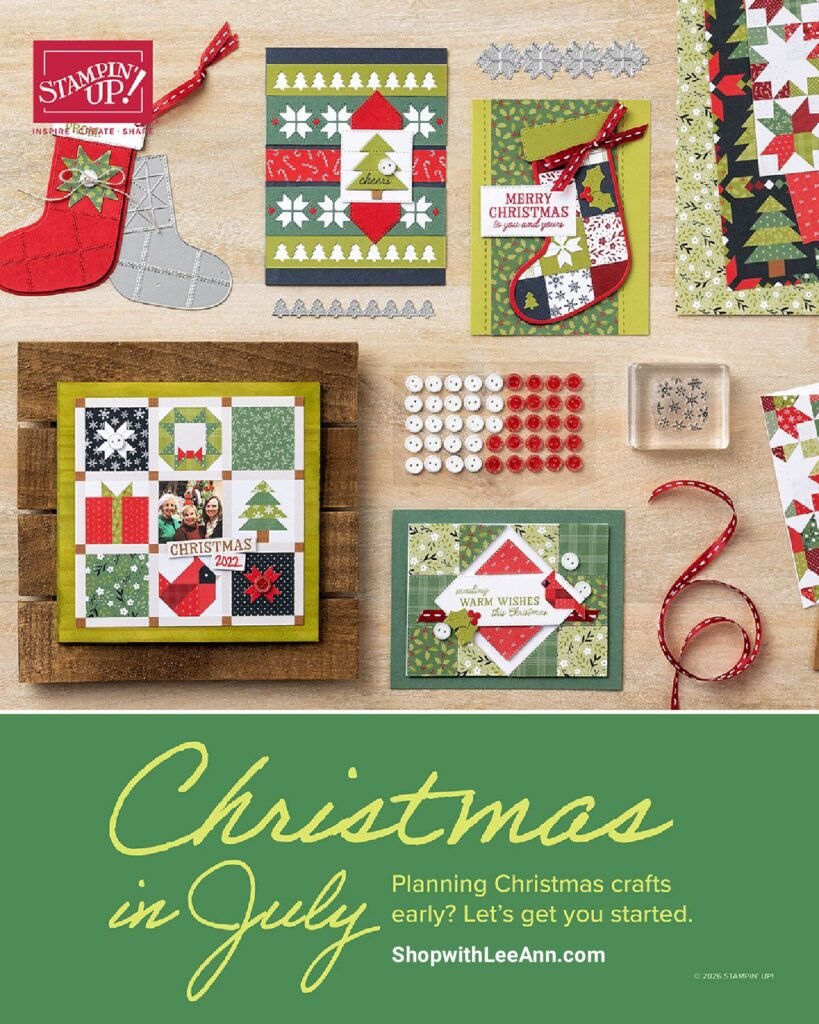
    There are new Online Exclusives out this month! They include florals, Fall, Halloween and Christmas! See them all here.

    Here are a few links & graphics of two of the suites:

    You can see the Spooky Season suite here.

    See all of our Christmas products here!

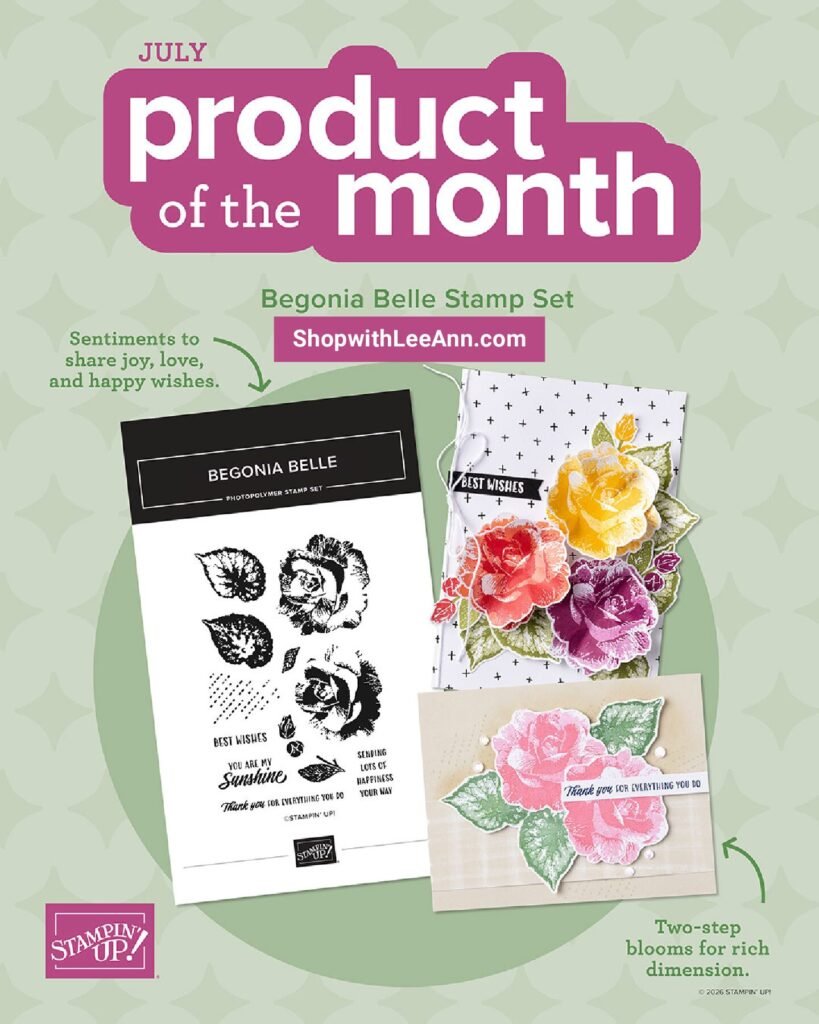
    Our newest Product of the Month is this beautiful Begonia Belle stamp set: It’s just $5 once you hit the $75 mark in your shopping cart!
    See it here

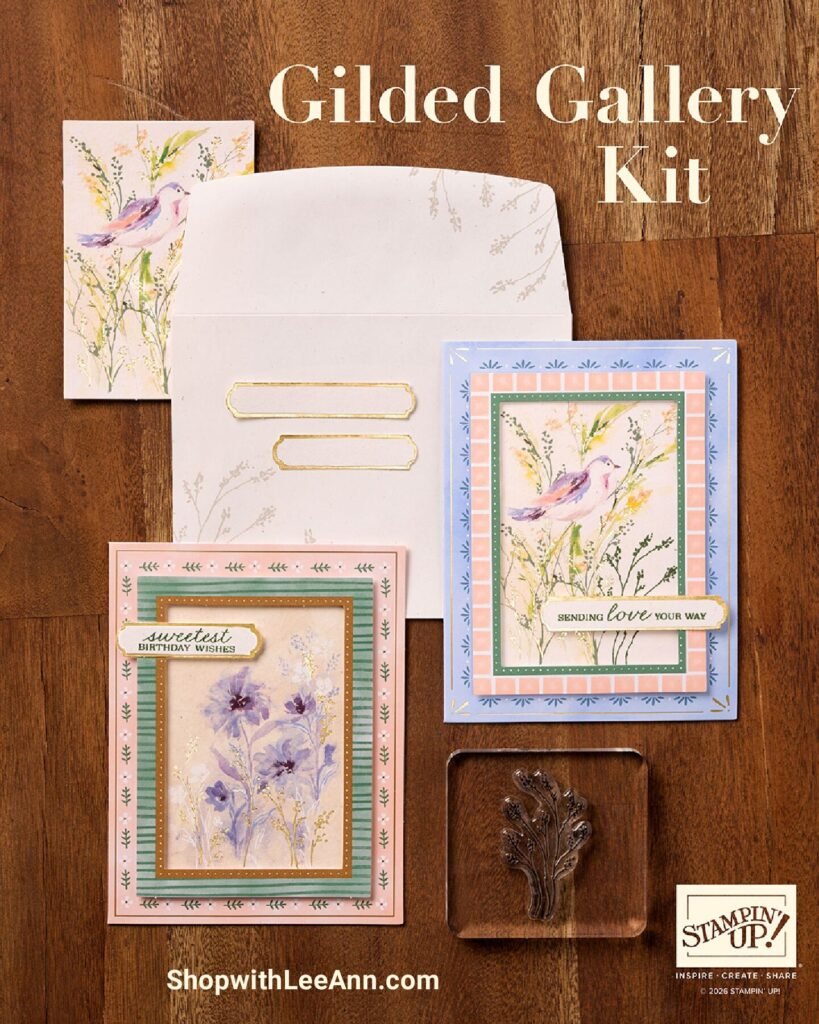
    We have two new kits in our Kit Collection:

    The Gilded Gallery card kit can be seen here. It’s $25, makes 10 cards with envelopes and includes a beautiful stamp set and ink spot.

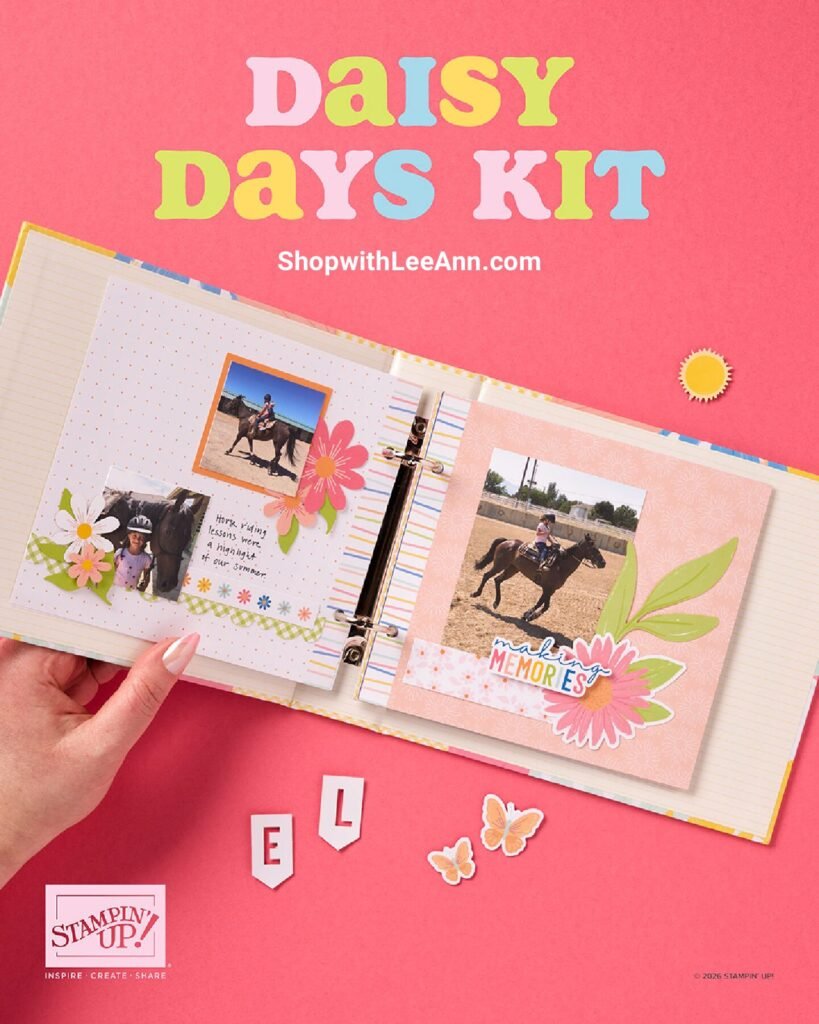
    The other kit is a fun scrapbook album called Daisy Days:

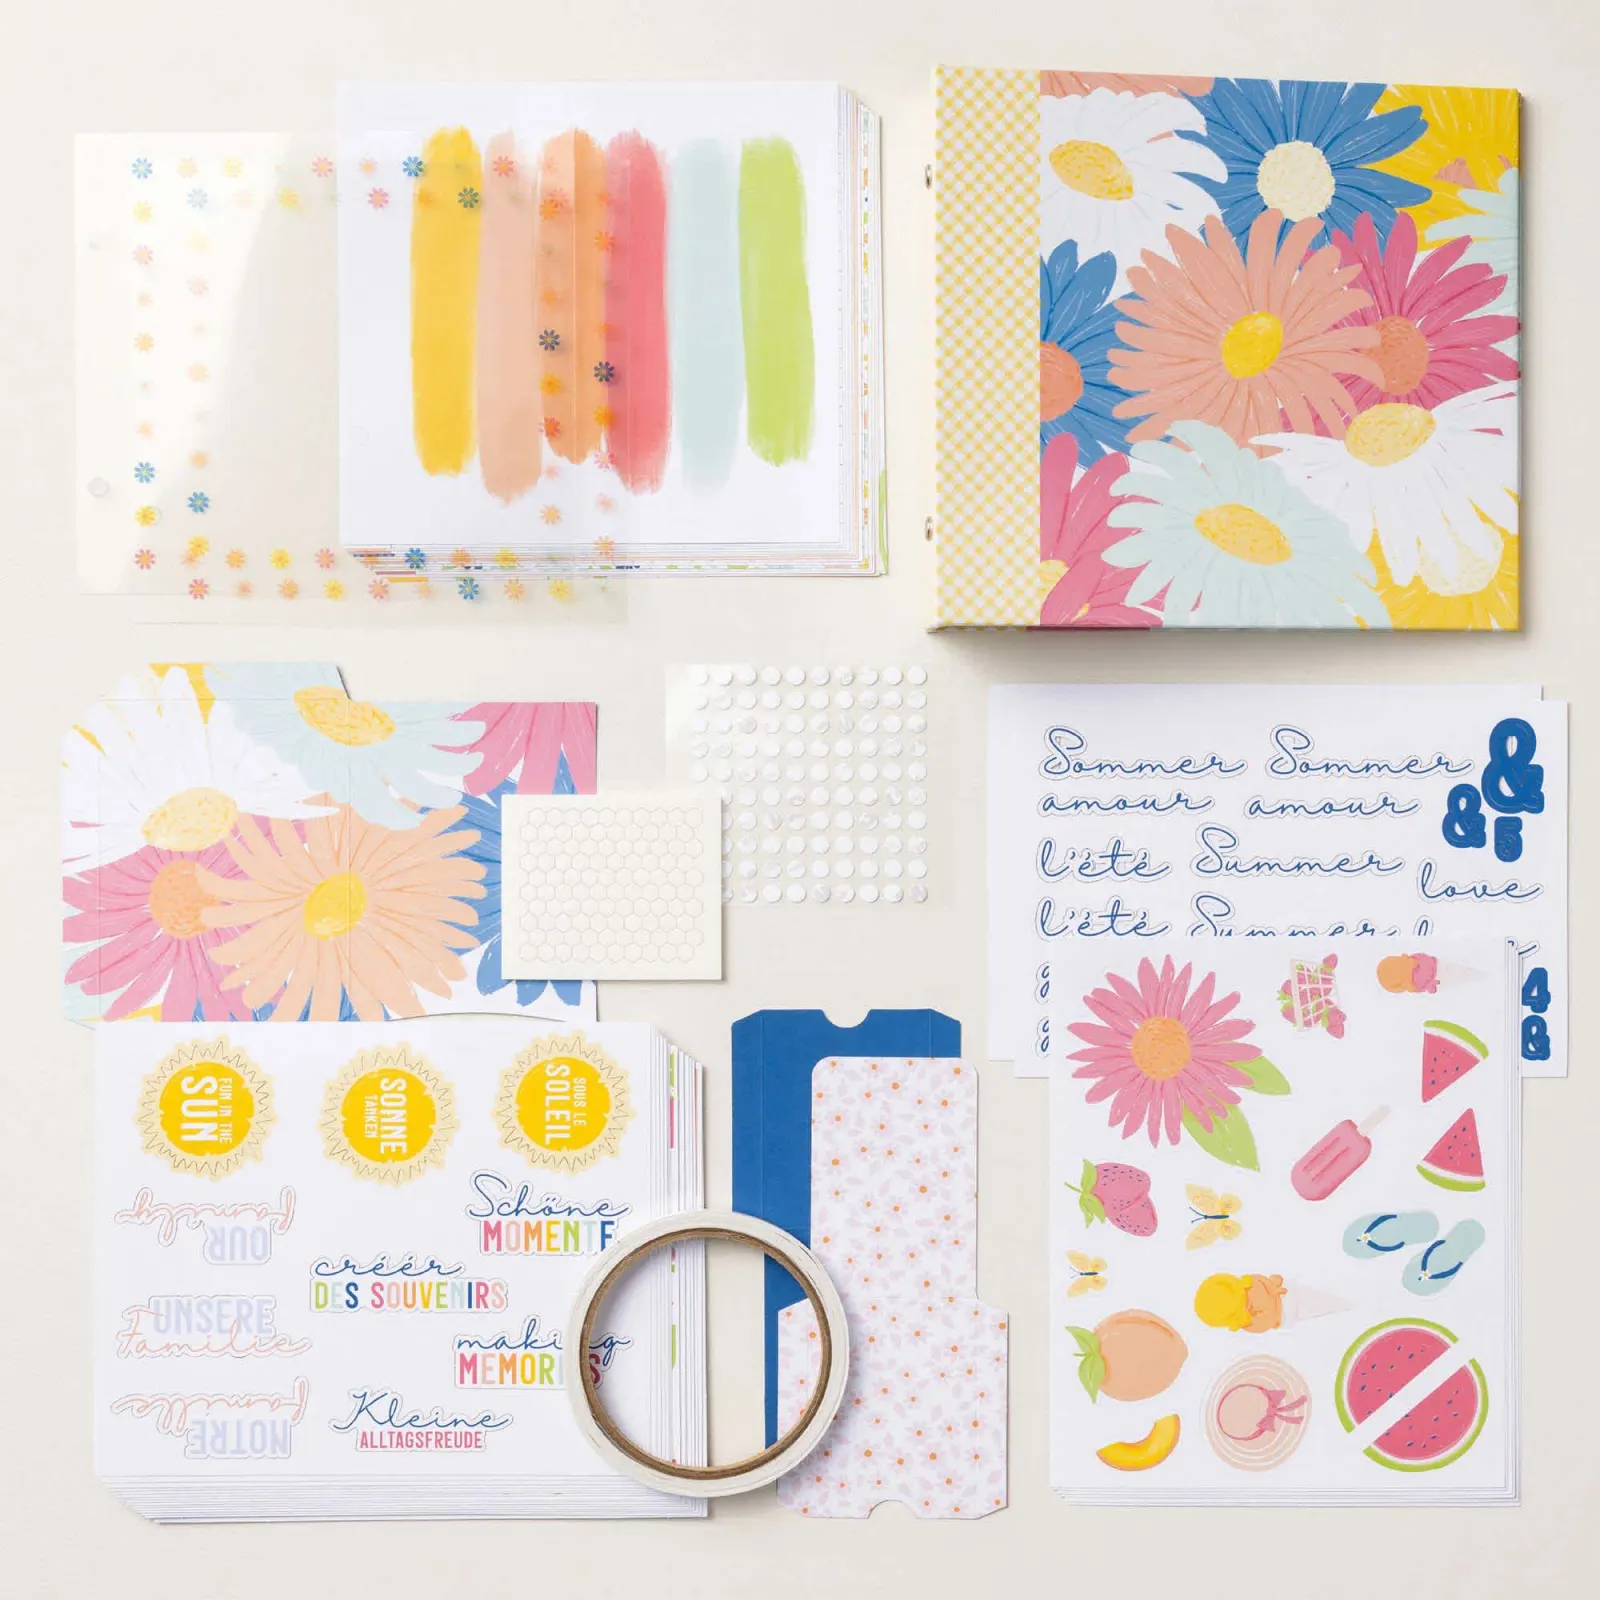
    See it here. It includes the following:

    DETAILS
    – Makes 1 album with 28 pages
    – Album size: 7-3/4″ x 7″ x 1-7/8″
    – Page size: 6.5″ x 6″
    – Colors: Blueberry Bushel, Crisp Cantaloupe, Crushed Curry, Granny Apple Green, Pool Party, Strawberry Slush, Timid Tiger
    – Sentiments printed in English, French, and German

    – Step-by-step instructions
    – Precut images and sentiments
    – Printed pockets
    – Acetate sheets
    – Adhesive

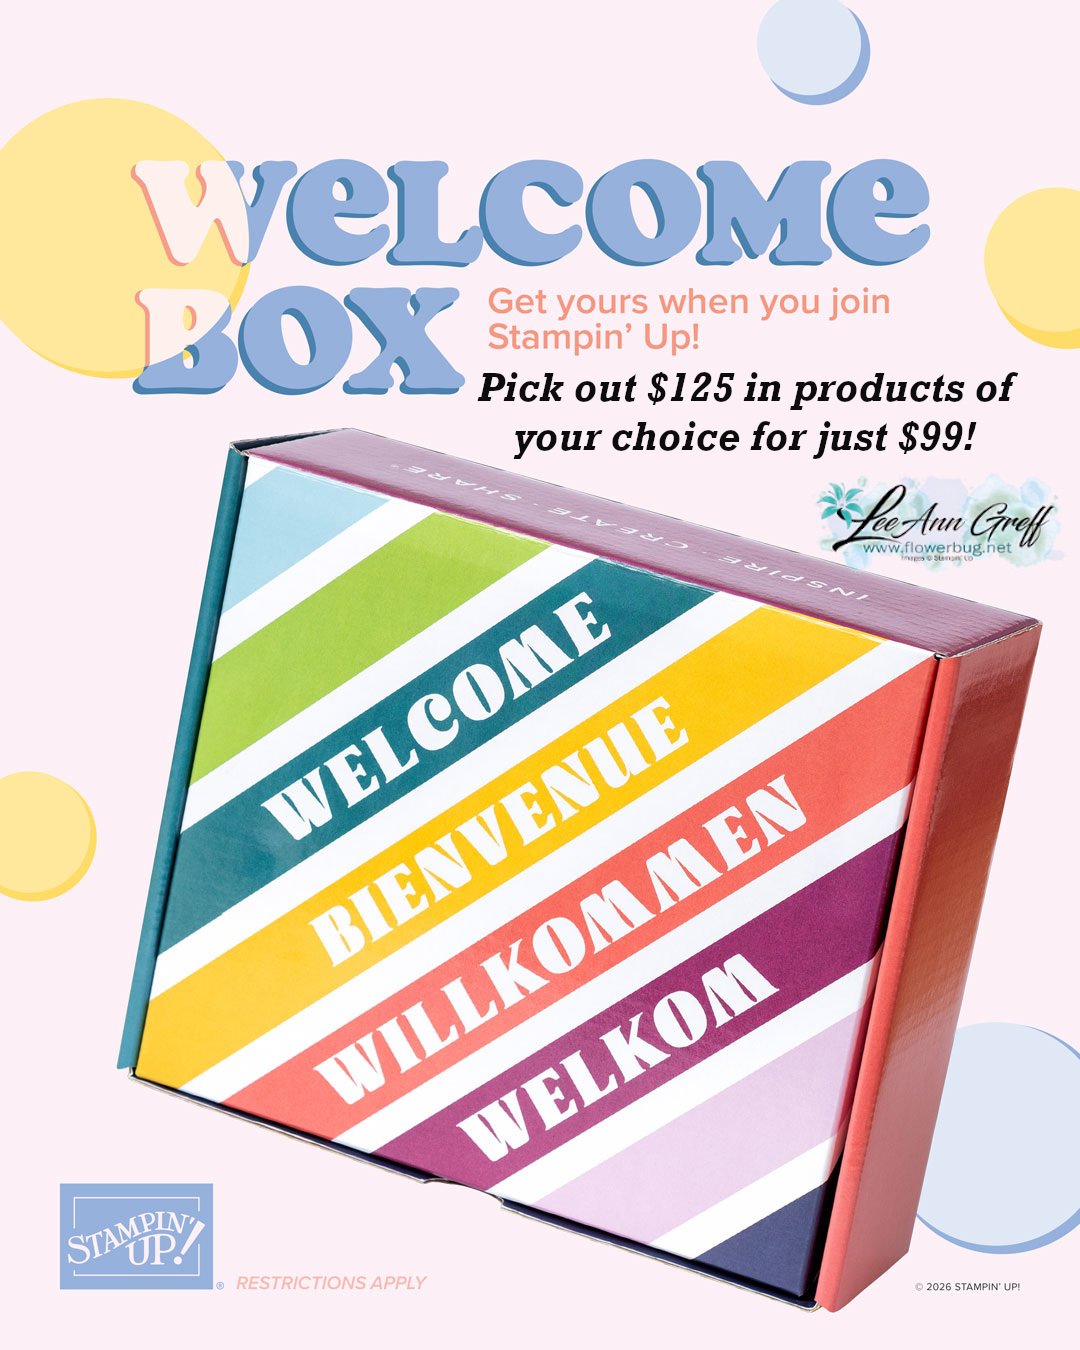
    And lastly is the new Welcome box!

    This is super exciting news! All first-time demonstrators (beginning July 1, 2026) will receive a surprise Welcome Box—a gesture of appreciation and a warm welcome into the global Stampin’ Up! creative community.

    Here is a video that shows what’s inside. But here are the details:

    What’s Inside the Welcome Box

    • A handwritten welcome letter from Sara
    • Stampin’ Up!-branded swag:
      • Pen
      • Pop-up pencil case
      • Pop-up waste basket
    • An exclusive card kit including:
      • Kit-sized stamp set
      • Full-size clear block
      • Classic Stampin’ Spot
      • Supplies to create eight “hello” cards

    Here’s the link to join my Team; it’s just $99 and you can choose up to $125 in products of your choice!

    Important Notes

    • The Welcome Box is exclusive to first-time demonstrators. Beginning July 1, 2026, anyone joining for the first time will receive a Welcome Box.
    • Current demonstrators have a one-time opportunity to order a Welcome Box after it launches. See below for details.
    • Rejoining demonstrators will receive all other joining perks (including the coupon code) but not a Welcome Box.

    Leave a Reply

    Your email address will not be published. Required fields are marked *

  • New Hot Foiling System is here!!


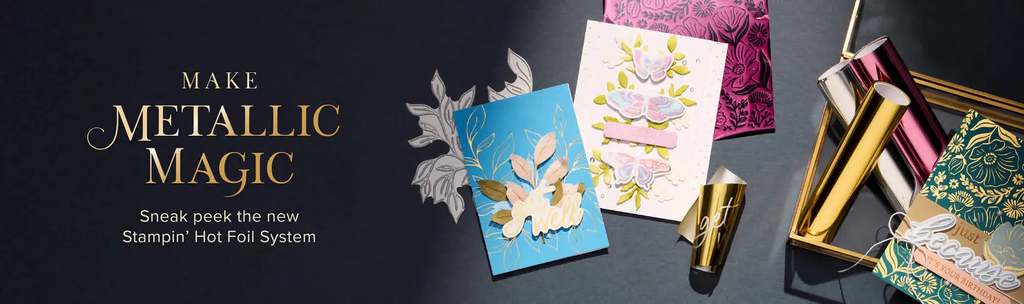
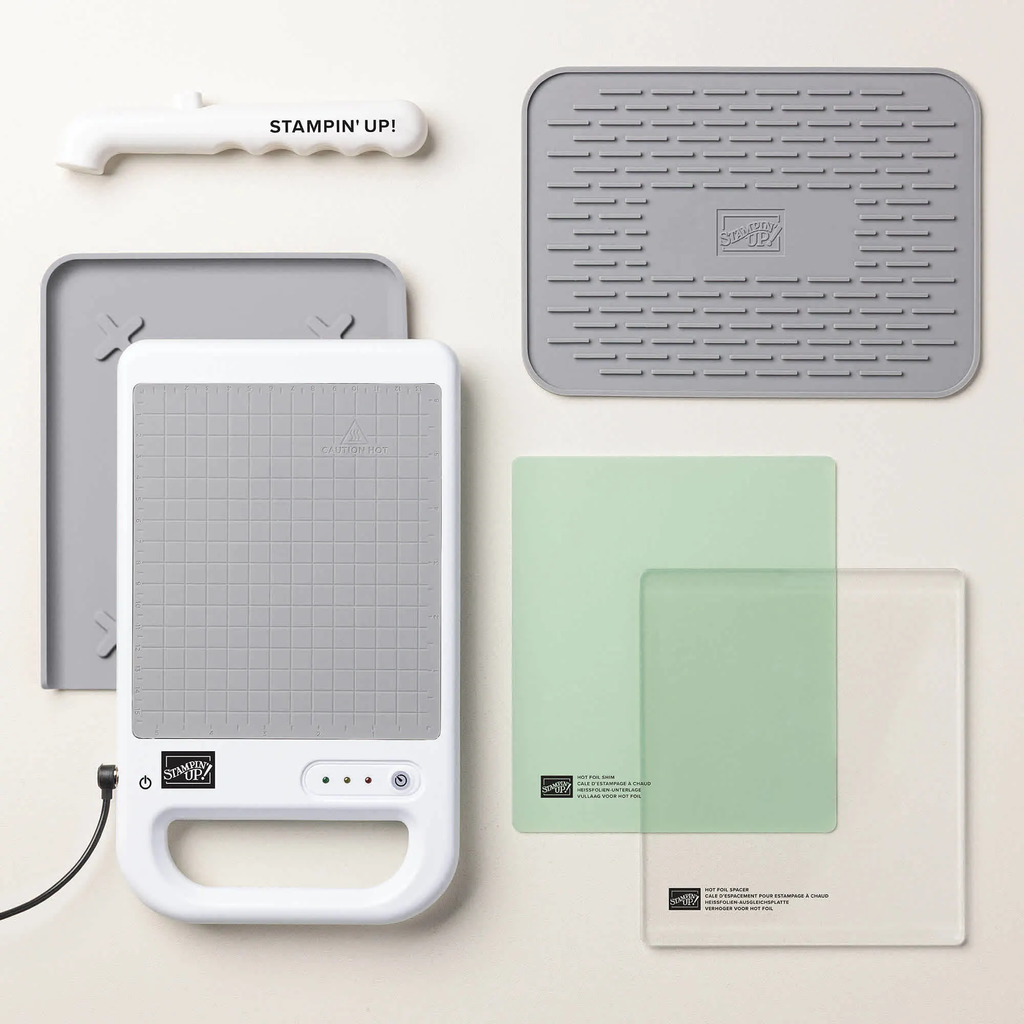
    Stampin’ Up! has a brand new product on the market. It’s called the Stampin’ Hot Foiling system.
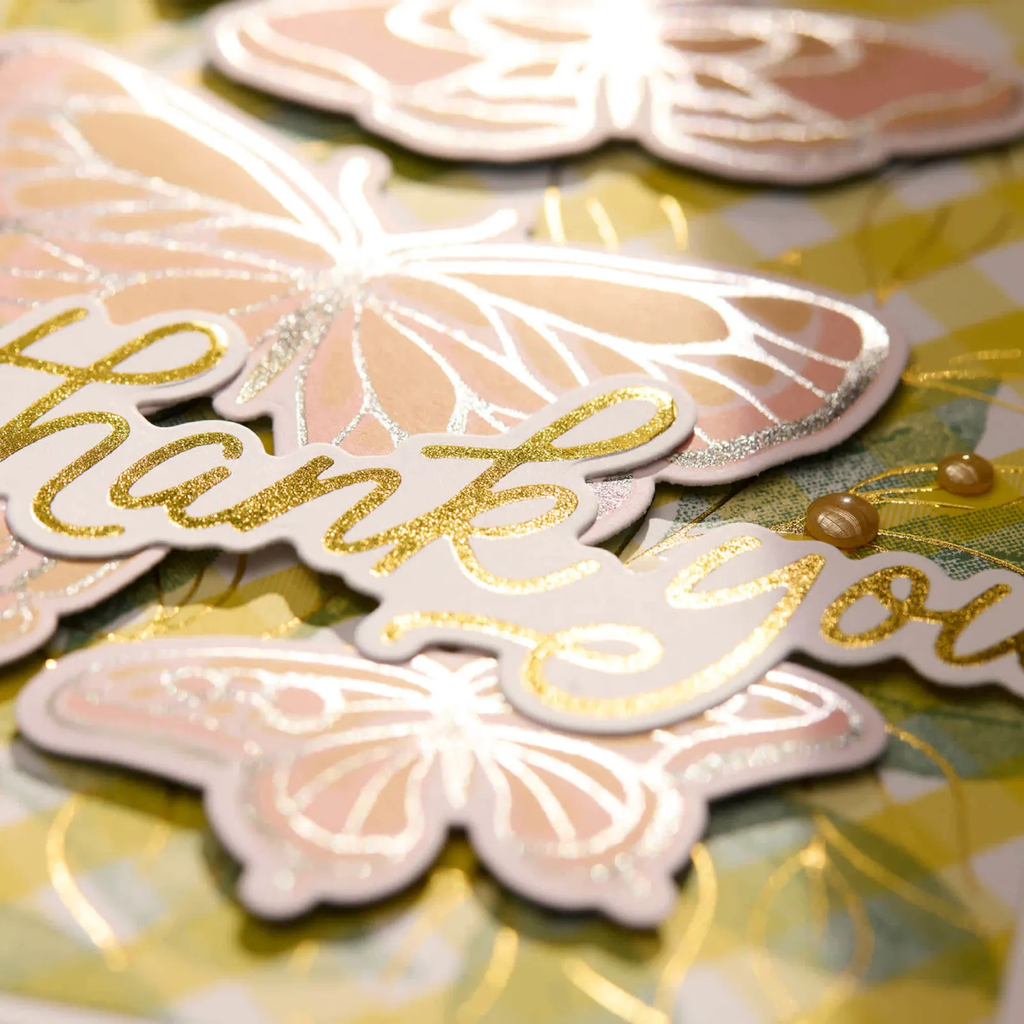
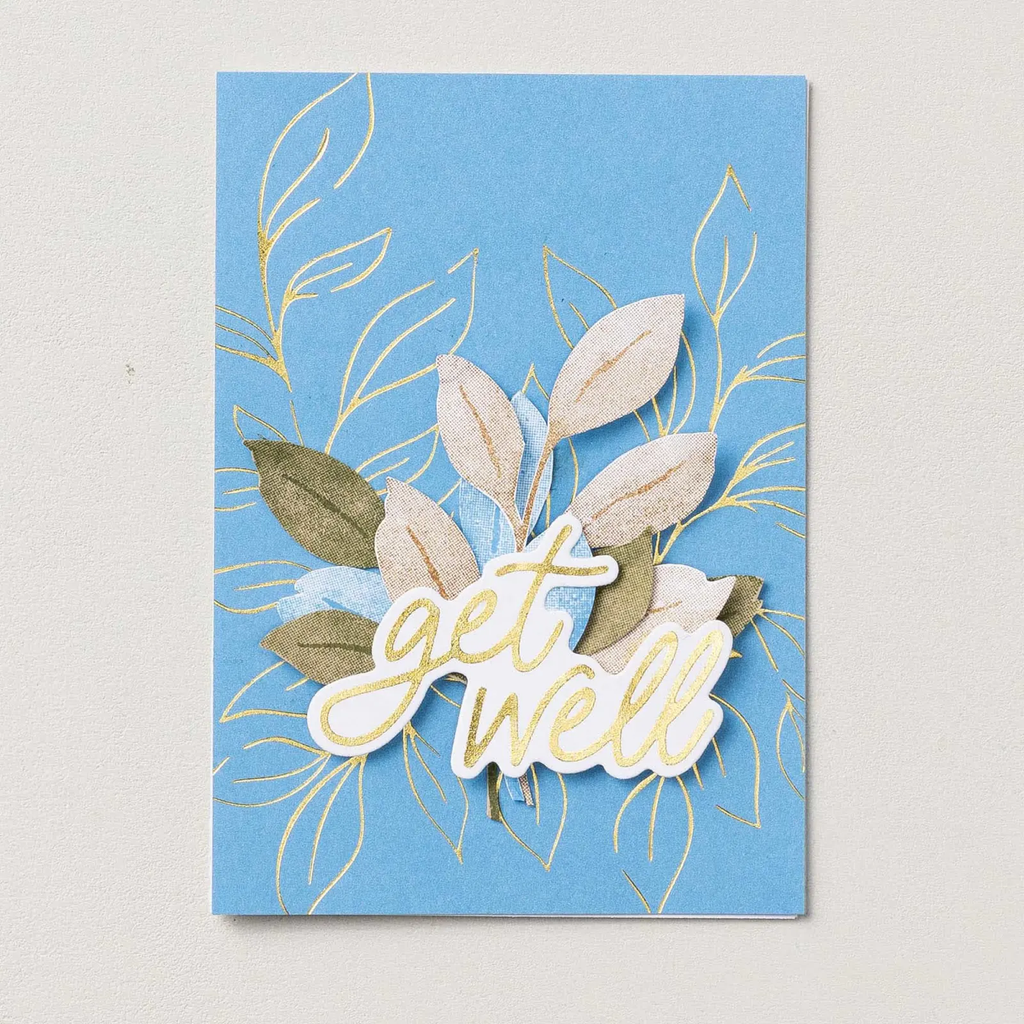
    If you like shine & glitz this is for you!

    The metallic magic starts with Stampin’ Hot Foil Rolls, specially-made Hot Foil dies, and the Stampin’ Hot Foil System that works with our Stampin’ Cut & Emboss Machine (sold separately). The heat of the platform transfers the foil using hot foil dies designed specifically for this system, allowing you to add dazzling details to paper and more. (IMPORTANT NOTE: Cutting dies are not designed to be used with hot foiling. You cannot die cut using foiling dies. Doing so risks damaging the dies and the system.)

    As an added bonus, everyone who purchases this system before January 4, 2027, will automatically be able to access the upcoming Metallic Magic Craft Class, a technique-centric virtual class. Attendees will make unique projects and learn crafting tips intended to elevate their hot foil crafting experience. This class is a special limited-time offer exclusive to this system and is an amazing tool when it comes to increasing skills, learning techniques, and making the most of this new product line.

    Here’s a link to these brand new products!

    Here’s a brochure that shows all of the products available in this system.

    Here’s a video sharing how this system works and the products involved in creating these gorgeous foil images.

    Leave a Reply

    Your email address will not be published. Required fields are marked *


Notice: LeeAnn Greff, Independent Stampin’ Up! Demonstrator, Manager. The content of this website is my sole responsibility as an independent Stampin’ Up! demonstrator and the use of, and content of, the classes, services, or products offered on this website is not endorsed by Stampin’ Up! Copyright 2025