/


Latest Post

An easy Gift Card idea for Christmas with free project sheet


I shared this pretty card on last week’s video. It has an option for a gift card hidden inside.
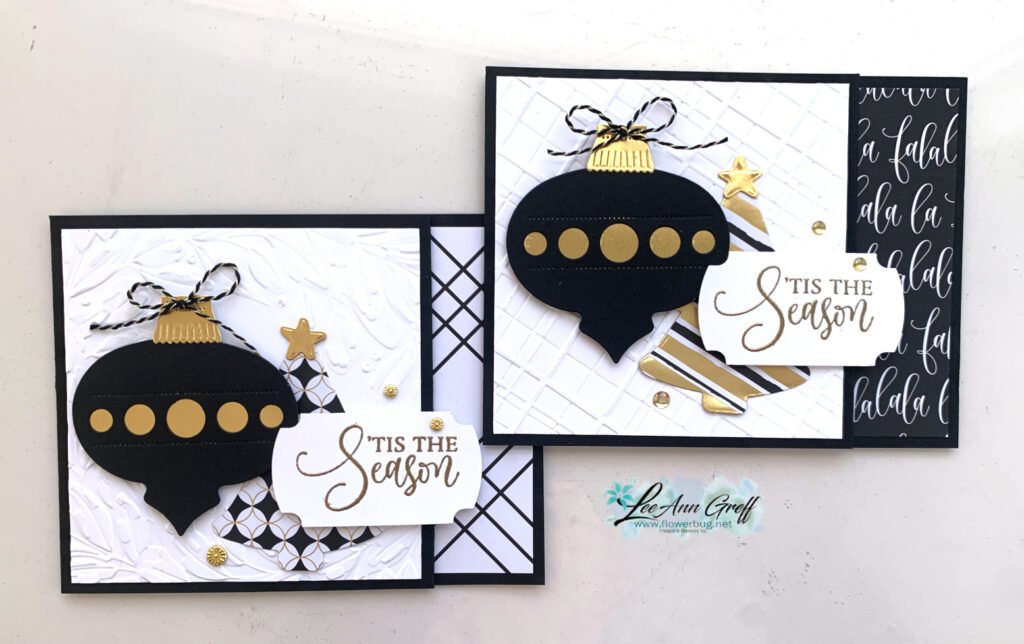
Isn’t it pretty? I featured the Modern Christmas suite here with the specialty DSP and the Ornamental Christmas bundle seen here.
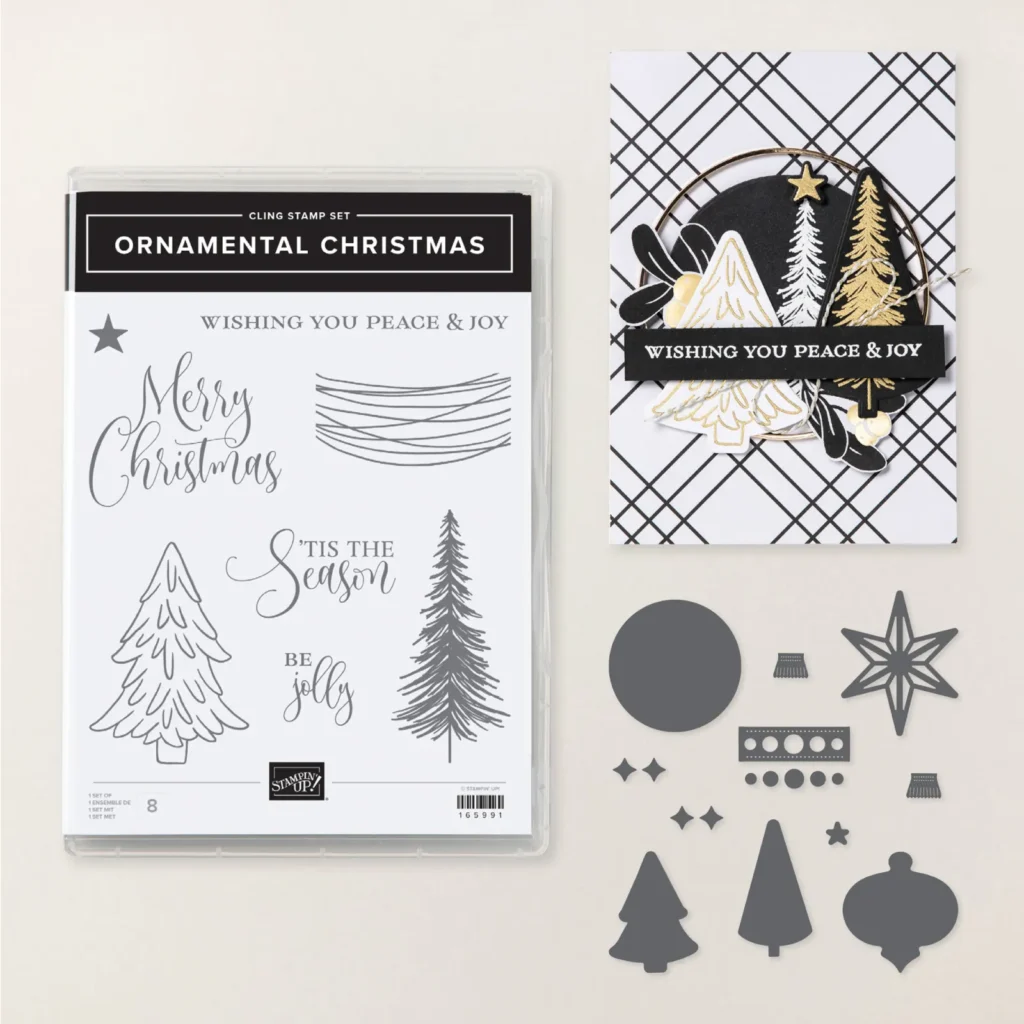
I just love the font on the greetings and the unique coordinating dies in this bundle.
My colors are classy in Black, White and Gold foil. You might notice two different embossing folders on the White layer. One is the Traditional Wreath 3D and the other is the Forever Plaid 3D.

There is a scored line on the front layer to create a pocket for a gift card inside. I used a punch to create a bit of interest on it.
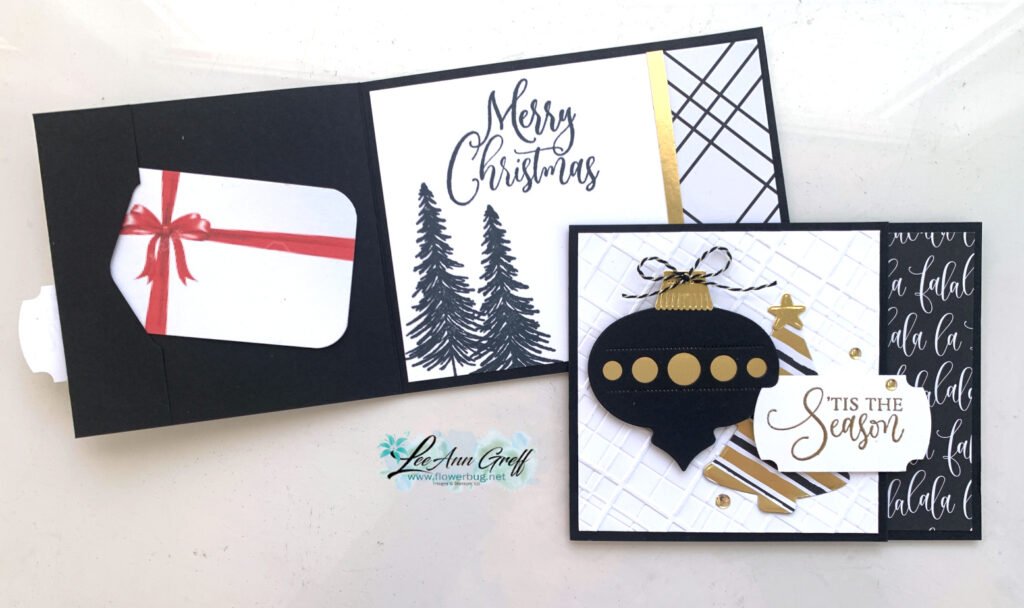
What do you think of this color combination for Christmas? I worried some might not like it but everyone at my Clubs loved this card. The Modern Christmas designer paper seen here is gorgeous with it’s fun patterns.

I did heat emboss the greeting with Gold embossing powder and punched it out with the Labeled with Love punch. The bits of Gold foil all over this card really make it special!

I created a free project sheet for this card and also a video with tips & step by step directions. Click here to print or download it.
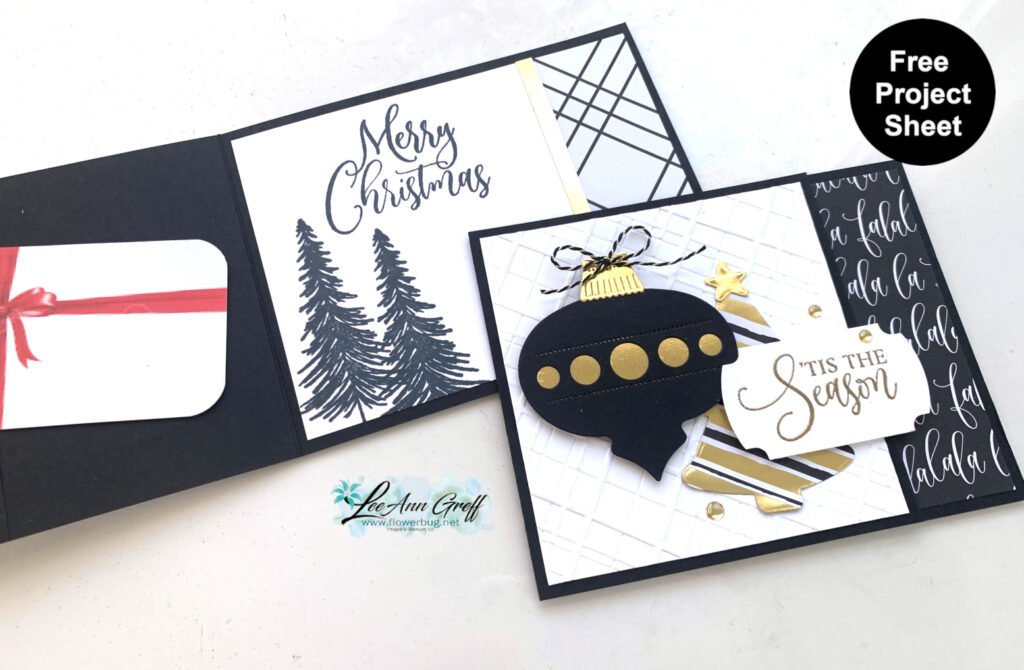
You can watch the video below to see how to assemble this card. There are also two more projects you’ll want to see!

*You’ll receive a PDF with multiple projects featuring this product
after the 20th of the month.
~~~

The Last Chance list has been updated!
Click here to shop.
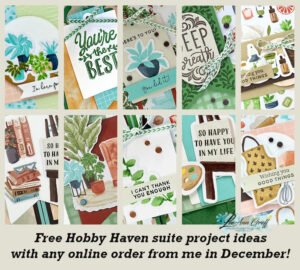
Get a free PDF tutorial with any online order from me in December!
All Posts

  • Pretty Soft Seedlings card & video; an easy fun fold layout


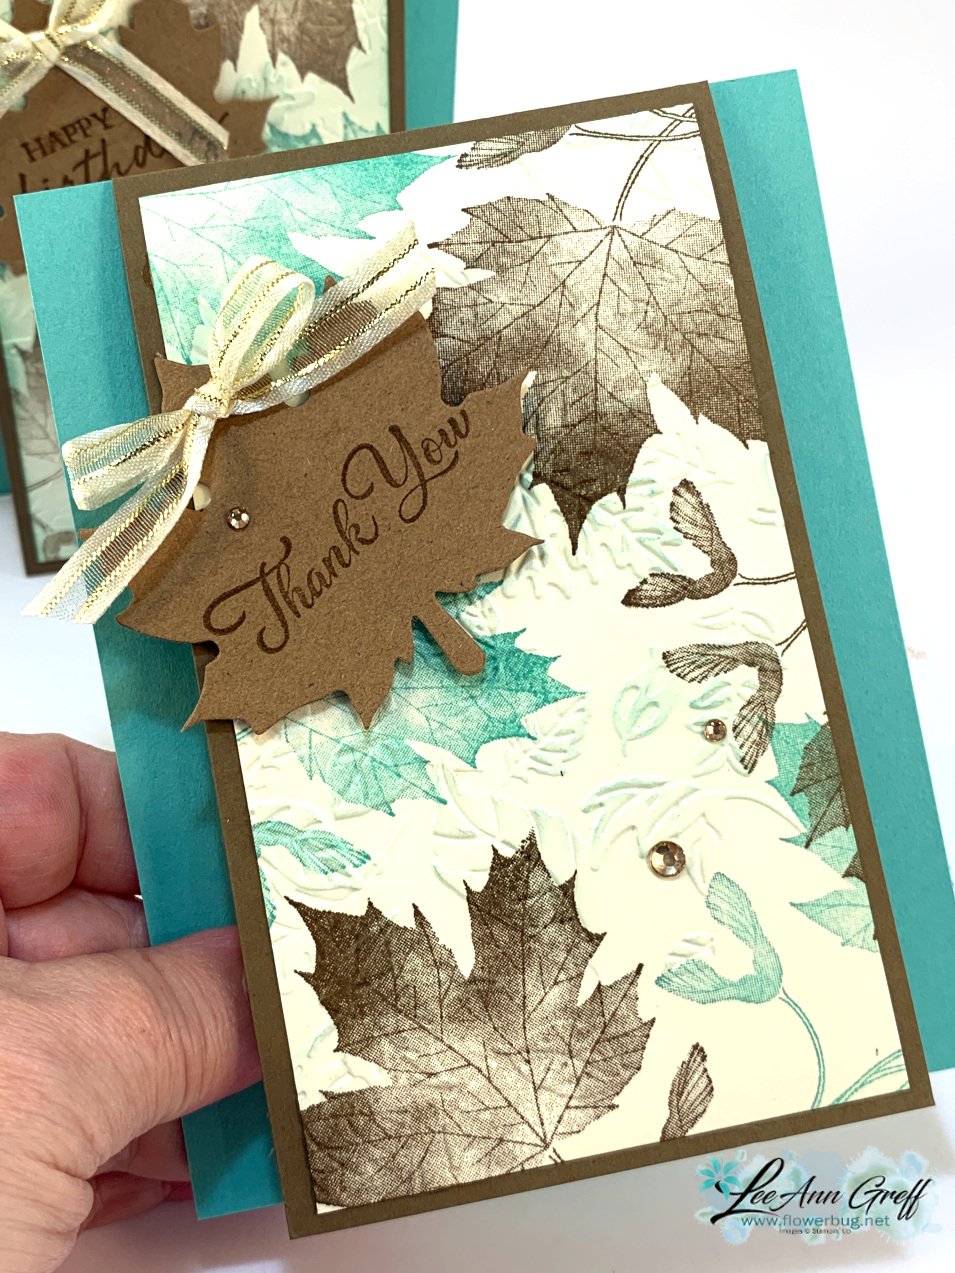
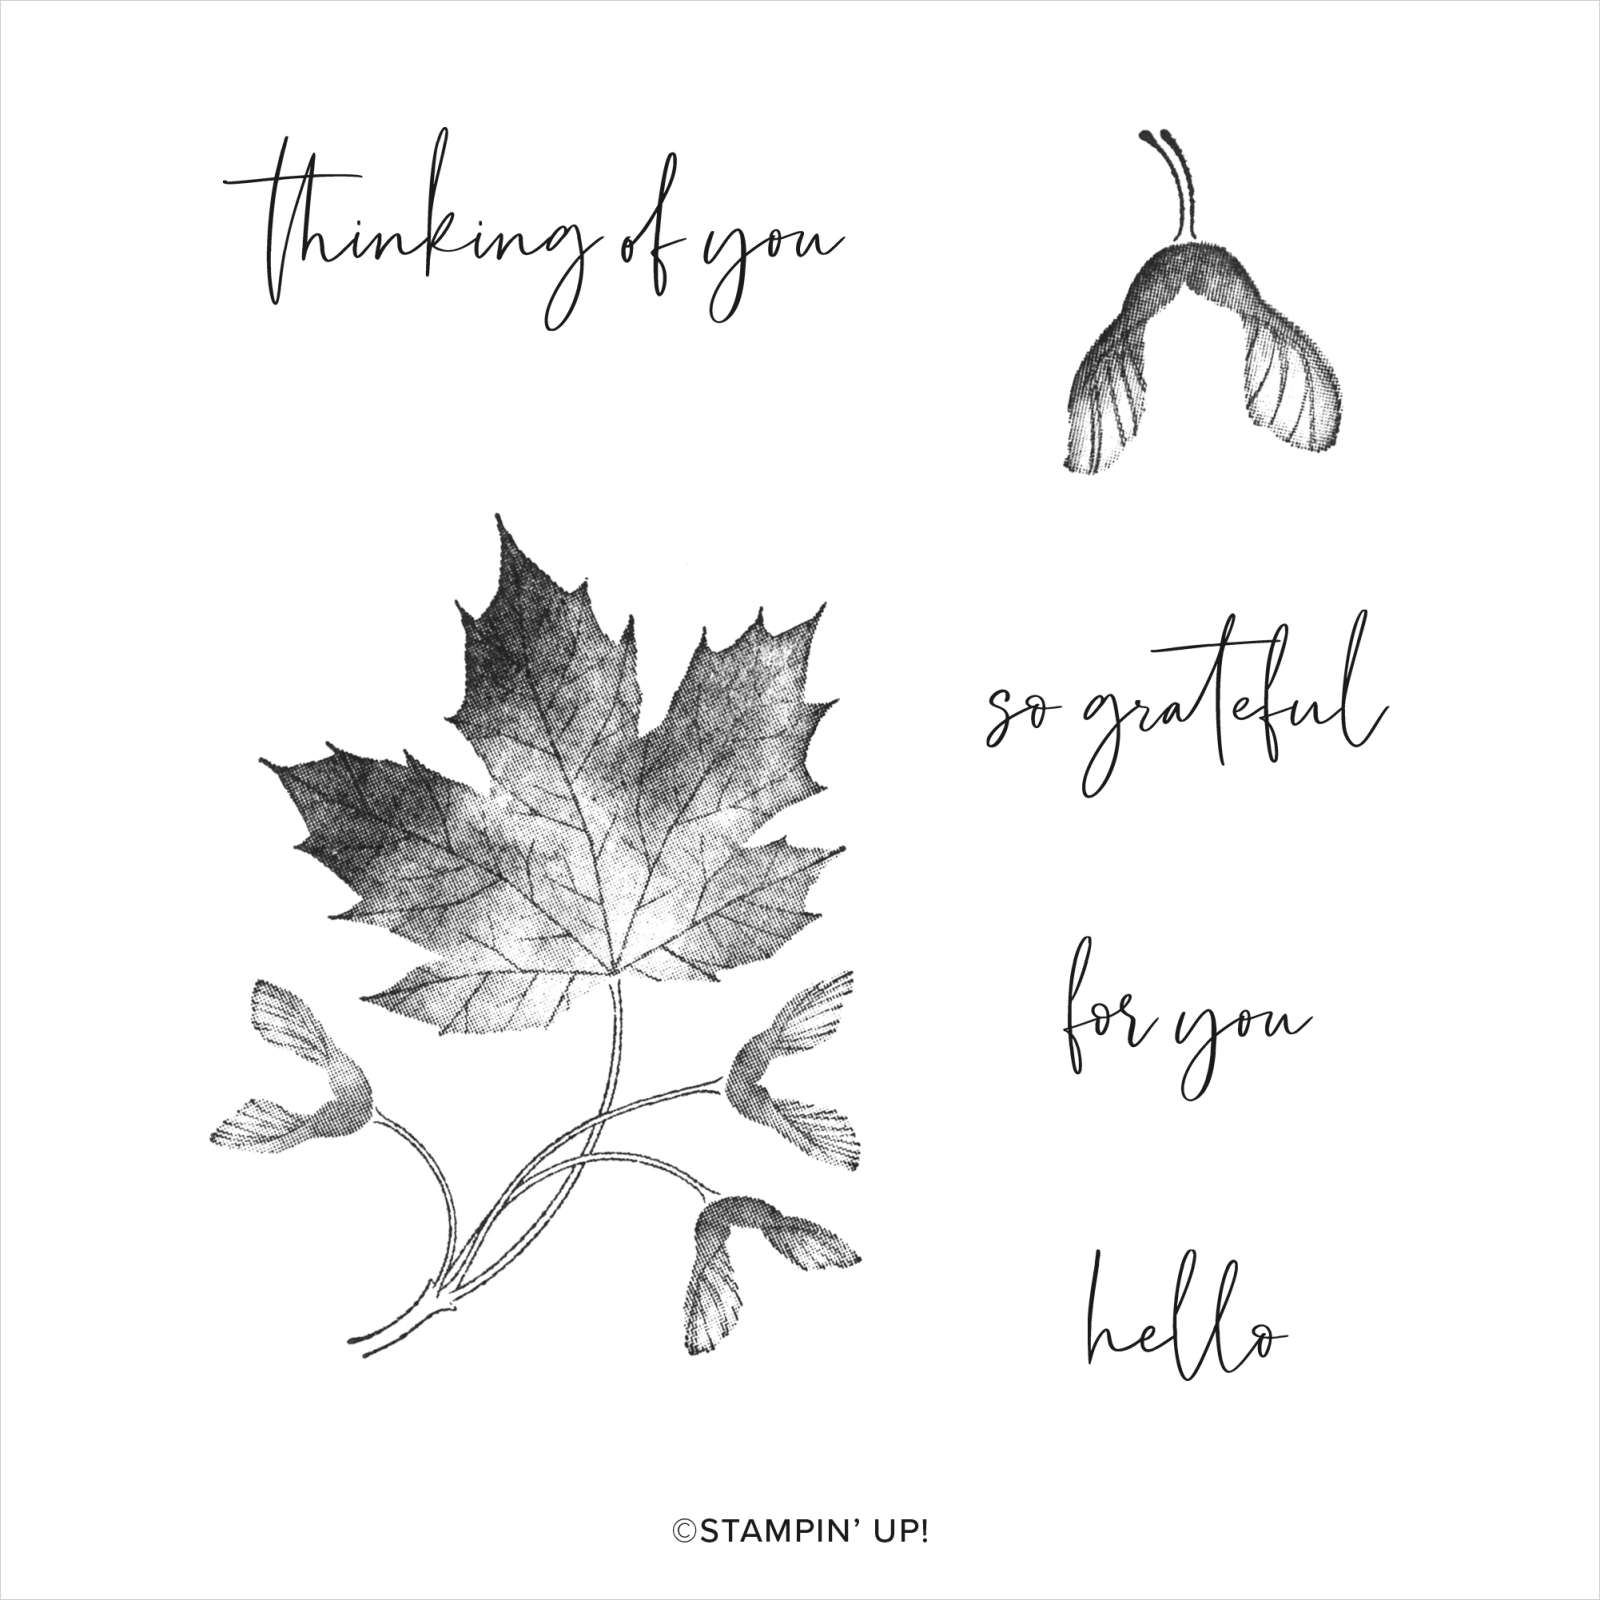
    I've sure been enjoying the Soft Seedlings stamp set.  The pretty maple leaf has so much texture and depth and the greetings are some of my favorites. I think I've used it more than any set in the Holiday catalog! 
     We just purchased a red maple tree and planted it in our backyard this weekend.  It's red foliage is beautiful! 

    For this card I chose to stamp the leaves in two colors – Soft Suede & Coastal Cabana.  I know they're not correct leaf colors, but it's fun to go outside the box at times.  

    It's one of my favorite fun folds; so easy to do and it can be jazzed up easily with elements & greetings.  

    I chose to stamp directly on one of the Leaf Label elements in the Leaf Label & Amber gem combo pack seen here.  Unfortunately they are out of stock right now; but it will be available again in November. 

    The package includes 25 leaves and amber gems too; all for $8. They're so fun to play with; you can add texture, or stamp or sponge color on them. 

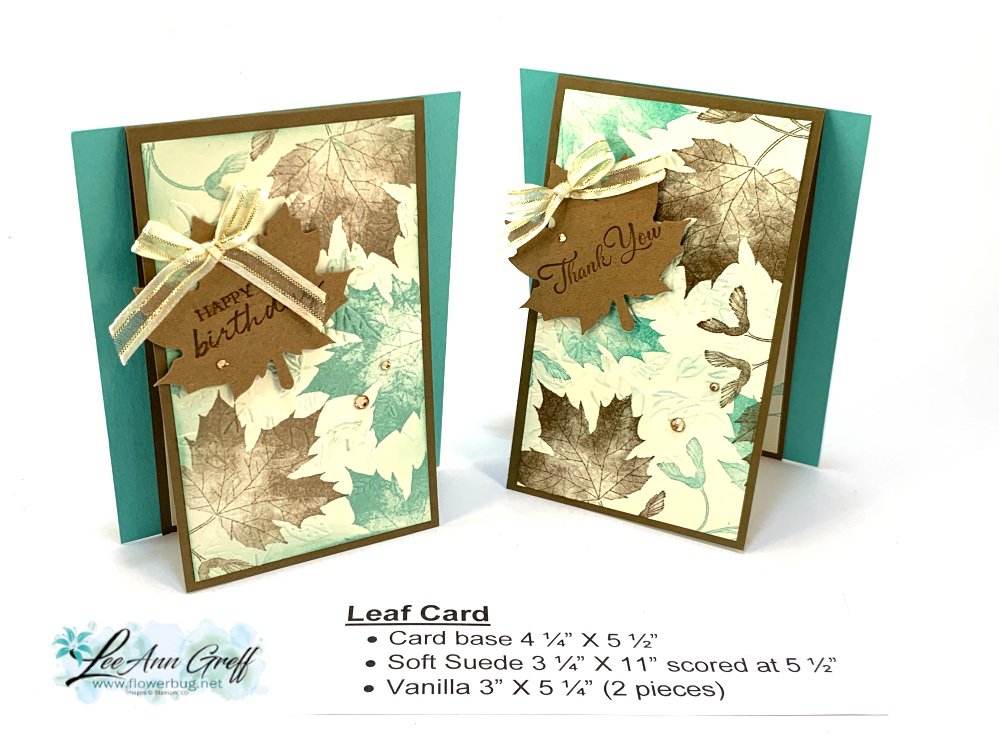
    It might be hard to see the measurements in the photo above.  Here they are again: 

    • Card base 4 ¼” X 5 ½”
    • Soft Suede 3 ¼” X 11” scored at 5 ½”
    • Vanilla 3” X 5 ¼” (2 pieces)

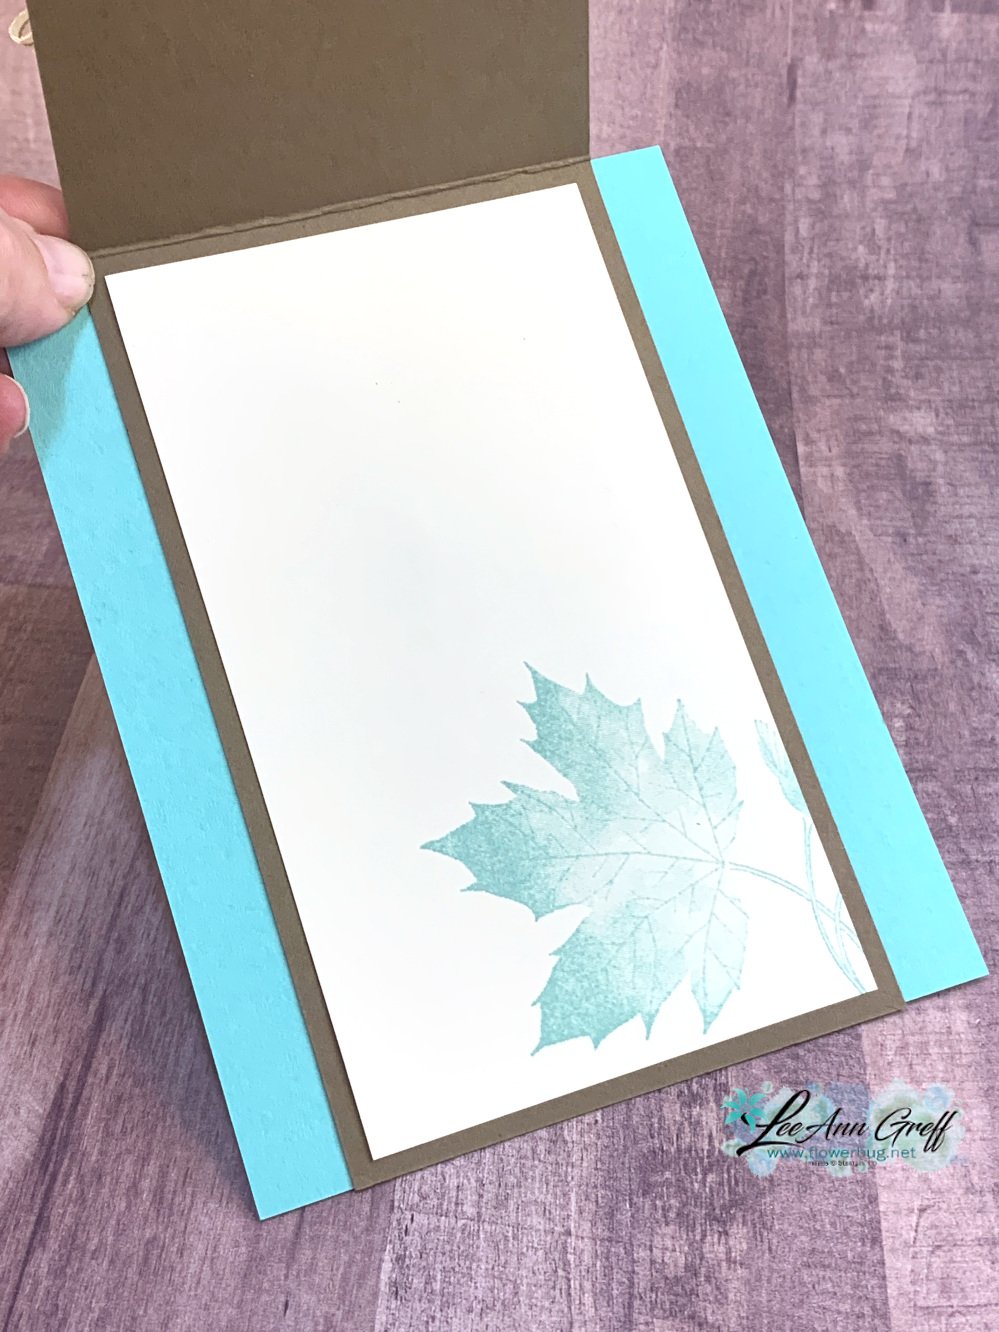
    Here's a photo of the inside.  I kept is simple since I'll use it as a thank you card.  

    Click here or on the photo below to watch the video for this card and see two other fun fold cards too! 


    ~~~

    October Specials

    Starter Kit special! Get $155 in product for just $99

    click here

    ~~~

    Order online here

    Host code links: GDCBRHF7 or JPJ4FKYJ

    Get a free embellishment from me with online orders over $50!


    Earn free products with my loyalty rewards! 

    Click here to download yours and earn a $50 shopping spree!

    Leave a Reply

    Your email address will not be published. Required fields are marked *

  • Beautiful Lights Aglow card kit to go; or choose the PDF tutorial option


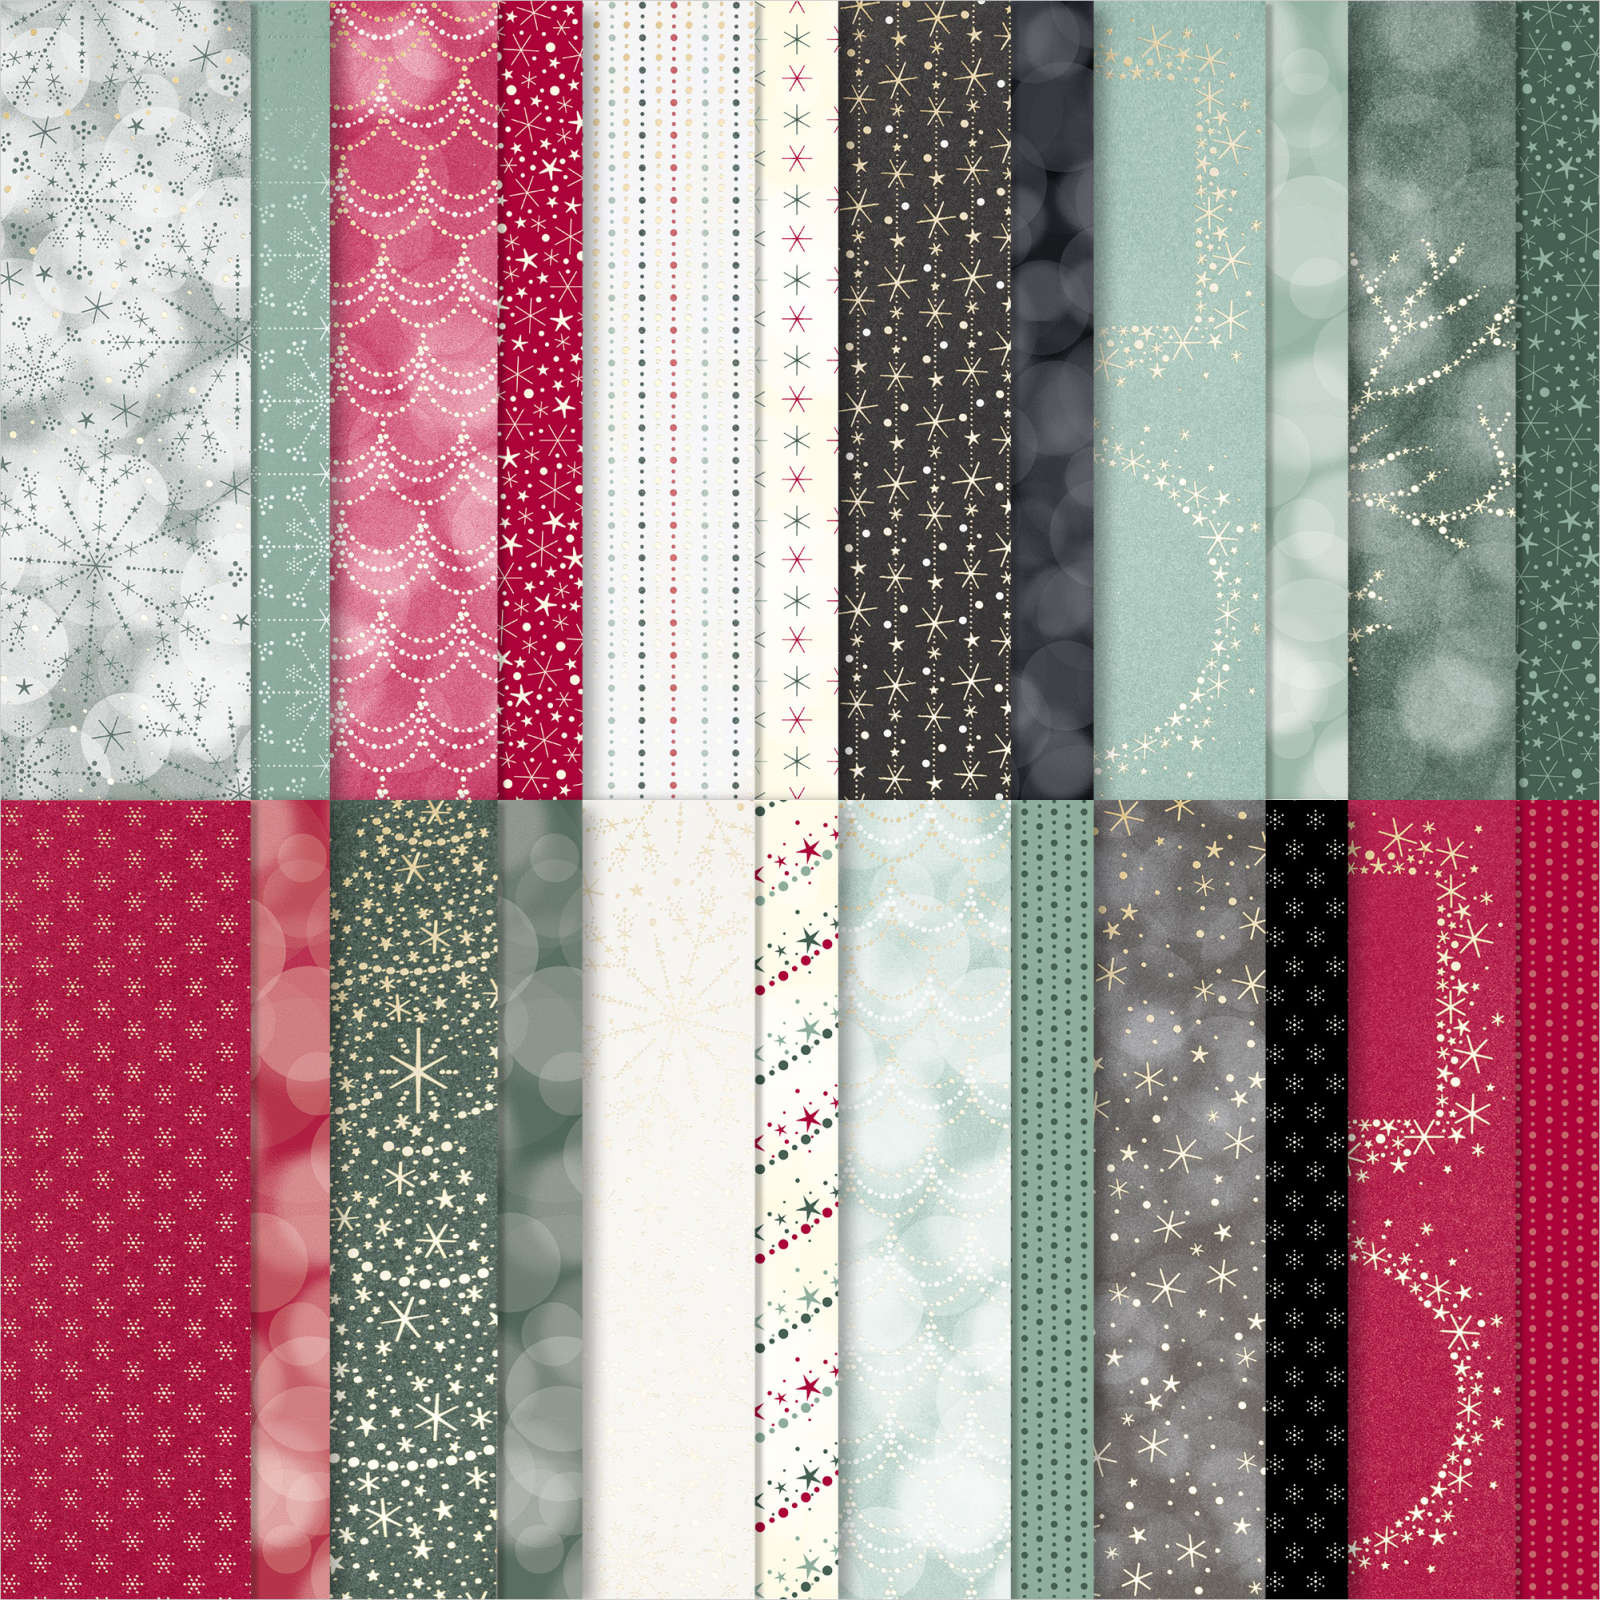
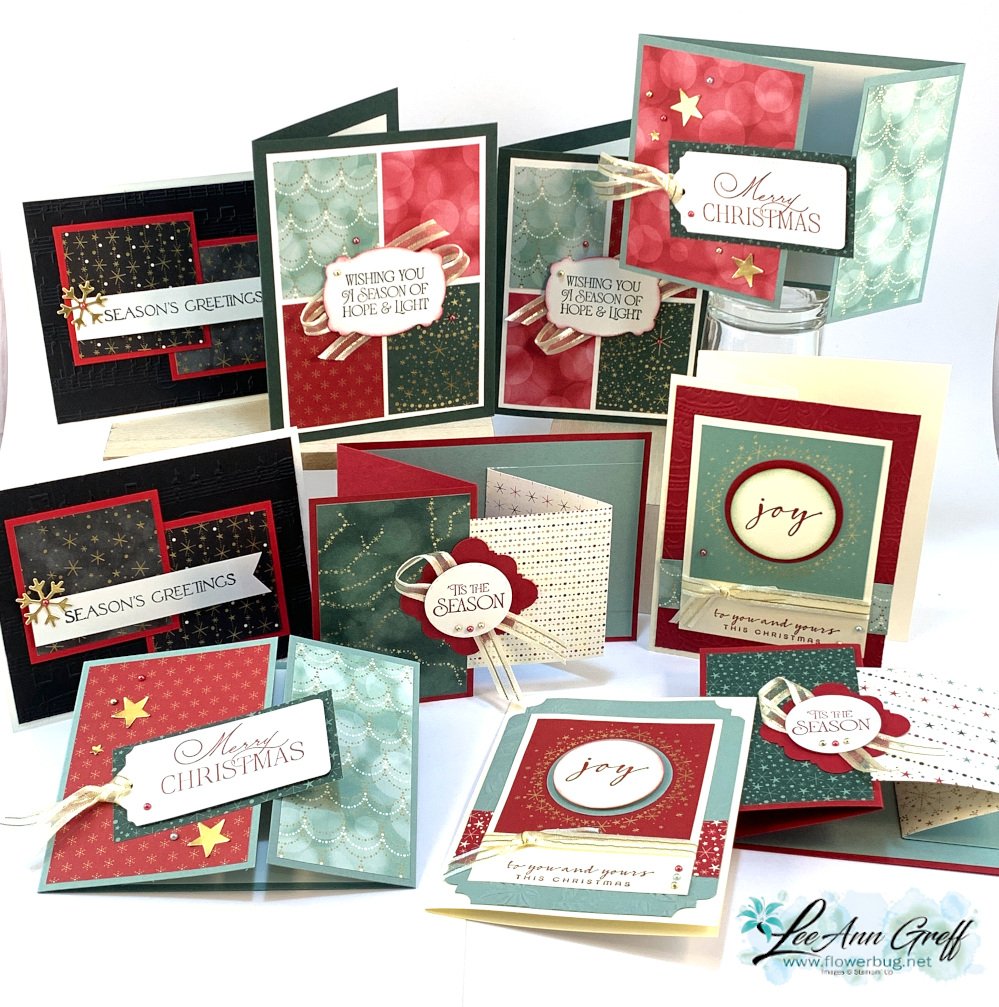
    The beautiful Lights Aglow specialty designer paper is stunning with pretty patterns and gold foil accents.  I had to use it for one of my card kits to go this season.  

    The colors include Soft Succulent, Cherry Cobbler, Very Vanilla, Black & Evening Evergreen.  And gold foil too! 

    Below are the 10 cards I created with this gorgeous 6 X 6" designer paper: 

    If you love Christmas, fun folds or unique card layouts you will enjoy these cards!  You can choose between the PDF tutorial or the actual pre-cut kit. 

    The pre-cut kit to go includes 10 pretty Christmas cards and the PDF written tutorial.  The PDF includes step by step directions, photos, a supply list and measurements for each card.  It is sent via email immediately after payment.  

    The kit includes the pre-cut pieces for 10 cards (2 each of 5 designs) and a share of the following products; the Lights Aglow specialty designer paper, Gold & vanilla ribbon and Festive Pearls.  You will have plenty left over to make even more projects!  

    Click here to opt in for the pre-cut card kit. *The pieces are pre-cut or punched for you! 

    Click here to get the PDF tutorial.  

    *This kit to go will be mailed via Priority Mail at the end of October.  Please opt in for it by October 19th.  

    To complete the cards you'll need greeting stamps (I used the Brightest Glow), inks (Soft Succulent, Cherry Cobbler, Evergreen & Black) adhesives & a paper trimmer. Add on the Brightest Glow stamp set or bundle at an extra 10% discount.  Email me here and I'll send you an invoice for payment. 

    *This is the card kit my kit subscribers will receive. 

    ~~~

    October Specials

    Starter Kit special! Get $155 in product for just $99

    click here

    ~~~

    Order online here

    Host code links: GDCBRHF7 or JPJ4FKYJ

    Get a free embellishment from me with online orders over $50!


    Earn free products with my loyalty rewards! 

    Click here to download yours and earn a $50 shopping spree!

    Leave a Reply

    Your email address will not be published. Required fields are marked *

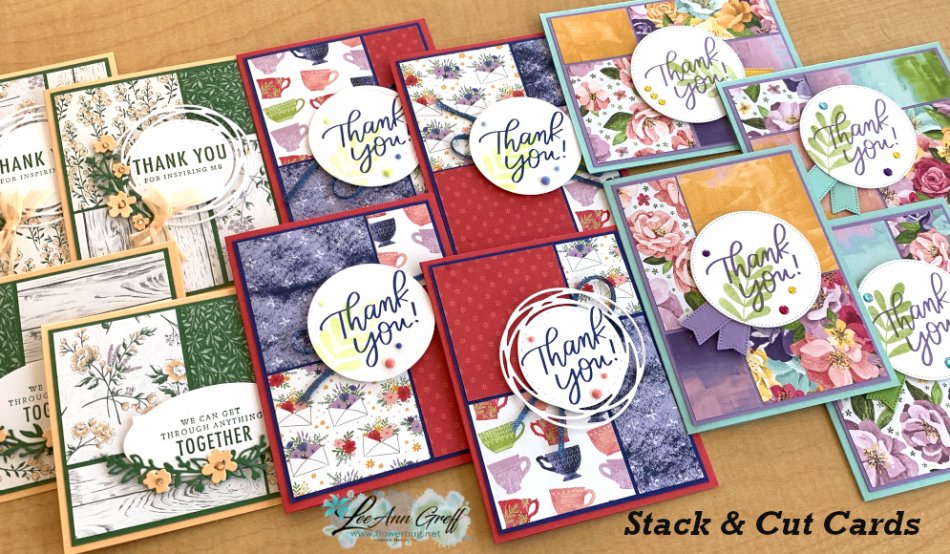
  • Quick cards with the Stack & Cut template! Video & measurements too!


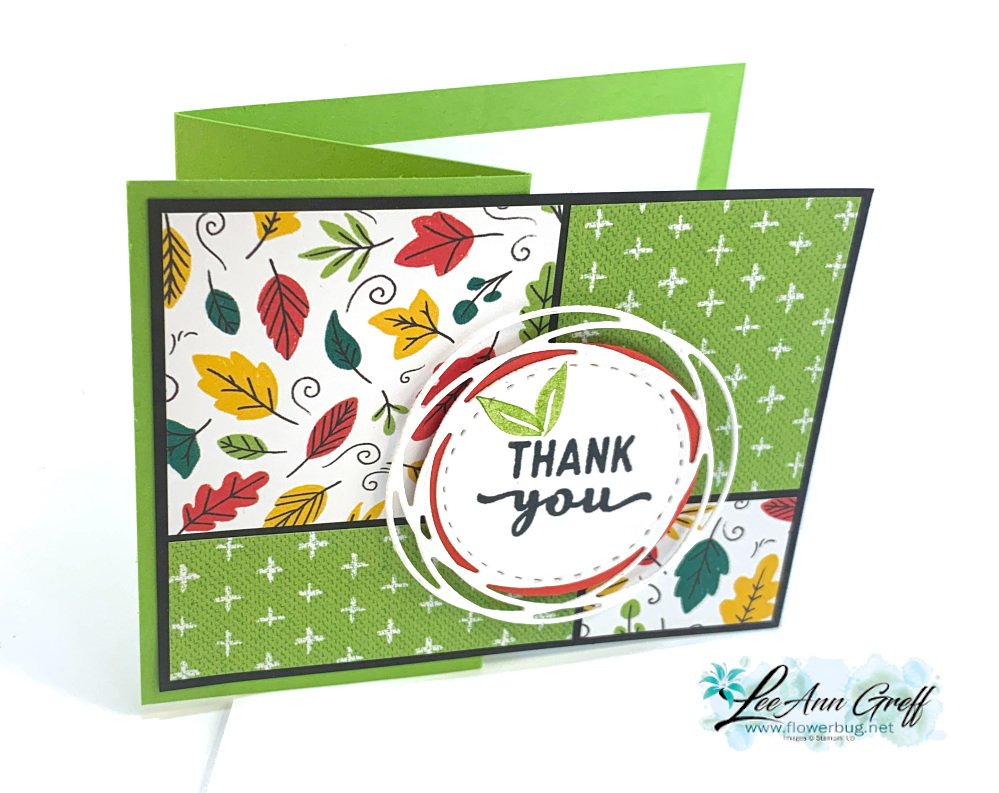
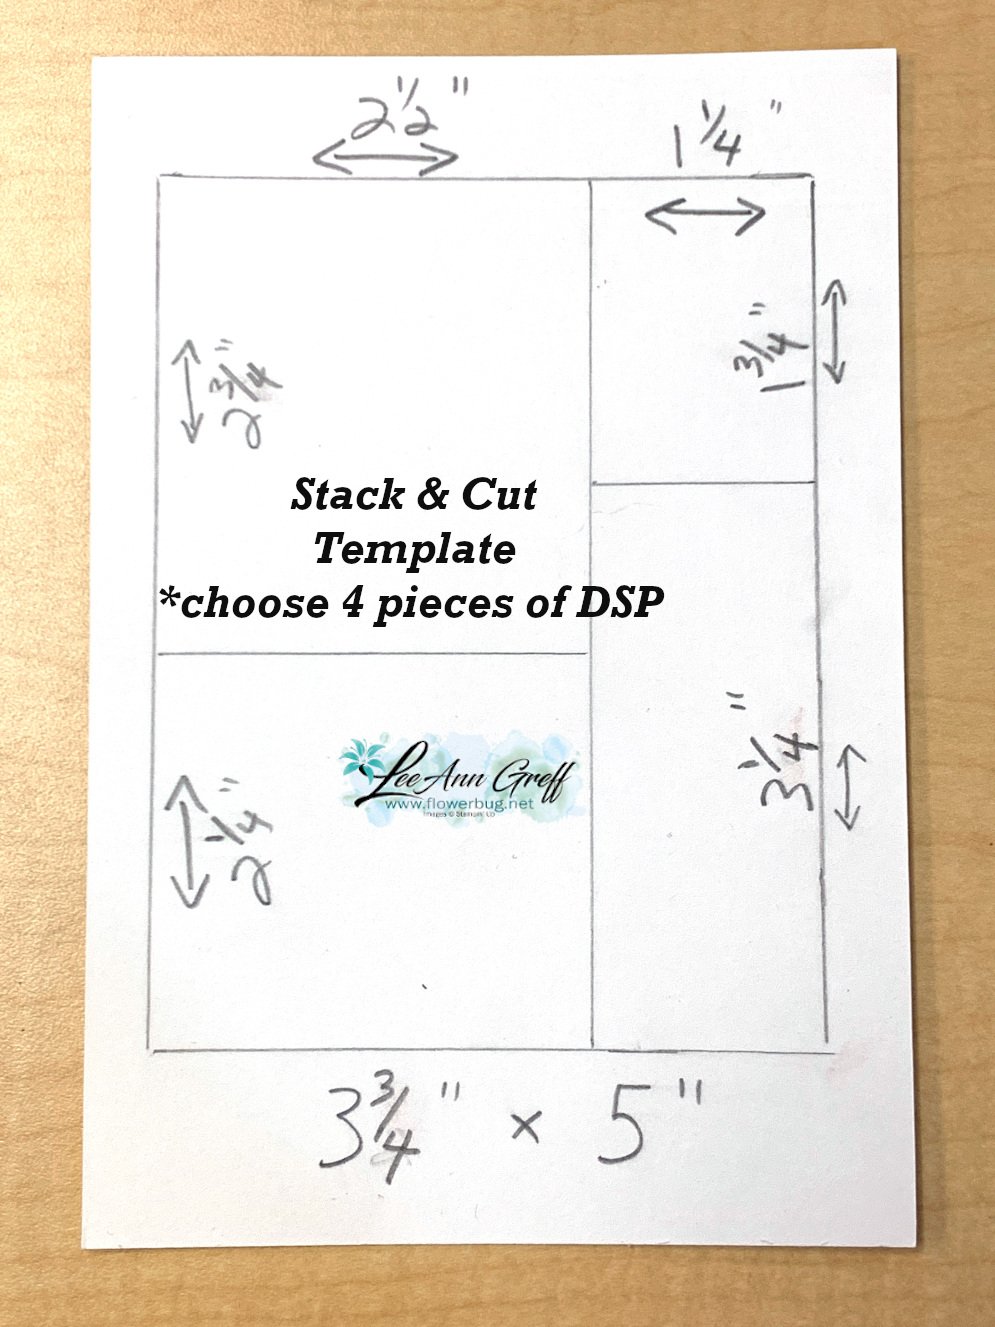
    I featured the Stack & Cut template for this project from last week's Stamp Camp class.  Scroll down to see the template; it's one of my favorite ways to use designer paper and for quick cards too!  

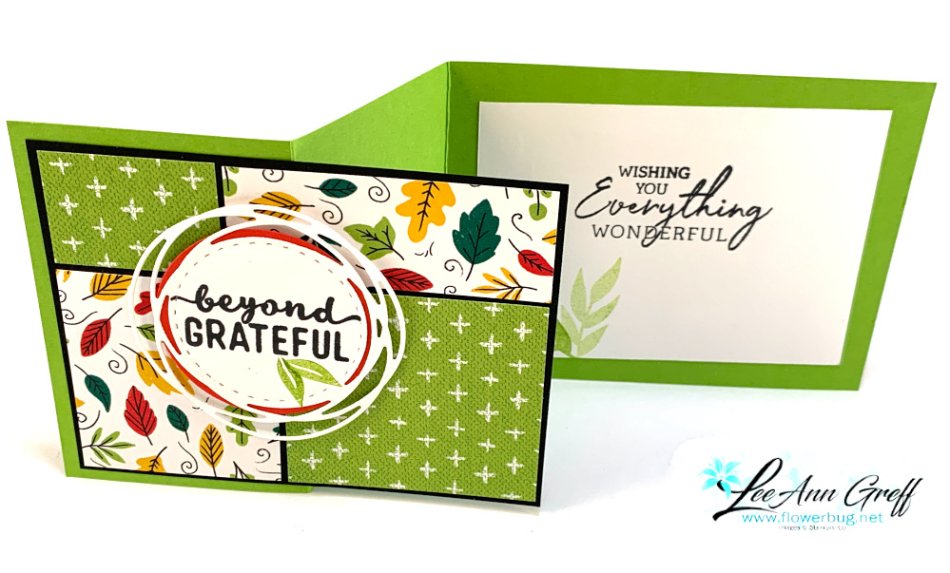
    I chose to feature the Celebrate Everything designer paper for a colorful thank you card.  Here are the products I used: 

    • Greetings are from the Charming Sentiments stamp set
    • Leaves are from the Simply Fabulous stamp set
    • The white die-cut is from the Painted Label dies. The Poppy Parade circle is 2 1/4"

    And here is the template.  Remember that you can use just one piece of DSP for one card; or stack two pieces and get 2 cards.  This works best with double sided designer paper.  

    I hope you try making some Stack & Cut cards soon.  Like I said it's a wonderful way to use your designer paper. 

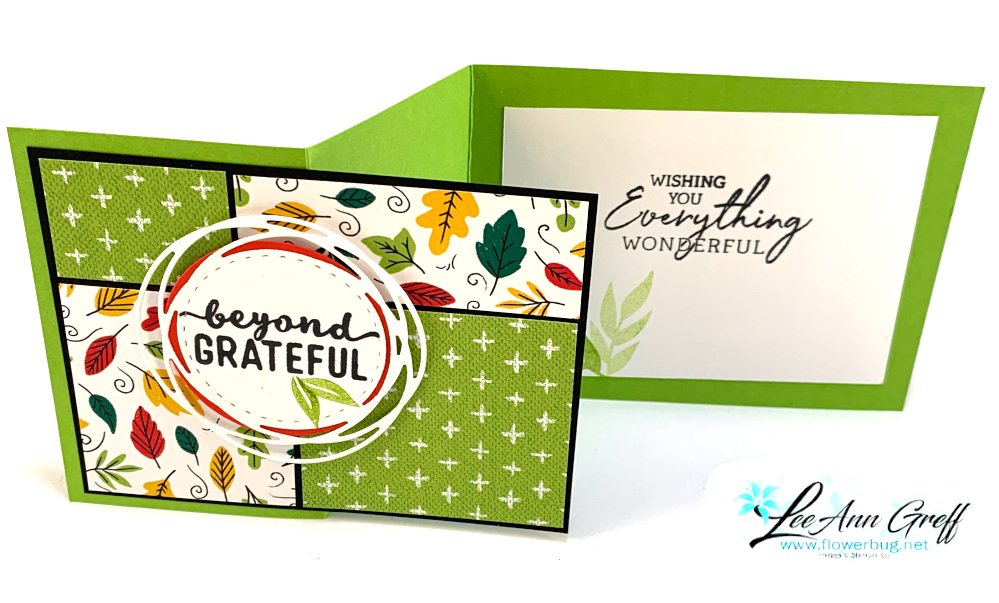
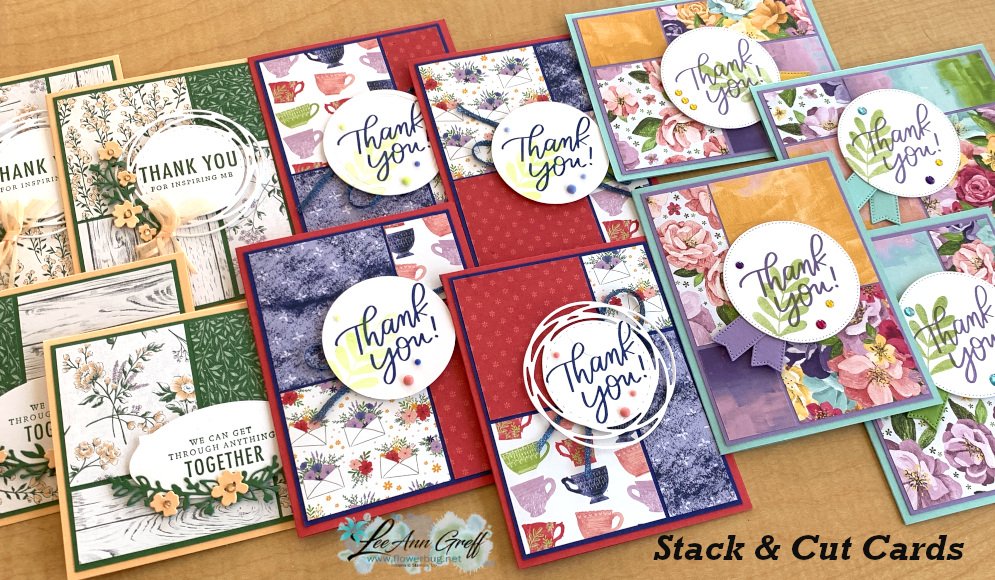
    Here's a group of cards I shared in this video. 

    I share this card & 2 more fun folds in the video below: 

    ~~~

    October Specials

    Starter Kit special! Get $155 in product for just $99

    click here

    ~~~

    Order online here

    Host code links: GDCBRHF7 or JPJ4FKYJ

    Get a free embellishment from me with online orders over $50!


    Earn free products with my loyalty rewards! 

    Click here to download yours and earn a $50 shopping spree!

    Leave a Reply

    Your email address will not be published. Required fields are marked *


Notice: LeeAnn Greff, Independent Stampin’ Up! Demonstrator, Manager. The content of this website is my sole responsibility as an independent Stampin’ Up! demonstrator and the use of, and content of, the classes, services, or products offered on this website is not endorsed by Stampin’ Up! Copyright 2025