/


Latest Post

An easy Gift Card idea for Christmas with free project sheet


I shared this pretty card on last week’s video. It has an option for a gift card hidden inside.
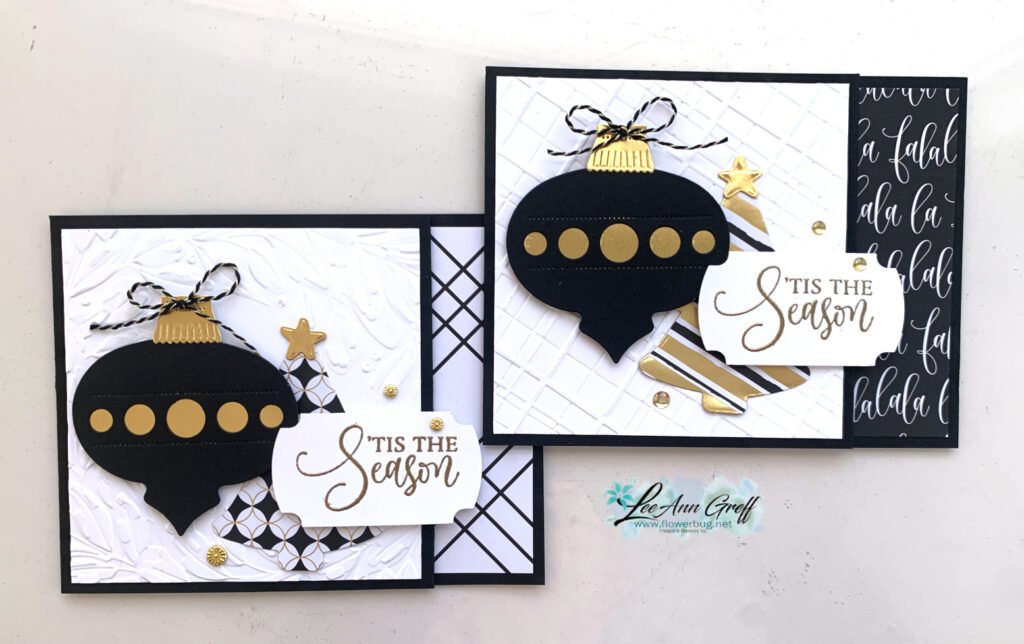
Isn’t it pretty? I featured the Modern Christmas suite here with the specialty DSP and the Ornamental Christmas bundle seen here.
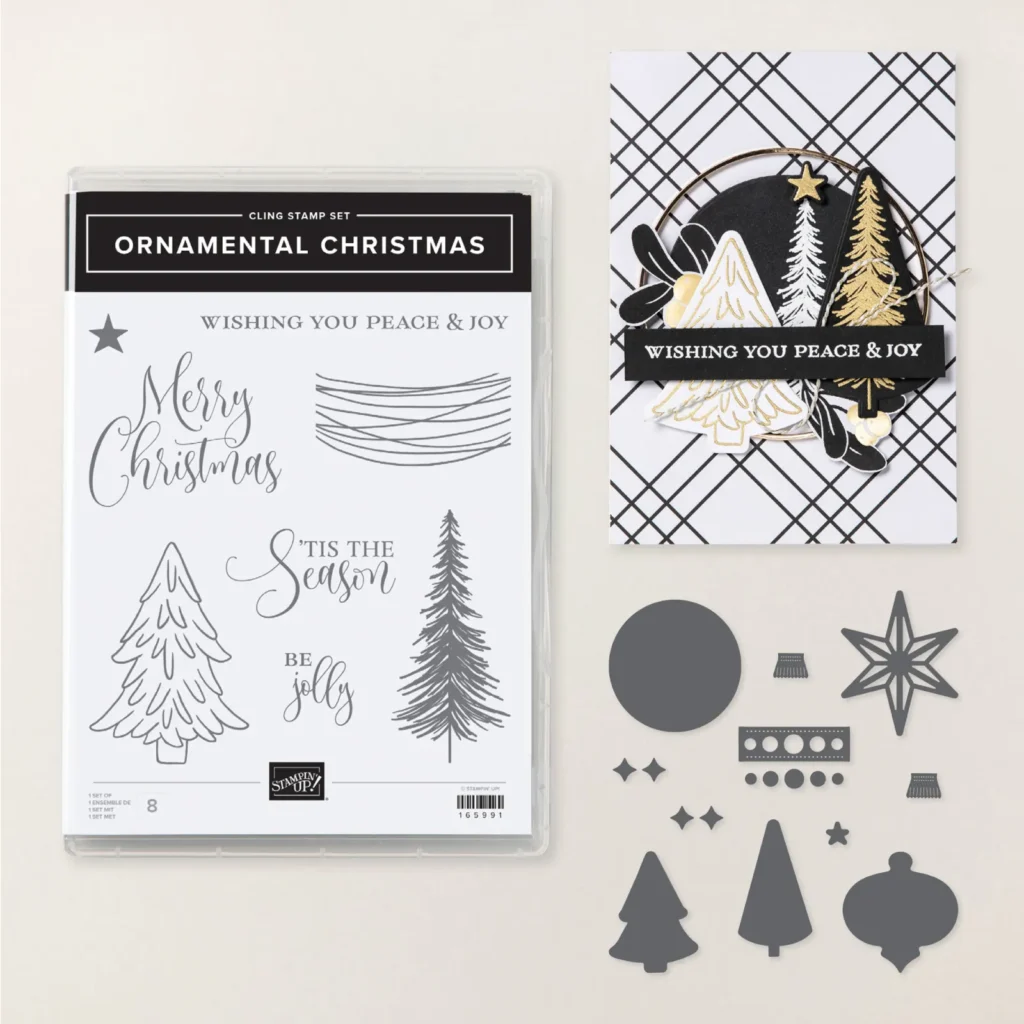
I just love the font on the greetings and the unique coordinating dies in this bundle.
My colors are classy in Black, White and Gold foil. You might notice two different embossing folders on the White layer. One is the Traditional Wreath 3D and the other is the Forever Plaid 3D.

There is a scored line on the front layer to create a pocket for a gift card inside. I used a punch to create a bit of interest on it.
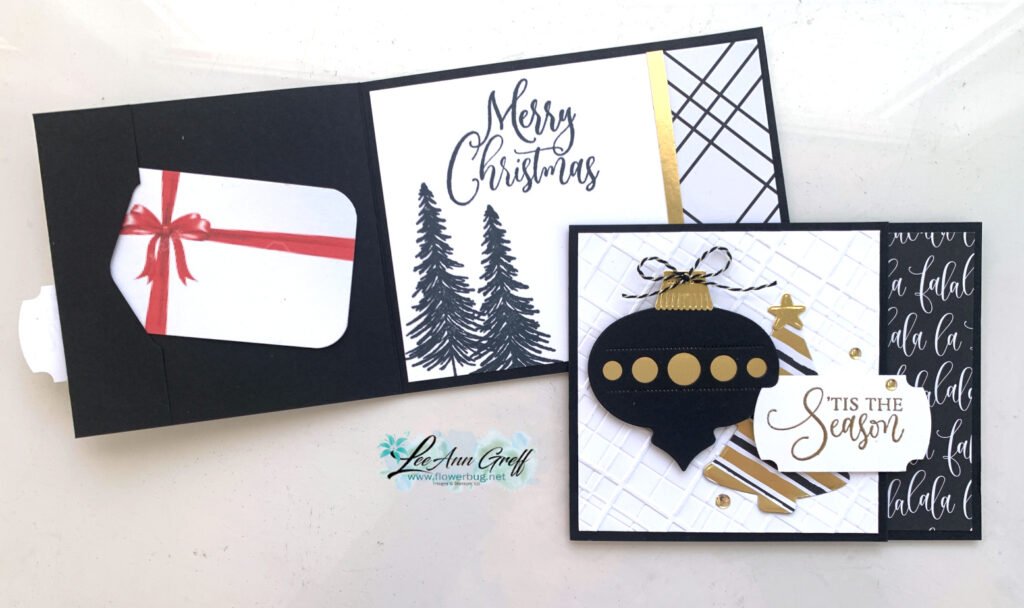
What do you think of this color combination for Christmas? I worried some might not like it but everyone at my Clubs loved this card. The Modern Christmas designer paper seen here is gorgeous with it’s fun patterns.

I did heat emboss the greeting with Gold embossing powder and punched it out with the Labeled with Love punch. The bits of Gold foil all over this card really make it special!

I created a free project sheet for this card and also a video with tips & step by step directions. Click here to print or download it.
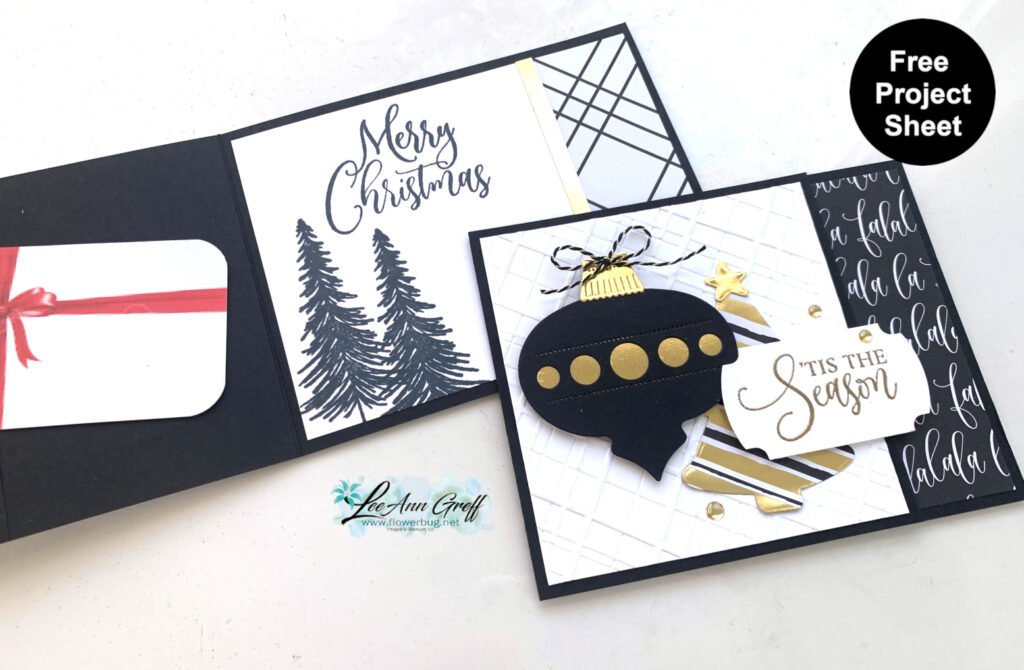
You can watch the video below to see how to assemble this card. There are also two more projects you’ll want to see!

*You’ll receive a PDF with multiple projects featuring this product
after the 20th of the month.
~~~

The Last Chance list has been updated!
Click here to shop.

Get a free PDF tutorial with any online order from me in December!
All Posts

  • Spotlight on Nature unique Z-fold card with video & free project sheet


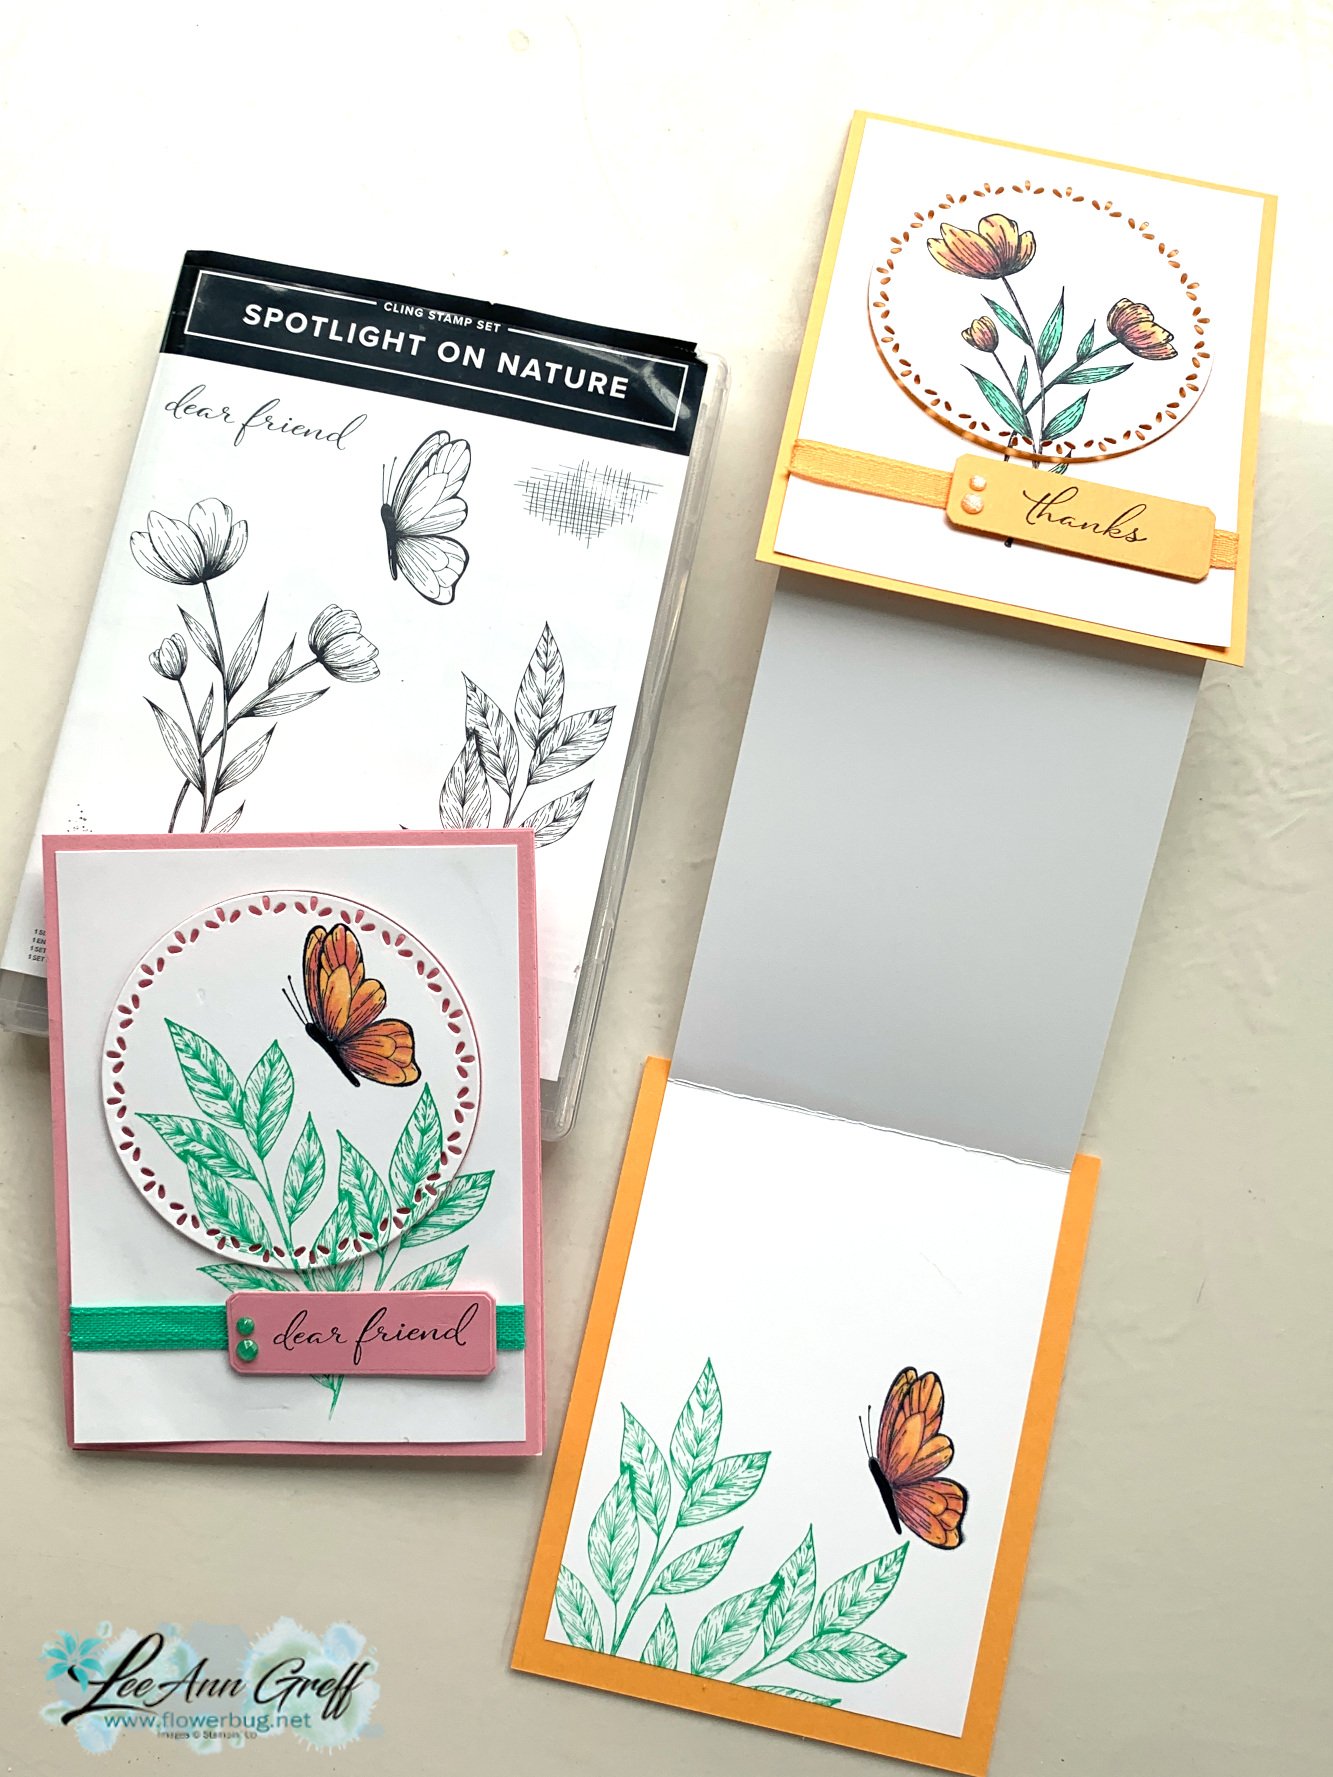
    I shared this unique & easy fun fold card on last week's Live video.  

    It doesn't look like a fun fold card does it?  I featured it at my May Card Clubs.  I love the way the detailed die is popped up on Dimensionals which shows off the die-cut pattern. There's a simply trick to stamp over the die-cut after you cut out the die shape; watch the video to learn how. 

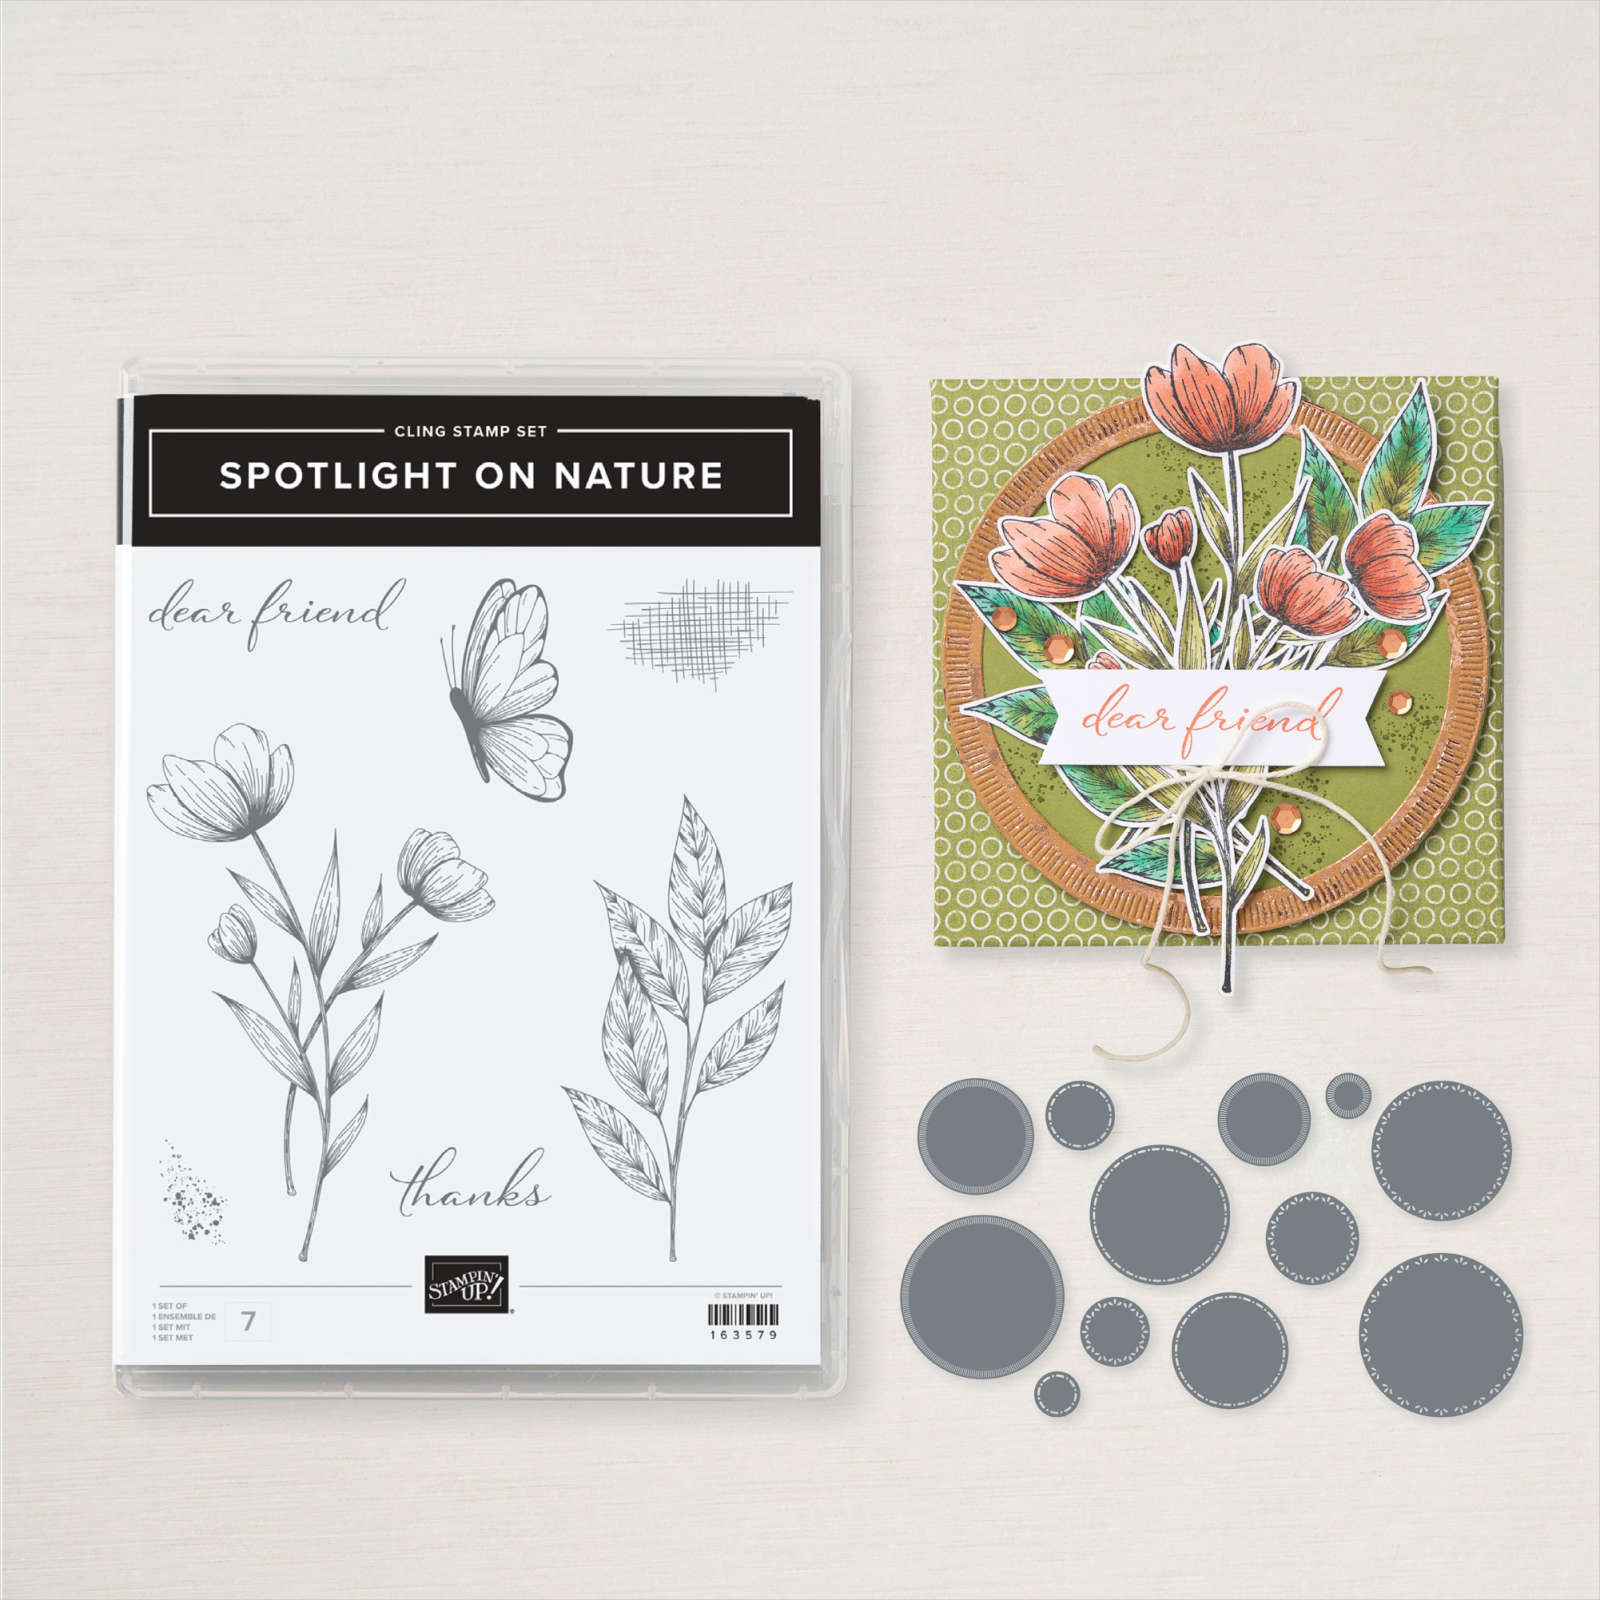
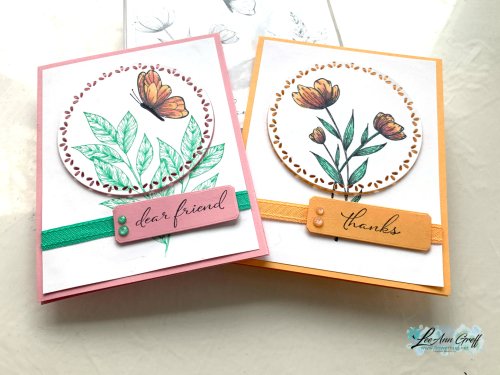
    It features three new In Colors and the Spotlight on Nature bundle. The colors include Pretty in Pink, Shy Shamrock & Peach Pie. I colored in the butterfly & flowers with Pretty in Pink & Peach Pie blends.  Want to know how to do this?  Watch the video here or below. I love combining two colors like this!
    The Spotlight on Nature bundle is out of stock right now but will be back in a few weeks. It is discounted an extra 10% in June too! See it here.  

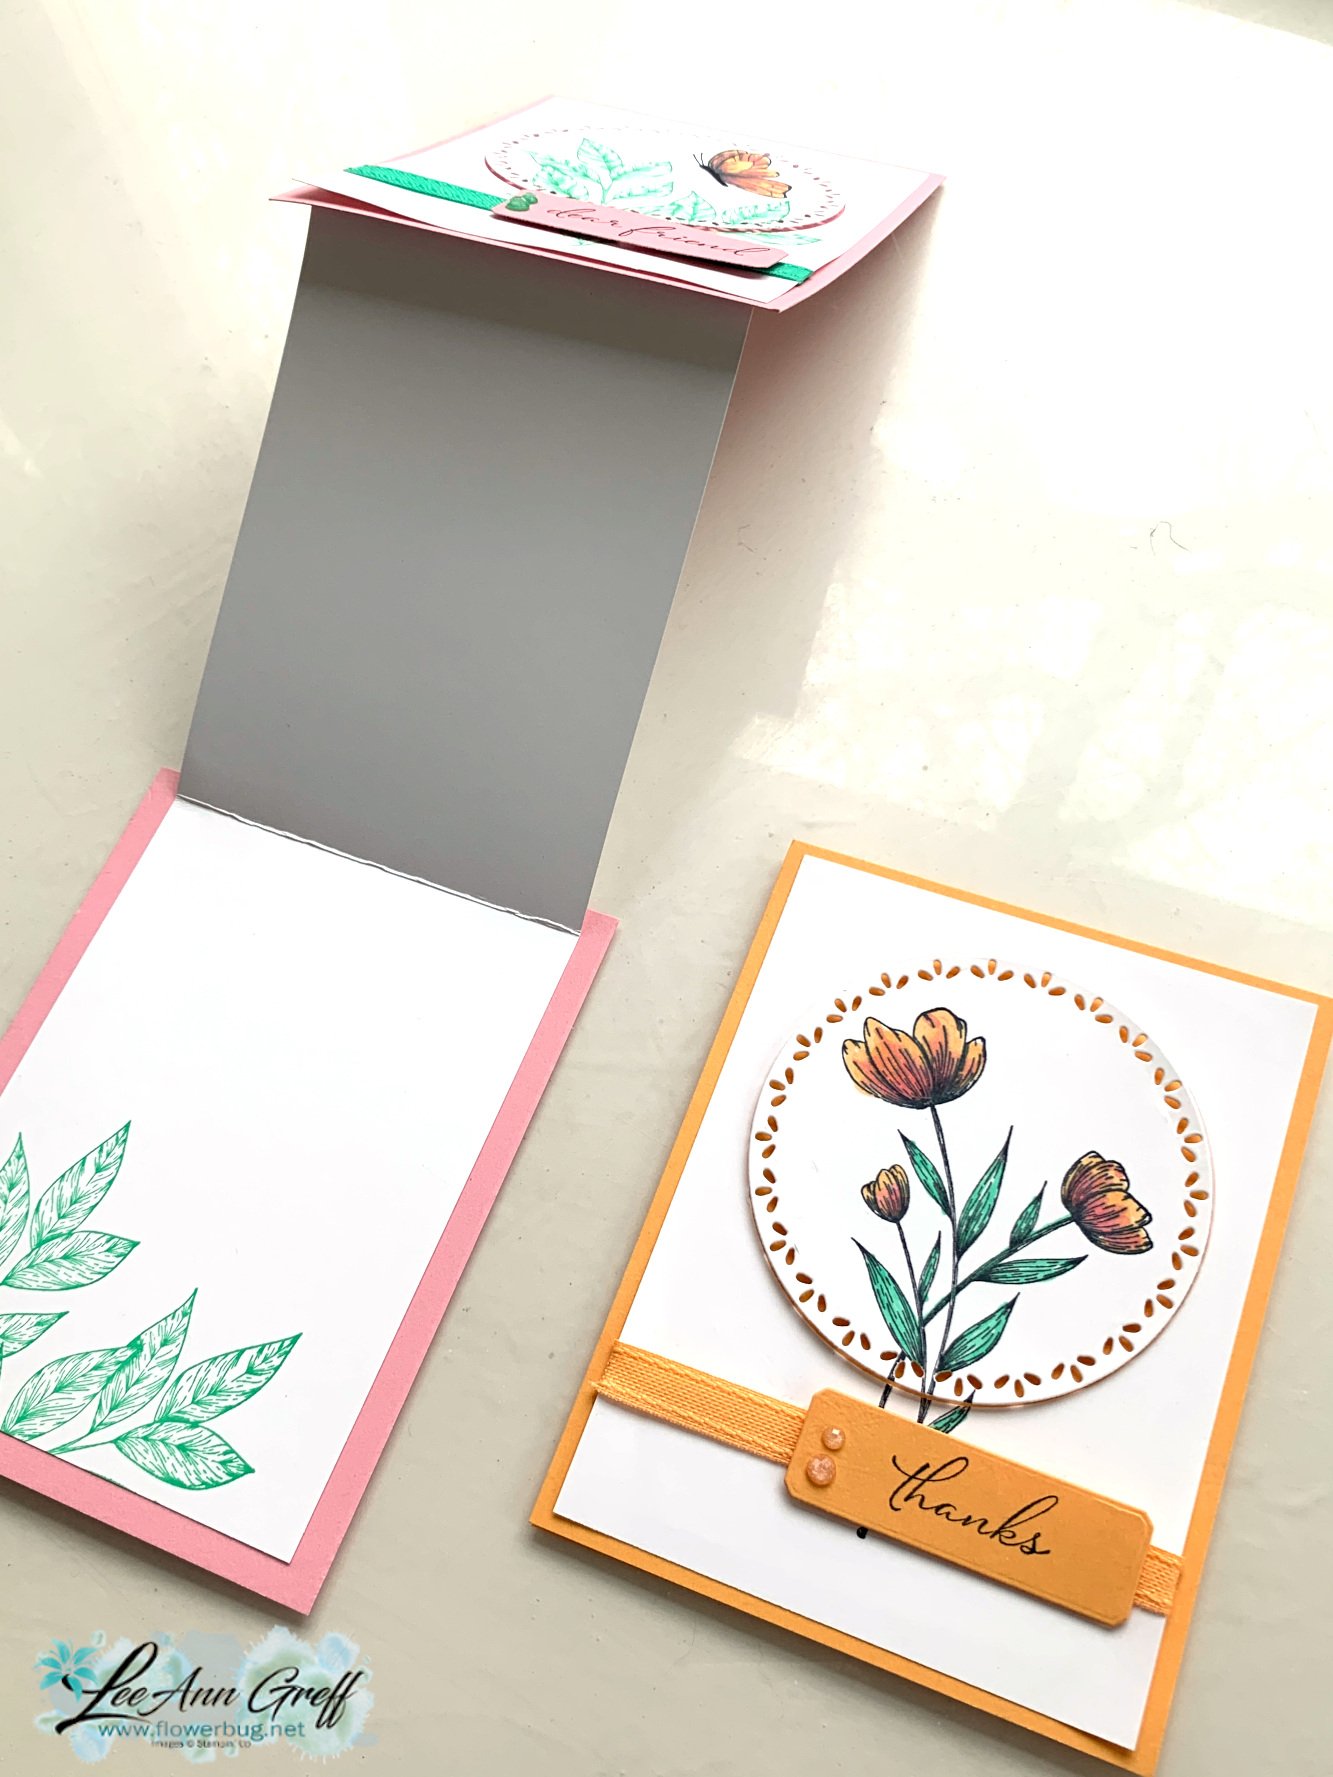
    I'm calling it a Z-fold because the inside White layer is folded like a 'Z'. It connects the card front and the card base & opens like this: 

    Here's the free project sheet you can print or download. Click on this blue link: Download May 24 Spotlight on Nature Club

    Which is your favorite?

    I hope you watch the video below to see how it's done.  I also share another fun fold card using this bundle. Don't forget to subscribe to my YouTube channel while you're there. 

    ~~~

    June Specials:

    All Stamp & Die bundles are 20% off in June!

    *current host code links: FERX3EKC or GF24T6XG

    ~~~

    All online orders receive my free tutorial of the month & if your order is over $55 you'll also receive a free gift from me

    Leave a Reply

    Your email address will not be published. Required fields are marked *

  • More Thoughtful Journey showcase cards!


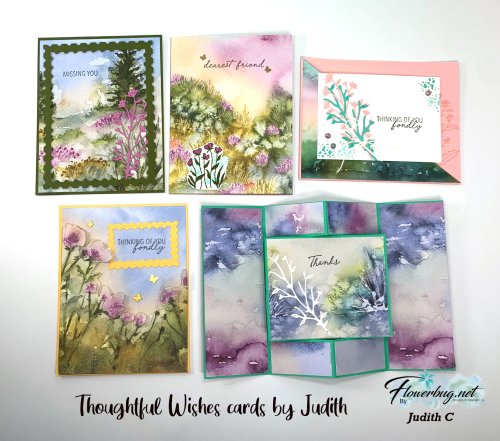
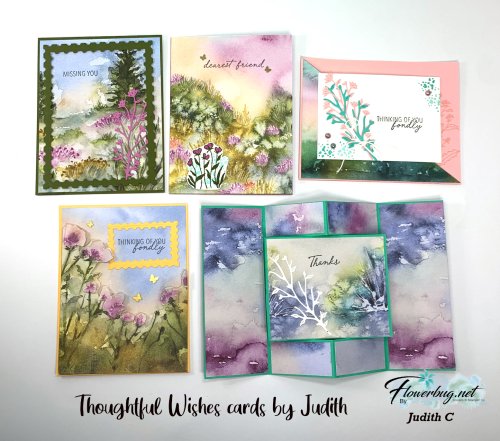
    Today I'm sharing the other two cards Judith made with the Thoughtful Journey Suite.  I shared three yesterday and am so proud of the fabulous projects she created!

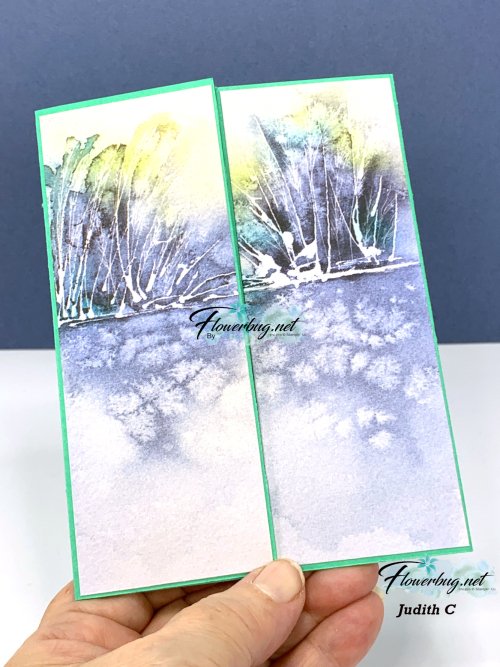
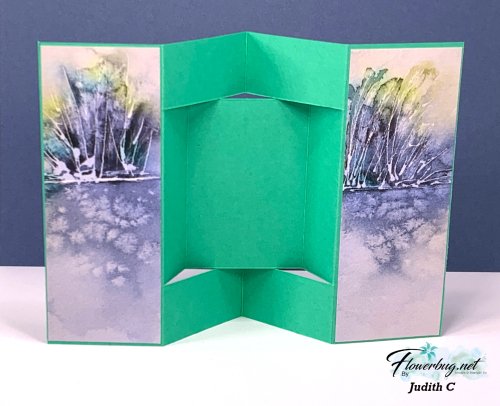
    This stunning fun fold card is incredible!  I loved it so much I had to case it. 

    I made a different version along with a video tutorial too.  Click here to see it and the free project tutorial too.  I am not providing measurements here in this post since they're in the link above. 

    Here's the front view of her card: 

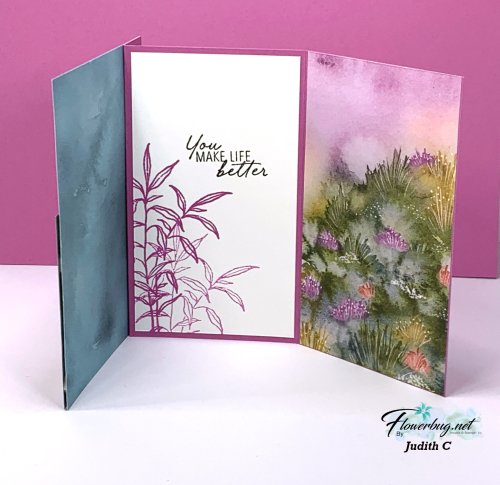
    And here is the back view. 


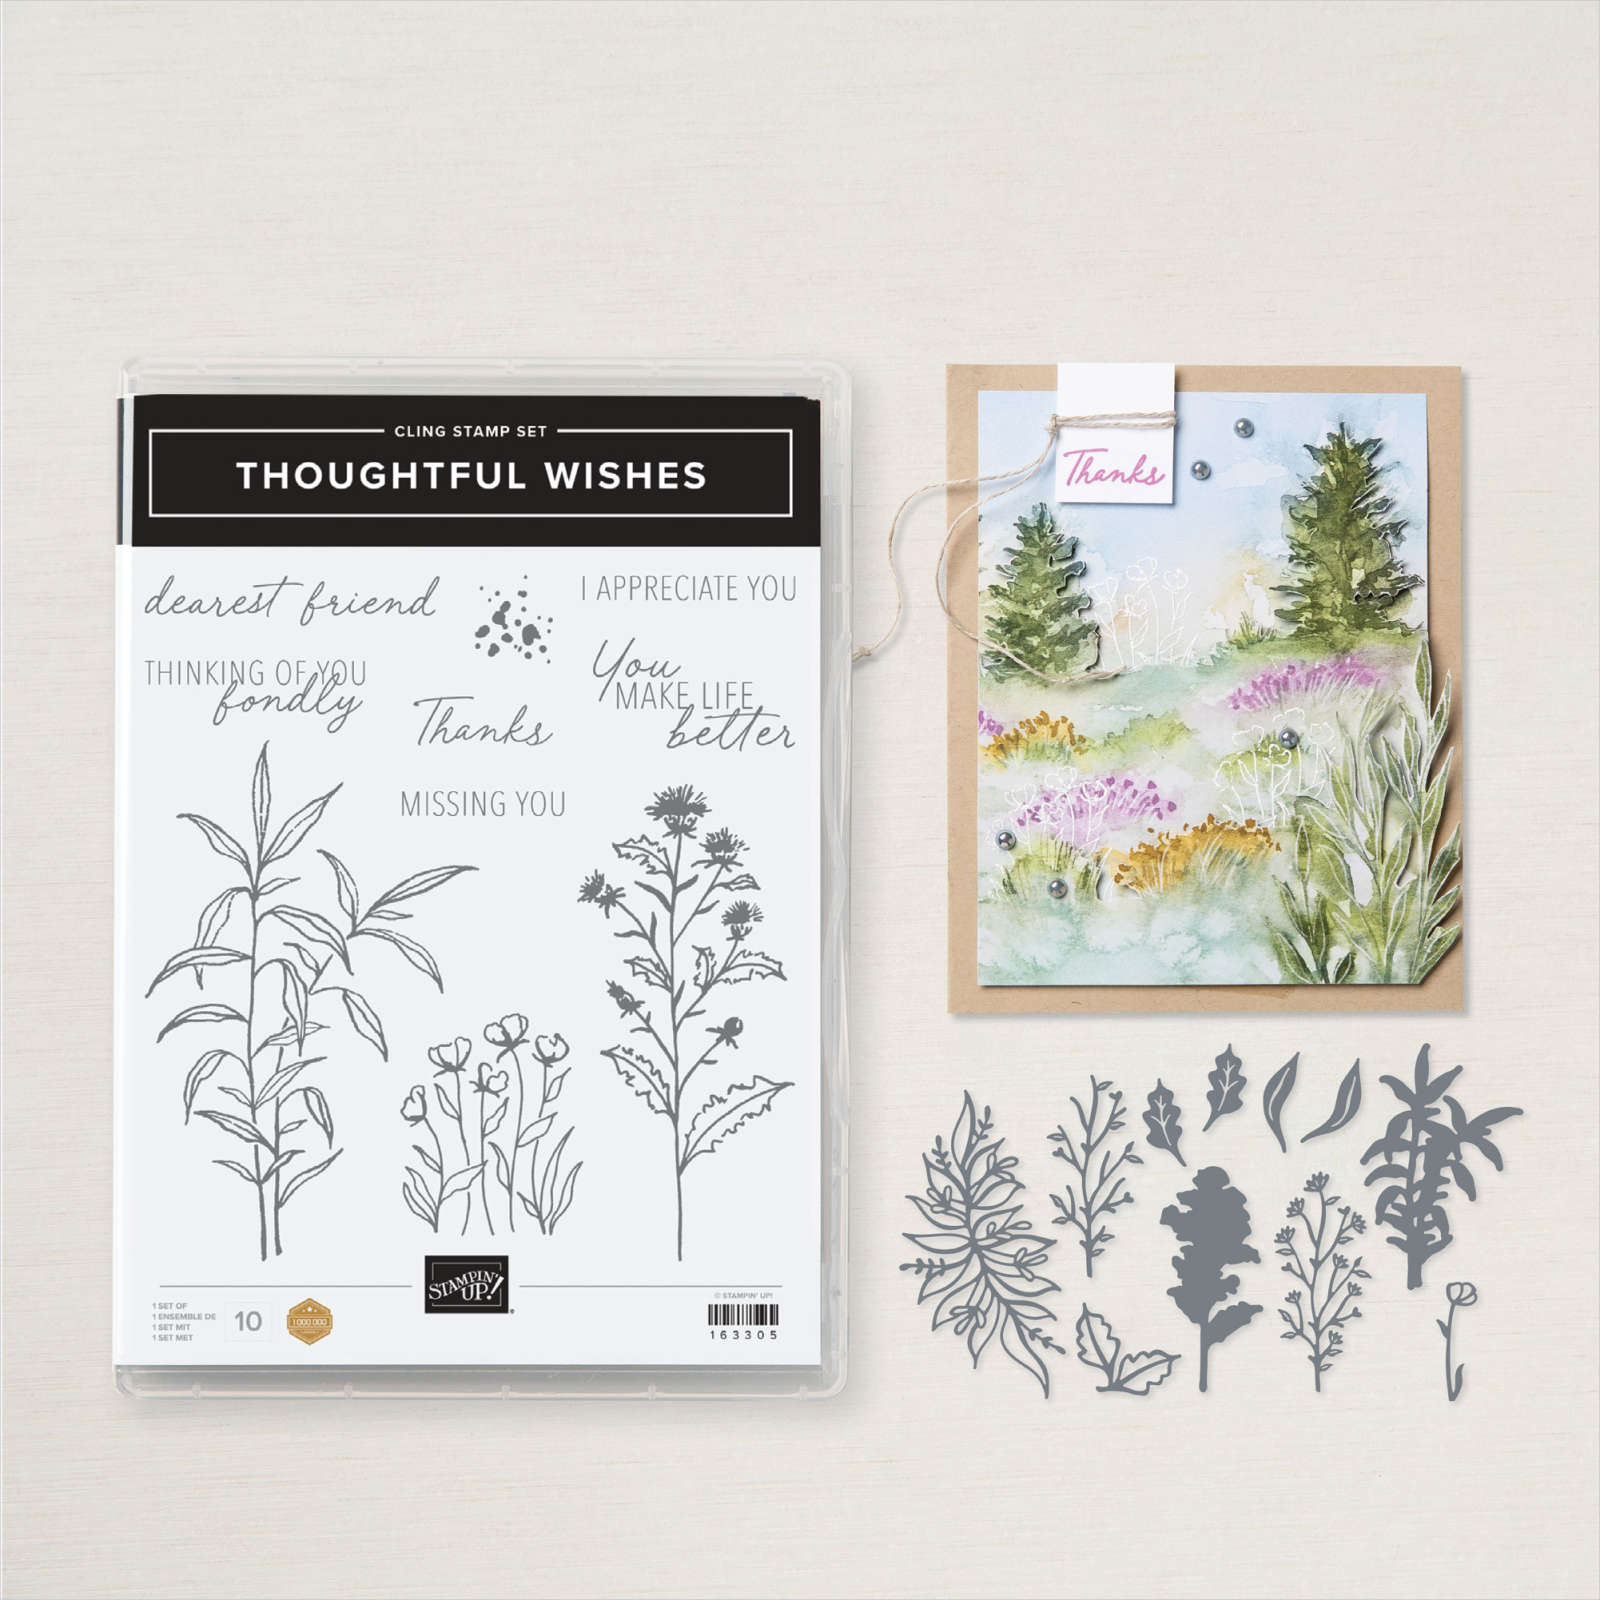
    She used the pretty Thoughtful Wishes bundle seen here. It's on sale now – 20% off in June! 

    I'm not surprised that the pretty Thoughtful Journey designer paper is unavailable right now. I featured it in my June card kit to go posting next week.  It should be back around June 24th. 

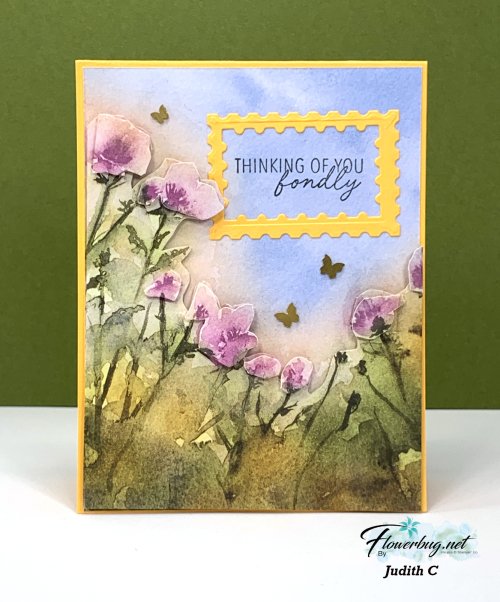
    Next is the last card in her bundle of gorgeousness.  

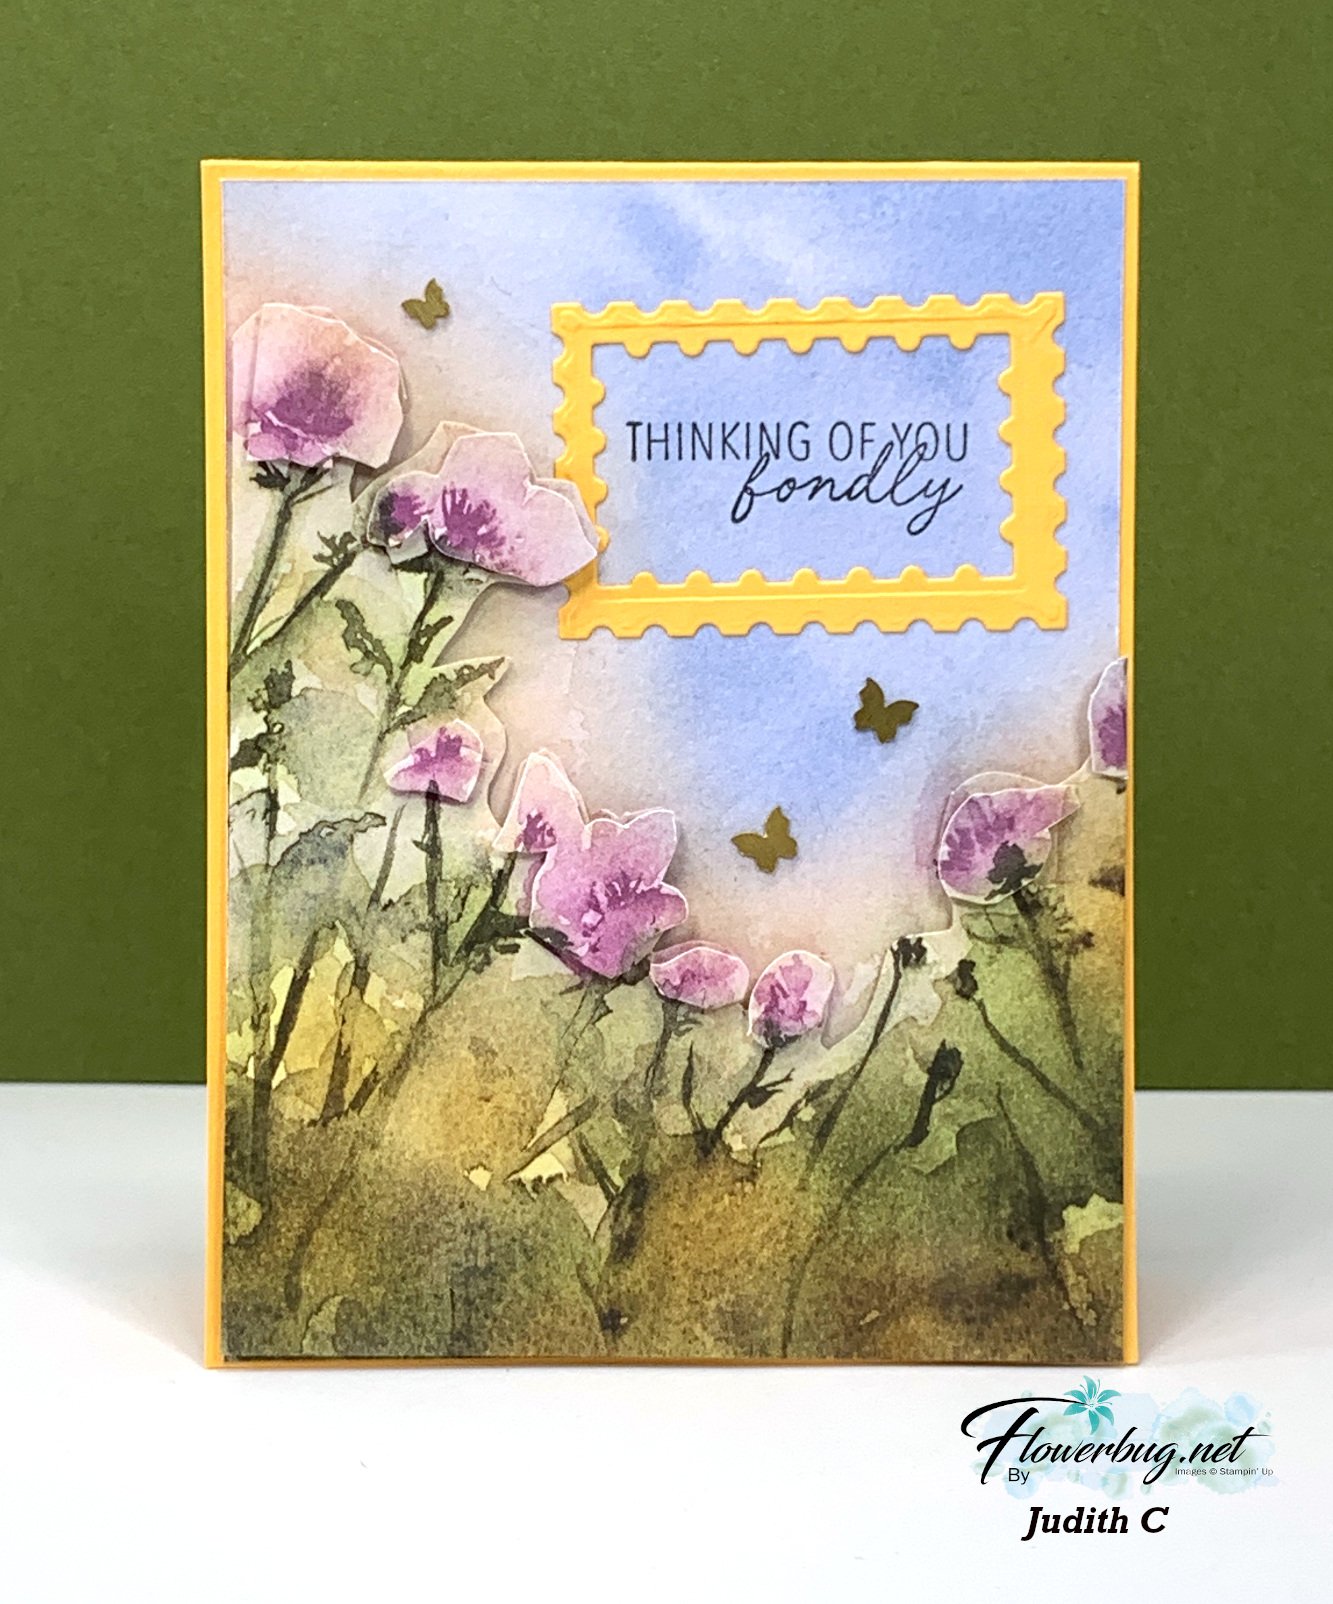
    Do you see how she fussy cut a second layer of designer paper and another set of flowers to pop up over the first?  Great technique!  I love how she added attention to the greeting with a frame made from the Perennial Postage dies seen here. 


    Thank you sooo much for sharing your creativity with us Judith!  

    ~~~

    June Specials:

    All Stamp & Die bundles are 20% off in June!

    *current host code links: FERX3EKC or GF24T6XG

    ~~~

    All online orders receive my free tutorial of the month & if your order is over $55 you'll also receive a free gift from me

    Leave a Reply

    Your email address will not be published. Required fields are marked *

  • Thoughtful Journey Suite showcased by Judith; our Artist of the Month


    Each month one of my Flowerbug's Team is featured as an Artist of the Month.  This month Judith chose the Thoughtful Journey suite to showcase. 

    Today I'm sharing a few of her pretty cards. 

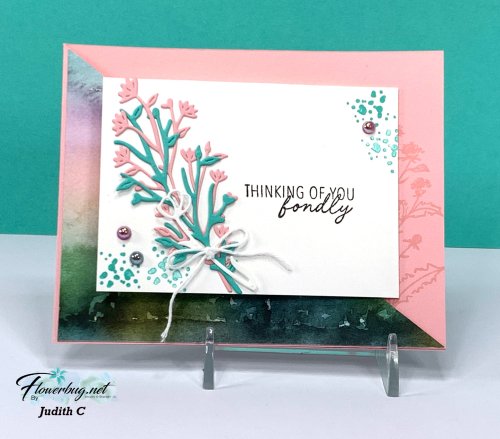
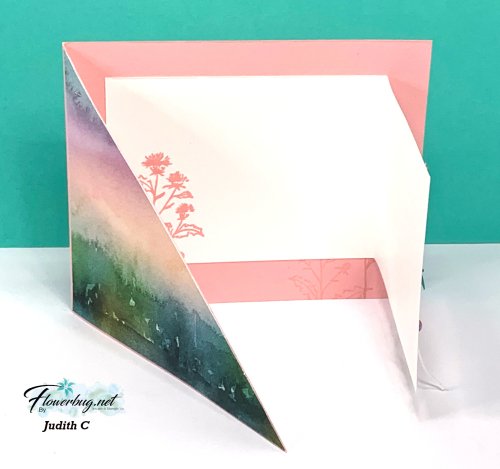
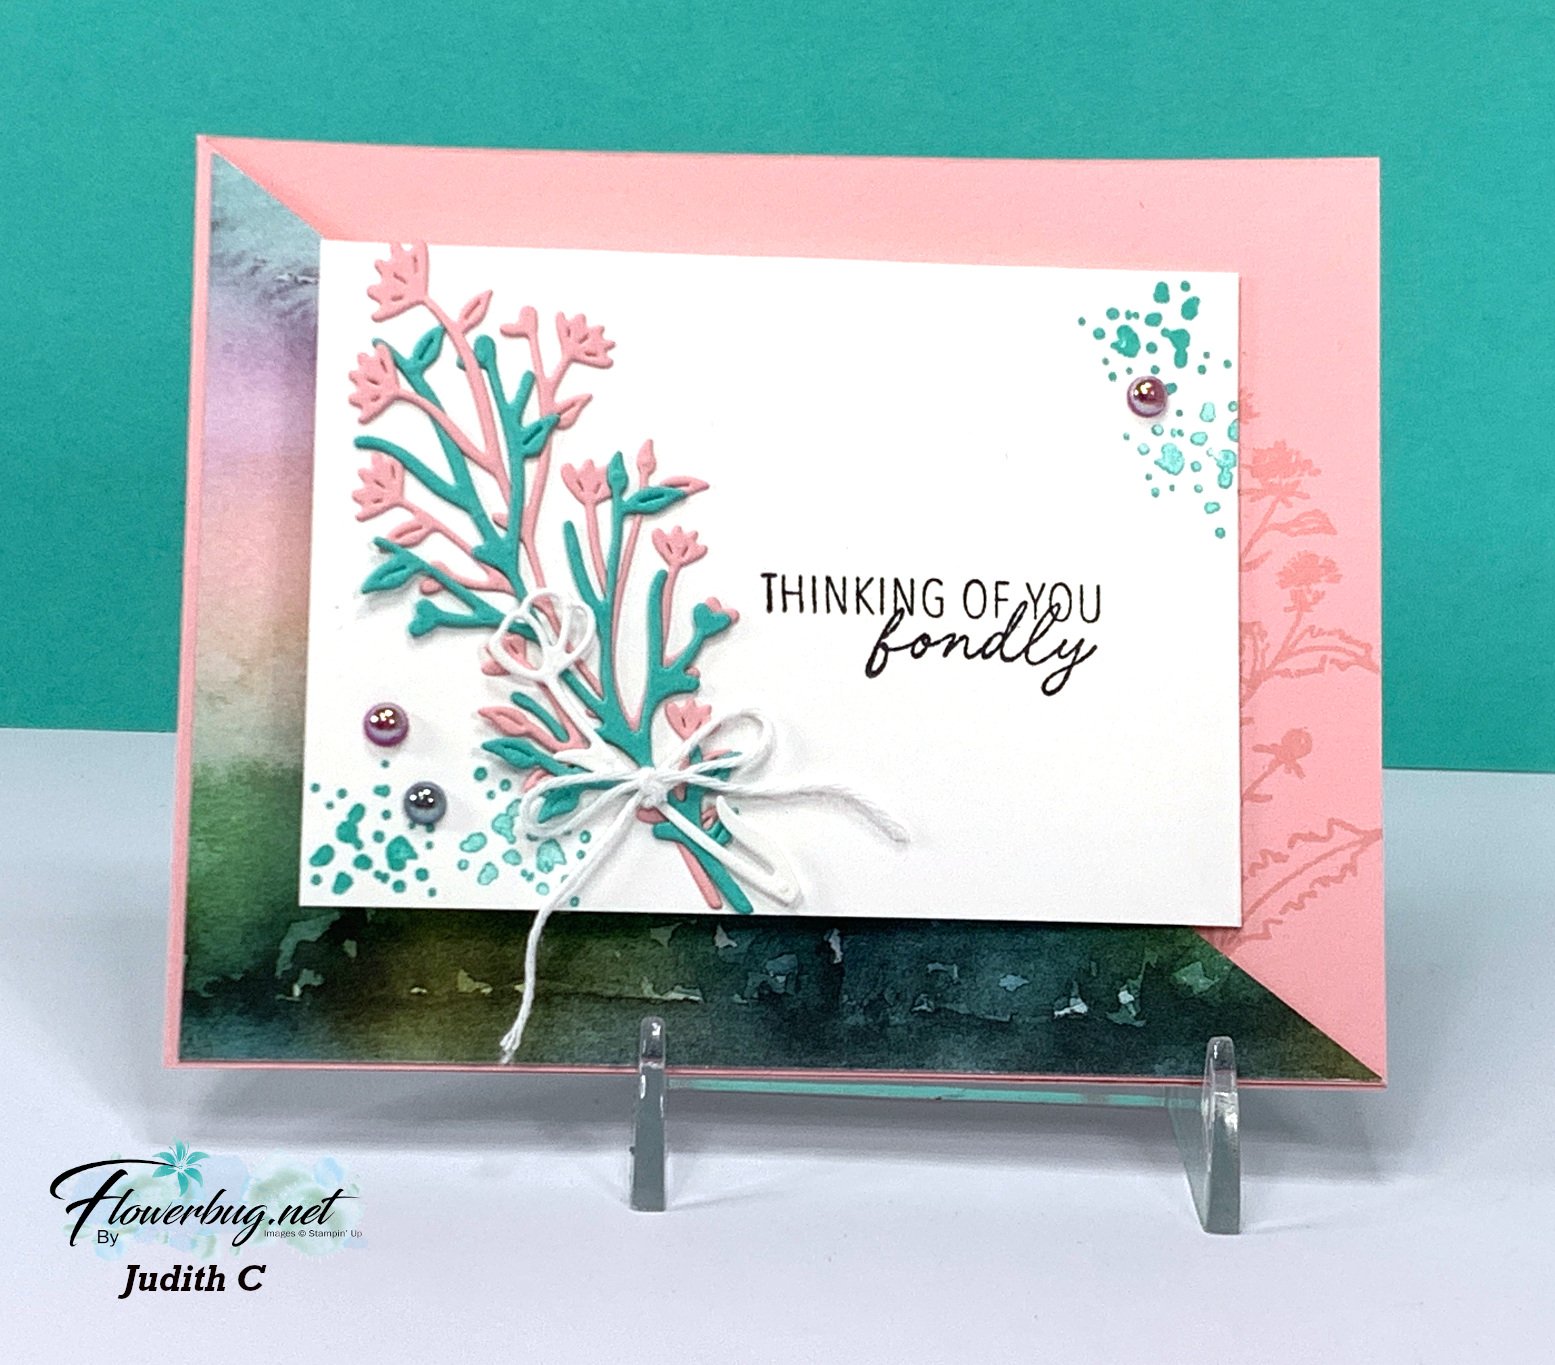
    This card has is a fancy fold card that has two folds. The Pretty in Pink card base is cut off at an angle and DSP is added. The White front layer is actually a folded piece that folds down over the front diagonal layer.  Very cool and not difficult either. 

    Measurements:

    • Card base – 11" X 4 1/4" scored at 5 1/2". Then trim off the front half on the diagonal from bottom left to upper right. 
    • White 8 1/2" X 3" scored at 4 1/4"
    • DSP 5 3/8" X 4 1/8" cut in half on the diagonal

    You can see the Thoughtful Wishes bundle here. It's on sale now – 20% off in June! 

    The pretty Thoughtful Journey designer paper is unavailable right now but should be back around June 24th. 

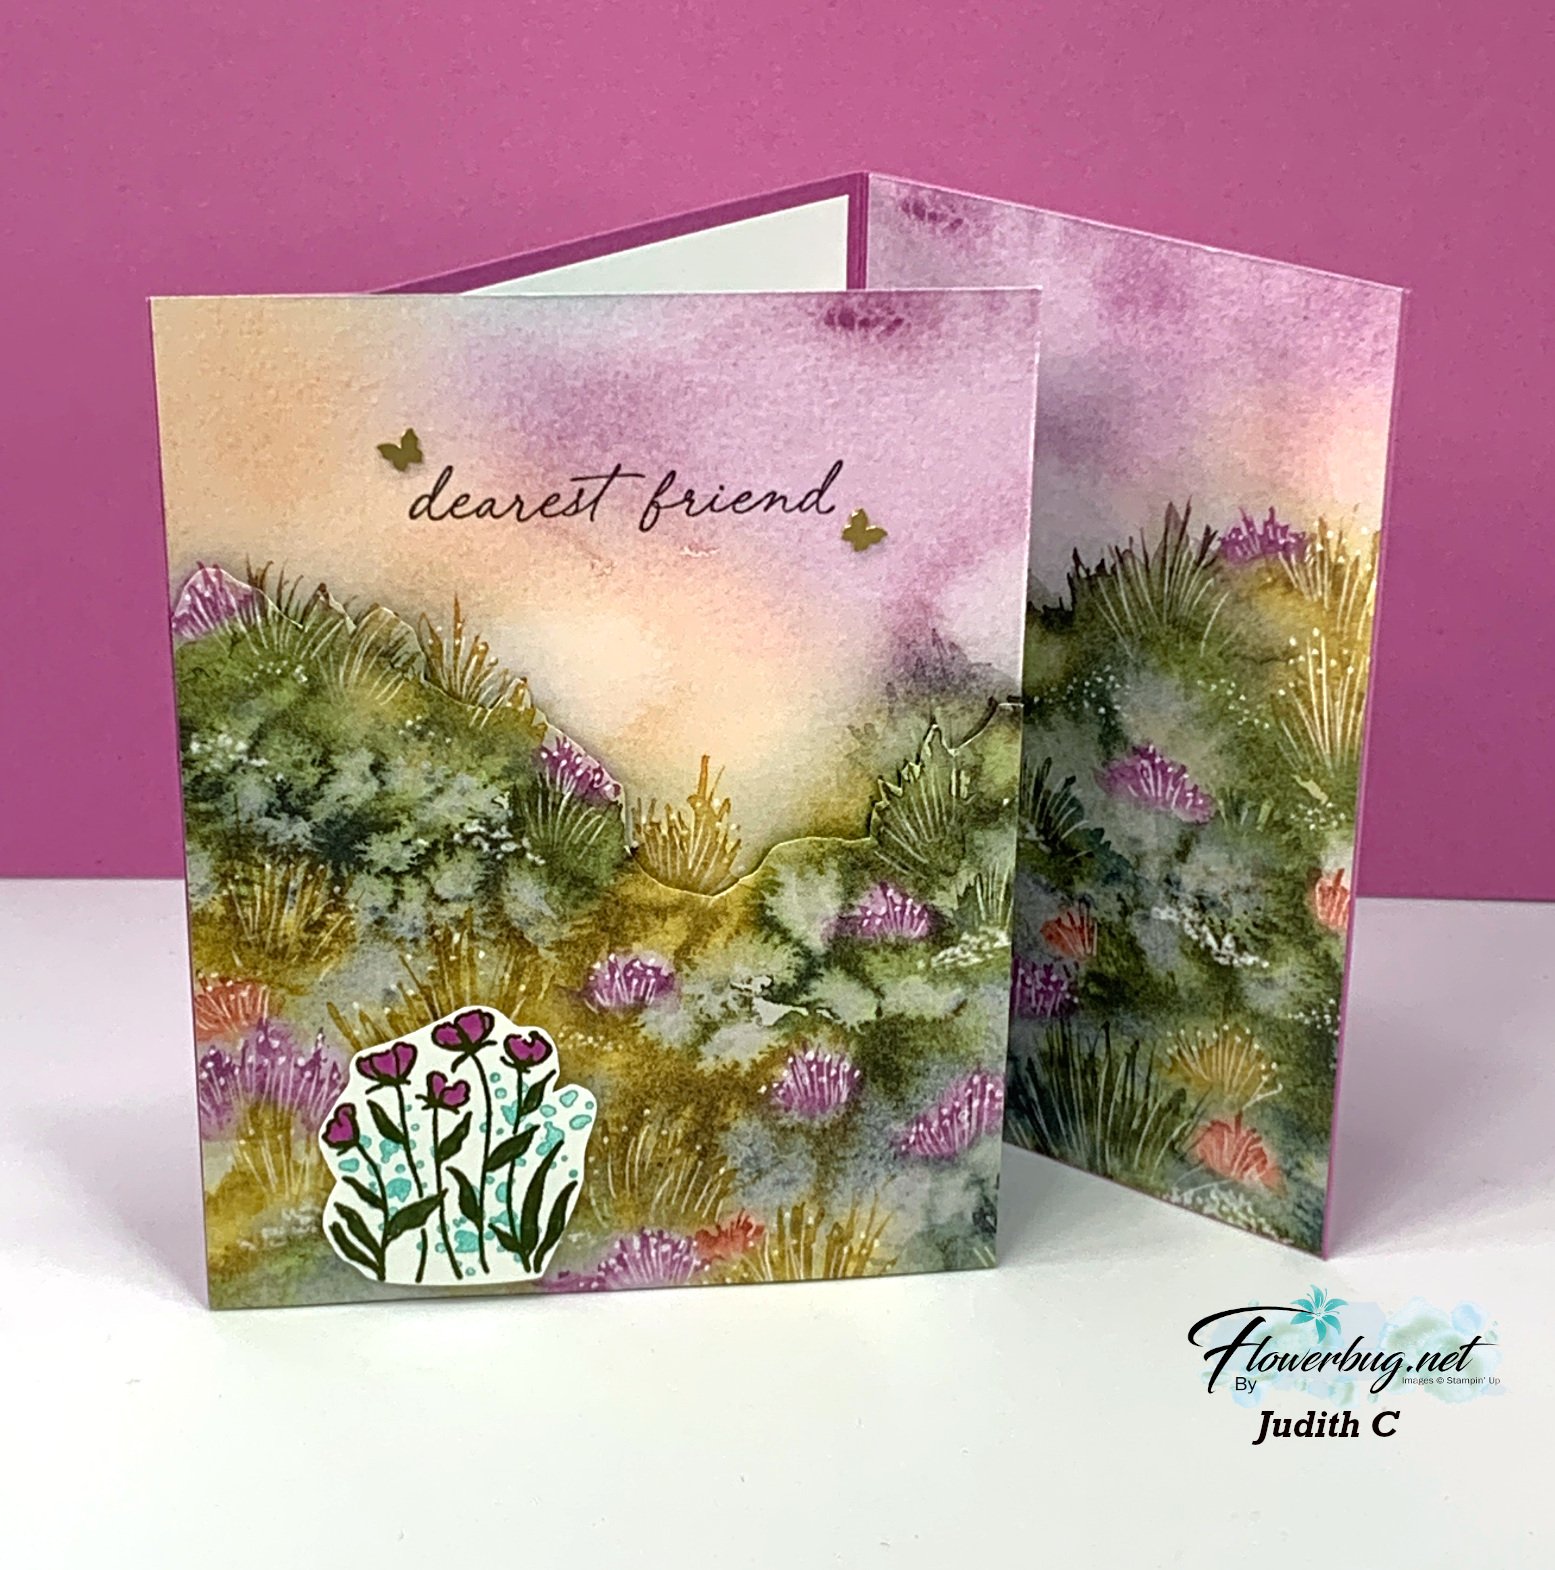
    Next is a unique fun fold card I haven't seen before.  

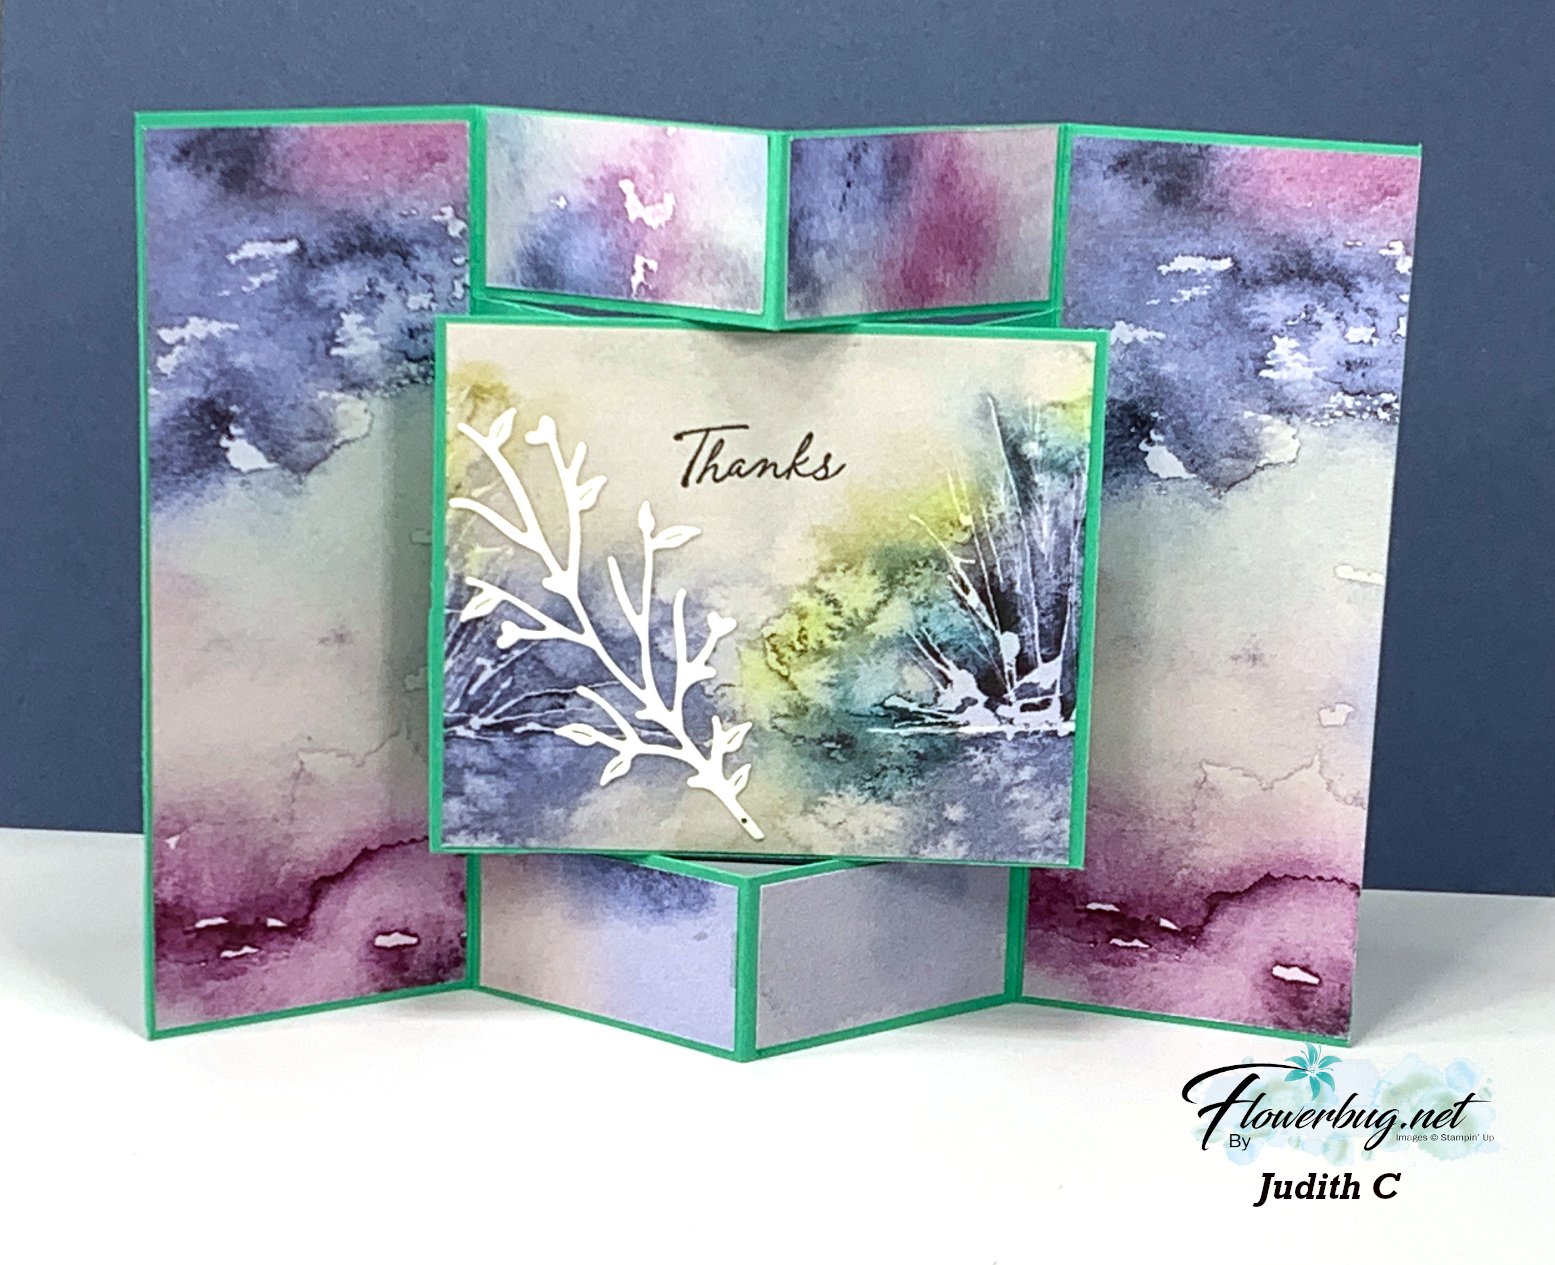
    She used two pieces of the same DSP and fussy cut the top layer to add it over the lower with Stampin' Dimensionals.  The right side flap folds in towards the center. 

    She used the Thoughtful Wishes stamp set on the inside.  So pretty!!

    Measurements:

    • Petunia Pop card base 7 3/8" X 5 1/2" scored at 1" and 4 1/4". 
    • DSP – front is4 1`/4" X 5 1/2" and left side is 3 1/8" X 5 1/2" 
    • White inside 3" X 5 1/4" 

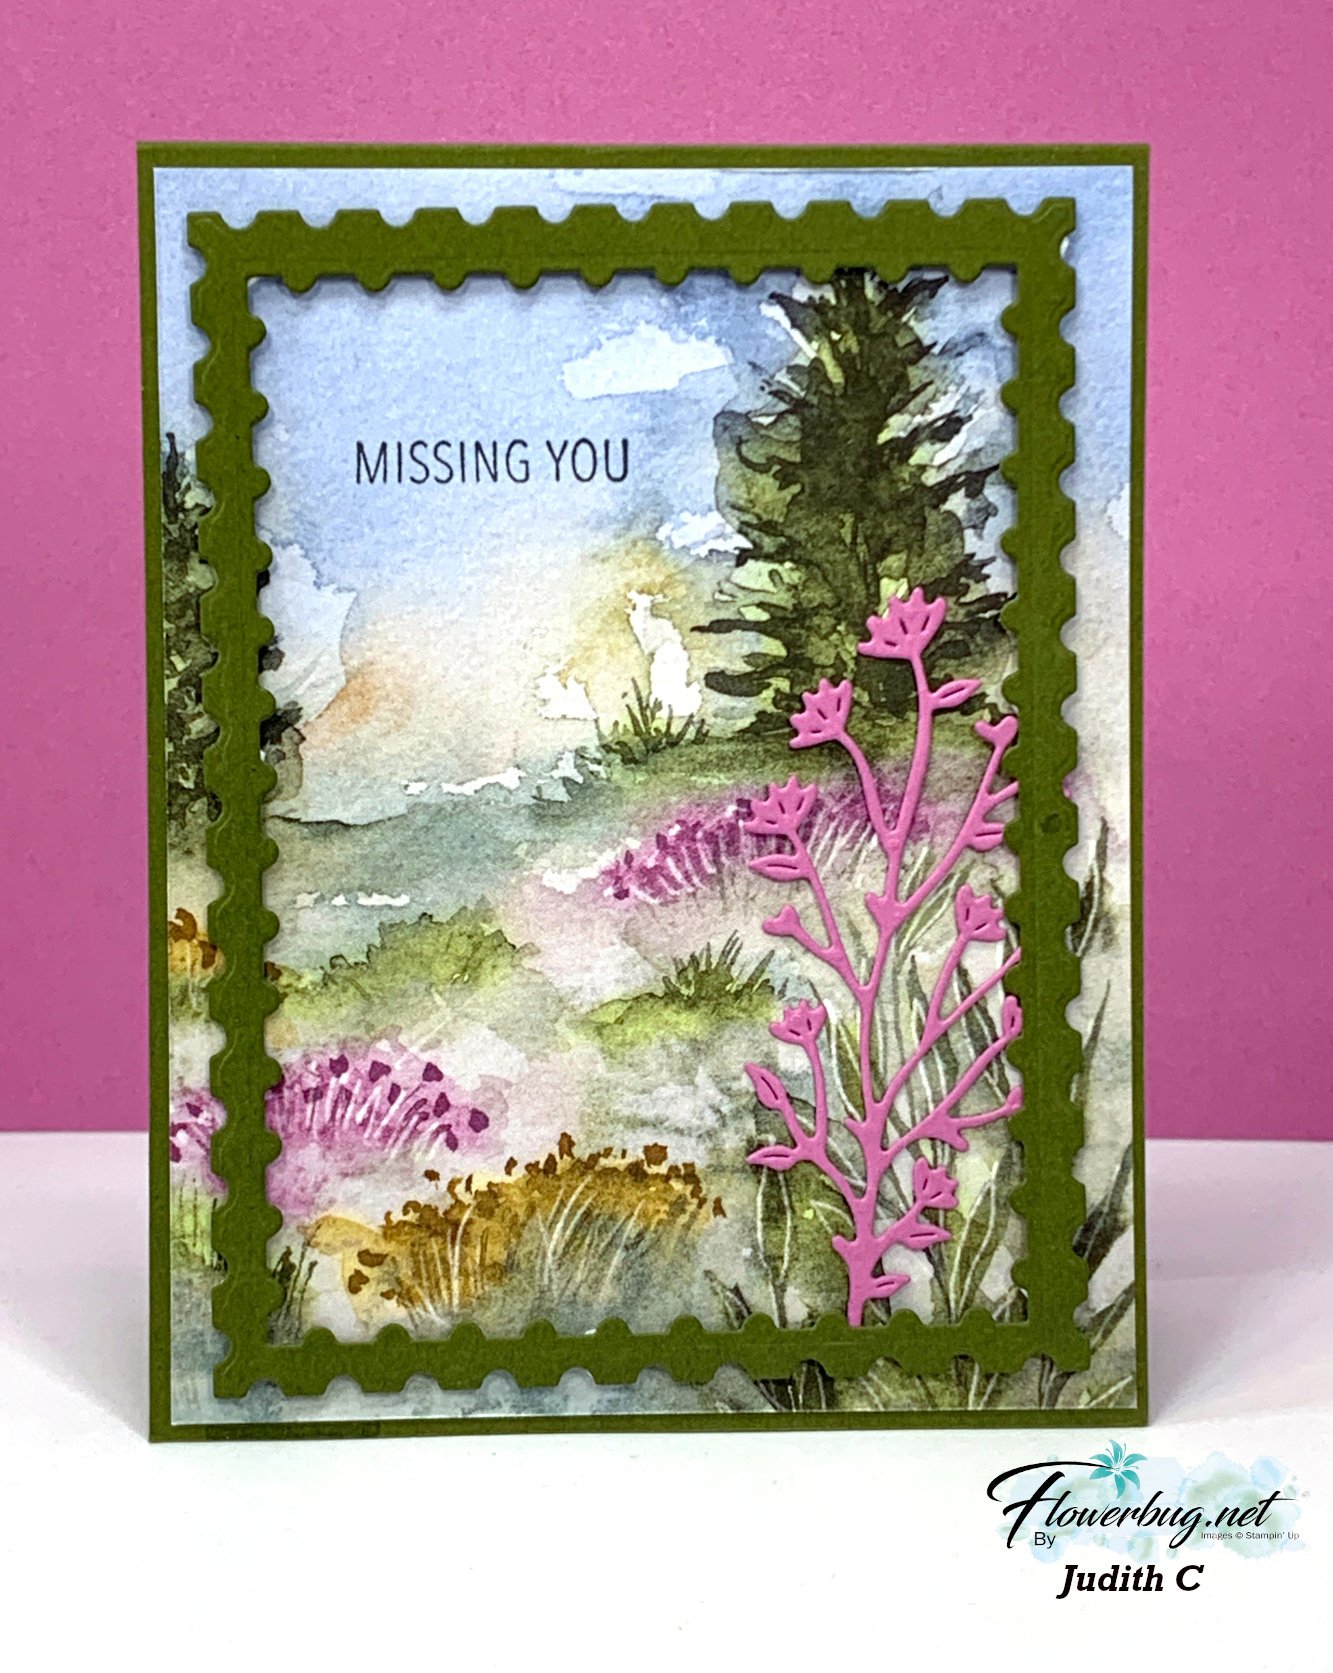
    Lastly today is a neat idea with scenic designer paper – add a frame to highlight the scene. 

    Judith added a frame made from the Perennial Postage dies seen here. 

    A simple greeting an an extra die-cut and you're card is done.  Letting the pretty designer paper work for you is so smart!


    I'll share the rest of her beautiful cards tomorrow. 

    ~~~

    June Specials:

    All Stamp & Die bundles are 20% off in June!

    *current host code links: FERX3EKC or GF24T6XG

    ~~~

    All online orders receive my free tutorial of the month & if your order is over $55 you'll also receive a free gift from me

    Leave a Reply

    Your email address will not be published. Required fields are marked *


Notice: LeeAnn Greff, Independent Stampin’ Up! Demonstrator, Manager. The content of this website is my sole responsibility as an independent Stampin’ Up! demonstrator and the use of, and content of, the classes, services, or products offered on this website is not endorsed by Stampin’ Up! Copyright 2025