/


Latest Post

Clearance Rack is updated; plus new products released too. Amazing Gone Fishing projects; part 2


WOW; it all starts today! 

Clearance Rack has new items! 

The Paper Pumpkin 48 hour sale!  

NEW Online Exclusives

Bonus Days!

***See details on each promotion below:

Today I'm sharing the 2nd group of cards Candace made featuring the Gone Fishing suite.  If you missed the first batch, click here to see them.  
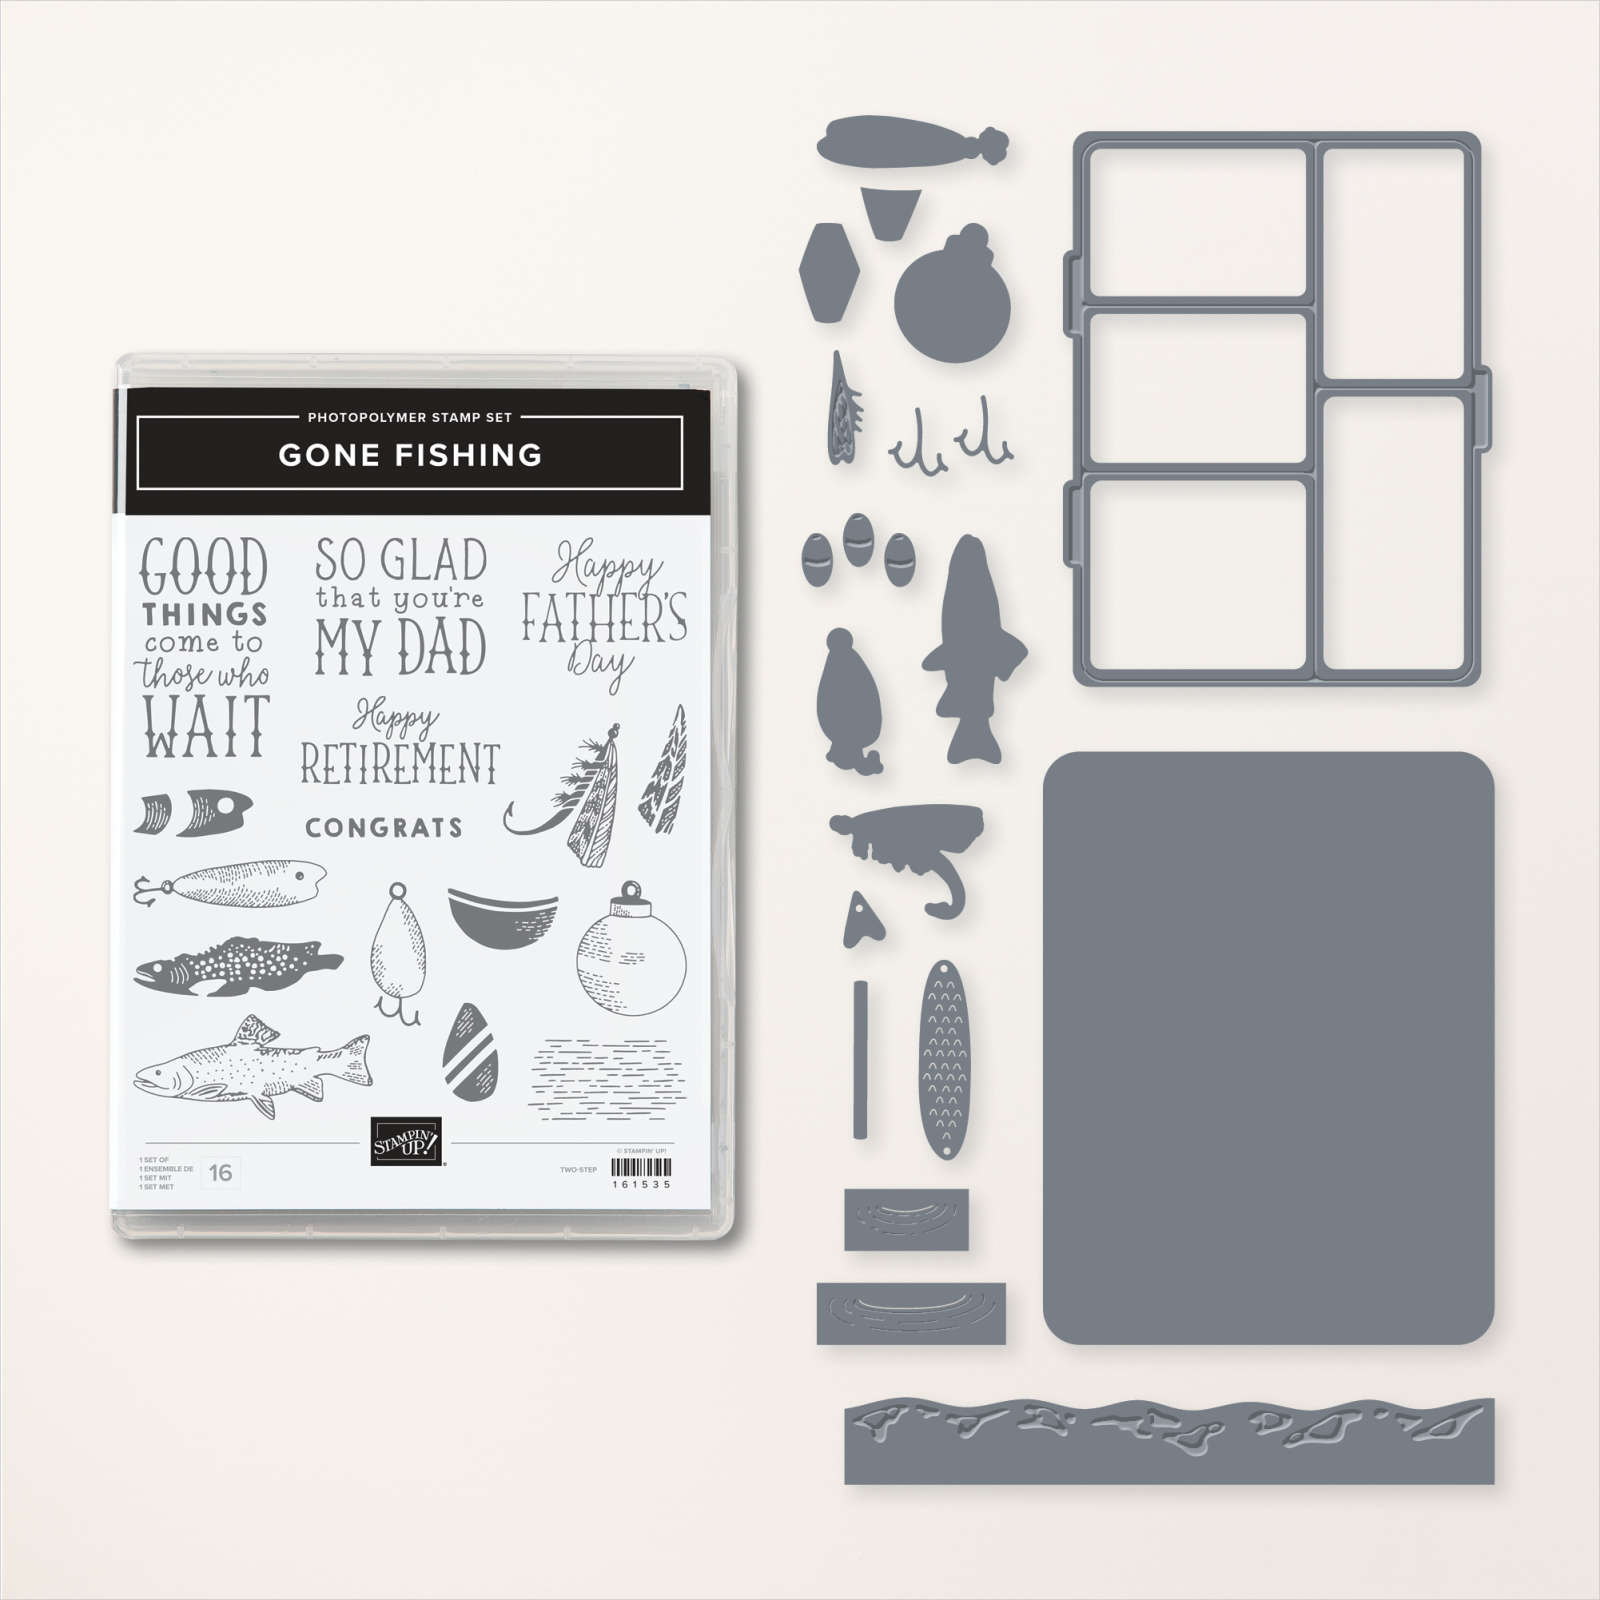
She was our Artist of the Month for June and chose this special bundle; so unique and perfect for the fishermen (and fisherwomen!).  See the Gone Fishing bundle here. 

This first card is filled with layers and details – well all of them are really!  
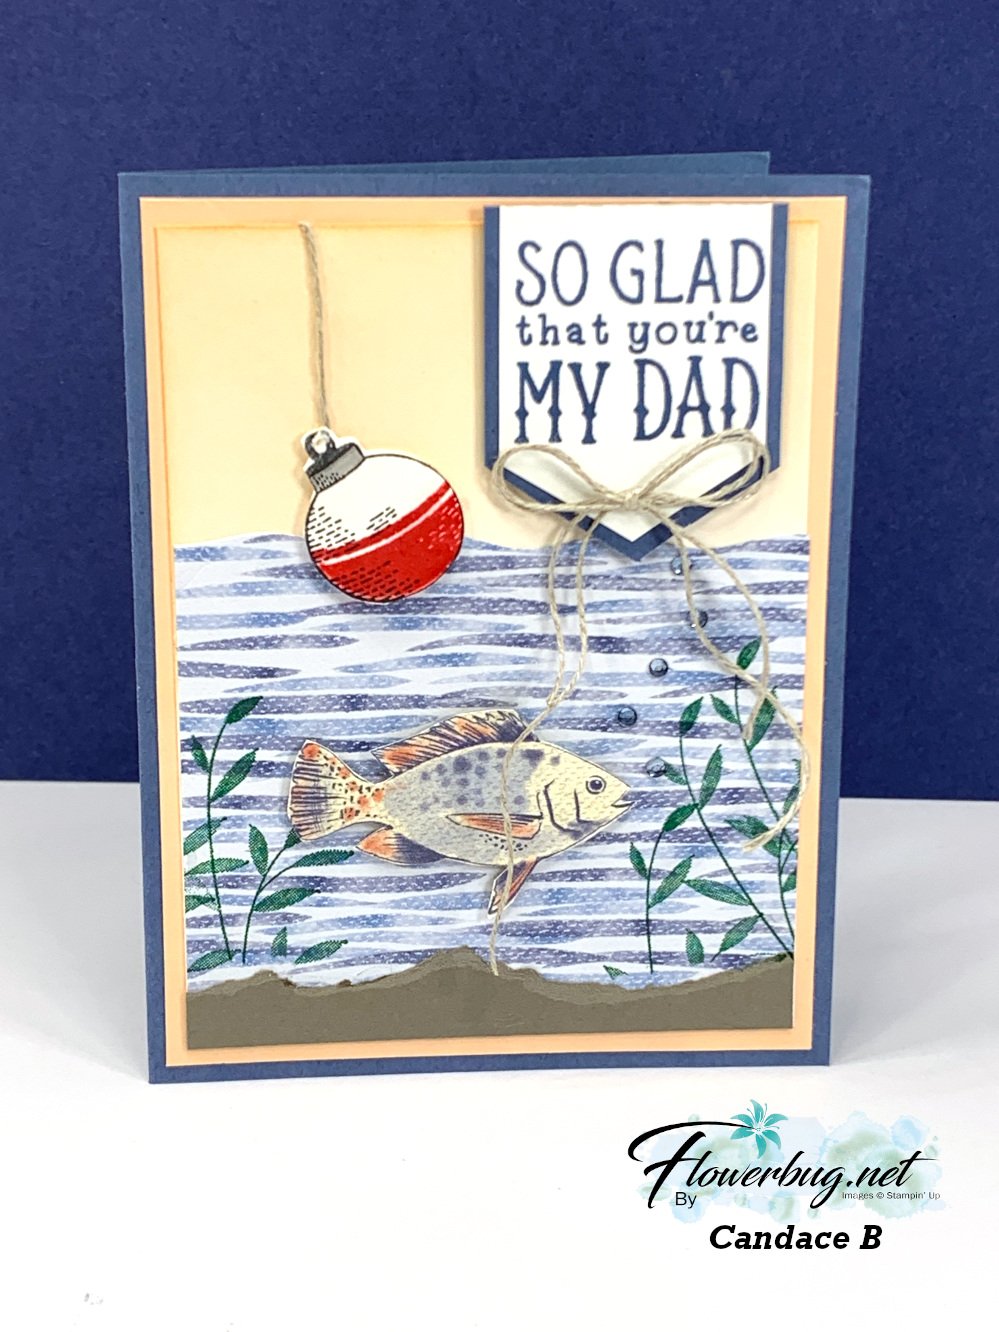
The colors include Misty Moonlight, Petal Pink and Pebbled Path.  She added Wink of Stella to the fish, and bobbin.  That fish is gorgeous. I love the wavy cut DSP at the top and her sponged sky.  And did you notice the rhinestone 'bubbles'?  

Below is the inside of this card; she always adds details to her card inside layer. 

Next is a fun fold card where the center panel lifts up.  It's adhered to a 5 1/2" X 4 1/4" layer. 
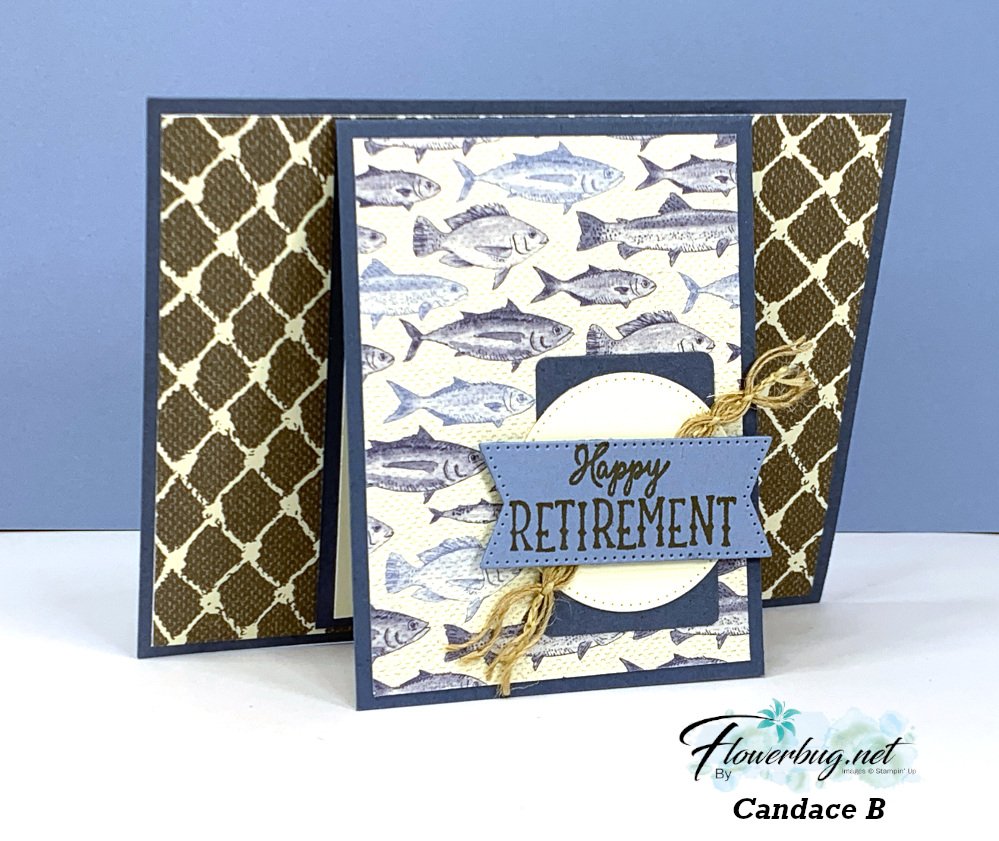
Her colors include Pebbled Path and Misty Moonlight with a bit of Vanilla and Boho Blue. 

The folded panel is 3" wide X 8" tall and scored at 4". The DSP is 5 1/4" X 4" in the back and the front panel is 2 3/4" X 3 3/4"

Next is a neat card featuring the Spiral Dye. She stamped it twice; once in Pool Party and once in Lost Lagoon.  
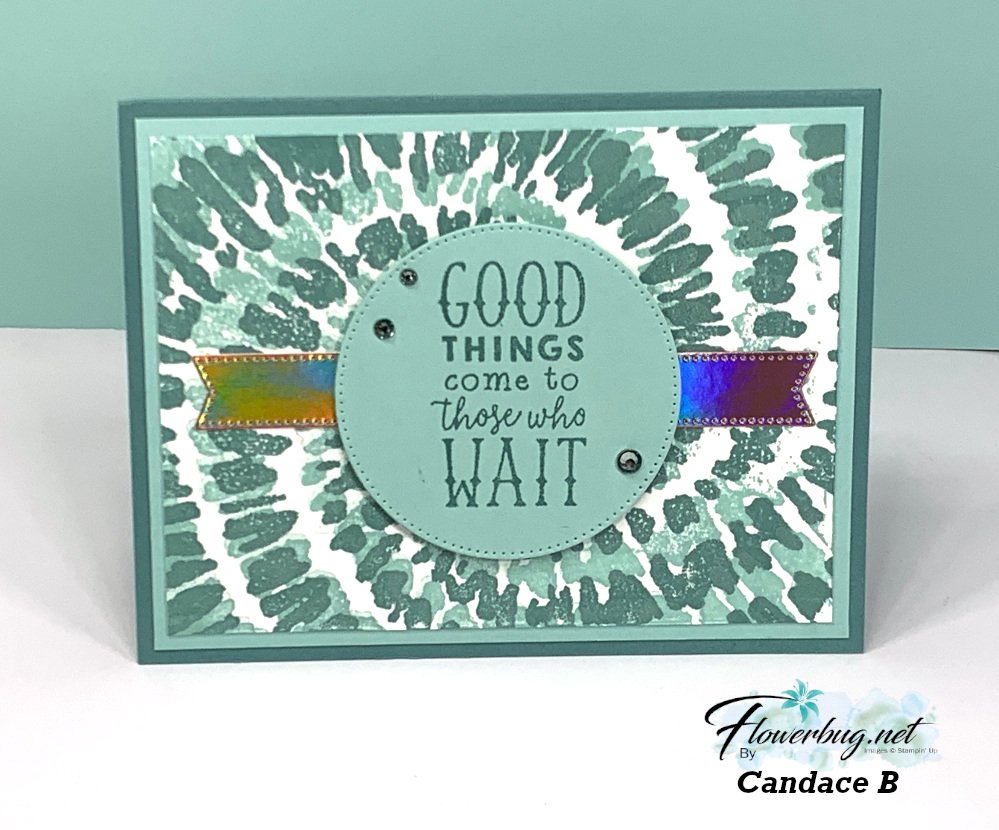
The Stitched die-cuts are from the Stylish Shapes dies. Notice that shiny paper banner?  That is the new Holographic Trio specialty paper on page 127 of the Annual Catalog.  

I'll share more of her amazing projects tomorrow.  Don't miss the next set! 

~~~

July Specials:

1. Coupon Days are here! 

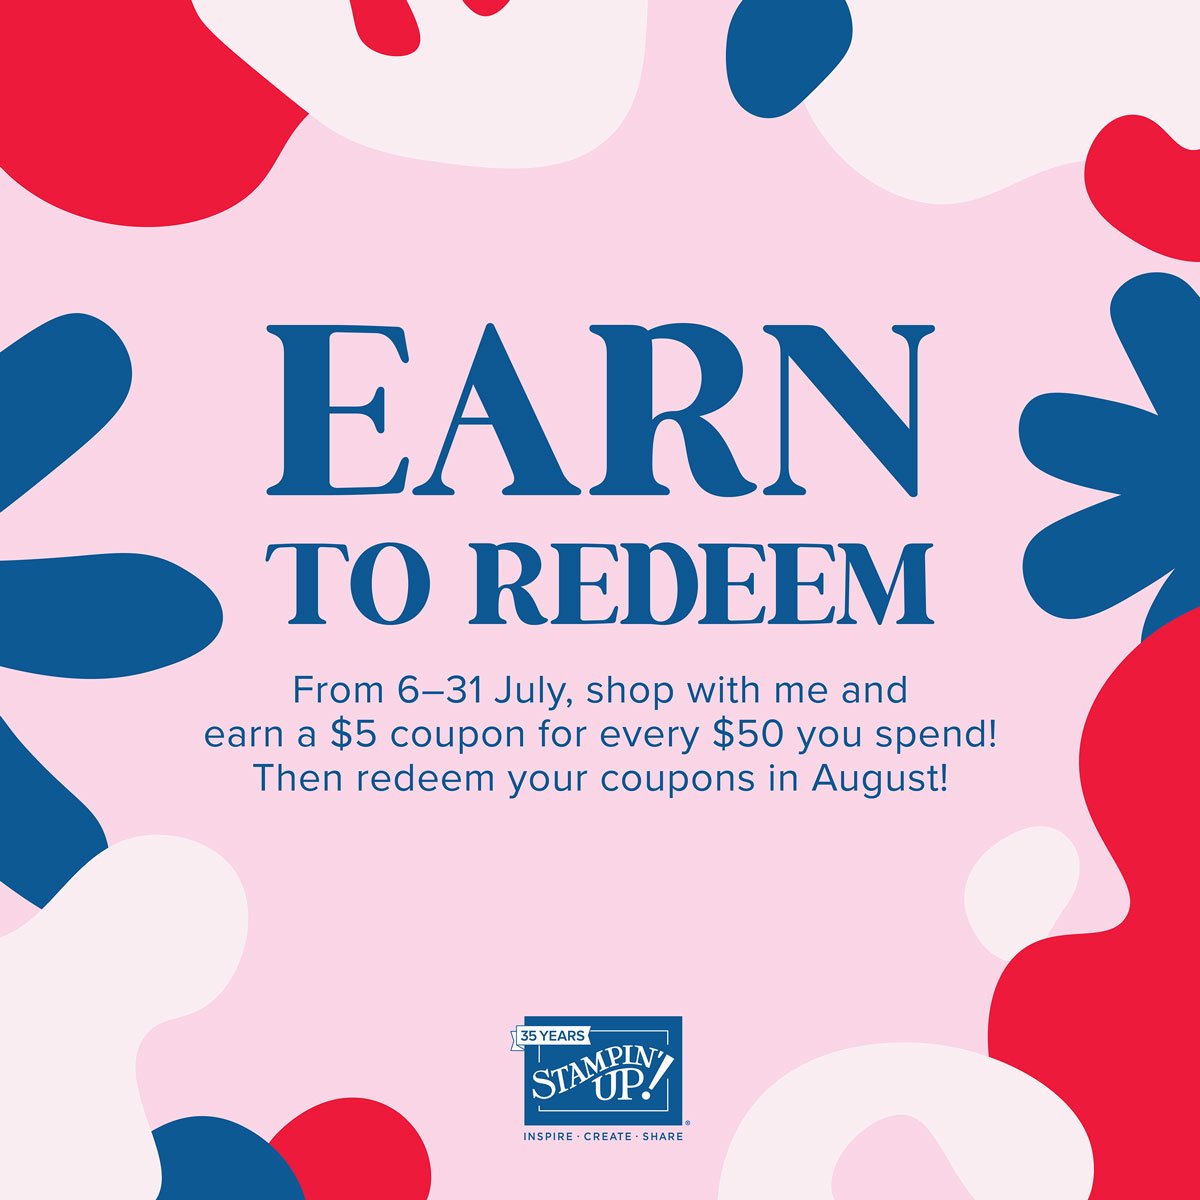
Starting August 6th when you spend $50 in July you'll earn a $5 coupon, which you can redeem in August. 
2. PAPER PUMPKIN 48-HOUR SALE!

Surprise! On 6–7 July, all current Paper Pumpkin subscribers can save up to 50% on these Paper Pumpkin past kits, refills, and add-ons!

Get your pre-paid kits here or monthly kits here. 

3. Next is a Clearance Rack update!

See all items available here

4. NEW Online Exclusives will be available

See these here! 

Starting August 6th when you spend $50 in July you'll earn a $5 coupon, which you can redeem in August. 

My special for July:

Get a free card kit & a new Beautifully Happy stamp set 

with online orders over $65; must use a host code.

*current host codes: BKEARDMW or GGDRKFQR

~~~

Inventory reduction sale! 

I have excess of these three card kits to go so I'm offering a special through July 15th.

 I'll add a free stamp set (retired but new) to your package with the purchase of any 2 or more pre-cut kits in my Shop.  *see them all here

~~~

Did you know you can earn free products when you shop with me?   

Click here to download yours and earn a $50 shopping spree with my loyalty rewards!

All Posts

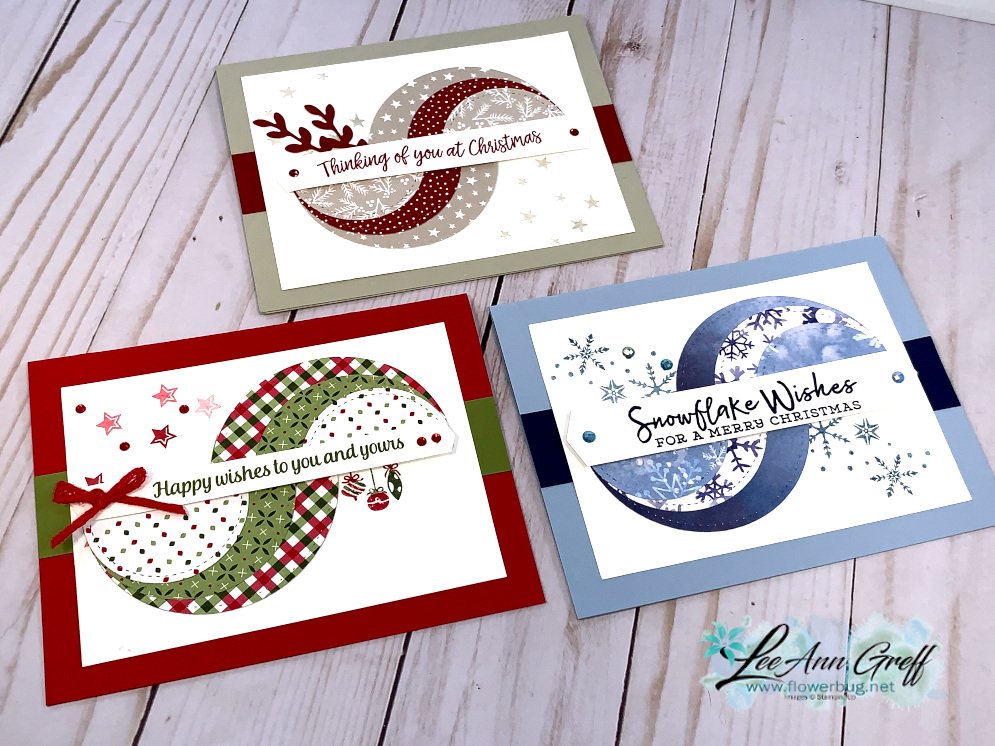
  • Retro style circles layout; super easy! Catch the Live video tonight!


    Tonight at 7:30 pm Central Time I'm sharing how to make these retro style circle cards on Facebook Live.  Click here to join me.   You can also see this video below!

    Basically you need three sizes of circle dies or punches for the start of this layout.  Cut them in half and layer together with the edges meeting on one side. Adhere and add a long greeting between the two. 

    Watch how on my FB Live replay!

    Measurements:

    • 5 1/2" X 8 1/2" card base
    • 3 1/2" X 4 3/4" Whisper White; the greeting strip is about 5" long and either 1/2" or 3/4" wide depending on your greeting image.
    • 1" X 5 1/2" horizontal strip
    • Circles from the Stitched Shapes dies are the largest three circles. 

    You'll want ink, stamps and embellishments that coordinate with your Designer Paper.  Remember you could use card stock instead of DSP. 


    Products used:

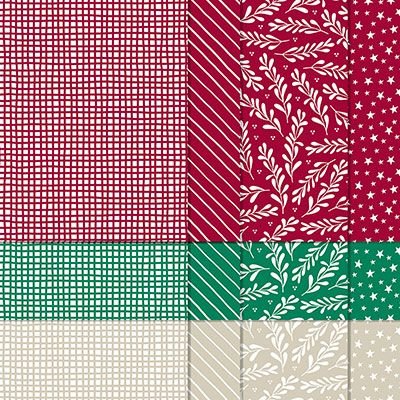
    • Designer papers – Heartwarming Hugs, new Classic Christmas & Snowflake Splendor
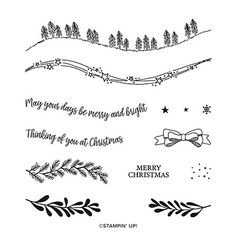
    • Stamps – Tree Angle, Snowflake Wishes & Curvy Christmas
    • Colors – Real Red & Olive, Seaside Spray & Night of Navy, Sahara Sand & Cherry Cobbler  
    • Other: Stitched Shapes dies, Curvy Dies & Pick a Banner punch

    ~~~

    November Specials!

    Current Host code is GRC9VVUU


    All online orders receive my FREE Curvy Celebrations 22 project PDF Tutorial! 

    Leave a Reply

    Your email address will not be published. Required fields are marked *

  • Curvy Christmas & the Postage Punch


    Check out this easy card using the new Curvy Christmas stamp set and the Postage Punch!  

    It's super simple! Here's how I made it:

    1. Stamp the curvy trees image on the White CS using Shaded Spruce ink.  Color the trees with a Light Shaded Spruce Blends marker.  Add a tiny star using Cherry Cobbler ink on one tree. Adhere it to the Cherry Cobbler layer and to the main card.
    2. Punch out three pieces of Classic Christmas designer paper with the Postage Punch seen here.  Adhere to the White CS. 
    3. Stamp the greeting in Cherry Cobbler ink on a 1/2" strip of White CS.  Punch the ends with the Banners Pick a Punch. Add it to the card with mini dimensionals. 
    4. Finish with a few Holiday rhinestones. 

    You can see this stamp set here; it's only available through January 4th.  And the Classic Christmas Designer Paper is here while supplies last. 

    Remember that everyone who orders any of these products or places an online order with me in November will receive a free 22 project PDF tutorial featuring the Curvy Celebration products! 


    ~~~

    November Specials!

    Current Host code is GRC9VVUU


    All online orders receive my FREE Curvy Celebrations 22 project PDF Tutorial! 

    Leave a Reply

    Your email address will not be published. Required fields are marked *

  • Gift Wrapped Box Fold Card with video


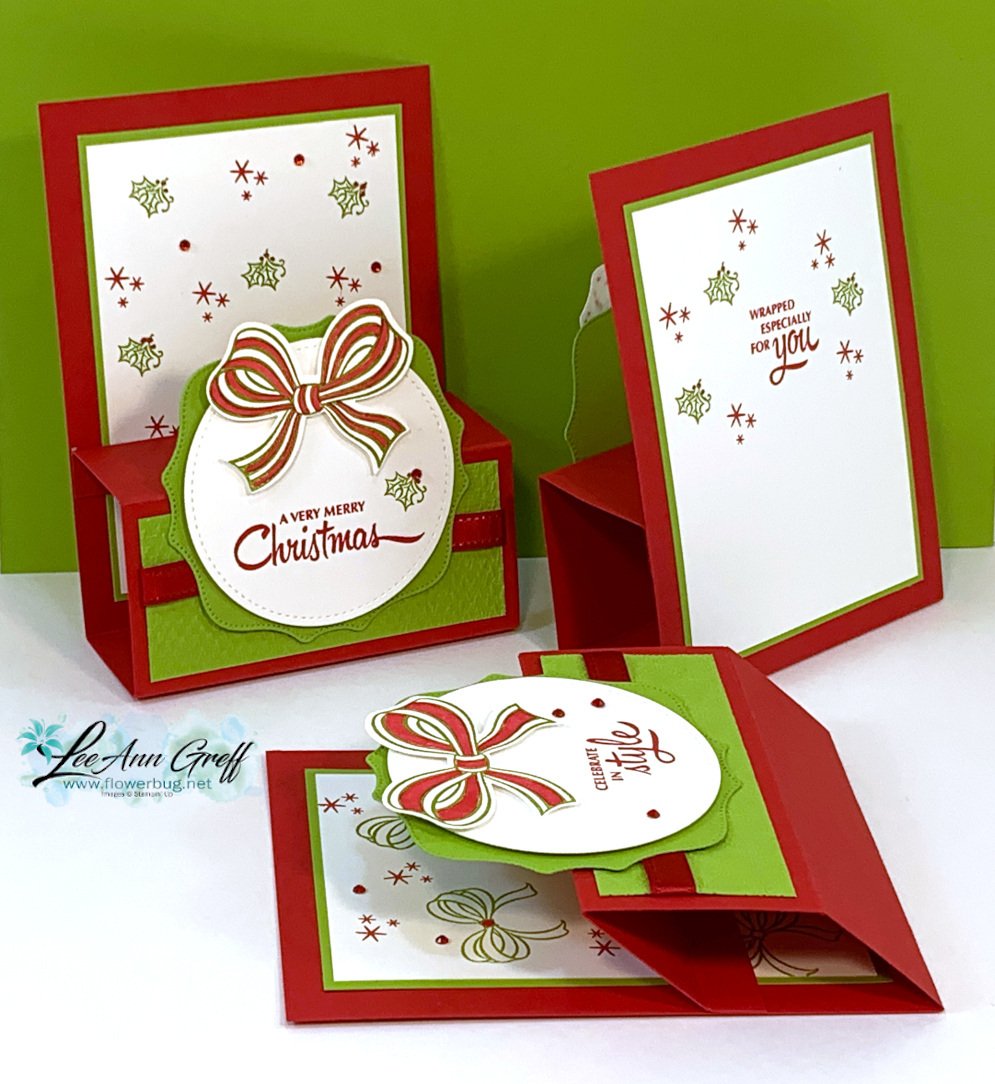
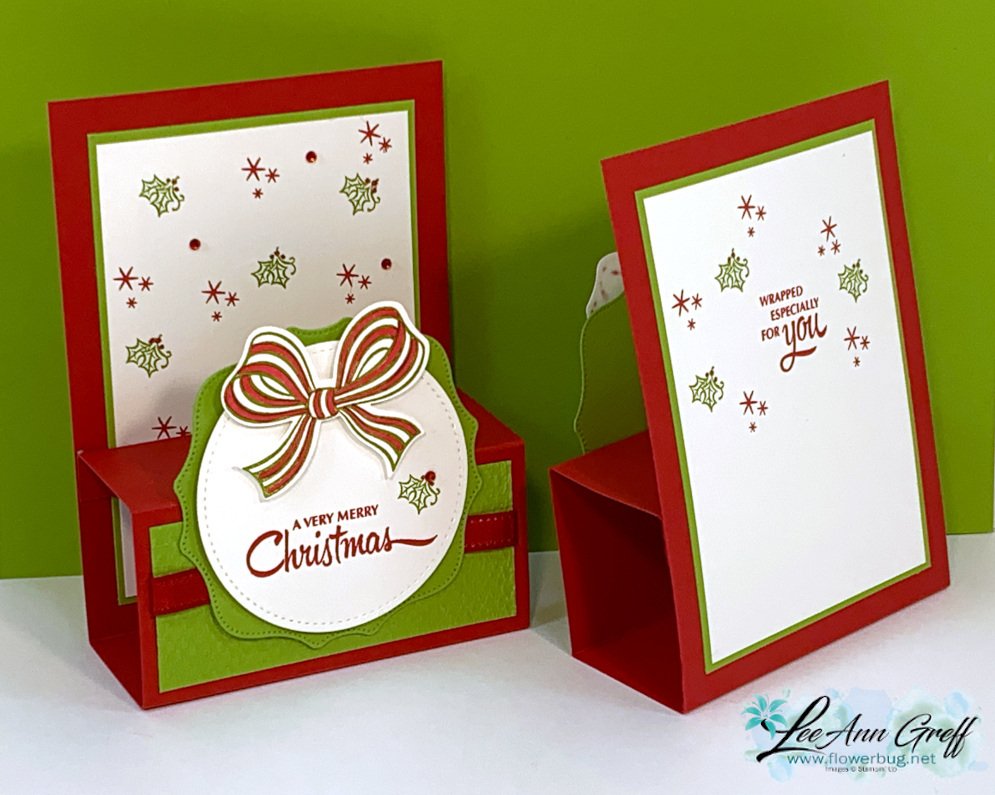
    Check out this cute Christmas card we made at my October Card Clubs!  It's a box fold card; a super cute but easy fun fold. 

    The colors are Real Red with Granny Apple Green & White. The dies on the front are the Stitched Shapes and Hippos & Friends.

    It even folds flat for mailing!  As you can see the back is similar to the front; leaving some space to write or sign the card.  

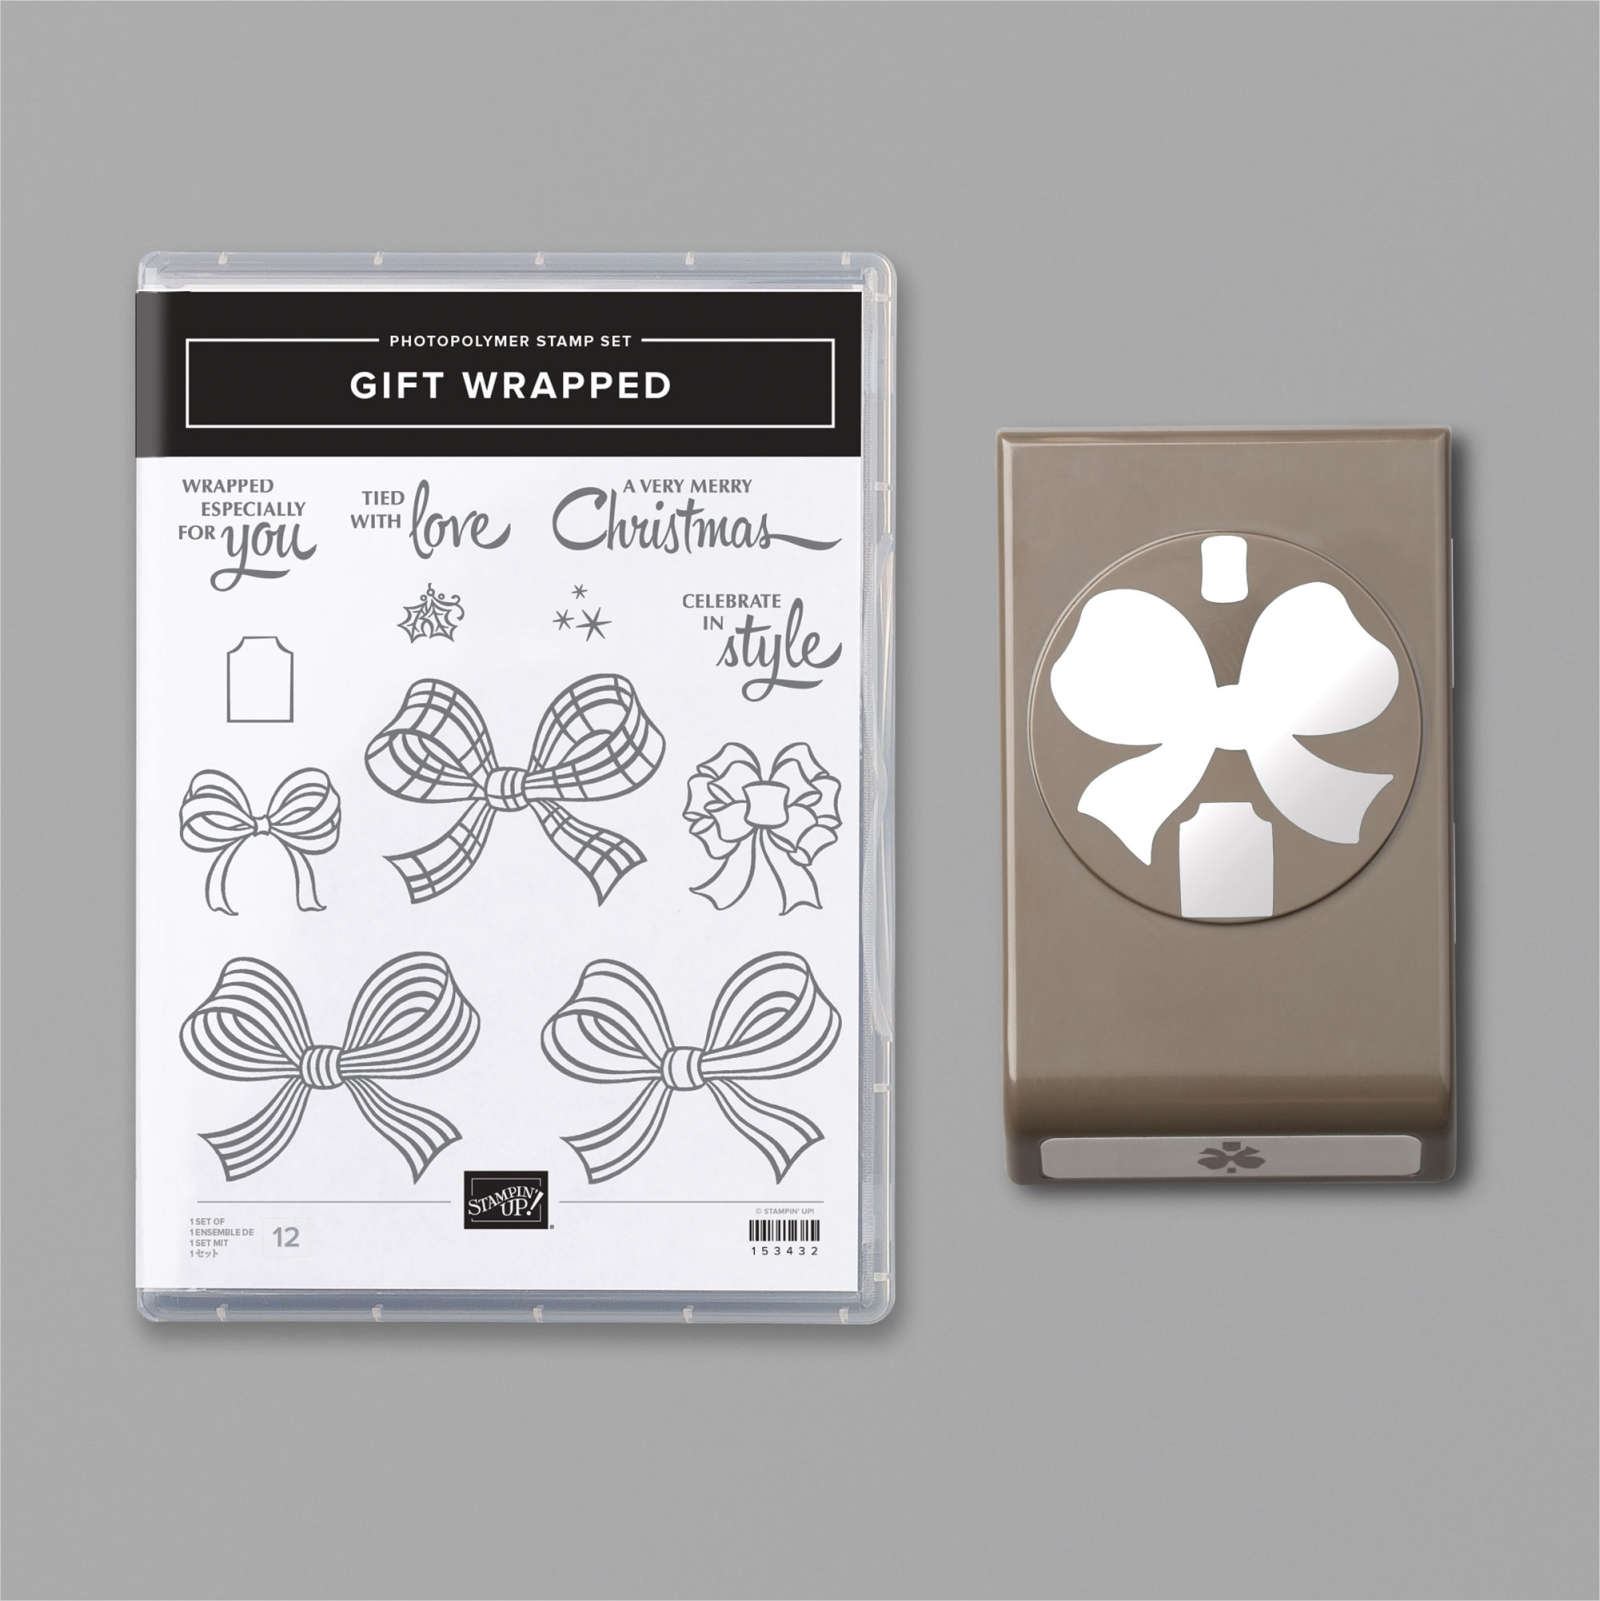
    I used the Gift Wrapped punch bundle from the Holiday catalog.  You can see it here. 

    Check out the video and measurements below. 

    Here's the video: 


    Measurements:

    Real Red 4 1/4" X 11" scored at 5 1/2", 7", 9" and 10 1/2"
    Granny Apple Green 3 5/8" X 4 7/8" (2 pieces) plus scrap for die-cut
    Whisper White 3 1/2" X 4 3/4" (2 pieces) plus scrap for circle die-cut and bow

    ~~~

    November Specials!

    Current Host code is GRC9VVUU


    All online orders receive my FREE Curvy Celebrations 22 project PDF Tutorial! 

    Leave a Reply

    Your email address will not be published. Required fields are marked *


Notice: LeeAnn Greff, Independent Stampin’ Up! Demonstrator, Manager. The content of this website is my sole responsibility as an independent Stampin’ Up! demonstrator and the use of, and content of, the classes, services, or products offered on this website is not endorsed by Stampin’ Up! Copyright 2025