/


Latest Post

Amazing Bag of Bones Halloween & Pick of the Patch swap cards


We held our monthly Team swap last weekend and I'm excite to share these amazing swap cards with you.

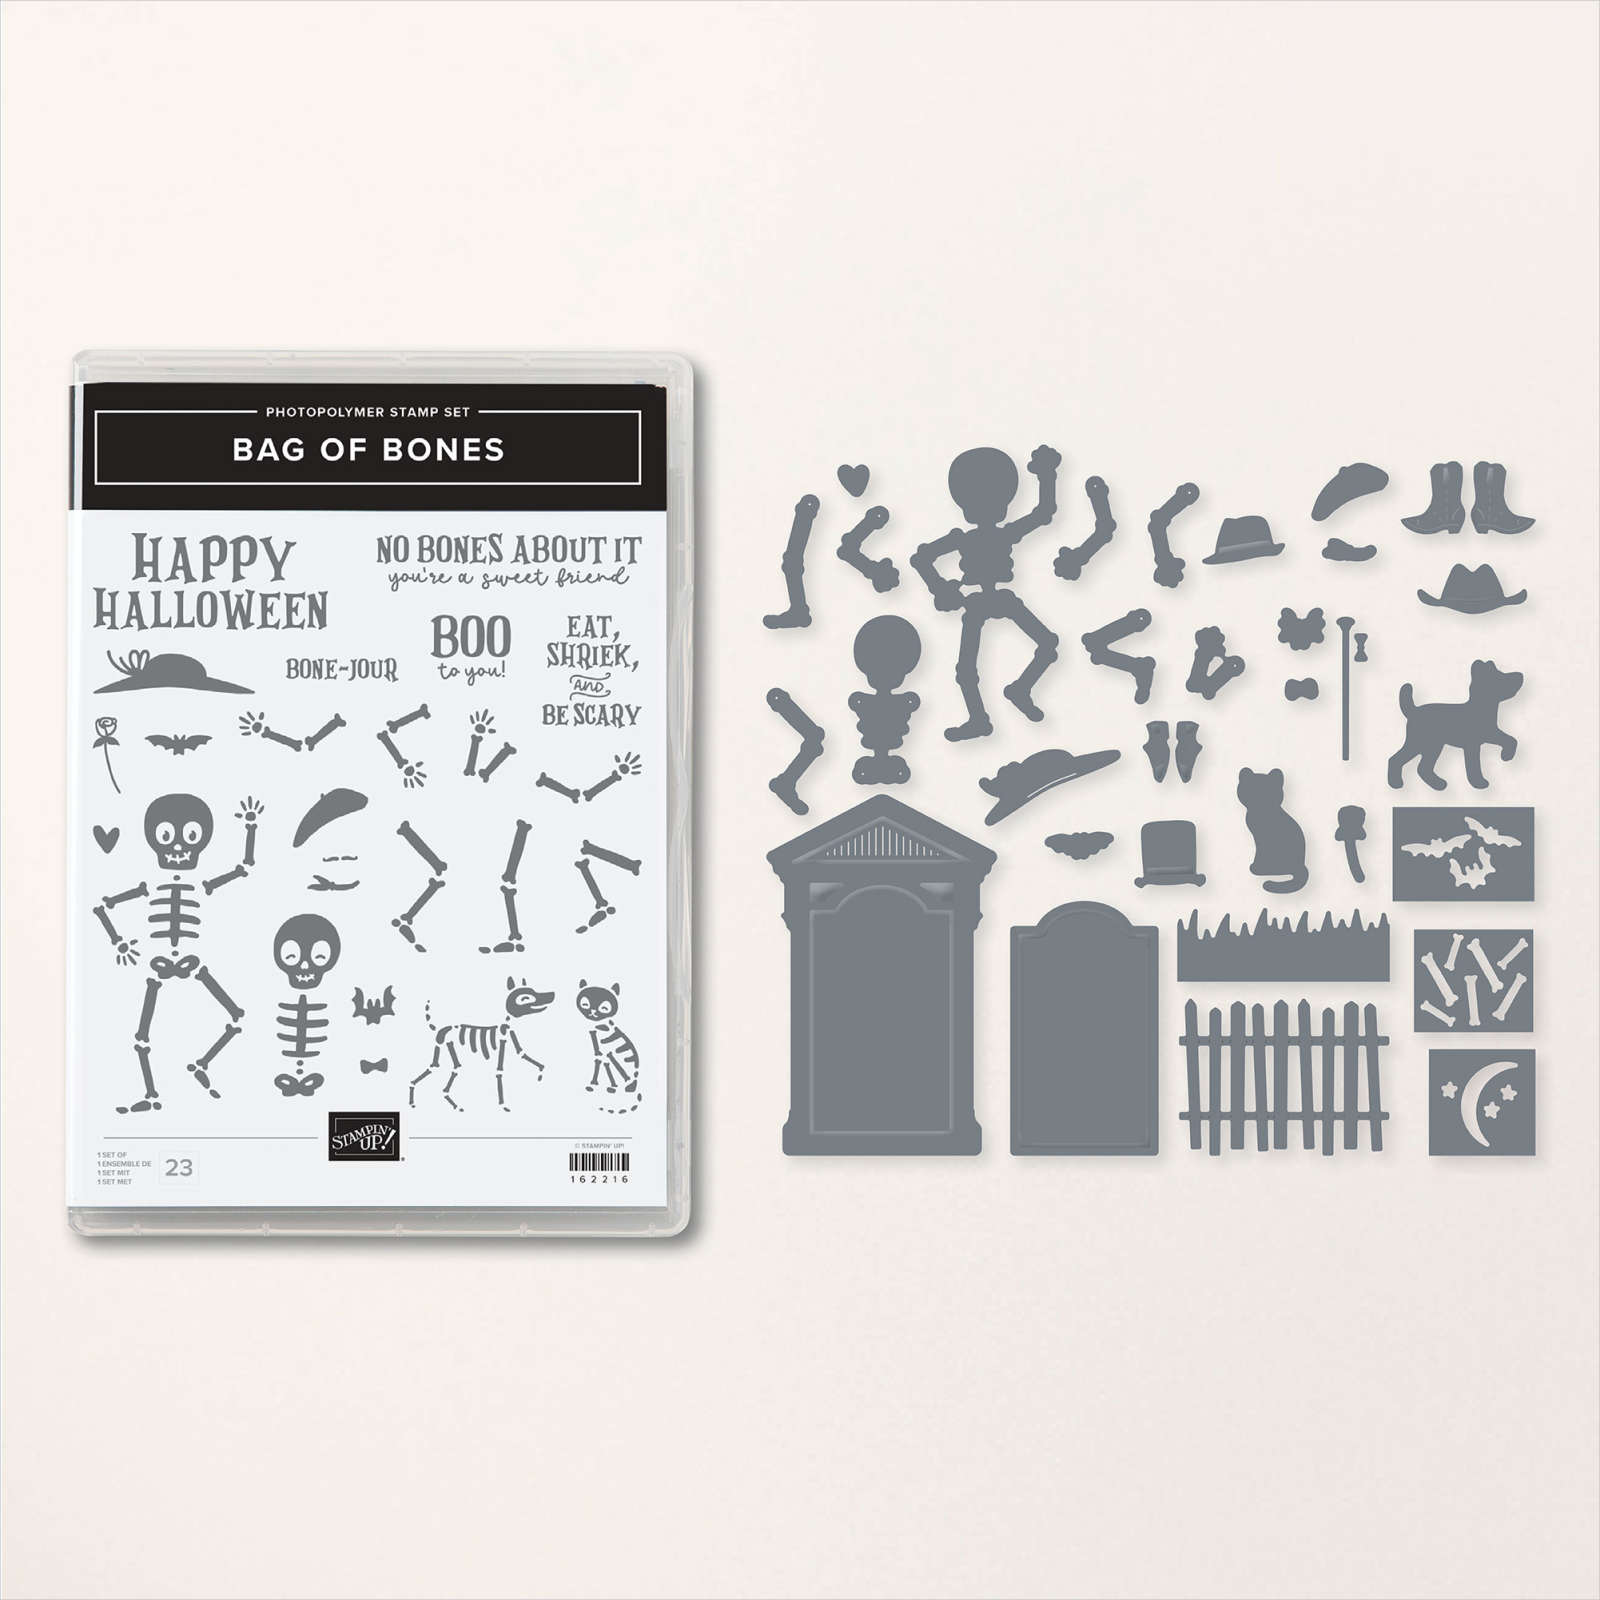
First up is a gorgeous card made by Candace that features the Bag of Bones bundle. 

She added a strip of the new Them Bones designer paper seen here to her Cajun Craze textured layer (Exposed Brick) and created the gorgeous blended background circles for her skeletons. I believe she used Pumpkin Pie, Crushed Curry and Starry Sky and blending brushes.  

Her skeletons were heat embossed with White powder on Black cardstock, then die-cut with the Bag of Bones dies.  The bats on the yellow moon are die-cuts from this same bundle. 

This bundle was out of stock for a bit but it's back now! See it here. 

Measurements:

  • Black card base 8 1/2" X 5 1/2" score at 4 1/4", layer for DSP is 2" X 5 1/2"
  • Cajun Craze 4" X 5 1/4"
  • Them Bones DSP 1 3/4" X 5 1/4" 
  • Circles from Stylish Shapes – 1 1/4", 1 5/8" and 3"

Check out the inside; she jazzed it up with strips of cardstock and designer paper.  

Sharon made this adorable card with the same bundle and Them Bones designer series paper.  

She added the cool 'Glow in the Dark' bats & ghosts to her middle panel. The skeleton is stamped with Black Stazon ink on Glow in the Dark specialty paper (seen here) as well!  So cool!  

It's a spanner card!  She jazzed up the inside layers too.  

Measurements:

  • Starry Sky card base 5 1/2" X 8 1/2" score at 4 1/4".  Then cut up to center score line at 1 1/2" from both sides.  Horizontal strip is 5 1/2" X 1 1/2"
  • Black layers – front sides are 1 3/8" X 4 1/8", center 2 3/8" X 4 1/8" and 2 3/8" X 1 1/8" for greeting
  • Designer paper – front side panels 1 1/4" X 4", back inside 1 3/8" X 4 1/4"
  • Cajun Craze center 2 1/4" X 4"
  • White inside 2 1/2" X 4"

What a fabulous card! 

Lastly today is a sweet card by Candace who featured the Pick of the Patch bundle seen here:

I love her out of the box color choices of Pretty Peacock, Blackberry Bliss and Pumpkin Pie. She used the new Deckled Circle dies for the background of her punched pumpkins.  Her ribbon is new as well – a Vanilla and Black gingham seen here.  

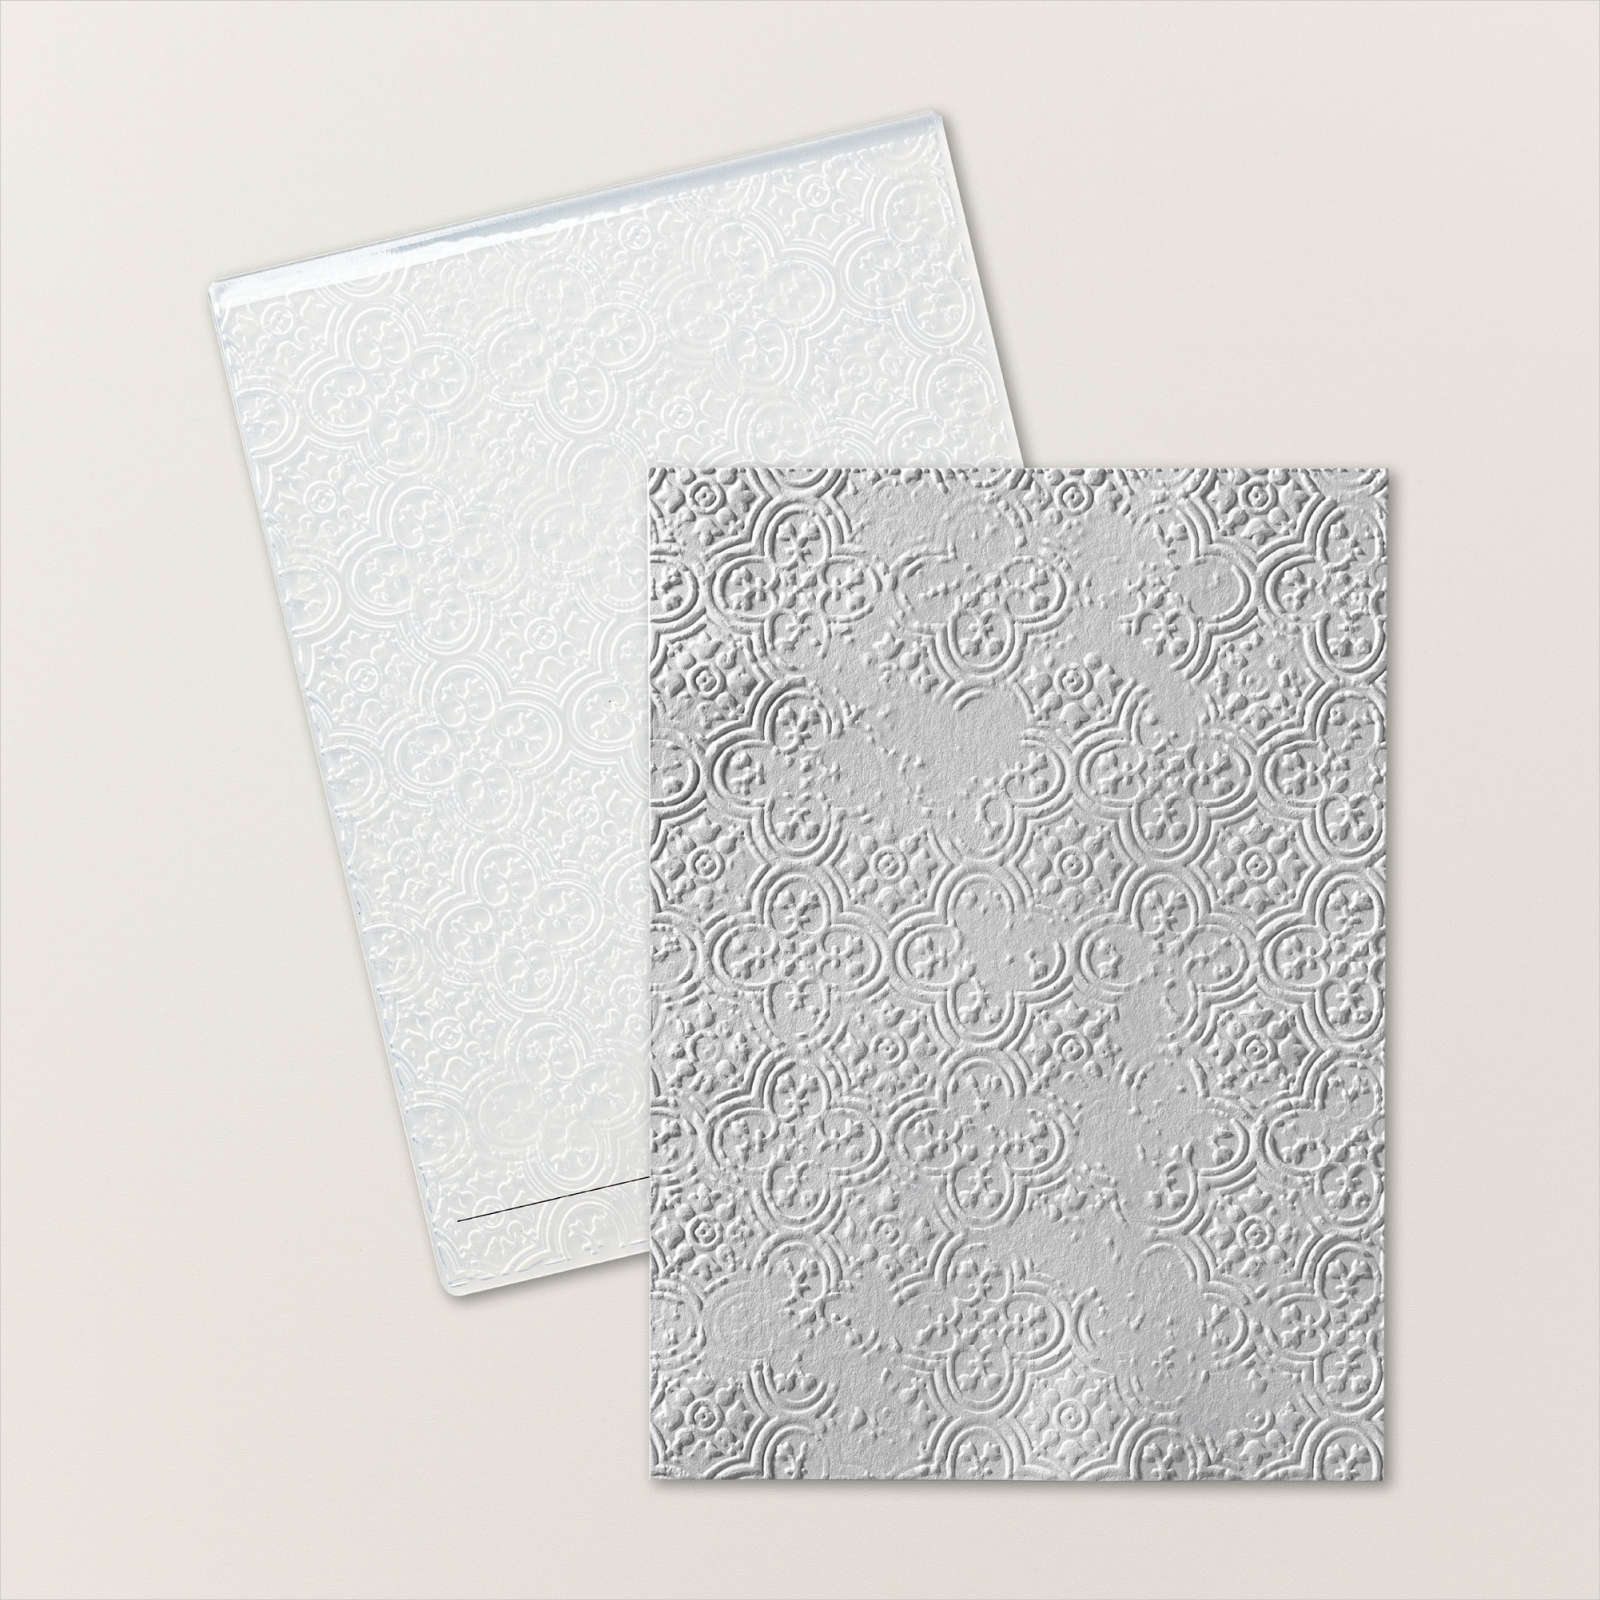
The photo barely shows off the pretty and new Distressed Tile embossing folder.  It's a new favorite for many! 

I'll share more fabulous team swaps tomorrow!  See three other gorgeous swaps here

~~~

September Specials: 

 *current host code: WXX6RCHA or VEH4FKBV

Shop the updated Clearance Rack here:


*Get a free 6 card kit with orders over $55 (Includes card bases, coordinating envelopes, Memories & More cards, gems & more) 

~~~

Get a Mystery Box full of Stampin' Up! supplies while they last!

Each box contains from $180-200 in retired products (new or lightly used)

  1. Place an online Stampin' Up! order over $100 (before tax & shipping) using one of my current host codes to reserve a Mystery Box. *Host code links – WXX6RCHA or MYF6MXAG
  2. Send me the $14 shipping fee (PayPal or Venmo). 
  3. I'll send you your Mystery box via Priority Shipping! 

All Posts

  • Decorative Borders & coloring vellum technique with video


    Last month our Flowerbug's Team swap theme was to use vellum or window sheets.  Here's what I came up with featuring the Decorative Borders stamp set seen here.  

    I heat embossed the image twice with black embossing folder in two corners.  This is on vellum card stock. After it was set I colored in the images with Blends markers – Polished Pink, Granny Apple Green and Old Olive.  The corner image is small but it still took a bit of time to do them all.  I colored on the back side; no real reason except it's a little more forgiving. 

    The greeting die-cut is from the Potted Succulents dies; the heat embossed image is from Color & Contour stamp set in the Annual Catalog. 

    My measurements are:

    • Card base 5 1/2" X 6 1/2" scored at 4 1/4"
    • Printed vellum 1 7/8" X 5 1/4"
    • Vellum card stock 3 1/4" X 4 1/8"
    • White front 3 1/2" X 4 1/2" , inside 3 1/2" X 4 3/4" 
    • Black 3 3/4" X 4 3/4" 

    Below is a photo of the pretty Decorative Borders stamp set.  There are so many ways you might use this set; I share a few more in the video below.  It would be perfect to decorate your envelopes too! 

    Here's how I finished the inside of the card. 

    Click here or on the photo below to watch the video. 

    ~~~

    March Specials:

    See the new Online Exclusives here! 

    *current host code:  TMJXFR2T or BFE4C2KM

    Get a free class kit with online orders over $55 when using the host code above!

    Earn free products with my loyalty rewards! 

    Click here to download yours and earn a $50 shopping spree!

    Leave a Reply

    Your email address will not be published. Required fields are marked *

  • Love Cats video tutorial with an easy but unique fun fold


    We made this CUTE card at my February card clubs.  It really shows off the Love Cats stamp set seen here. 


    I shared it on my FB Live yesterday (see video below). It's sort of a unique fold in that the card base is a quarter sheet and the Sweet Sorbet is smaller and opens; see?  

    In order to get full, solid images I used the Stamparatus for the cats.  It makes a world of difference!  *Catch the tips in the video below.


    *Other items used here are the Conversation Bubbles dies, Pastel Adhesive-backed sequins, Balmy Blue variegated ribbon, Stylish Shapes dies, White embossing powder, Heat Tool, Sweet Sorbet Blends marker

    Measurements:

    • Card base 8 ½” X 5 ½”
    • Sweet Sorbet 8” X 5 ¼” scored at 4”
    • White inside is 3 ½” X 4 ¾”
    • DSP 1 ½” X 5 ¼”

    I used the Happy Labels stamp set for the inside greetings.  It has some fabulous images; see it here.  

    Click here or on the photo below to watch the video. 

    ~~~

    March Specials:

    See the new Online Exclusives here! 

    *current host code:  TMJXFR2T or BFE4C2KM

    Get a free class kit with online orders over $55 when using the host code above!

    Earn free products with my loyalty rewards! 

    Click here to download yours and earn a $50 shopping spree!

    Leave a Reply

    Your email address will not be published. Required fields are marked *

  • Love pre-cut kits? Get this kit with a stamp set sent to you in March; FREE!


    My March special for online orders is a free class in the mail!
     
    The class includes the Perfect Pomegranate stamp set and 6 pre-cut cards kit with the PDF tutorial too.  This stamp set was a Sale-a-Bration bonus last year and I accumulated a few extra. This offer is while supplies last so don't wait too long to order.  
    Remember that you earn points towards free product with each order from me over $50.  *See details below.
     
    This gift will be mailed to those who place a $55 minimum online order using a current host code. TMJXFR2T or BFE4C2KM
     
    To complete the cards as shown you'll need a few ink colors, adhesives and greeting images. 
     
    Two of the three designs are fun folds; one is a recent favorite called a Floating Panel card.  I think the color combos are so pretty: 
    • Fresh Freesia with Old Olive & Sahara Sand
    • Old Olive with Starry Sky
    • Blackberry Bliss with Mossy Meadow

    ~~~

    March Specials:

    See the new Online Exclusives here! 

    *current host code:  TMJXFR2T or BFE4C2KM

    Get a free class kit with online orders over $55 when using the host code above!

    Earn free products with my loyalty rewards! 

    Click here to download yours and earn a $50 shopping spree!

    Leave a Reply

    Your email address will not be published. Required fields are marked *


Notice: LeeAnn Greff, Independent Stampin’ Up! Demonstrator, Manager. The content of this website is my sole responsibility as an independent Stampin’ Up! demonstrator and the use of, and content of, the classes, services, or products offered on this website is not endorsed by Stampin’ Up! Copyright 2025