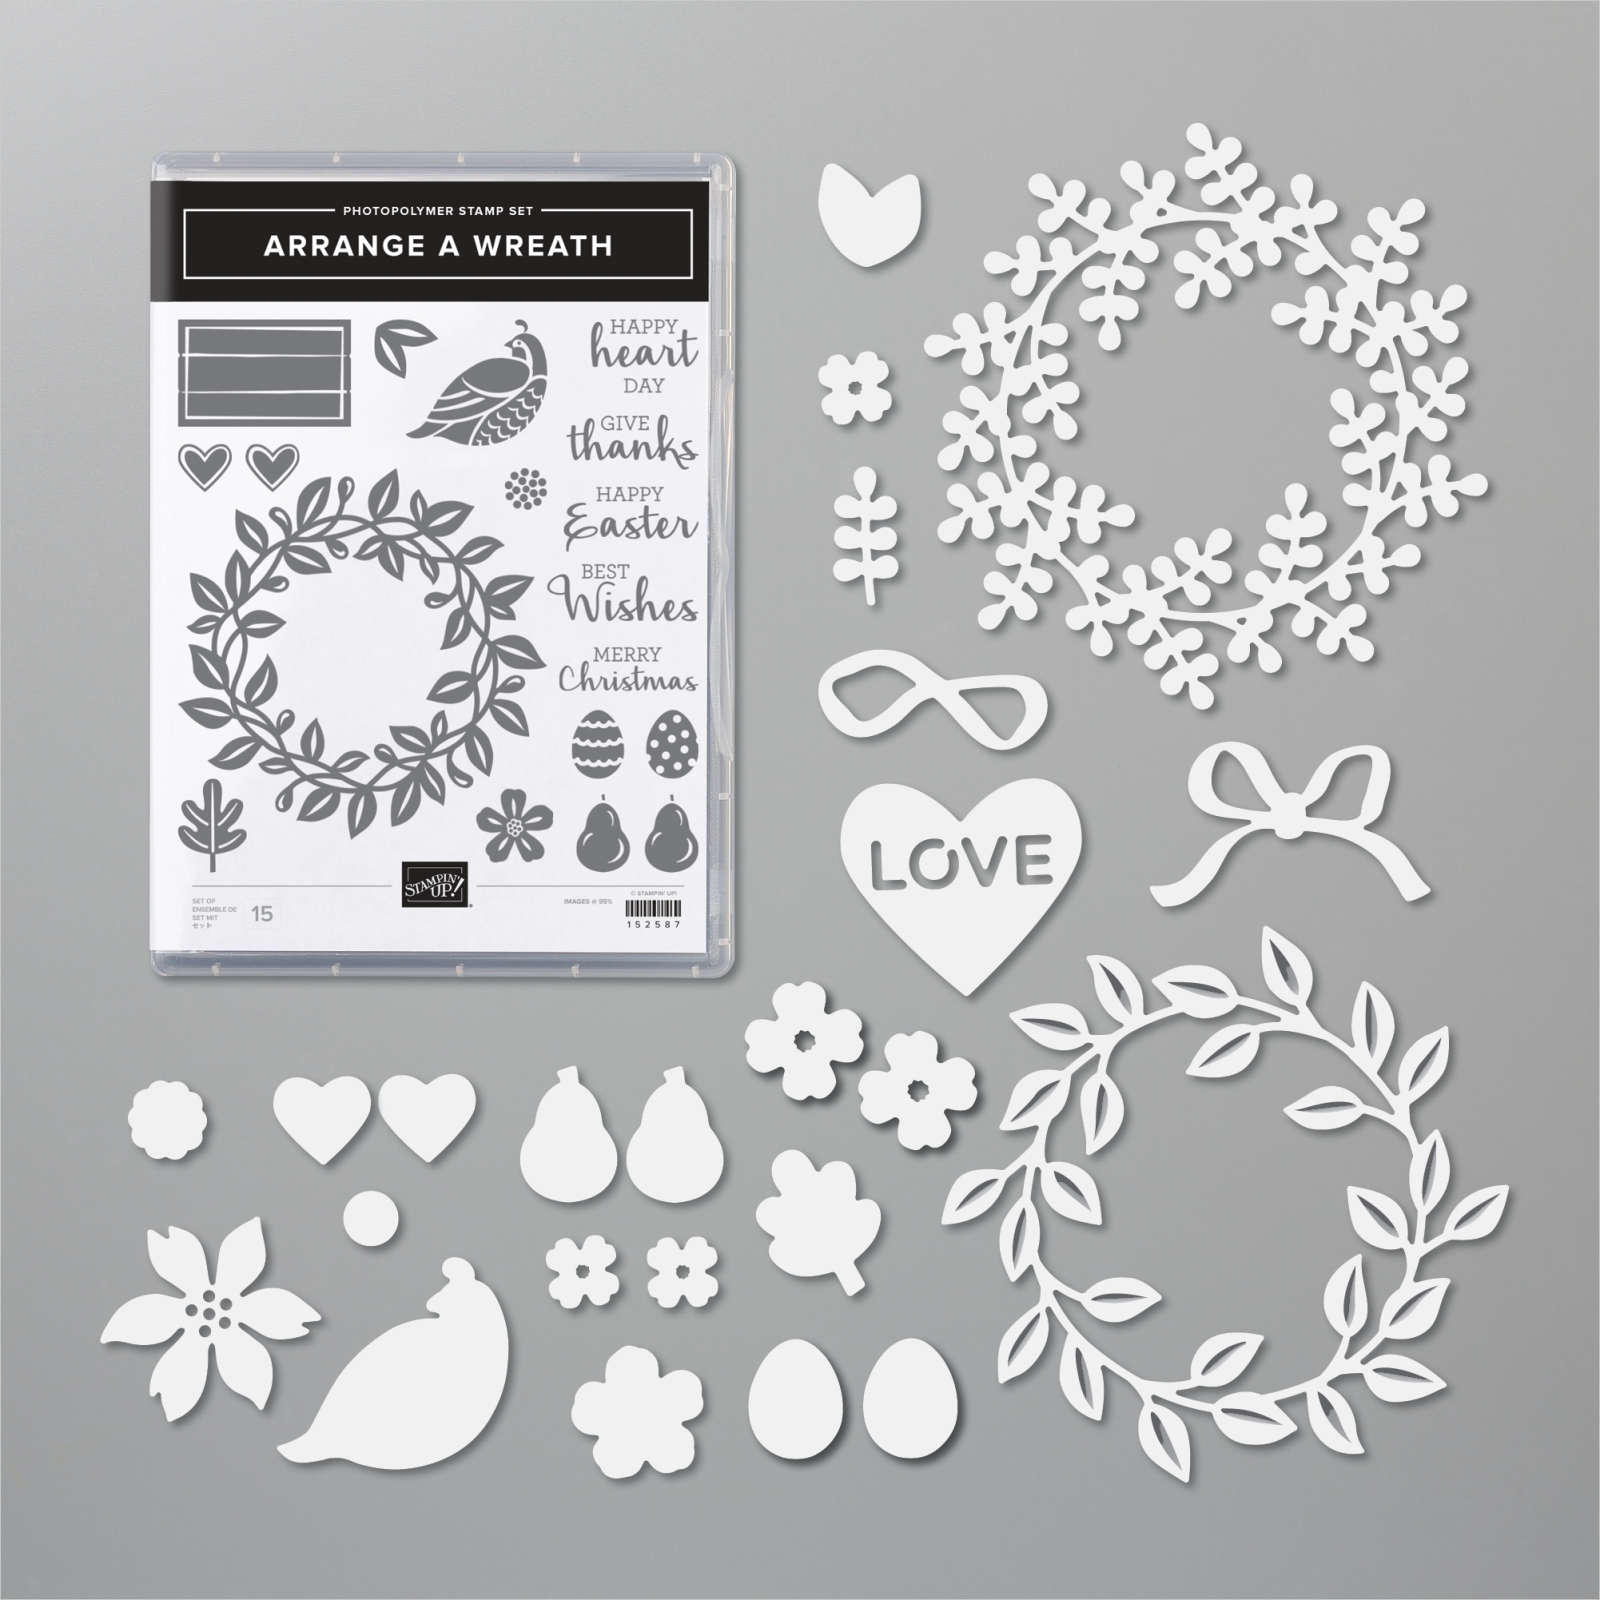
Have you noticed the All Around Wreath bundle in the annual catalog? Click here; it's quite the gem! So many occasions are covered in the greetings and die-cuts.
Marilyn made this pretty Christmas themed wreath for our Team Christmas card swap.
She chose to use two shades of green here; Mossy Meadow with Pear Pizzazz along with a few touches of Gold. The pears are heat embossed in Gold powder as well as the shimmery thread.
Other details:
The greeting is die-cut with the Hippo & Friends dies seen here
The Vanilla layer is textured with the Pinewood Planks embossing folder
She used the same wreath die-cut but in two colors, separating them slightly on the card.
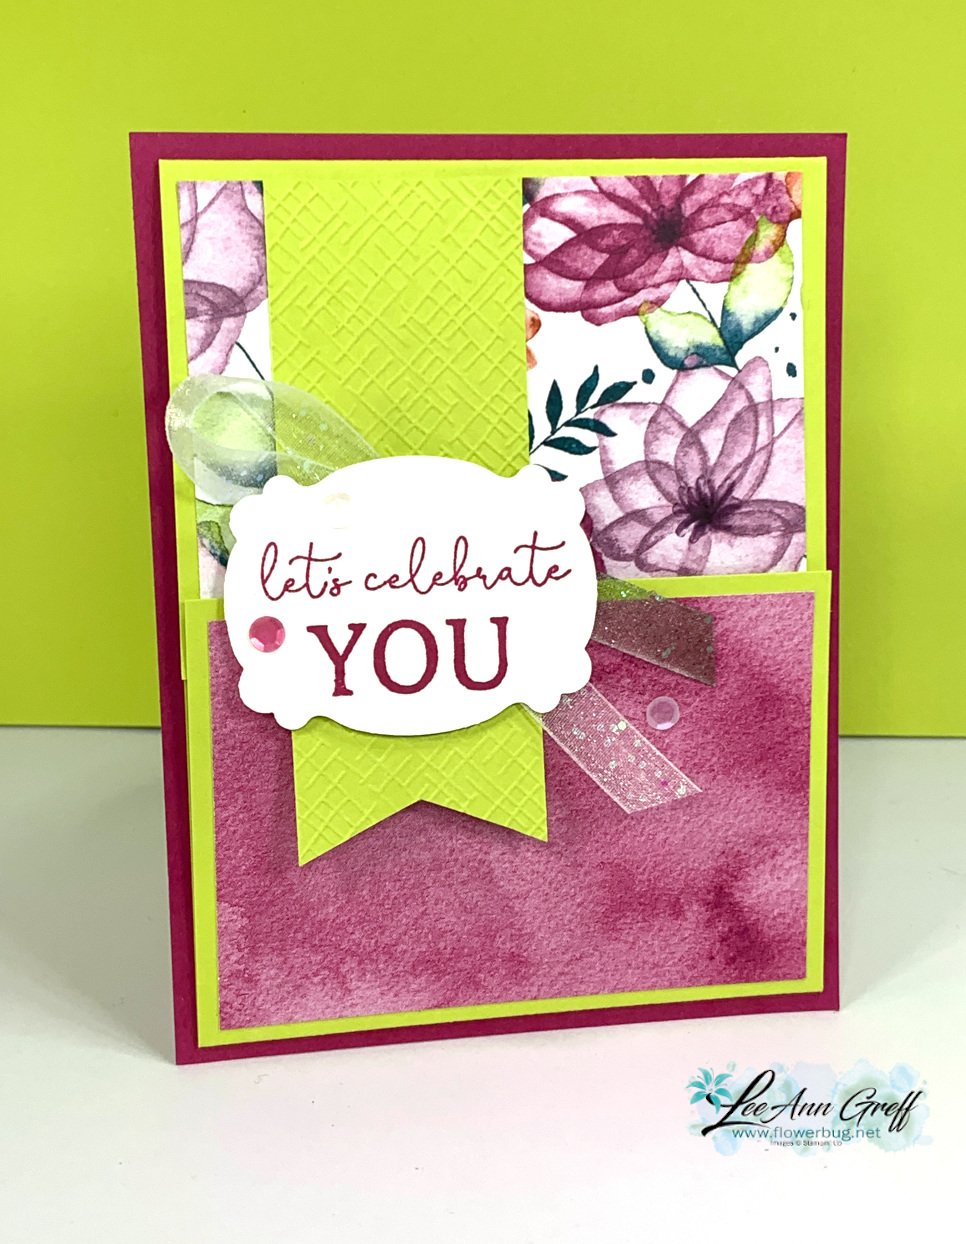
It features the new Delightful Florals designer paper; only seen in our Online Exclusives here. This card will be included in a pre-cut kit to go & tutorial in October. See all of my available kits here.
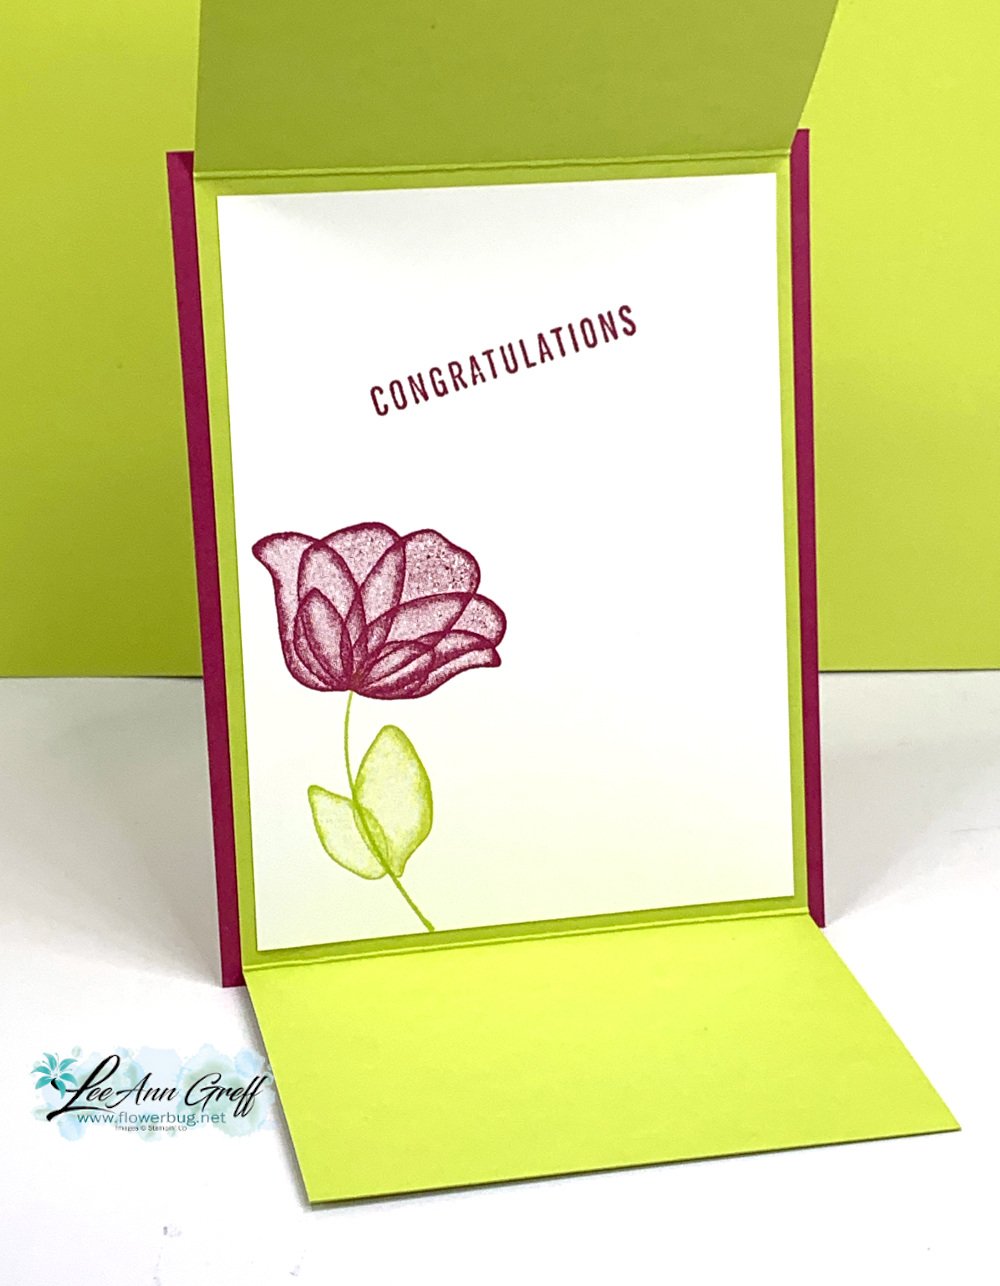
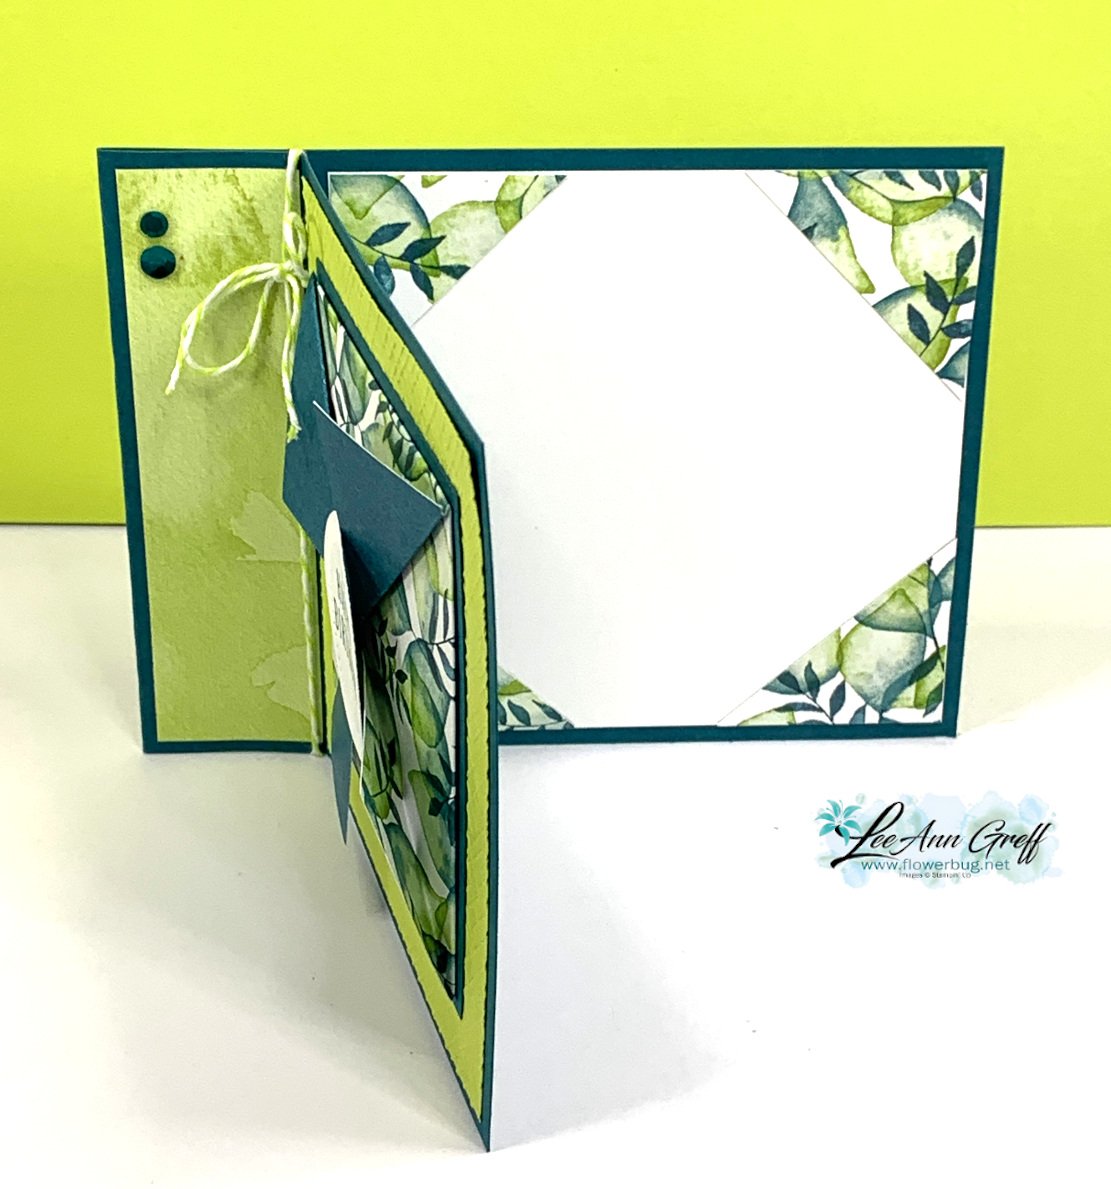
It might look like an ordinary opening but you can see in the photo below how the lower flap tucks under the vertical banner to hold it closed. An interesting take on a gatefold card!
Other products used include: Basics 3D embossing folders, Lasting Label punch, Glittered White Organdy ribbon & Sequins Trio. *see all of our online exclusive products here. There are a ton!
You can watch the video for this project here. It includes two more fun fold cards as well!
If you're not following me on YouTube click here. Or follow me on Facebook for my weekly Tuesday lives here.
Place an online Stampin' Up! order over $75 (before tax & shipping) using one of my current host codes to reserve a Mystery Box. *Host code links – W99E4KPB or VEH4FKBV
Send me the $14 shipping fee (PayPal or Venmo).
I'll send you your Mystery box via Priority Shipping!
Book-binding Fold & Tuck card with video & free project sheet
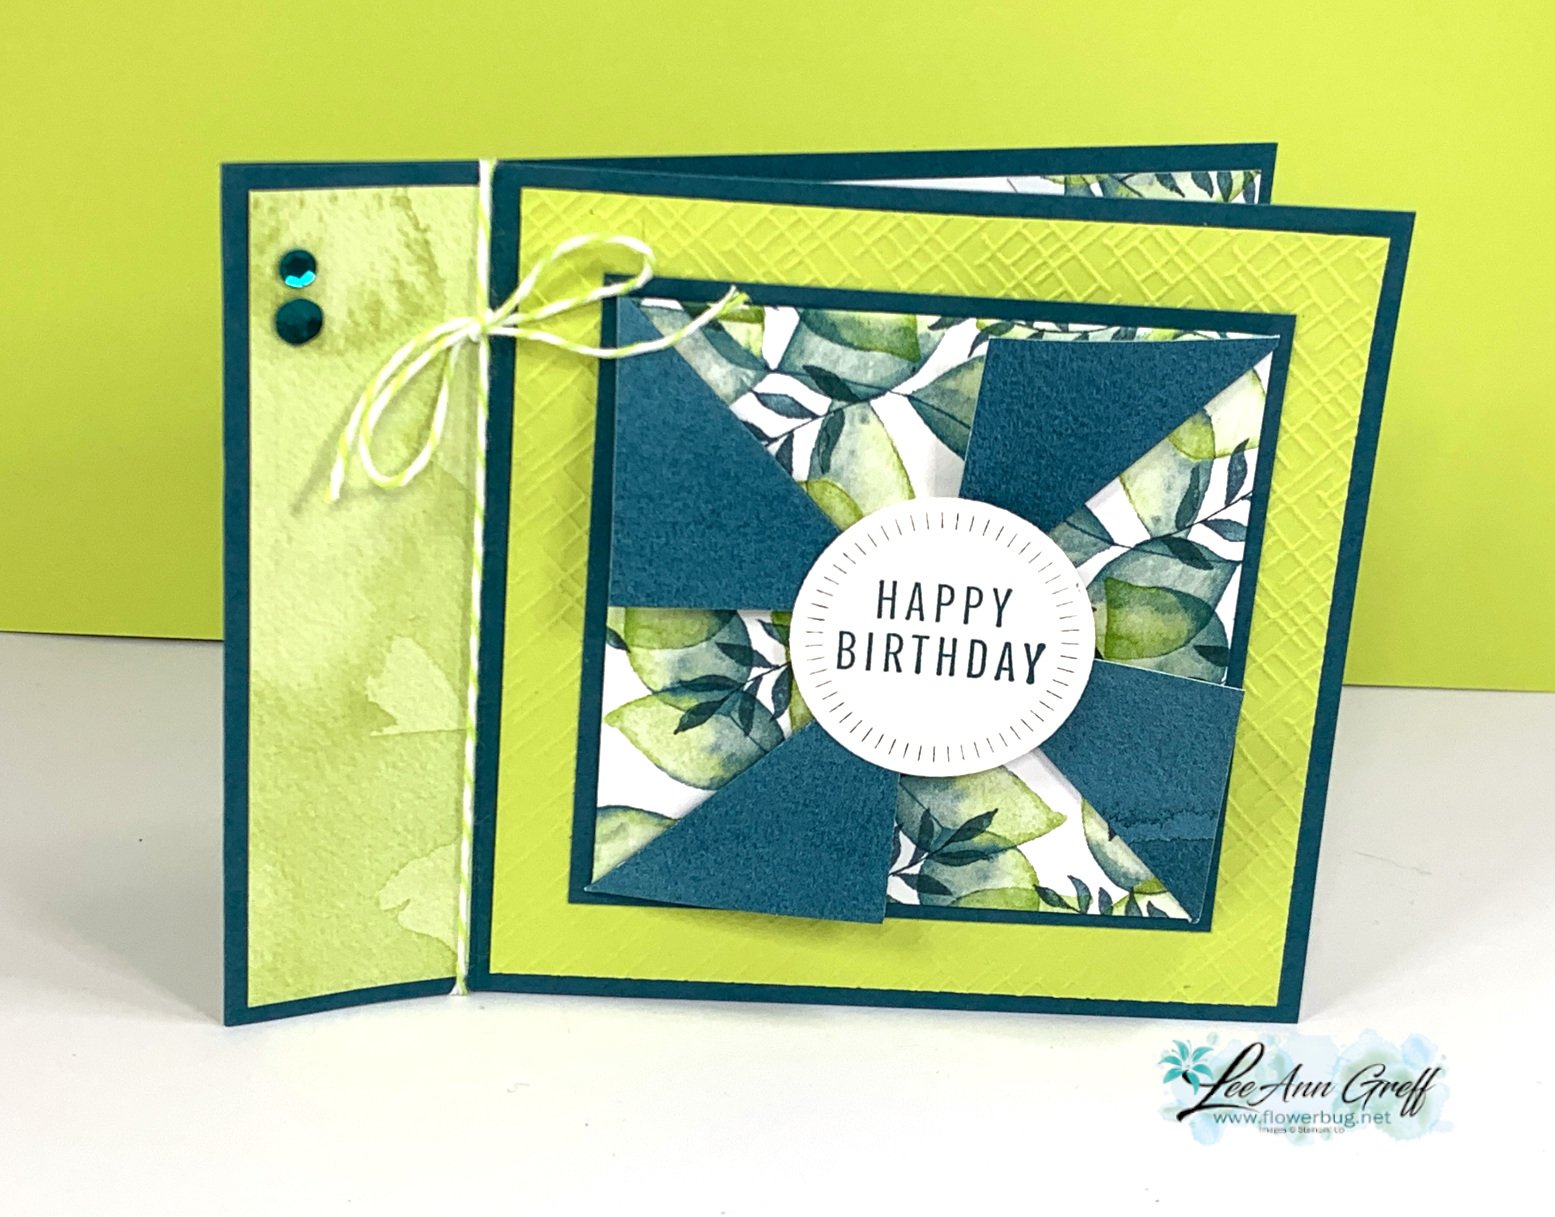
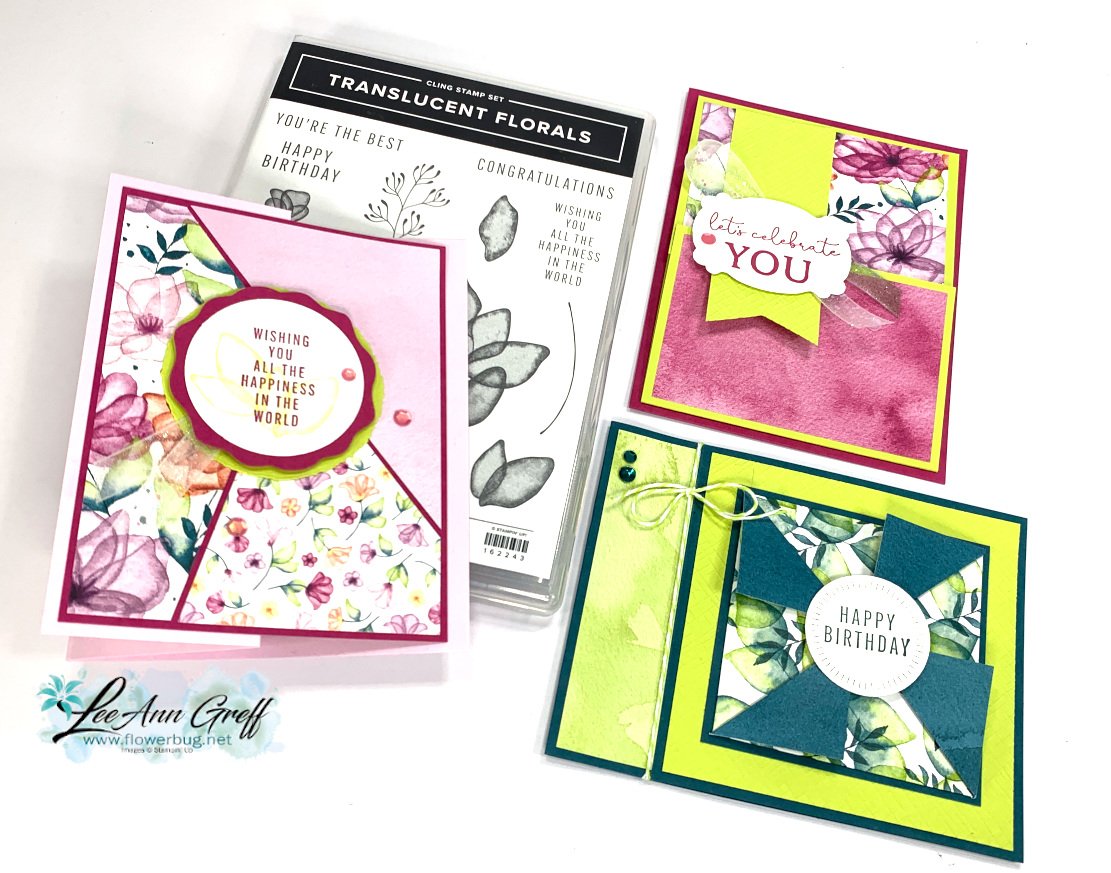
Here's the second card I shared in last week's video; it's a book-binding card with a twist! The main panel features the 'Tuck & Fold' technique I shared a few weeks ago. See that card here.
The designer paper is the Translucent Floral Online Exclusive seen here.
The pinwheel like layer above starts out with a 6 X 6" piece of designer paper. You score it at 1 1/2" on all sides and cut off the corners as seen below.
Then you fold in the outer rectangles into the center and fold back one corner on each side. Watch the video below to see how it's done. It's quite easy!
Save two of the corners you cut off and cut them in half on the diagonal. It really jazzes up the inside of this card!
Place an online Stampin' Up! order over $75 (before tax & shipping) using one of my current host codes to reserve a Mystery Box. *Host code links – WXX6RCHA or MYF6MXAG
Send me the $14 shipping fee (PayPal or Venmo).
I'll send you your Mystery box via Priority Shipping!
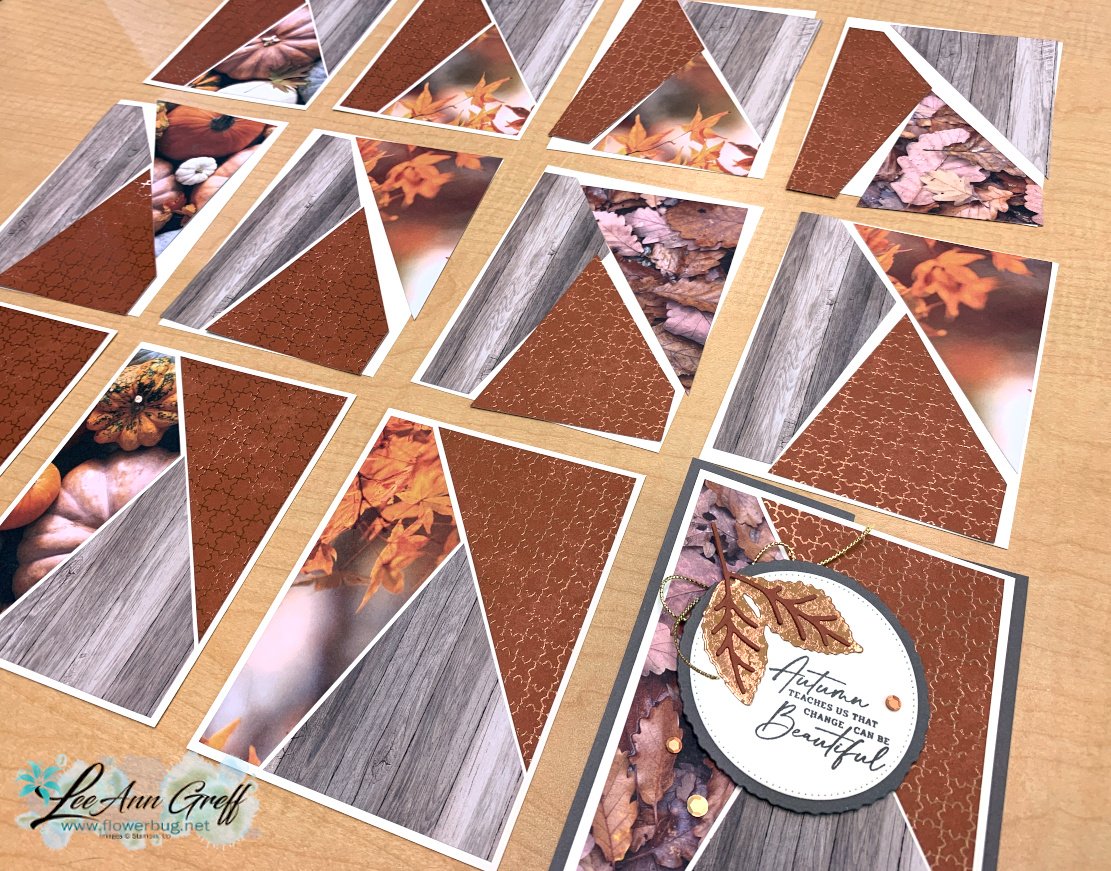
I shared how to make these cards here; I also have a video below you can watch. It's a fun way to use your designer paper and make really quick but eye-catching cards.
As you can see in the photo below it's a type of mix & match game.
Tip: when choosing your designer papers I recommend you pick a large and small print and then one that is more of a background print.
Place an online Stampin' Up! order over $100 (before tax & shipping) using one of my current host codes to reserve a Mystery Box. *Host code links – WXX6RCHA or MYF6MXAG
Send me the $14 shipping fee (PayPal or Venmo).
I'll send you your Mystery box via Priority Shipping!
Notice: LeeAnn Greff, Independent Stampin’ Up! Demonstrator, Manager. The content of this website is my sole responsibility as an independent Stampin’ Up! demonstrator and the use of, and content of, the classes, services, or products offered on this website is not endorsed by Stampin’ Up! Copyright 2025


























Leave a Reply