/


Latest Post

A striking technique with the Naturally Gilded specialty paper; with video & free project sheet!


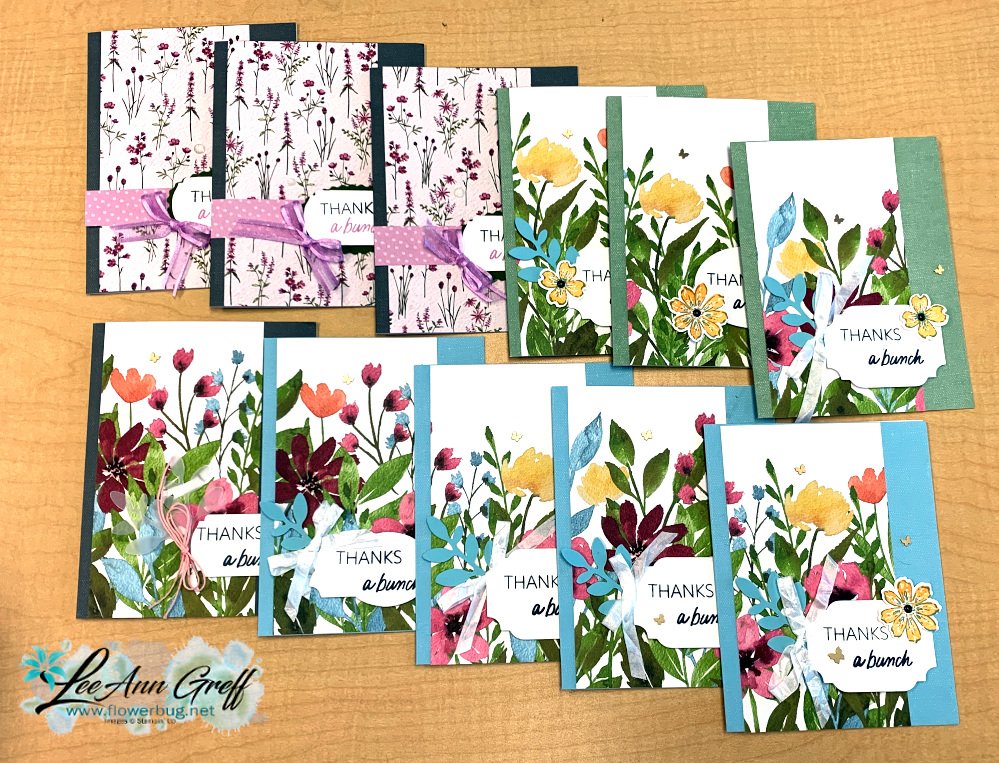
I shared how to make this card on last week's video. It features the Naturally Gilded designer paper seen here.  

This pretty paper has a white background and Silver, Gold or Copper foil patterns. You can see it in the Online Exclusives while supplies last. 

I decided to do a direct to paper resist technique and change the White background to Black.  You can do this technique on any foil printed designer paper. The foil resists the ink so you can wipe it off once the background is saturated. 

I used a Black Memento ink pad which is water-based. You can use any water-based ink but not Stazon. Stazon ink would cover the foil patterns. 

How did I do it?  I had my paper laying face up and rubbed or tapped my Memento ink pad all over the specialty paper. Once you're done adding ink simply wipe the ink off the foil prints with a tissue or paper towel.  

I created a free project sheet for these cards; you can download or print it here: Download Naturally Gilded Ink Resist technique

*Below is the video where I shared this technique.  I also shared my new Annual Catalog products and lots of amazing swaps too.  Be sure to follow me on YouTube here. 

~~~

March Specials: 

See over 20 brand new Online Exclusive products here!

*current host code links:   ZDUGF6KY or TQWBXR4T

~~~

Get a free package of Rainbow Dots

with online orders over $55 in March

All online orders in March will receive this free Hot Air Balloon tutorial with 8 projects!

All Posts

  • Beautifully Happy; a perfect set for some quick cards


    I needed a bunch of thank you cards for online orders and quickly made this set of cards: 

    The pretty Beautifully Happy stamp set (Sale-a-Bration and free with a $100 order) is so easy to work with!  It has outline images AND coordinating 'fill in' images that make it super simple to add color where you want it.  And they're Distinktive images too!  This means they give multiple hues of color tones with one stamping.  And I love the greetings too.  

    I used the Good Things cards & envelopes for these cards. They were available last month for Paper Pumpkin subscribers, but they're sold out now.  I love using coordinating products!  I added a 3" X 5 1/2" piece of Design a Daydream Host DSP to each card.  I think the lattice look works wonderfully with this flower image. 

    The greetings are made with our Double Oval punch; white & Mossy Meadow.  You can see this pretty stamp set here. 

    Remember that if you order $100 this set is free!  And if you use a host code below you'll get a free package of Milky Dots in your thank you card.  

    ~~~

    February specials:

    February Host code links:

      CNV2VCBT or 7EUM6NB9 

    Get free Pastel Sequins with online orders over $55 when using the host code above!

     Earn free products with my loyalty rewards! 

    Click here to download yours and earn a $50 shopping spree!

    ~~~

    Best Deal Ever on the Starter kit here!

    Choose $175 in products for just $129 plus the new mini machine!

    Or choose $175 for $99 without a new Mini.  AMAZING!

    Leave a Reply

    Your email address will not be published. Required fields are marked *

  • Awash in Beauty & Dainty Flowers for fast pretty cards!


    I ran out of thank you cards for online orders and needed some made fast.  I reached for our pretty designer papers and made these 11 cards in less than an hour!  

    Each piece of designer paper is 3" X 5 1/2". I used Dainty Flowers Sale-a-Bration DSP and Awash in Beauty paper from the Annual catalog.

    From one sheet of 12 X 12" paper this card design gave me 8 card fronts!  They are adhered to the Good Things cards & envelopes. They are unavailable now, but they were an addon product for Paper Pumpkin subscribers in January.  *It pays to be a Paper Pumpkin subscriber to get these great add-ons!  Get a pre-paid subscription here

    I had a bunch of white pre-cut & punched greeting labels and simply stamped the thank you on them (greeting from Thanks a Bunch SAB carrot set).  Then I grabbed more 'extra' items I had on my desk and embellished each card.  Some have ribbons, punched leaves or flowers and embellishments.  It was fun to add on these extras.  

    ~~~

    February specials:

     Host code links:

      CNV2VCBT or 7EUM6NB9 

    Get free Pastel Sequins with online orders over $55 when using the host code above!

     Earn free products with my loyalty rewards! 

    Click here to download yours and earn a $50 shopping spree!

    ~~~

    Best Deal Ever on the Starter kit here!

    Choose $175 in products for just $129 plus the new mini machine!

    Or choose $175 for $99 without a new Mini.  AMAZING!

    Leave a Reply

    Your email address will not be published. Required fields are marked *

  • In the Country; which do you prefer? ‘Color’ or Black & White? Video & cool tip!


    Happy Valentine's Day!  

    I should be sharing a Valentine card today, but I sent them out to my family last week before I took photos! Sheesh! Here's one by Stampin' Up! using the Love for You bundle; you can see it on page 11 of the Spring Catalog.


    Here are a few more cards featuring the In the Country stamp set from our Sale-a-Bration promotion.  It's free with any $50 purchase in February.  See it here. 

    I shared multiple ways to use this set and options for coloring too.  I know many people do not want to color every bit of a scene like this. So I shared a variety of alternate card ideas like this one shown here.  

    On the colored version above I simply used my Blending Brushes with Granny Apple Green & Balmy Blue.  Simple but effective.  After coloring I cut the scene out with a Stitched Rectangle die.  I used the 5th from the largest for the scene and the 2nd from the largest for the outside of the White layer. 

    Here's another set of cards.  I used Blending Brushes for most of the color – Balmy Blue & Sahara Sand. I did add a bit of Dark Calypso Coral to a few areas with a Blends marker.  

    The greetings are from the Sending Support stamp set.  This set can be seen here and is also free with a $50 purchase from Stampin' Up! through February of 2023.  

    For the greeting die-cut I used a die from the Potted Succulents dies seen here.  I changed the size of this die by cutting it once and then again to make it shorter.  I get a lot more use of my dies this way!

    Which do you prefer?  Color or no color?  

    See the other set of cards I shared yesterday here

    ~~~

    February specials:

    Mystery Boxes get one free with a $100 online order using a host code.

    I still have 1 left!  

    February Host code links:

      CNV2VCBT or 7EUM6NB9 

    Get free Pastel Sequins with online orders over $55 when using the host code above!

     Earn free products with my loyalty rewards! 

    Click here to download yours and earn a $50 shopping spree!

    ~~~

    Best Deal Ever on the Starter kit here!

    Choose $175 in products for just $129 plus the new mini machine!

    Or choose $175 for $99 without a new Mini.  AMAZING!

    Leave a Reply

    Your email address will not be published. Required fields are marked *


Notice: LeeAnn Greff, Independent Stampin’ Up! Demonstrator, Manager. The content of this website is my sole responsibility as an independent Stampin’ Up! demonstrator and the use of, and content of, the classes, services, or products offered on this website is not endorsed by Stampin’ Up! Copyright 2025