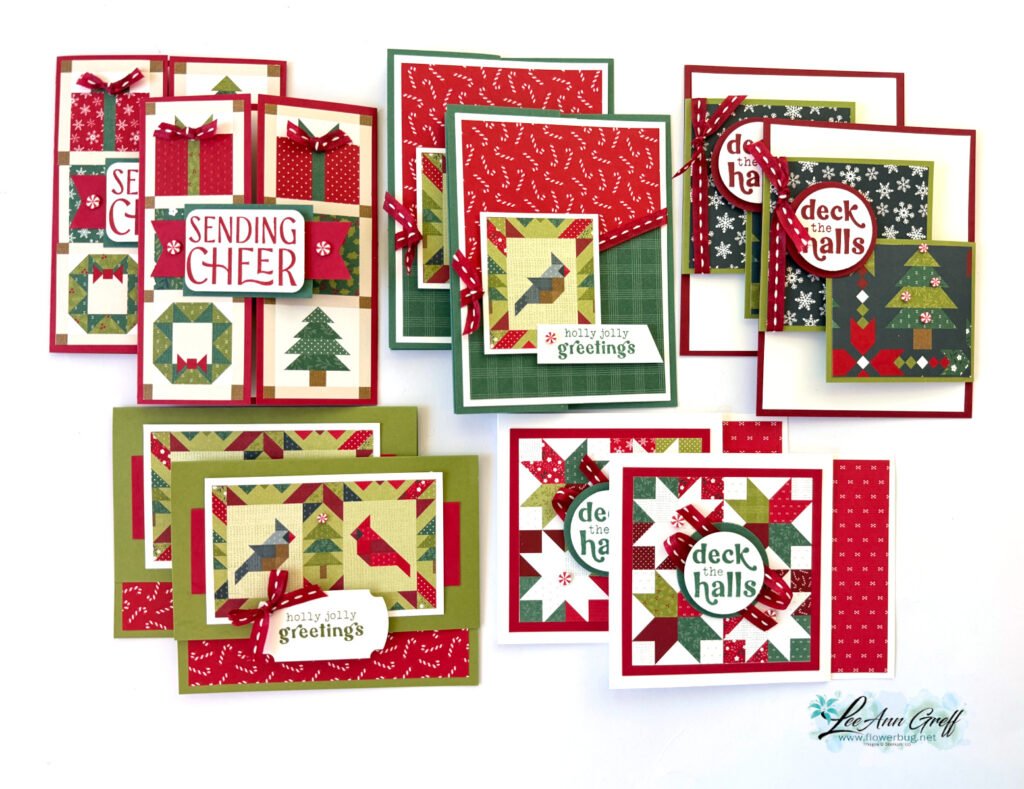
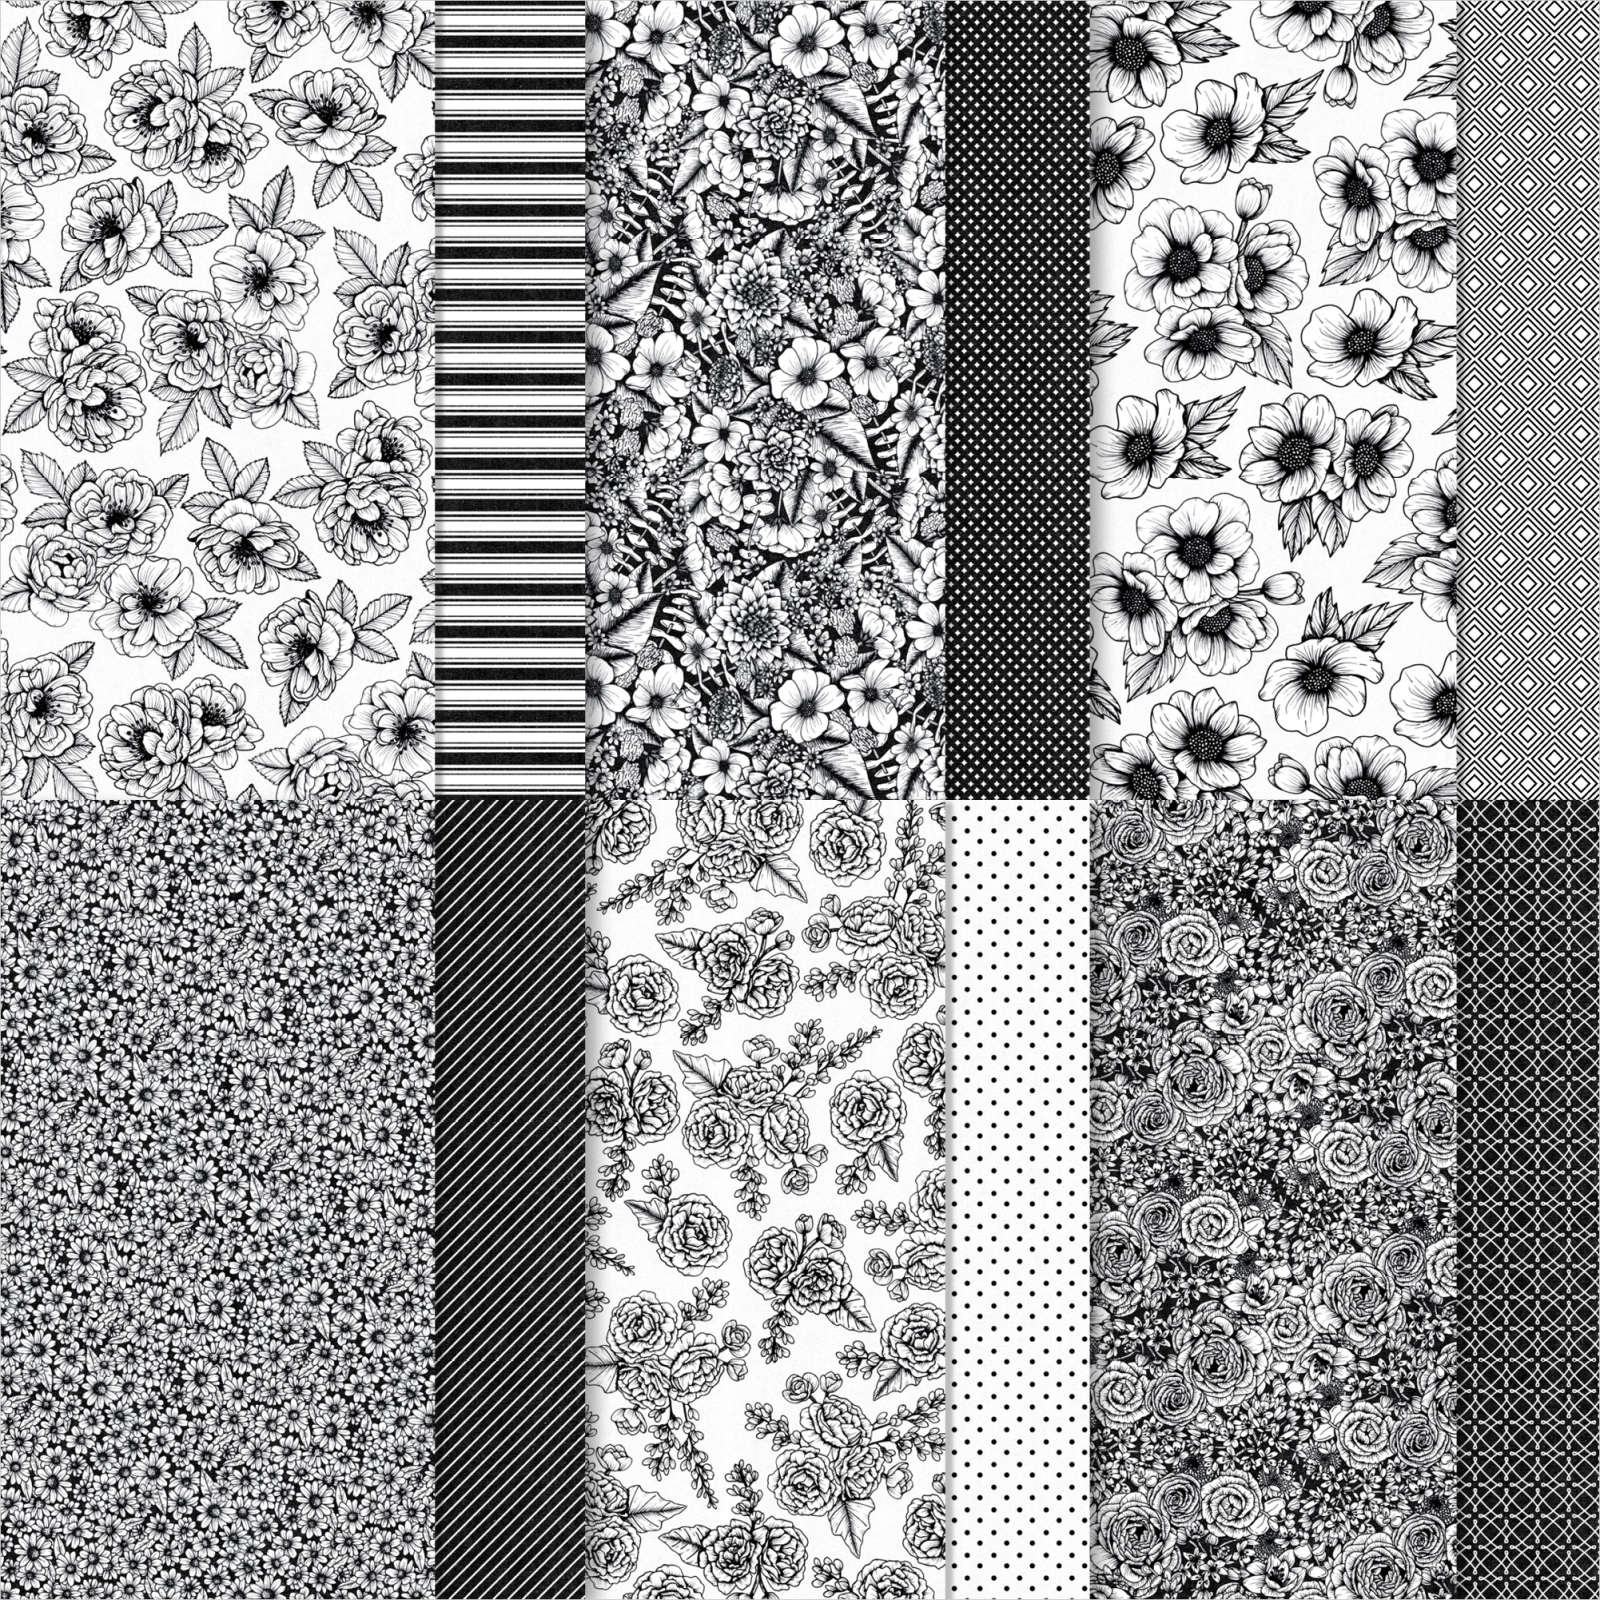
These cards are all fun fold layouts and make the most of this adorable paper. You’ll love the fun layouts and the Peppermint gems and stitched Red ribbon included in the kit.
The kit to go includes approximately $20 in Stampin’ Up! product plus the PDF tutorial for all 10 cards. The tutorial includes photos, measurements, a supplies list and step by step directions.
Click here to get the pre-cut kit to go with product & tutorial. It’s $33.
Click here to get the PDF tutorial only for $17. The PDF tutorial will be sent to you immediately in an email. The kit to go will be mailed out in mid August.
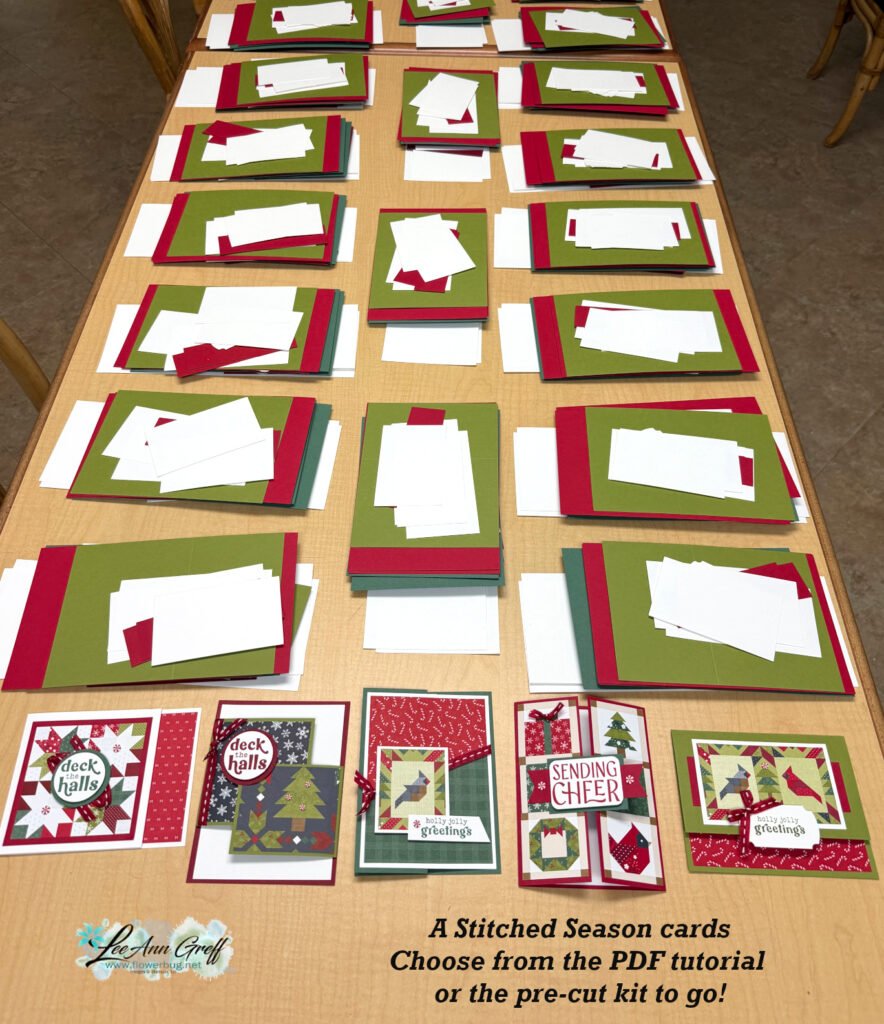
Here’s a peek at my pre-cut layers before packaging:
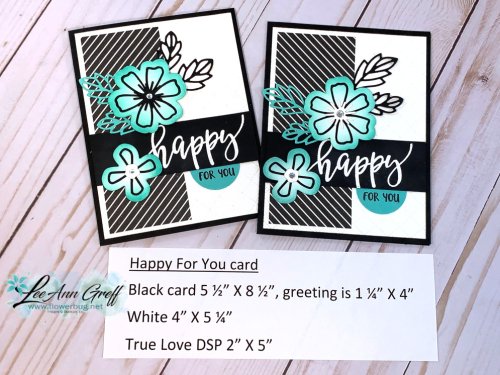
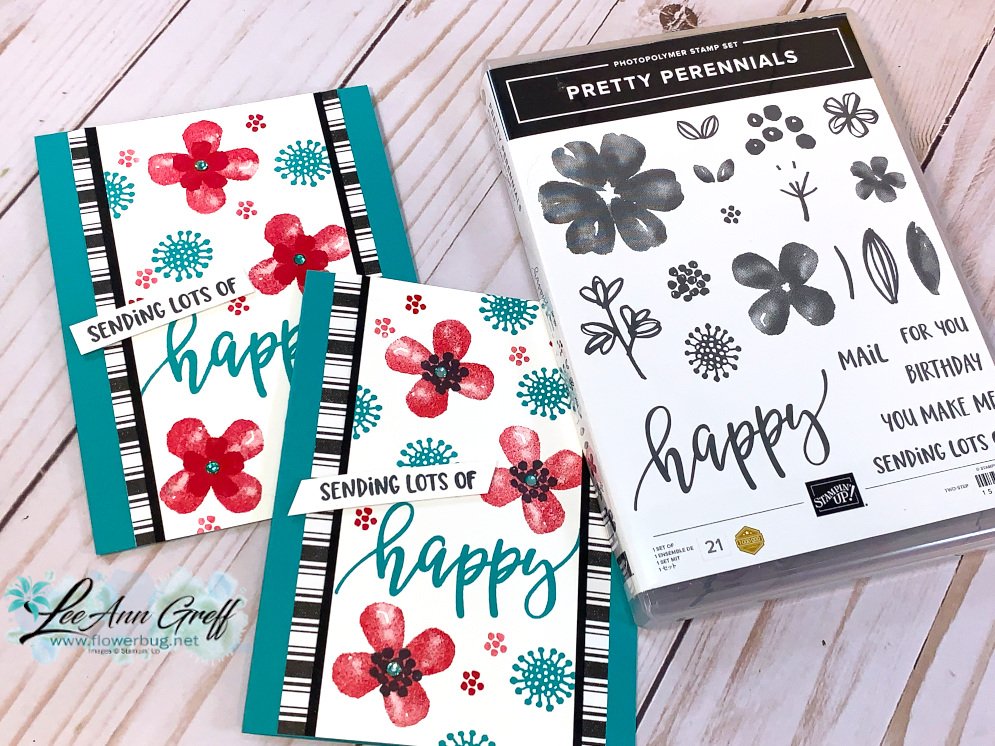
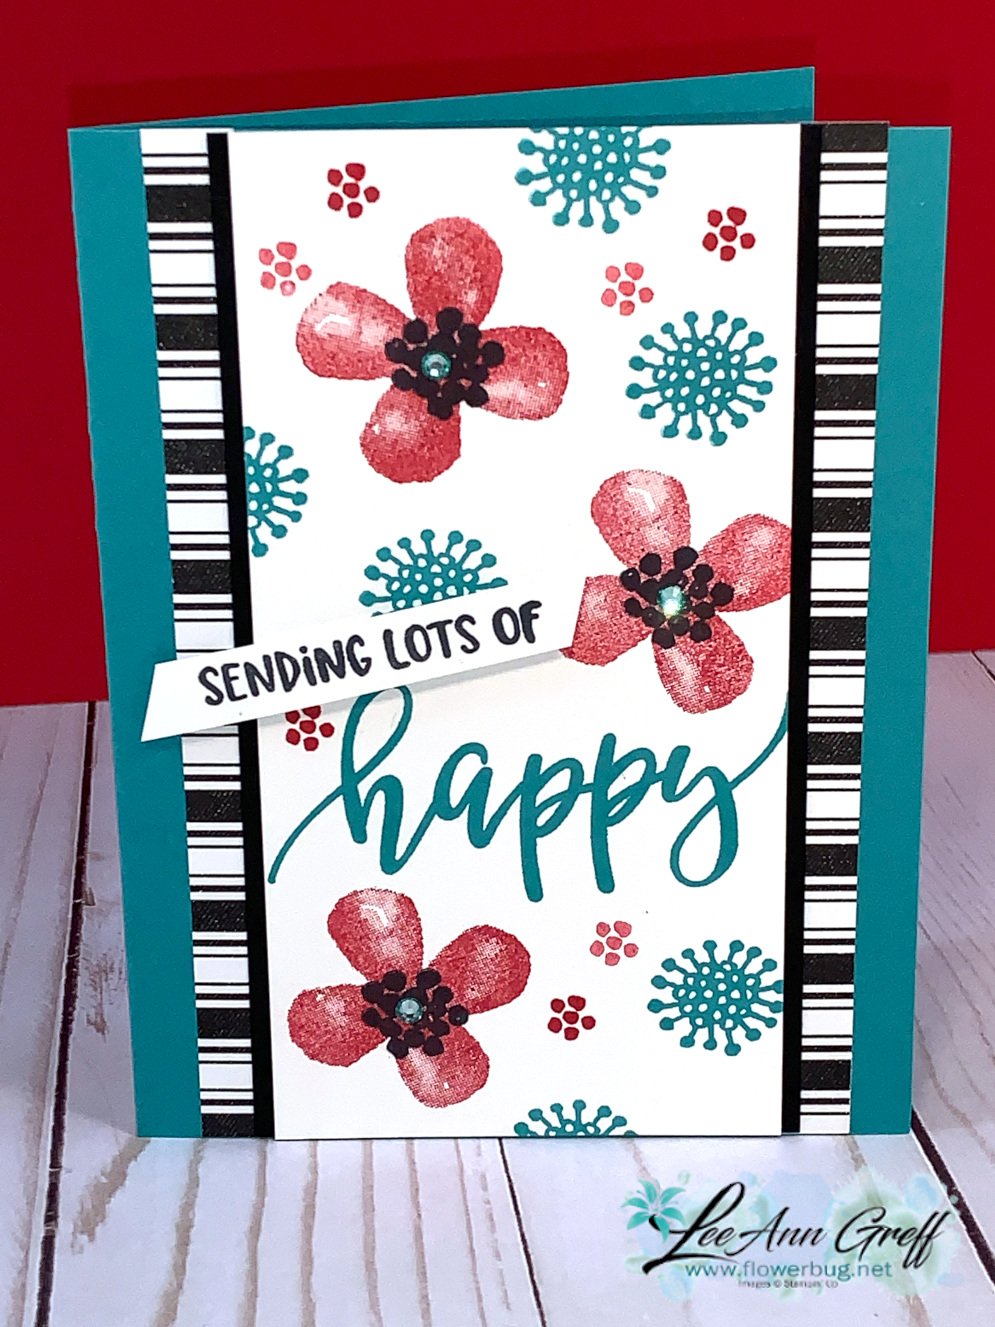
I paired it with the Pretty Perennials stamp and dies bundle for a recent FB Live. I used Bermuda Bay, Real Red and black. Simple Stamping at it's best! No die-cuts or punches either! Sometimes it's fun to just stamp and layer.
I heat embossed the greeting and punched the end with our new Treasured Tags Pick a Punch.
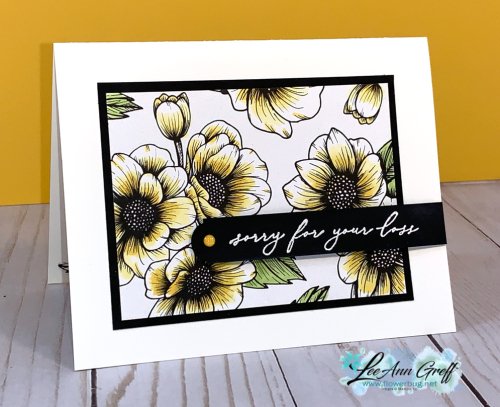
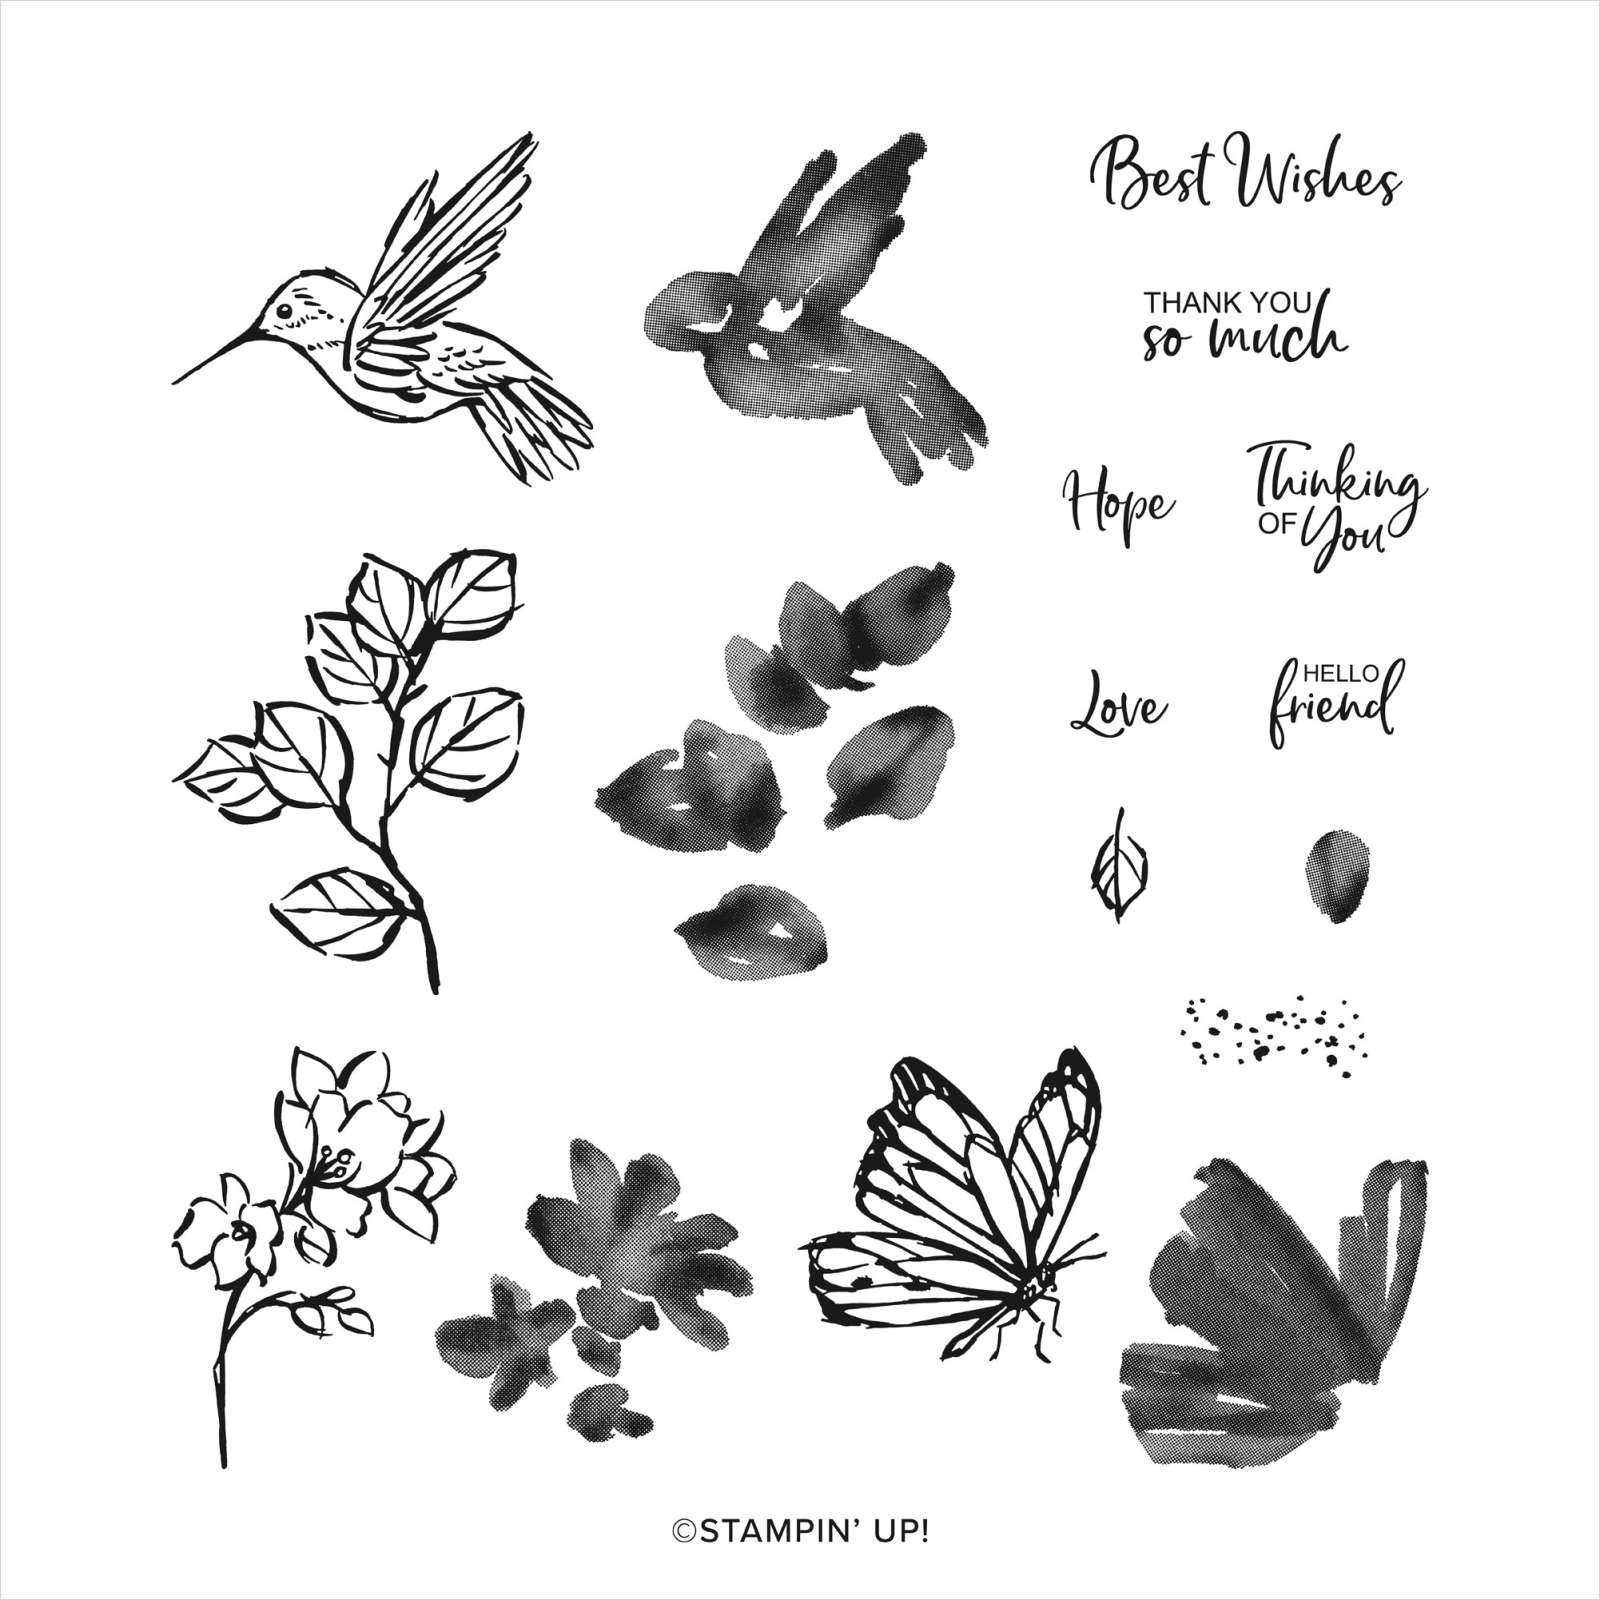
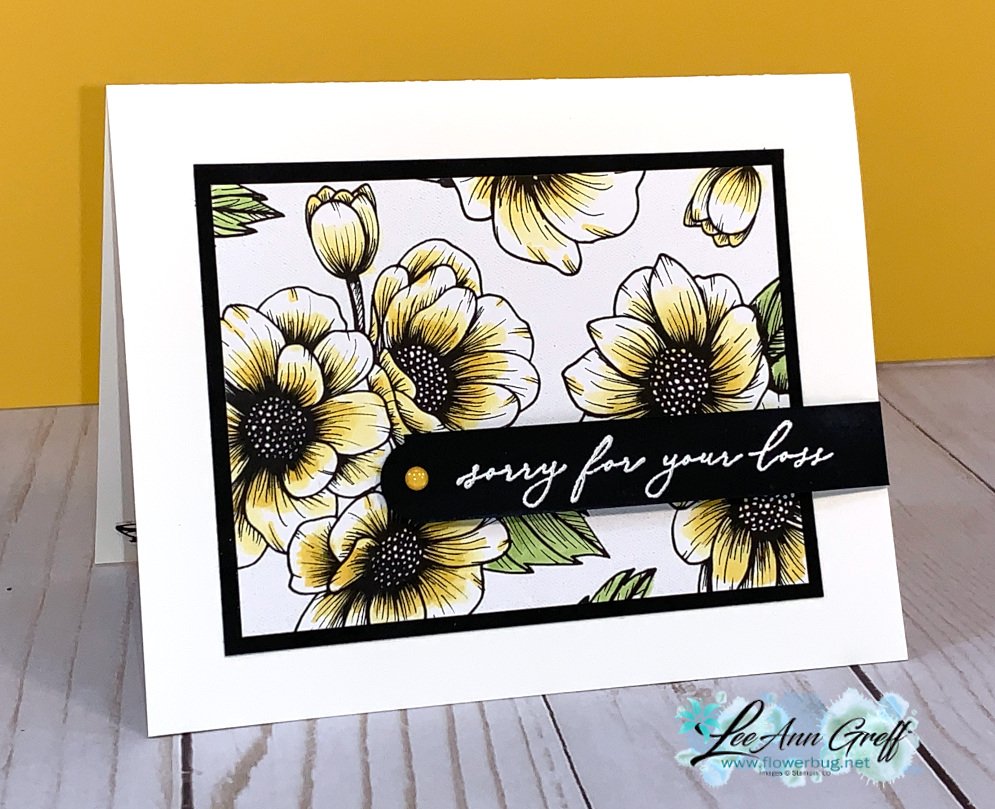
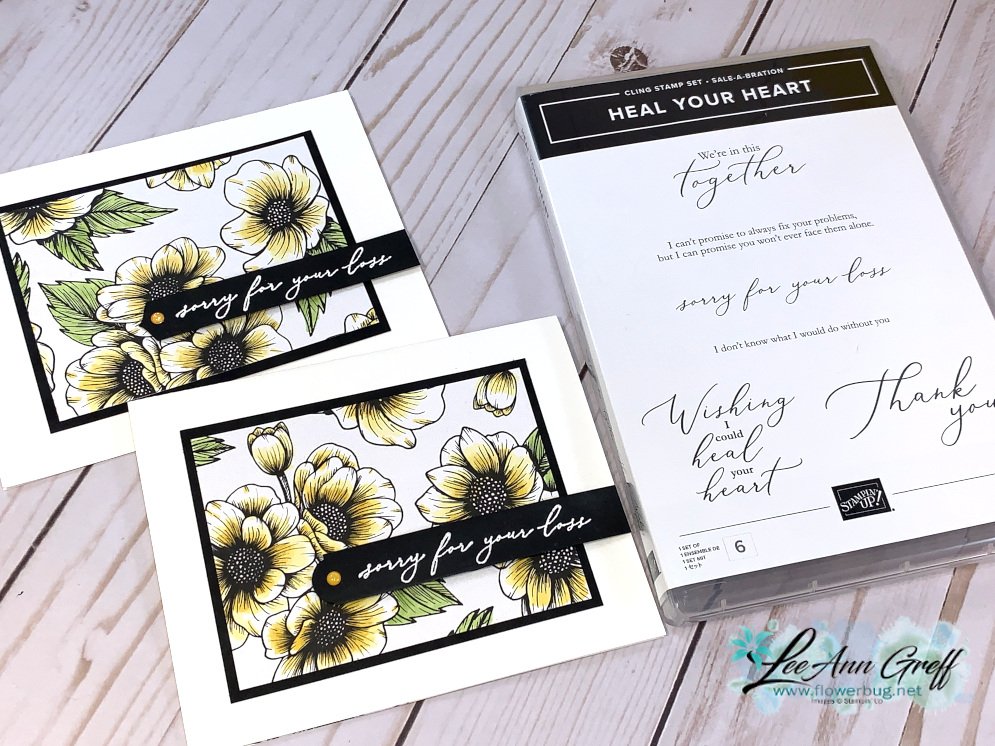
This beautiful stamp set has a gorgeous font and is free with any $50 purchase during Sale-a-Bration (SAB). SAB is a perfect time to purchase from your wish list since you get something FREE with your orders. See the Heal your Heart set here.
I used Daffodil Delight Blends marker to color in the flowers; coloring mainly on the printed lines on the flowers. Granny Apple Green for the leaves. Simple & quick!
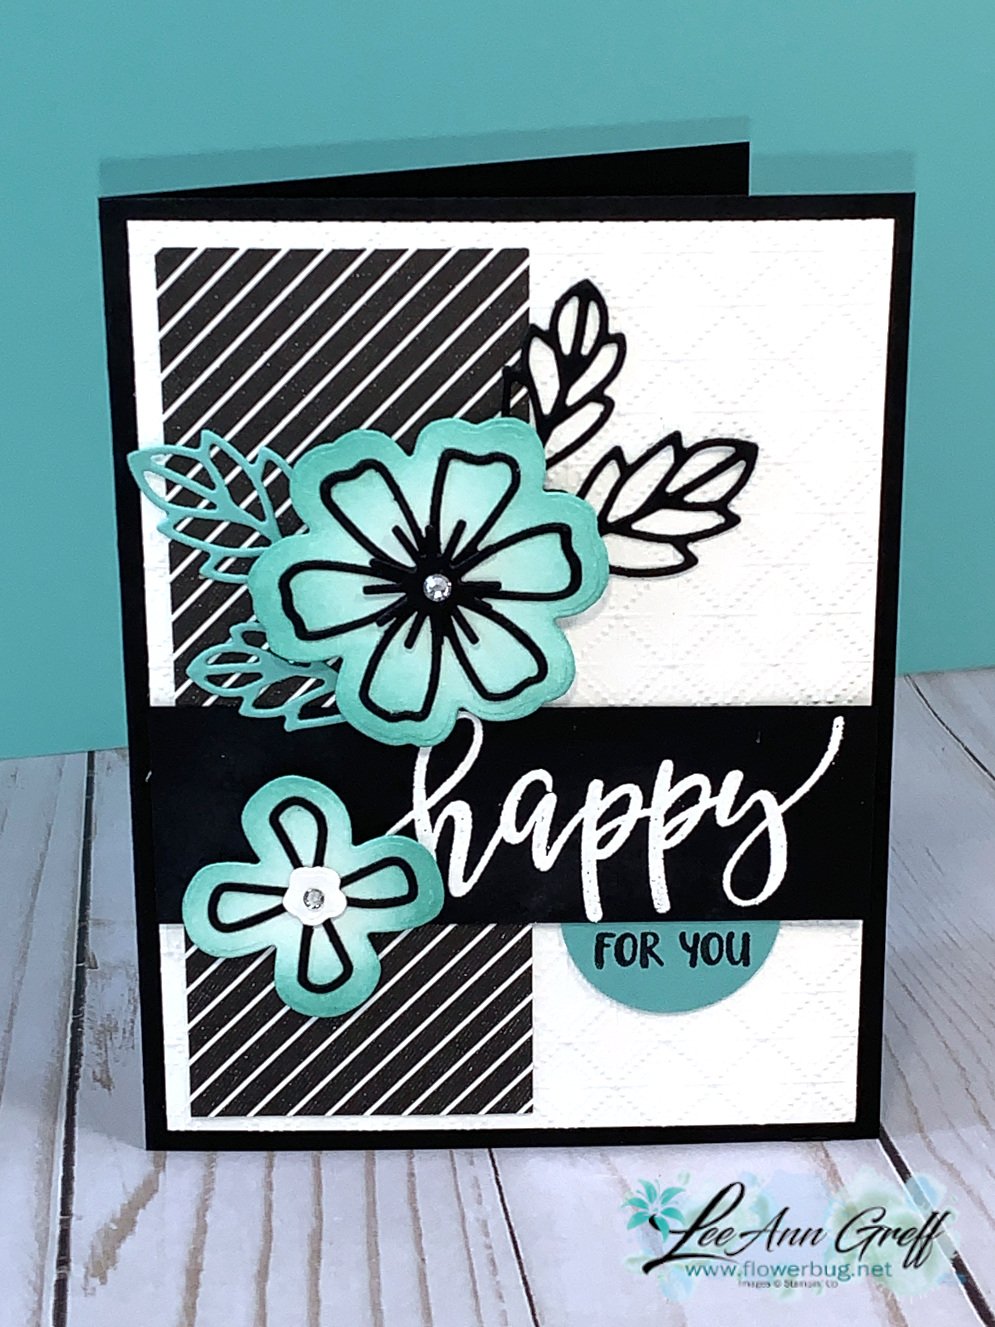
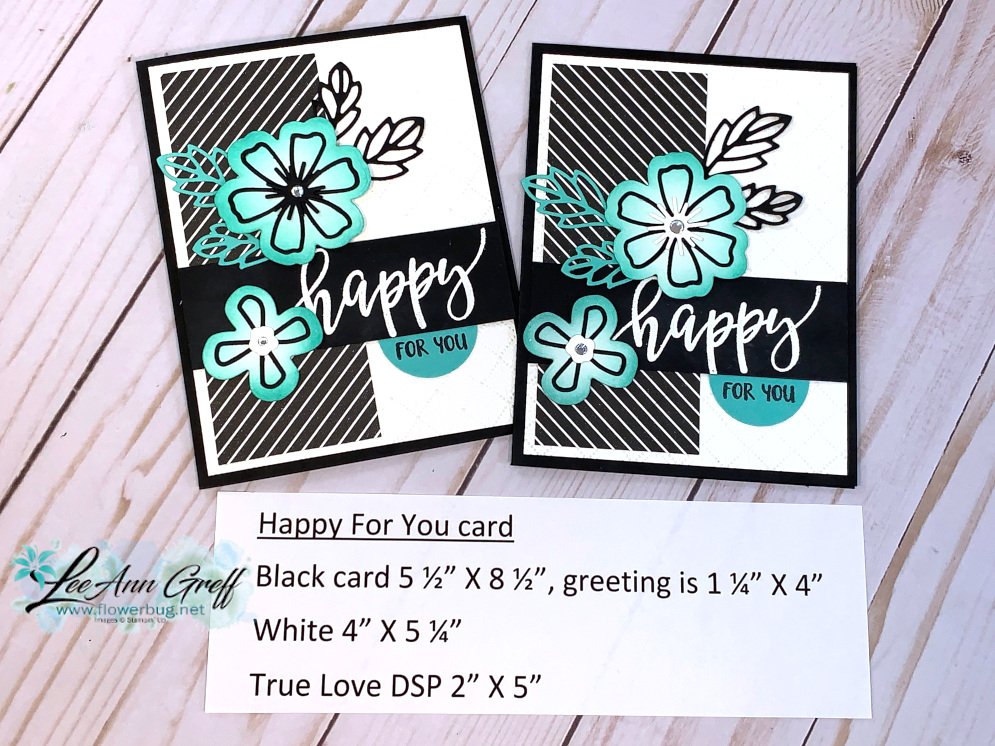
I also made two more striking cards with this paper and the Pretty Perennials bundle. You can watch the Live video below.
Measurements:
Card base 5 1/2" X 8 1/2"
Designer Paper 3" X 4"
Black layer 3 1/4" X 4 1/4", greeting strip is 1/2" X 3 3/4"
~~~
January Specials:
Today is the last day of my BOGO Sale!
*Order new Stampin' Up! items and get retired items FREE!
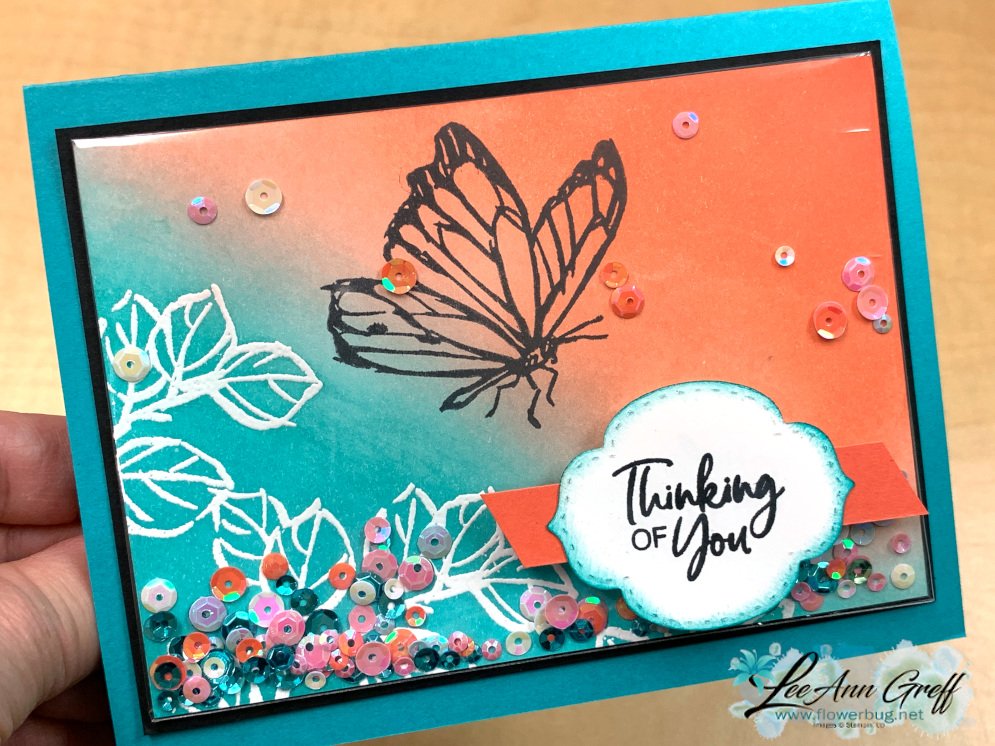
I used the free 'A Touch of Ink' stamp set from the Sale-a-Bration catalog. You can see it here. That background was made with our Blending Brushes and Bermuda Bay & Calypso Coral ink.
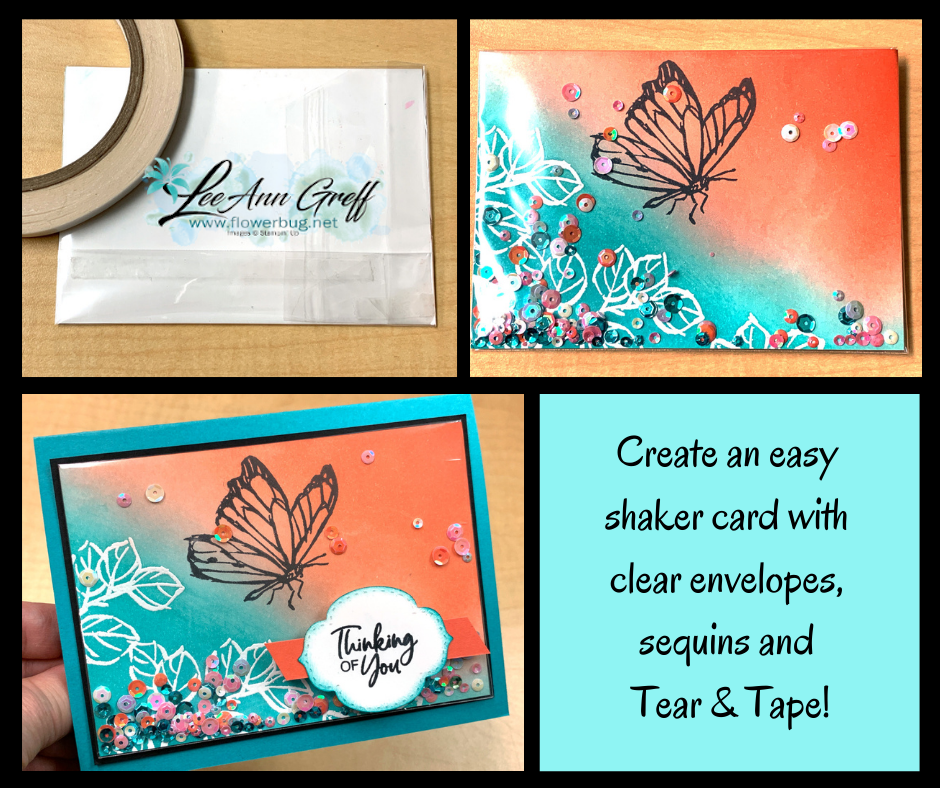
This type of shaker card is truly easy; really! Besides the stamped element you need three basic things:
A clear envelope
Strong adhesive
Sequins, beads or tiny punched pieces
Insert your stamped card stock into the clear envelope, fold the excess envelope over to the back and seal with adhesive leaving one end open. Add your fun filler and seal closed.
Notice: LeeAnn Greff, Independent Stampin’ Up! Demonstrator, Manager. The content of this website is my sole responsibility as an independent Stampin’ Up! demonstrator and the use of, and content of, the classes, services, or products offered on this website is not endorsed by Stampin’ Up! Copyright 2025
























Leave a Reply