/


Latest Post

A gorgeous scene made with Wooded Acres; on the Last Chance List


I was playing around with the Wooded Acres stamp set and made a pretty scene by adding a blended background. 

You may know I love creating pretty scenes with my stamps, ink and blending brushes. 

Here are the steps:

  1. I stamped this image on a long post-it note and fussy cut the area above the ground off.  I stamped it on my White CS and then added the post-it note to mask the sky. 
  2. Now I added Garden Green ink with a Blending Brush for grass. 
  3. I removed the post it and replaced it with the other half to sponge the sky. I used Timid Tiger, Calypso Coral and Balmy Blue. 
  4. I layered it with Black and White card stock. 
  5. I then stamped the same image on the Balmy Blue card base to extend the trees.  

What do you think?  

This stamp set is now on sale on the Last Chance List. You can see the stamp set here. 

If you'd like to get tips on blending a smooth sky please watch this video. 

~~~

July Specials:

New Online Exclusives are here!  

~~~

Last Chance List has been updated!  see it all here. Don't miss out on the deals!

~~~

Get my Turtle-y Cute PDF tutorial free with any online order in July!

All Posts

  • Forever Fern video; an easy trio of gorgeous cards


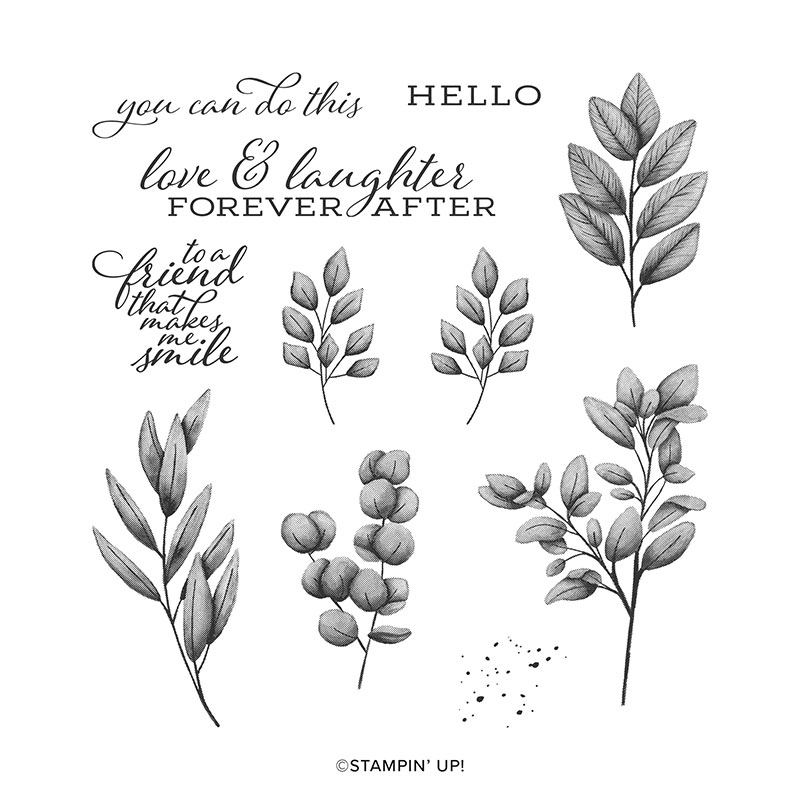
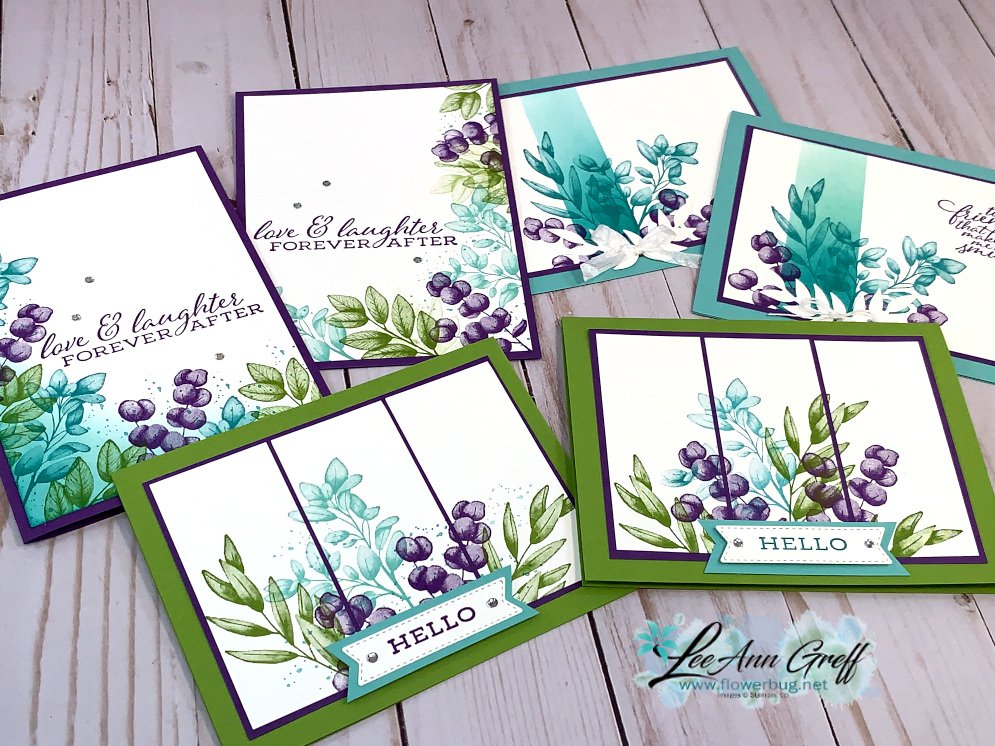
    I can't stop playing with the Forever Fern stamp set!  It's so easy to make beautiful cards with and with some of my favorite 'go to' color combos.

    If you like this set of cards check out another stunning set here; it has a kit to go option while supplies last! And a project tutorial available here. 

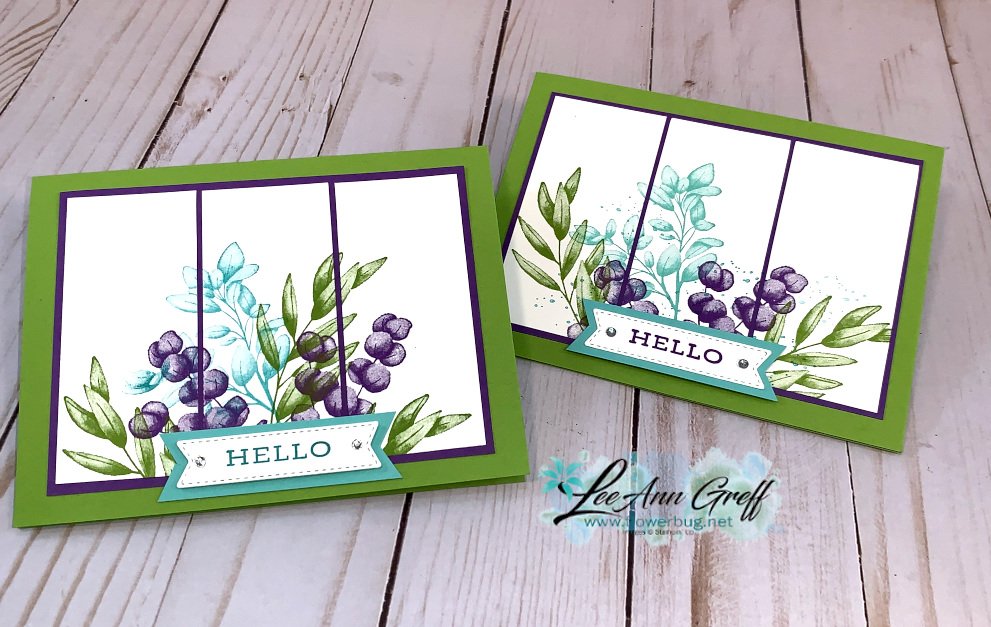
    I made these cards and recorded it on video so you could see how fast they can be.  There are three different card layouts all using the same three colors.  Granny Apple Green, Gorgeous Grape and Bermuda Bay inks with these same card stock colors plus Coastal Cabana and Whisper White.  

    The White greeting die is from the Tasteful Labels dies.  I hand cut the larger one. 

    Measurements for this card:

    • Granny Apple Green 5 1/2" X 8 1/2" card base
    • Gorgeous  Grape  3 3/4" X 5"
    • Whisper White 3 pieces at 3 1/2" X 1 1/2"

    I used a masking & sponging technique here and added a die-cut from the Flourishing Fern dies too.

    Measurements:

    • Coastal Cabana card base 5 1/2" X 8 1/2"
    • White 3 1/2" X 4 3/4"
    • Gorgeous Grape 3 5/8" X 4 7/8"

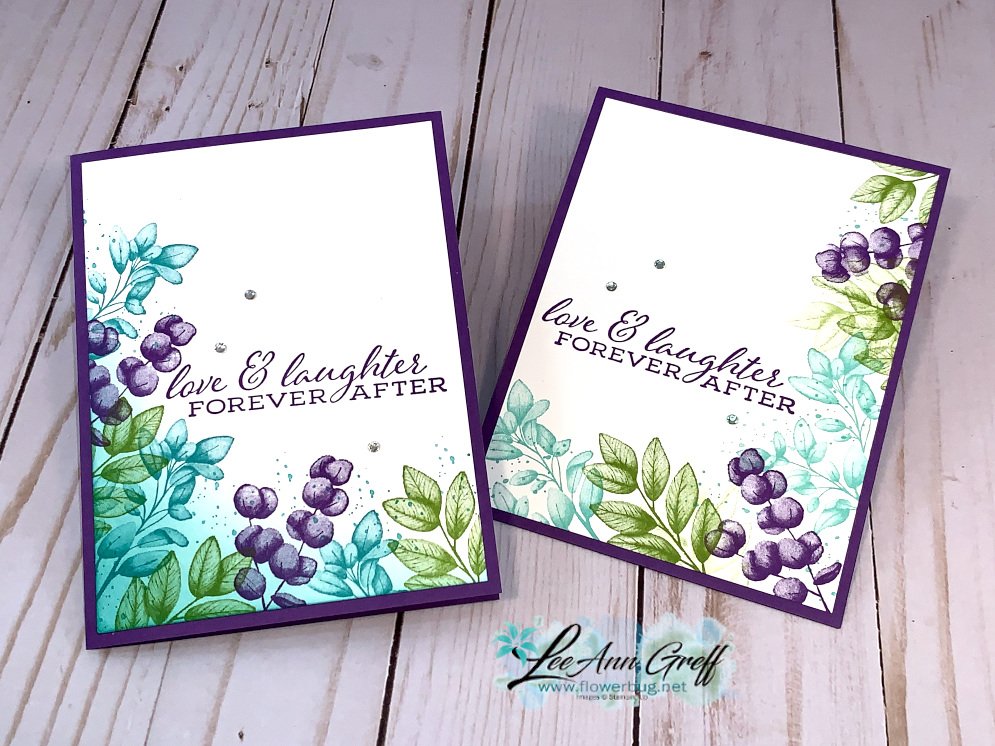
    A simple card base of Gorgeous Grape 5 1/2" X 8 1/2" and White at 5 1/4" X 4".  Did you catch that I sponged the corner of the left one?  Which do you prefer? 

    ~~~

    June Specials

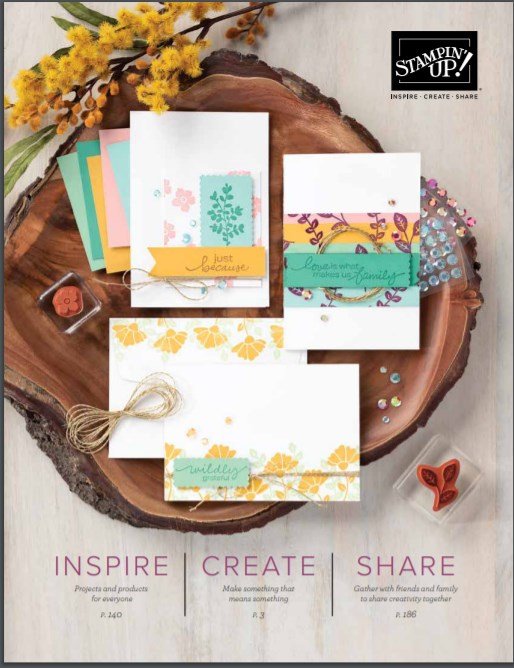
    The new catalog is here!!!  


    Get my Lovely You pdf tutorial free with any online order in June

    It includes directions, photos and measurements for 10 cards!


    June Host code is 7H2FW9FG

    Get a free pkg. of Elegant Faceted Gems from me if your order is over $55. 

    Order online here

    Leave a Reply

    Your email address will not be published. Required fields are marked *

  • Flowers for Every Season


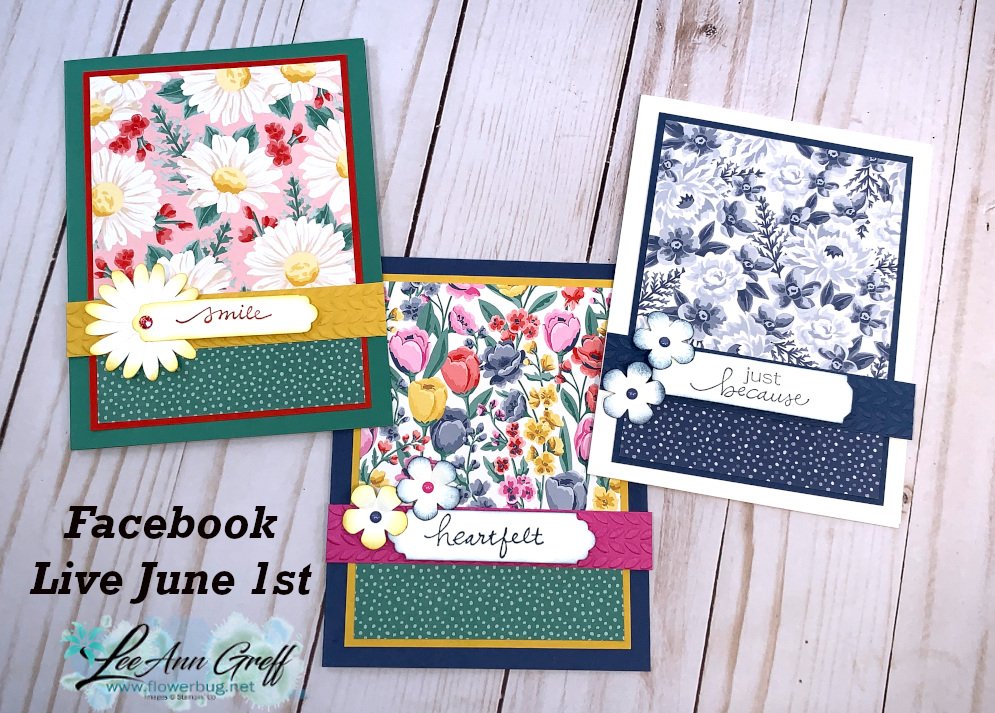
    The Flowers for Every Season paper pack is the only 6 X 6" papers in the new Stampin' Up! Annual catalog.  Many people love the 6 X 6" papers; they find them easier to cut into for some reason.  

    I decided to use them for last week Monday night's Stamp with Me video.  Here's a link to it on Facebook. 

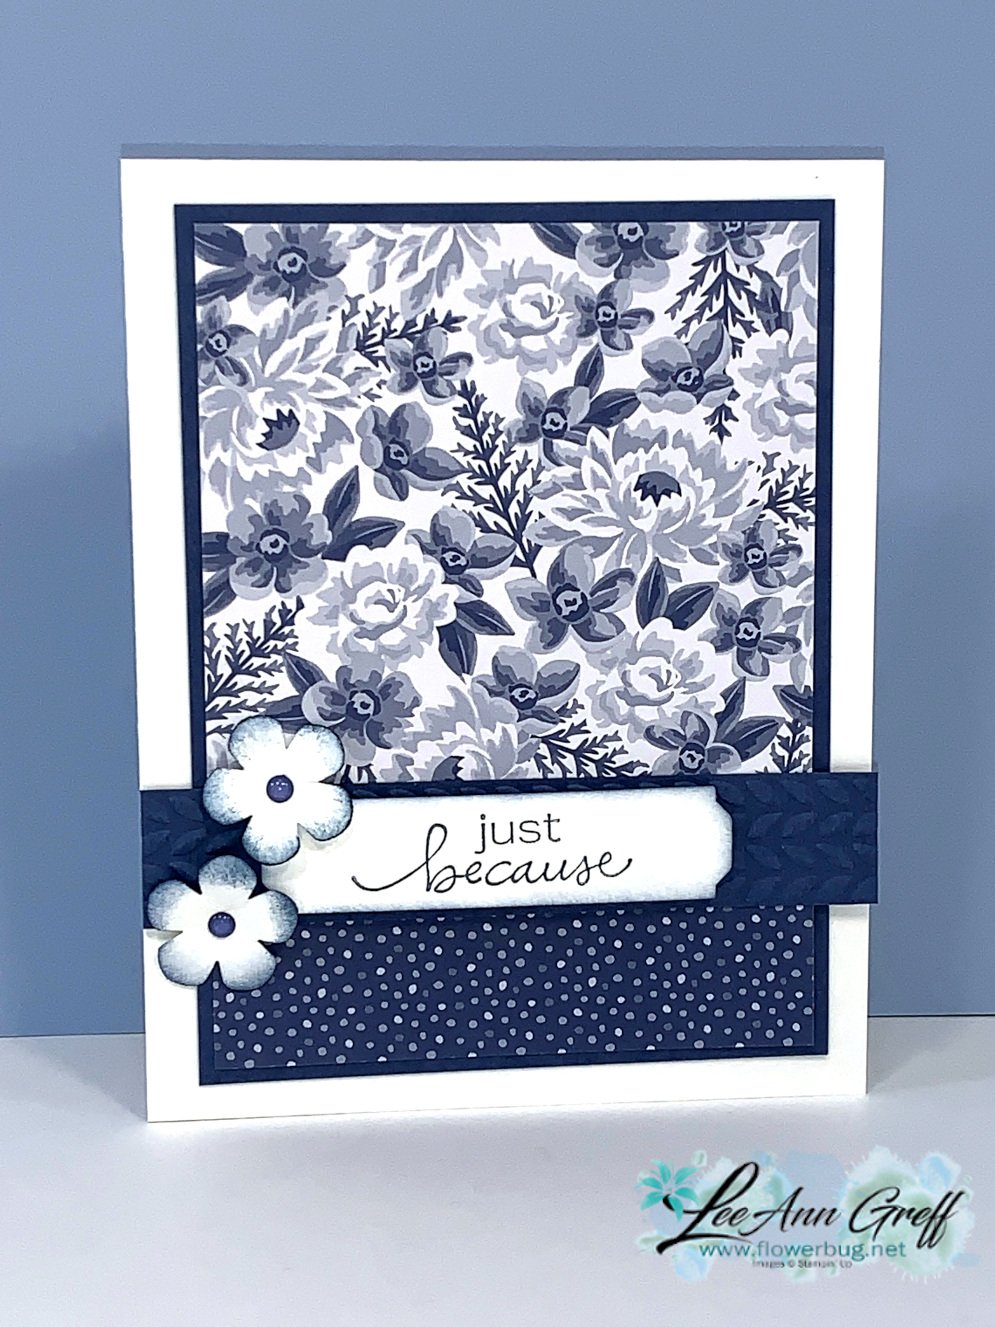
    This is one of my favorite I made so far with this paper; I love the new Misty Moonlight in color.  Paired with Night of Navy and White is quite striking in my opinion.  Monochrome cards can be so soothing! 

    I also used the Small Bloom punch, 2020-22 In Color Enamel Dots and the Pick a Punch. 

    Measurements:

    • Card Base 5 1/2" X 8 1/2"
      DSP 3 1/2" square and 1" X 3 1/2"
      CS layer 5" X 3 3/4"
      CS strip; textured 3/4" X 4 1/4"
      Greeting banner/punch

    Join me here on Monday evenings at 7:30 pm CT for Stamp with Me FB Lives and you'll get a ton of ideas and maybe even make a nice group of cards right along with me. 

    ~~~

    June Specials

    The new catalog is here!!!  


    Get my Lovely You pdf tutorial free with any online order in June

    It includes directions, photos and measurements for 10 cards!


    June Host code is 7H2FW9FG

    Get a free pkg. of Elegant Faceted Gems from me if your order is over $55. 

    Order online here

    Leave a Reply

    Your email address will not be published. Required fields are marked *

  • Blossoms in Bloom cards; it’s pretty even without the die-cuts!


    Today I'm sharing cards made with the Blossoms in Bloom stamp set.  It comes with a gorgeous set of dies too but today it's all about the stamps. 

    First is a pretty card made by my friend Ruth Bingle.  I always love her swap cards! 

    She used the triple time stamping technique.  This is where you cut out three layers of descending sizes of card stock and stamp on them all at the same time.  

    Her White layers are from smallest to larges: 2" X 3 1/4", 3" X 4 1/4" and 4" X 5 1/4".  The Bumblebee layers are 2 1/4" X 3 1/2", 3 1/4" X 4 1/2" and the card base of 5 1/2" X 8 1/2".  This is a fun technique to do with many style of stamps to create your own background.  

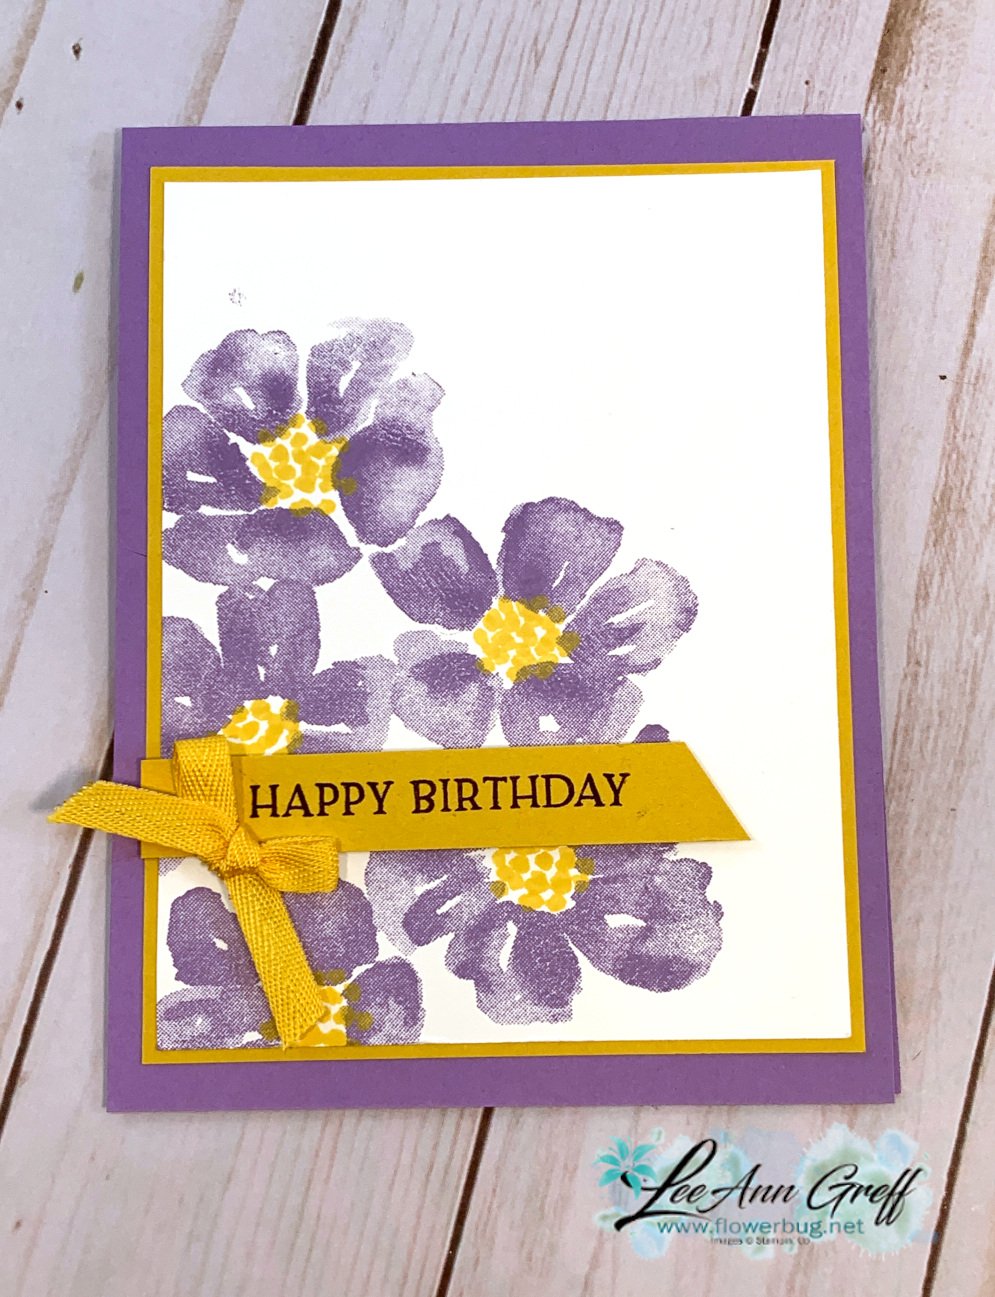
    Next is a sweet & simple card I made combining Bumblebee with Gorgeous Grape. 

    This stamp set is one of those where you stamp once and get multiple hues of color; all with one inking!  Love this so much! 

    And last is a card where I stamped directly onto the designer paper. 

    This is the In Good Taste designer paper seen here; it's full of amazing photo realistic textures like wood, tile and textiles.  My colors are Early Espresso, Flirty Flamingo with a touch of Bumblebee. The dies are from the Tasteful Labels dies seen here; my top pick for the most used/versatile dies so far! 

    ~~~

    June Specials

    The new catalog is here!!!  


    Get my Lovely You pdf tutorial free with any online order in June

    It includes directions, photos and measurements for 10 cards!


    June Host code is 7H2FW9FG

    Get a free pkg. of Elegant Faceted Gems from me if your order is over $55. 

    Order online here

    Leave a Reply

    Your email address will not be published. Required fields are marked *


Notice: LeeAnn Greff, Independent Stampin’ Up! Demonstrator, Manager. The content of this website is my sole responsibility as an independent Stampin’ Up! demonstrator and the use of, and content of, the classes, services, or products offered on this website is not endorsed by Stampin’ Up! Copyright 2025