/


Latest Post

A gorgeous card with the Joyful Tidings set


This beautiful card has tons of Gold accents plus there are lots of neat tips you’ll appreciate. I made it during last week’s video.
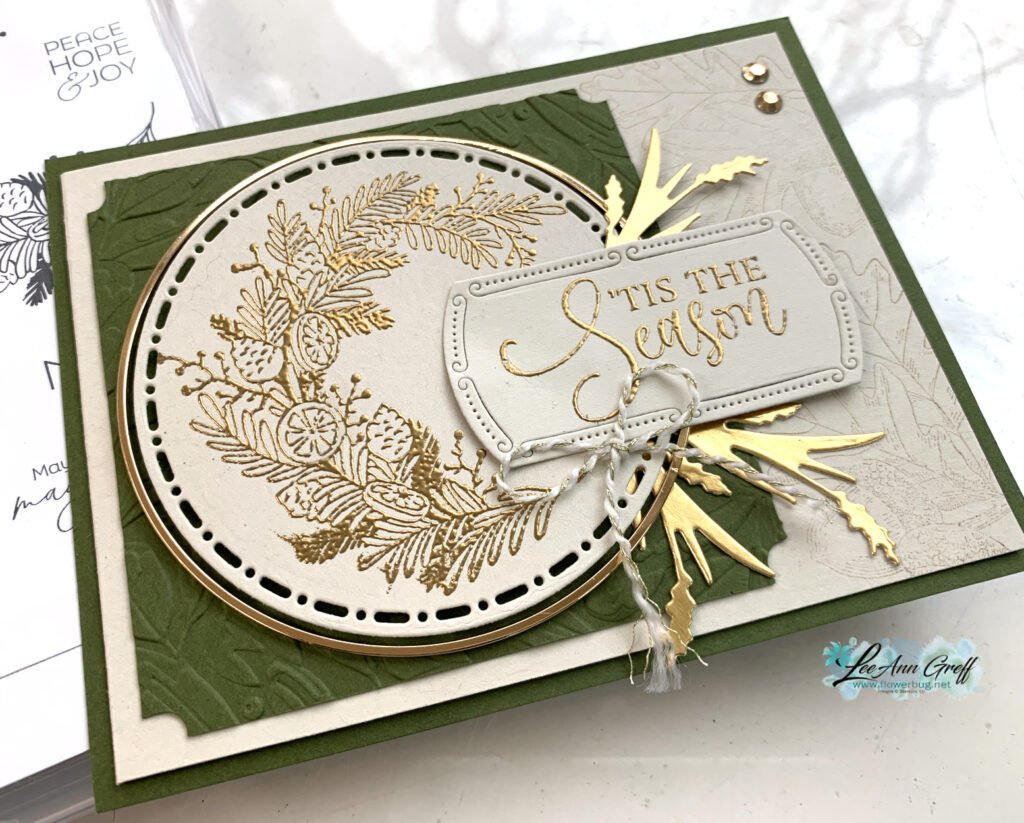
It was originally created for our November Team swap. The theme was to use foil or metallic heat embossing. I did both!

Notice the background stamping on the right side; I used the Amber Autumn set with Versamark ink. The greeting is from the Ornamental Christmas set. The gold foil ‘wheat’ die-cuts are from the Amber Autumn dies
The wreath stamp set is Joyful Tidings and can be seen here. I’ve always loved wreaths and used to collect them.
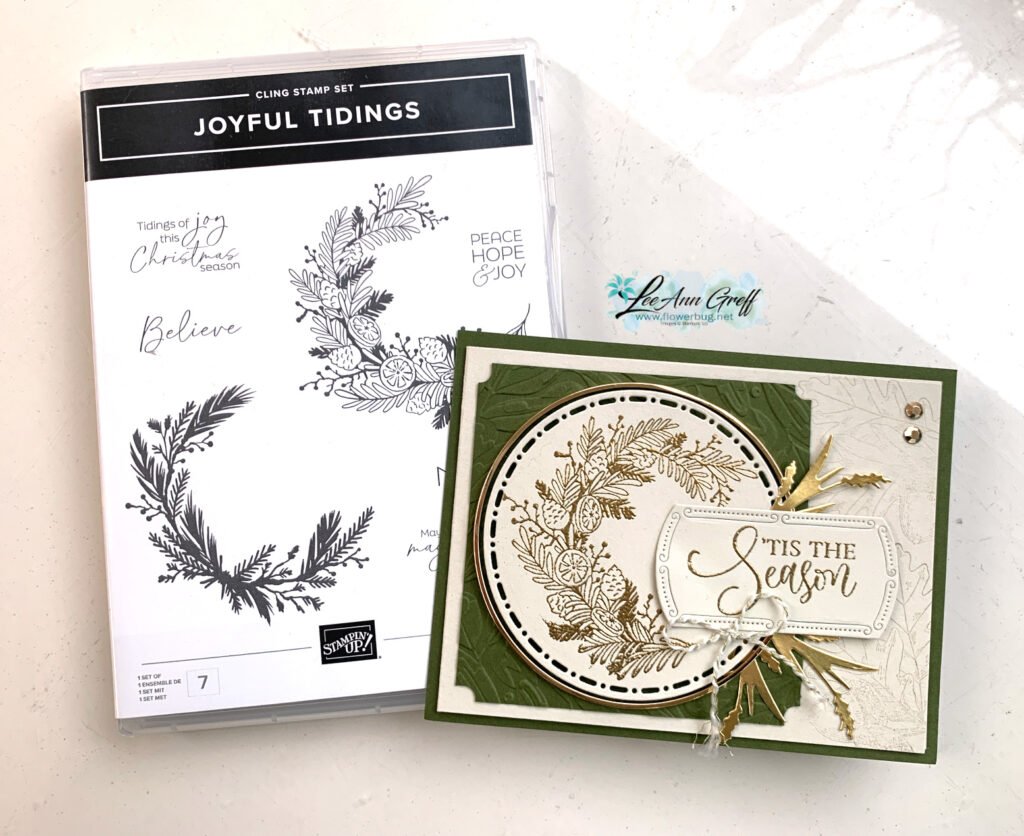
Here I simply heat embossed the partial wreath in Gold embossing powder. It’s stamped on a die-cut from the Spotlight on Nature dies. See the pretty gold hoop? Those are available here and are applied with either mini glue dots or thin lines of Multipurpose Liquid Glue (which I did).

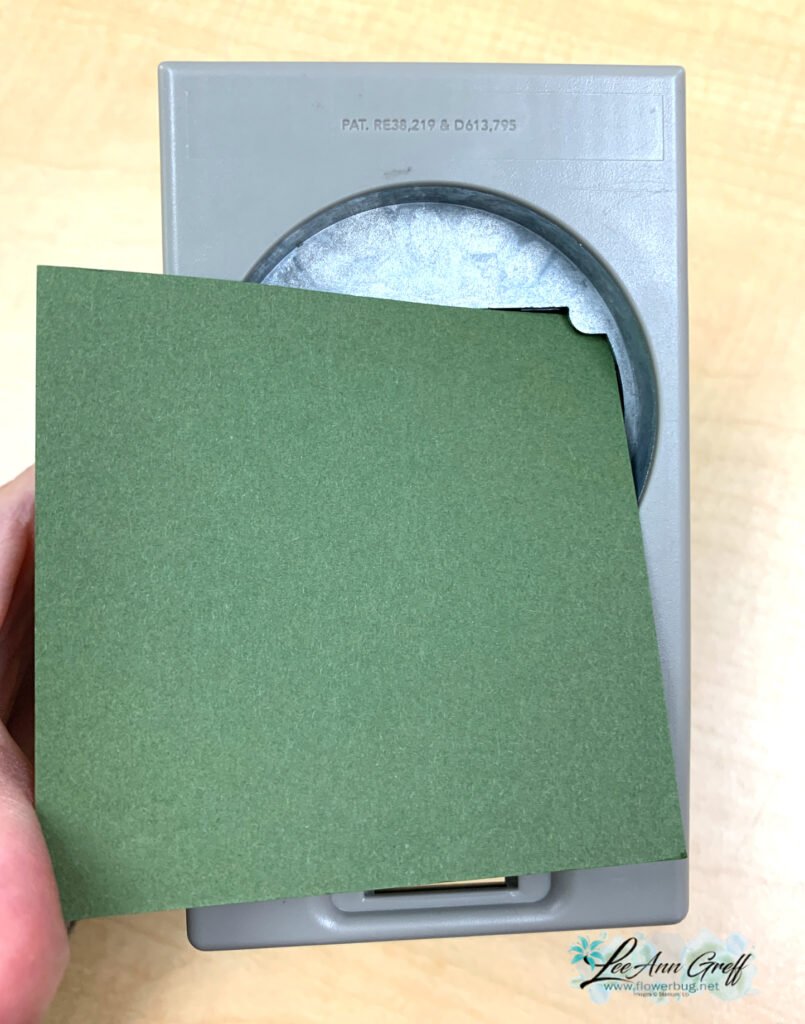
My colors include Basic Beige, Mossy Meadow and Gold foil. I textured the Mossy Meadow layer with the Wreath 3D embossing folder. I also used the Labeled with Love punch to achieve the ‘ticket’ shaped corners.
*look at your punches to see if you can use them in new ways!
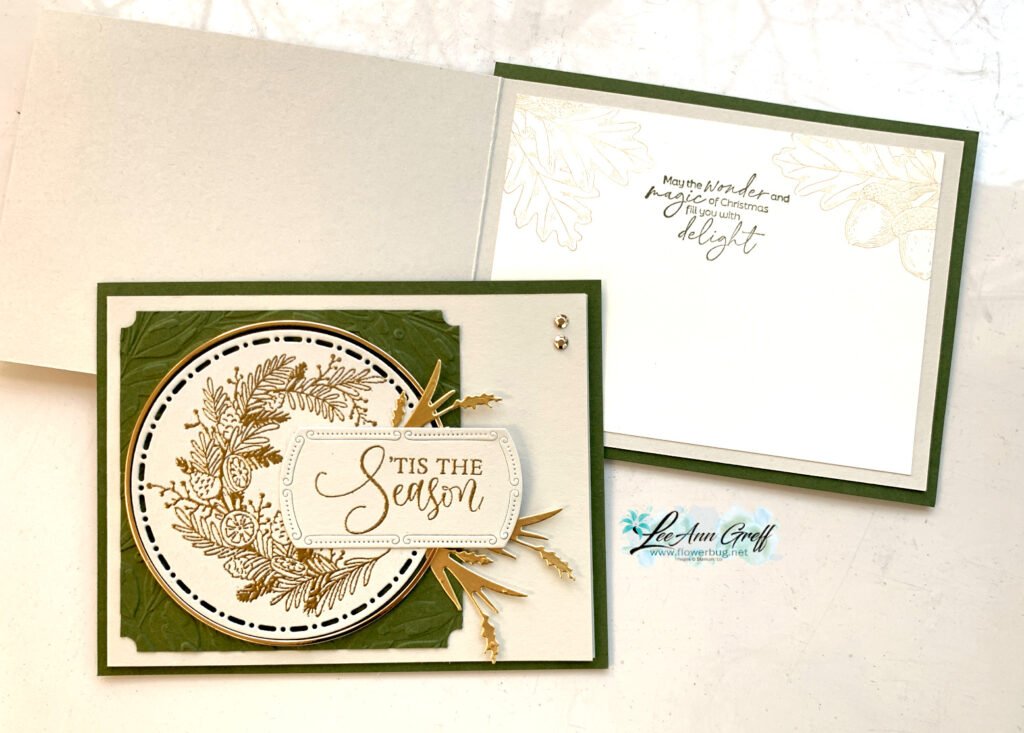
This card is a slightly different fold because the second layer is what opens. I created a free project sheet for this card for you. Click here to download or print it.
I also have a video tutorial seen below for this beautiful card and one more beautiful card featuring the Joyful Tidings stamp set that I’ll share Wednesday.

~~~

November Specials

New Online products are available on November 4th.
See them here.
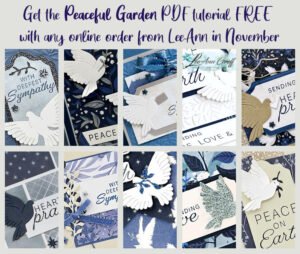
Get the Peaceful Garden suite tutorial FREE with any online order in November!
All Posts

  • Dragonfly Garden Quick Fun-fold Card with video!

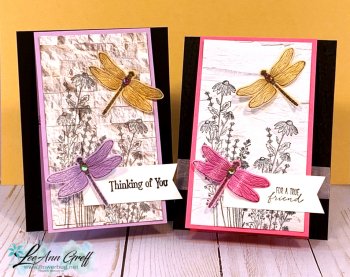
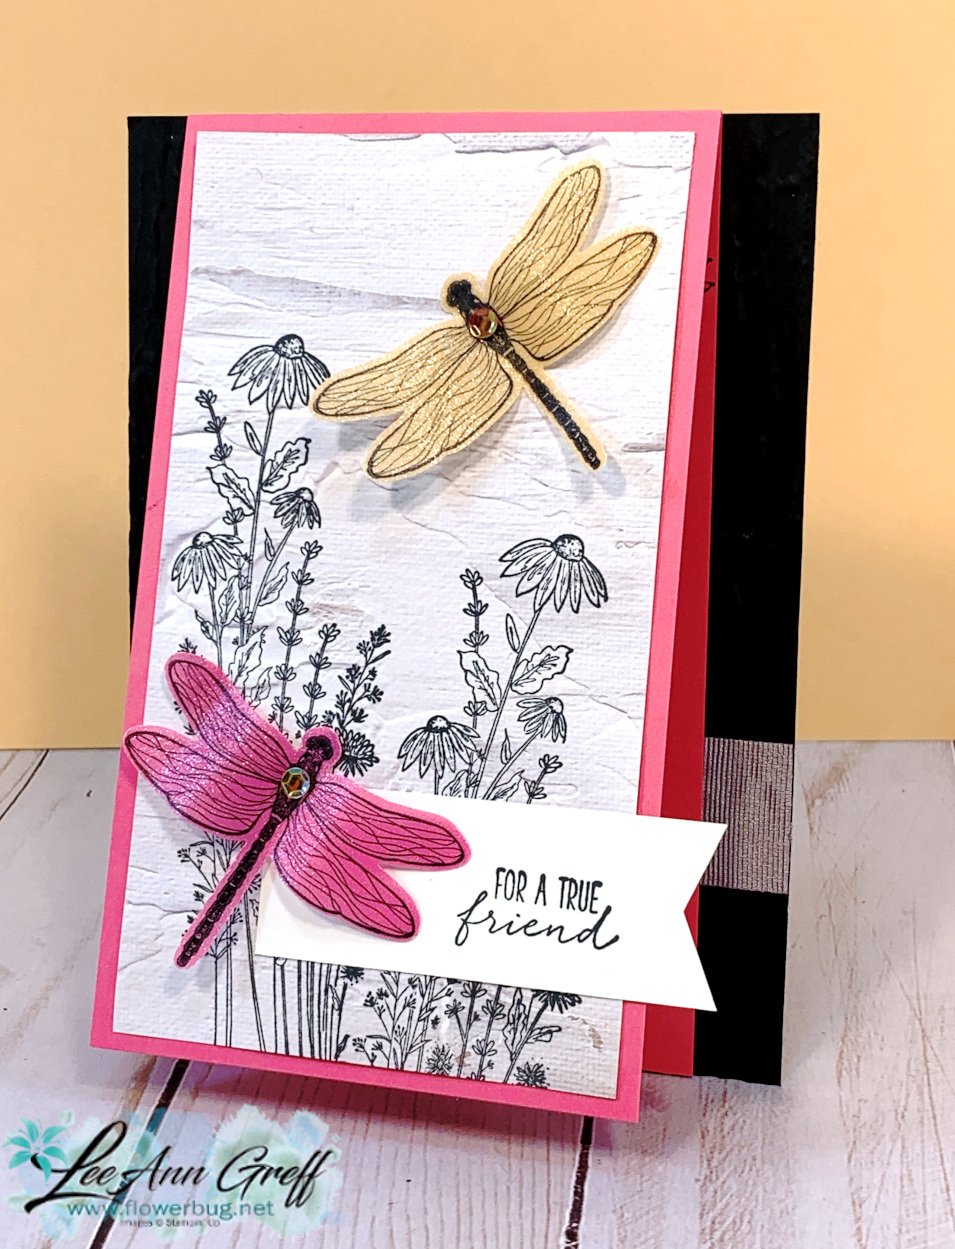
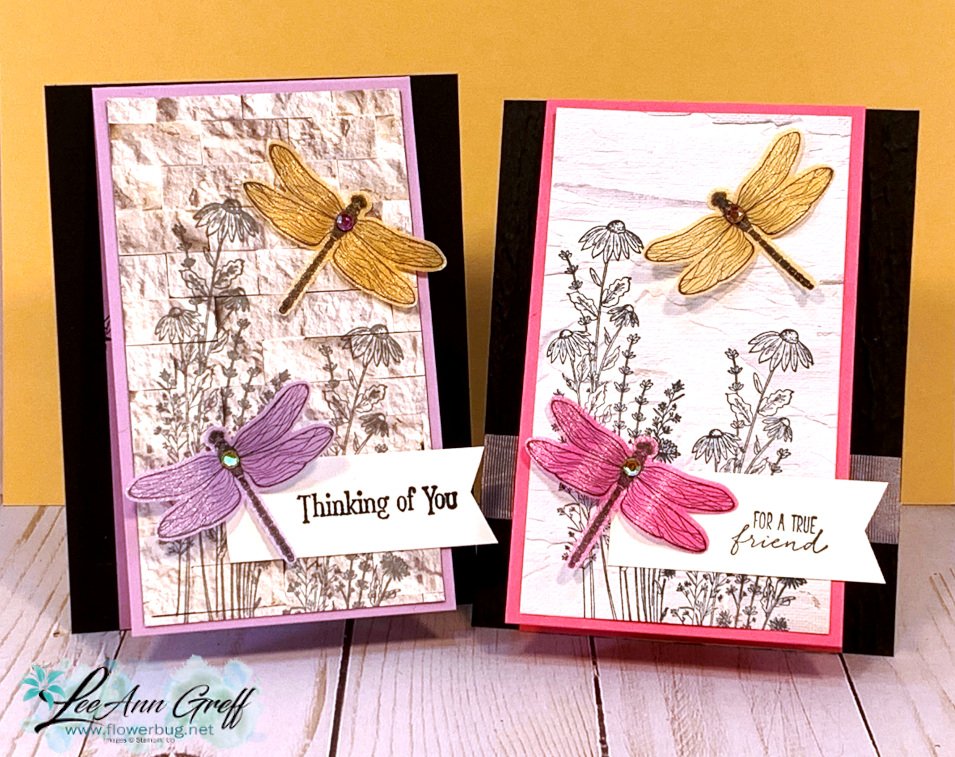
    We made this pretty dragonfly card at last month's Card Clubs.  

    I knew I wanted to use the new In Color shimmer vellum and thought the Dragonflies punch would work perfectly.  It sure did!  I wish you could see the shimmer in person; it's beautiful! 

    They had a choice of Polished Pink or Fresh Freesia for their card and could punch a variety of colors for their dragonflies.  

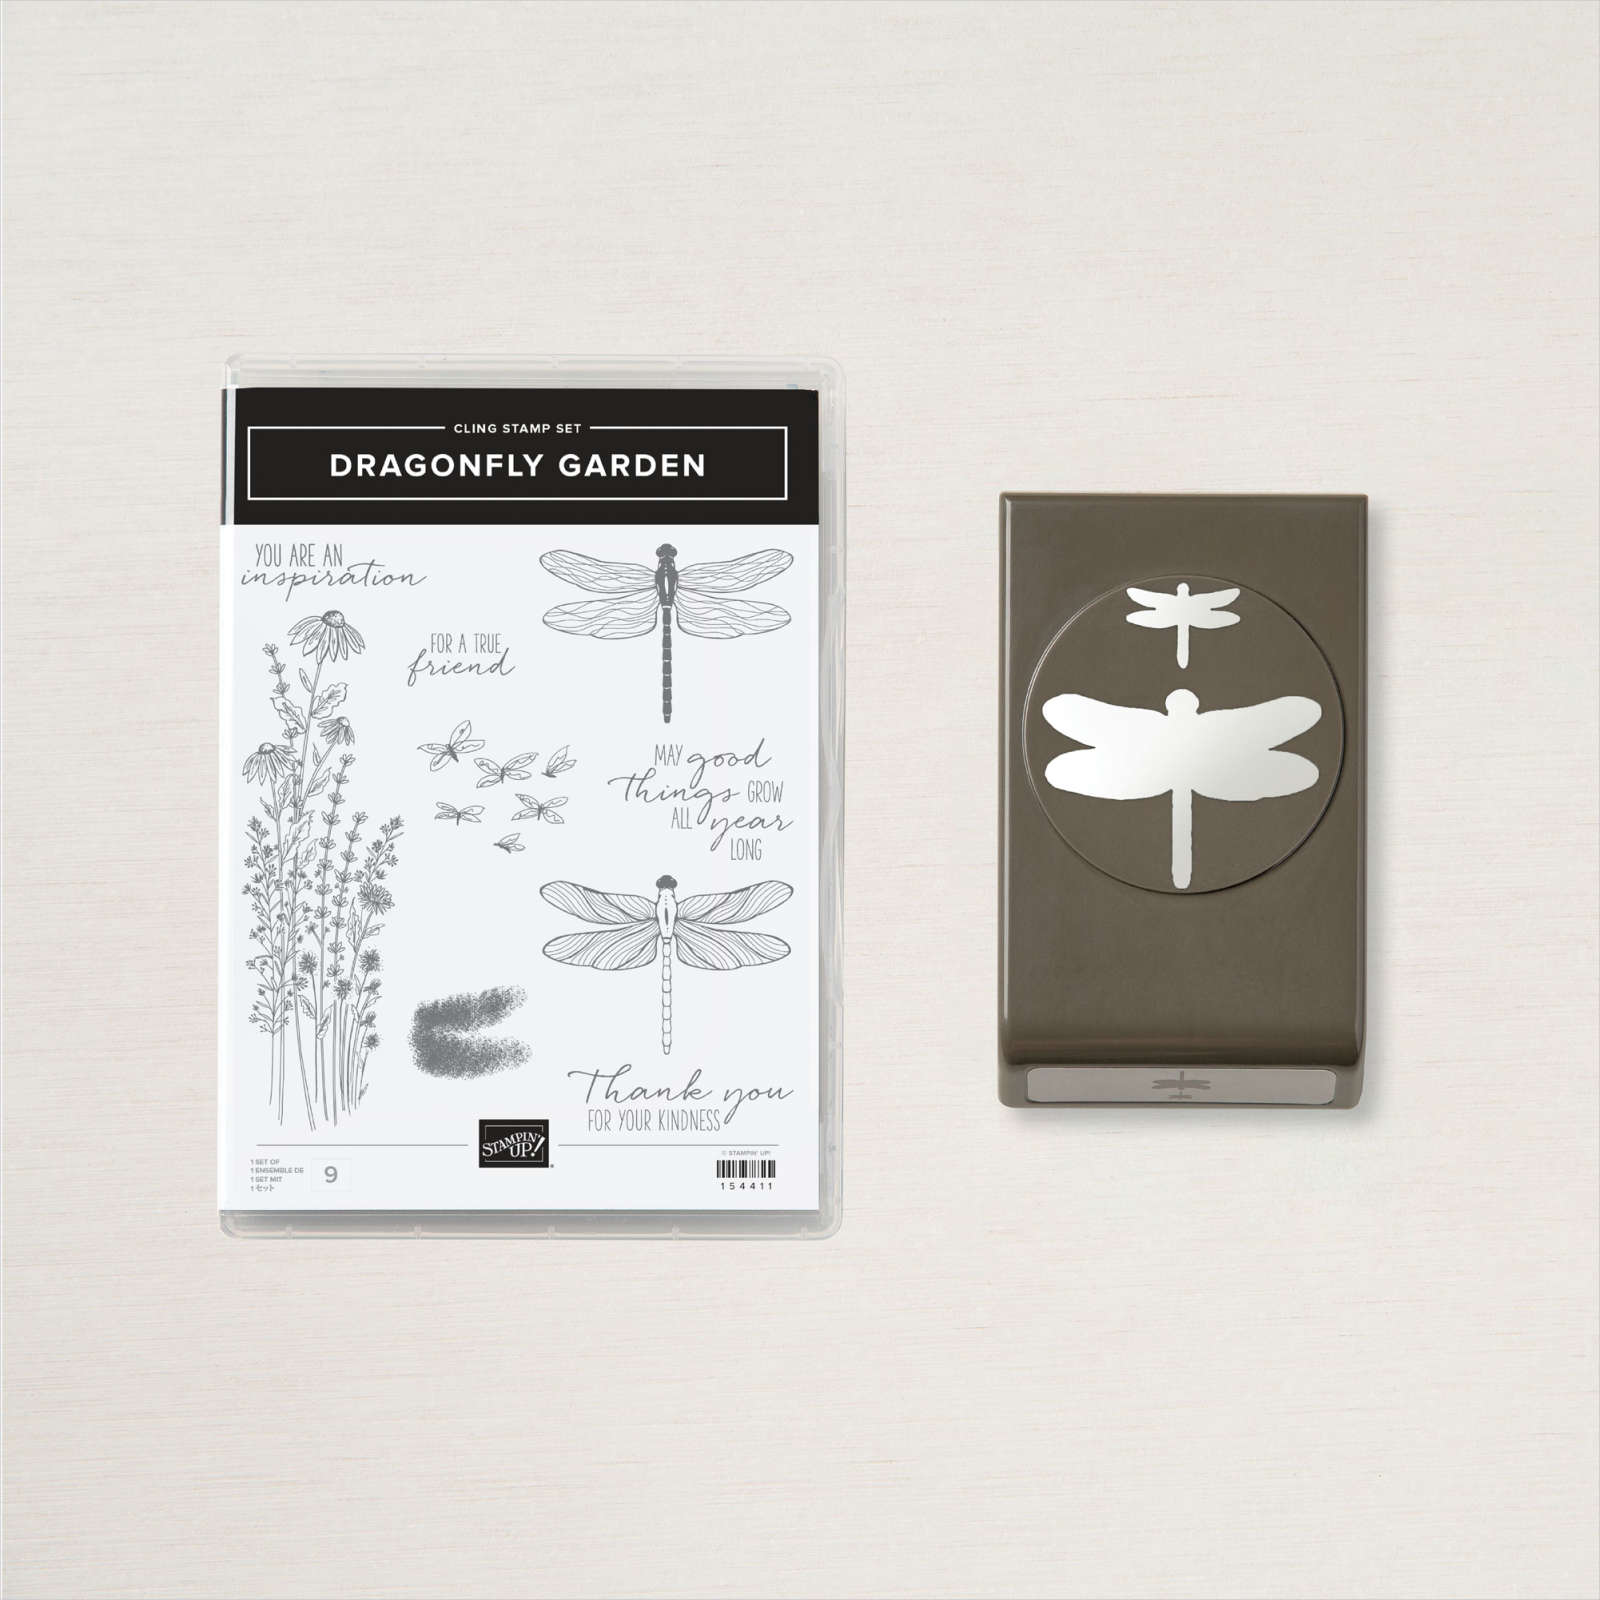
    We used the Dragonfly Garden stamp set which is bundled with the Dragonflies punch in the bundle seen here. See how the wings are curled?  The bone folder works beautifully for this.  *Watch the video below to see how it's done. 

    Tip: I recommend using Stazon Black ink when stamping on the vellum so it dries quickly. Vellum paper doesn't 'absorb' ink easily so it can stay wet a long time. 

    Below are the measurements for you and Download May Dragonfly Garden fun fold here

    • Black base 4 1/4" X 5 1/2"
      Fresh Freesia or Polished Pink 3 1/4" X 11" scored at 5 1/2"
      In Good Taste Designer paper 3" X 5 1/4"
      White strip 1" X 3"
      Shimmer Vellum scraps for Dragonfly punches

    Click on the photo below to watch the short video. 

    June Specials:

    The last chance list is out!  Check out the retiring and discounted products here. 


    Host code: MMCUKBSX  Click here to order

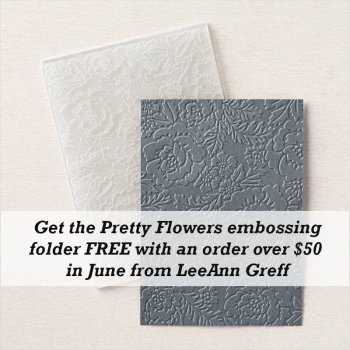
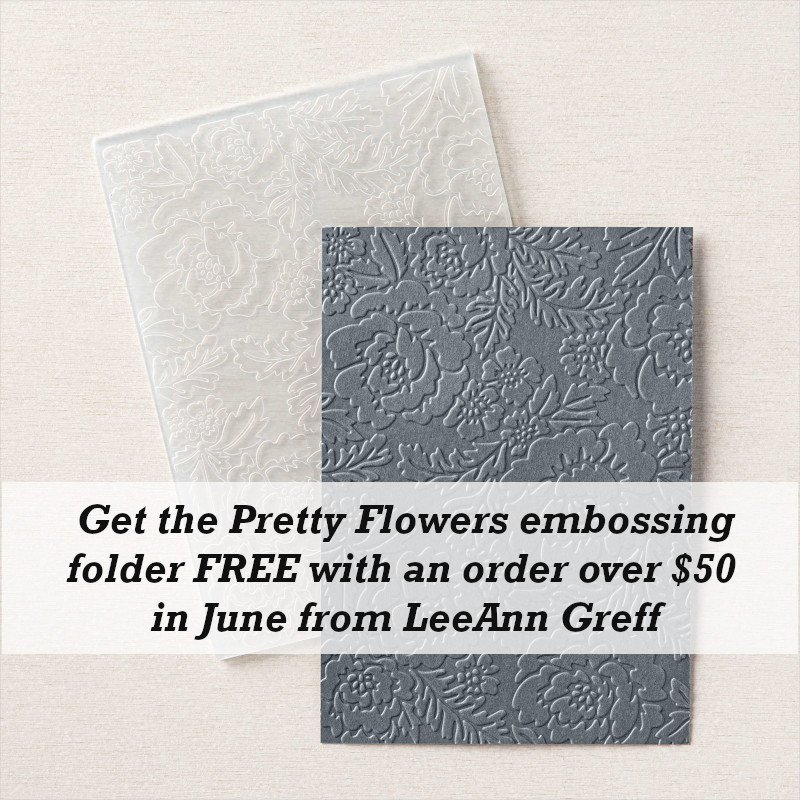
    Use this host code if your order is under $150. If it's over you'll still get the embossing folder but you'll also earn host benefits! Better yet, choose the Starter Kit and choose $125 in product and FREE Shipping as well!  Click here!

    *All online orders in May receive a free PDF full of project ideas with 2 new catalog suites! 

    Leave a Reply

    Your email address will not be published. Required fields are marked *

  • Plentiful Plants Cards


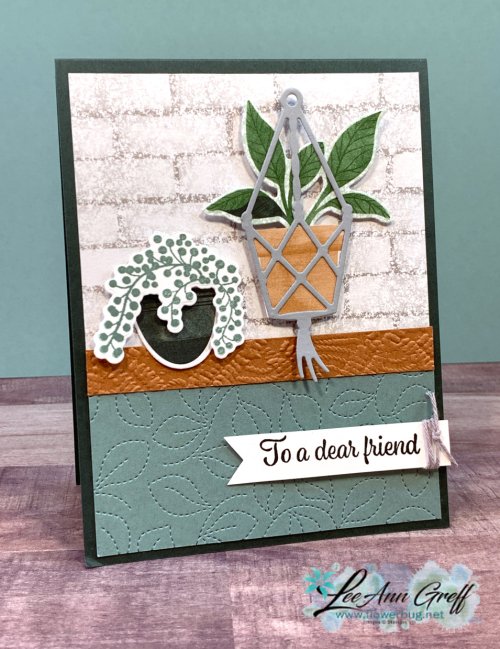
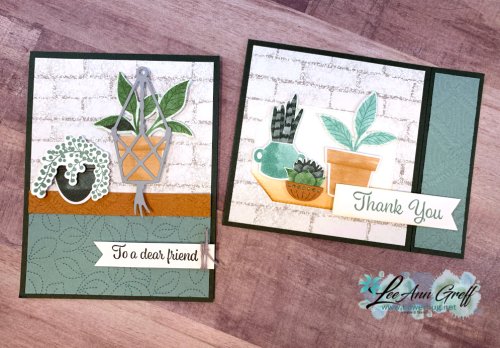
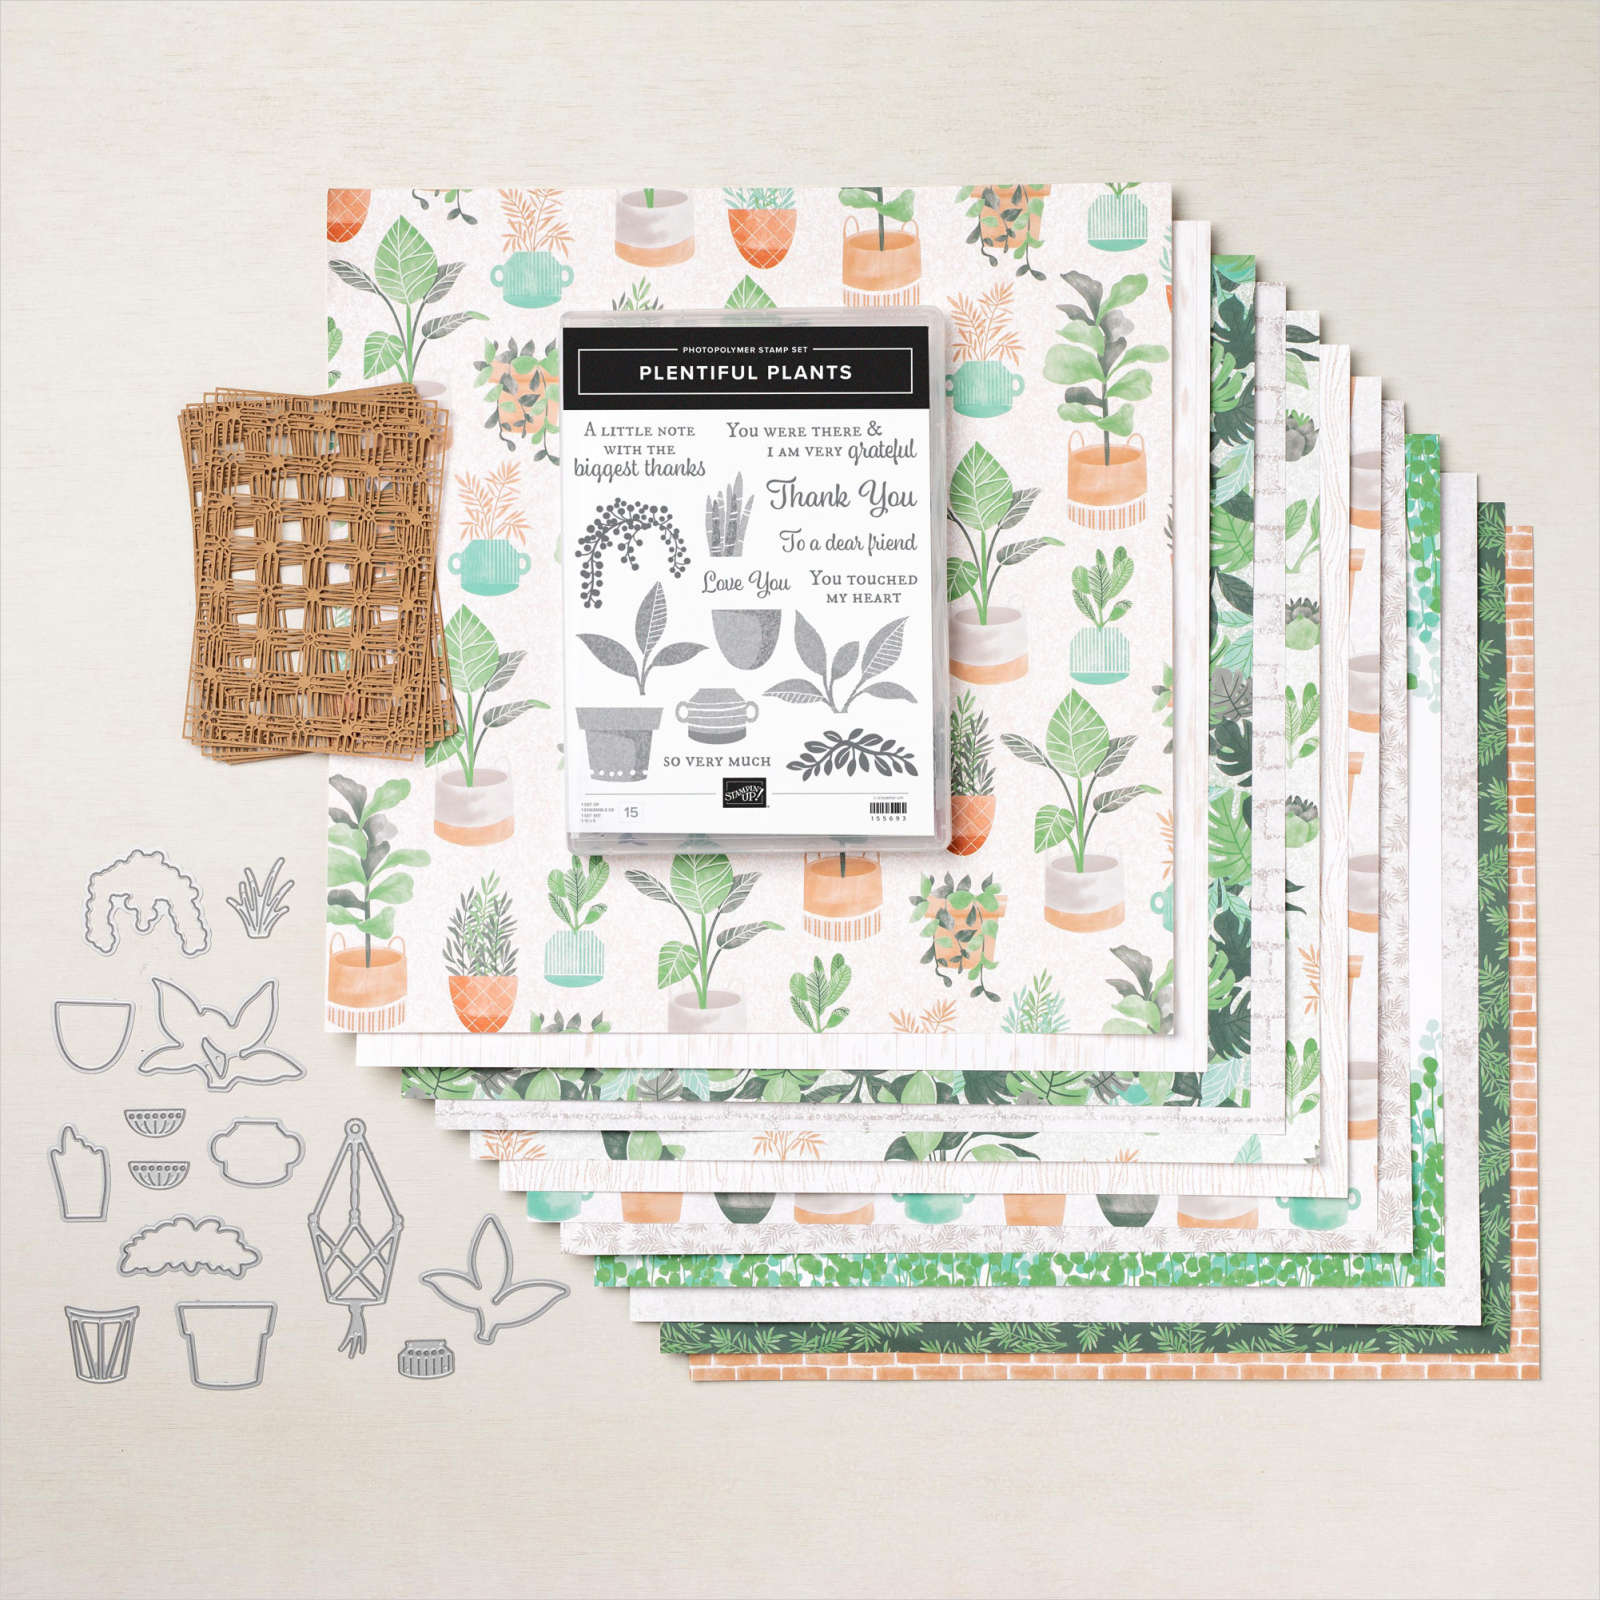
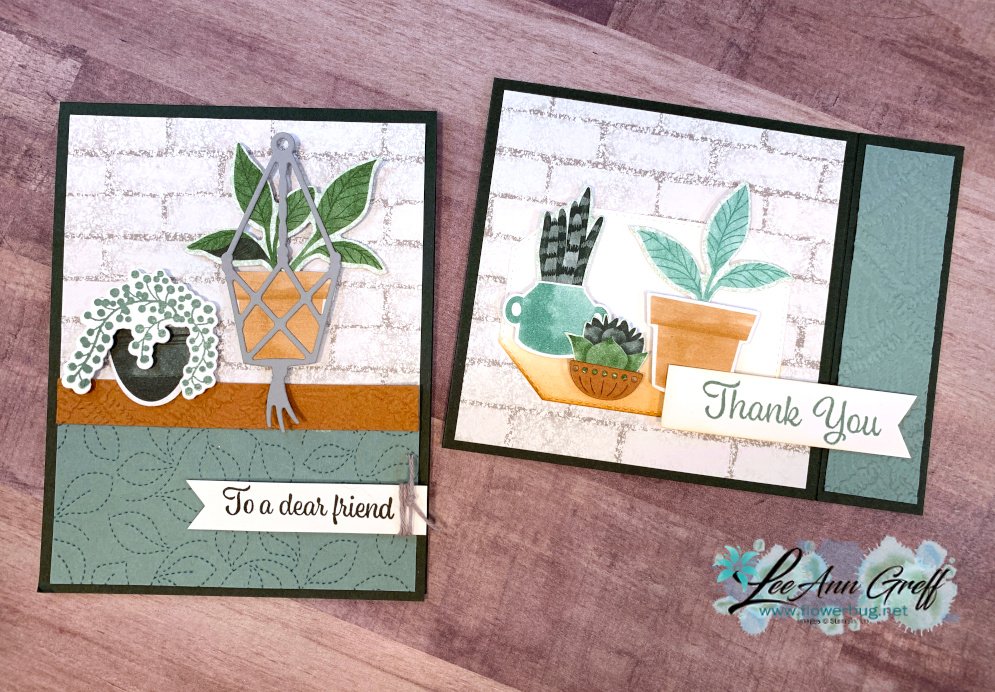
    I took some time to play with the new Plentiful Plants bundle last week and came up with these cards: 

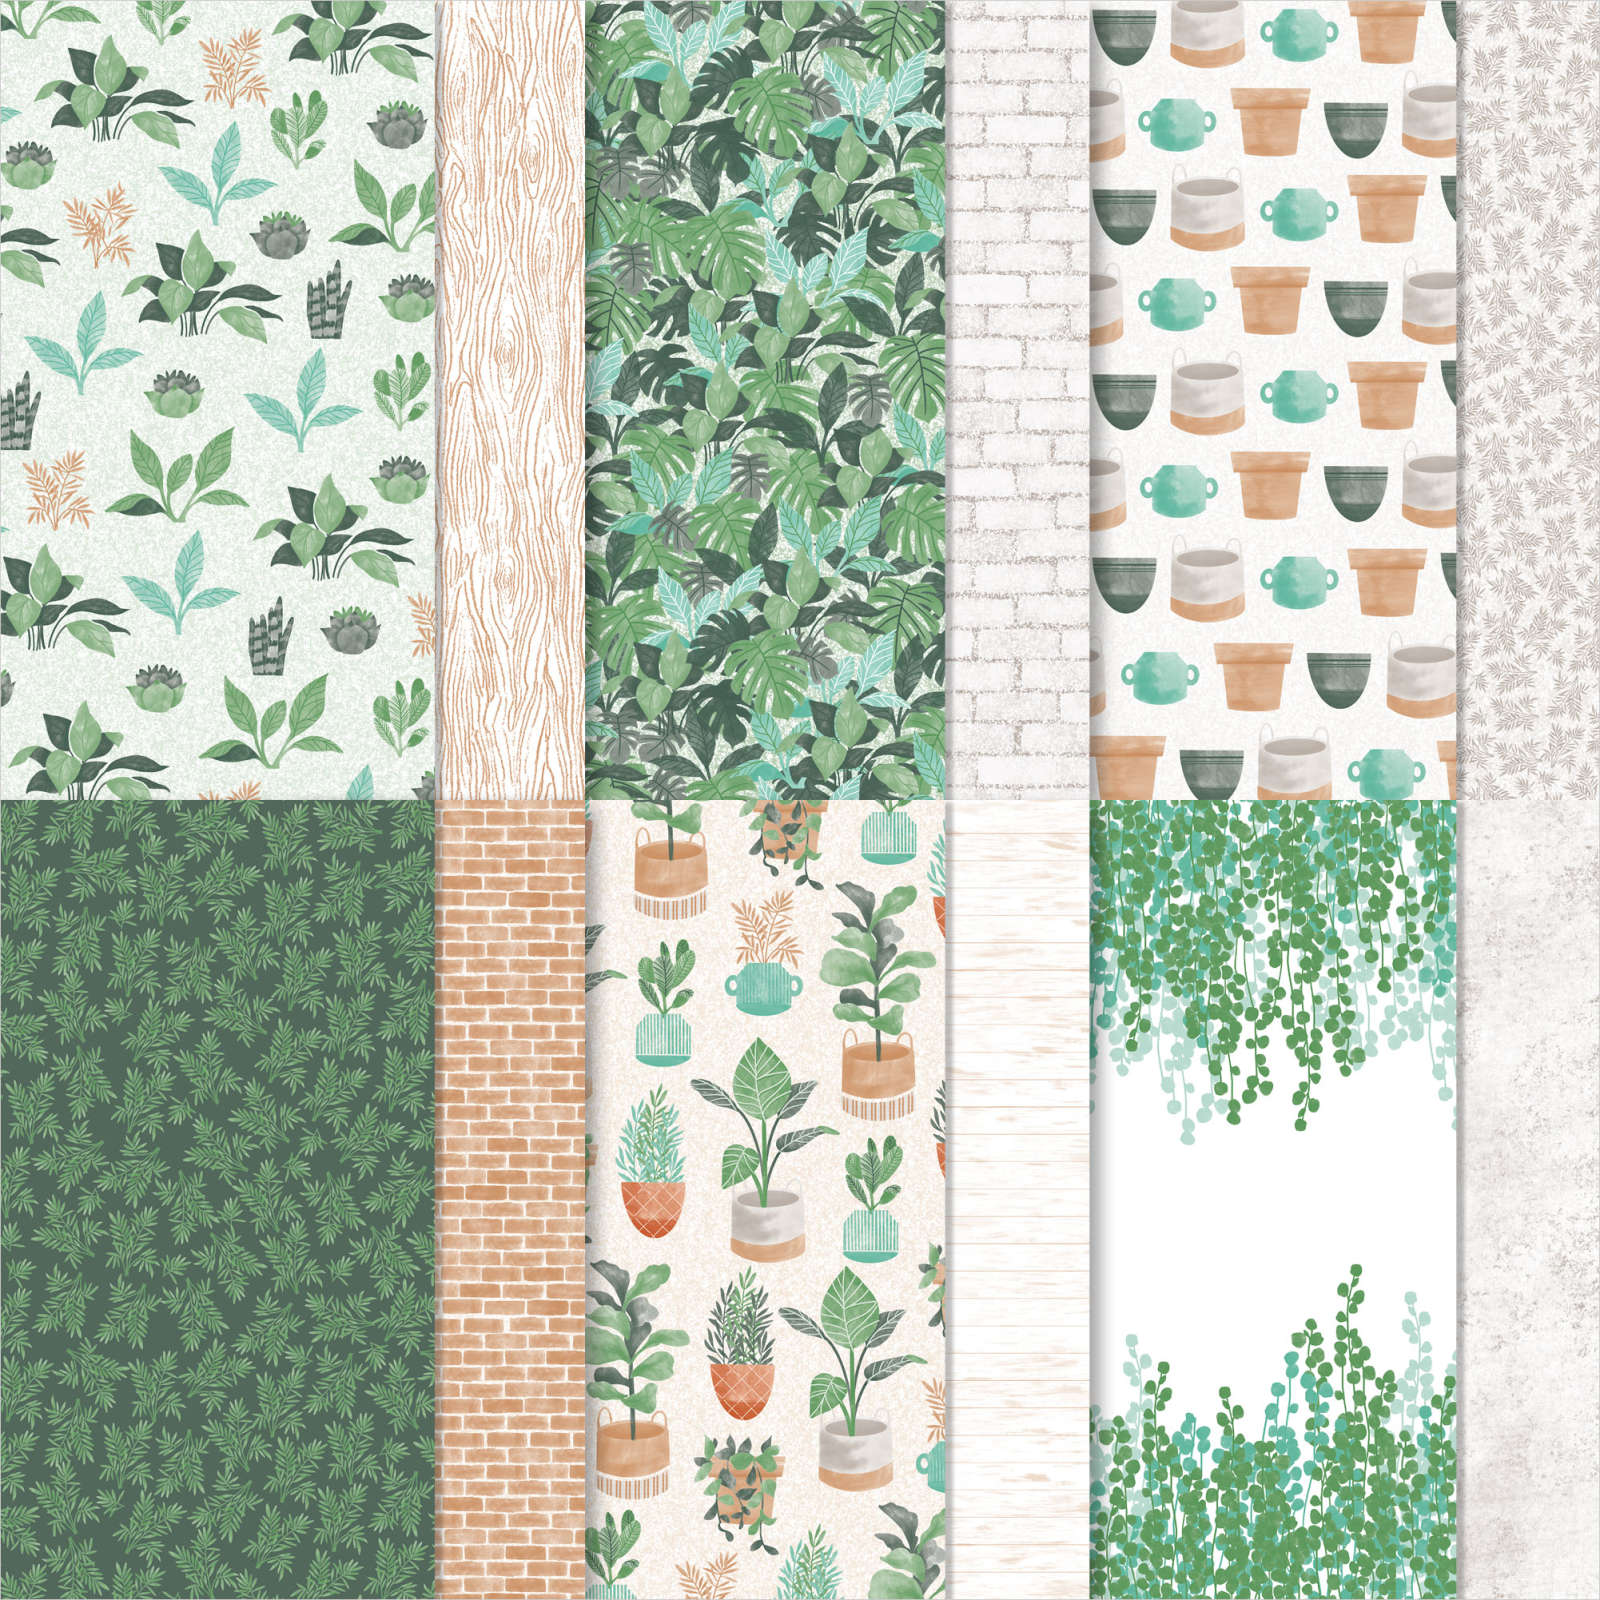
    Can you believe that both the brick, the pots and leaves are all cut from the designer paper?  I did stamp the plant on the left but the others are all die-cut from the Bloom Where You're Planted DSP. I love when Stampin' Up! gives us paper and dies that coordinate.  

    The bottom Soft Succulent CS is made with the Stitched Leaves die; one of my new favorites!  See it here.  

    ~~~

    This next card also features the Bloom Where You're Planted DSP. 

    Each of the three plants & pots are from the DSP except for the bowl in the center.  That is a die-cut made from Cinnamon Cider CS.  I placed them on a die-cut from the Hippo & Friends dies.  I sponged the bottom with Cinnamon Cider ink.  

    This card is 4 1/4" X 11" and scored at 1 1/4" and 6 3/4".  The right flap is glued down and has a 1" X 4" Soft Succulent strip adhered to it.  It was textured with the Macrame 3D embossing folder seen here. 

    You can see this suite here. 

    June Specials:

    The last chance list is out!  Check out the retiring and discounted products here. 


    Host code: MMCUKBSX  Click here to order

    Use this host code if your order is under $150. If it's over you'll still get the embossing folder but you'll also earn host benefits! Better yet, choose the Starter Kit and choose $125 in product and FREE Shipping as well!  Click here!

    *All online orders in May receive a free PDF full of project ideas with 2 new catalog suites! 

    Leave a Reply

    Your email address will not be published. Required fields are marked *

  • Bright Color Combo card with the new Watercolor Shapes set


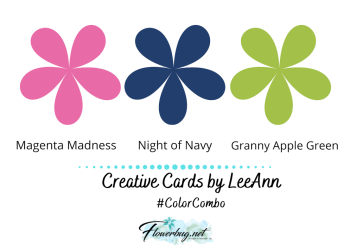
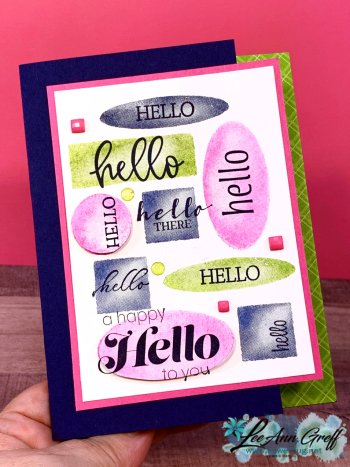
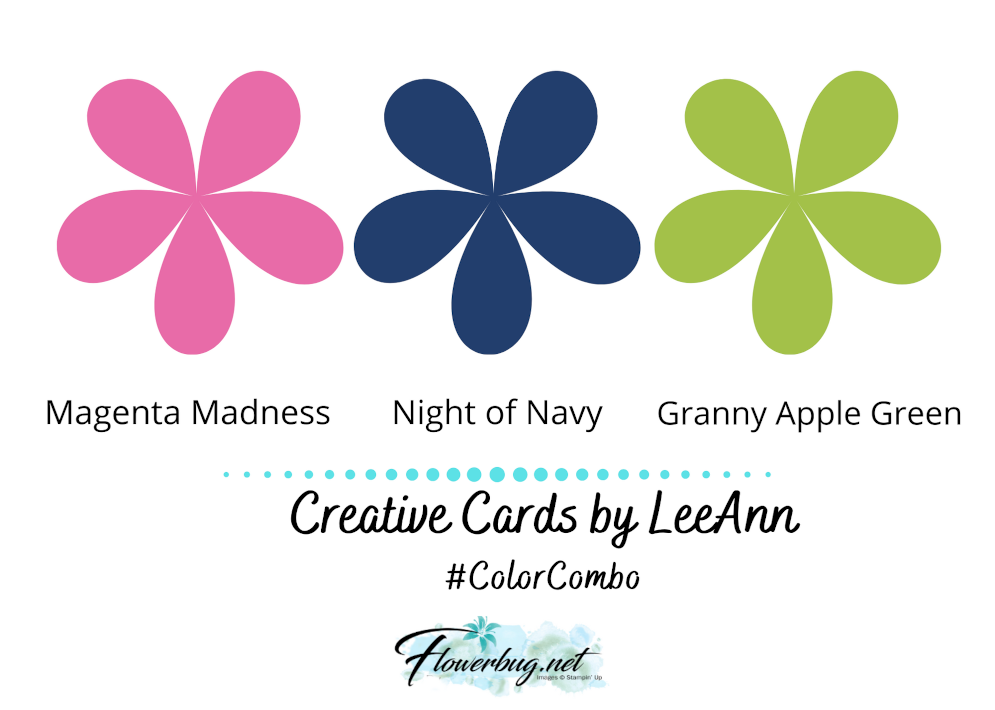
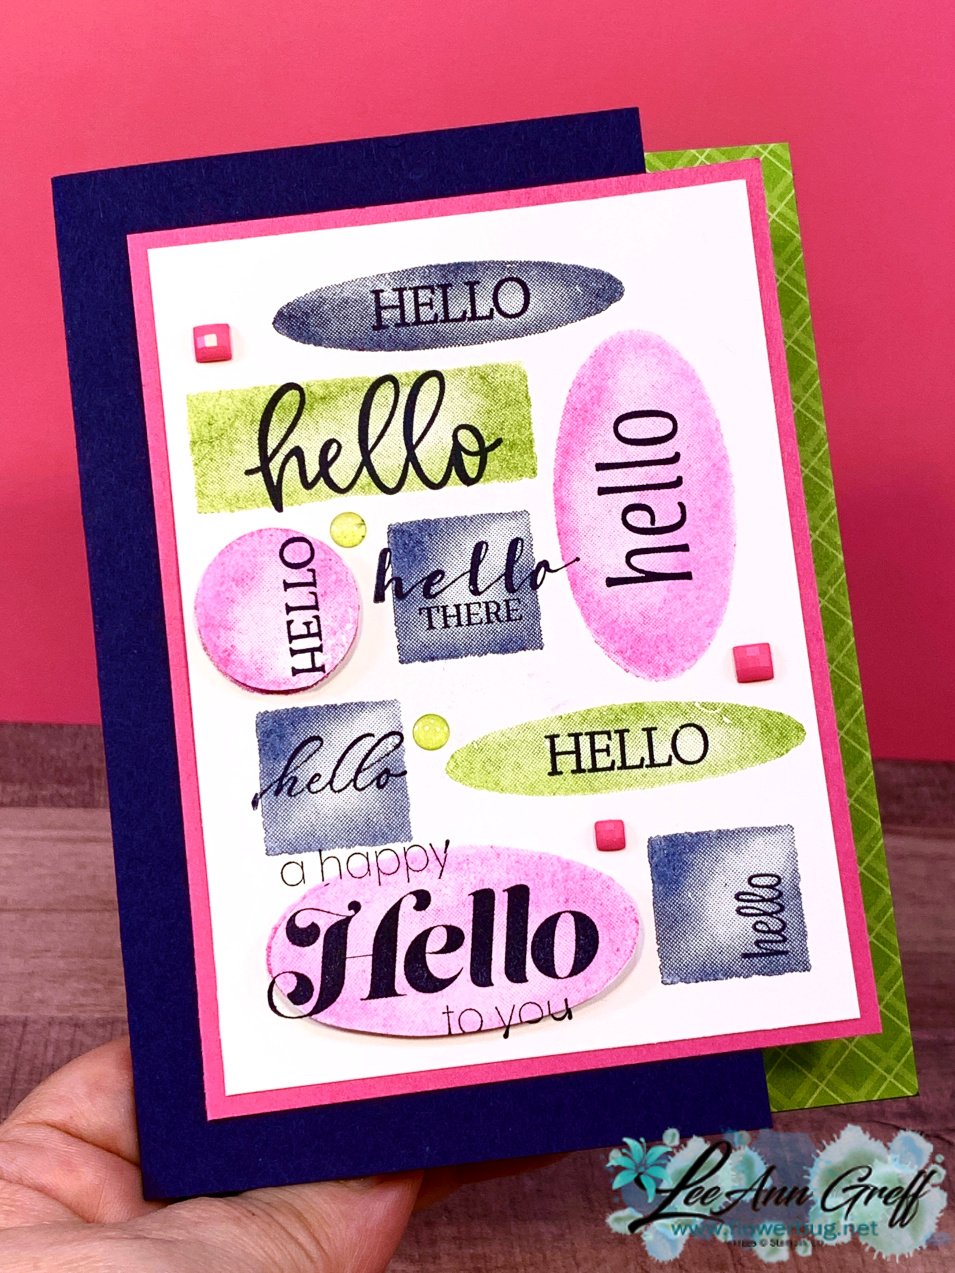
    I have lots of creative challenges for my Flowerbug's Team and this time it was a color challenge featuring Night of Navy, Magenta Madness & Granny Apple Green.  Fun, vibrant colors I knew would be fun to play with. 

    I cut off an inch from the right edge of my Navy card and added a strip of Granny Apple Green DSP on the inside edge.  

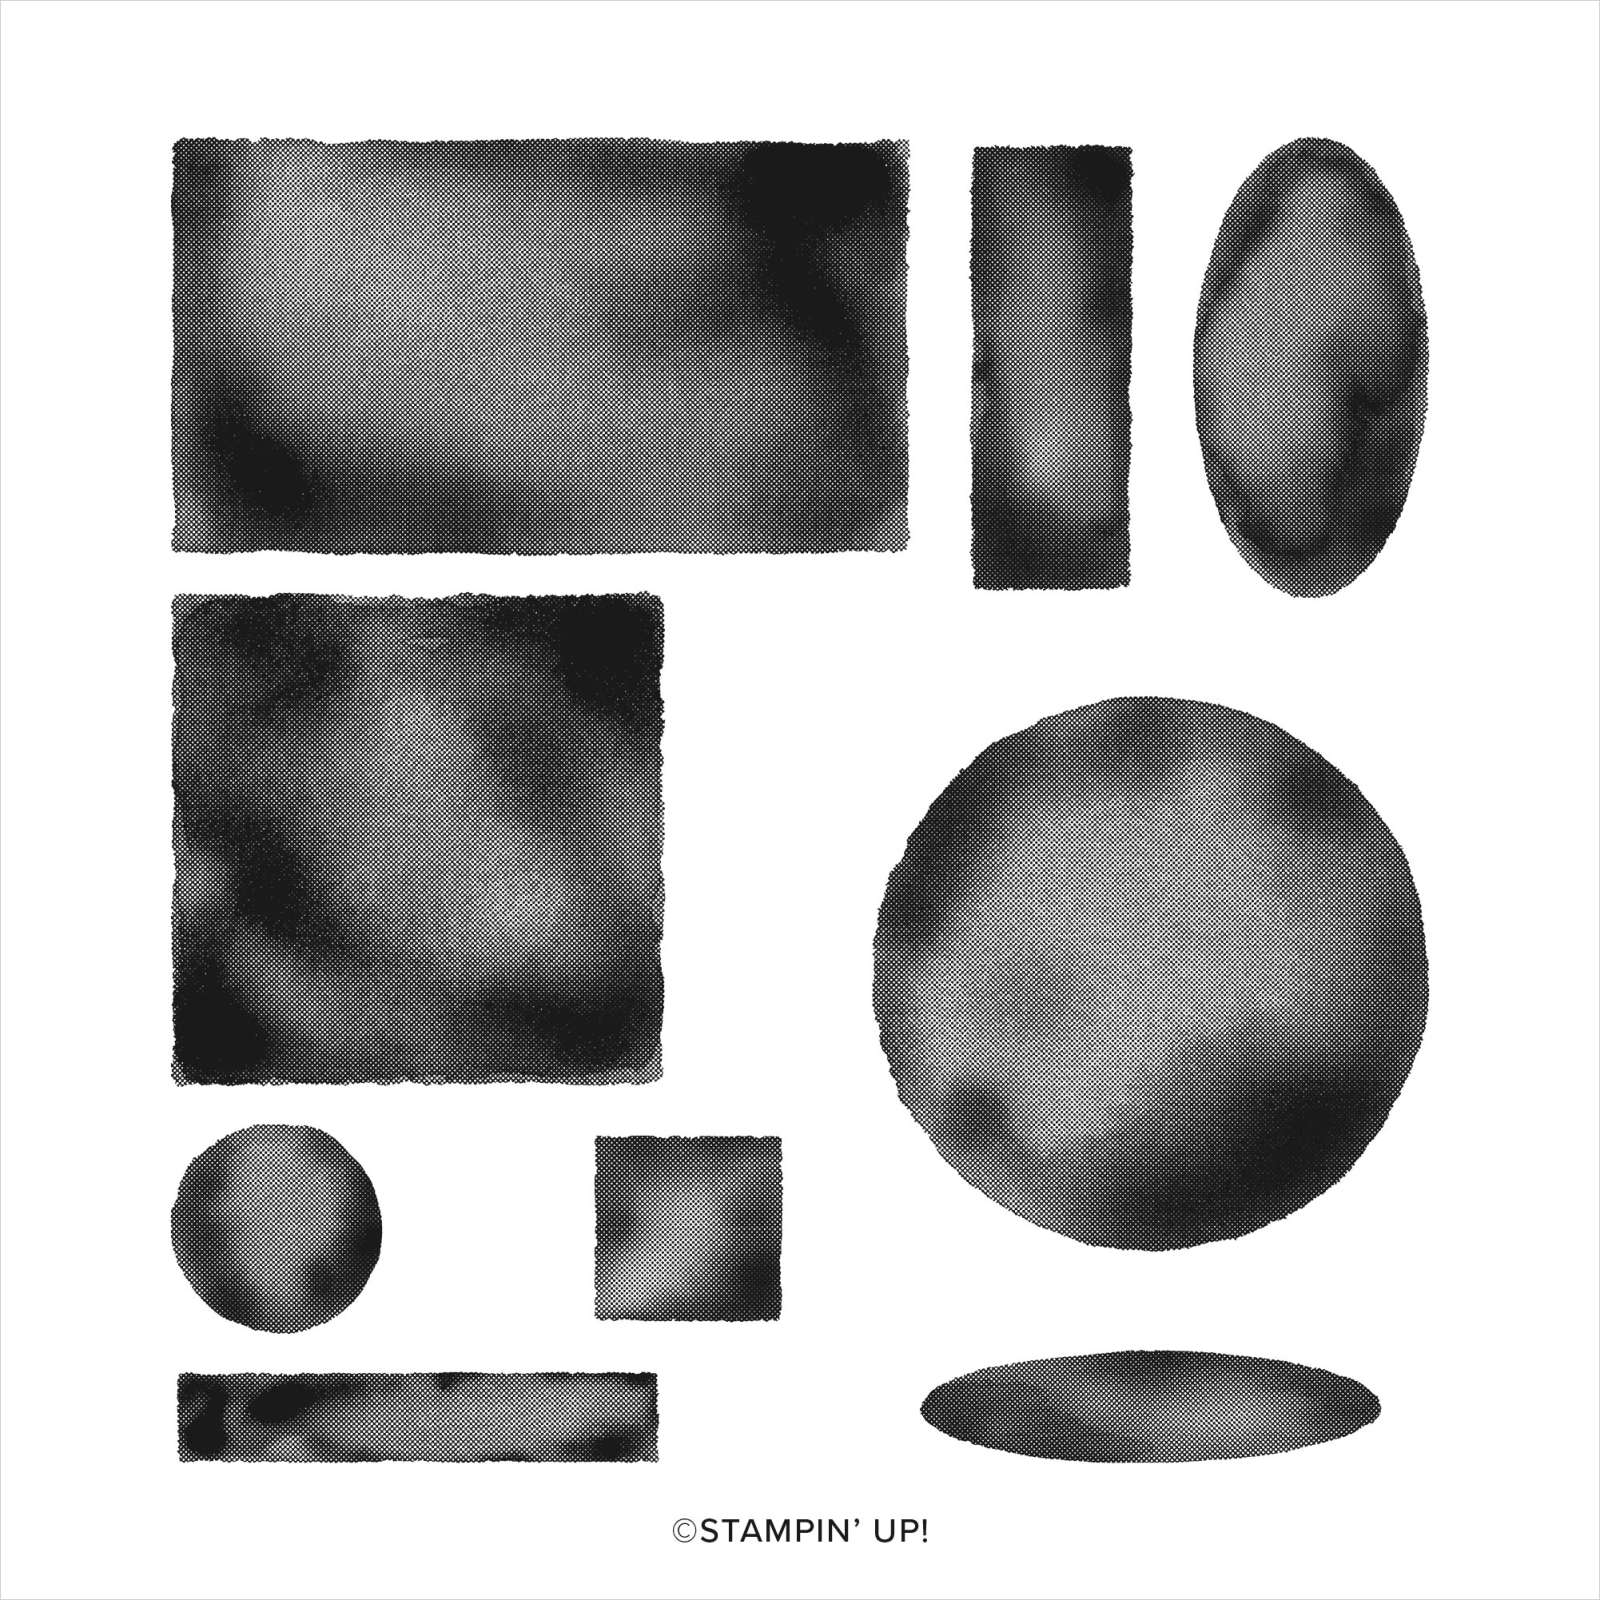
    I chose to use a stamp set that I hadn't used yet; Watercolor Shapes seen here.  

    I stamped the watercolor shapes all over the 3 1/4" X 4 1/2" White CS but I did stamp off first for a lighter hue.  The greeting stands out more then. 

    I found a 'hello' greeting in each of the following stamp sets; Blossoms in Bloom, Create with Friends, Timeless Tropical, Sweet as a Peach, Artistically Inked & Sweet Strawberry.  I had no idea we had that many 'hello's' in our sets! 

    What do you think of this color combination?  

    I stamped a few of these images twice and fussy cut them so I could add some dimension to the card front.  I also added the new In Color Square Gems and a few of the Clear Epoxy Essentials that I colored Granny Apple Green with a Blends marker. 

    June Specials:

    The last chance list is out!  Check out the retiring and discounted products here. 


    Host code: RB3VHBUK  Click here to order

    Use this host code if your order is under $150. If it's over you'll still get the embossing folder but you'll also earn host benefits! Better yet, choose the Starter Kit and choose $125 in product and FREE Shipping as well!  Click here!

    *All online orders in May receive a free PDF full of project ideas with 2 new catalog suites! 

    Leave a Reply

    Your email address will not be published. Required fields are marked *


Notice: LeeAnn Greff, Independent Stampin’ Up! Demonstrator, Manager. The content of this website is my sole responsibility as an independent Stampin’ Up! demonstrator and the use of, and content of, the classes, services, or products offered on this website is not endorsed by Stampin’ Up! Copyright 2025