/


Latest Post

A few favorite craft storage tips


I thought I'd share some of my favorite ways to store my stamping products.  Some people enjoy organizing more than creating! 

First is how I store my stamp sets.  In a dresser drawer.  I purchased a few dressers from IKEA many years ago and they've held up very well despite multiple moves.  

Here's a photo of my craft studio.  I am very, very lucky to have such a beautiful room in our home for my business and classes. 


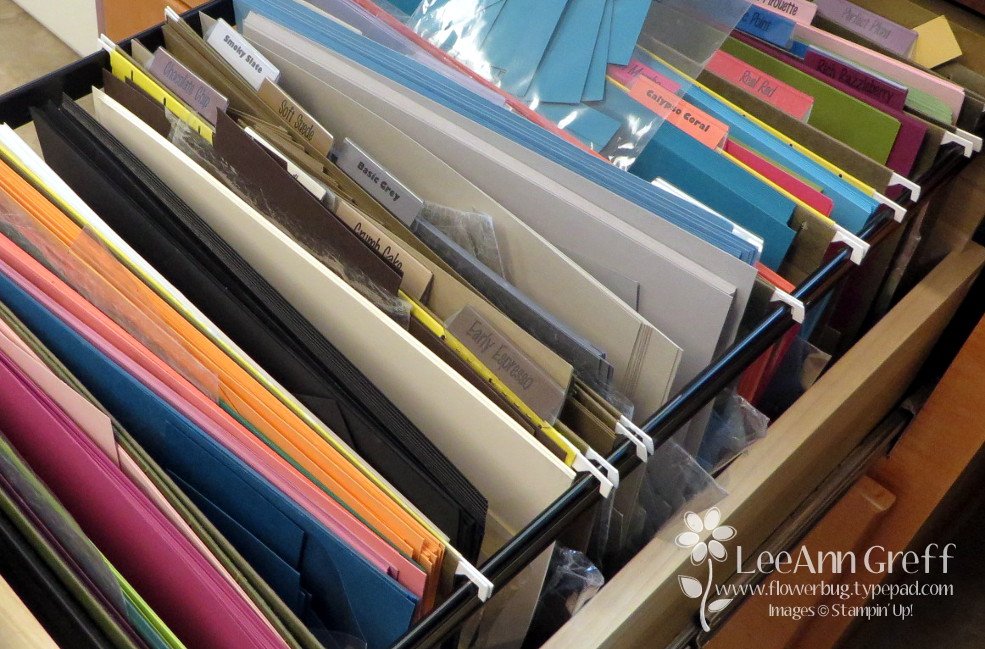
Here's how I store my 8 1/2" X 11" card stock and paper scraps.  In front of each color of card stock I keep a cello bag for the scraps in that color. I've used this method for years and it really helps me use my scraps.
Next is how I store my 12 X 12" designer paper and scrapbook pages. 
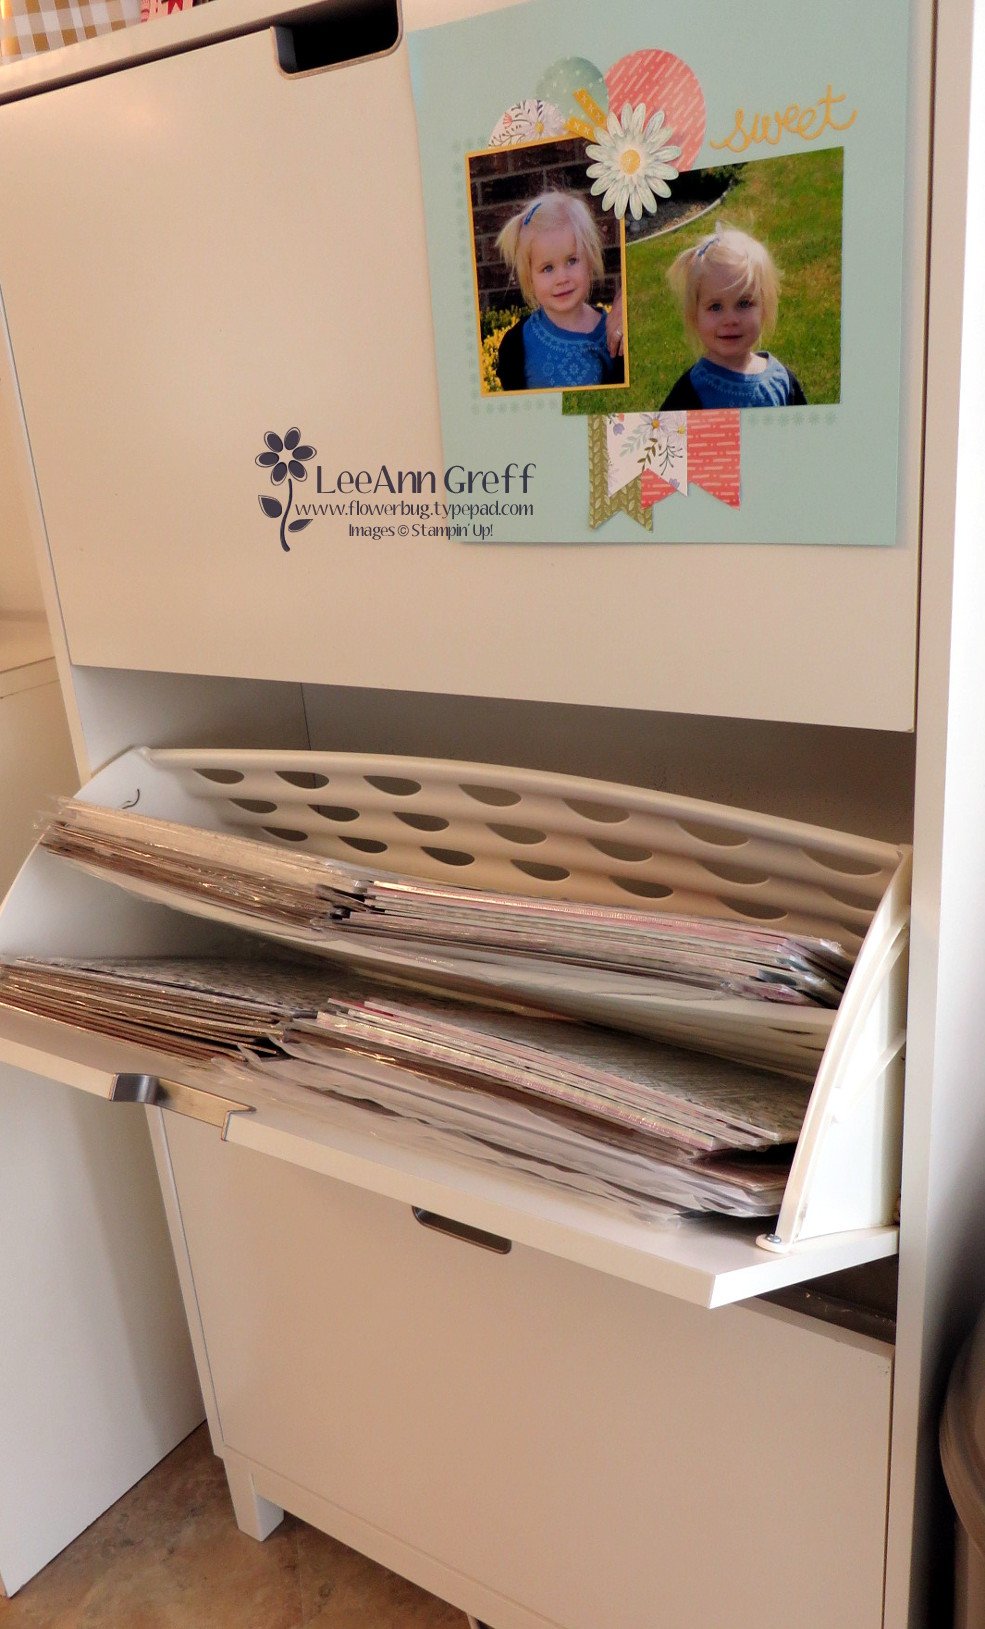
It's a shoe storage cabinet! My 12 X 12" paper fits like it was made just for it!  You can get two stacks side by side in it since it's about 30" wide.    Plus it has a divider to fit even more paper above it.  I love the way the doors hinge open.  There are three doors and it's only about a foot deep.

Lastly here's how I store my inks, markers and ribbon. These are Stampin' Up! storage and they're fully customizable to fit what you need.  Click here to see the options. 

I love that it fits right on my work area for easy reach. As you can see I organize my inks in rainbow order. I'm not sure why my Blends aren't but I know my granddaughter will love to do that for me this week while she's here.  

~~~

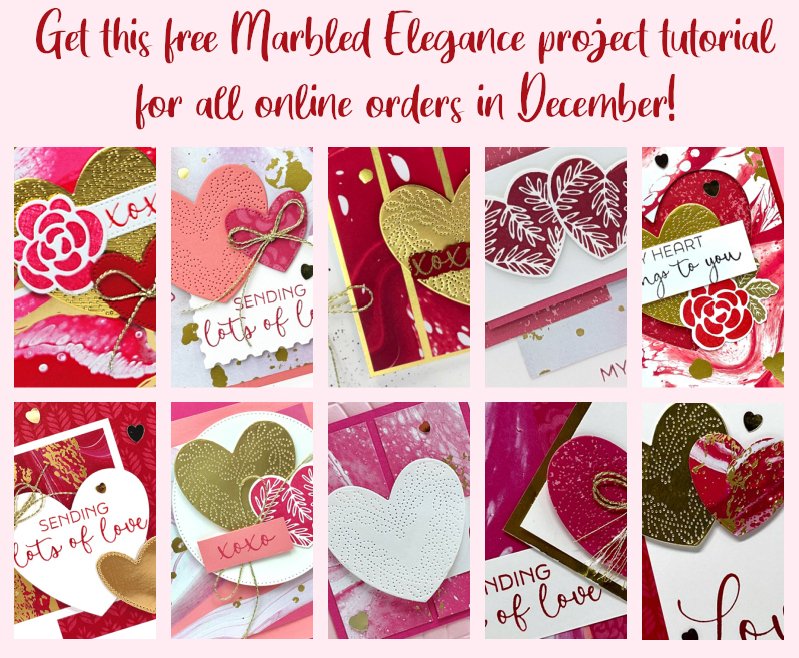
December Specials:

*current host code link:  

P243X6VH

3 new designer papers!

~~~

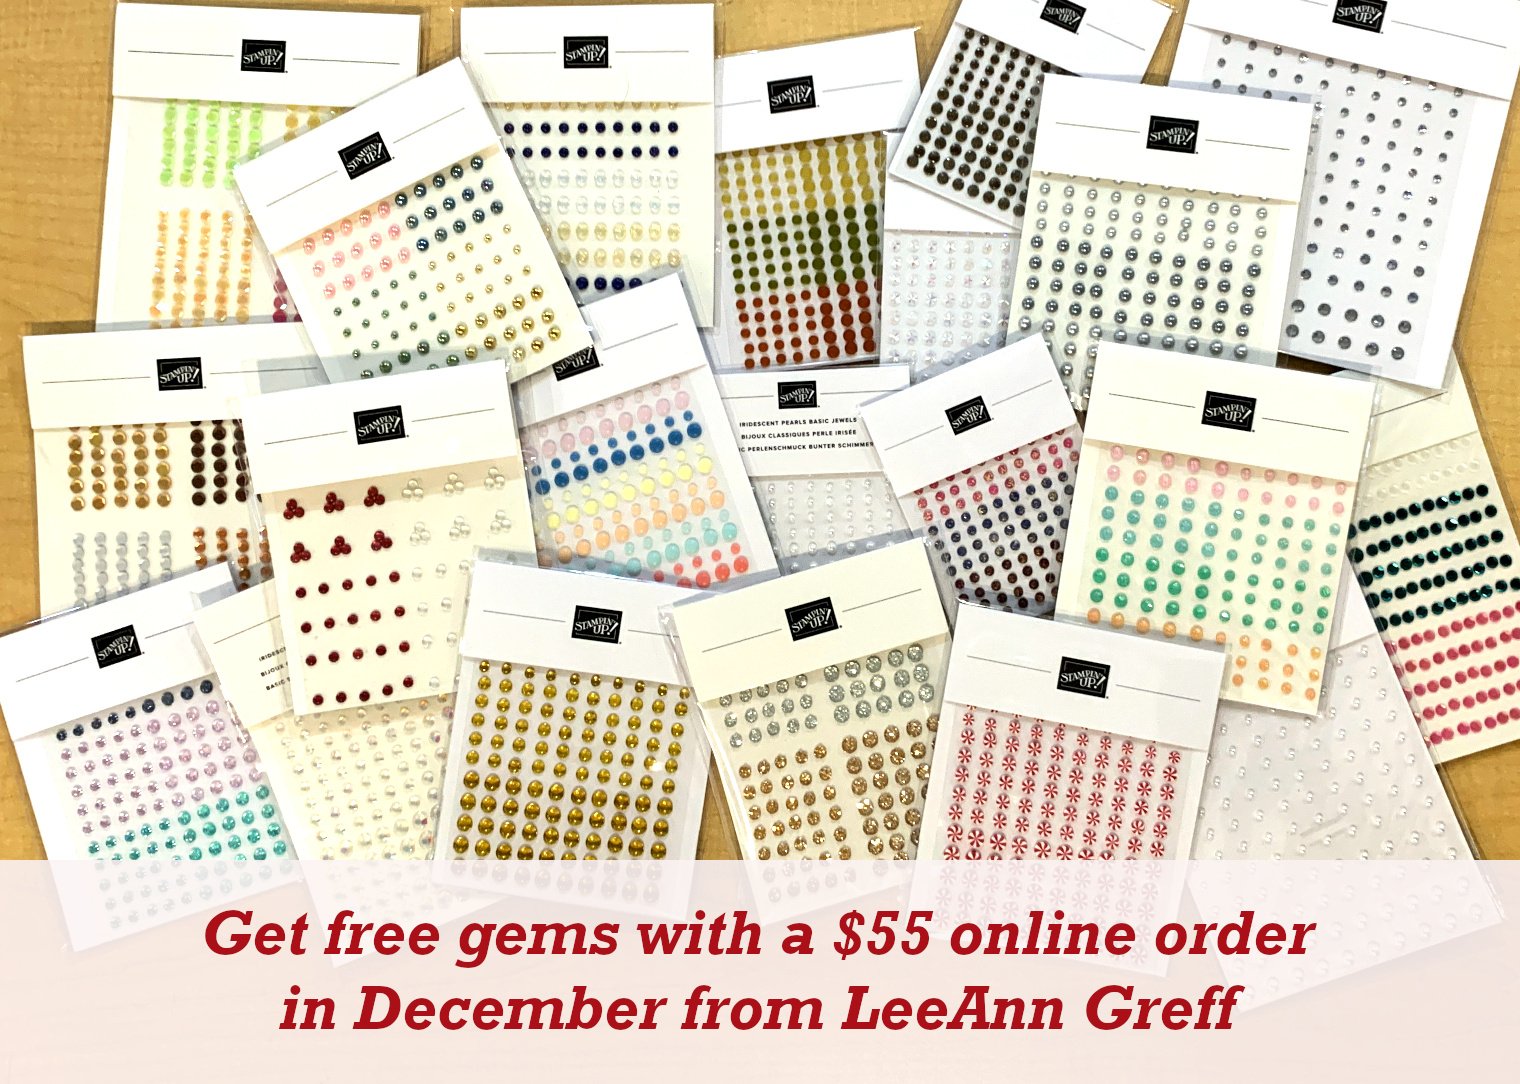
Available December 3rd; while supplies last!
~~~
~~~

All Posts

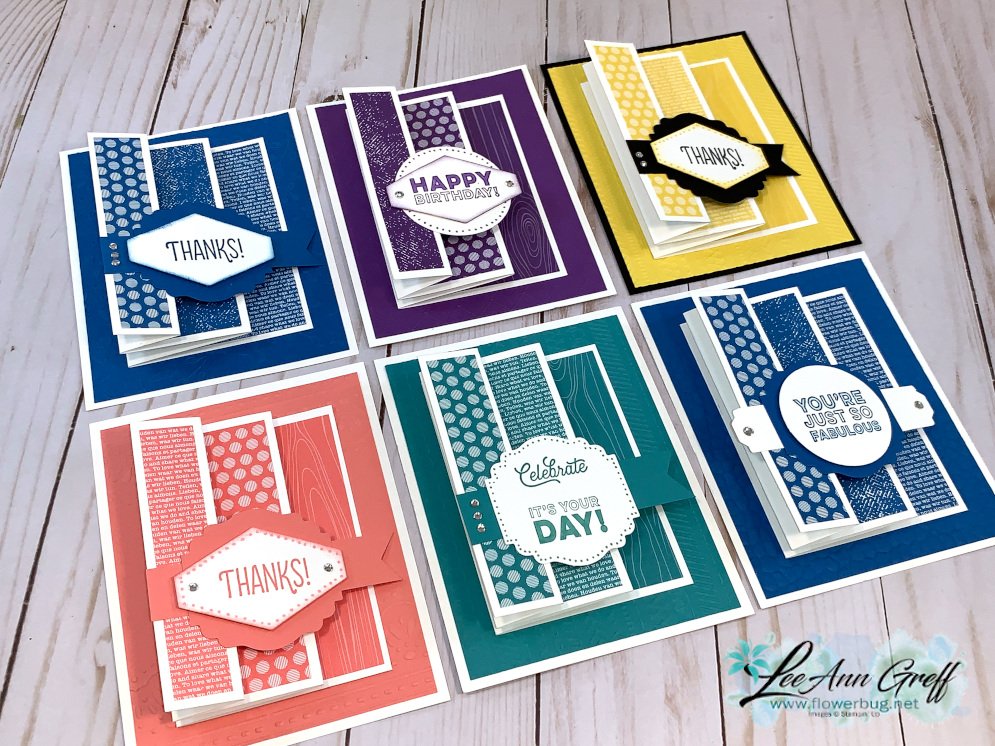
  • Accordion Style Fun-Fold card with video


    Here's another easy fun fold card that shows off all sides of your designer series paper.  And uses up thin strips too! 

    I made them during my weekly 'Stamp With Me' Facebook Live last week.  

    I chose to use the Brights 6 X 6" designer paper pack and the Many Mates stamp set.  

    Aren't they fun?  The back is flat and does not open.  You could include a full card base on it instead of a flat piece if you'd like.  I will write or sign the inside on the larger White part.

    You might notice there are dots around some of the punched pieces.  I used my Blends markers to add that fun detail.  I also colored in some of the words on the greetings too.  This stamp set is fun! 

    When you adhere the greeting on the front add adhesive to just the very top flap. 

    Measurements:
    Card base: 5 1/2" X 4 1/4"
    next layer 5 1/4" X 4", textured
    White accordion fold 4 1/4" X 9" scored at 1", 2", 4" and 6"
    Designer paper – 3 pieces 4" tall. 3/4", 1 1/4" and 2 3/4"
     
    Supplies:
    Stamps – Many Mates
    Ink – Gorgeous Grape, Pacific Point, Bermuda Bay, Flirty Flamingo, Black Memento
    Card stock – Brights DSP, Gorgeous Grape, Bermuda Bay, Flirty Flamingo, Daffodil Delight, Pacific Point, Black
    Punches – Tailored Tag, Label Me Lovely, 2" circle, Lovely You Pick a Punch, Banner Triple
    Other – Blends markers, rhinestone jewels, Dimensionals 

    Below is the video for you.  Enjoy! 

    ~~~

    Current Host code is 3MFE2KKP

    Bonus Days!


    Get a $5 coupon to use in August with each $50 you spend in July!

    Get a free 2020 card stock sampler with online orders over $60 that use the above host code.  This is so helpful to really know your Stampin' Up! colors! 

    Order online here

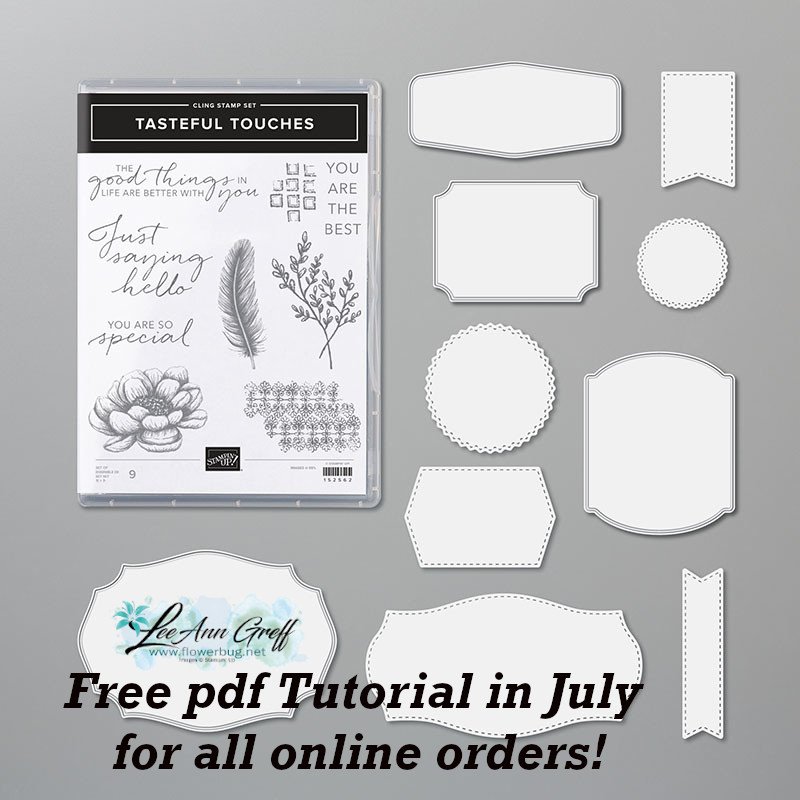
     Get my Tasteful Touches pdf tutorial free with any online order in July


    It includes directions, photos and measurements for 10 cards!


    Leave a Reply

    Your email address will not be published. Required fields are marked *

  • Double Point cards with video


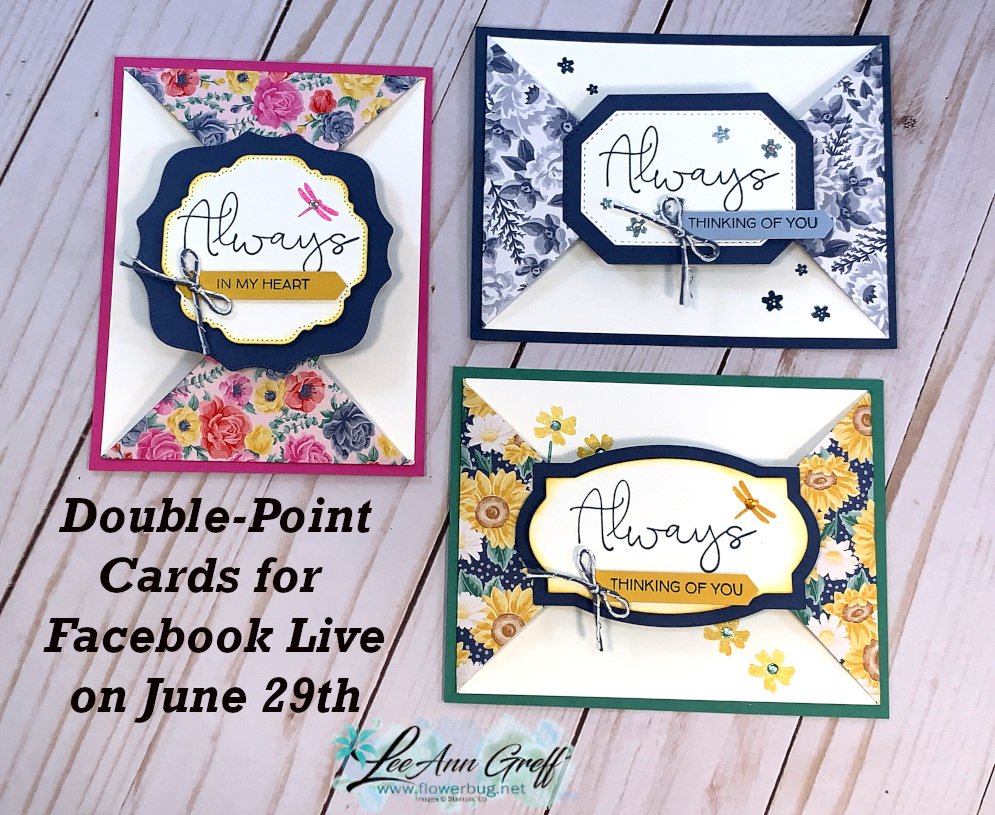
    Have you tried making a Double Point fun fold card yet?  They are so easy! 

    Bonus!  This unique fold truly makes the most of your 12 X 12" paper!  You can get 6 cards from one sheet! 

    I chose to use the Flowers for Every Season designer paper and the Field of Flowers stamp set.  The dies are from the Hippo & Friends dies seen here.  I LOVE these label dies! 

    Measurements:
    Card base 4 1/4" X 5 1/2"
    White inside 5 1/4" X 4"
    DSP 3" X 4", scored at 1" on the long side
    Label dies or punches to 'connect' the points
     
    Products Used: 
    Field Of Flowers Photopolymer Stamp Set [152589] – Price: $17.00 – see here
    Ridiculously Awesome Cling Stamp Set [152512] – Price: $22.00 see here
    Hippo & Friends Dies [153585] – Price: $36.00 – see here
    Flowers For Every Season 6" X 6" (15.2 X 15.2 Cm) Designer Series Paper [152486] – Price: $11.50 – seen here
    2020–2022 In Color Enamel Dots [152480] – Price: $8.00 – see here

    If you want step by step instructions you can watch the video below.

    ~~~

    Current Host code is 3MFE2KKP

    Get a free 2020 card stock sampler with online orders over $60 that use the above host code.  This is so helpful to really know which color is which! 

    Order online here

     Get my Tasteful Touches pdf tutorial free with any online order in July


    It includes directions, photos and measurements for 10 cards!


    Leave a Reply

    Your email address will not be published. Required fields are marked *

  • Easy Diagonal cards; Stamp With Me tonight at 7:30 pm!


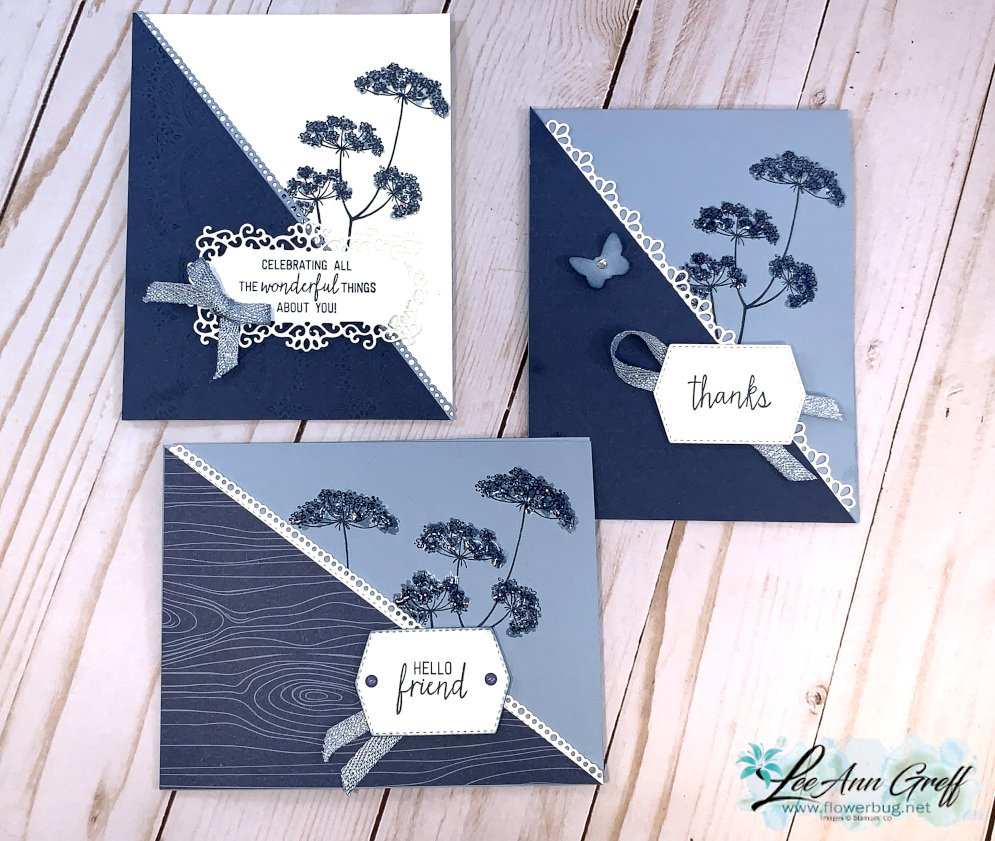
    This week I'm highlighting some of the cards I've recently made on Facebook Live.  With two a week there's a lot! 

    Here are the cards for tonight's Facebook Live 'Stamp with Me' here. 

    I chose the pretty Misty Moonlight & Seaside Spray combination for these cards.  I love the two toned look of these In Colors together.  When you add White for a pop of brightness they really shine!  

    Join me here tomorrow night.  Prep the pieces, gather some supplies and we'll stamp together! 

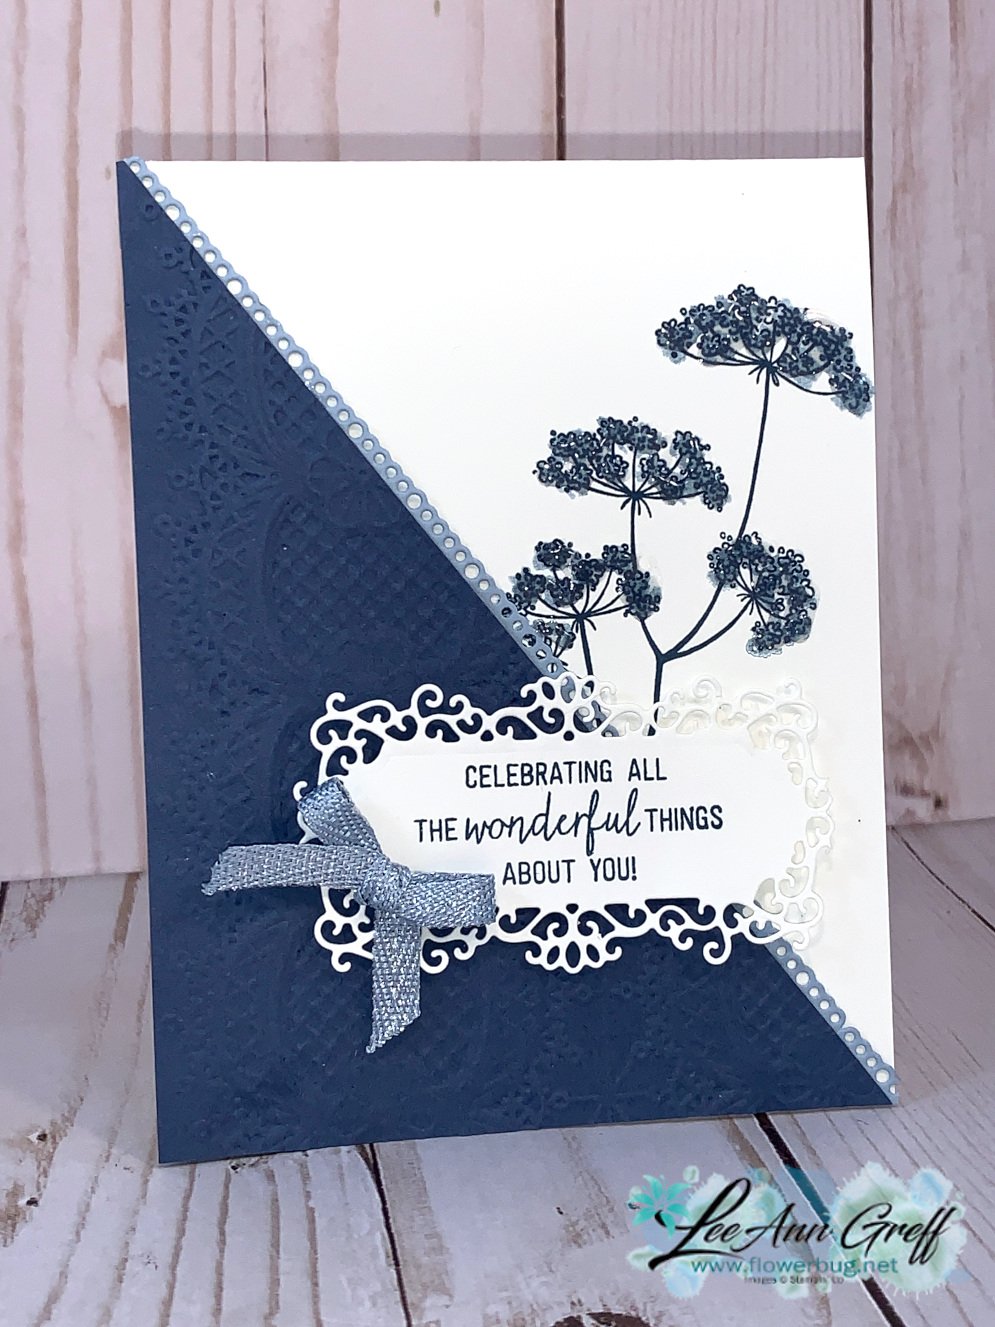
    I used the Queen Anne's Lace stamp set seen here in Misty Moonlight, White & Seaside Spray.
     
    You can really see the Shimmer Crystal Effects on the flowers in this photo! 
     
    Measurements:
    Card bases 4 1/4" X 11" scored at 5 1/2"
    Diagonal pieces (card stock or DSP) 4 1/4" X 5 1/2" cut in half on the diagonal.
    Decorative strips 7 1/2" long X 1/2" – punched or die-cut
    Greeting punches or die-cuts (Ornate Frames, Tasteful Labels & Ornate Border dies) 
     
    Supplies:
    Card stock (I used Misty Moonlight, Seaside Spray, White)
    Stamps of your choice and ink
    Punches or die-cuts for borders & greetings
    Embossing folders or DSP
    Ribbons, embellishments, Shimmery Crystal Effects
    Sponges, mini glue dots, dimensionals

    ~~~

    Current Host code is 3MFE2KKP

    Get a free 2020 card stock sampler with online orders over $60 that use the above host code.  This is so helpful to really know which color is which! 

    Order online here

     Get my Tasteful Touches pdf tutorial free with any online order in July


    It includes directions, photos and measurements for 10 cards!

    Leave a Reply

    Your email address will not be published. Required fields are marked *


Notice: LeeAnn Greff, Independent Stampin’ Up! Demonstrator, Manager. The content of this website is my sole responsibility as an independent Stampin’ Up! demonstrator and the use of, and content of, the classes, services, or products offered on this website is not endorsed by Stampin’ Up! Copyright 2025