/


Latest Post

A few favorite craft storage tips


I thought I'd share some of my favorite ways to store my stamping products.  Some people enjoy organizing more than creating! 

First is how I store my stamp sets.  In a dresser drawer.  I purchased a few dressers from IKEA many years ago and they've held up very well despite multiple moves.  

Here's a photo of my craft studio.  I am very, very lucky to have such a beautiful room in our home for my business and classes. 


Here's how I store my 8 1/2" X 11" card stock and paper scraps.  In front of each color of card stock I keep a cello bag for the scraps in that color. I've used this method for years and it really helps me use my scraps.
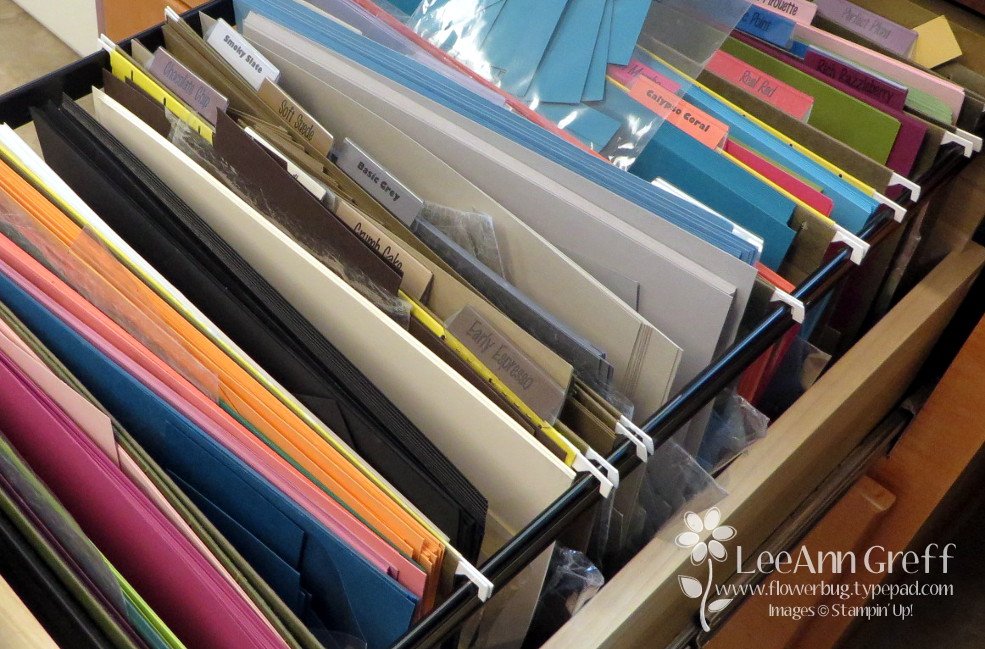
Next is how I store my 12 X 12" designer paper and scrapbook pages. 
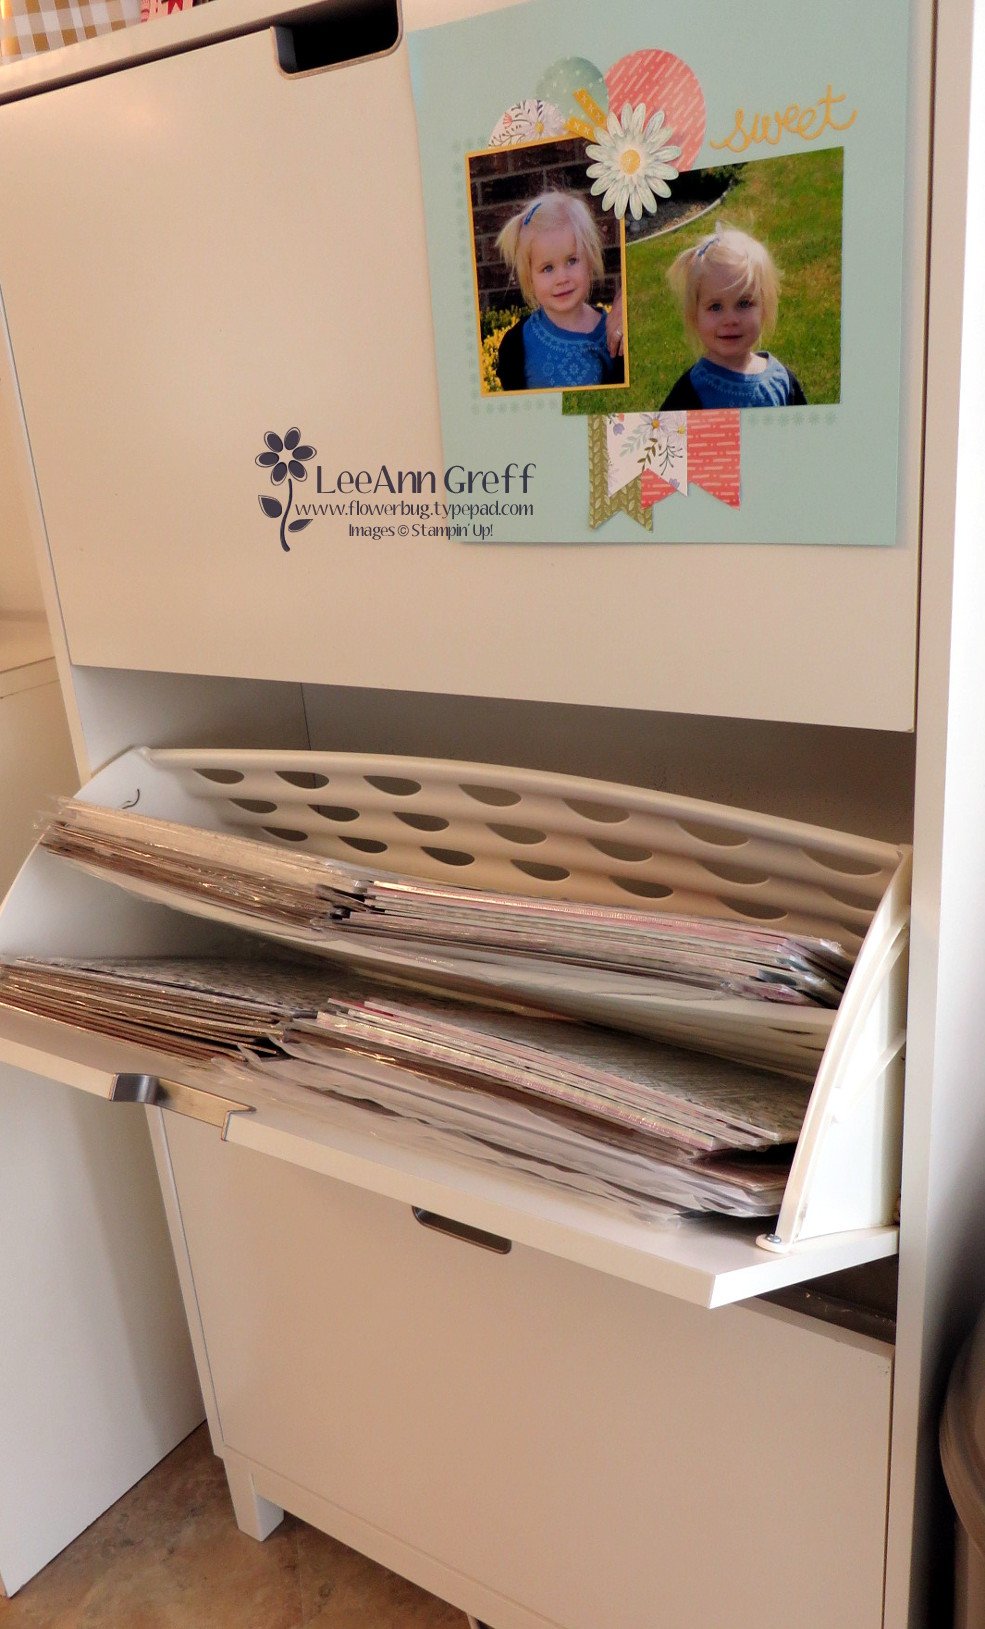
It's a shoe storage cabinet! My 12 X 12" paper fits like it was made just for it!  You can get two stacks side by side in it since it's about 30" wide.    Plus it has a divider to fit even more paper above it.  I love the way the doors hinge open.  There are three doors and it's only about a foot deep.

Lastly here's how I store my inks, markers and ribbon. These are Stampin' Up! storage and they're fully customizable to fit what you need.  Click here to see the options. 

I love that it fits right on my work area for easy reach. As you can see I organize my inks in rainbow order. I'm not sure why my Blends aren't but I know my granddaughter will love to do that for me this week while she's here.  

~~~

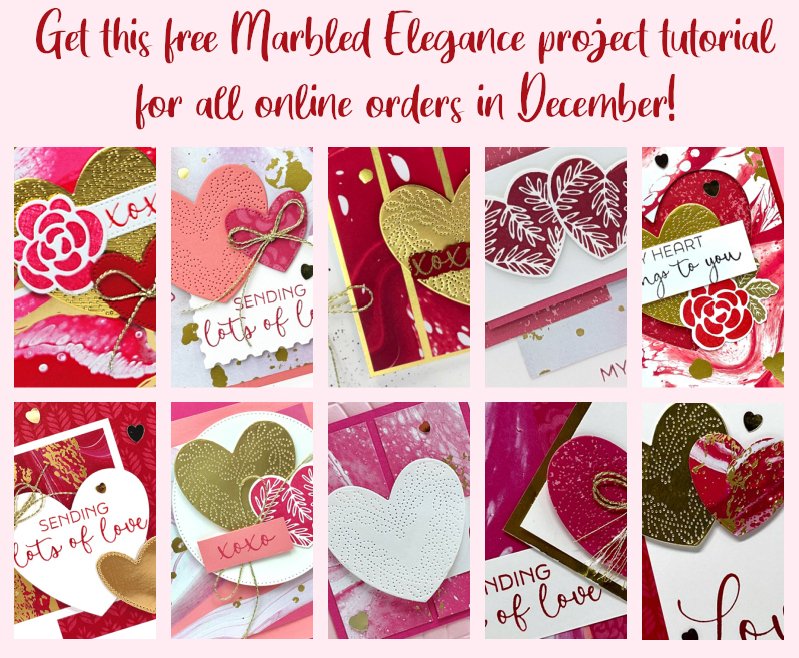
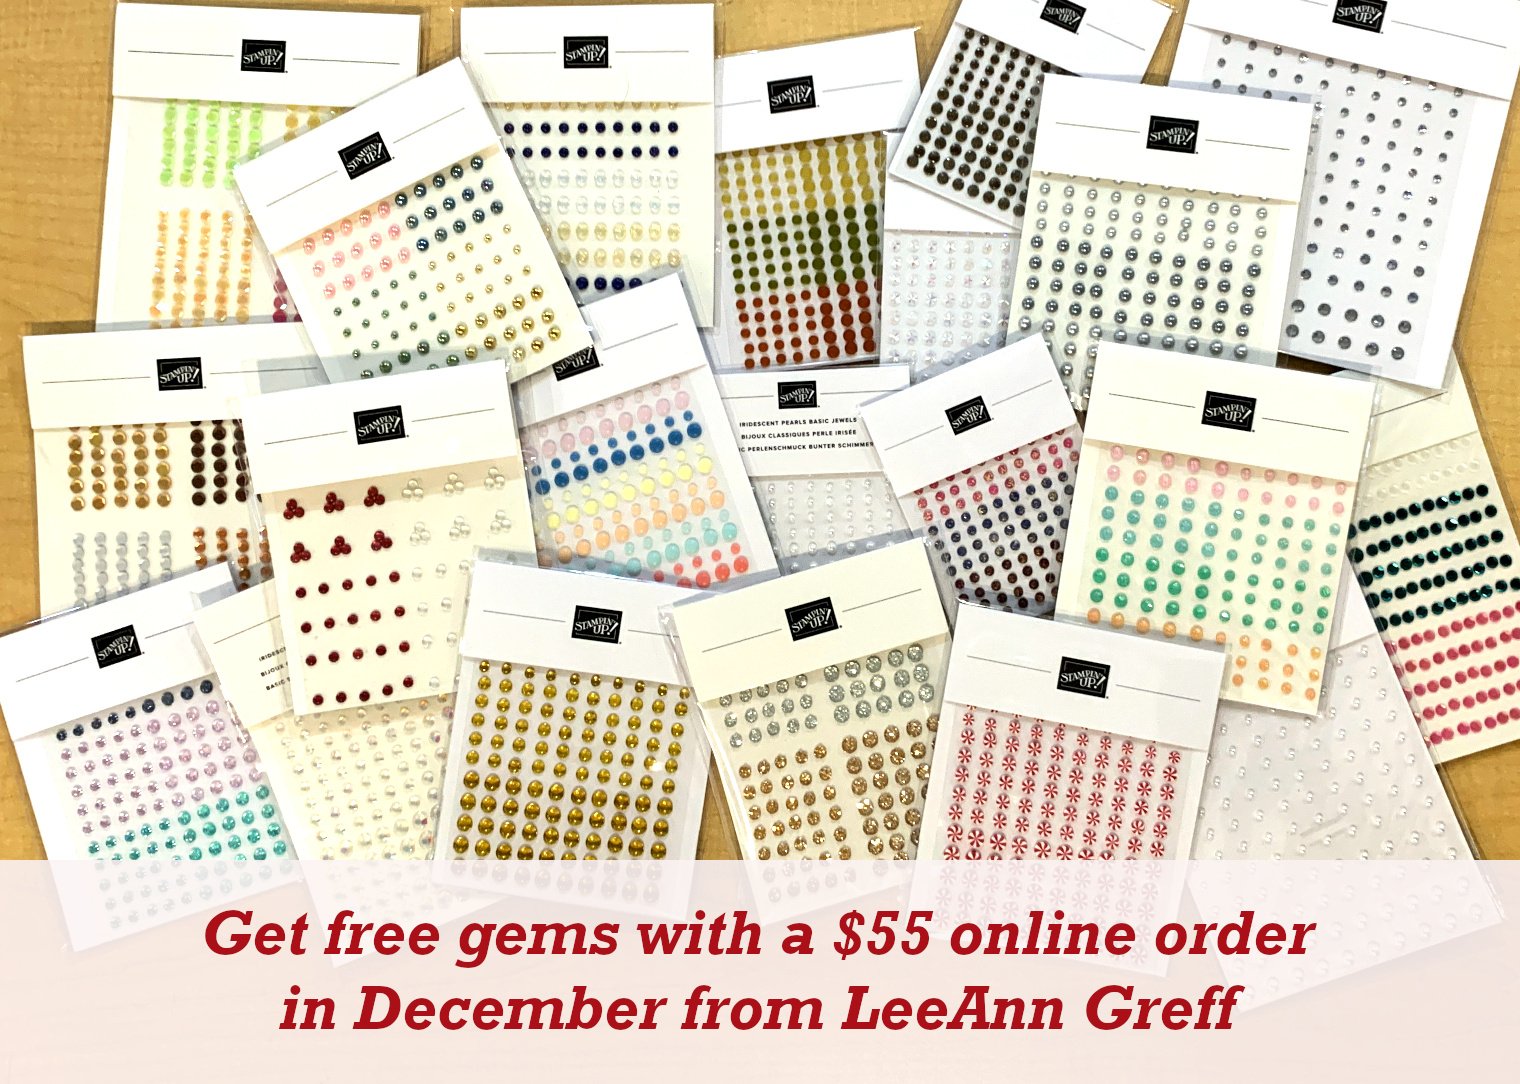
December Specials:

*current host code link:  

P243X6VH

3 new designer papers!

~~~

Available December 3rd; while supplies last!
~~~
~~~

All Posts

  • Create gorgeous backgrounds with just a few common stamping items! Video tutorial!


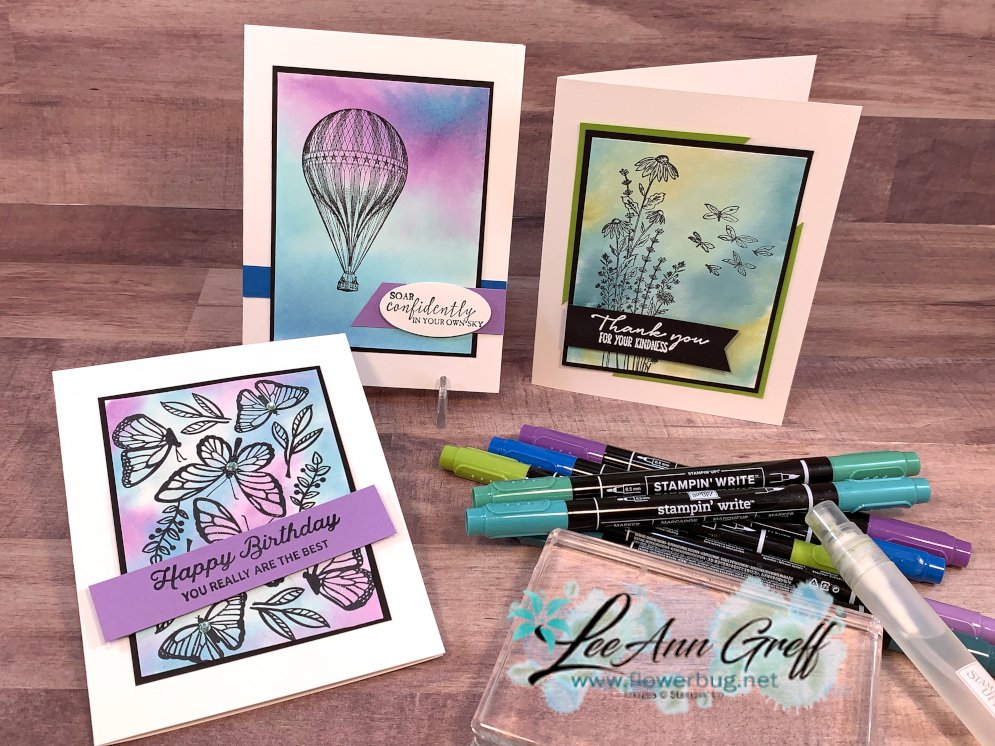
    On Tuesday's FB live I shared a fun and easy technique for gorgeous backgrounds.  Once you create them you can use them to create stunning, beautiful cards like these:

    This was my first try at this technique this week.  Honestly it's not a new technique at all but I hadn't done it for years! The stamp set is called Soar Confidently (seen here) and I hadn't used it yet.  I think it works wonderfully with a pretty background. 

    I used Highland Heather, Gorgeous Grape, Bermuda Bay and Pacific Point Stampin' Write markers on an E block and spritzed with plain water.  Then 'stamp' on our Basic White CS and let dry with the block on it (this prevents warping).  Then stamp on it with any black ink.  

    Here are a few more samples I shared: 

    The left card above features the Dragonfly Garden stamp set and the right is the Floating & Fluttering set. 

    See what I mean?  And it's fun too!  Each time you do it they turn out differently so it's kind of addicting!  Watch the video below to see how easy it can be.  

    ~~~

    Current Host code is 39A9QQZP

    Order online here

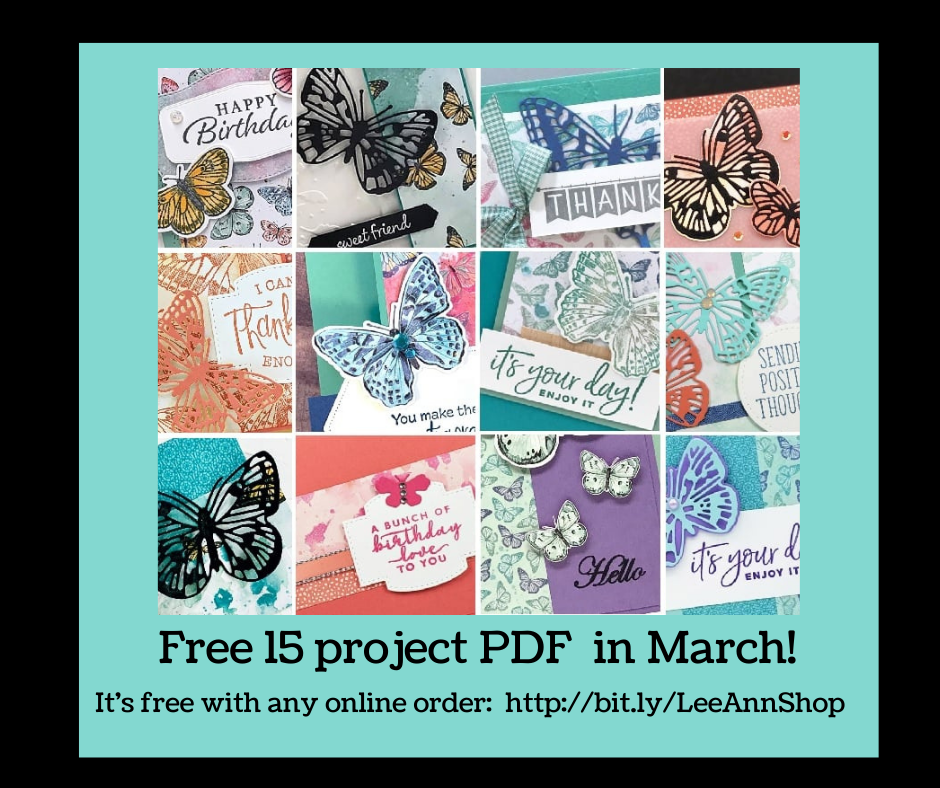
    All online orders receive a free PDF of the new Butterfly Bouquet bundle

    with 15 projects!


    ~~~

    Get a free adhesive package from me with an online order over $50 using the host code above. 3 sheets of Dimensionals and 1 for die-cuts!

    *If your order is over $150 do not use the code; you'll still receive a gift! 

    Below are the Multipurpose Glue stands we're making. They're $6 each and available in my Shop here.  

    Leave a Reply

    Your email address will not be published. Required fields are marked *

  • Gorgeous Butterflies with the Brilliant Wing dies


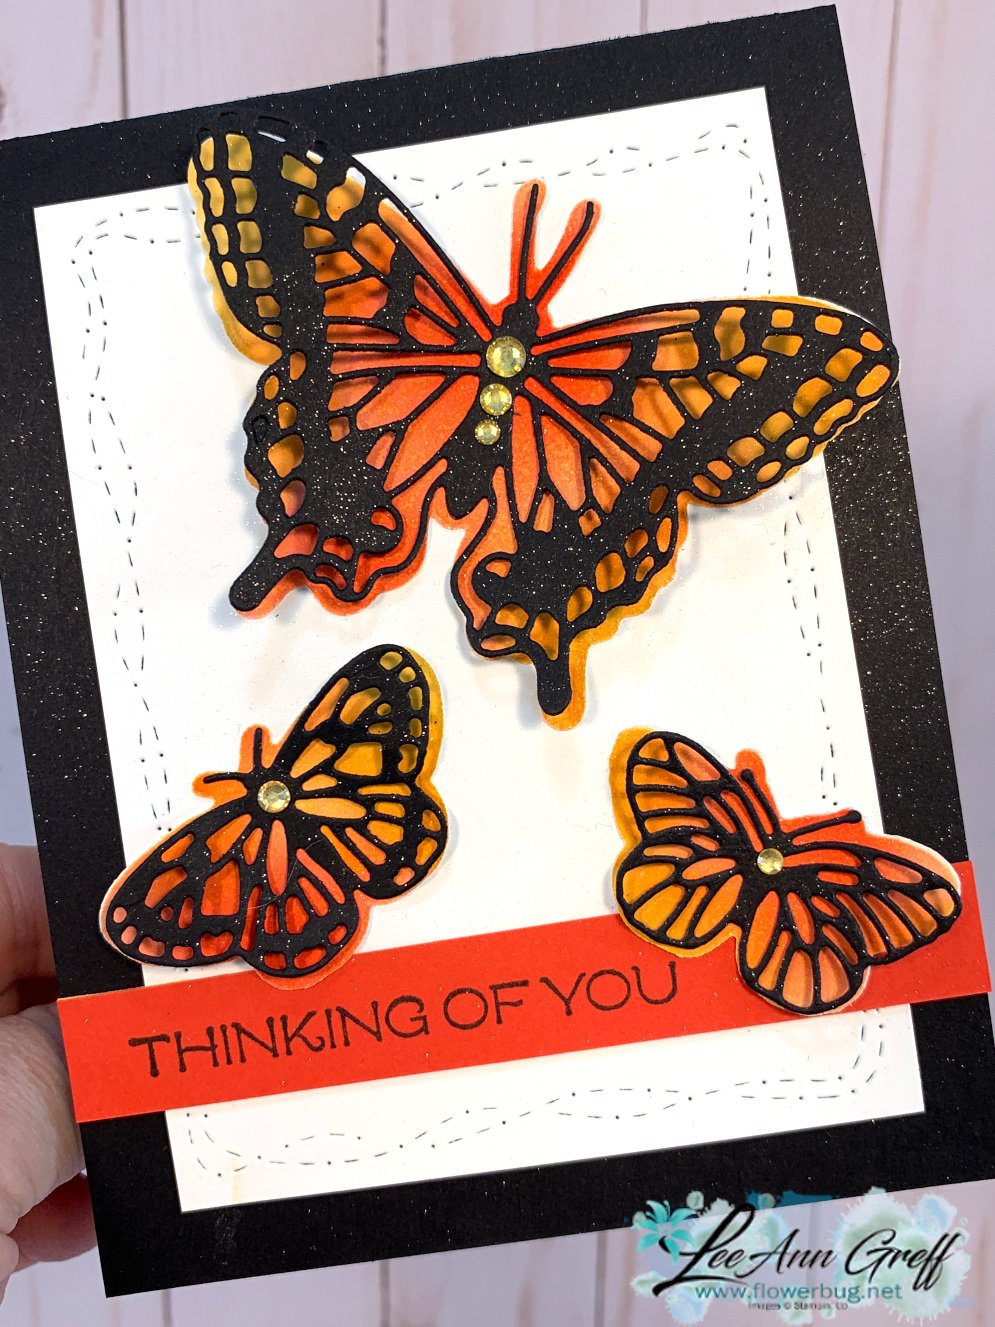
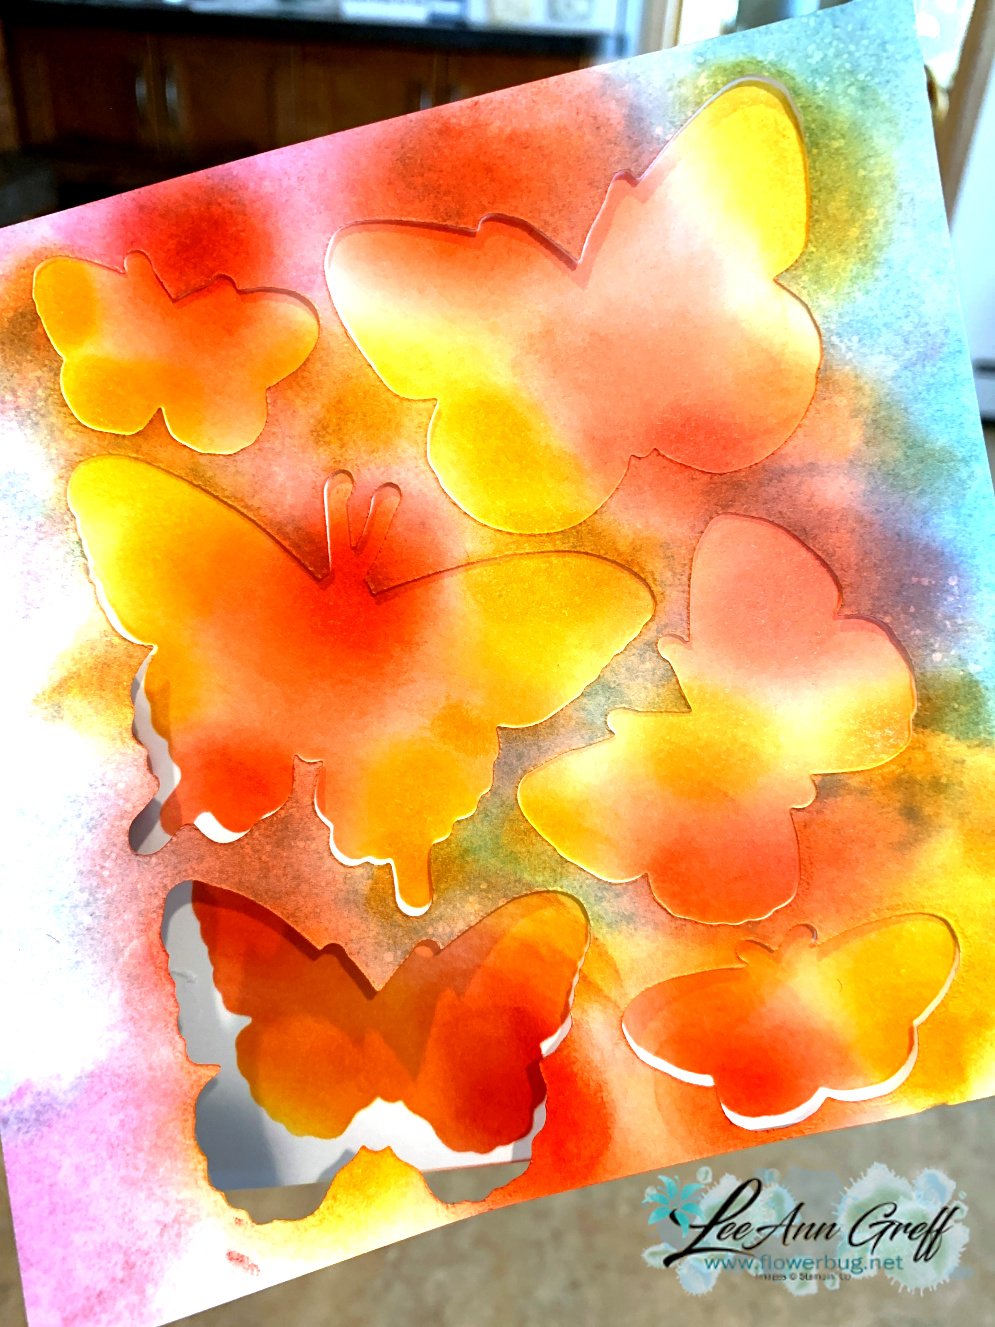
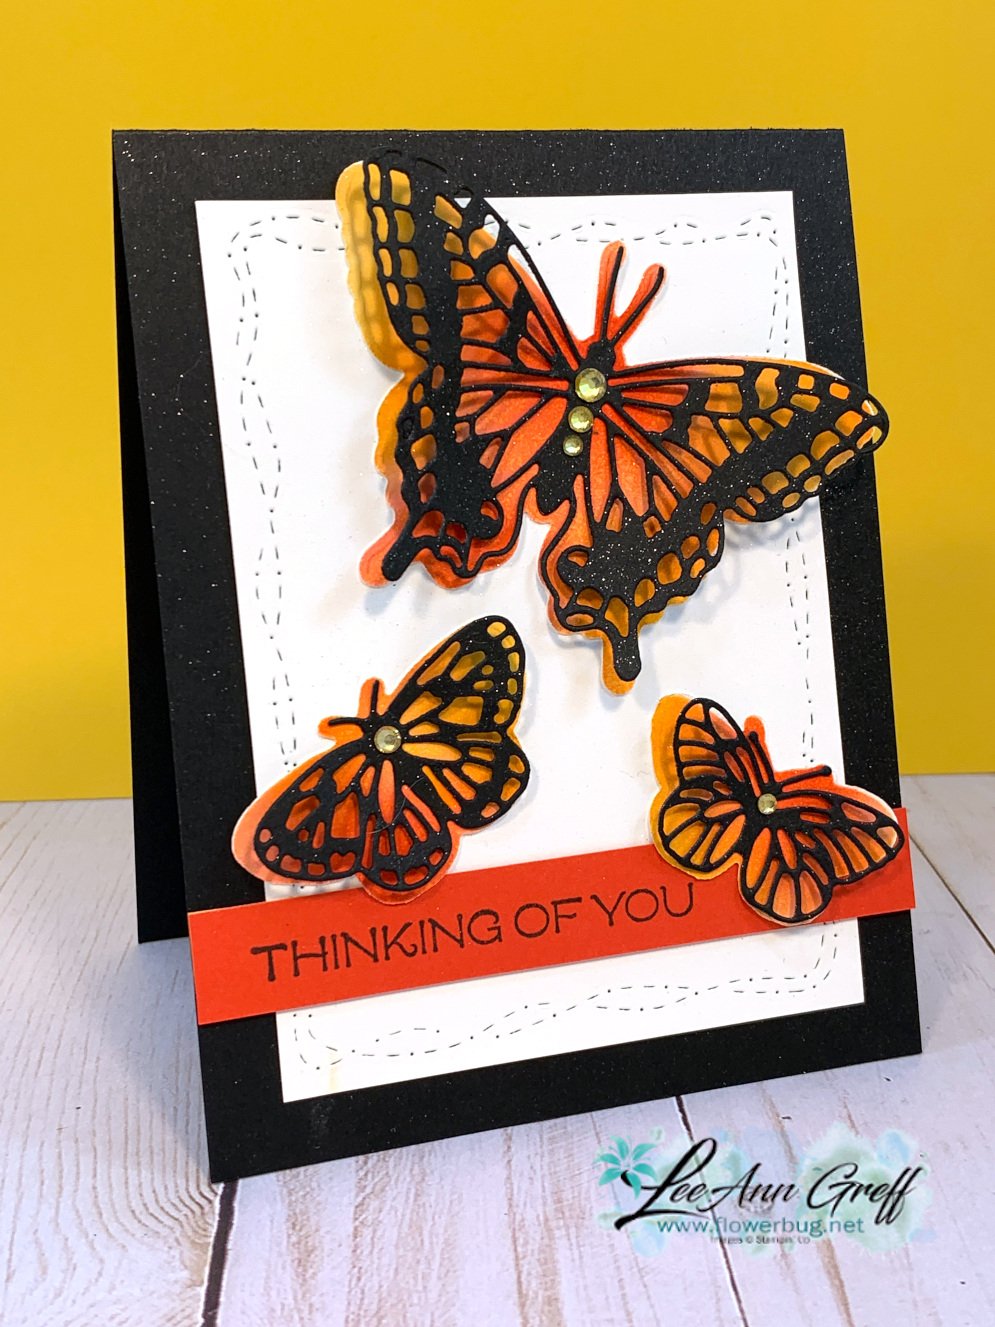
    I was playing around with these dies and came up with these striking colored butterflies.   

    I used the designer paper as a template to sponge through.  This is what's left after you use the Brilliant Wings dies to cut out the 6 butterflies.  Although in hindsight I should have sponged on the other side so the die fit.  It was upside down on the die; I had to hold it up to the light to get the die placed correctly.  

    I added a piece of White CS behind these butterflies and used the Stitched with Whimsy dies to add that pretty stitched edge.  See those here. 

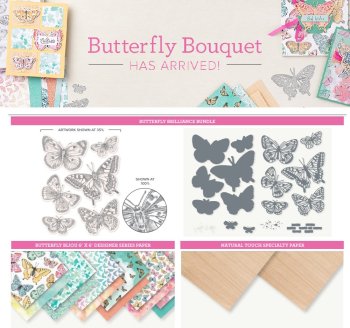
    Click on the image below to see these items in my store. Remember this designer paper is available through May 3rd or while supplies last.


    The greeting is from the Vine Design stamp set on a 1/2" strip of Poppy Parade card stock. 

    ~~~

    Current Host code is 39A9QQZP

    Order online here

    All online orders receive a free PDF of the new Butterfly Bouquet bundle

    with 15 projects!


    ~~~

    Get a free adhesive package from me with an online order over $50 using the host code above. 3 sheets of Dimensionals and 1 for die-cuts!

    *If your order is over $150 do not use the code; you'll still receive a gift! 

    Below are the Multipurpose Glue stands we're making. They're $6 each and available in my Shop here.  

    Leave a Reply

    Your email address will not be published. Required fields are marked *

  • This week’s card sketch for a quick, cute card!


    Are you a collector of pretty papers?  I've heard that many of you are!  I equate it to my fabric collecting days.  

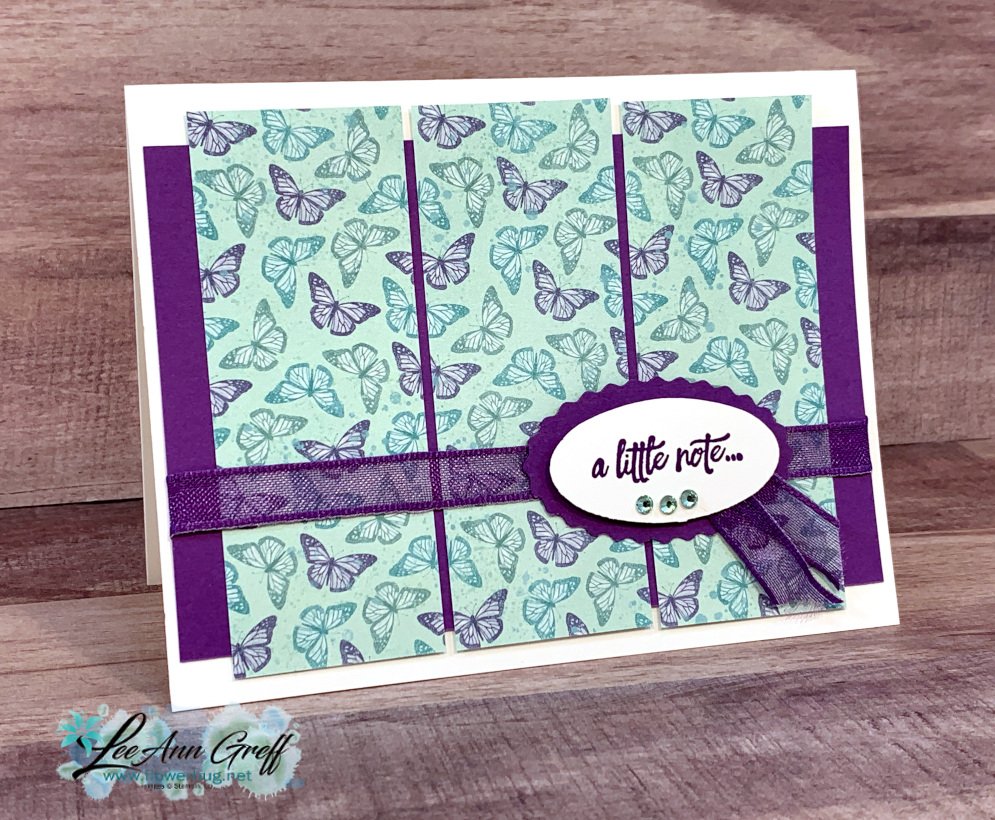
    This card sketch idea (seen below) will help you use some of it; it's so simple!   

    I used the Double Oval punch for the greeting which unfortunately is unavailable right now; they've run out!  But it will be at the end of March.  The stamped greeting is from the Enjoy the Moment stamp set on page 59 in the Spring catalog. This pretty Grape ribbon is also unavailable; it should be back  next week. 

    I chose to use the new Butterfly Bijou designer paper; an exclusive paper not seen in any catalog.  It's available here through May 3rd or while supplies last.  It's a 48 pack of 6 X 6" papers.  I love the soft spring-like colors. 

    Measurements are:

    • Card base 5 1/2" X 8 1/2"
    • Gorgeous Grape 5 1/4" X 3 1/2"
    • Designer Paper 3 pieces at 1 1/2" X 3 7/8"

    You could use this sketch with stamped or textured card stock instead of designer paper.  I would cut a full 4 1/2" X 3 7/8" piece of card stock, stamp it and then cut it into 1 1/2" strips.  

    ~~~

    Current Host code is 39A9QQZP

    Order online here

    All online orders receive a free PDF of the new Butterfly Bouquet bundle

    with 15 projects!


    ~~~

    Get a free adhesive package from me with an online order over $50 using the host code above. 3 sheets of Dimensionals and 1 for die-cuts!

    *If your order is over $150 do not use the code; you'll still receive a gift! 

    Below are the Multipurpose Glue stands we're making. They're $6 each and available in my Shop here.  

    Leave a Reply

    Your email address will not be published. Required fields are marked *


Notice: LeeAnn Greff, Independent Stampin’ Up! Demonstrator, Manager. The content of this website is my sole responsibility as an independent Stampin’ Up! demonstrator and the use of, and content of, the classes, services, or products offered on this website is not endorsed by Stampin’ Up! Copyright 2025