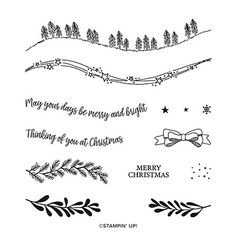
Stamp the curvy trees image on the White CS using Shaded Spruce ink. Color the trees with a Light Shaded Spruce Blends marker. Add a tiny star using Cherry Cobbler ink on one tree. Adhere it to the Cherry Cobbler layer and to the main card.
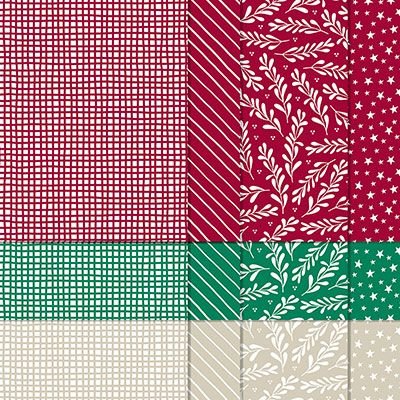
Punch out three pieces of Classic Christmas designer paper with the Postage Punch seen here. Adhere to the White CS.
Stamp the greeting in Cherry Cobbler ink on a 1/2" strip of White CS. Punch the ends with the Banners Pick a Punch. Add it to the card with mini dimensionals.
Finish with a few Holiday rhinestones.
You can see this stamp set here; it's only available through January 4th. And the Classic Christmas Designer Paper is herewhile supplies last.
Remember that everyone who orders any of these products or places an online order with me in November will receive a free 22 project PDF tutorial featuring the Curvy Celebration products!
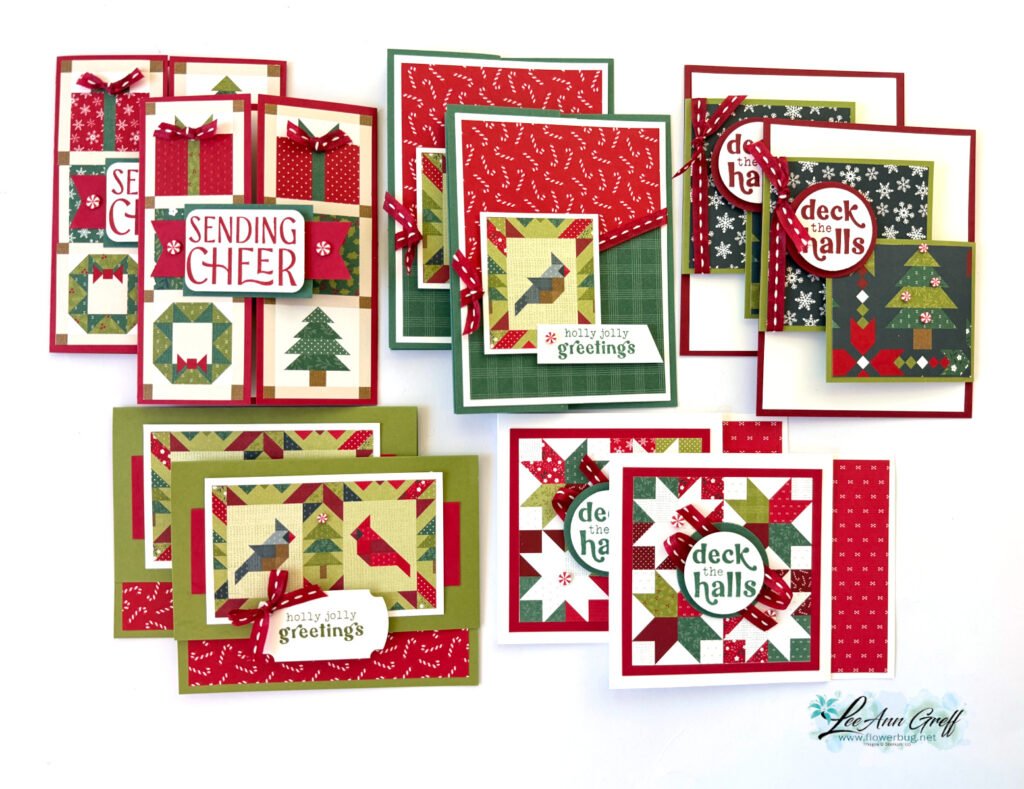
These cards are all fun fold layouts and make the most of this adorable paper. You’ll love the fun layouts and the Peppermint gems and stitched Red ribbon included in the kit.
The kit to go includes approximately $20 in Stampin’ Up! product plus the PDF tutorial for all 10 cards. The tutorial includes photos, measurements, a supplies list and step by step directions.
Click here to get the pre-cut kit to go with product & tutorial. It’s $33.
Click here to get the PDF tutorial only for $17. The PDF tutorial will be sent to you immediately in an email. The kit to go will be mailed out in mid August.
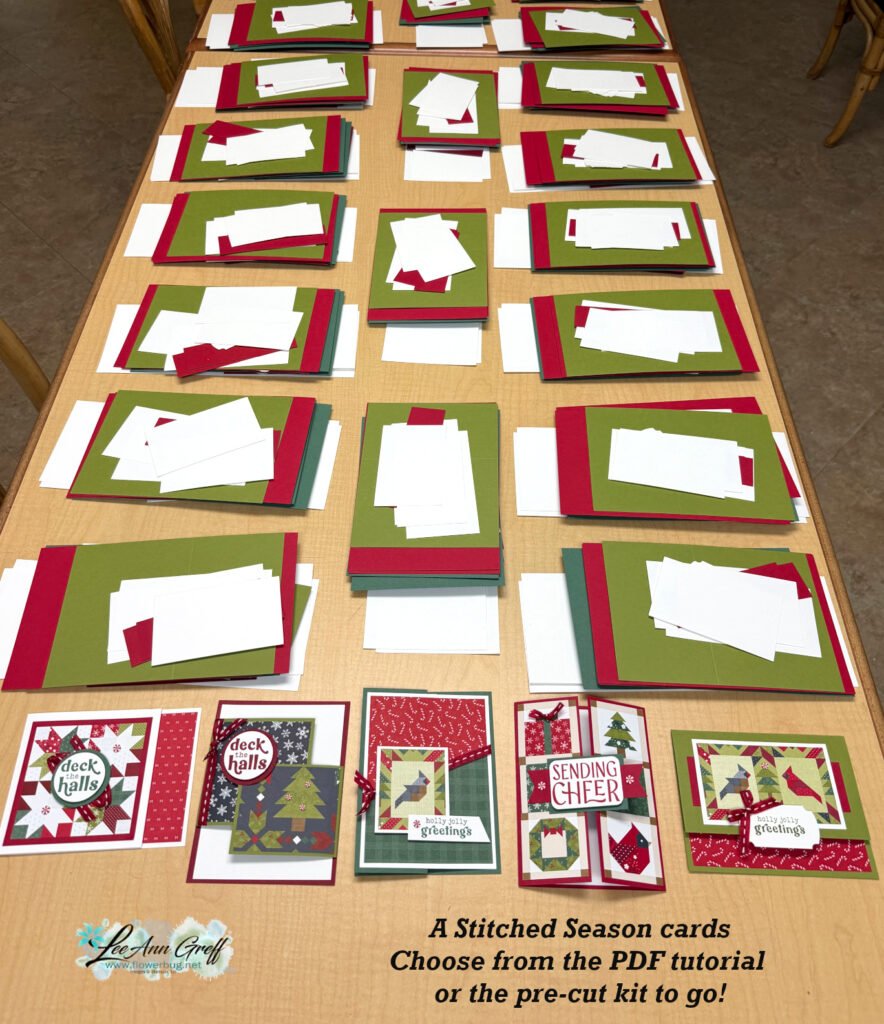
Here’s a peek at my pre-cut layers before packaging:
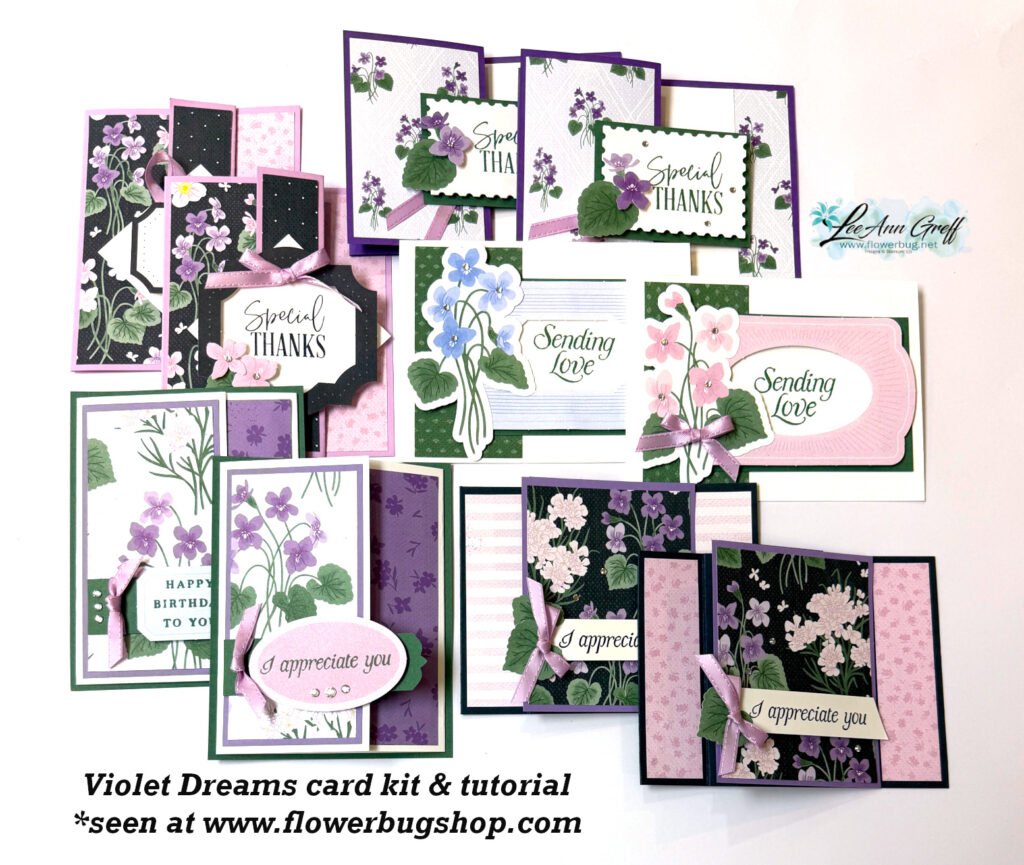
All but one card of the 5 designs are fun fold layouts. This floral themed designer paper includes a sheet of pre-cut ephemera which makes creating a breeze. I added the Fresh Freesia ribbon and rhinestone gems and include them in the kit to go.
I design my card kits specifically to make them easy to finish; you need a few inks and stamped greetings. You will need to cut your new designer paper using my tutorial as a guide. Everything else is pre-cut for you; perfect for easy crafting!
Choose from the pre-cut kit to go which includes approximately $20 in product plus the 10 pre-cut cards and PDF tutorial for $33. Click here.
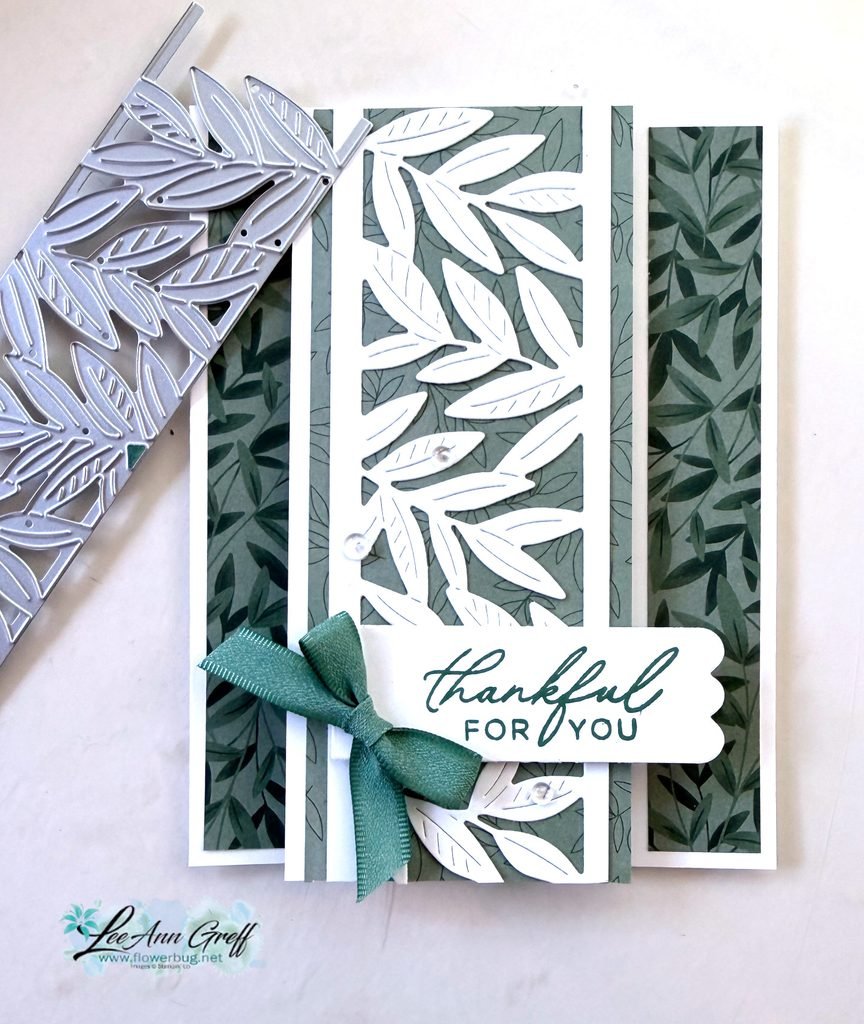
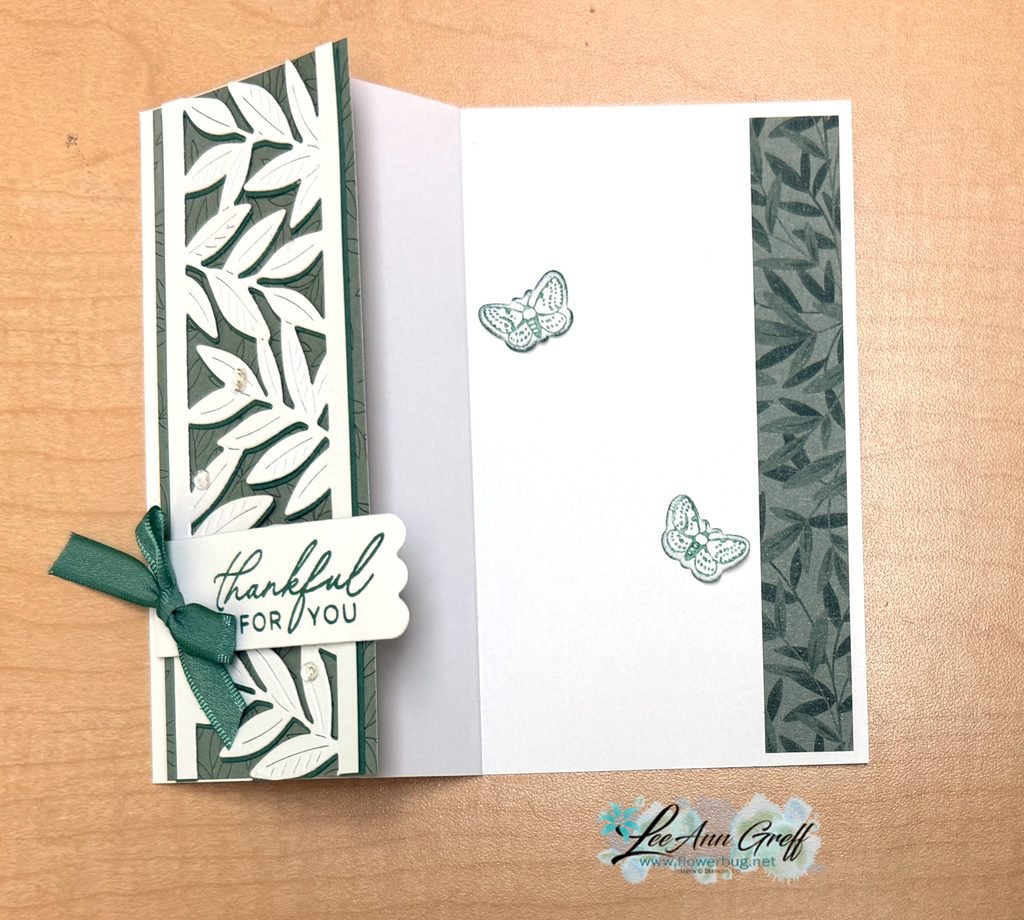
You can see a glimpse of the die in the photo above. It cuts the leaves out but not the edge, so you can make the leaf element as wide as you’d like. See this die here.
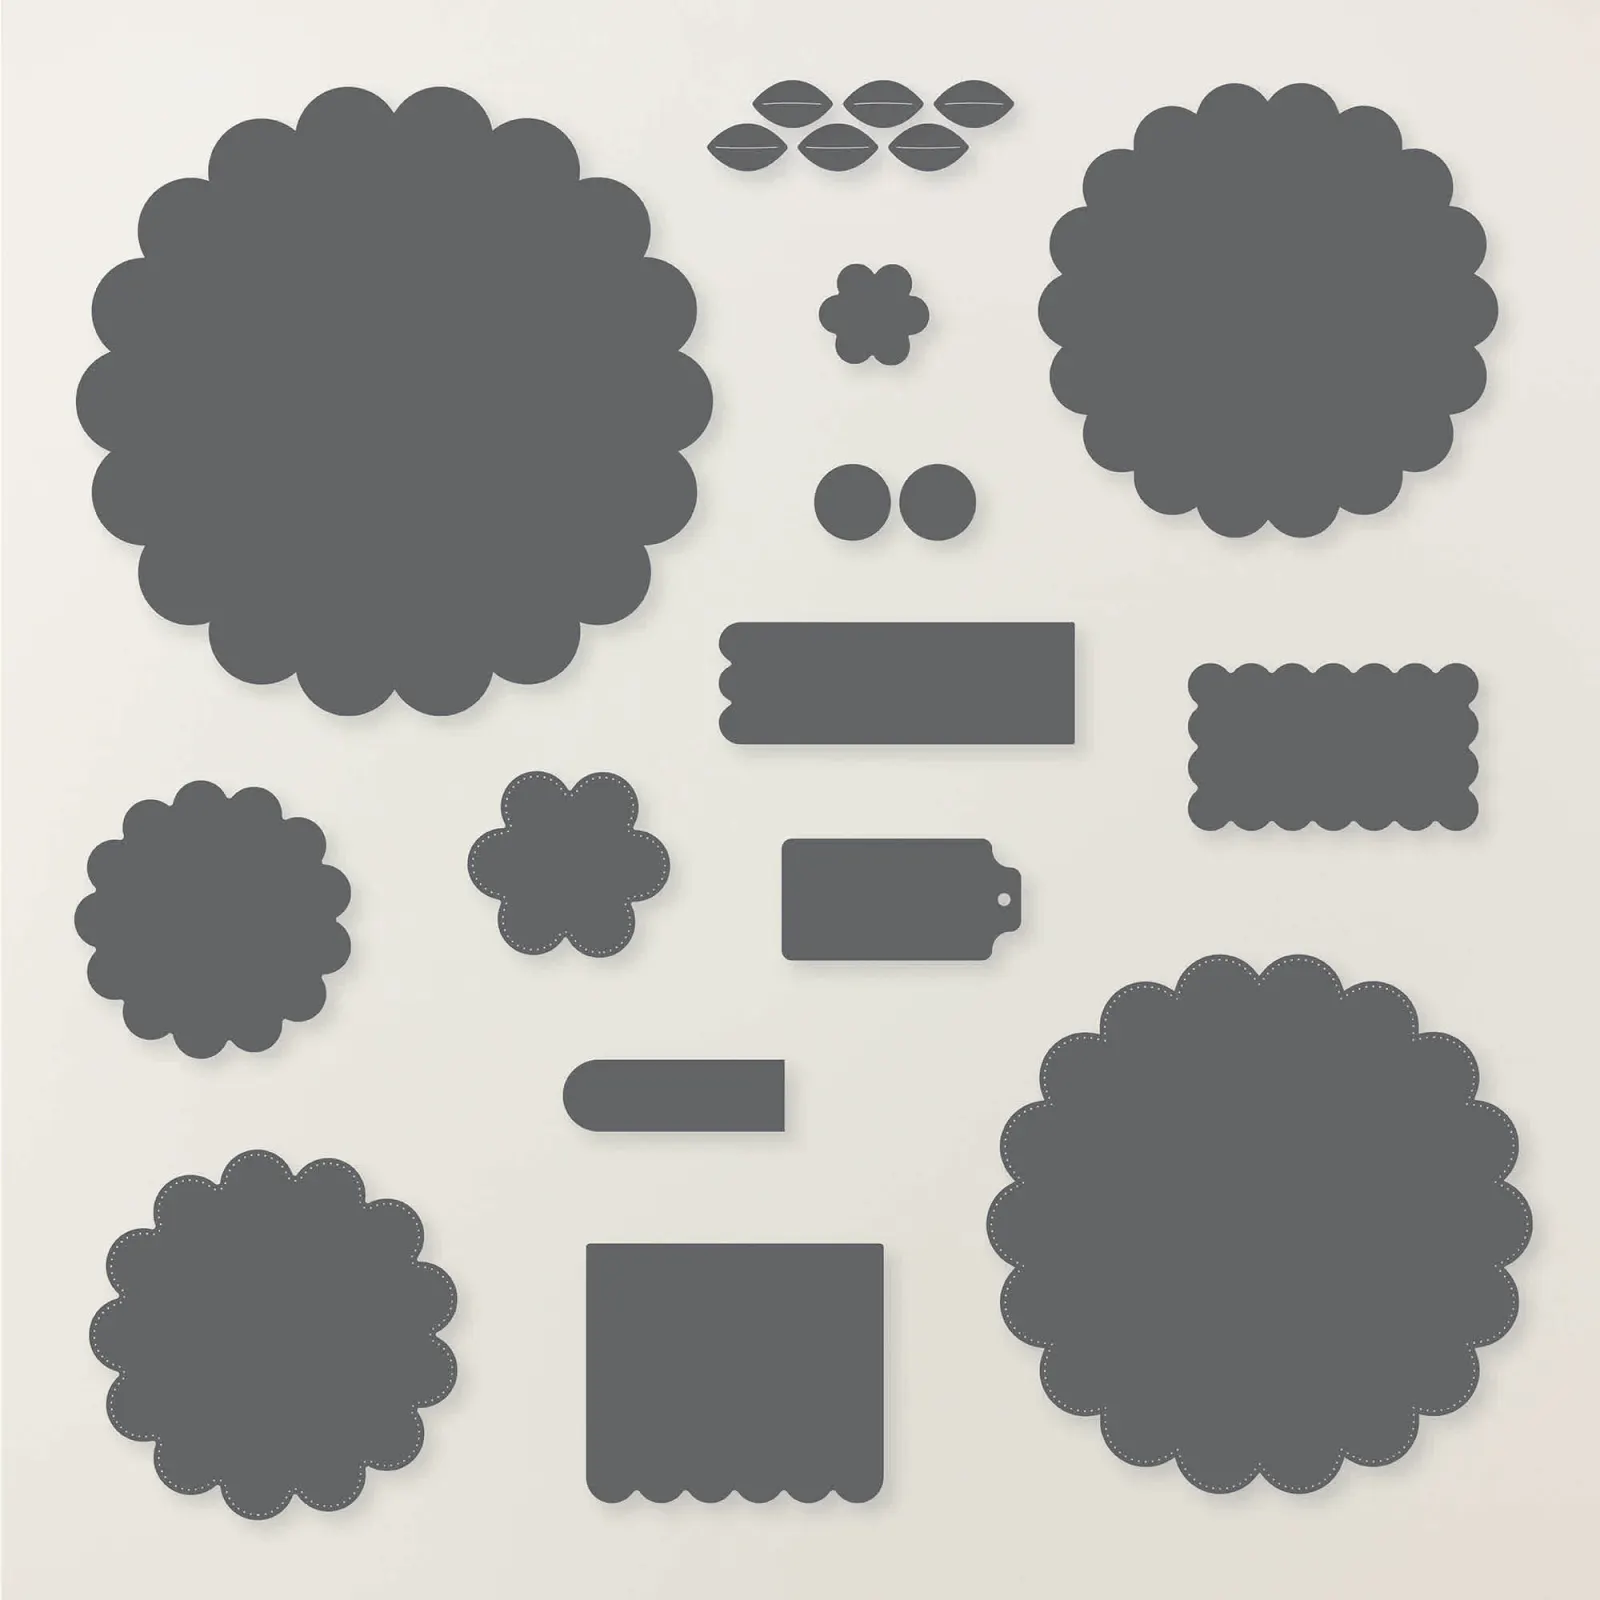
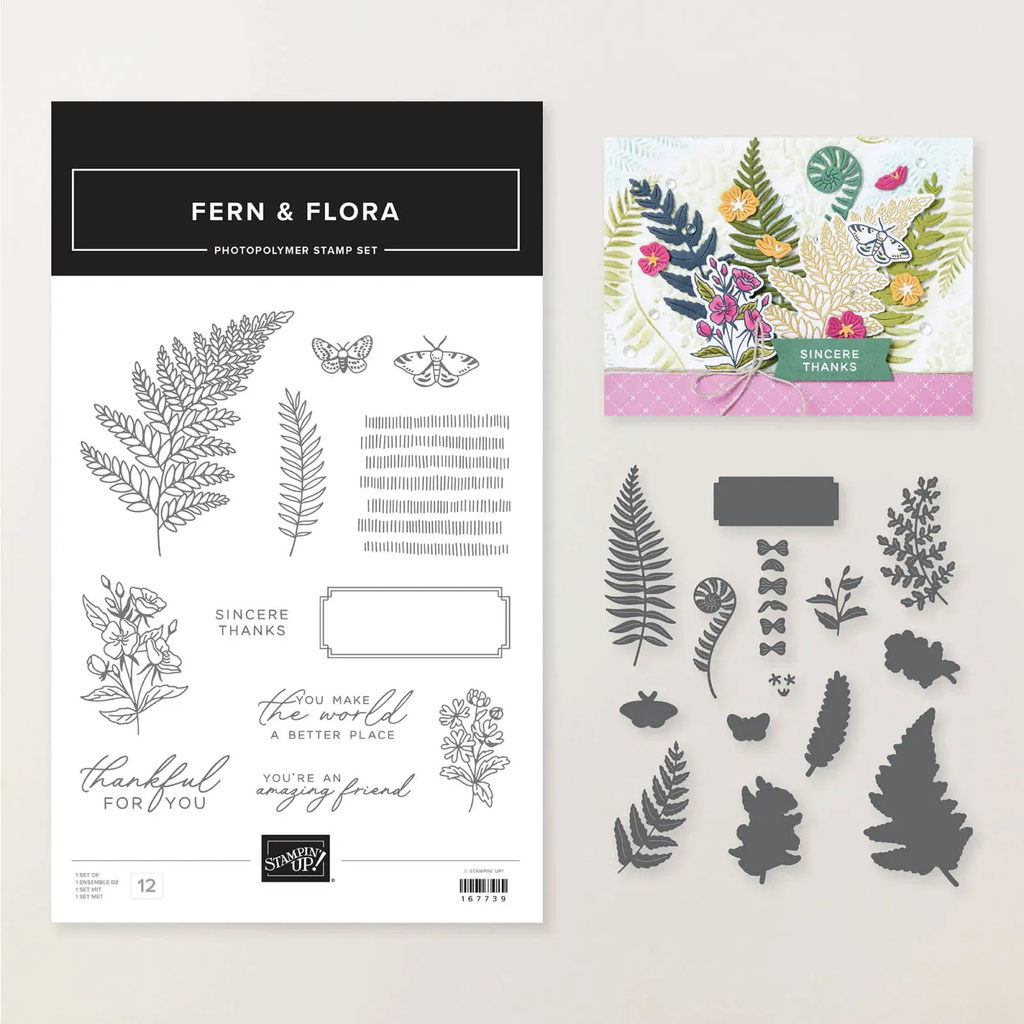
My colors include White with Peaceful Pine. The designer paper is the Moonlit Flora DSP seen here. The greeting tag is from the Scalloped Blooms dies. I’ve been using the greeting tags in this set of dies a lot.
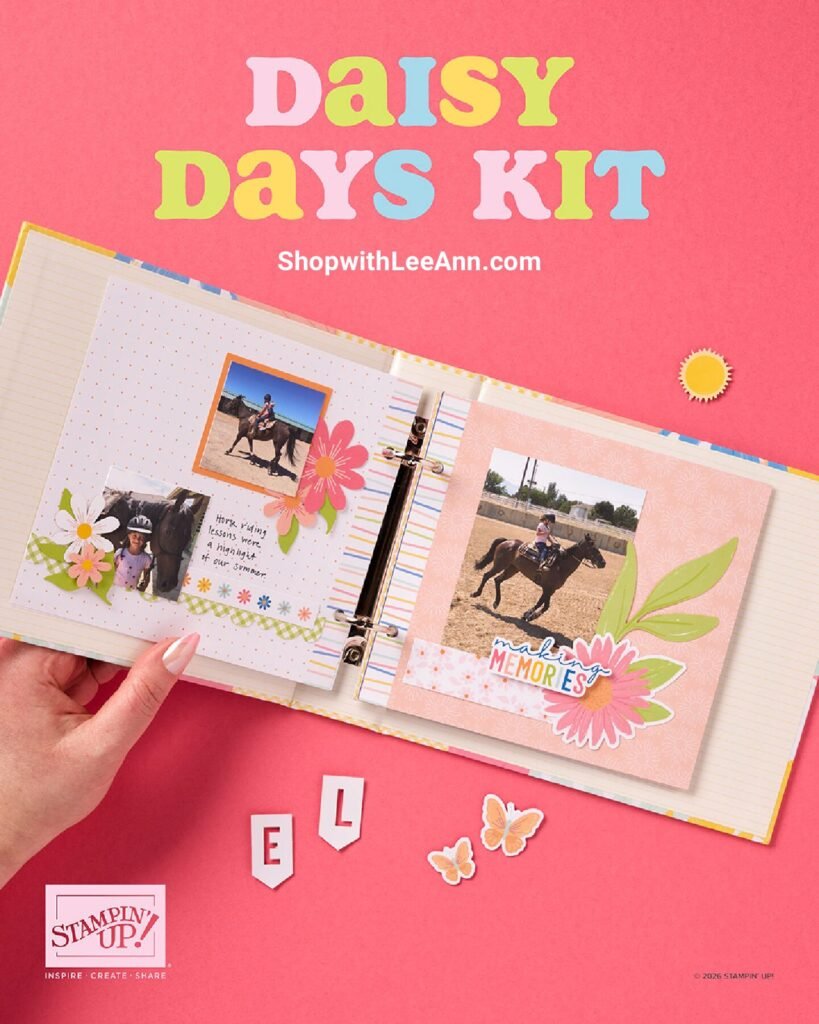
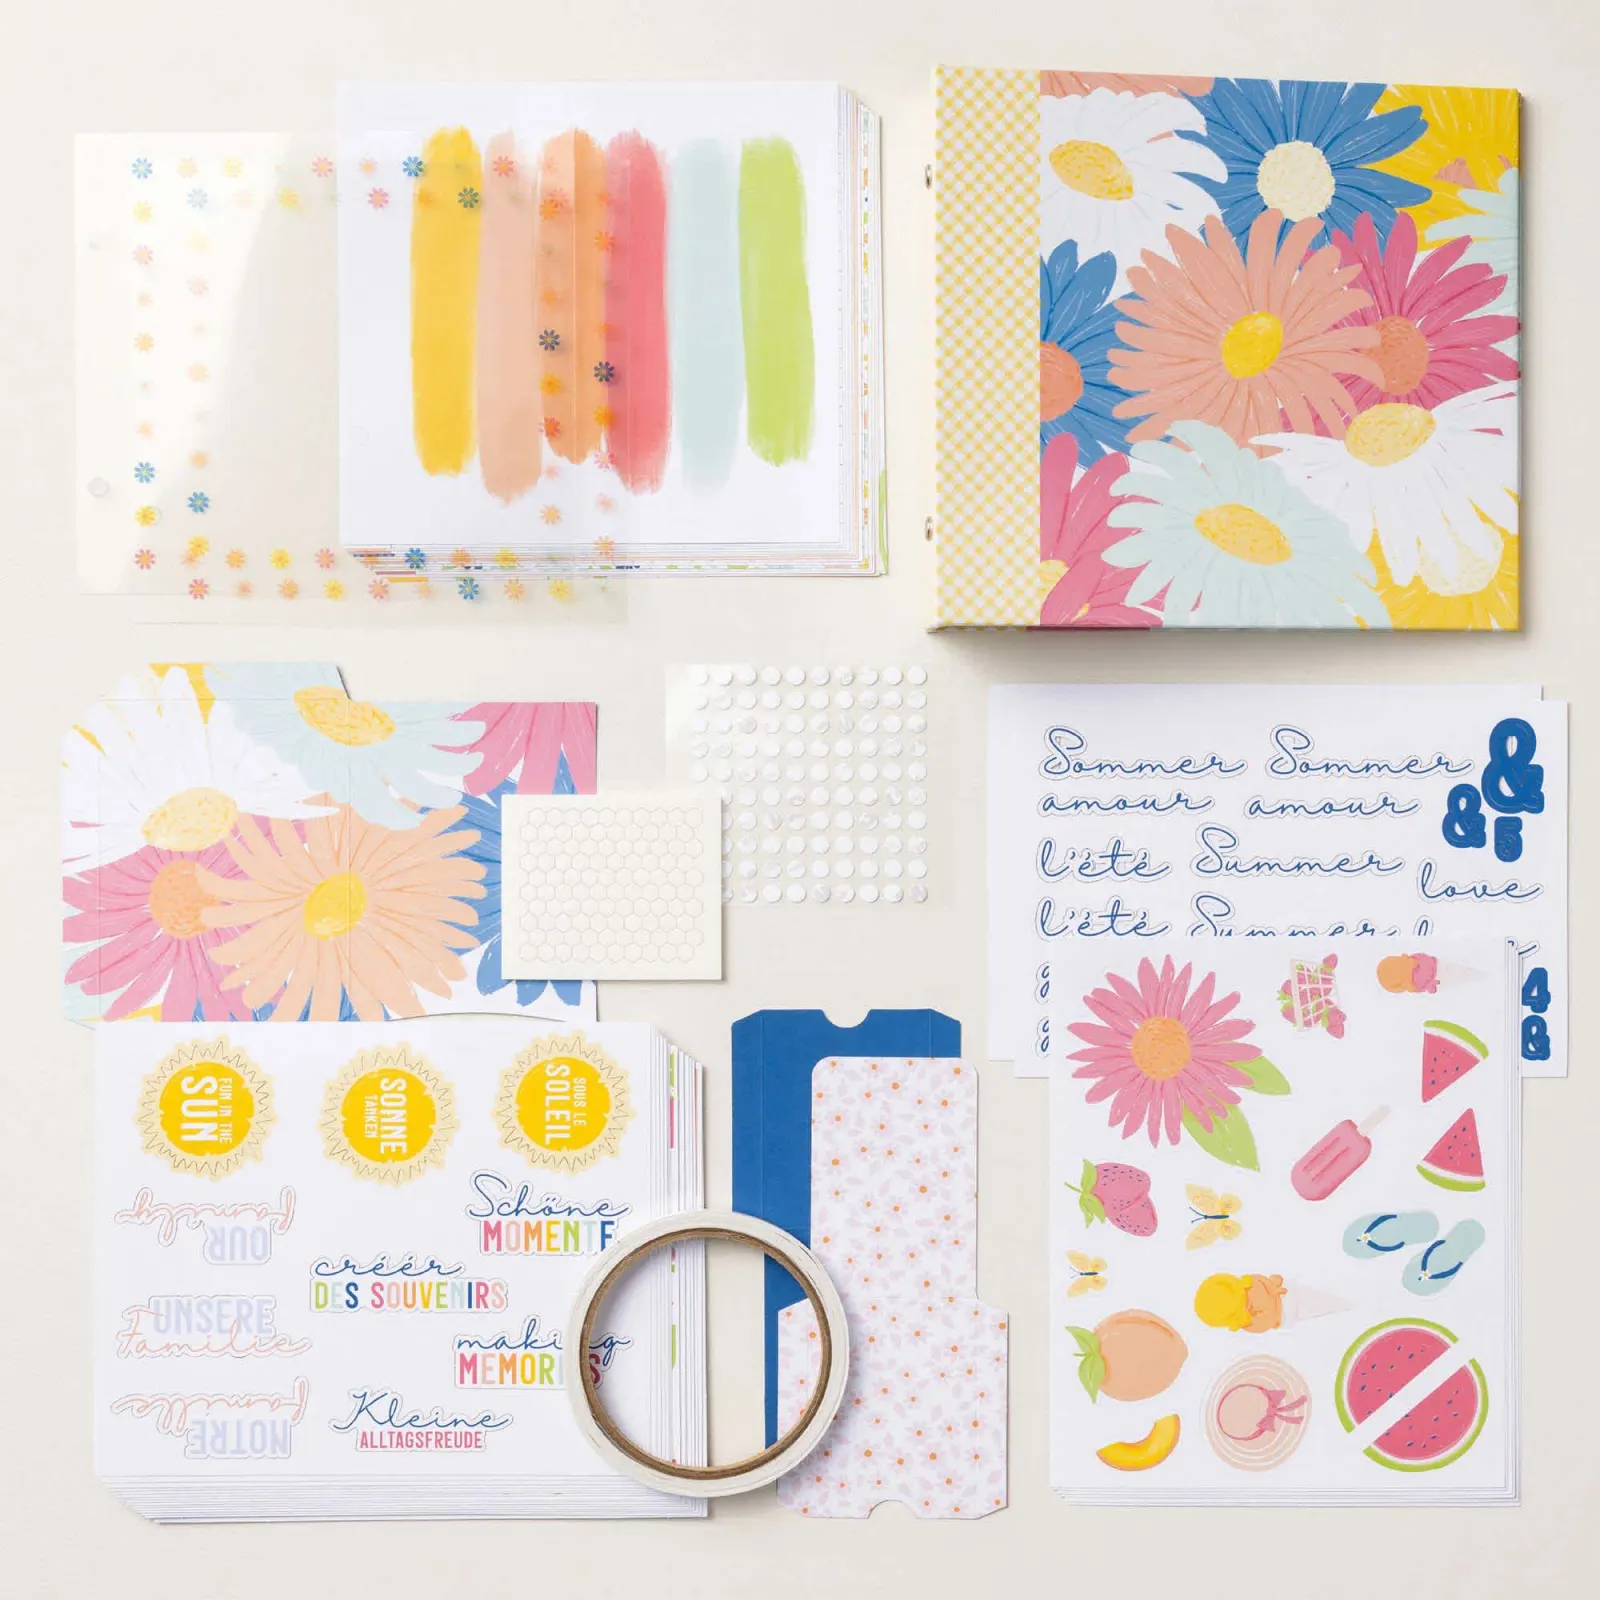
DETAILS – Makes 1 album with 28 pages – Album size: 7-3/4″ x 7″ x 1-7/8″ – Page size: 6.5″ x 6″ – Colors: Blueberry Bushel, Crisp Cantaloupe, Crushed Curry, Granny Apple Green, Pool Party, Strawberry Slush, Timid Tiger – Sentiments printed in English, French, and German
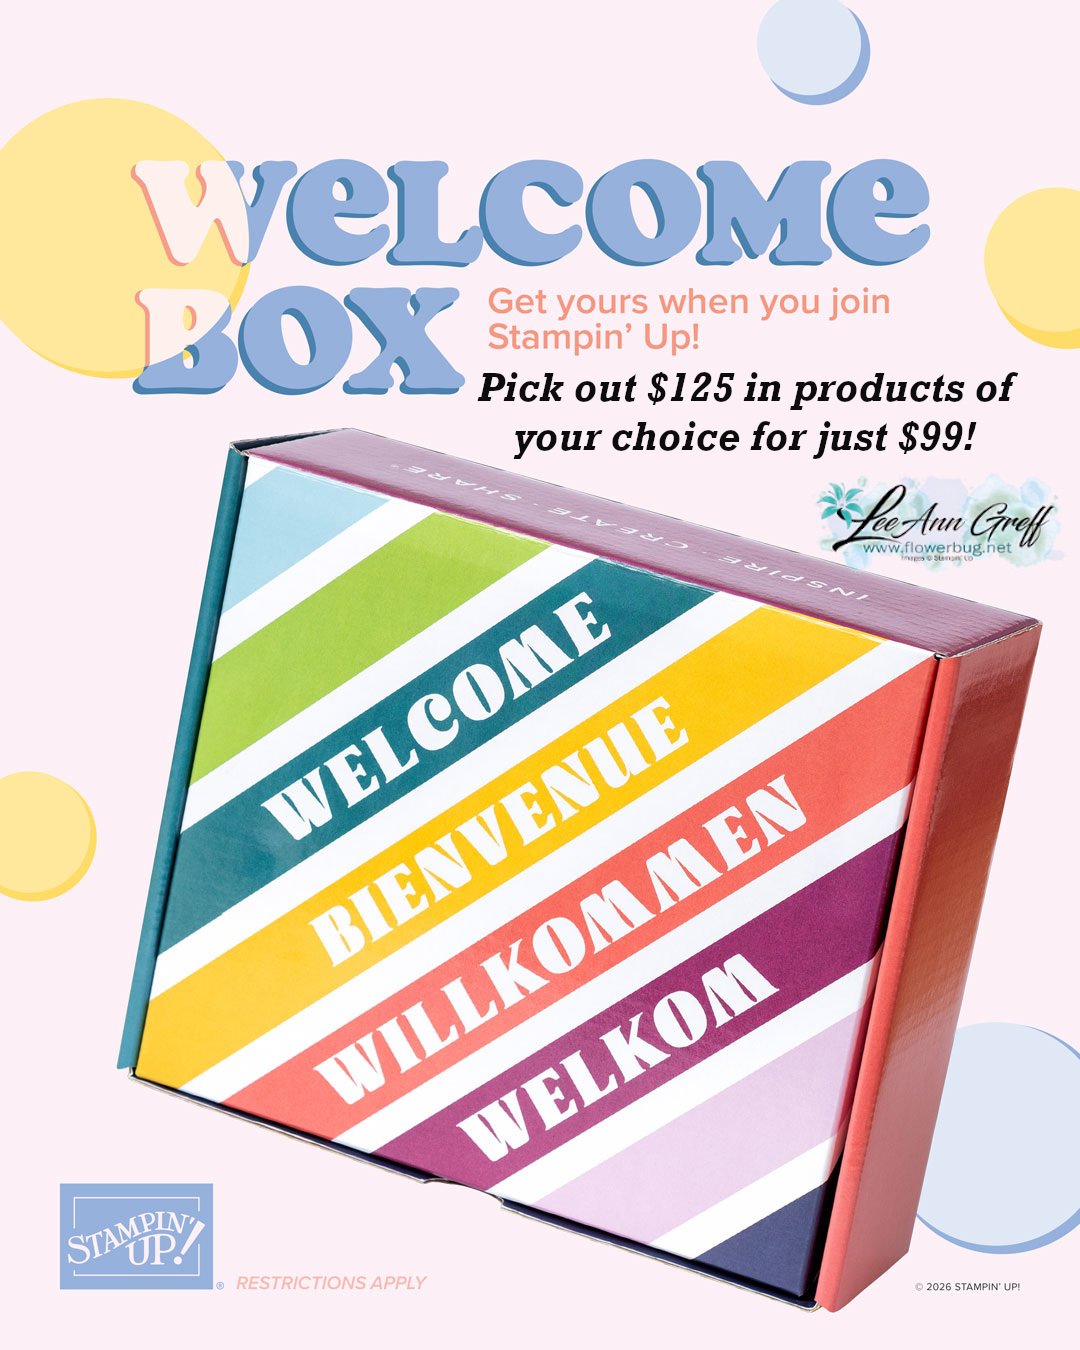
This is super exciting news! All first-time demonstrators (beginning July 1, 2026) will receive a surprise Welcome Box—a gesture of appreciation and a warm welcome into the global Stampin’ Up! creative community.
Notice: LeeAnn Greff, Independent Stampin’ Up! Demonstrator, Manager. The content of this website is my sole responsibility as an independent Stampin’ Up! demonstrator and the use of, and content of, the classes, services, or products offered on this website is not endorsed by Stampin’ Up! Copyright 2025


















Leave a Reply