/


Latest Post

Check out this ‘Tackle box’ with the Gone Fishing bundle! Amazing!!


Today I'm sharing the last projects Candace made with the Gone Fishing and Let's Go Fishing designer paper.  She was our Artist of the Month for June and created some incredible projects!  

I was blown away by this 'tackle box' full of candy.  She told me she made it up herself!  AMAZING!! 
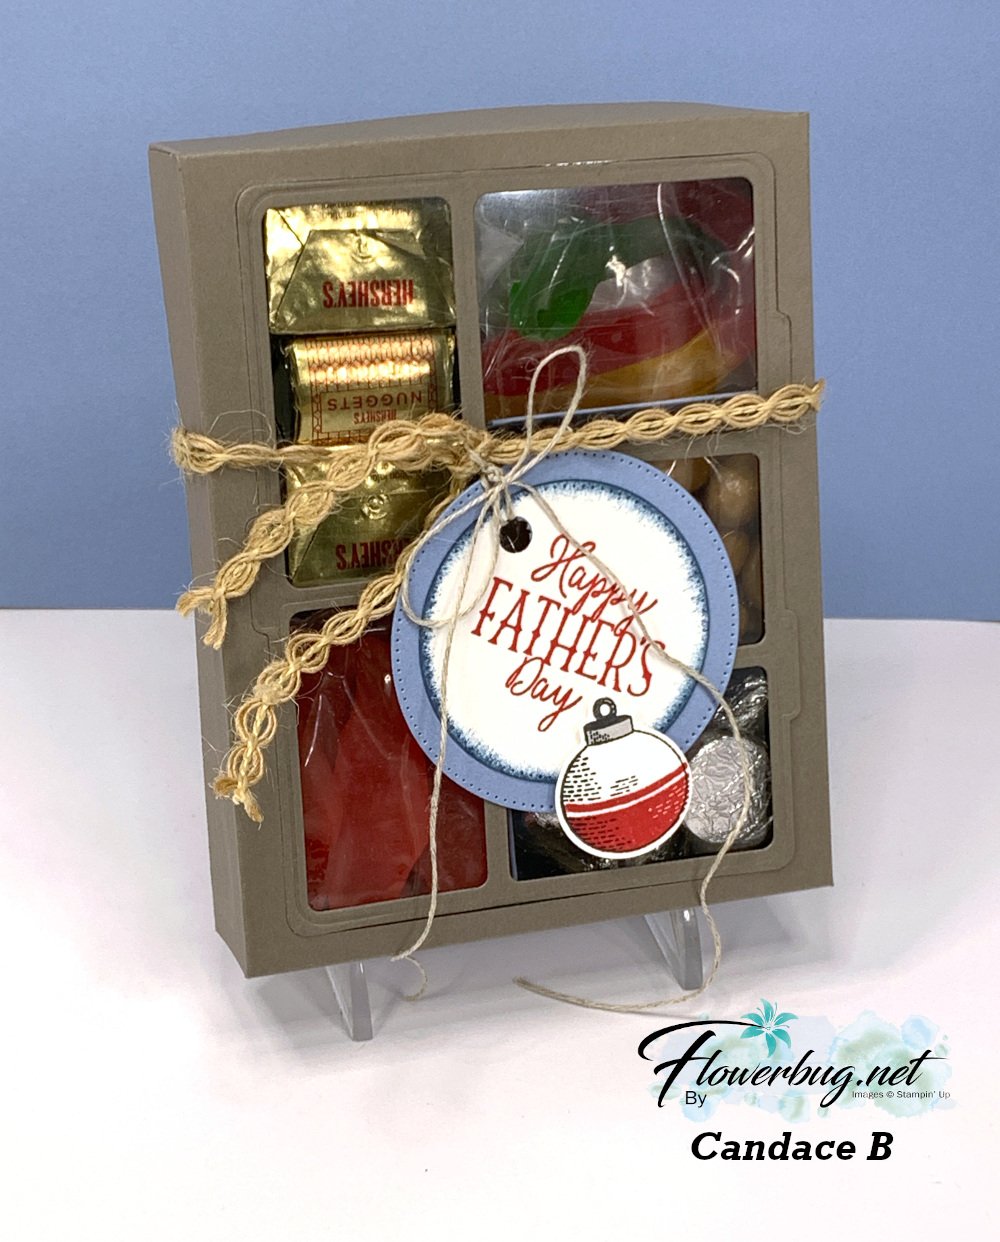
She added gummy fish & worms, kisses, candy 'rocks' and nuggets inside.  I believe she first scored her box front then used the Gone Fishing large die to cut the windows for the front panel. Scoring first would help you center the die. Then she added the window sheet to the underside.  The window sheet holds the die-cut frame and the box front in place. 

Measurements for the box: *corrected

  • top of box 6 1/4 X 7 1/2" score 1" on all sides
  • bottom of box 6 1/8" X 7 3/8" score at 1" on all sides
  • window sheet 4 1/8" X 5 1/4" 
  • left inside divider (two compartments) is 1 7/8" X 6 3/4" score at 2 3/4", 3 1/2" & 4 1/4" 
  • right inside divider (three compartments) is 2 1/8" X  8 1/4" scored at 2", 2 3/4", 3 1/2", 5 1/8", 5 7/8" & 6 5/8" 
  • inside bottom (under the two divided sections) 5 1/4" X 5 5/8" score at 1 7/8", 2 5/8" & 3 3/8"

To assemble this you'd add the long vertical divided piece first and then the two scored strips after that.  

I made a birthday version of this box. You can watch the video here.  

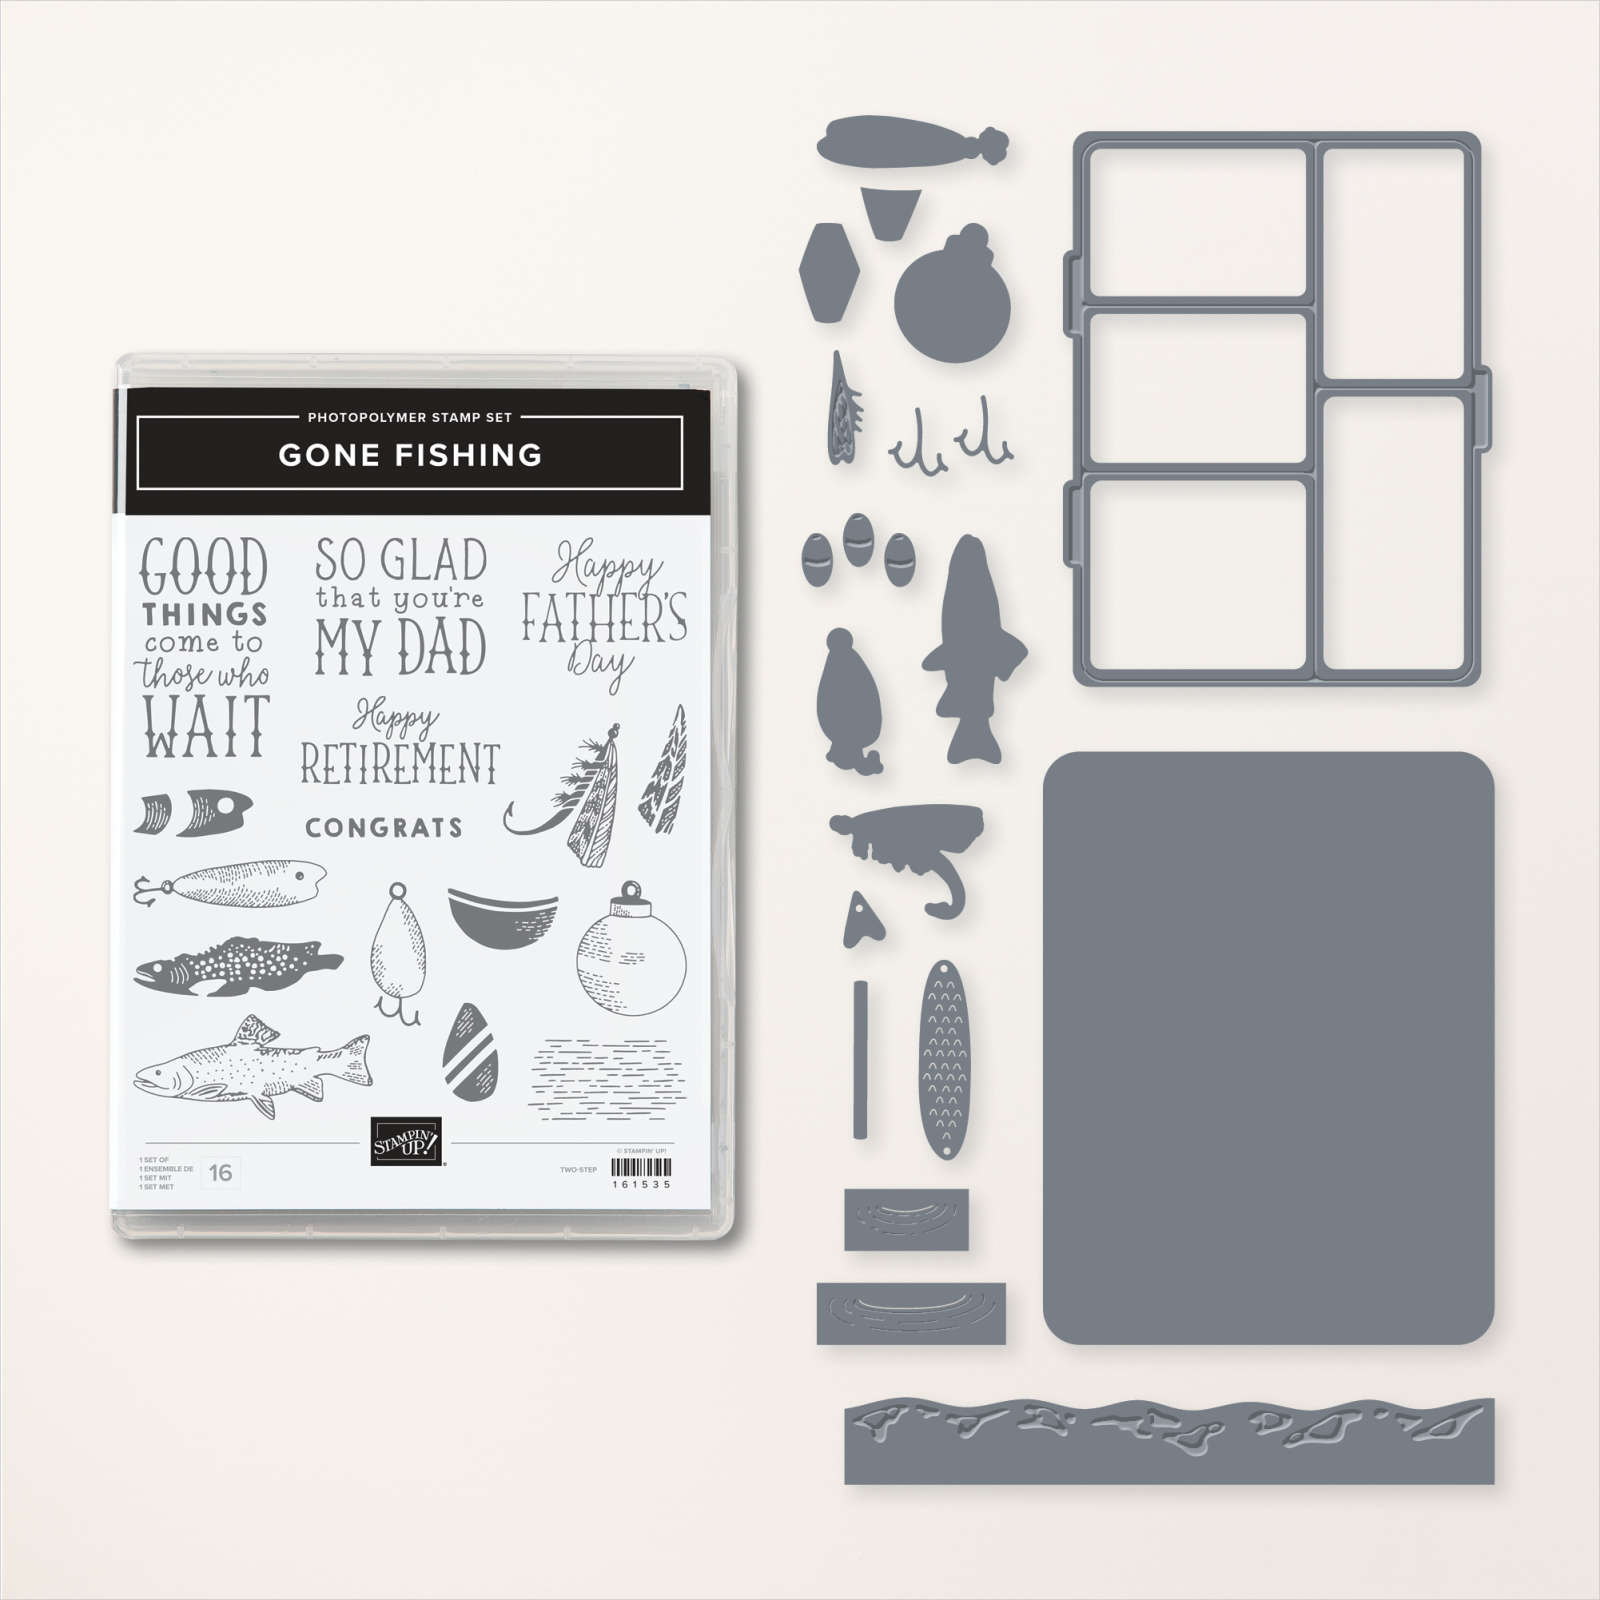
You can see the Gone Fishing bundle here. 
This last card is another fun fold; she made lots of them in her array of cards.  

It's a pocket card that could also include a gift card inside it. Be sure to note the rhinestone 'fish bubbles' on the sentiment.  


I love the wavy detail she added to the inside piece; it's from the Gone Fishing dies.

Measurements:

  • Misty Moonlight card base 5 1/2" X 8 1/2" scored at 2 3/4" & 6 3/4"
  • DSP 5 1/4" X 2 1/2" for front, bottom layer is 5 1/4" X 1"
  • Vanilla inside pull-out is 4 1/2" X 3 1/2"

And last but certainly not least is this fabulous shaker card:
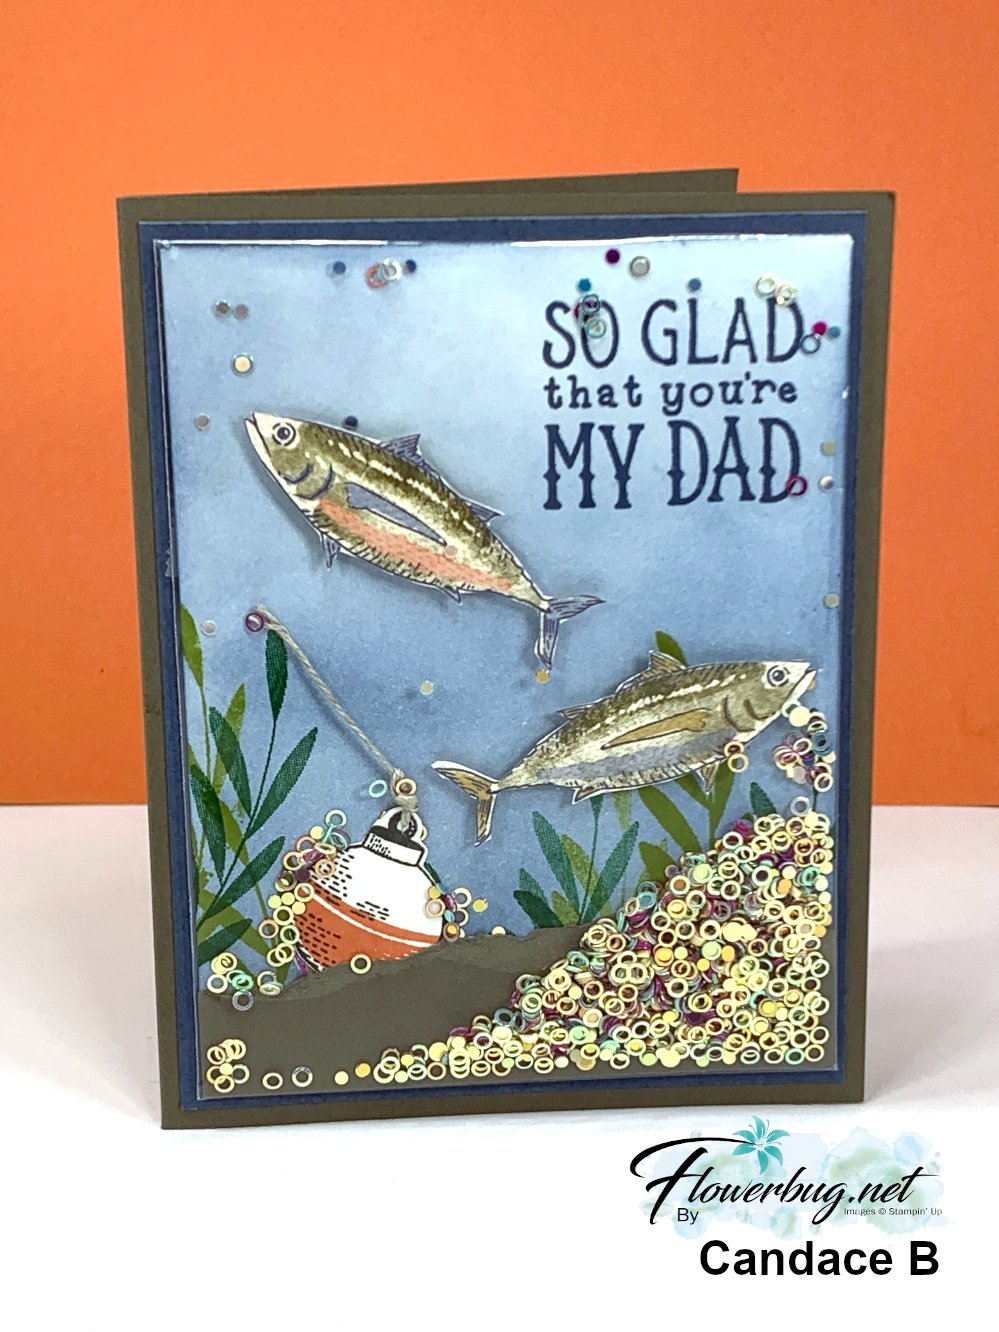

It's hard to tell but the colored and stamped panel is placed in one of our clear envelopes so she could add the new Iridescent shaker circles seen here. She added Boho Blue ink to the neutral card front using a Blending Brush, then stamped the greeting and leaves. She also fussy cut the fish from the Let's Go Fishing designer series paper and added them with Dimensionals. Then came the torn card stock layer and the bobbin and linen thread. 

Now she placed the entire piece inside a clear envelope, folded over the excess and secured it with adhesive. Now she added the shaker circles from the top open edge before closing it off to seal.  Add it to your card base layers and you're done! 

You can see these clear envelopes here.  I use them for card swaps, storing & protecting my finished cards and of course for easy shaker cards. They're $7 for 50 envelopes! 

This is such a fun card to make AND receive! It's hard to stop shaking it! 

~~~

July Specials: 

Bonus Days!

Get a $5 coupon for each $50 order you place in July.  Use the coupon in August!

2. PAPER PUMPKIN 48-HOUR SALE!

3. Next is a Clearance Rack update!

See all items available here

4. NEW Online Exclusives will be available

See them all here

~~~

Plus my monthly special for online orders:

Get a free card kit & a new Beautifully Happy stamp set 

with online orders over $65; must use a host code.

*current host codes: BKEARDMW or GGDRKFQR

All Posts

  • Stunning Crossover Fun-fold card with Lily of the Valley


    This pretty card was made at my July card clubs. It has an elegant feel to it with the mostly white color combo.

    My colors here are White with Hydrangea Hue and Granny Apple Green. I colored the Lily of the Valley die-cuts with both Blends markers and tried the new Shimmer Brushes too. The gorgeous textured layers are made with the Floral Spray 3D embossing folder; it’s back in stock now! See it here.

    Look closely at the layers in my photo above and note how the upper left piece tucks under the right lower piece. That’s why it’s called a crossover fold; it actually locks together to lay mostly flat. You can see how it’s made in the video below.

    I gave my club gals a choice of using the Barely Blush or the Hydrangea hue colors. Which would you choose?

    Besides the video I also made a free project sheet for you with measurements and step by step directions. Click here to print or download it.

    The Lily of the Valley bundle is so pretty; I’m sure you’ve been seeing samples with it everywhere. See it here online.

    One piece of White 8 1/2″ X 11″ card stock is needed for the card base and the other layers needed for this card but it’s well worth it!

    Below is the video for this fun fold card and one more too. Be sure to subscribe to my YouTube channel when you’re there.

    July Stampin’ Up! specials:

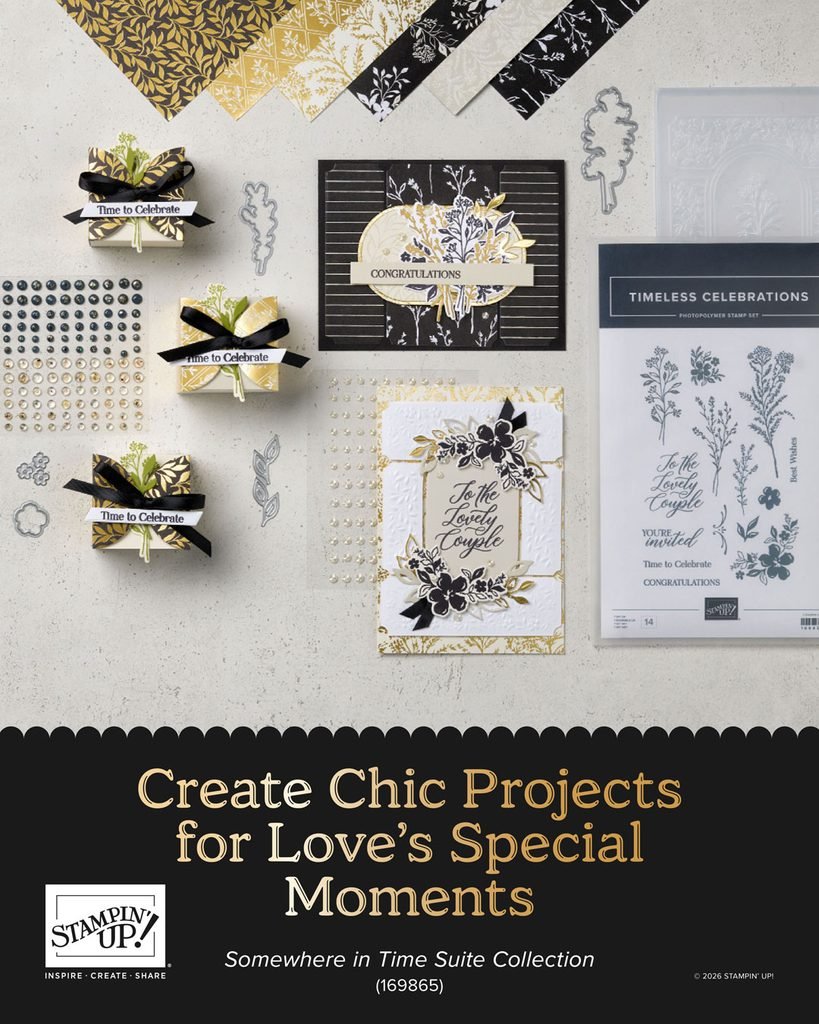
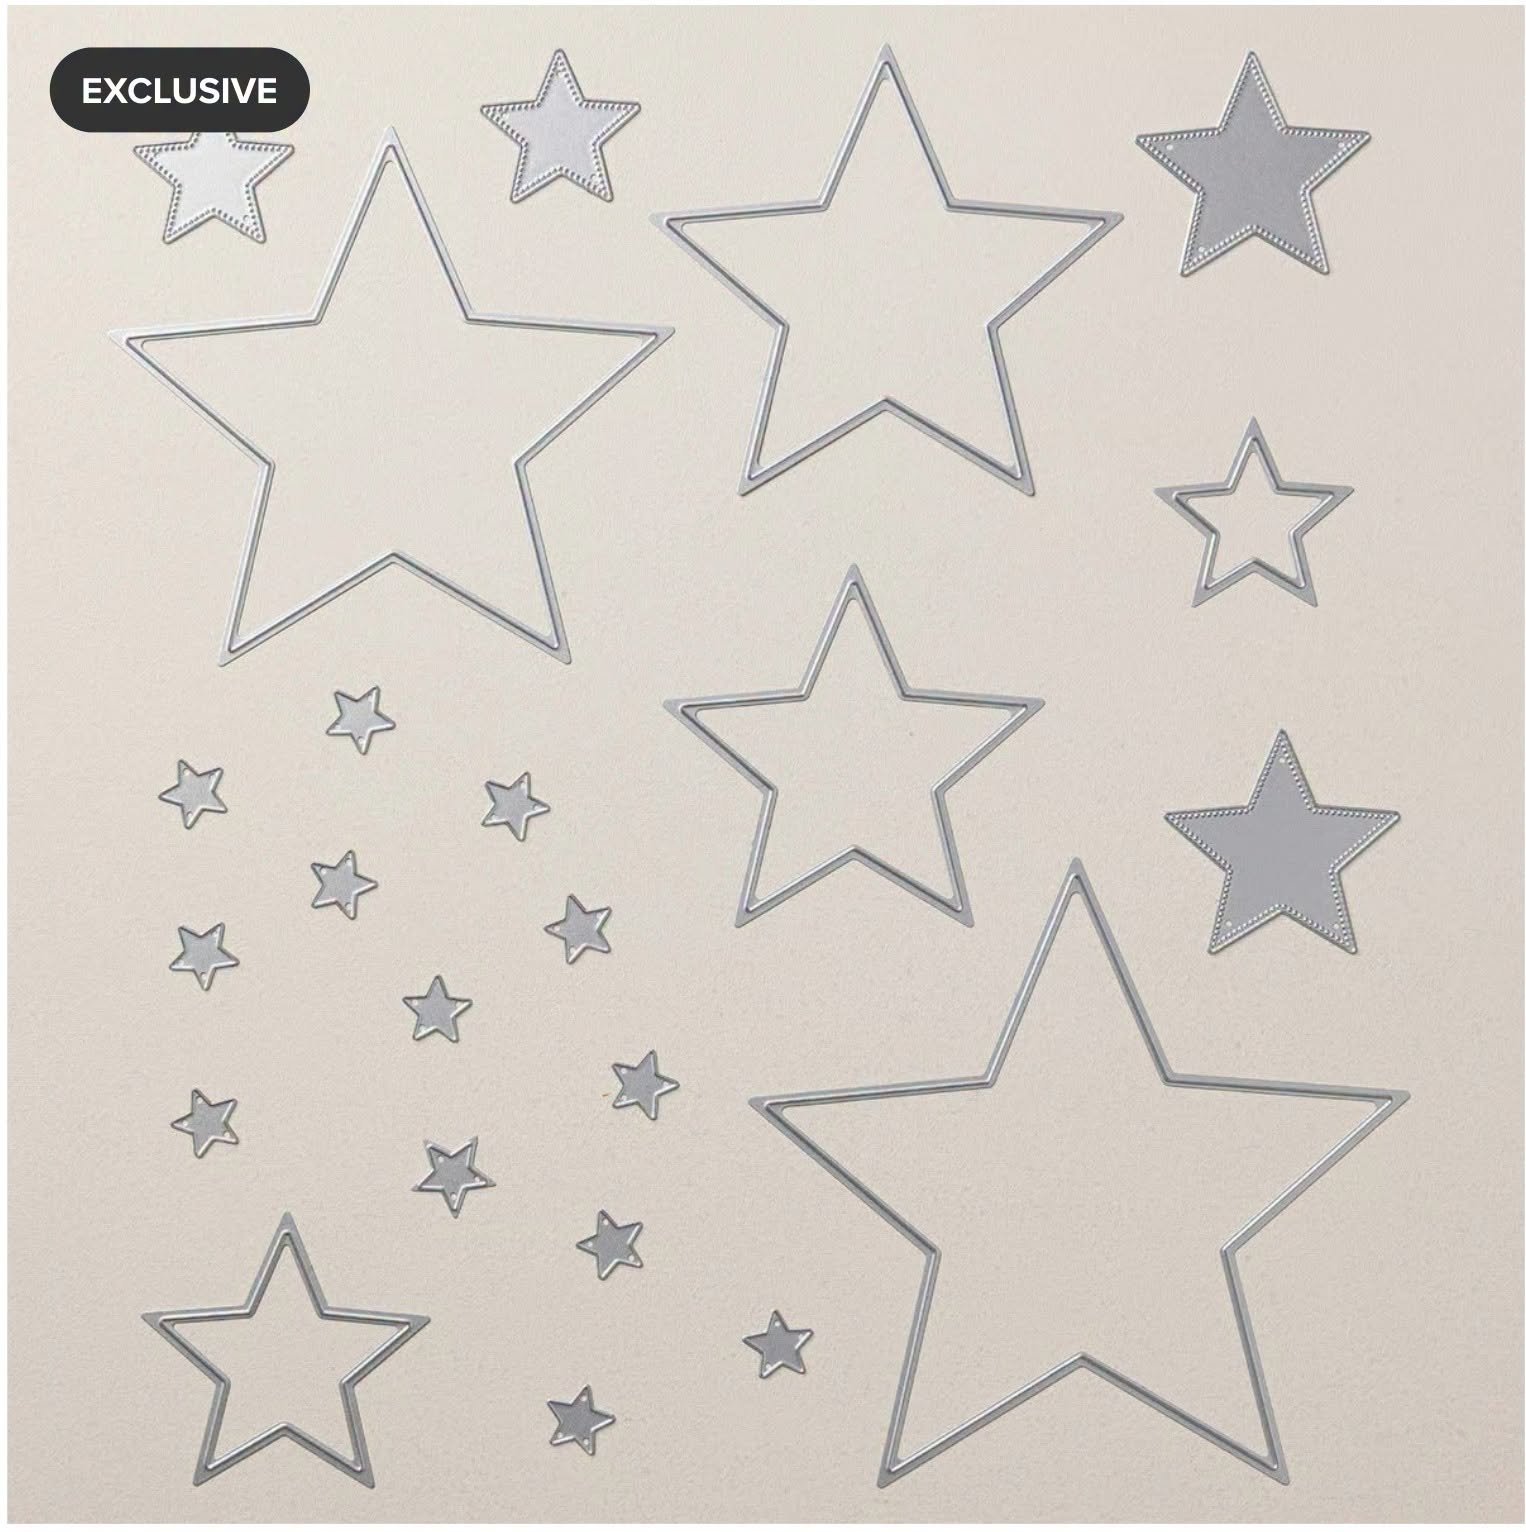
    There are new Online Exclusives out this month! They include florals, Fall, Halloween and Christmas! See them all here.

    Here are a few links & graphics of two of the suites:

    You can see the Spooky Season suite here.

    See all of our Christmas products here!

    Our newest Product of the Month is this beautiful Begonia Belle stamp set: It’s just $5 once you hit the $75 mark in your shopping cart!
    See it here

    We have two new kits in our Kit Collection:

    The Gilded Gallery card kit can be seen here. It’s $25, makes 10 cards with envelopes and includes a beautiful stamp set and ink spot.

    The other kit is a fun scrapbook album called Daisy Days:

    See it here. It includes the following:

    DETAILS
    – Makes 1 album with 28 pages
    – Album size: 7-3/4″ x 7″ x 1-7/8″
    – Page size: 6.5″ x 6″
    – Colors: Blueberry Bushel, Crisp Cantaloupe, Crushed Curry, Granny Apple Green, Pool Party, Strawberry Slush, Timid Tiger
    – Sentiments printed in English, French, and German

    – Step-by-step instructions
    – Precut images and sentiments
    – Printed pockets
    – Acetate sheets
    – Adhesive

    And lastly is the new Welcome box!

    This is super exciting news! All first-time demonstrators (beginning July 1, 2026) will receive a surprise Welcome Box—a gesture of appreciation and a warm welcome into the global Stampin’ Up! creative community.

    Here is a video that shows what’s inside. But here are the details:

    What’s Inside the Welcome Box

    • A handwritten welcome letter from Sara
    • Stampin’ Up!-branded swag:
      • Pen
      • Pop-up pencil case
      • Pop-up waste basket
    • An exclusive card kit including:
      • Kit-sized stamp set
      • Full-size clear block
      • Classic Stampin’ Spot
      • Supplies to create eight “hello” cards

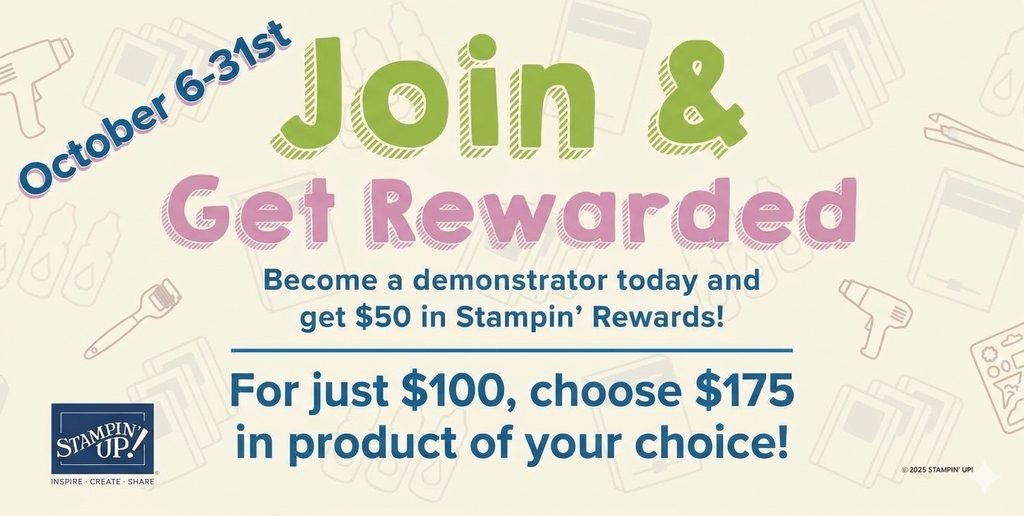
    Here’s the link to join my Team; it’s just $99 and you can choose up to $125 in products of your choice!

    Important Notes

    • The Welcome Box is exclusive to first-time demonstrators. Beginning July 1, 2026, anyone joining for the first time will receive a Welcome Box.
    • Current demonstrators have a one-time opportunity to order a Welcome Box after it launches. See below for details.
    • Rejoining demonstrators will receive all other joining perks (including the coupon code) but not a Welcome Box.

    Leave a Reply

    Your email address will not be published. Required fields are marked *

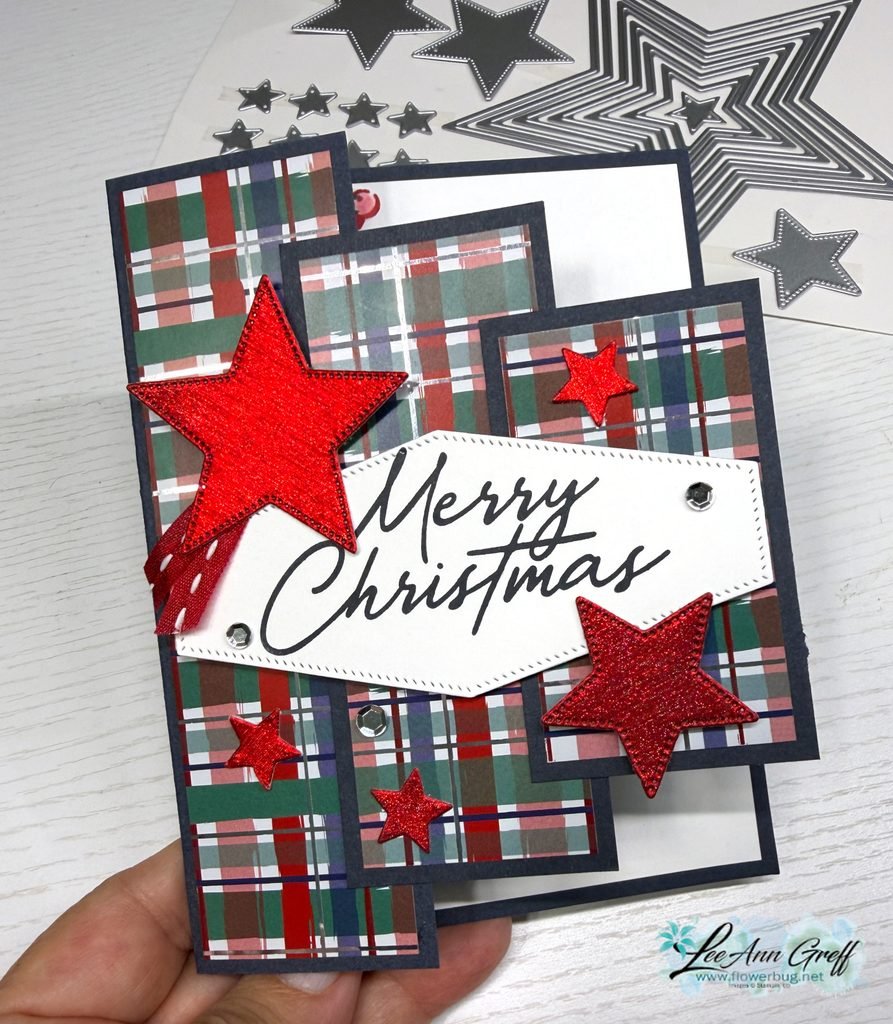
  • A Stitched Season card kit or tutorial. Get started now on your holiday cards!


    I had to feature this colorful, quilt themed Designer Paper for a card kit. It’s just plain fun and includes many great patterns!

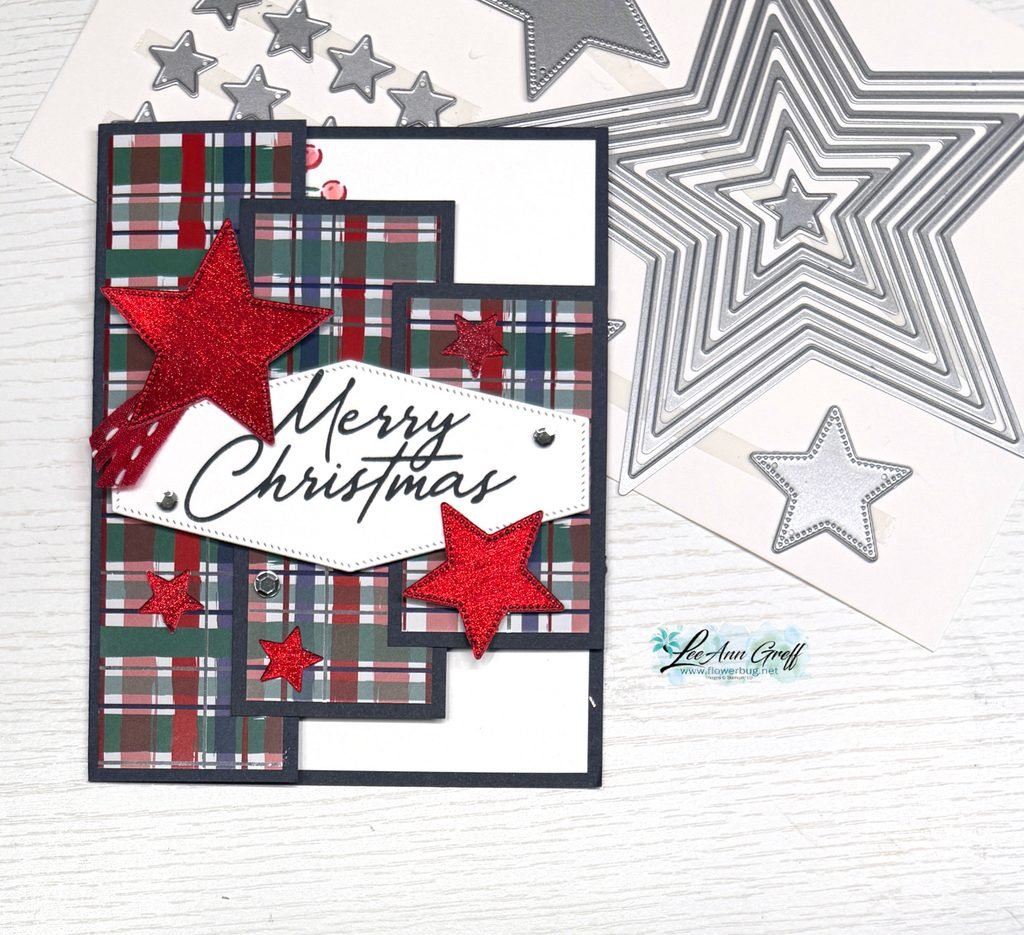
    These cards are all fun fold layouts and make the most of this adorable paper. You’ll love the fun layouts and the Peppermint gems and stitched Red ribbon included in the kit.

    The kit to go includes approximately $20 in Stampin’ Up! product plus the PDF tutorial for all 10 cards. The tutorial includes photos, measurements, a supplies list and step by step directions.

    Click here to get the pre-cut kit to go with product & tutorial. It’s $33.

    Click here to get the PDF tutorial only for $17. The PDF tutorial will be sent to you immediately in an email. The kit to go will be mailed out in mid August.

    Here’s a peek at my pre-cut layers before packaging:

    Remember that you can save $$ by ordering more than one kit; I can combine shipping! See the kits here or choose the tutorial option to see those.

    Leave a Reply

    Your email address will not be published. Required fields are marked *

  • Beautiful Floral card kit to go; or choose the tutorial option. While supplies last


    The Violet Dreams designer paper is the star of these pretty cards for my August card kit to go. If you love purple this kit is for you!

    All but one card of the 5 designs are fun fold layouts. This floral themed designer paper includes a sheet of pre-cut ephemera which makes creating a breeze. I added the Fresh Freesia ribbon and rhinestone gems and include them in the kit to go.

    I design my card kits specifically to make them easy to finish; you need a few inks and stamped greetings. You will need to cut your new designer paper using my tutorial as a guide. Everything else is pre-cut for you; perfect for easy crafting!

    Choose from the pre-cut kit to go which includes approximately $20 in product plus the 10 pre-cut cards and PDF tutorial for $33. Click here.

    Or choose the PDF tutorial for $17. Click here for that option.

    The tutorial is emailed to you immediately after purchase. The kit to go is mailed out mid August.

    I have many kits available and some are discounted; check them all out here.

    Leave a Reply

    Your email address will not be published. Required fields are marked *


Notice: LeeAnn Greff, Independent Stampin’ Up! Demonstrator, Manager. The content of this website is my sole responsibility as an independent Stampin’ Up! demonstrator and the use of, and content of, the classes, services, or products offered on this website is not endorsed by Stampin’ Up! Copyright 2025