/


Latest Post

LOTS of beautiful Flowering Zinnias card swaps by my Team!


I'm continuing to share our March card swaps made by my Flowerbug's.  Our theme was Online Exclusives and many of us chose the Flowering Zinnias and the Simply Zinnia bundle for our cards. 

*Currently the Flowering Zinnias Suite and bundle are unavailable.  The Simply Zinnias stamp set is out of stock and expected back in around March 25th.  The Shiny Sequins are also out of stock but expected back in April. 

~~~

First is a pretty card made by Karen G.  

She showed off the beautiful Flowering Zinnias designer paper AND the Berry Burst & Old Olive glimmer paper seen here.  It also includes a sheet of White in the pack.  This designer paper pack includes two sheets of paper perfect for an easy card front. 

The greeting is from the Simply Zinnia stamp set. Her colors include Flirty Flamingo, Old Olive and White.

Next is a fun fold card made by Karen A. 

She tore the Flowering Zinnias designer paper into strips and added to her card front.  What a great layering technique! She used Black, Petal Pink and Lemon Lime Twist here.  It's actually a special fun fold that twists!

This is one of those cards you have to see in person or on a video; it's very cool! 

Measurements:

  • Black card base 11" X 4 1/4" score at 5 1/2".  Then make a mark on one side at 4 1/4" and score diagonally to that line.  You'll fold the card on that diagonal back to the top and add the Green layer to it. 
  • Lemon Lime Twist 4" square
  • Petal Pink 3 3/4" & 1" X 4"
  • DSP strips measure 3 1/2" across.  The vertical strip on the side is 3/4" X 3 3/4"

Next is a neat card made by Rita. 

She used the Flowering Zinnias designer paper and a window sheet layer to create a peek-a-boo card. The sentiment is from Forever Fern (now retired) stamped on a Hexagon punched piece. The flowers are fussy cut from the designer paper. 

Measurements:

  • Card base 4 1/4" X 7 1/2" score at 5 1/2"
  • DSP – 4 pieces at 4 1/4" X 2"

I love seeing what my gals make! Many times I'm reminded of neat card folds, layouts or techniques. 

Next is a pretty card made by Ginny who focused on the Simply Zinnias stamp set. 
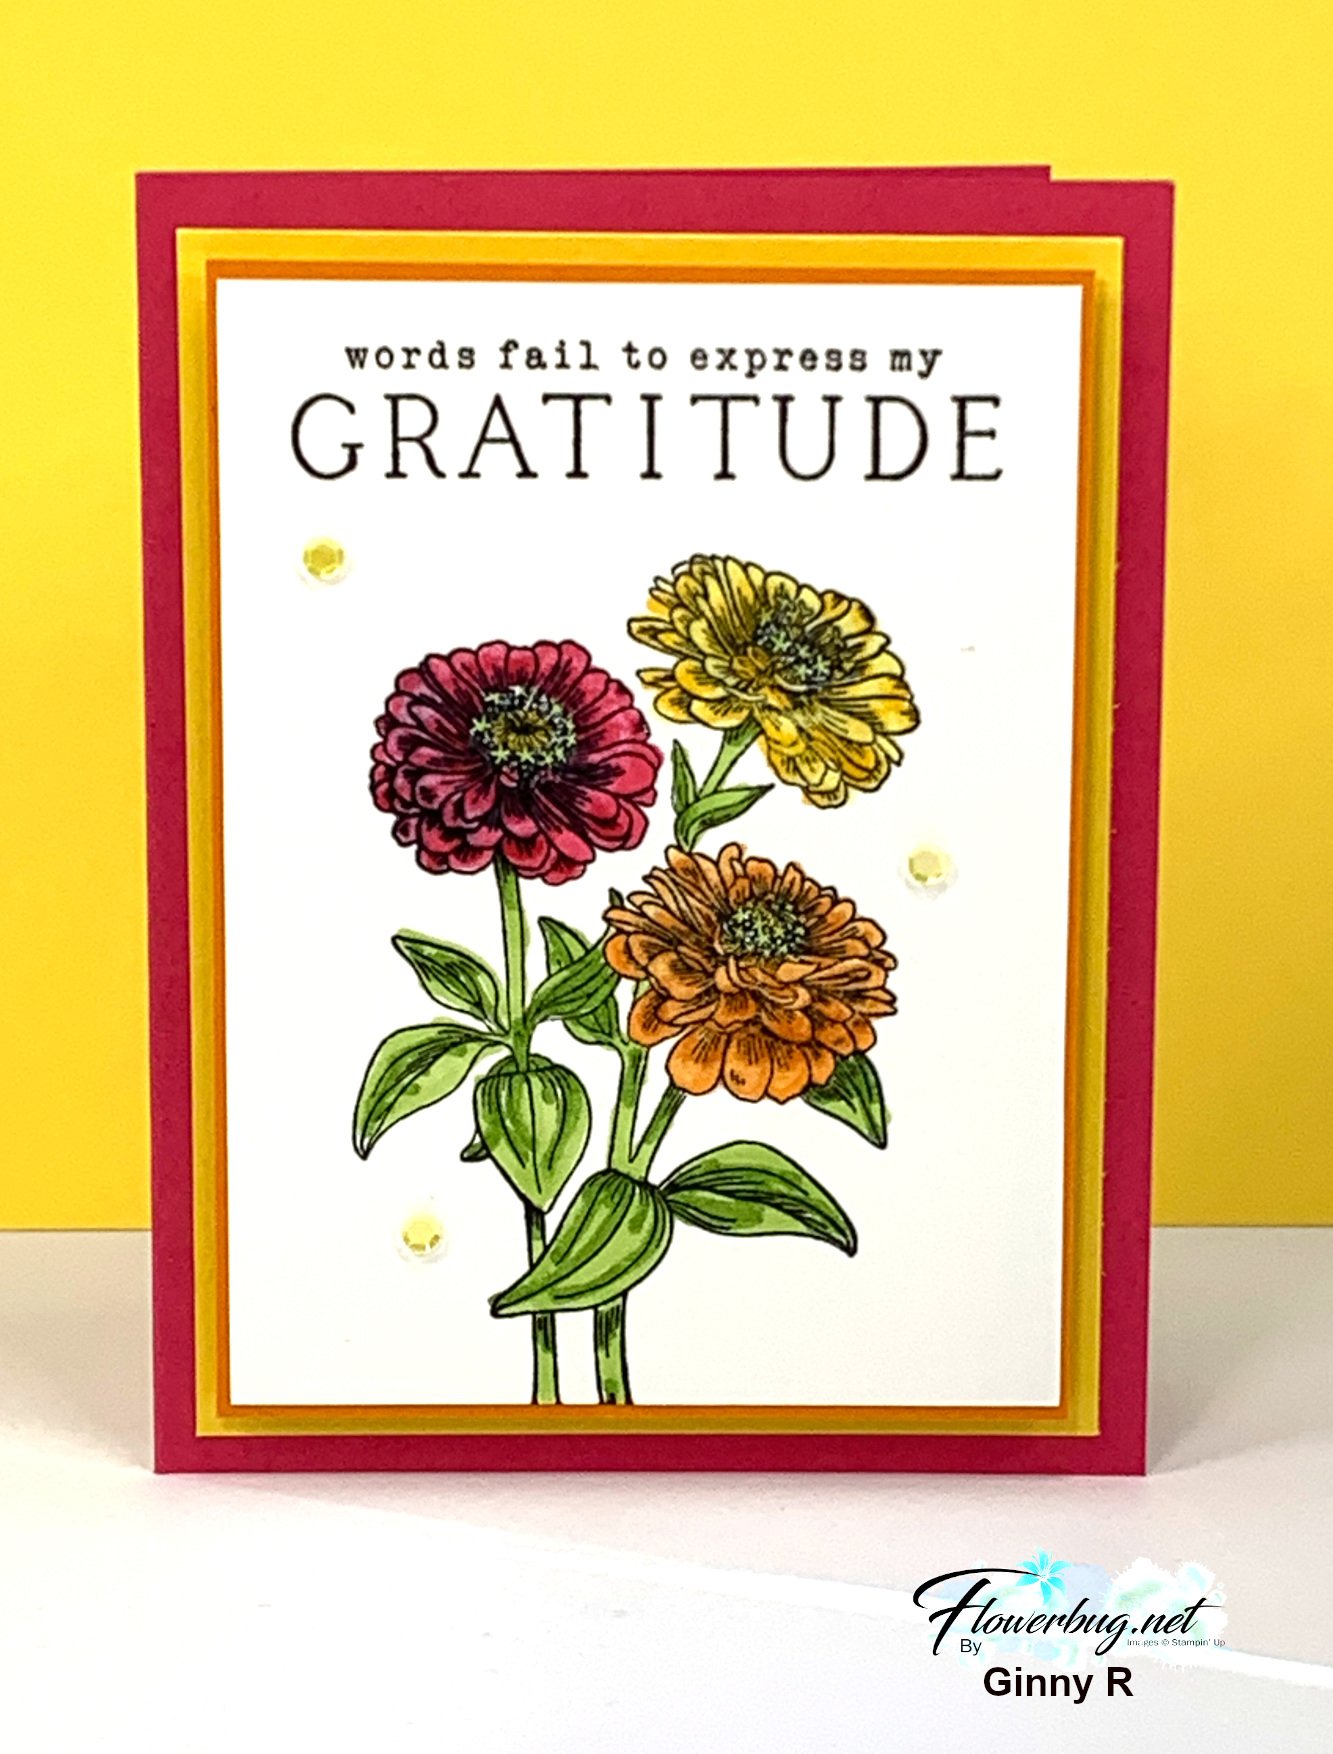
She used Blends markers to color the pretty zinnia image.  Melon Mambo, Daffodil Delight & Pumpkin Pie are her cardstock & Blends colors.  She popped up the top two layers on Dimensionals; what a difference this makes! 

I'll share more team swaps next week! 

~~~

March Specials: 

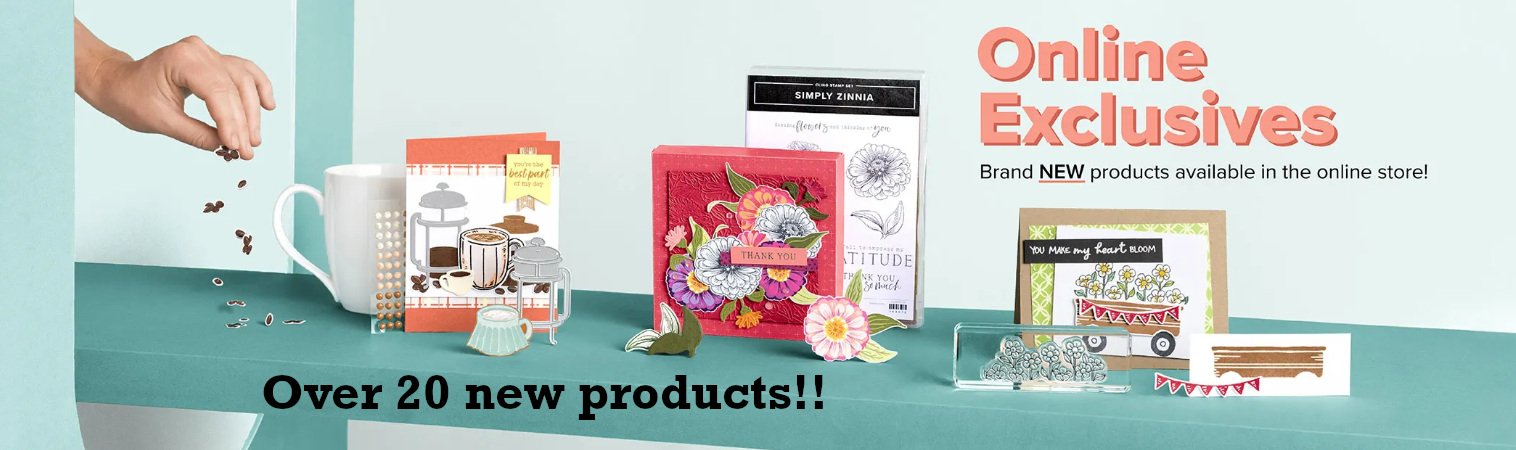
See over 20 brand new Online Exclusive products here!
*current host code link:  ZQW9KYDC or ZDUGF6KY

~~~

Get a free package of Rainbow Dots

with online orders over $55 in March

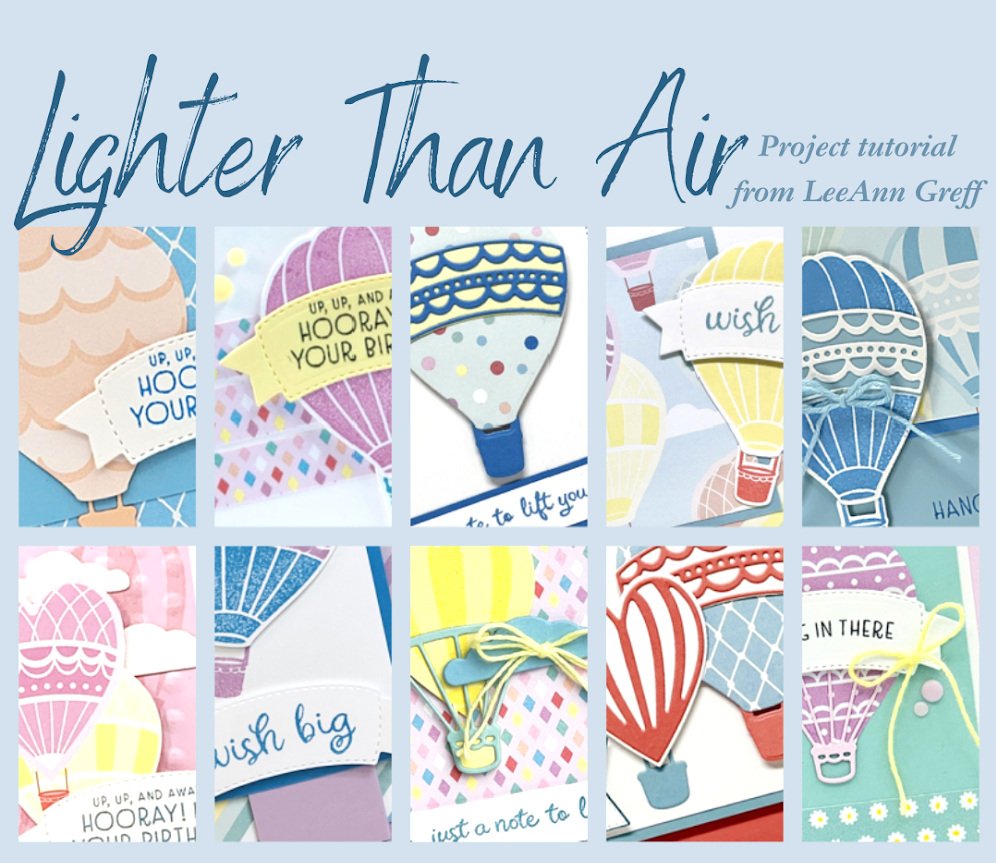
All online orders in March will receive this free Hot Air Balloon tutorial with 8 projects!
All Posts

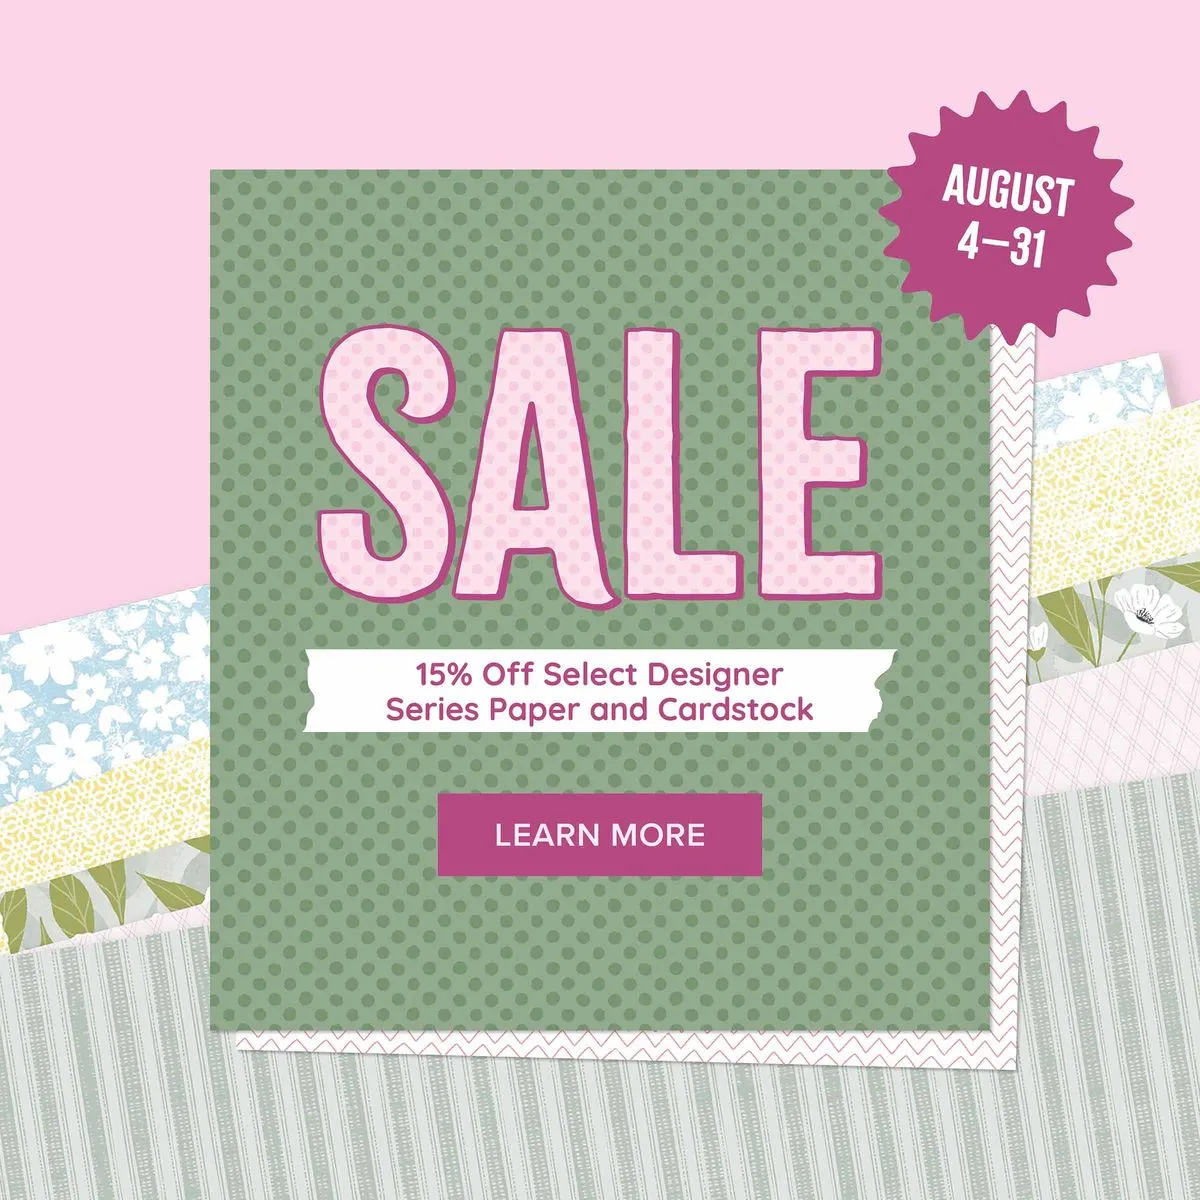
  • Just a few days left of the Designer Paper & Card stock sale! Don’t miss out!


    I love it when a staple like our card stock and beautiful Designer Papers are discounted. It’s something that we use all of the time in paper crafting.

    The fact that ALL of our colors coordinate is what makes Stampin’ Up! stand out from the rest. We are known for our color coordination! It’s what keeps me creating and in love with our products.

    Click here or below to see the entire line of discounted papers. This sale ends August 31st!

    Leave a Reply

    Your email address will not be published. Required fields are marked *

  • Get multiple cards from one sheet of Designer Paper! Video & free project sheet too.


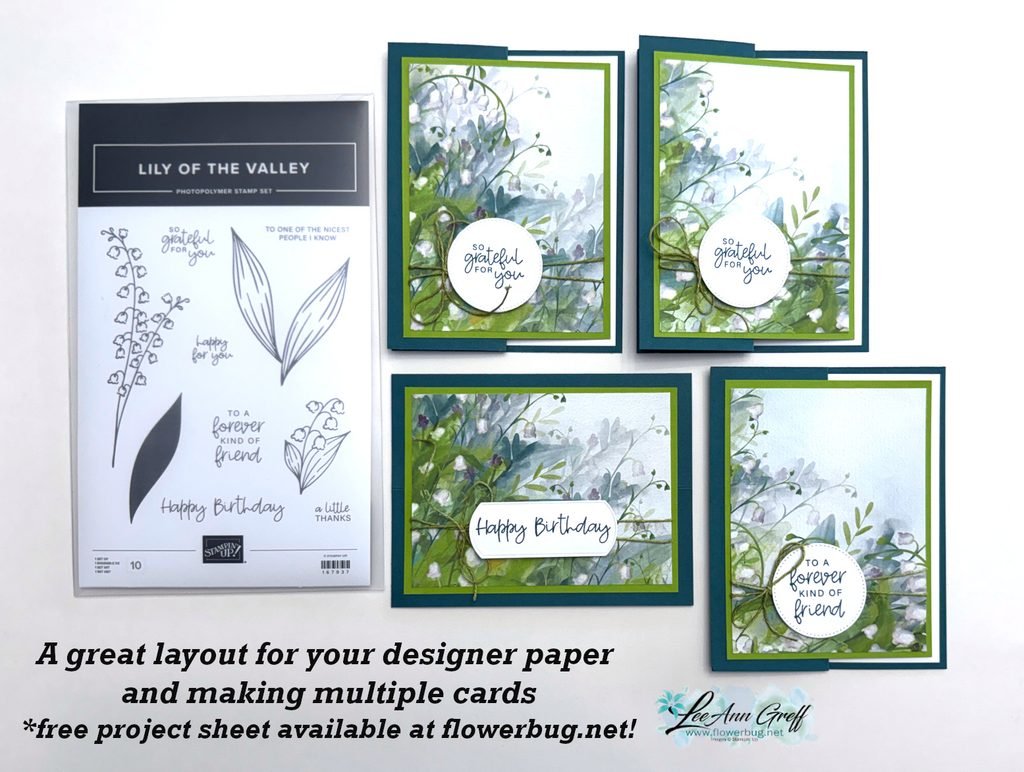
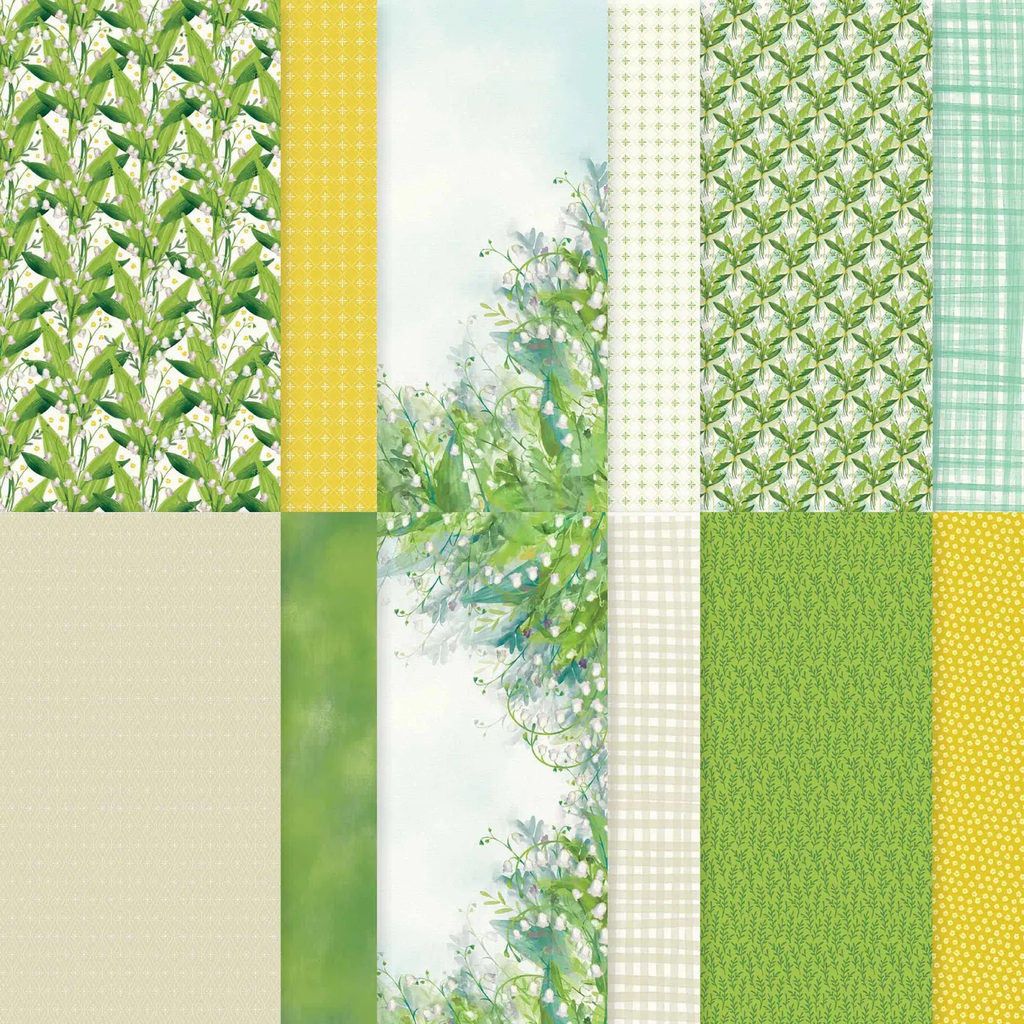
    I shared these beautiful cards on a Live video a few weeks ago. I wanted to make the most of one of my favorite sheets of the Valley in Bloom designer series paper. It’s discounted through August!

    You can get more cards than I show above but I mistakenly cut in the wrong place and missed out on more. This pack of Valley in Bloom DSP has many beautiful sheets in it. Get some while it’s on sale.

    I recommend cutting the 12 X 12″ sheet into 6 pieces at 3 1/2″ X 4 3/4″. The two center pieces won’t have as much greenery on them but you could change the layout up a bit to reflect that.

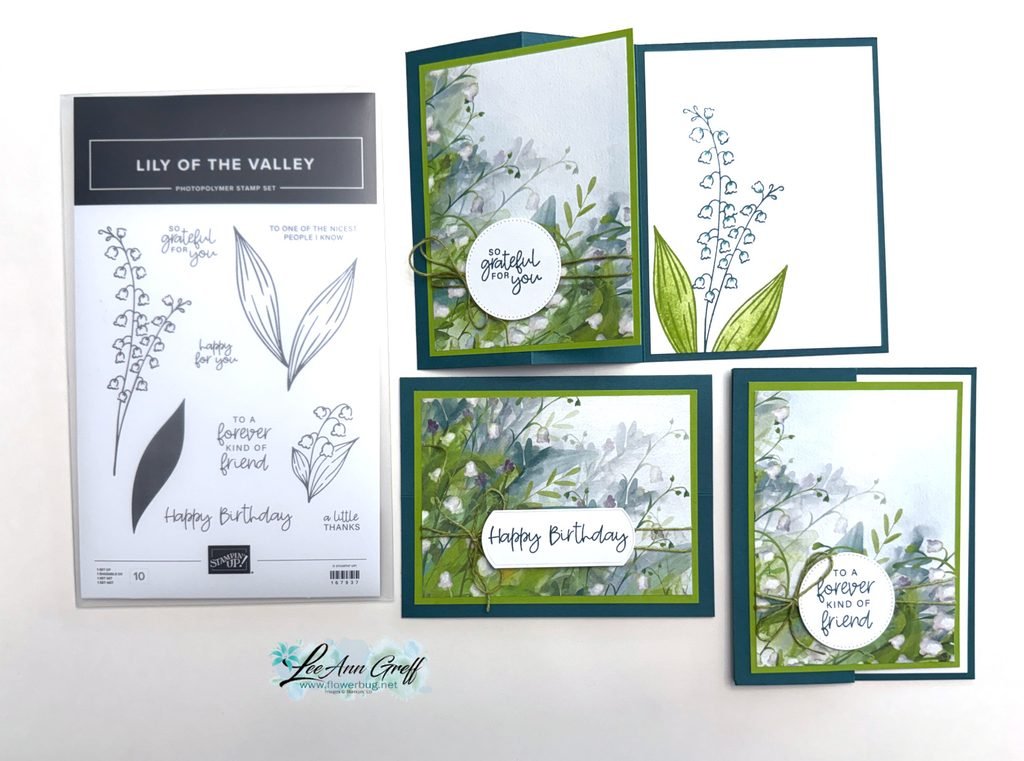
    My colors include Pretty Peacock with Old Olive & White. I used a variety of punches for my greetings; mostly from my stash of White elements.

    The card bases are 8 1/2″ X 5 1/2″ scored at 2 1/8″ & 4 1/4″. I made sure the Olive layer was small enough that the White inside piece shows as an inside layer. You can see the free project sheet with measurements, photos and supplies when you click here.

    I stamped the inside of the cards with the Lily of the Valley stamp set and colored the flowers in with a Blender pen. I love this bundle so much. You can see it here.

    You can see the video for this card and one more below. Don’t forget to subscribe to my YouTube channel!

    August Specials

    Don’t miss out on the Designer Paper & Cardstock sale! Click here to shop and save.

    Leave a Reply

    Your email address will not be published. Required fields are marked *

  • Hooray for Flowers card kit to go. Tomorrow is the last day for double rewards!


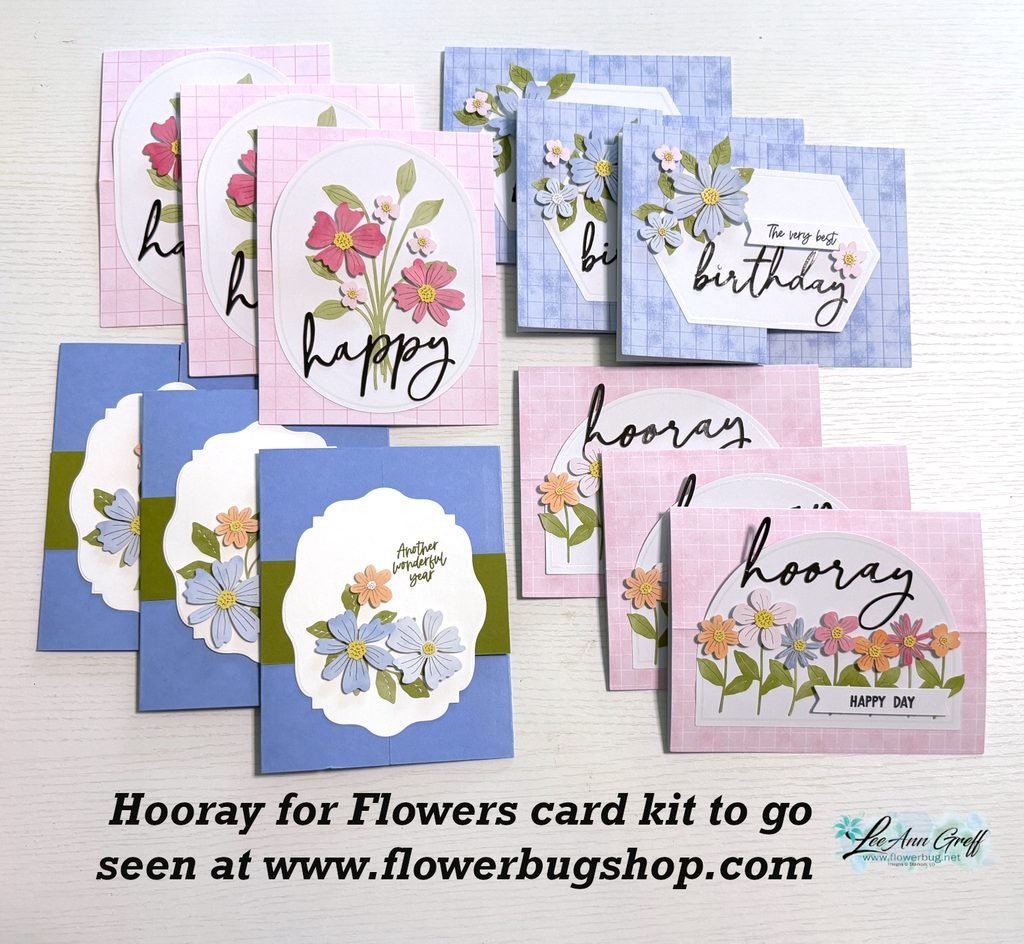
    I created these pretty cards from my July Paper Pumpkin kit. If you missed out on it, you can grab one of these kits below.

    This kit included so many beautiful flower die-cuts I had to grab extra and create a kit to go around it. I changed up some of the cards and added a few of my own.

    This kit to go includes 12 cards and envelopes, the PP kit and the extra pieces/die-cuts added on. You’ll also receive the PDF tutorial as well for $31 plus shipping.

    Go here to grab yours; I have a limited supply. You’ll receive the tutorial immediately in your email. The kit to go will be shipped out within a few days. Add on an extra kit or two and save $$ on shipping costs. See them all here.

    Friday is the last day to take advantage of the Double Rewards credits this month. Along with the paper and card stock sale you cannot go wrong! Go here to shop.

    Leave a Reply

    Your email address will not be published. Required fields are marked *


Notice: LeeAnn Greff, Independent Stampin’ Up! Demonstrator, Manager. The content of this website is my sole responsibility as an independent Stampin’ Up! demonstrator and the use of, and content of, the classes, services, or products offered on this website is not endorsed by Stampin’ Up! Copyright 2025