/


Latest Post

5 beautiful cards the easy way; with my ‘5 at a time’ templates!


Check out these gorgeous cards made with my 5 at a time templates!

Aren’t they pretty? I chose this stamp set because of the pretty floral images. And I knew they’d make an easy, beautiful background. My colors include Hydrangea Hue, Peaceful Pine and Golden Glow.

My 5 at a time templates make creating 5 cards so effortlessly! This first template is what I used for my White stamped layer.

Vertically, make the first cut from an 8 1/2″ X 11″ White CS at 4 3/4″. Then cut 3 pieces from the left section at 3 1/2″. Now cut the other piece at 3 1/2″ wide and cut that into two pieces at 4 3/4″. Save the bottom piece for a greeting layer.

This next template is for the colored layer under the White stamped pieces. It’s just an 1/8″ larger than the White layers.

Cut in the same manner as the one above; starting vertically at 4 7/8″. Please watch the video here, or below to see how it’s done.


I cut 5 card bases for these stamped layers and you can see how I stamped the insides of some above. I love stamping backgrounds; our stamp images are fantastic! And this set has that distinktive feel to the images which gives multiple hues of colors when stamping.

It’s actually in a bundle with the amazing Tile Garden dies. See the stamp set here and the bundle here.

I created a free project sheet for these cards and it includes the two templates! Click here to print or download it.

And below is the video tutorial I shared last week with an entire different set of cards! I’ll share another version tomorrow.

The Starter kit deal ends on Saturday! I hope you’ll consider joining my team and taking advantage of the continual discount on all future Stampin’ Up! products!

Click here to get the deal!!

All Posts

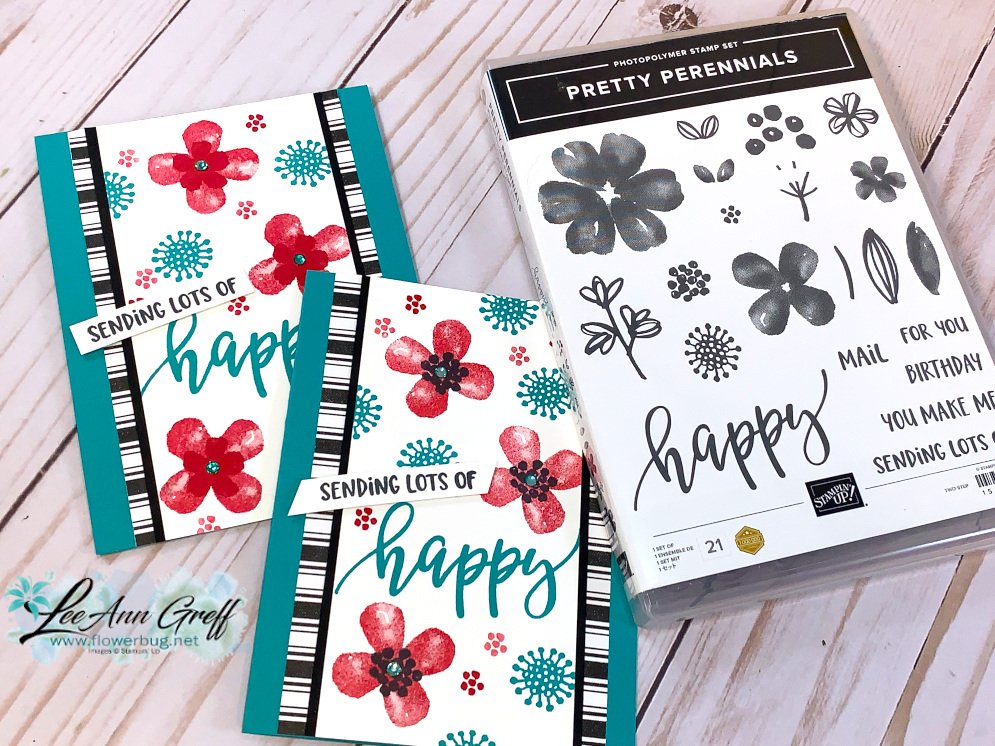
  • Striking cards with Pretty Perennials with True Love DSP


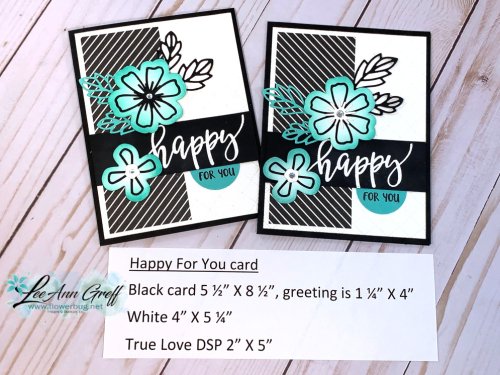
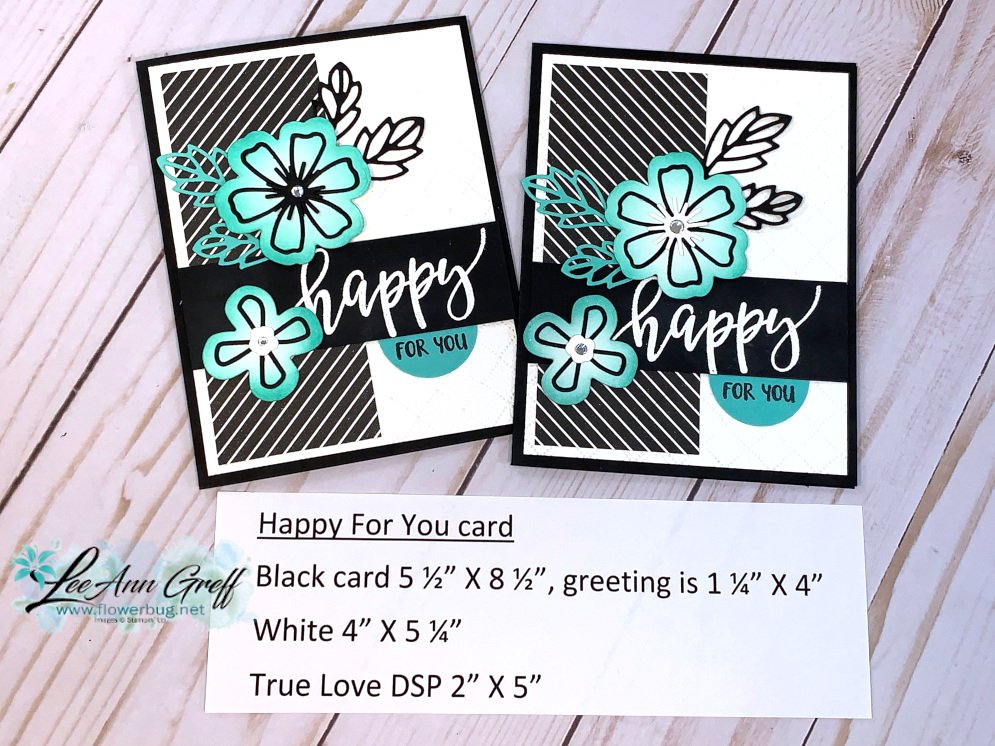
    If the True Love designer paper hasn't caught your eye yet look at these cards:  

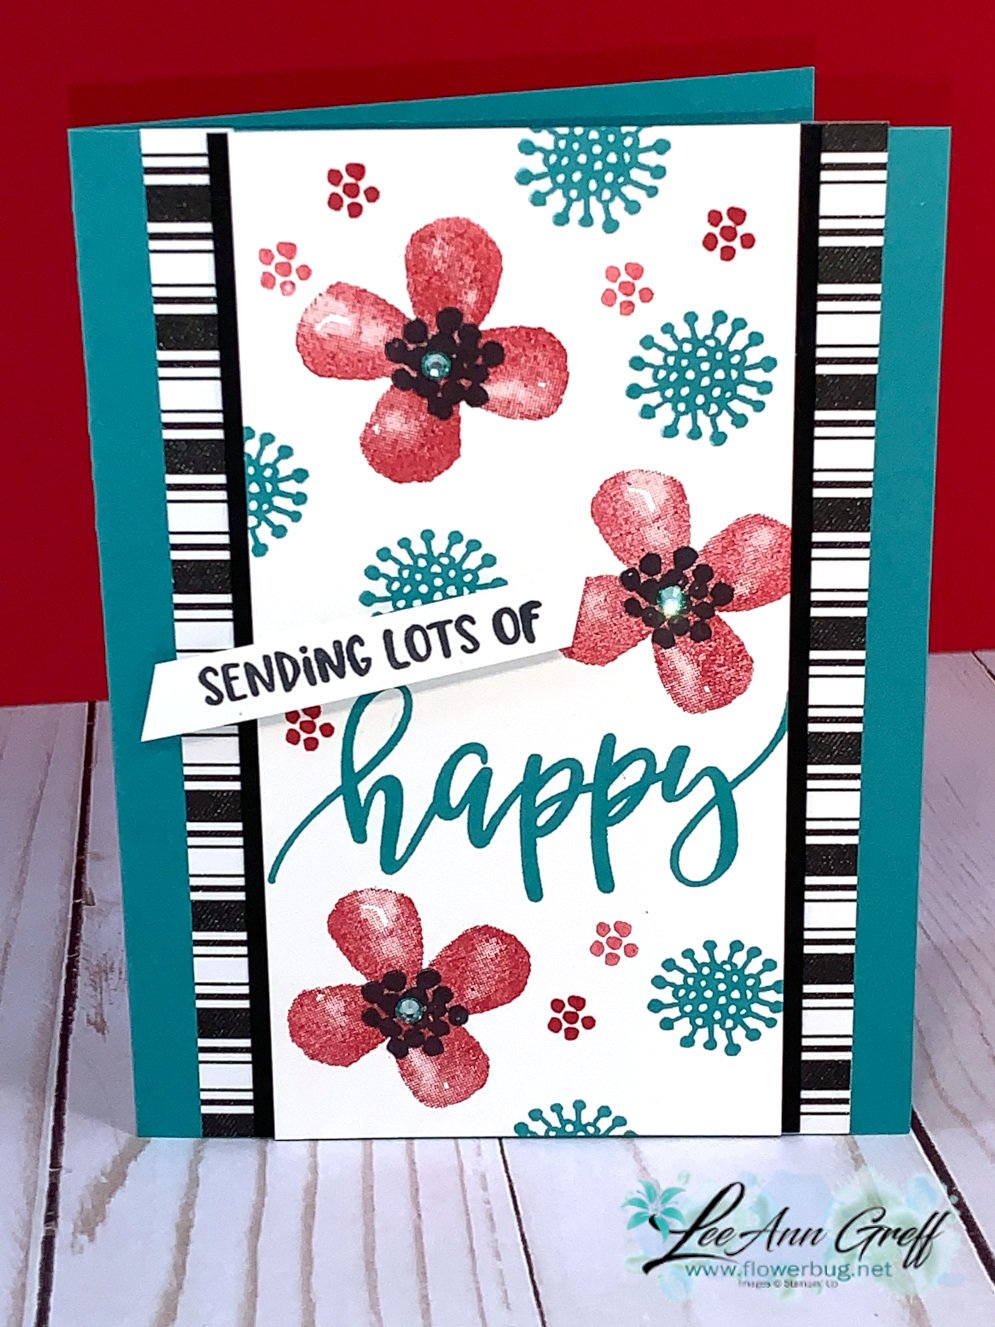
    I paired it with the Pretty Perennials stamp and dies bundle for a recent FB Live.  I used Bermuda Bay, Real Red and black. Simple Stamping at it's best!  No die-cuts or punches either!  Sometimes it's fun to just stamp and layer.  
    You can see the measurements below. I try to share the printed list in my videos so they're easy to jot down.

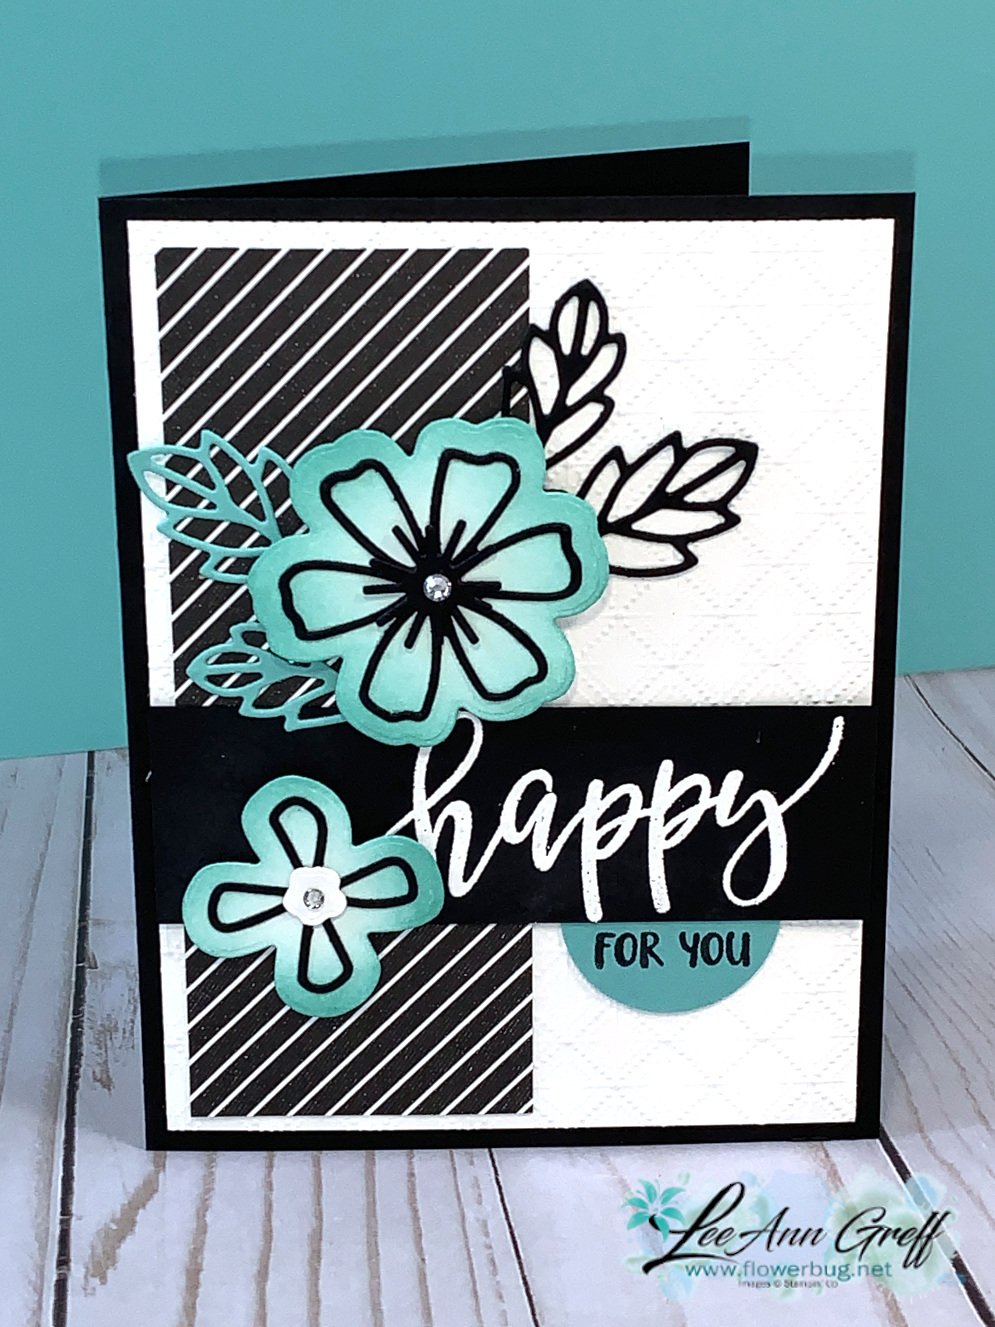
    Lastly here's the stepped-up card I made using heat embossing and the Perennial Petal dies.  See the Pretty Perennial bundle here.

    I also used our new Blending Brushes to add color to the white flowers.  Love these so much! 

    Measurements are below and you can watch the FB Live replay video below: 

    I think cards featuring black and White with a pop of color are so striking and stand out.  What do you think? 

    ~~~

    January Specials:

    During Sale-a-Bration you get 5 packs of NEW 6" Designer Paper FREE with purchase of the Starter Kit! 


    Go here to read about it

    ~~~

    Current Host code is RHSK6A2F

    Order online here

    All online orders receive my new 12 X 12" One Sheet Wonder Tutorial!

    Plus get a package of 200 Pastel Pearls from me with

    an online order over $50 using the host code above.

    *If your order is over $150 do not use the code; you'll still receive a gift! 

    ~~~

    Get a package of 200 Pastel Pearls from me with an online order over $50 using the host code above.

    *If your order is over $150 do not use the code; you'll still receive a gift! 

    Below are the Multipurpose Glue stands we're making. They're $6 each and available in my Shop here.  

    Leave a Reply

    Your email address will not be published. Required fields are marked *

  • Quick yet beautiful cards with the True Love Designer paper & video


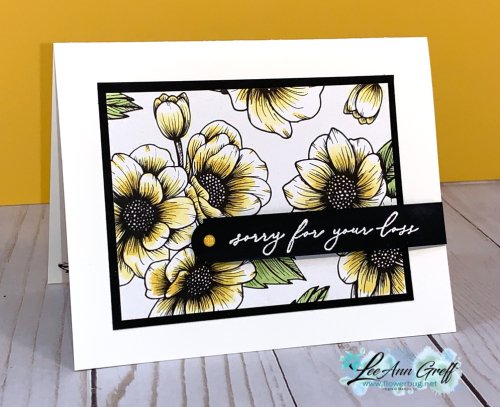
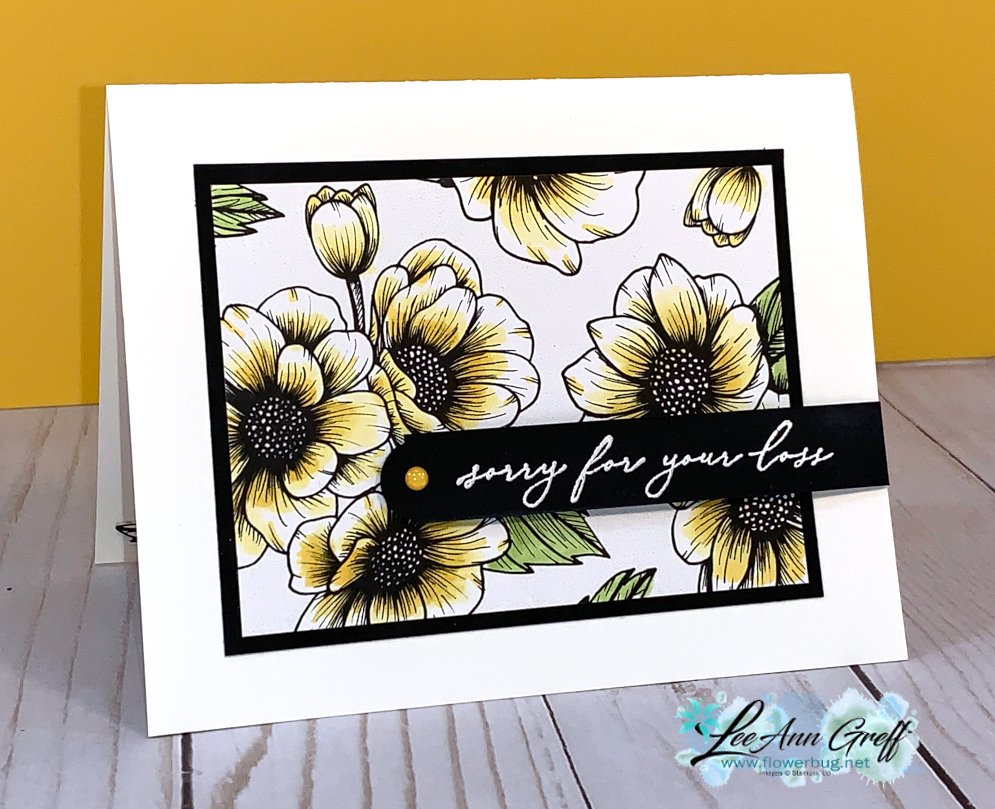
    Sometimes you can let the designer paper do all of the work.  Look at this classy, beautiful card I made with the True Love Designer Paper! 

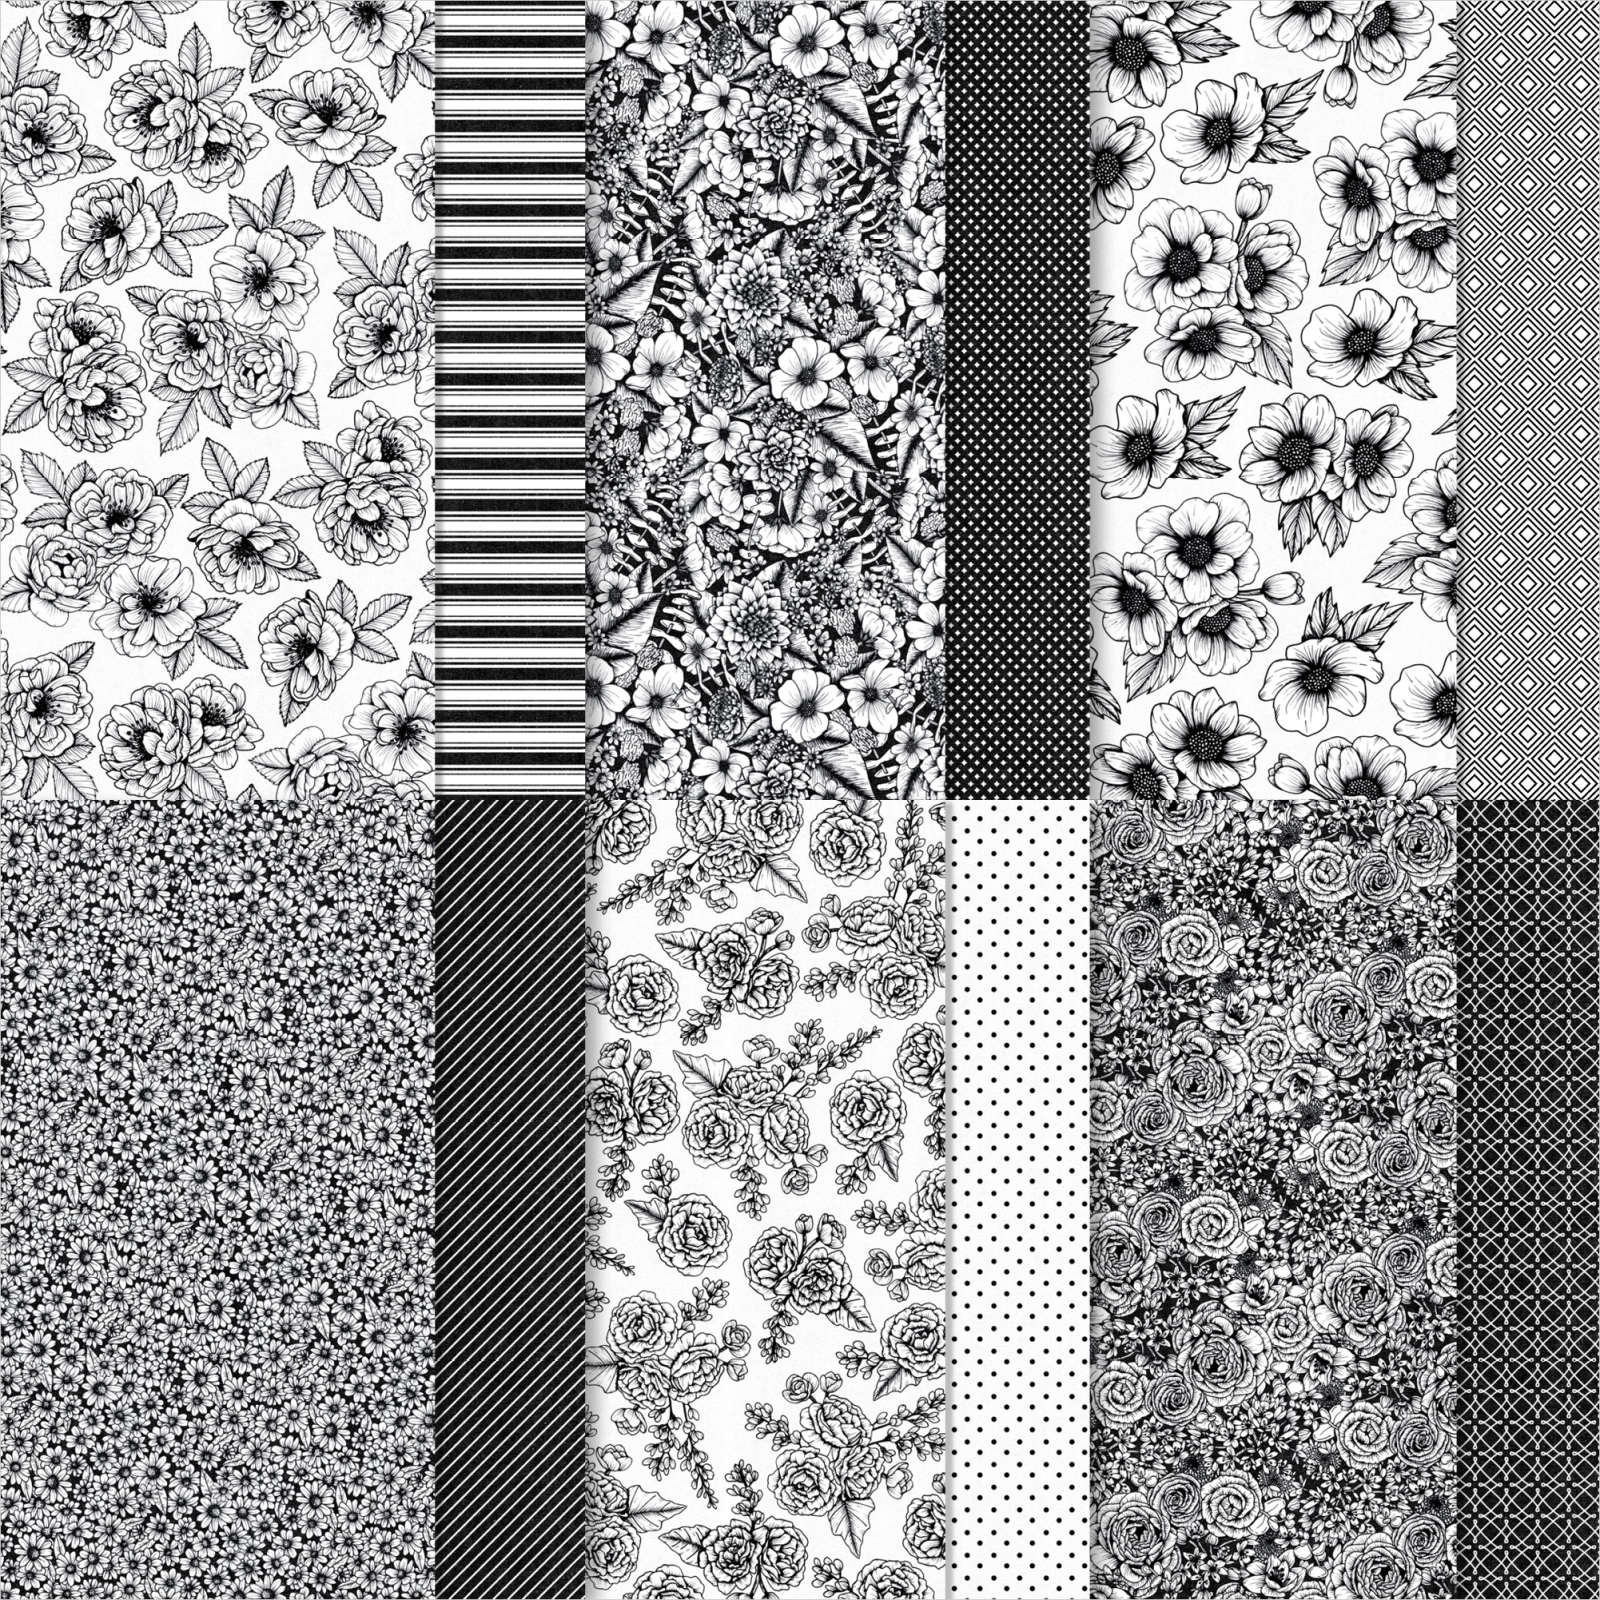
    This designer paper is all Black & White, full of floral and other prints you can use as is or color like I did above.  Click here to see it online.  

    I heat embossed the greeting and punched the end with our new Treasured Tags Pick a Punch.

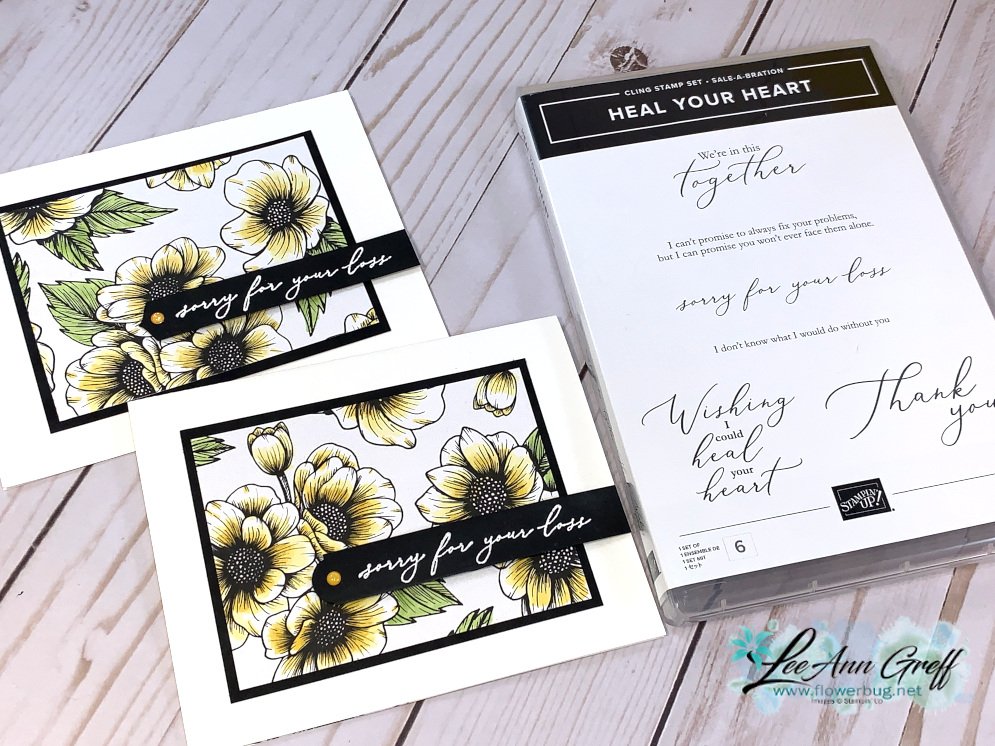
    This beautiful stamp set has a gorgeous font and is free with any $50 purchase during Sale-a-Bration (SAB).  SAB is a perfect time to purchase from your wish list since you get something FREE with your orders.  See the Heal your Heart set here.   

    I used Daffodil Delight Blends marker to color in the flowers; coloring mainly on the printed lines on the flowers. Granny Apple Green for the leaves. Simple & quick! 

    I also made two more striking cards with this paper and the Pretty Perennials bundle. You can watch the Live video below. 

    Measurements:

    • Card base 5 1/2" X 8 1/2"
    • Designer Paper 3" X 4"
    • Black layer 3 1/4" X 4 1/4", greeting strip is 1/2" X 3 3/4" 

    ~~~

    January Specials:

    Today is the last day of my BOGO Sale!  

    *Order new Stampin' Up! items and get retired items FREE!

    Go here to see it all. 


    During Sale-a-Bration you get 5 packs of NEW 6" Designer Paper FREE with purchase of the Starter Kit! 


    Go here to read about it

    ~~~

    Current Host code is RHSK6A2F

    Order online here

    All online orders receive my new 12 X 12" One Sheet Wonder Tutorial!

    Plus get a package of 200 Pastel Pearls from me with

    an online order over $50 using the host code above.

    *If your order is over $150 do not use the code; you'll still receive a gift! 

    ~~~

    Get a package of 200 Pastel Pearls from me with an online order over $50 using the host code above.

    *If your order is over $150 do not use the code; you'll still receive a gift! 

    Below are the Multipurpose Glue stands we're making. They're $6 each and available in my Shop here.  

    Leave a Reply

    Your email address will not be published. Required fields are marked *

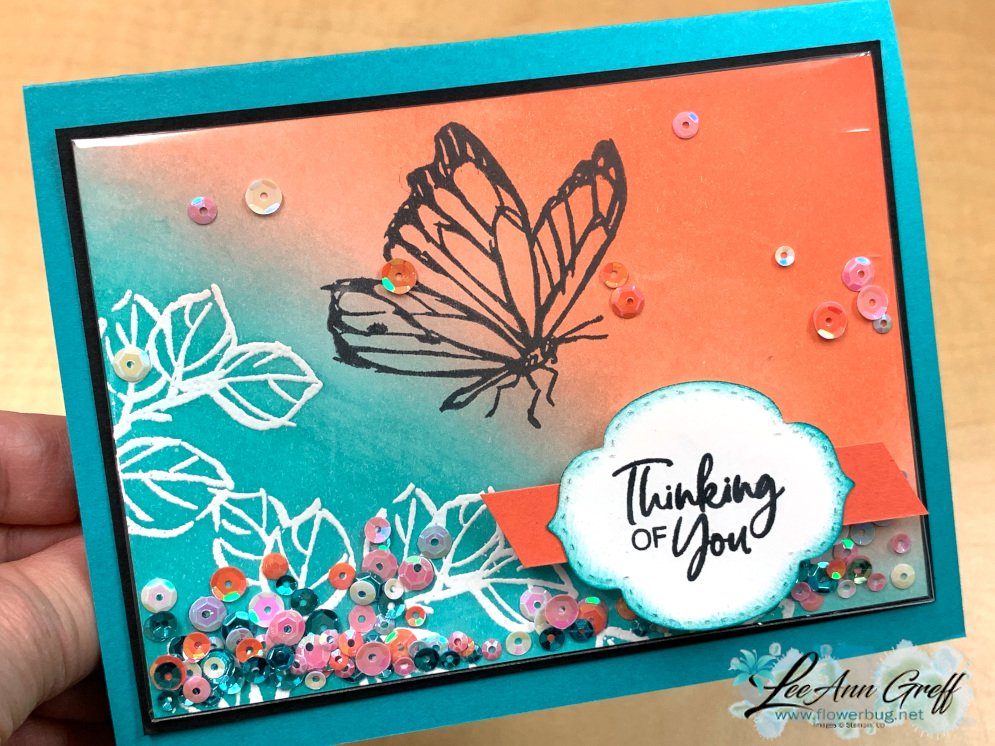
  • Easiest Shaker card you’ll ever make!


    Giving an interactive card makes the card extra special like shakers, spinners or fun folds.  But they can be time consuming or a lot of work.  

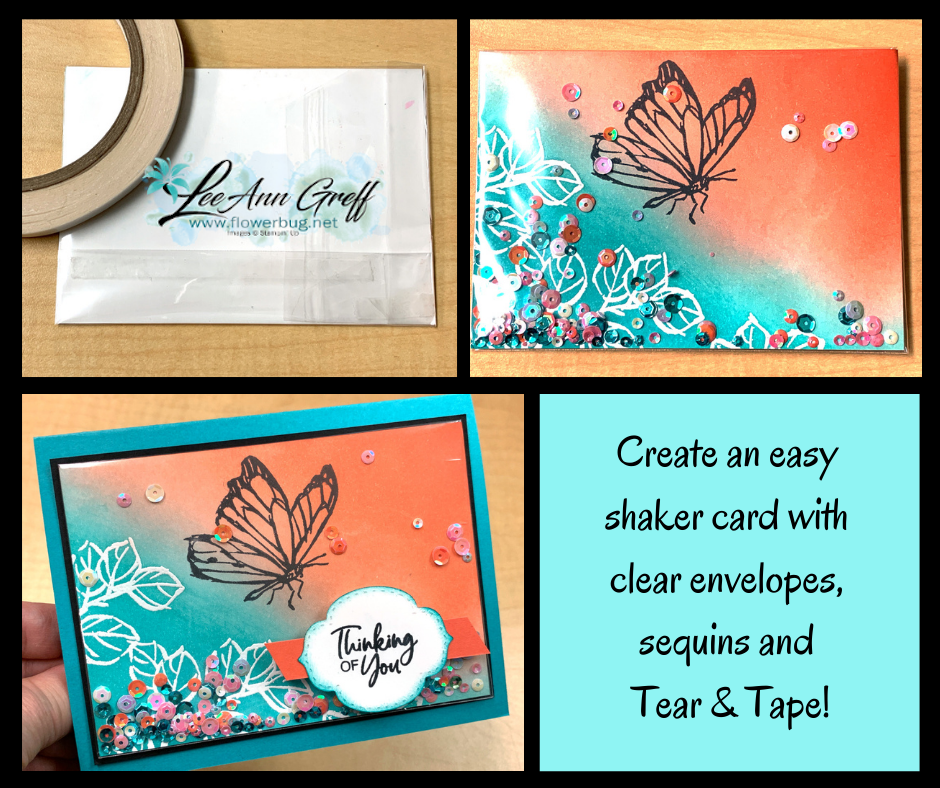
    I used the free 'A Touch of Ink' stamp set from the Sale-a-Bration catalog.  You can see it here.  That background was made with our Blending Brushes and Bermuda Bay & Calypso Coral ink.

    This type of shaker card is truly easy; really!  Besides the stamped element you need three basic things:

    1.  A clear envelope
    2. Strong adhesive
    3. Sequins, beads or tiny punched pieces

    Insert your stamped card stock into the clear envelope, fold the excess envelope over to the back and seal with adhesive leaving one end open.  Add your fun filler and seal closed.  

    The pretty sequins in this card are the Woven Threads sequins in the annual catalog on page 157.

    I made a video in December on making one of these shaker cards.  Even though it's a Christmas card it's the same technique. Here it is:

    January Specials:

    During Sale-a-Bration you get 5 packs of NEW 6" Designer Paper FREE with purchase of the Starter Kit! 

    It's 25% off with Free shipping.  $99 and pick out $125 in product


    Go here to read about it

    ~~~

    Current Host code is RHSK6A2F

    Order online here

    All online orders receive my new 12 X 12" One Sheet Wonder Tutorial!

    Plus get a package of 200 Pastel Pearls from me with

    an online order over $50 using the host code above.

    *If your order is over $150 do not use the code; you'll still receive a gift! 

    Below are the Multipurpose Glue stands we're making. They're $6 each and available in my Shop here.  

    Leave a Reply

    Your email address will not be published. Required fields are marked *


Notice: LeeAnn Greff, Independent Stampin’ Up! Demonstrator, Manager. The content of this website is my sole responsibility as an independent Stampin’ Up! demonstrator and the use of, and content of, the classes, services, or products offered on this website is not endorsed by Stampin’ Up! Copyright 2025