/


Latest Post

5 beautiful cards the easy way; with my ‘5 at a time’ templates!


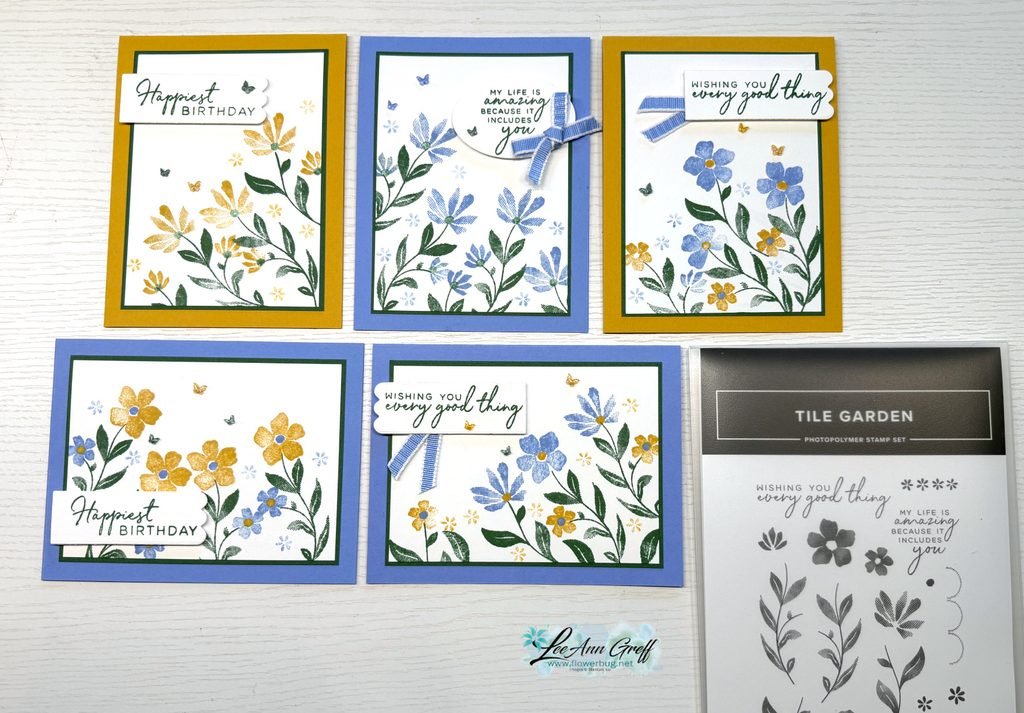
Check out these gorgeous cards made with my 5 at a time templates!
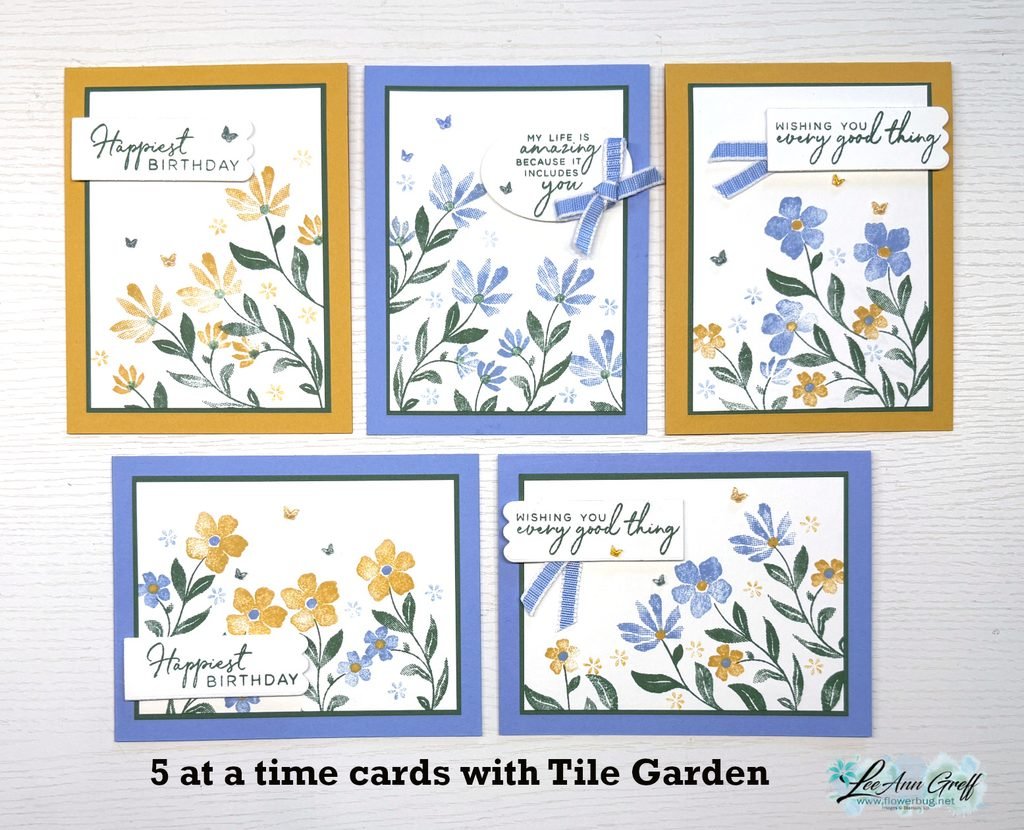
Aren’t they pretty? I chose this stamp set because of the pretty floral images. And I knew they’d make an easy, beautiful background. My colors include Hydrangea Hue, Peaceful Pine and Golden Glow.

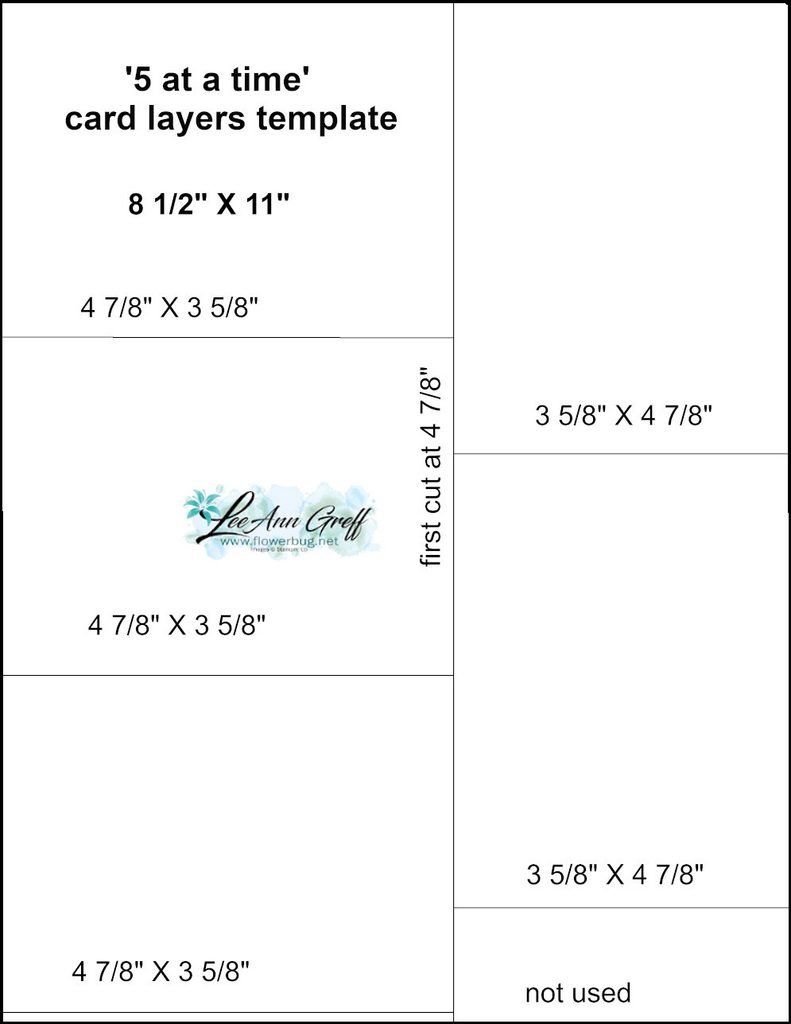
My 5 at a time templates make creating 5 cards so effortlessly! This first template is what I used for my White stamped layer.
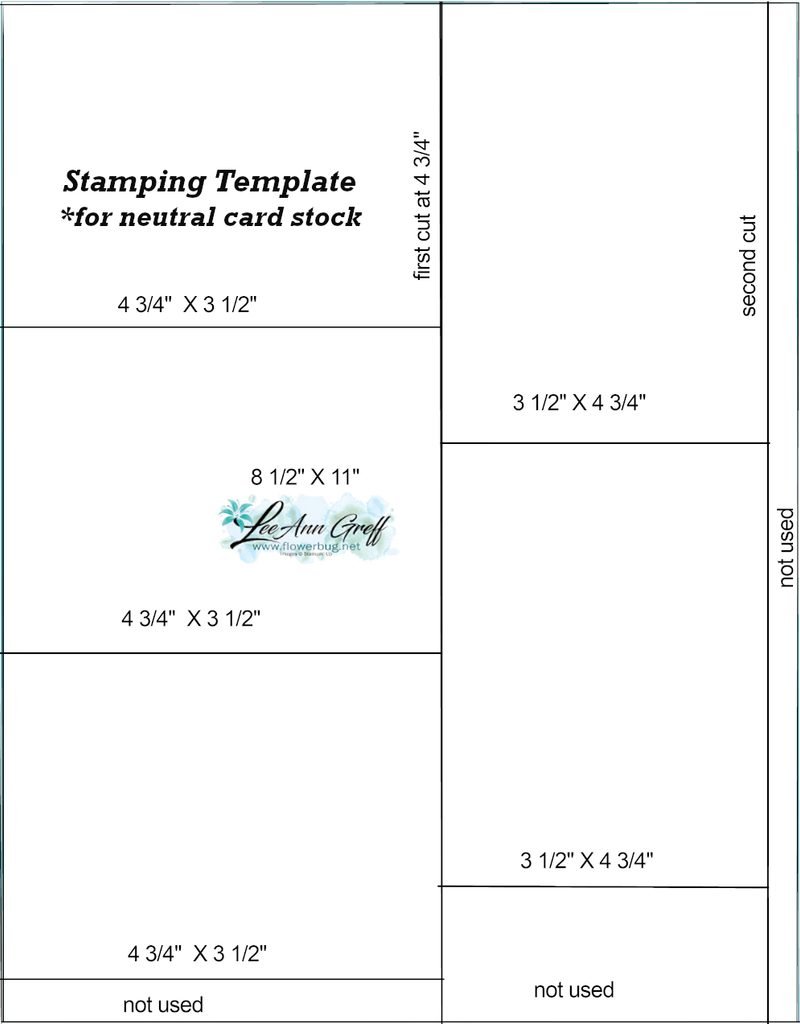
Vertically, make the first cut from an 8 1/2″ X 11″ White CS at 4 3/4″. Then cut 3 pieces from the left section at 3 1/2″. Now cut the other piece at 3 1/2″ wide and cut that into two pieces at 4 3/4″. Save the bottom piece for a greeting layer.

This next template is for the colored layer under the White stamped pieces. It’s just an 1/8″ larger than the White layers.

Cut in the same manner as the one above; starting vertically at 4 7/8″. Please watch the video here, or below to see how it’s done.
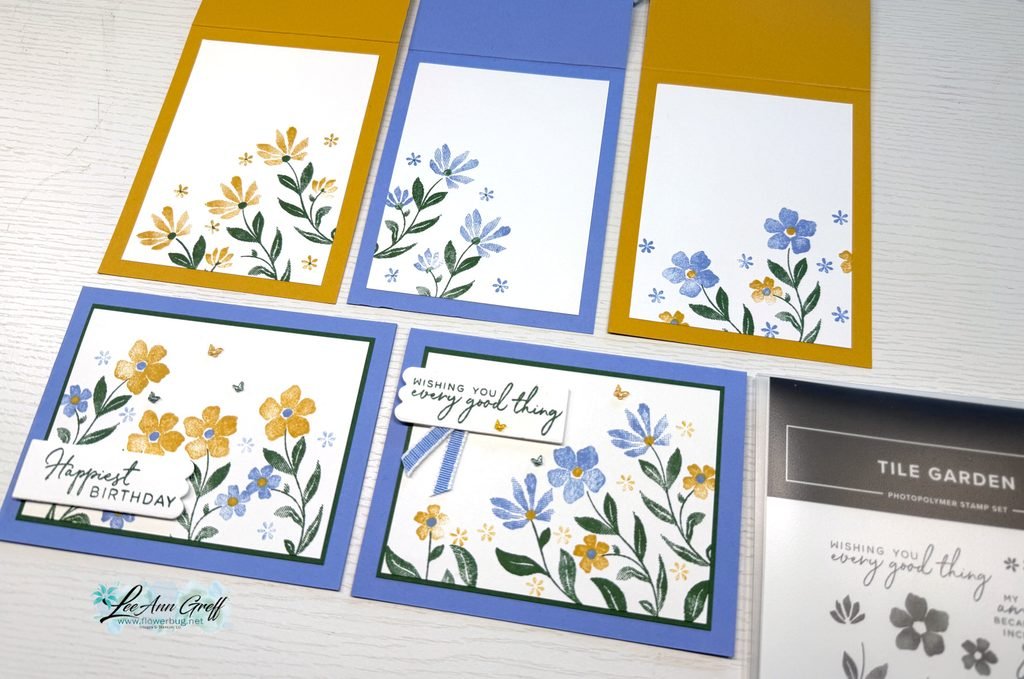
I cut 5 card bases for these stamped layers and you can see how I stamped the insides of some above. I love stamping backgrounds; our stamp images are fantastic! And this set has that distinktive feel to the images which gives multiple hues of colors when stamping.
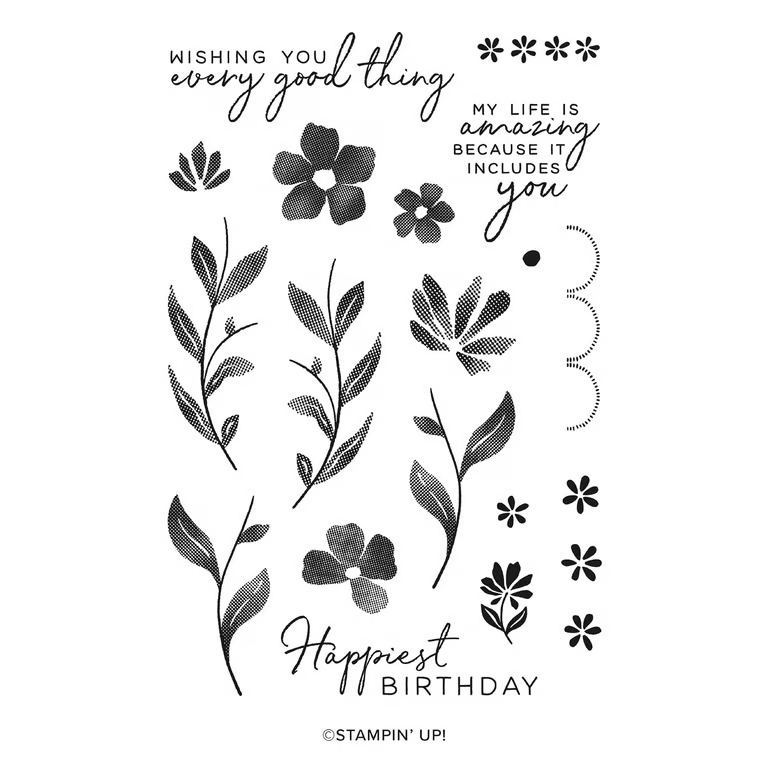
It’s actually in a bundle with the amazing Tile Garden dies. See the stamp set here and the bundle here.
I created a free project sheet for these cards and it includes the two templates! Click here to print or download it.

And below is the video tutorial I shared last week with an entire different set of cards! I’ll share another version tomorrow.

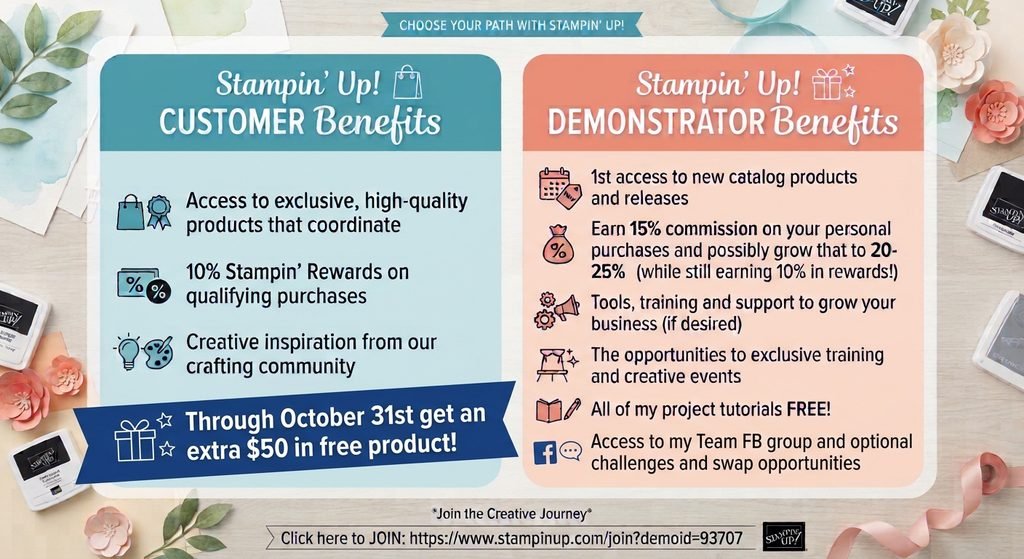
The Starter kit deal ends on Saturday! I hope you’ll consider joining my team and taking advantage of the continual discount on all future Stampin’ Up! products!

Click here to get the deal!!
All Posts

  • Our annual Fundraising Event is tomorrow!


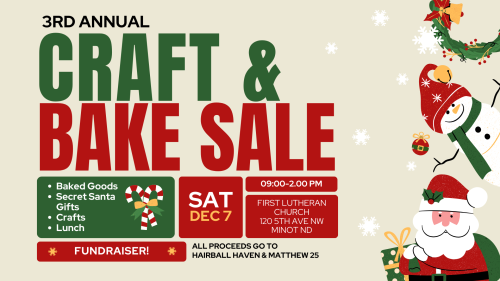
    If you're in or near Minot, ND I hope you'll stop in at our annual fundraising event Saturday, December 7th. 

    We'll have lots of home baked and canned goods, cookie trays, breads & crafts too. We're also serving lunch from 11-1 pm.

    It's at 1st Lutheran Church from 9-2 pm and supports the following two charities.

    1. Matthew 25 who provides household goods for those in need.
    2. Hairball Haven which is a feline rescue center. 

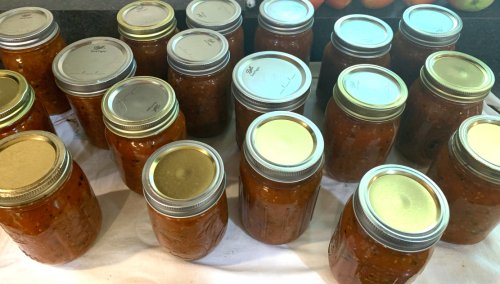
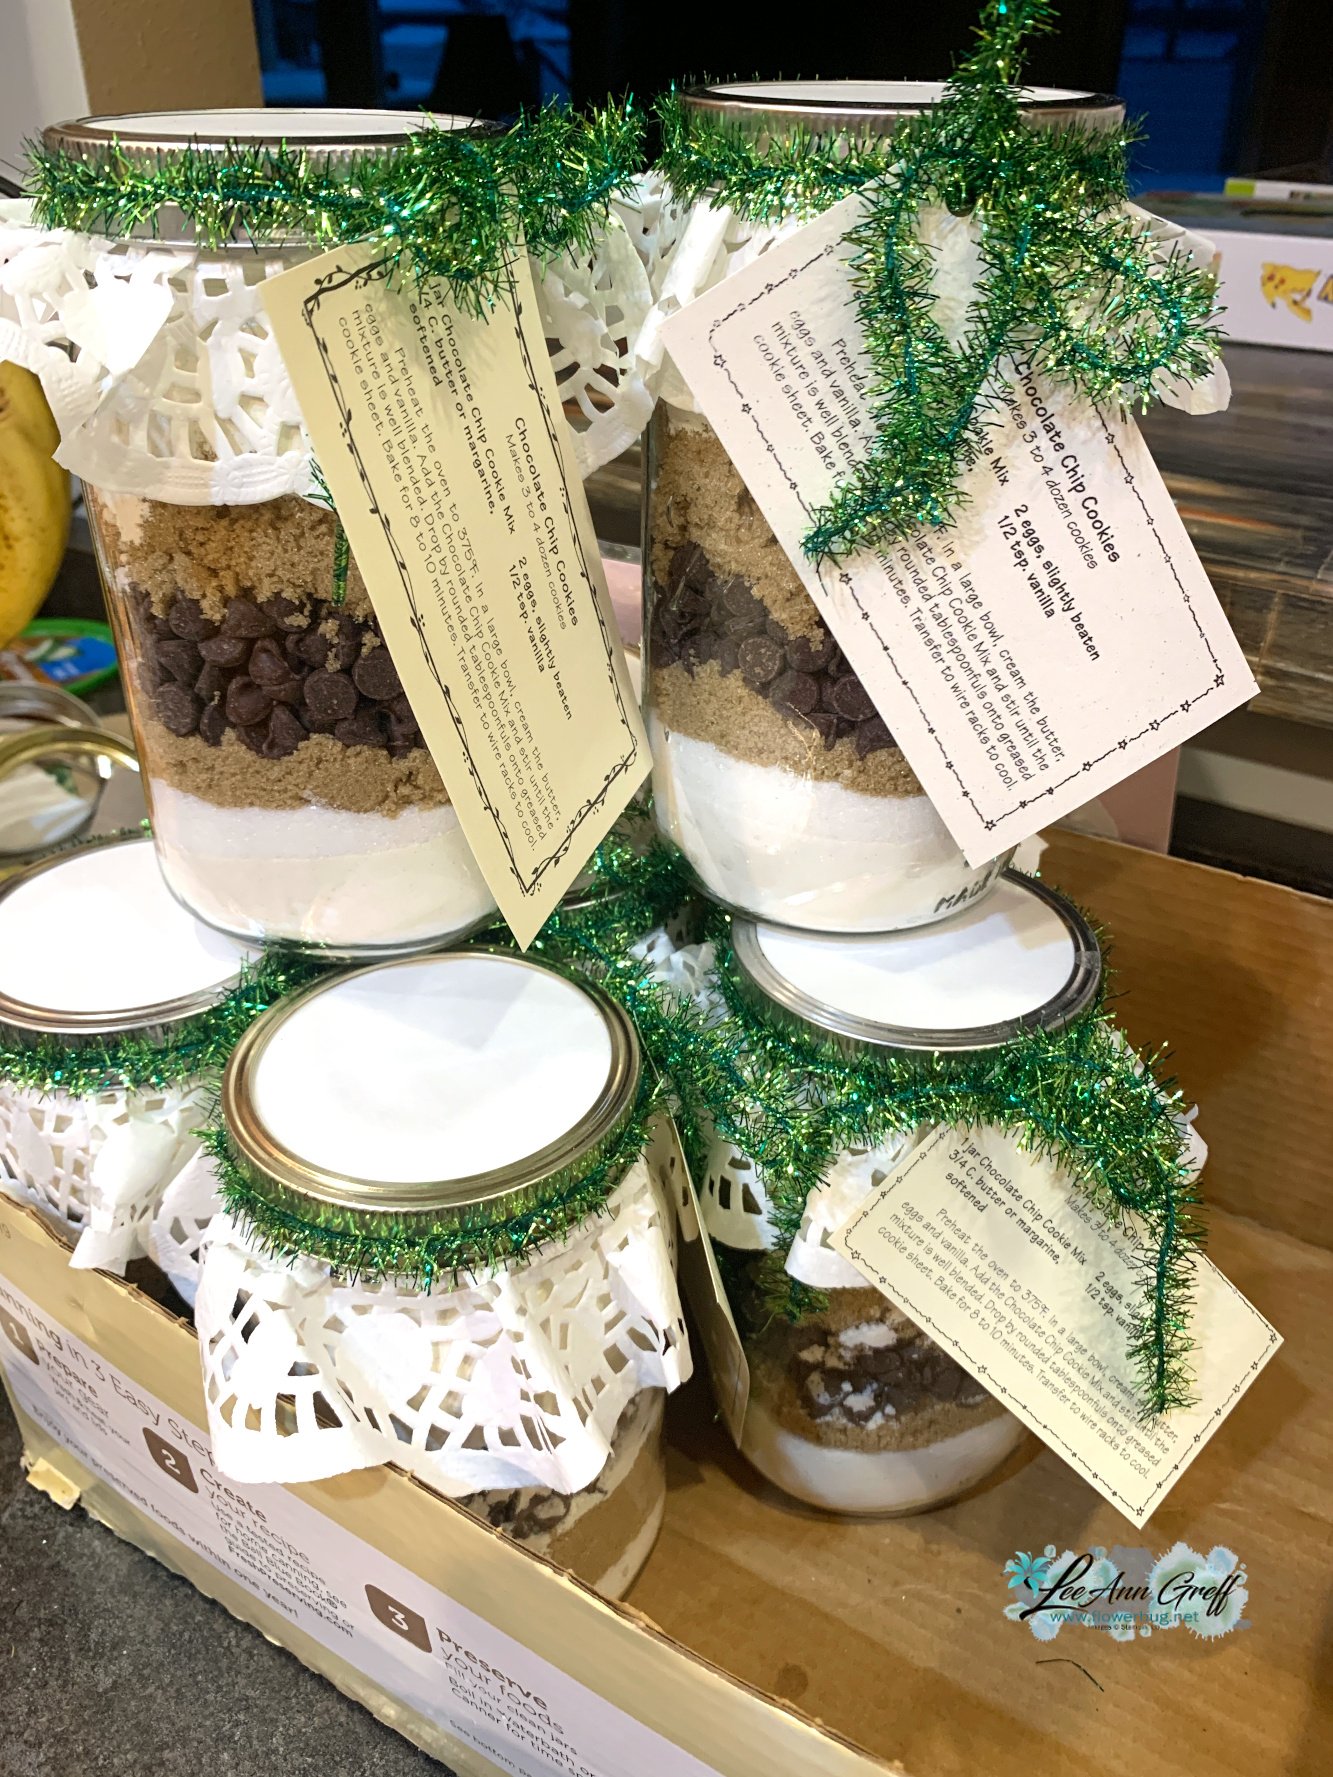
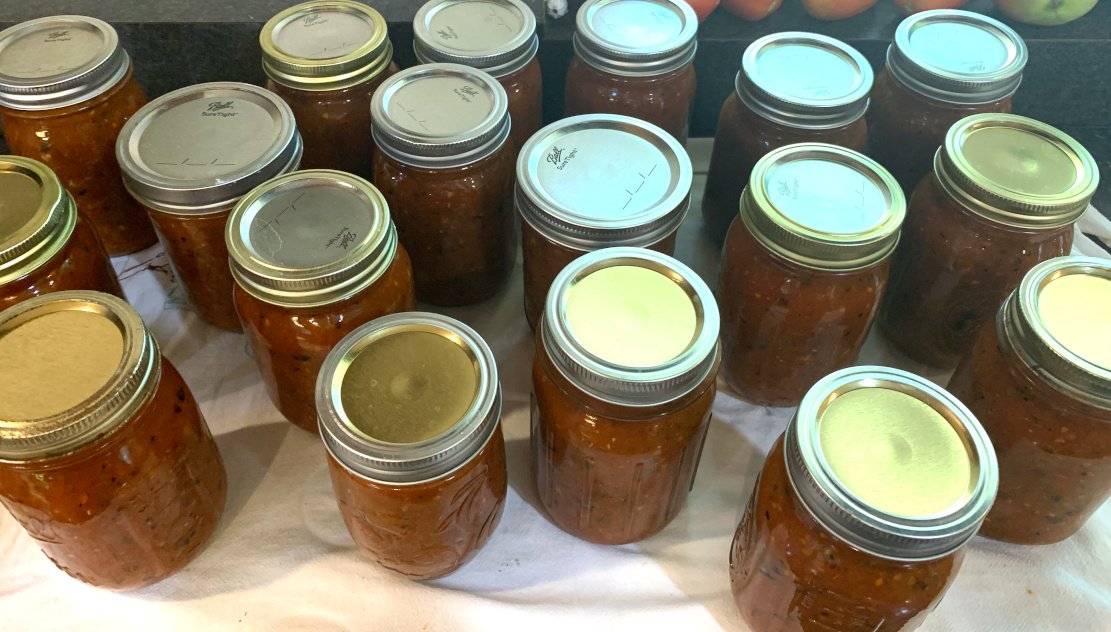
    I've been baking & creating crafts like these:

    Hot cocoa treats in baby food jars.

    Cookie mixes in a jar

    Home canned salsa

    I'll share more photos on my Facebook page after we set up today. 

    ~~~

    December Specials:

    *current host code link:  

     FFMDFU3J

    3 new designer papers!

    ~~~

    Available December 3rd; while supplies last!

    ~~~

    ~~~

    Leave a Reply

    Your email address will not be published. Required fields are marked *

  • Beautiful ‘Notes from the Heart’ Paper Pumpkin kit in December


    Here's a sneak peek of the December Paper Pumpkin kit: 

    This card kit includes the following:

     Card bases with scalloped edges

     Beautiful hand drawn designs

     Precut vellum

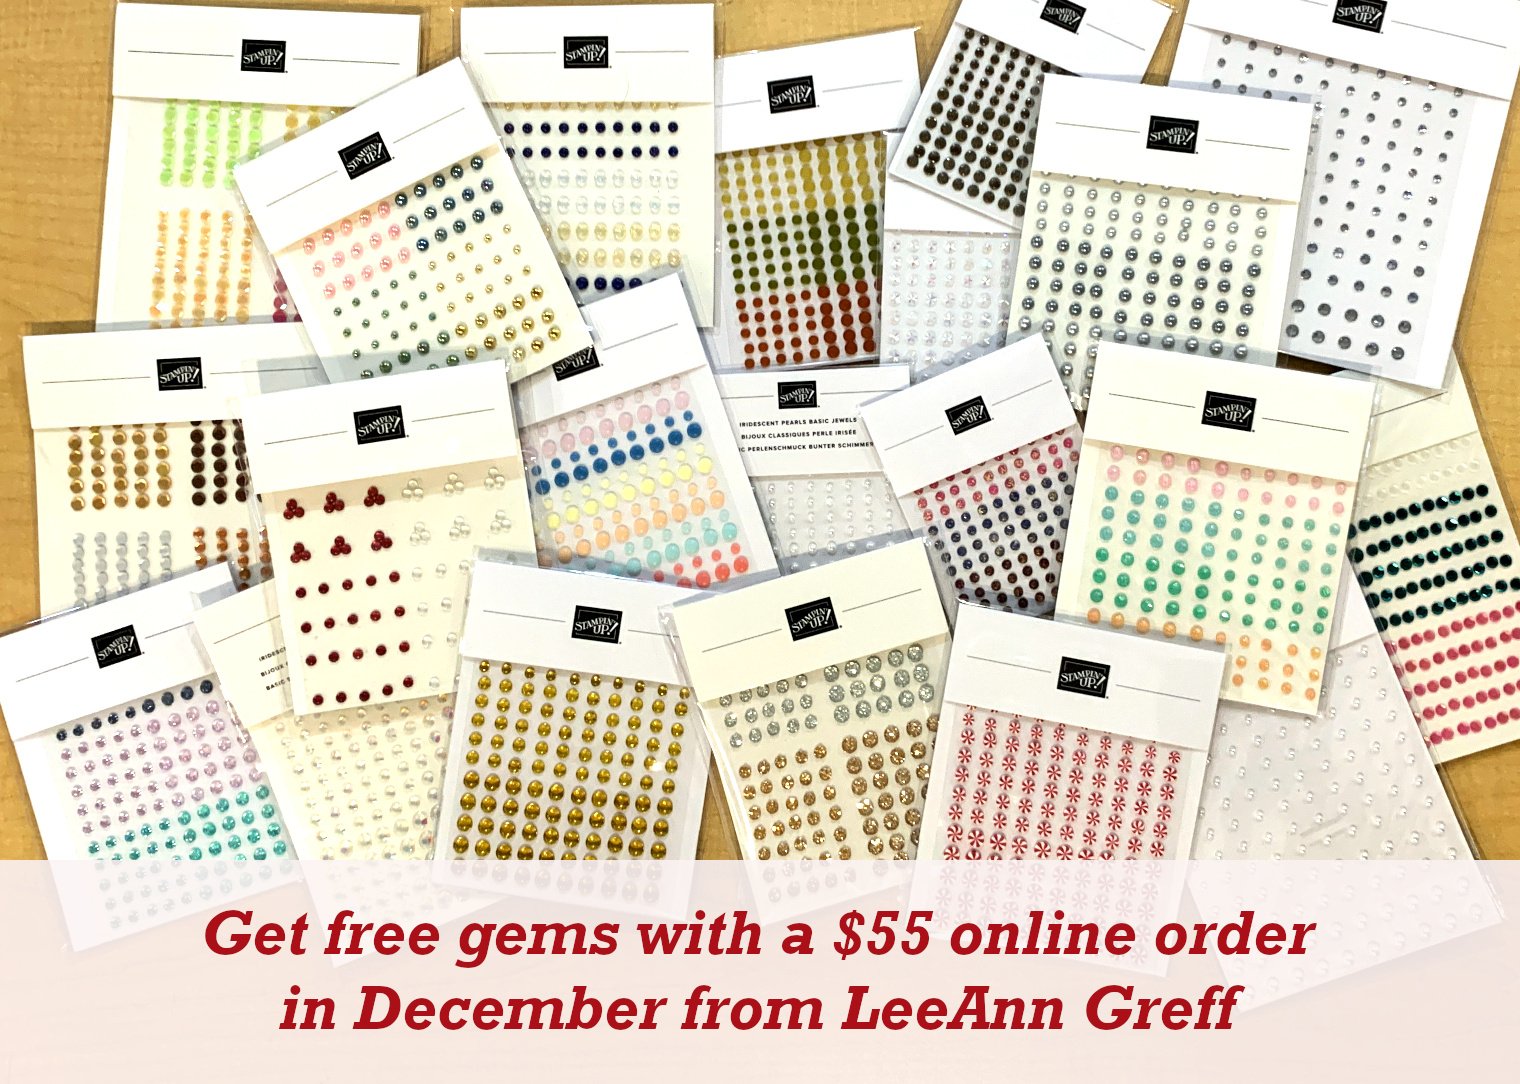
     Sparkle gems

    Subscribe here by December10 to get yours! Or choose a pre-paid subscription here.  

    My subscribers & team members receive a free tutorial each month with multiple alternative projects like these from November's holiday kit.

    ~~~

    December Specials:

    *current host code link:  

     FFMDFU3J

    3 new designer papers!

    ~~~

    Available December 3rd; while supplies last!

    ~~~

    ~~~

    Leave a Reply

    Your email address will not be published. Required fields are marked *

  • Quick & Easy Shaker card with free project sheet & video


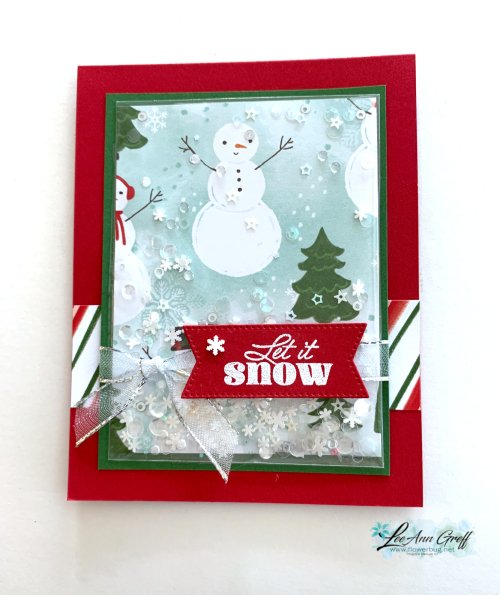
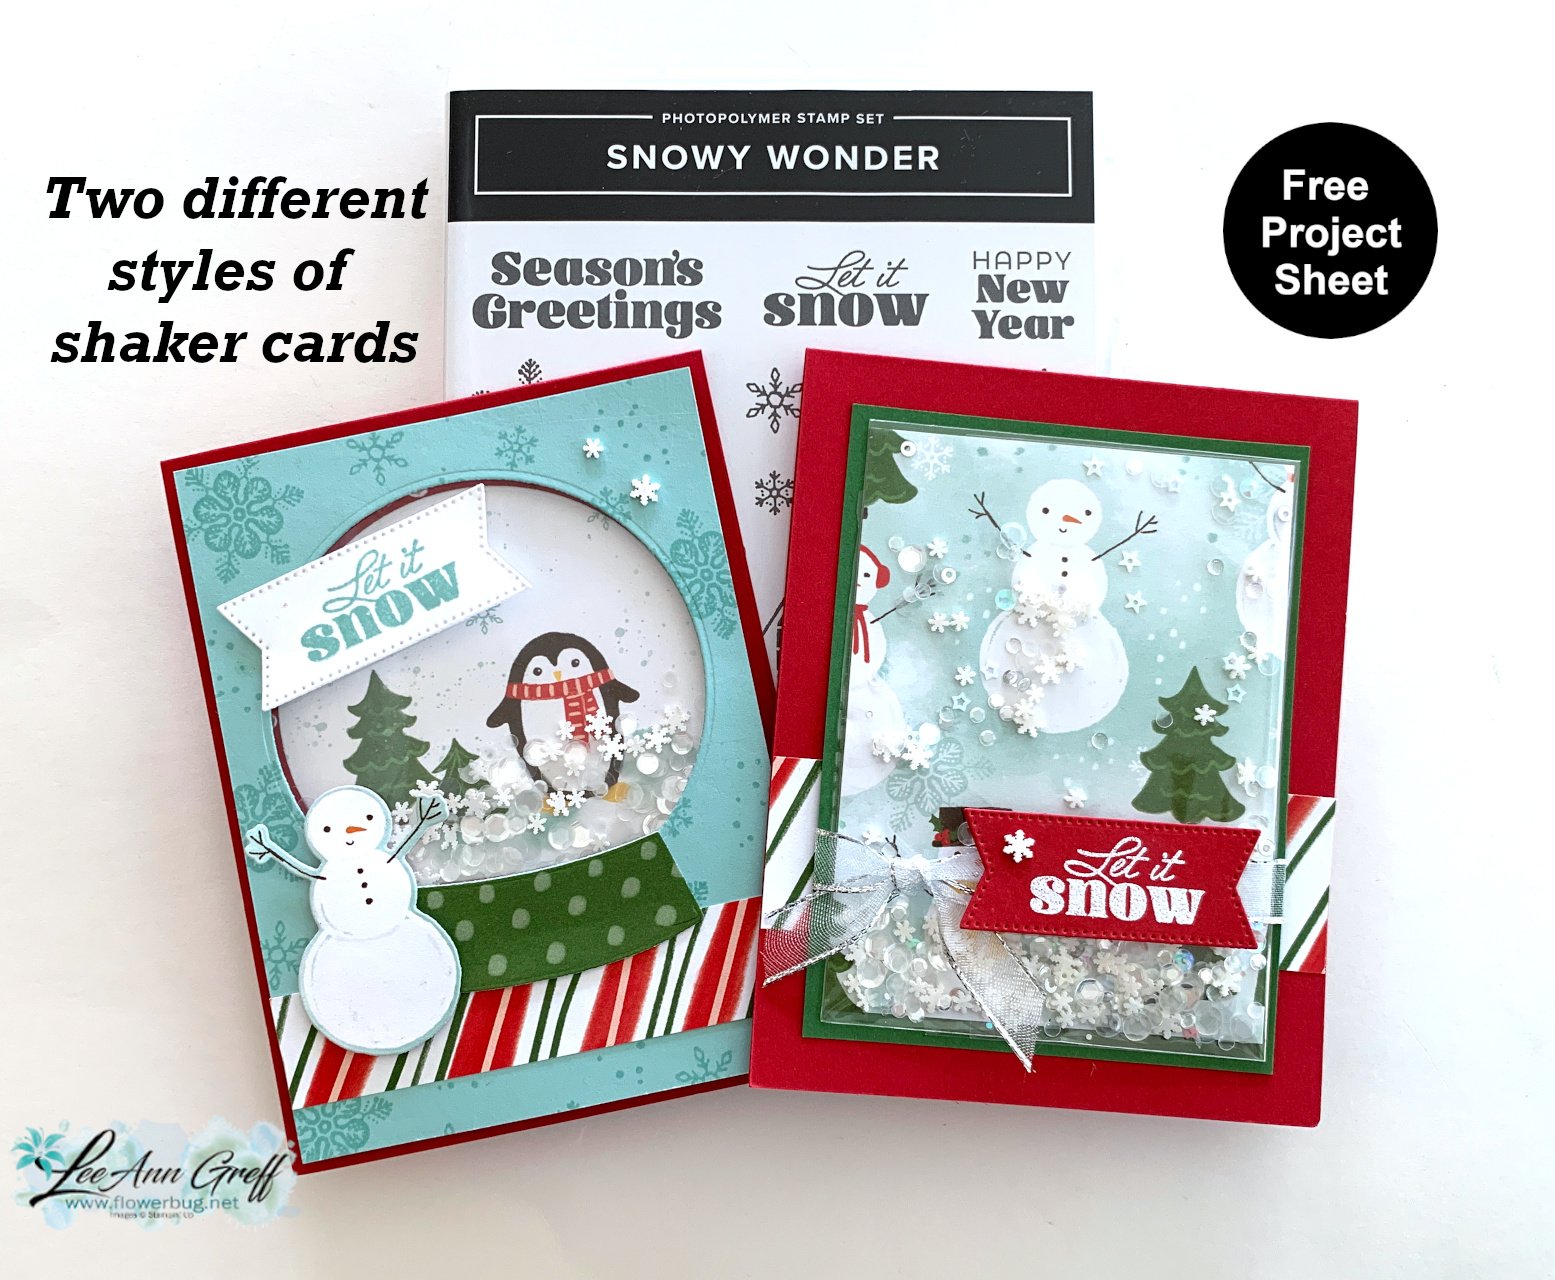
    On last week's video I created two types of shaker cards. Today's project is the easy version. It uses one of our A2 size clear envelopes to hold the shaker pieces.

    I used the Snowy Scenes designer series paper seen here.  It fits perfectly into one of our clear envelopes seen here. After I add the loose shaker pieces on top of the DSP I fold the envelope over and seal it in the back before adding it to a cardstock layer. It's so easy!

    My colors are Real Red with Garden Green.  I heat embossed the greeting from the Snowy Wonder stamp set. The ribbon is our sheer silver ribbon from the Annual catalog. The shaker pieces include the loose White snowflakes in the Holiday catalog along with two other types of retired loose sequins.  

    Below is a photo of both shaker cards I shared in the video below.  

    Here's the free project sheet; click on the following link to download or print it. Download Easy Snowy Scenes Shaker card

    Click on the video below to see how it's made.  I also share a second type of shaker card that's even easier!  I hope you watch and follow me on both YouTube and my Facebook page. 

    ~~~

    December Specials:

    *current host code link:  

     M7S96HPT

    3 new designer papers!

    ~~~

    Available December 3rd; while supplies last!

    ~~~

    ~~~

    Leave a Reply

    Your email address will not be published. Required fields are marked *


Notice: LeeAnn Greff, Independent Stampin’ Up! Demonstrator, Manager. The content of this website is my sole responsibility as an independent Stampin’ Up! demonstrator and the use of, and content of, the classes, services, or products offered on this website is not endorsed by Stampin’ Up! Copyright 2025