/


Latest Post

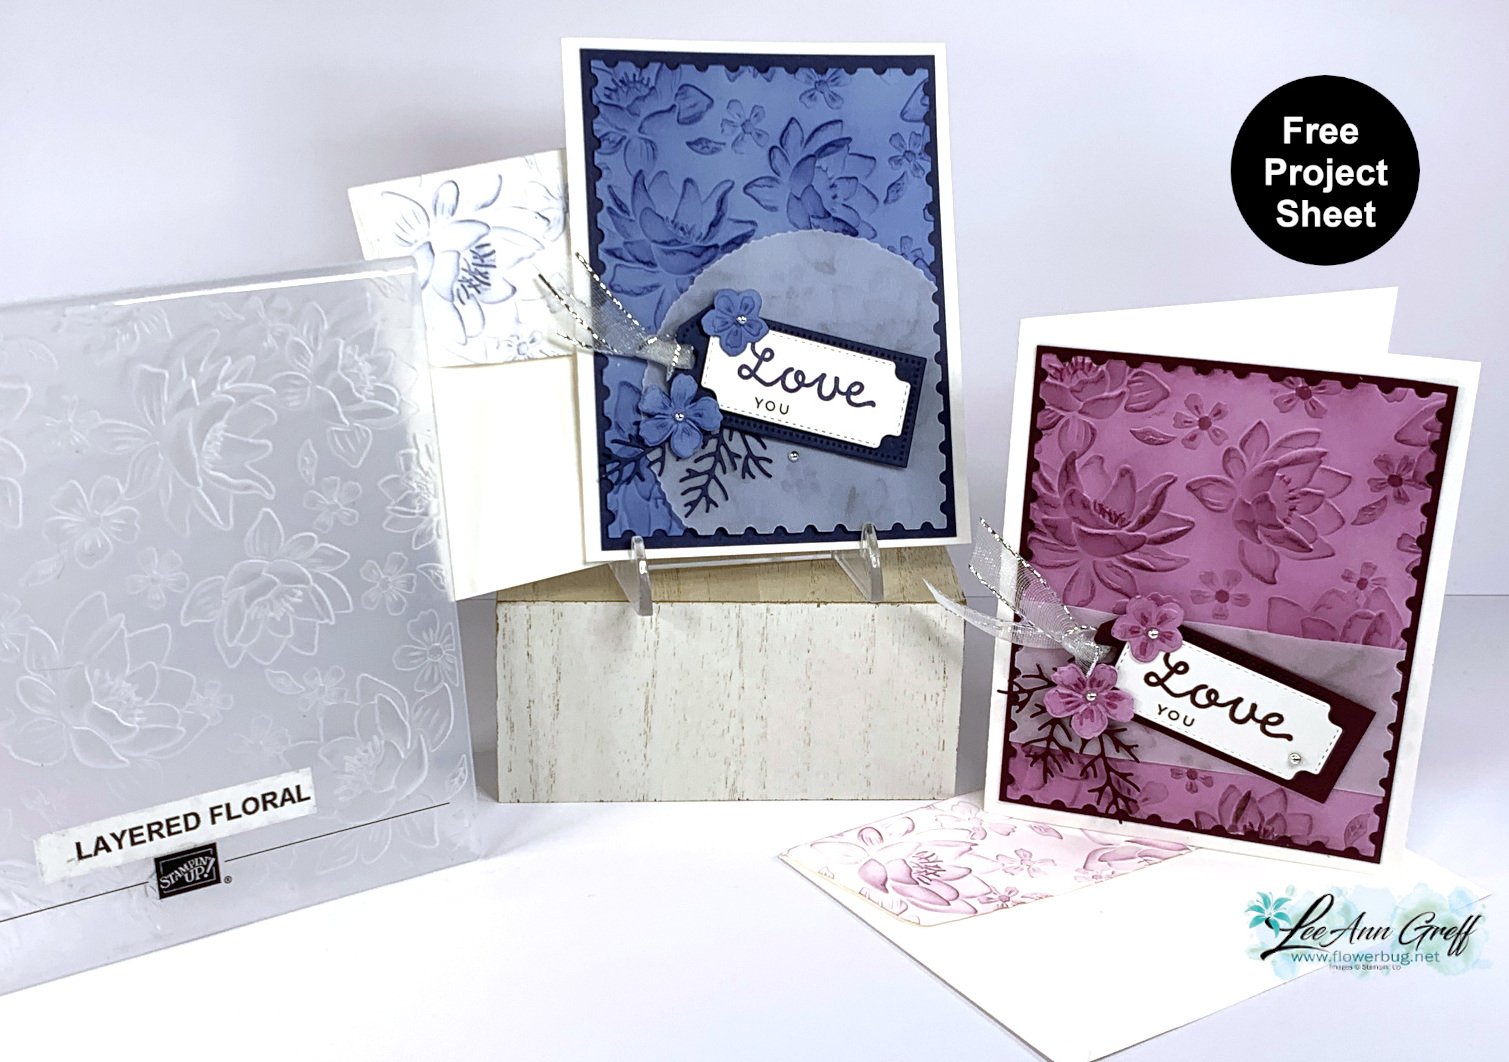
3 ways to use the Layered Floral on one card!


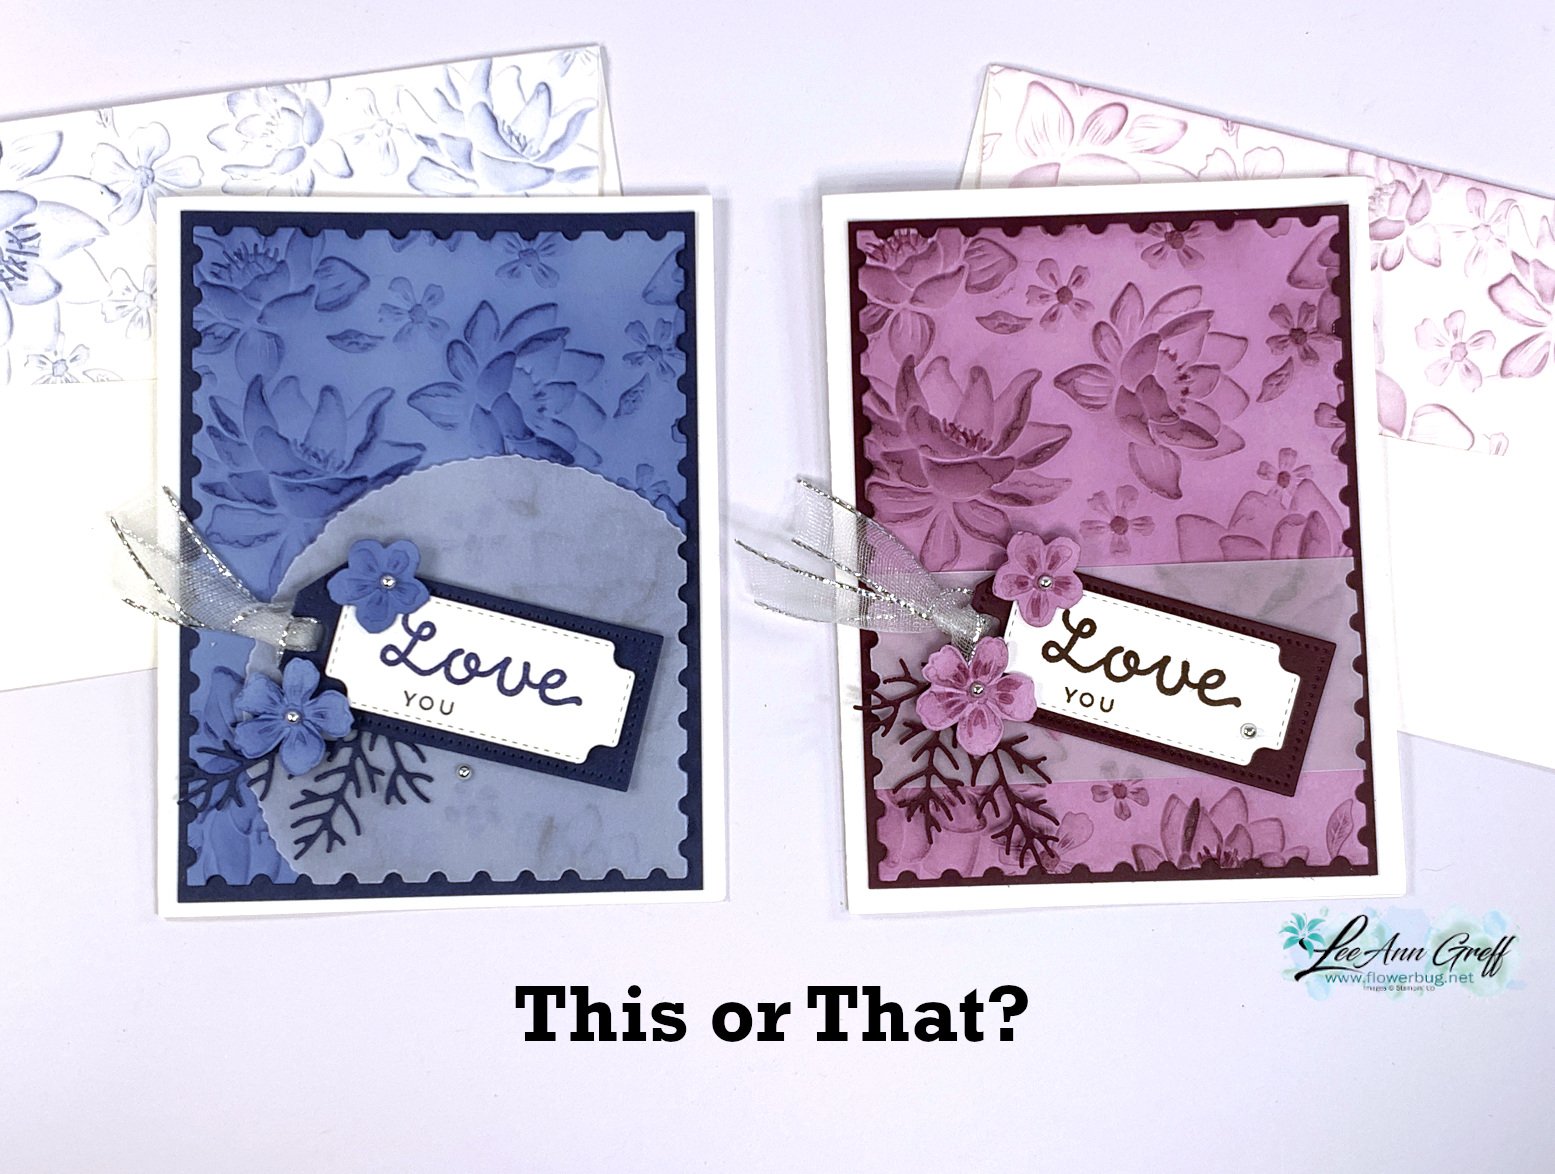
I shared this pretty textured card on last week's FB live video: 

The textured card stock is Fresh Freesia.  I used a Blending Brush with Blackberry Bliss ink to highlight the gorgeous texture. The Layered Floral 3D embossing folder is amazing; it has super deep texture! 

I made a second card during the video with another rich color combination of Night of Navy with Boho Blue. Note the different ways I added vellum to these two cards. 

Also note the pretty texture added to the envelope flap; why don't we do this more often!? 

Here are the 3 ways I featured this pretty Layered Floral 3D embossing folder:

  1. Textured, then added ink with a Blending Brush.
  2. I textured the envelope flap and add a very light ink, again with a Blending Brush.
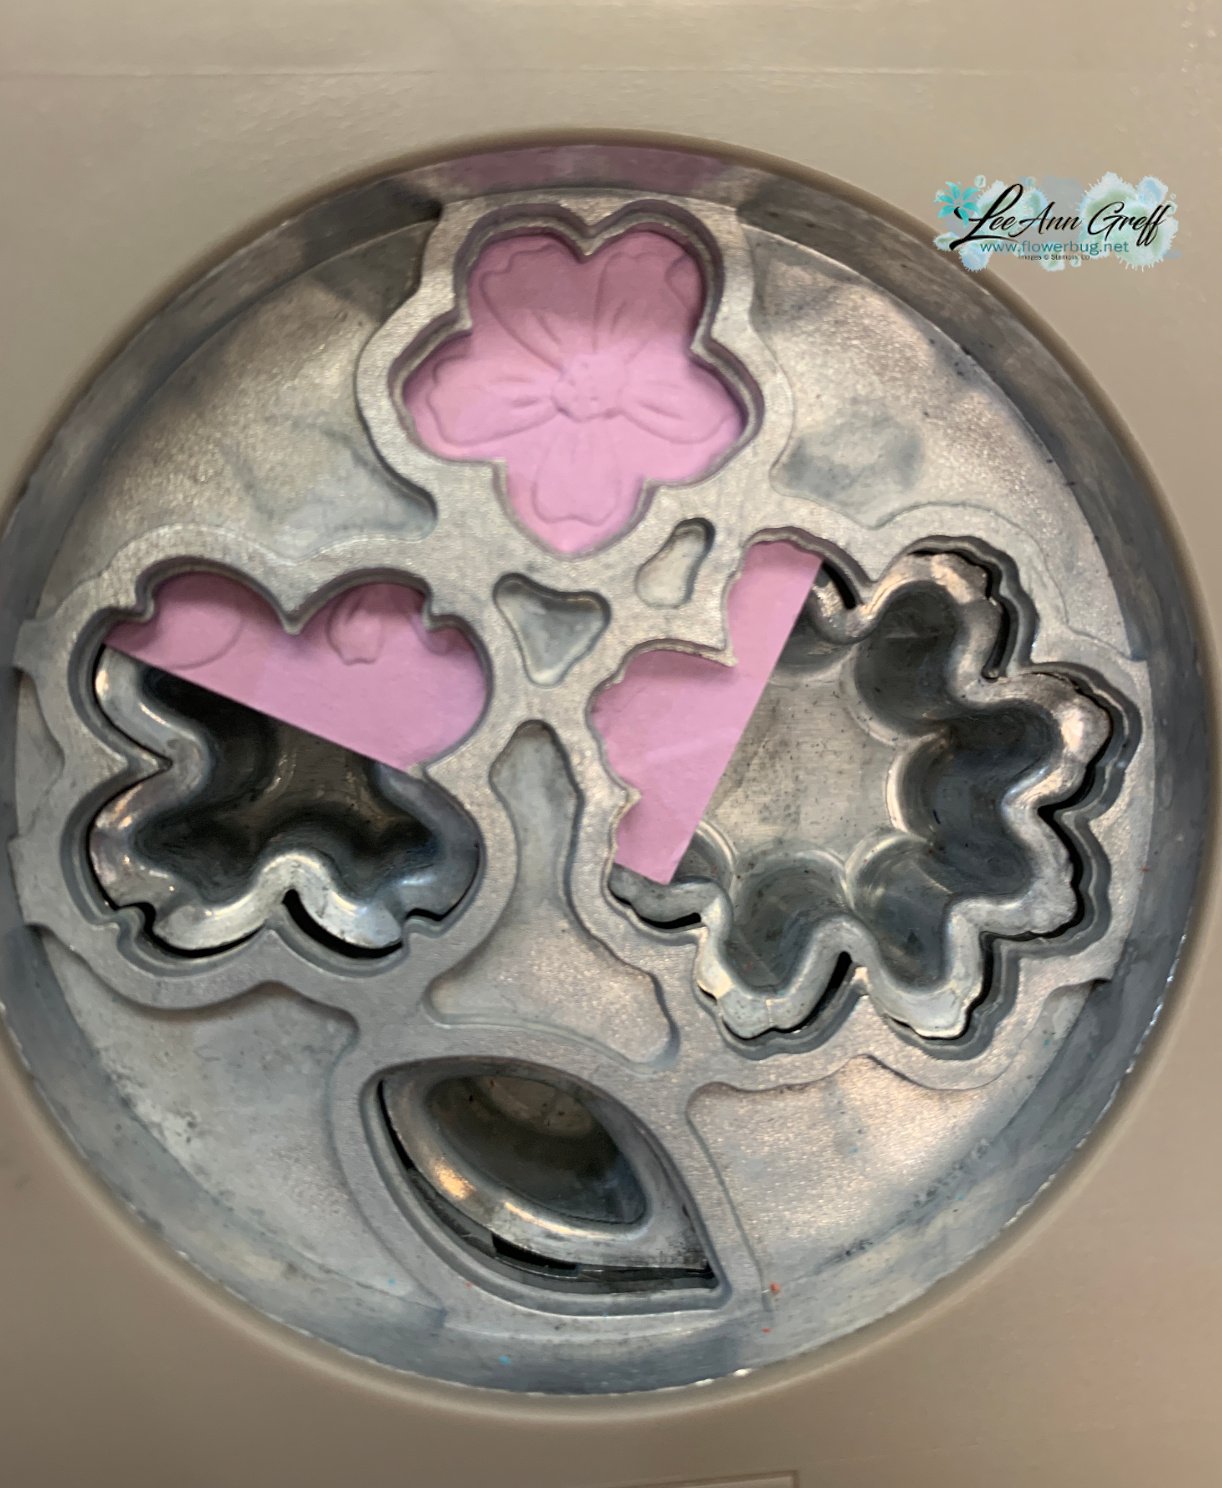
  3. Cut out a large flower from a separate piece of textured card stock; and I punched a smaller flower using the Petal Park Builder punch – yes it coordinates!!
Products used here:

  • Layered Floral 3D embossing folder; seen here
  • Deckled Circle dies seen here
  • Vellum card stock
  • Cheerful Daisy dies
  • Heartfelt Hellos stamp set from Sale-a-Bration catalog seen here; free with a $50 order

Which is your favorite?
Click on this link to download the free project sheet: Download Layered Floral & Perennial Postage cards

You can see the video below. I share another way to use this beautiful folder too! 

~~~

February Specials: 

Earn FREE products with your Stampin' Up! purchase during

Sale-a-Bration! *click here

*current host code link: 4BXU7SGH 

It's the best time to get a pre-paid Sale-a-Bration subscription

& earn free Sale-a-Bration products!  


~~~

Get a free Gold Foiled cards & envelopes kit

with online orders over $55 in February

All online orders in February will receive this free tutorial with 8 projects!

All Posts

  • Accordion Style Fun-Fold card with video


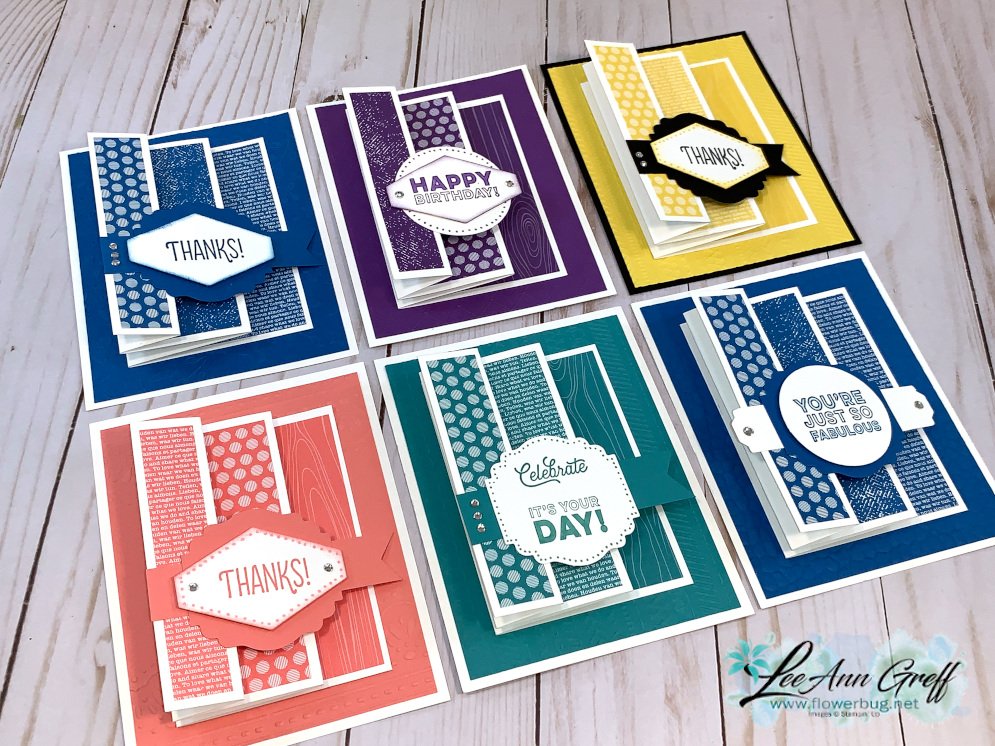
    Here's another easy fun fold card that shows off all sides of your designer series paper.  And uses up thin strips too! 

    I made them during my weekly 'Stamp With Me' Facebook Live last week.  

    I chose to use the Brights 6 X 6" designer paper pack and the Many Mates stamp set.  

    Aren't they fun?  The back is flat and does not open.  You could include a full card base on it instead of a flat piece if you'd like.  I will write or sign the inside on the larger White part.

    You might notice there are dots around some of the punched pieces.  I used my Blends markers to add that fun detail.  I also colored in some of the words on the greetings too.  This stamp set is fun! 

    When you adhere the greeting on the front add adhesive to just the very top flap. 

    Measurements:
    Card base: 5 1/2" X 4 1/4"
    next layer 5 1/4" X 4", textured
    White accordion fold 4 1/4" X 9" scored at 1", 2", 4" and 6"
    Designer paper – 3 pieces 4" tall. 3/4", 1 1/4" and 2 3/4"
     
    Supplies:
    Stamps – Many Mates
    Ink – Gorgeous Grape, Pacific Point, Bermuda Bay, Flirty Flamingo, Black Memento
    Card stock – Brights DSP, Gorgeous Grape, Bermuda Bay, Flirty Flamingo, Daffodil Delight, Pacific Point, Black
    Punches – Tailored Tag, Label Me Lovely, 2" circle, Lovely You Pick a Punch, Banner Triple
    Other – Blends markers, rhinestone jewels, Dimensionals 

    Below is the video for you.  Enjoy! 

    ~~~

    Current Host code is 3MFE2KKP

    Bonus Days!


    Get a $5 coupon to use in August with each $50 you spend in July!

    Get a free 2020 card stock sampler with online orders over $60 that use the above host code.  This is so helpful to really know your Stampin' Up! colors! 

    Order online here

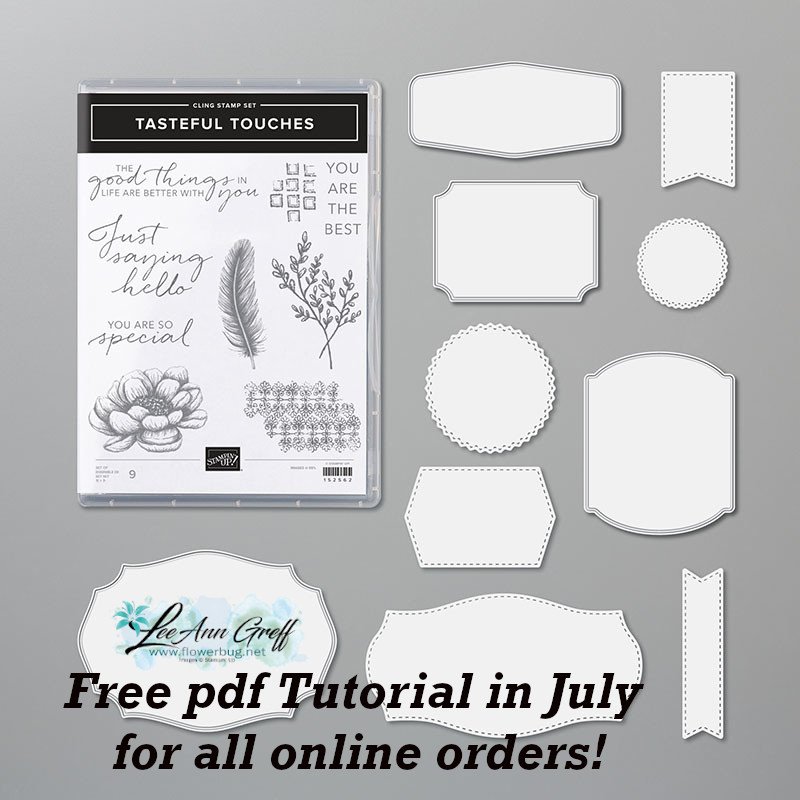
     Get my Tasteful Touches pdf tutorial free with any online order in July


    It includes directions, photos and measurements for 10 cards!


    Leave a Reply

    Your email address will not be published. Required fields are marked *

  • Double Point cards with video


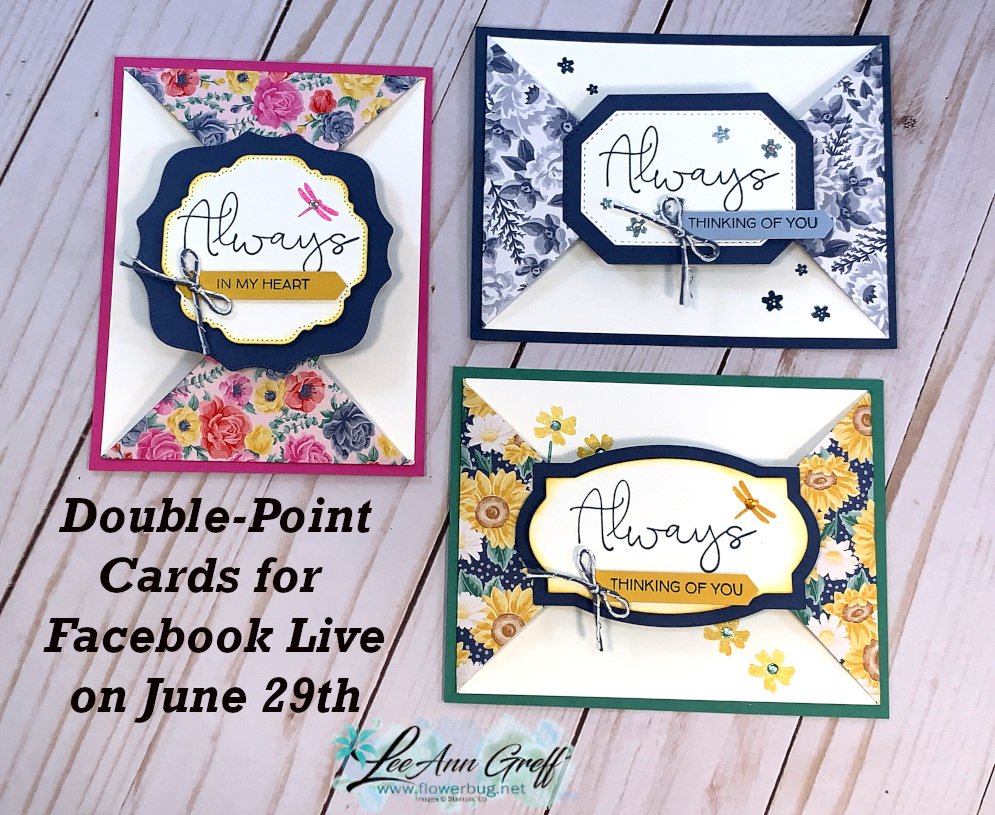
    Have you tried making a Double Point fun fold card yet?  They are so easy! 

    Bonus!  This unique fold truly makes the most of your 12 X 12" paper!  You can get 6 cards from one sheet! 

    I chose to use the Flowers for Every Season designer paper and the Field of Flowers stamp set.  The dies are from the Hippo & Friends dies seen here.  I LOVE these label dies! 

    Measurements:
    Card base 4 1/4" X 5 1/2"
    White inside 5 1/4" X 4"
    DSP 3" X 4", scored at 1" on the long side
    Label dies or punches to 'connect' the points
     
    Products Used: 
    Field Of Flowers Photopolymer Stamp Set [152589] – Price: $17.00 – see here
    Ridiculously Awesome Cling Stamp Set [152512] – Price: $22.00 – see here
    Hippo & Friends Dies [153585] – Price: $36.00 – see here
    Flowers For Every Season 6" X 6" (15.2 X 15.2 Cm) Designer Series Paper [152486] – Price: $11.50 – seen here
    2020–2022 In Color Enamel Dots [152480] – Price: $8.00 – see here

    If you want step by step instructions you can watch the video below.

    ~~~

    Current Host code is 3MFE2KKP

    Get a free 2020 card stock sampler with online orders over $60 that use the above host code.  This is so helpful to really know which color is which! 

    Order online here

     Get my Tasteful Touches pdf tutorial free with any online order in July


    It includes directions, photos and measurements for 10 cards!


    Leave a Reply

    Your email address will not be published. Required fields are marked *

  • Easy Diagonal cards; Stamp With Me tonight at 7:30 pm!


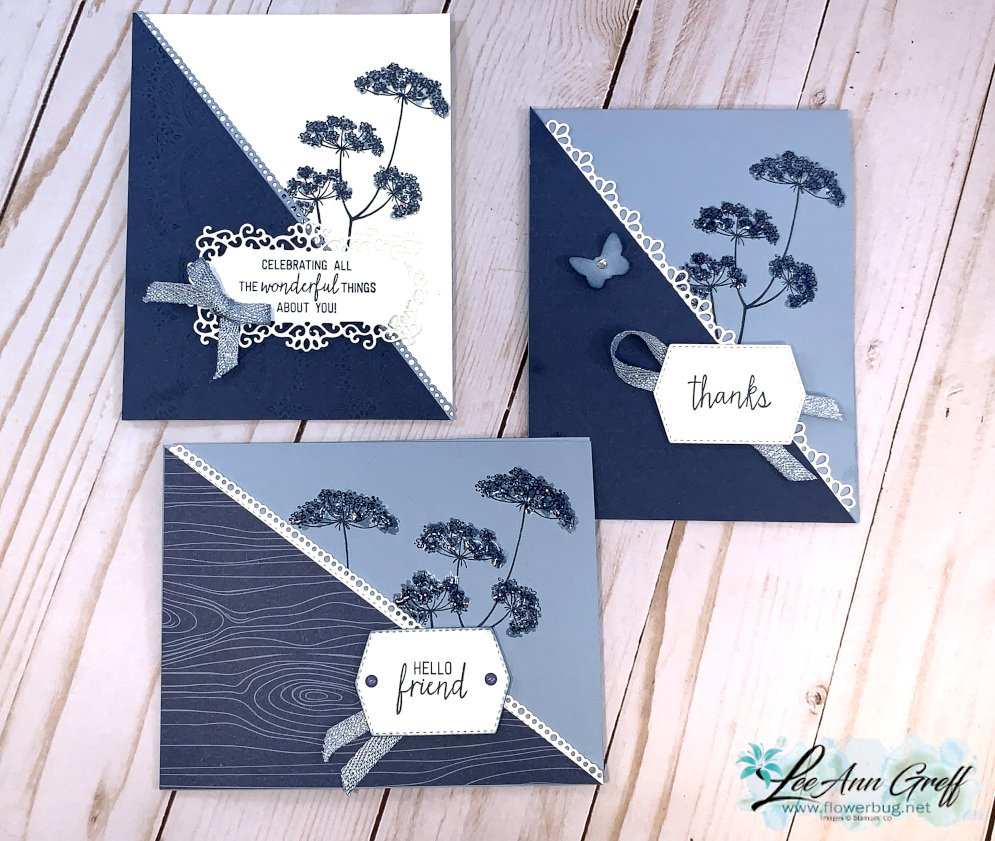
    This week I'm highlighting some of the cards I've recently made on Facebook Live.  With two a week there's a lot! 

    Here are the cards for tonight's Facebook Live 'Stamp with Me' here. 

    I chose the pretty Misty Moonlight & Seaside Spray combination for these cards.  I love the two toned look of these In Colors together.  When you add White for a pop of brightness they really shine!  

    Join me here tomorrow night.  Prep the pieces, gather some supplies and we'll stamp together! 

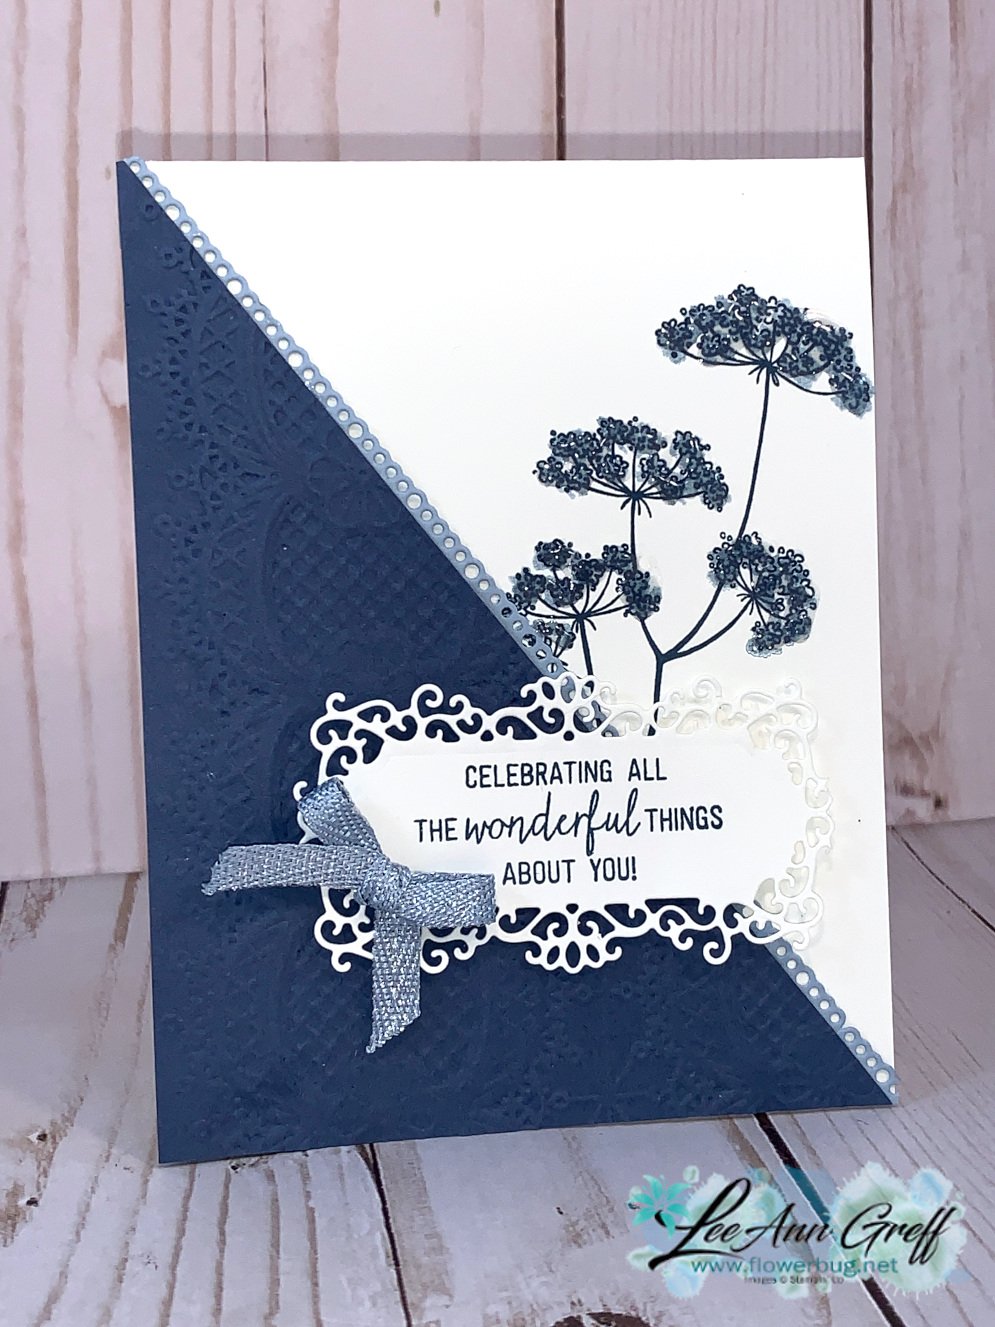
    I used the Queen Anne's Lace stamp set seen here in Misty Moonlight, White & Seaside Spray.
     
    You can really see the Shimmer Crystal Effects on the flowers in this photo! 
     
    Measurements:
    Card bases 4 1/4" X 11" scored at 5 1/2"
    Diagonal pieces (card stock or DSP) 4 1/4" X 5 1/2" cut in half on the diagonal.
    Decorative strips 7 1/2" long X 1/2" – punched or die-cut
    Greeting punches or die-cuts (Ornate Frames, Tasteful Labels & Ornate Border dies) 
     
    Supplies:
    Card stock (I used Misty Moonlight, Seaside Spray, White)
    Stamps of your choice and ink
    Punches or die-cuts for borders & greetings
    Embossing folders or DSP
    Ribbons, embellishments, Shimmery Crystal Effects
    Sponges, mini glue dots, dimensionals

    ~~~

    Current Host code is 3MFE2KKP

    Get a free 2020 card stock sampler with online orders over $60 that use the above host code.  This is so helpful to really know which color is which! 

    Order online here

     Get my Tasteful Touches pdf tutorial free with any online order in July


    It includes directions, photos and measurements for 10 cards!

    Leave a Reply

    Your email address will not be published. Required fields are marked *


Notice: LeeAnn Greff, Independent Stampin’ Up! Demonstrator, Manager. The content of this website is my sole responsibility as an independent Stampin’ Up! demonstrator and the use of, and content of, the classes, services, or products offered on this website is not endorsed by Stampin’ Up! Copyright 2025