/


Latest Post

3 remarkable card ideas with the Mountain Air bundle


Continuing my Masculine swap share this week all of today's cards feature the Mountain Air stamp set seen here & Majestic Mountain dies seen here.  My Flowerbug's Team did an incredible job on their swaps; I hope you've been enjoying the ideas. 

First is a clever card made by Jacki.  She created quite the special camping scene! 

Her colors include Evening Evergreen, Crumb Cake, Early Espresso & black with a bit of yellow on the camper.

That adorable camper is from the Tree Lot dies – one of the Sale-a-Bration choices in July & August.  See it here.  It's free with any $100 Stampin' UP! order.  *Remember that our Sale-a-Bration items are while supplies last…..
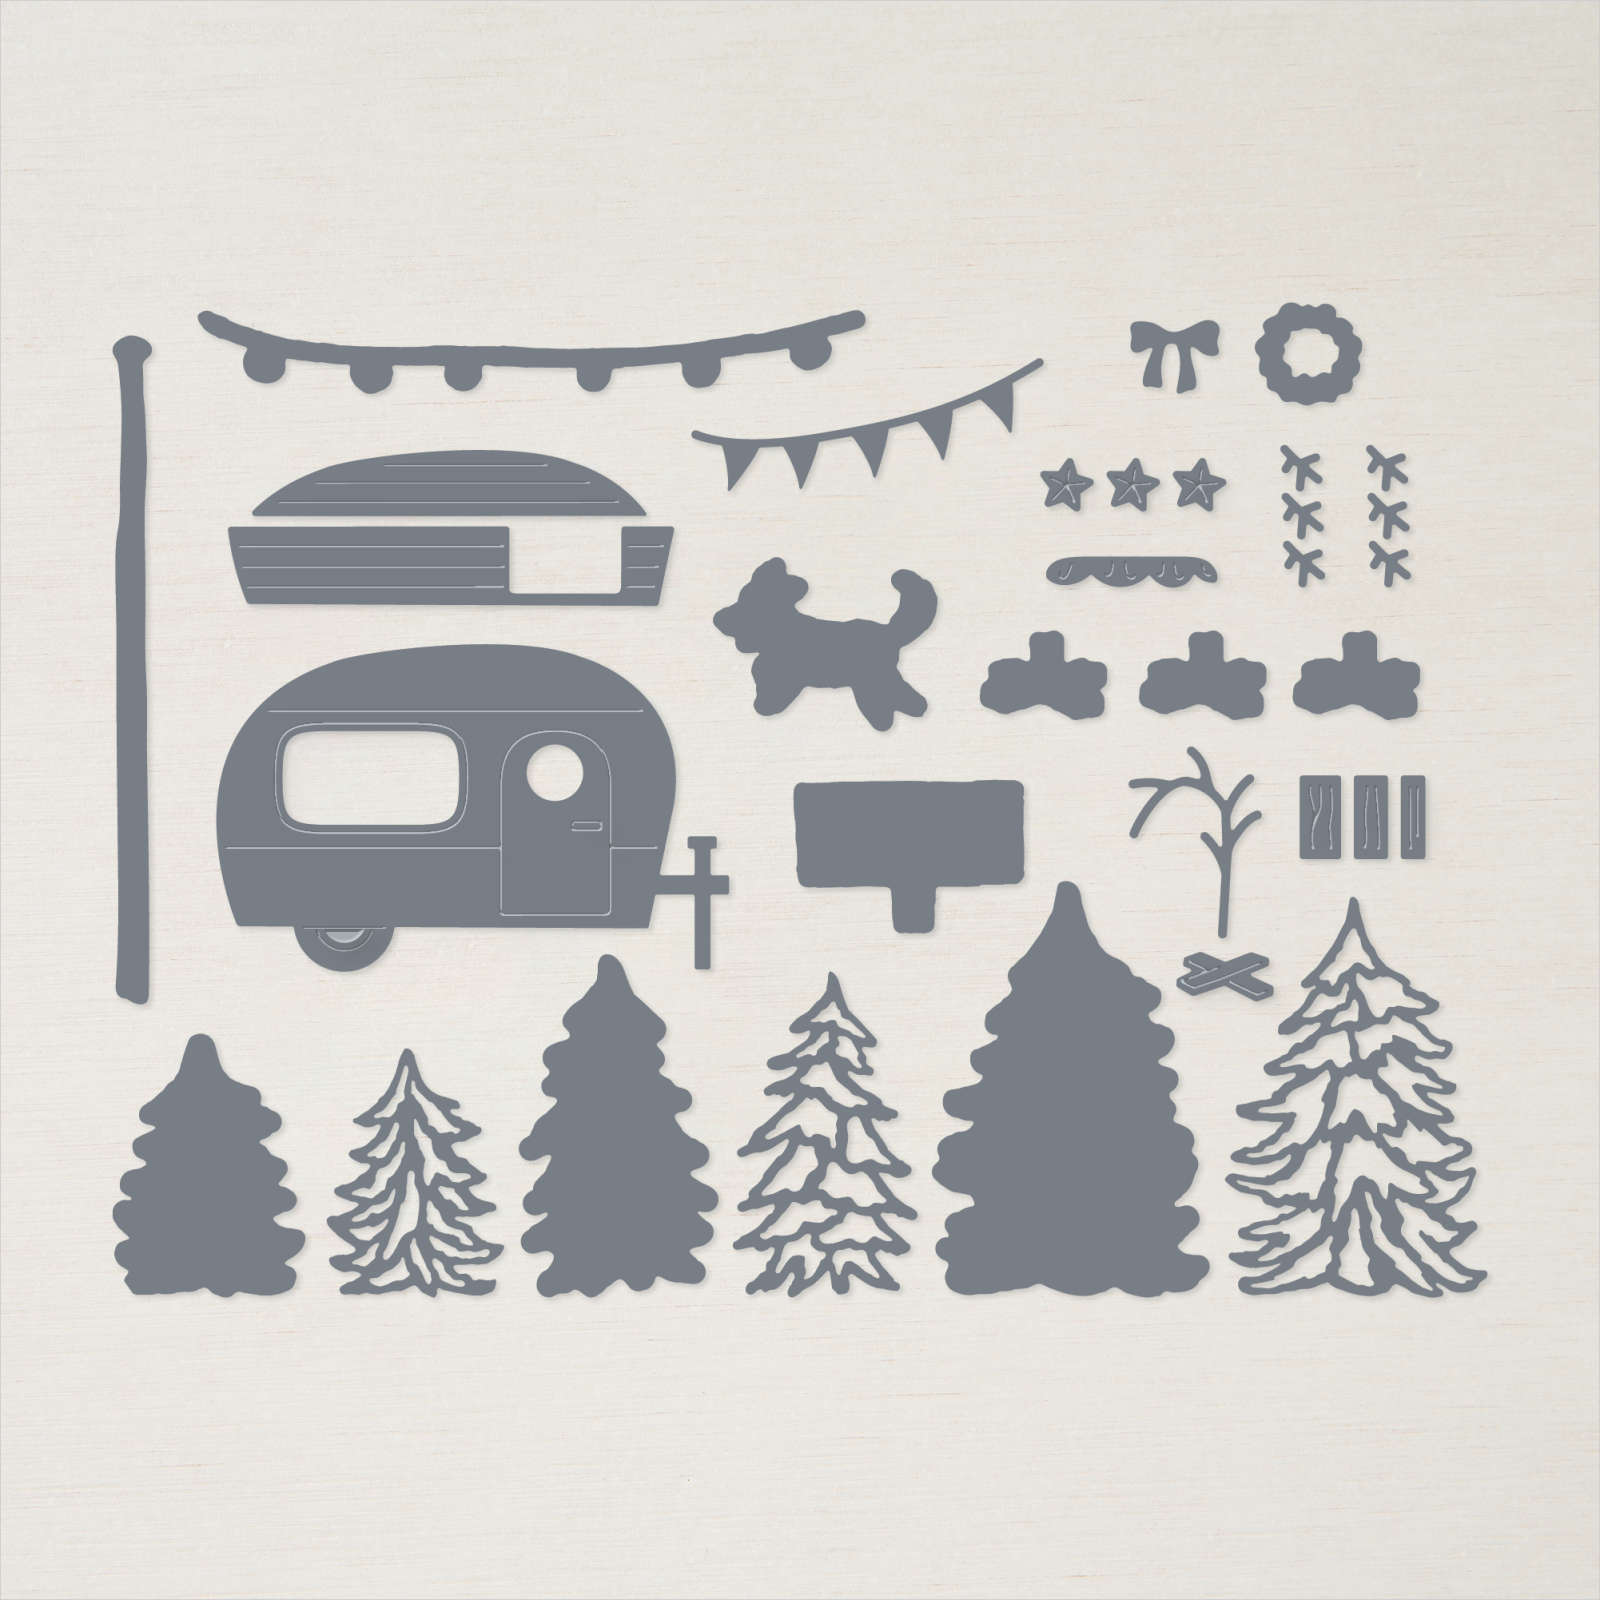
She masked her mountains and blended on a pretty skyline in blue & purple.  

Did you catch the 'curtain' in the camper?  That's our Black & White gingham ribbon!!  And the hitch is done in Silver foil.  

~~~

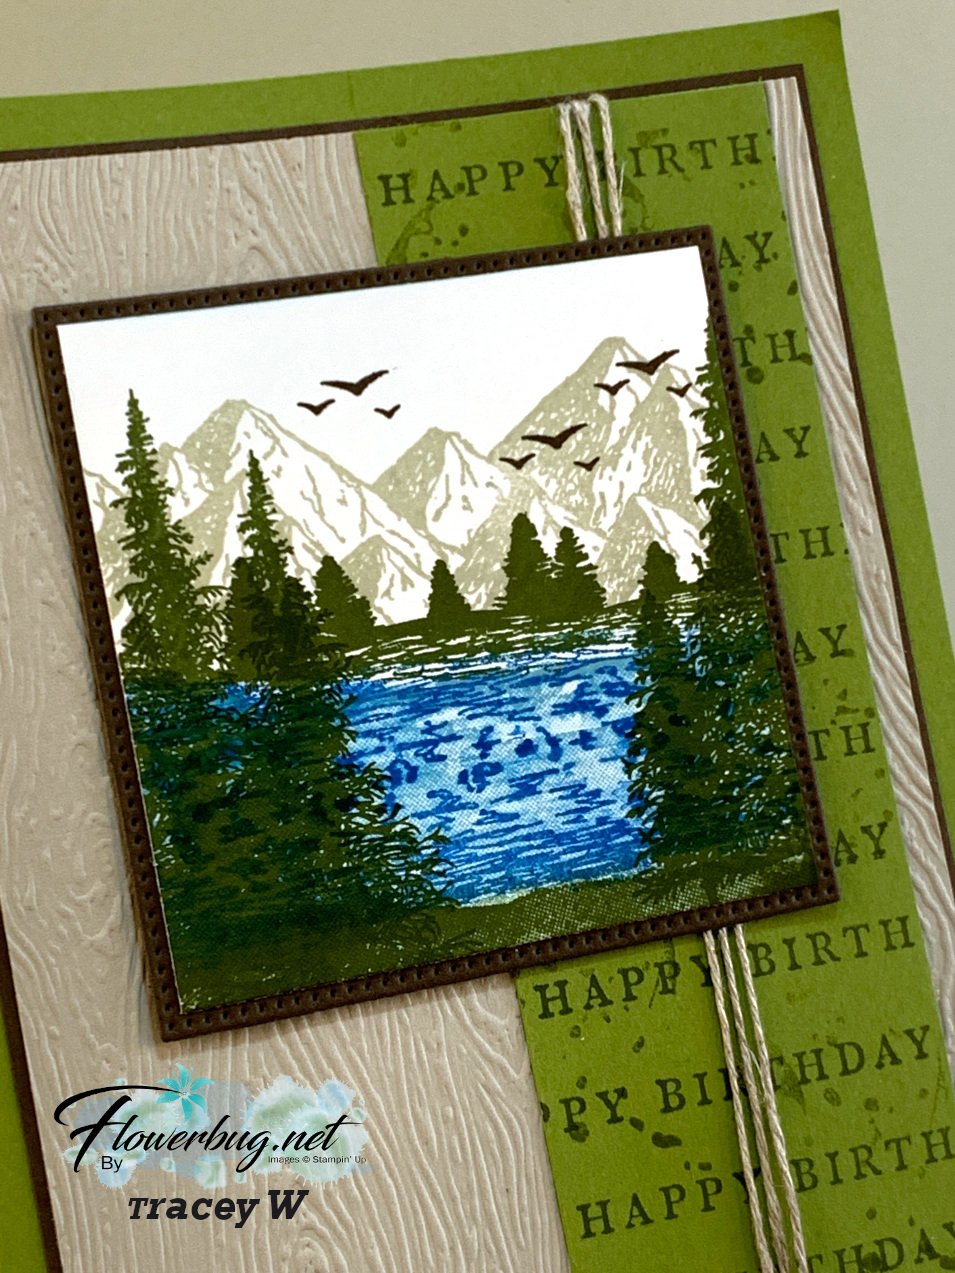
Next is another special card made by Tracey.  I really like how she created a smaller scene than we usually do; almost like a picture in a frame.  Out of the box thinking!  
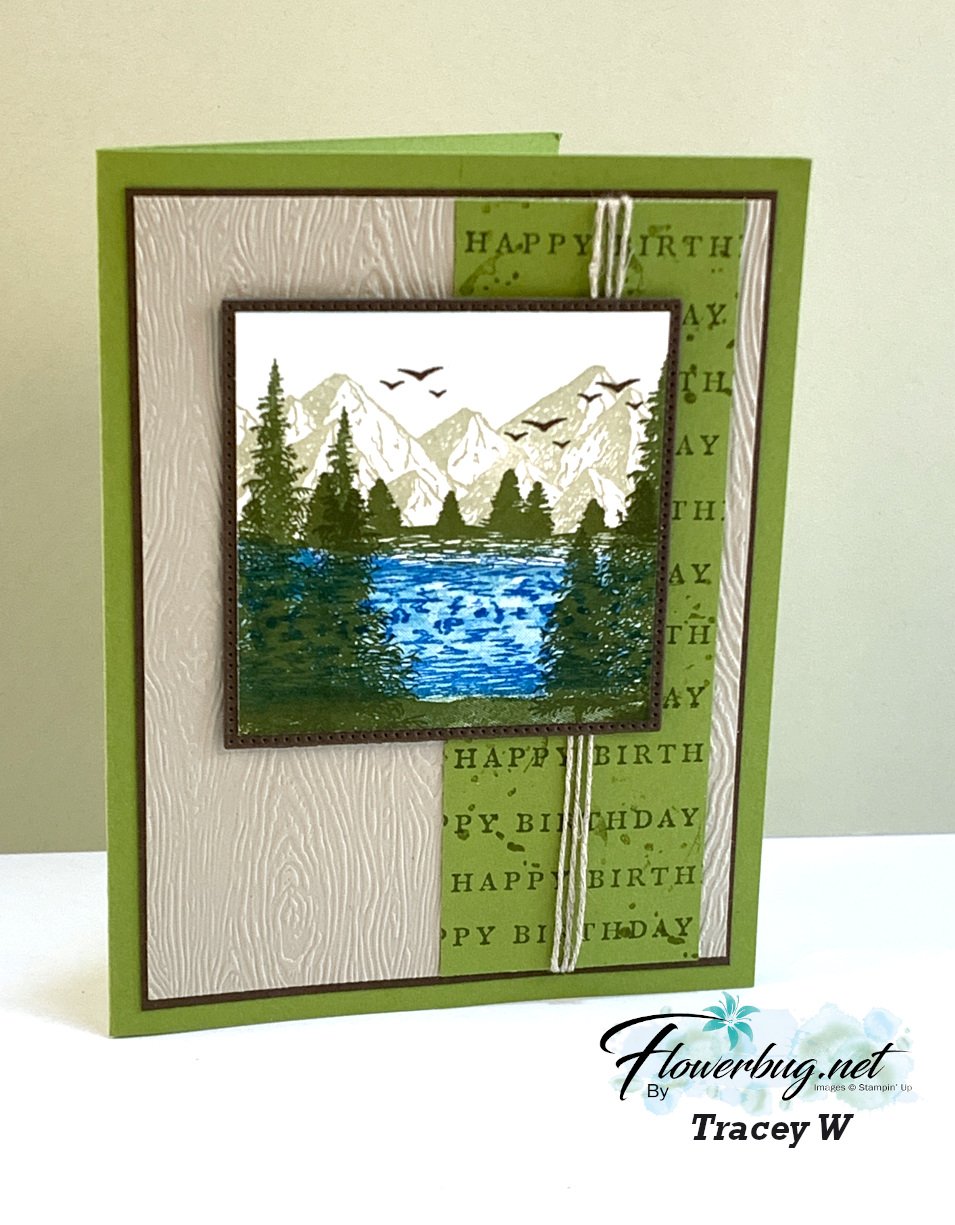
Her colors are Crumb Cake, Old Olive, Pacific Point & Early Espresso.  Stamping the greeting repeatedly on a strip is another unique way to add a greeting but not a separate greeting image.  

She colored her stamp with markers to get the blue water on the same stamp as the small trees.  She masked the trees and stamped a 2nd time to get more water.  So smart!  
~~~

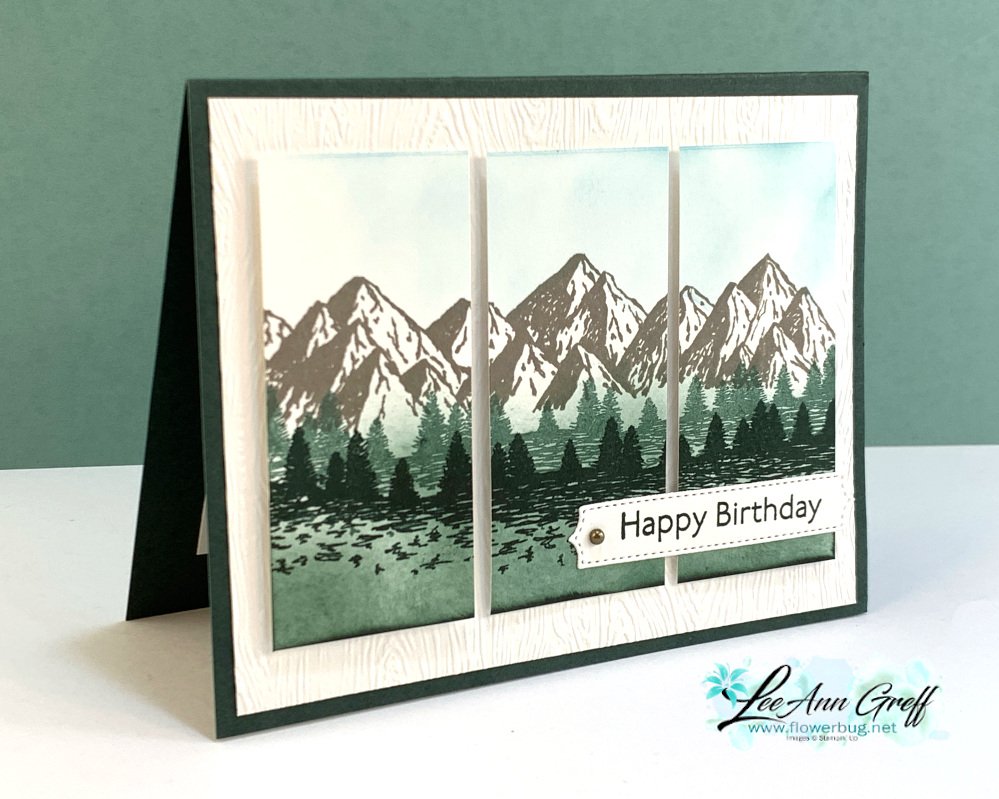
Next is my card.  I wanted to do a 'Triptych' card – this is where you have three separate panels creating a scene.  
Details:

  • I stamped the mountain & trees images all on one piece of White CS using the Stamparatus. It measured 4 1/2" X 3 1/4" and after stamping they are cut to 1 1/2" wide.
  • I used Evening Evergreen, Soft Succulent & Gray Granite ink.  I stamped the same 'tree' image a second time in Soft Succulent, but I moved the card stock up and over a bit so it wasn't directly above the first set.  
  • I sponged Evening Evergreen on the bottom and Balmy blue on the top, masking the mountains a bit so they stayed white.  
  • The large White layer is 5 1/4" X 4" and is textured with the Timber 3D embossing folder. 

Here's the Mountain Air stamp set; as you can see it is a scene builder set which is a favorite type of set for me. This one is special because it's a reversible set which means one side features a silhouette and the other side is a detailed image. Fun & versatile!  

Cards for men can be hard for some of us to make so I hope you're enjoying the 'manly' cards I'm sharing all this week! 

~~~

July Specials

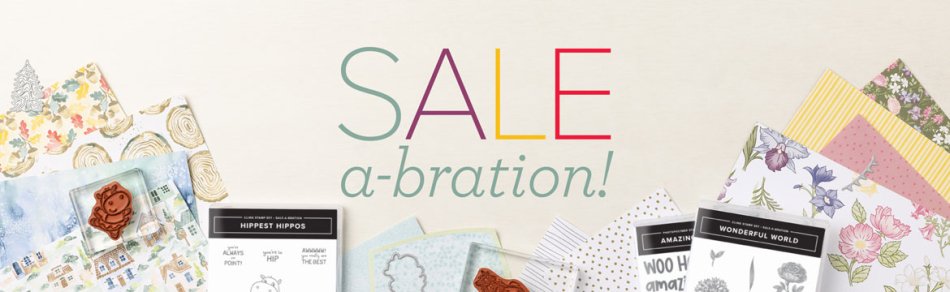
Get free items here in July & August during Sale-a-Bration! 

Host code: RMFKDE3G
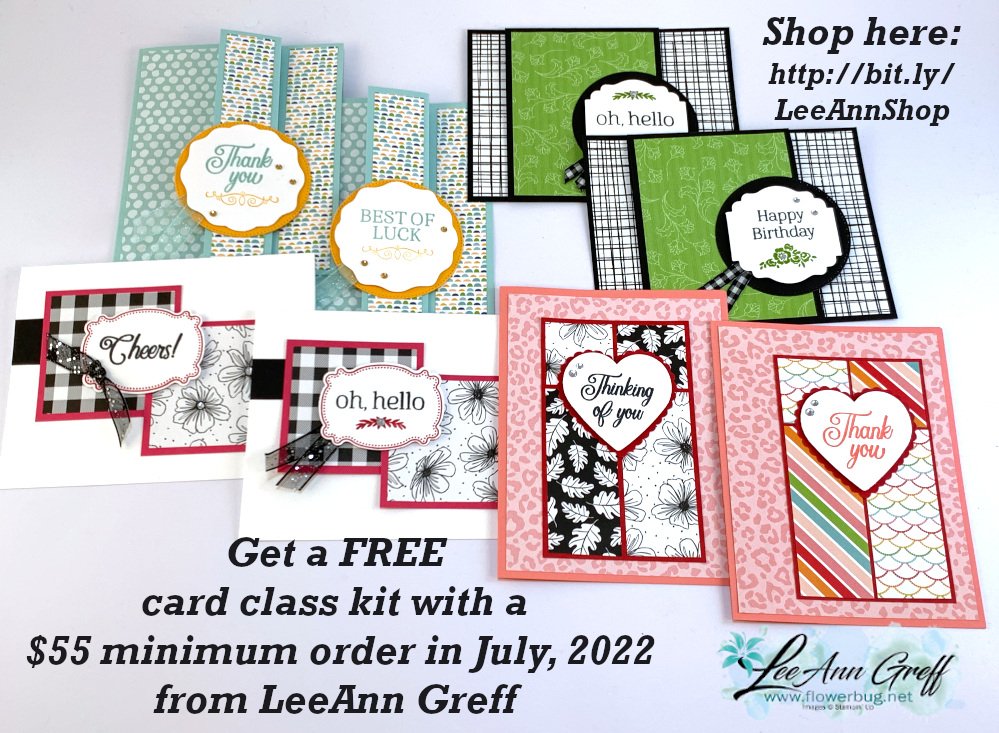

Get a free card class in the mail with a $55 order from July 1-30th.

 *click here to order 

Earn free products with my loyalty rewards! 

Click here to download yours and earn a $50 shopping spree!

~~~

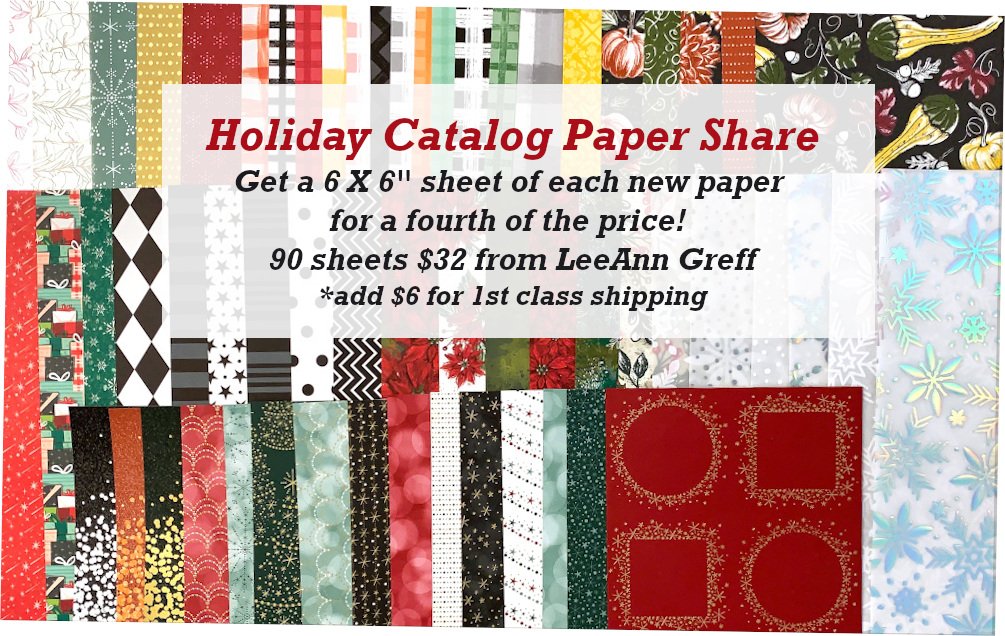
Get my Holiday Designer Paper share; contact me here  
All Posts

  • Spotlight on Nature fun fold card; free project sheet & video tutorial


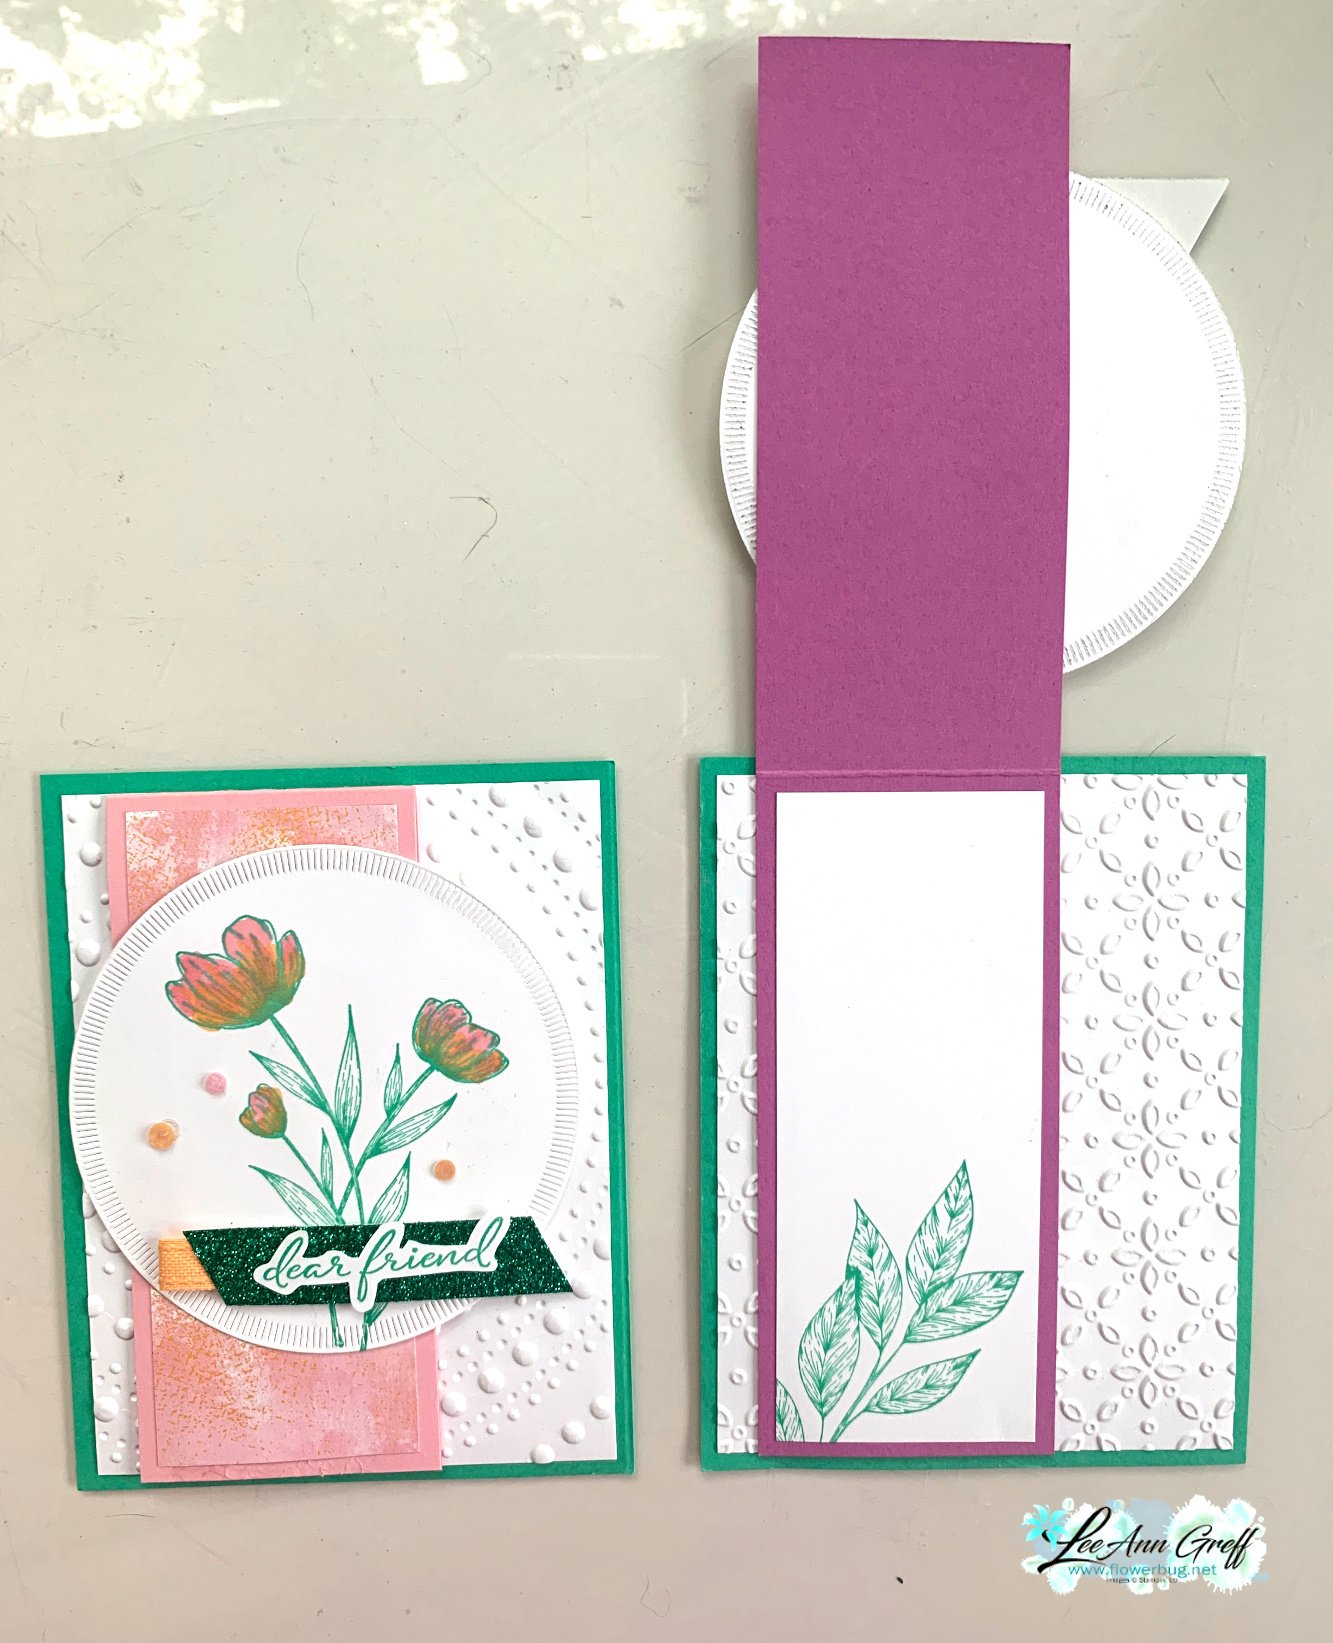
    Today I'm sharing the second card I created on last week's Live video.  Both feature new in colors and the Spotlight on Nature bundle. 

    I created a free project sheet with the measurements, photos and supplies.  Click on the blue link to print or download it. Download Spotlight on Nature flap fold

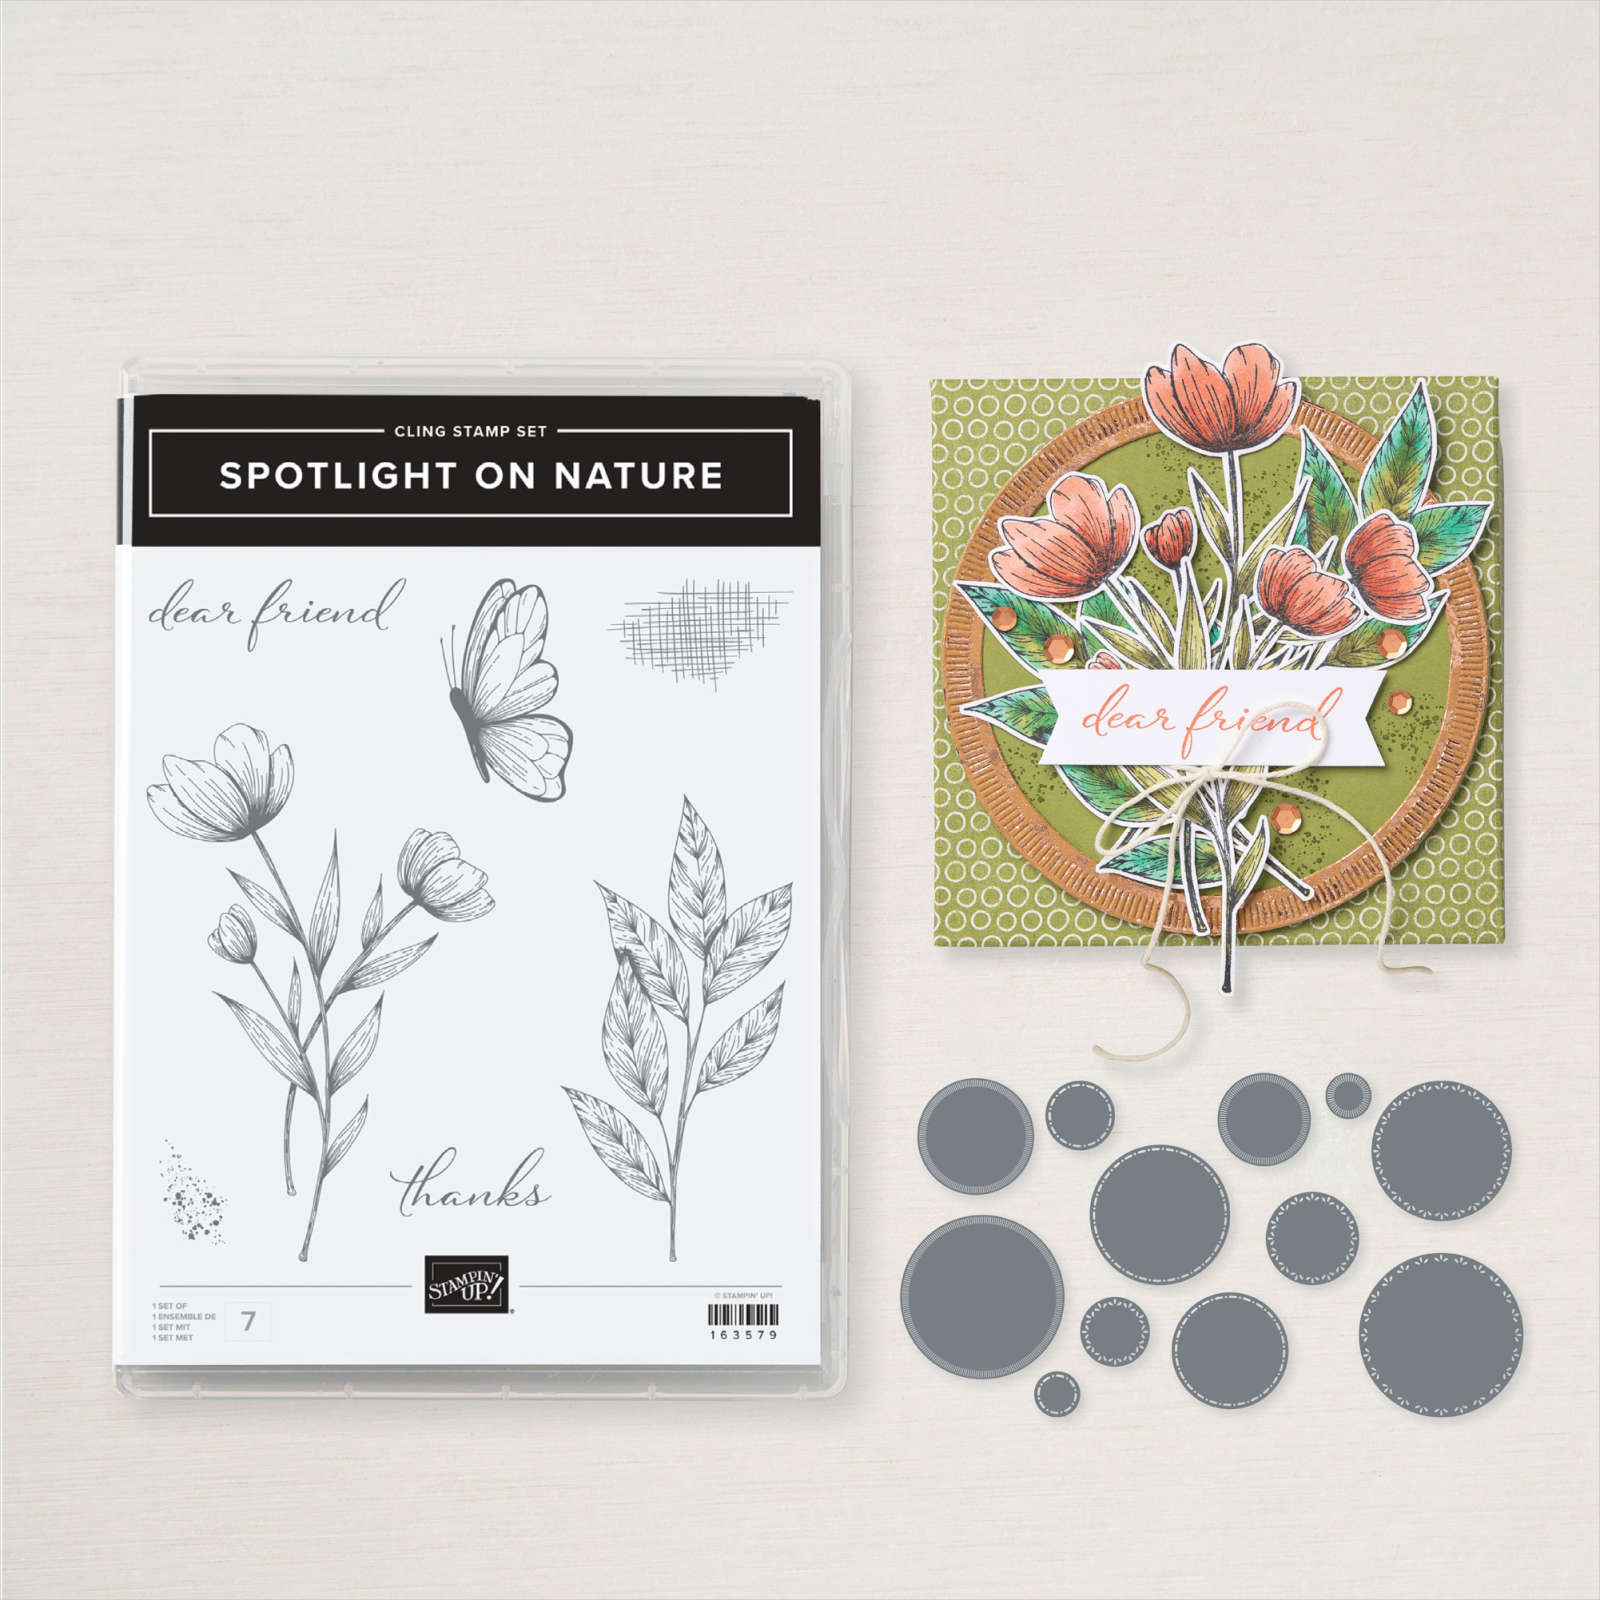
    The Spotlight on Nature bundle is out of stock right now but will be back in a few weeks. It is discounted an extra 10% in June for a savings of almost $6. See it here.  

    This card really shows off the two embossing folders I used.  On the card below I used the Dotted Circles 3D folder seen here. It's an extra large folder (6" X 8 1/2") that has very deep texture.  It's Shy Shamrock with Pretty in Pink. The designer paper is the Unbounded Beauty. 

    The card below features the Eyelet 3D folder which is quite pretty & delicate. See it here. This card is Petunia Pop with Shy Shamrock. 

    Do you notice the difference in the greetings?  I fussy cut one to add to the In Color Glimmer paper and the other I simply trimmed the ends at an angle. 

    I hope you watch the video below to see how it's done.  I also share another fun fold card using this bundle. Don't forget to subscribe to my YouTube channel while you're there. 

    ~~~

    June Specials:

    All Stamp & Die bundles are 20% off in June!

    *current host code links: FERX3EKC or GF24T6XG

    ~~~

    All online orders receive my free tutorial of the month & if your order is over $55 you'll also receive a free gift from me

    Leave a Reply

    Your email address will not be published. Required fields are marked *

  • Spotlight on Nature unique Z-fold card with video & free project sheet


    I shared this unique & easy fun fold card on last week's Live video.  

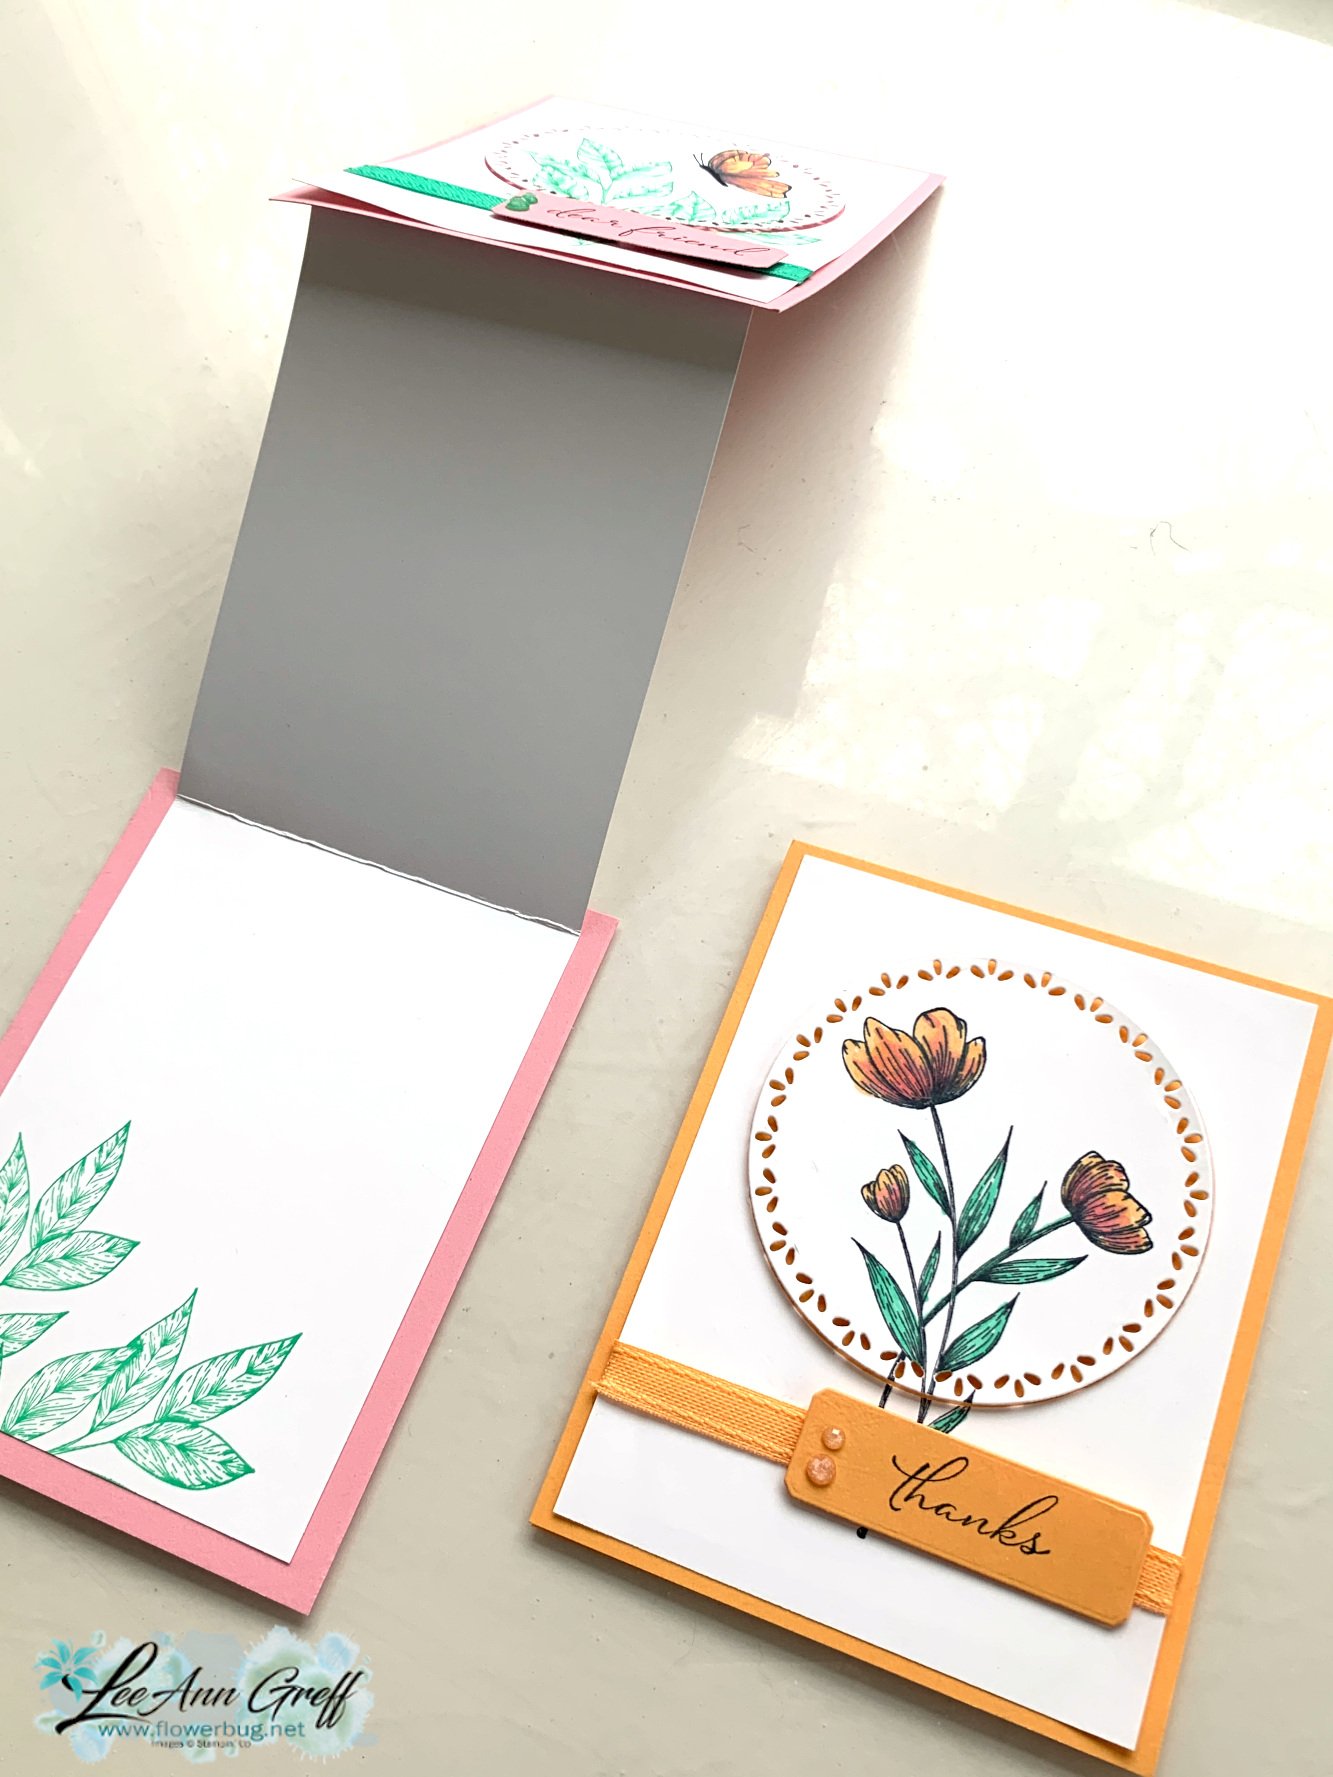
    It doesn't look like a fun fold card does it?  I featured it at my May Card Clubs.  I love the way the detailed die is popped up on Dimensionals which shows off the die-cut pattern. There's a simply trick to stamp over the die-cut after you cut out the die shape; watch the video to learn how. 

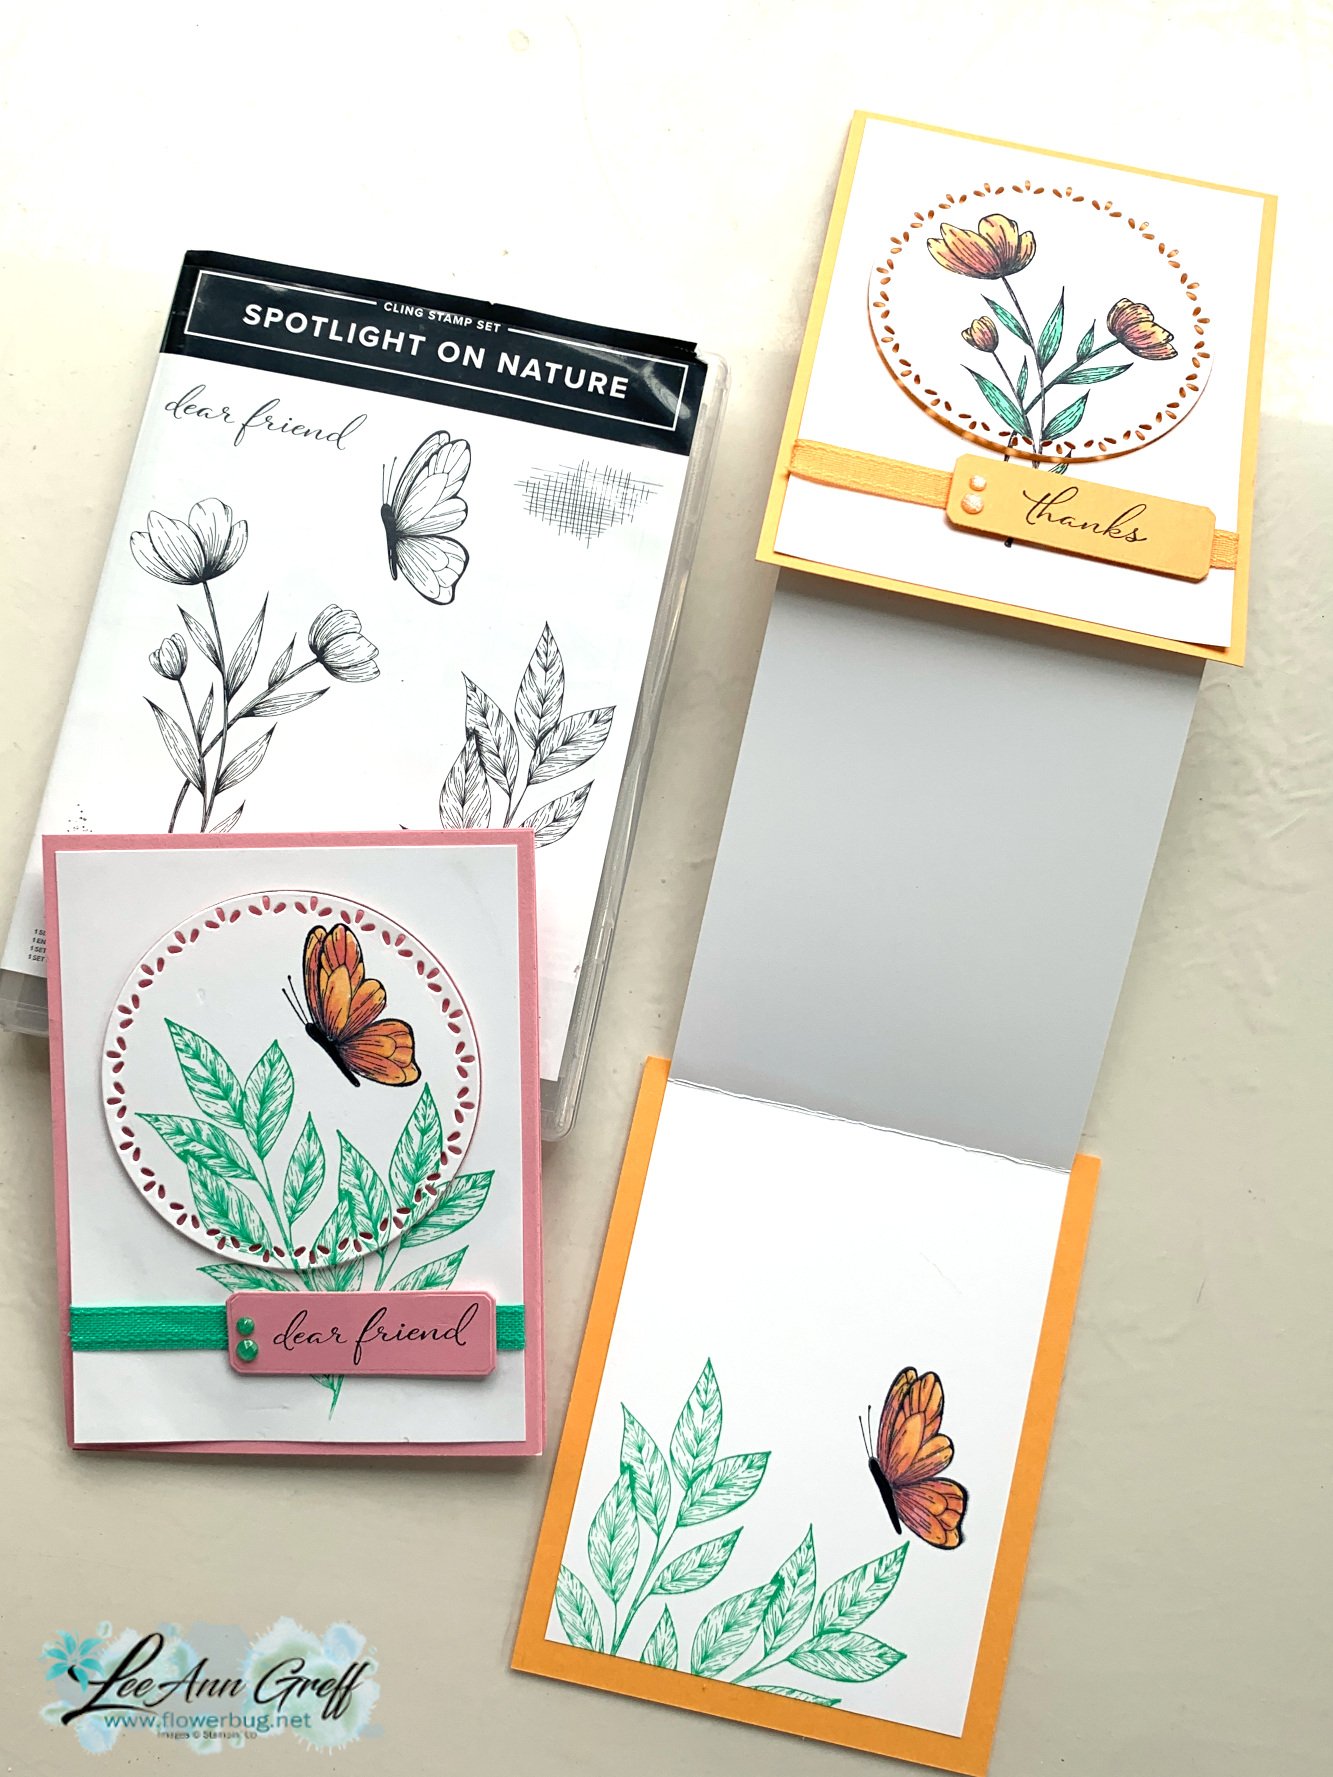
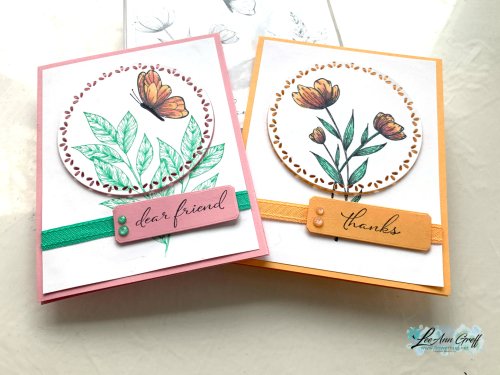
    It features three new In Colors and the Spotlight on Nature bundle. The colors include Pretty in Pink, Shy Shamrock & Peach Pie. I colored in the butterfly & flowers with Pretty in Pink & Peach Pie blends.  Want to know how to do this?  Watch the video here or below. I love combining two colors like this!

    The Spotlight on Nature bundle is out of stock right now but will be back in a few weeks. It is discounted an extra 10% in June too! See it here.  

    I'm calling it a Z-fold because the inside White layer is folded like a 'Z'. It connects the card front and the card base & opens like this: 

    Here's the free project sheet you can print or download. Click on this blue link: Download May 24 Spotlight on Nature Club

    Which is your favorite?

    I hope you watch the video below to see how it's done.  I also share another fun fold card using this bundle. Don't forget to subscribe to my YouTube channel while you're there. 

    ~~~

    June Specials:

    All Stamp & Die bundles are 20% off in June!

    *current host code links: FERX3EKC or GF24T6XG

    ~~~

    All online orders receive my free tutorial of the month & if your order is over $55 you'll also receive a free gift from me

    Leave a Reply

    Your email address will not be published. Required fields are marked *

  • More Thoughtful Journey showcase cards!


    Today I'm sharing the other two cards Judith made with the Thoughtful Journey Suite.  I shared three yesterday and am so proud of the fabulous projects she created!

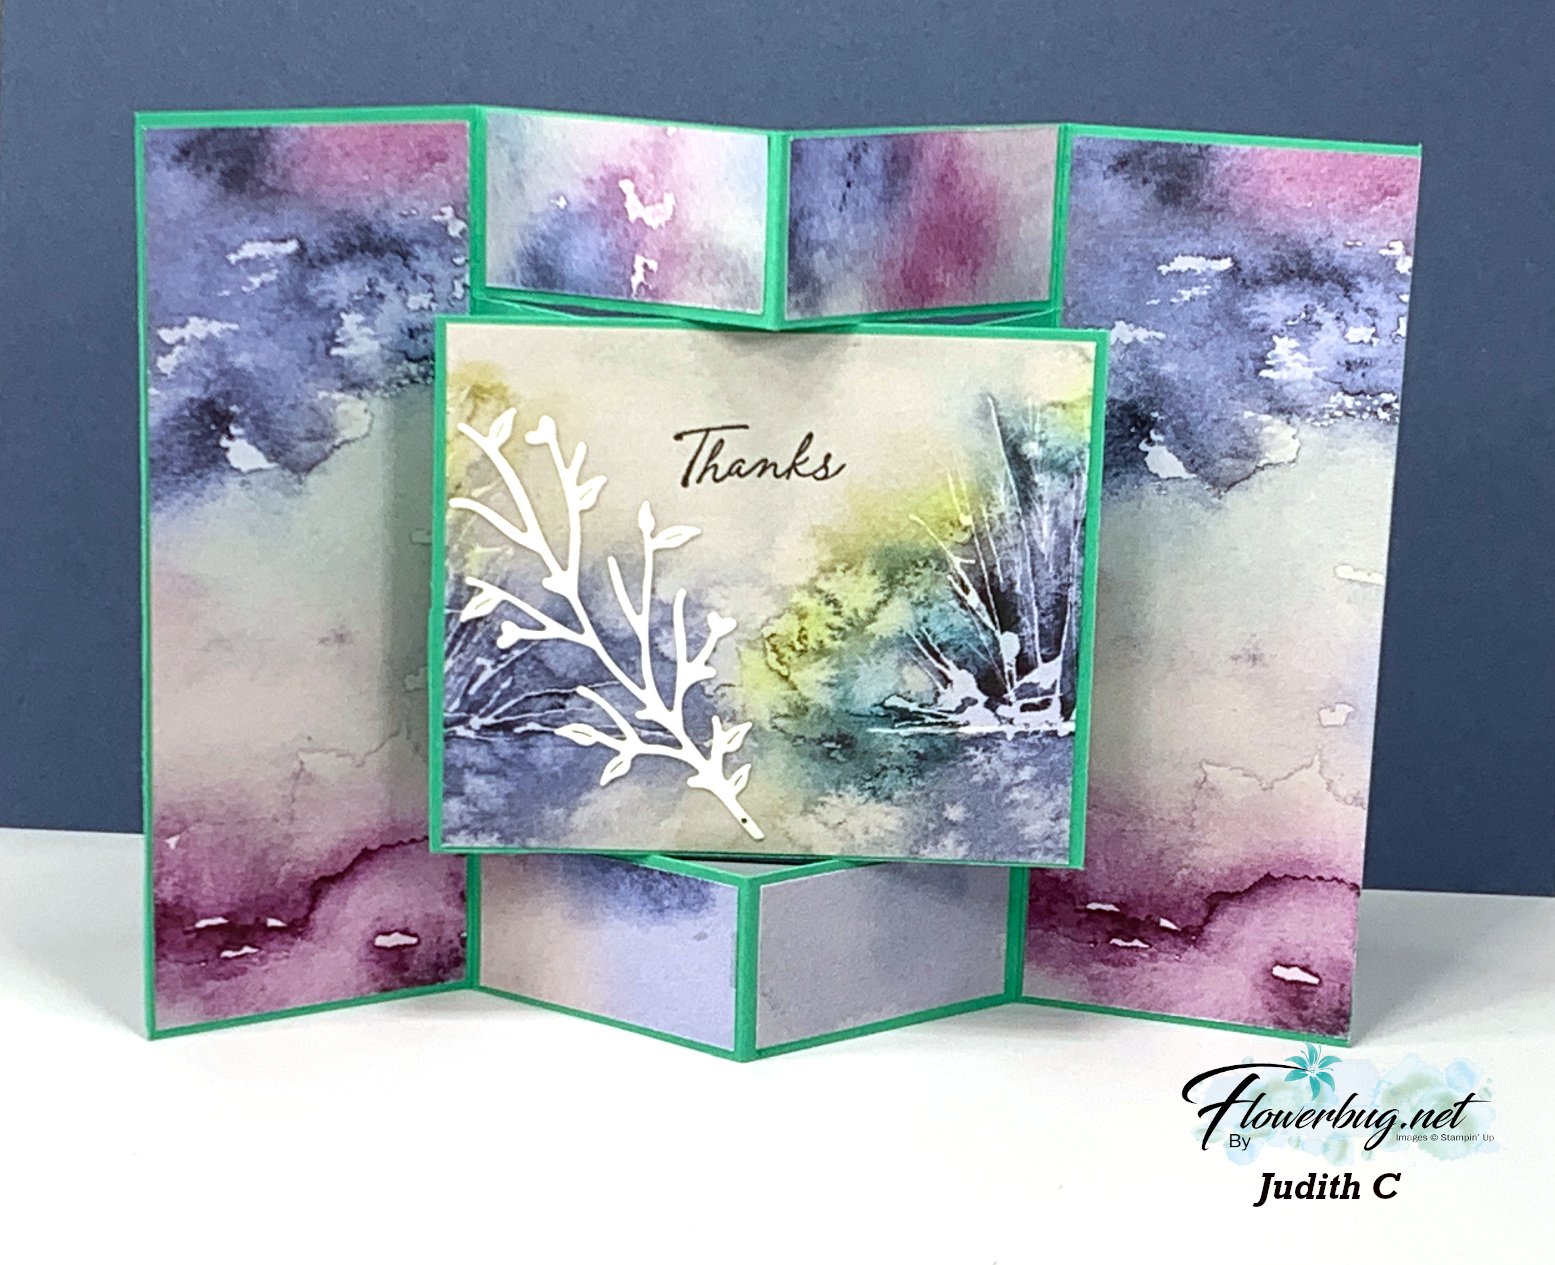
    This stunning fun fold card is incredible!  I loved it so much I had to case it. 

    I made a different version along with a video tutorial too.  Click here to see it and the free project tutorial too.  I am not providing measurements here in this post since they're in the link above. 

    Here's the front view of her card: 

    And here is the back view. 


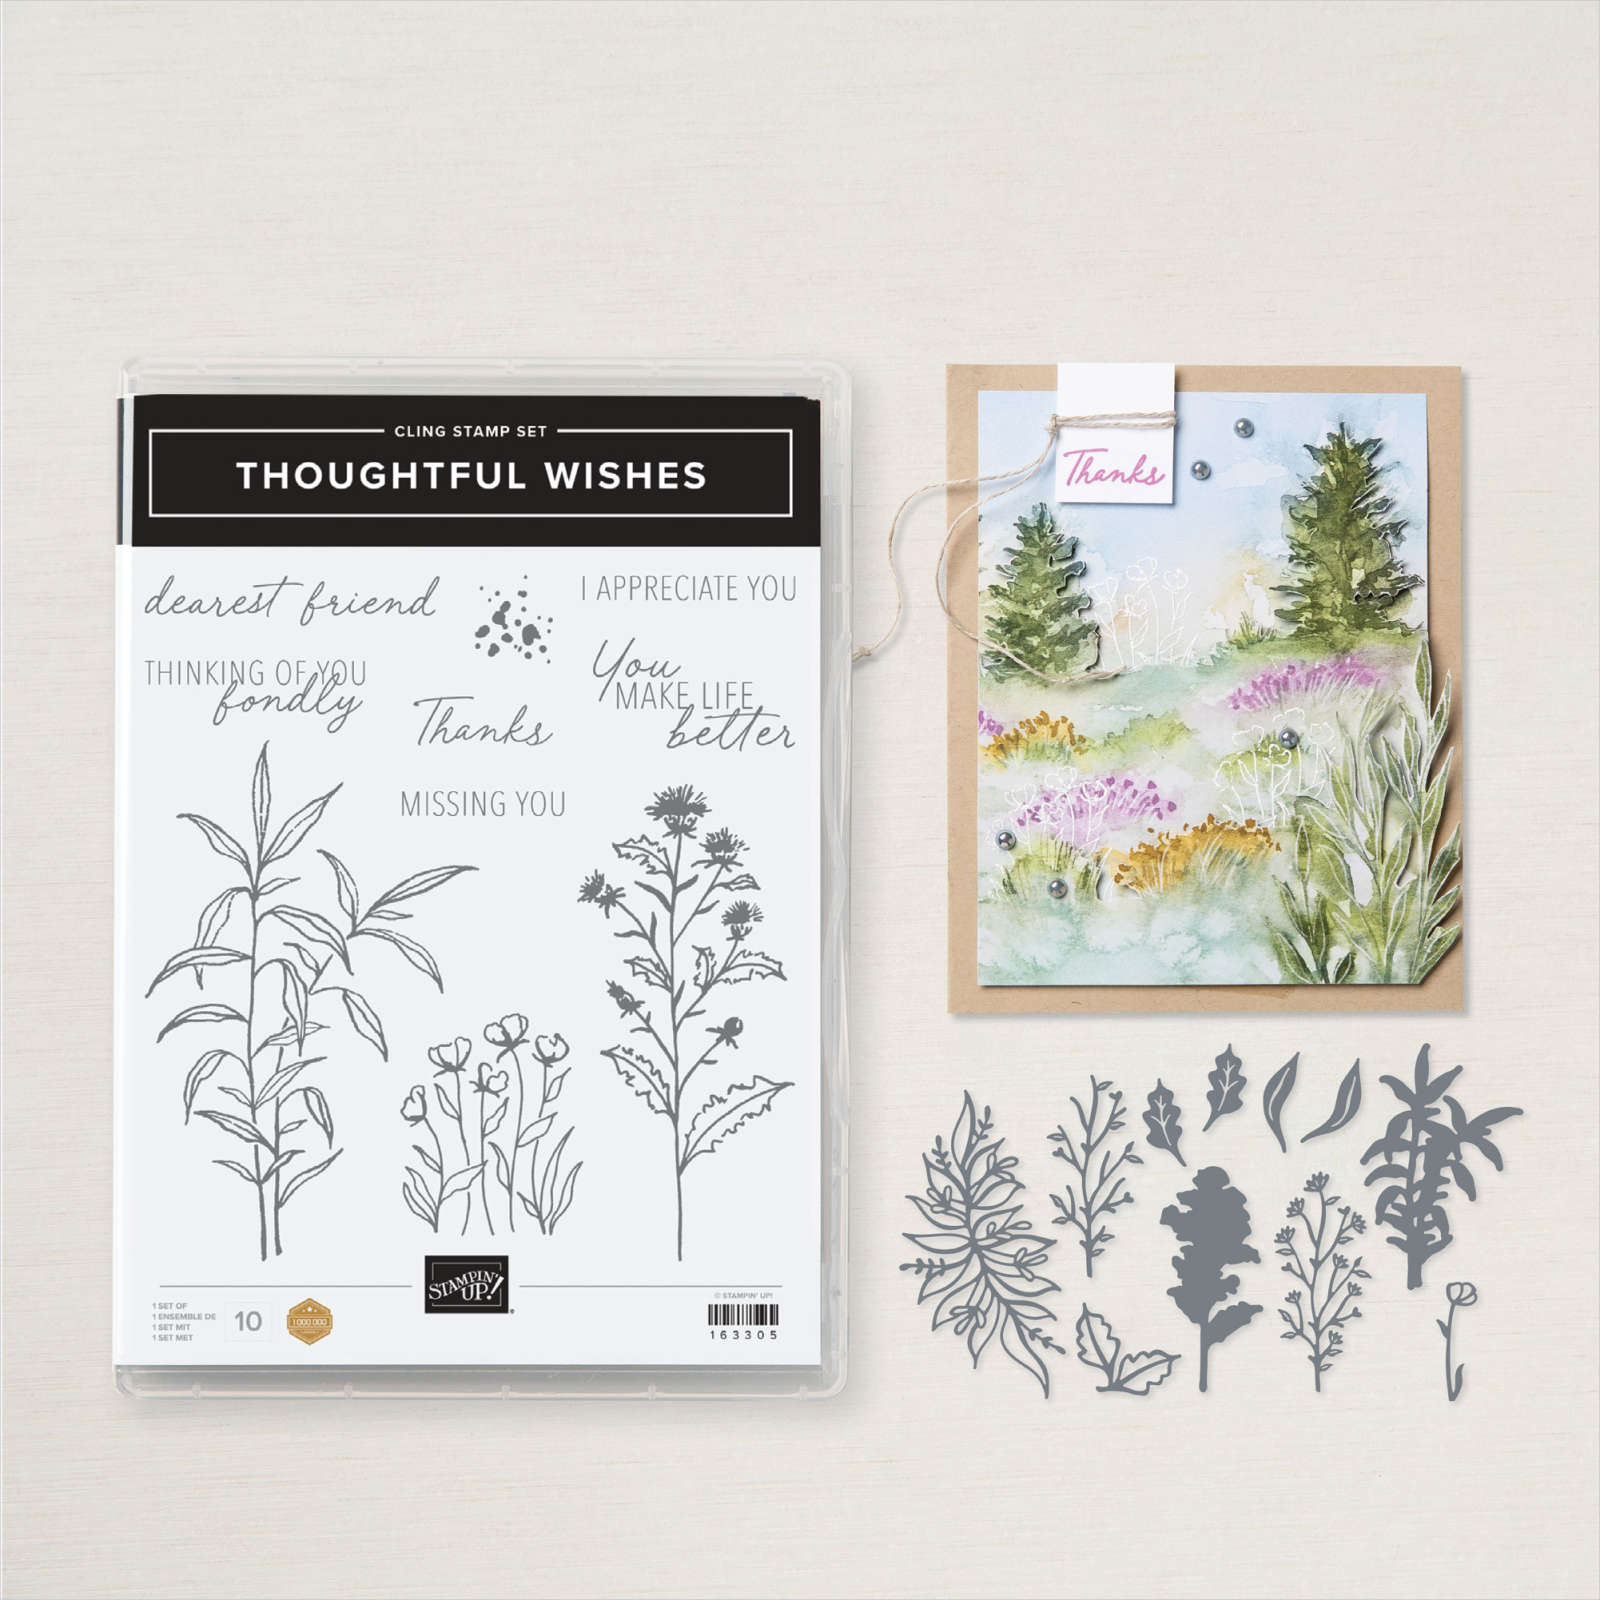
    She used the pretty Thoughtful Wishes bundle seen here. It's on sale now – 20% off in June! 

    I'm not surprised that the pretty Thoughtful Journey designer paper is unavailable right now. I featured it in my June card kit to go posting next week.  It should be back around June 24th. 

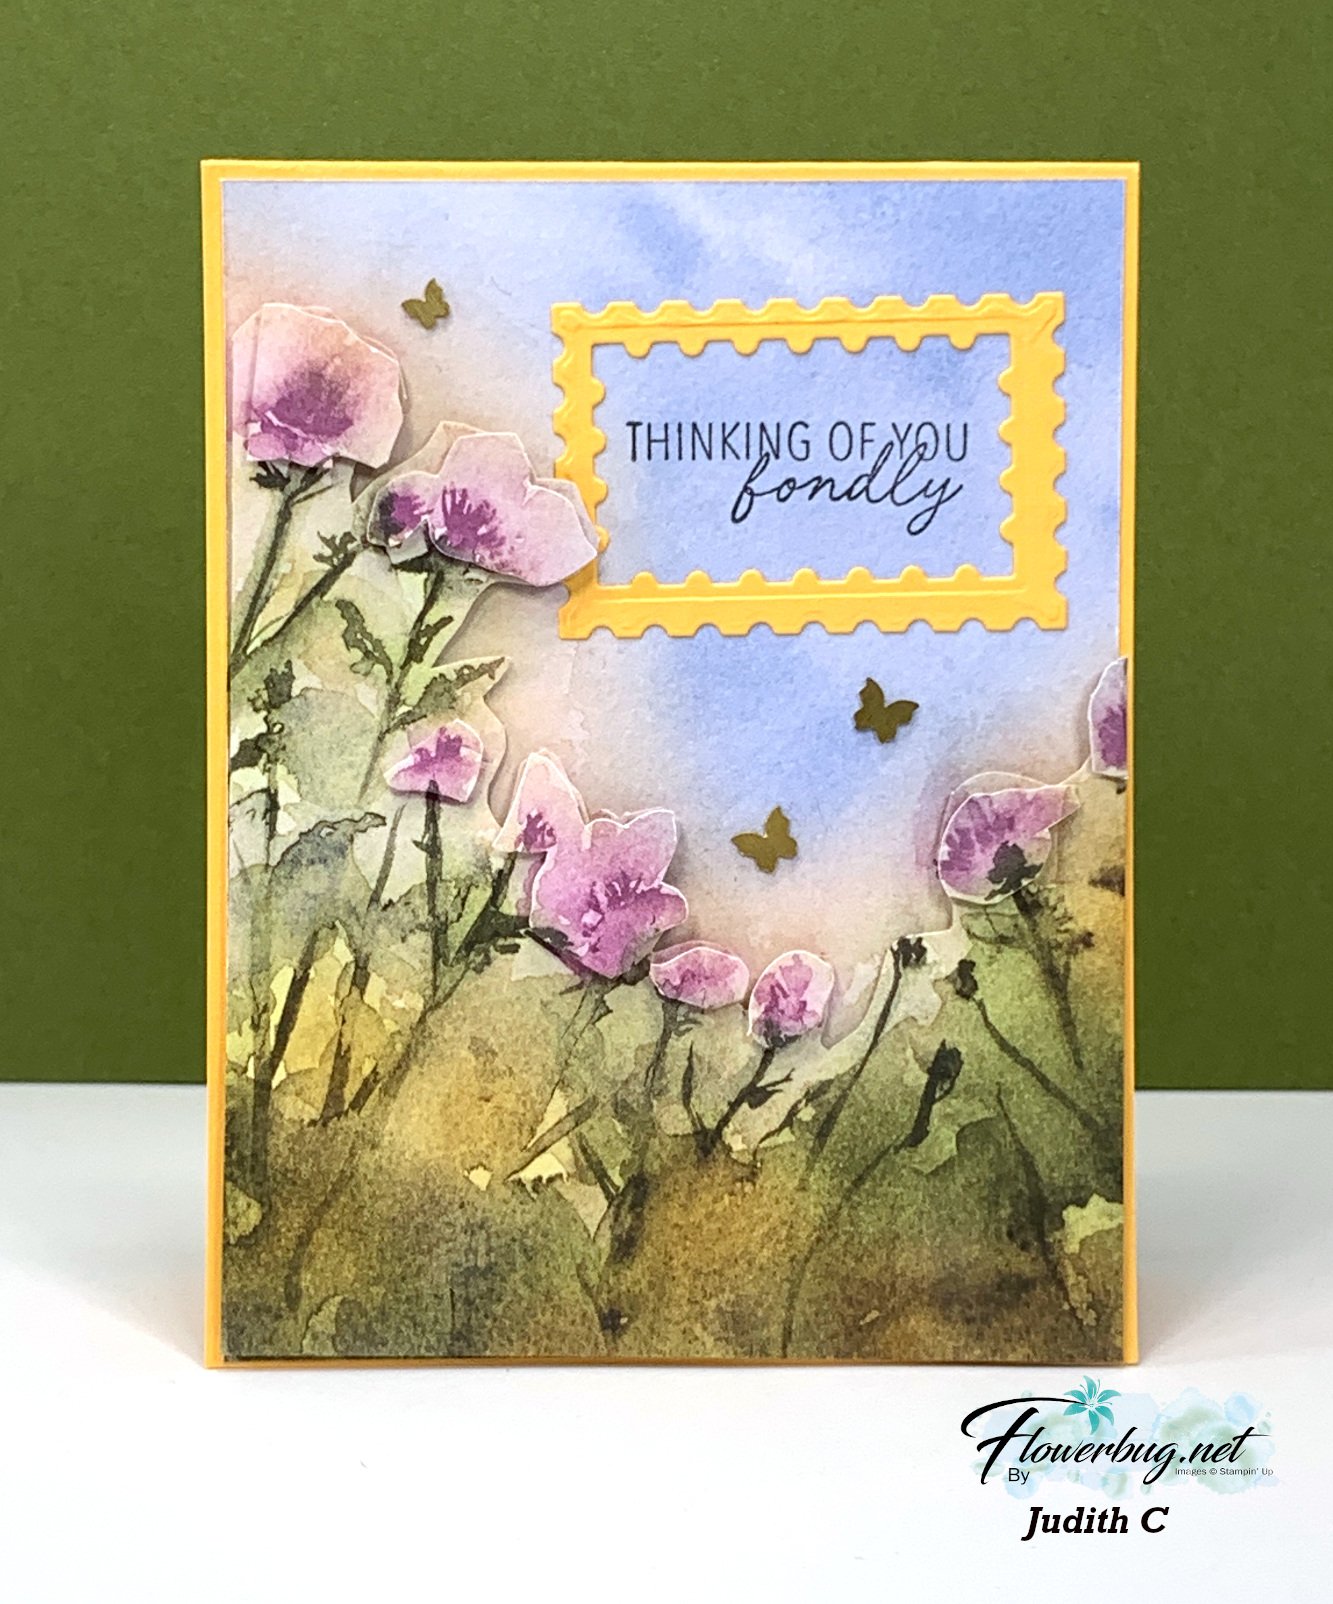
    Next is the last card in her bundle of gorgeousness.  

    Do you see how she fussy cut a second layer of designer paper and another set of flowers to pop up over the first?  Great technique!  I love how she added attention to the greeting with a frame made from the Perennial Postage dies seen here. 


    Thank you sooo much for sharing your creativity with us Judith!  

    ~~~

    June Specials:

    All Stamp & Die bundles are 20% off in June!

    *current host code links: FERX3EKC or GF24T6XG

    ~~~

    All online orders receive my free tutorial of the month & if your order is over $55 you'll also receive a free gift from me

    Leave a Reply

    Your email address will not be published. Required fields are marked *


Notice: LeeAnn Greff, Independent Stampin’ Up! Demonstrator, Manager. The content of this website is my sole responsibility as an independent Stampin’ Up! demonstrator and the use of, and content of, the classes, services, or products offered on this website is not endorsed by Stampin’ Up! Copyright 2025